HTC VX smartphone User Manual Book VOX HTC English Manual indb
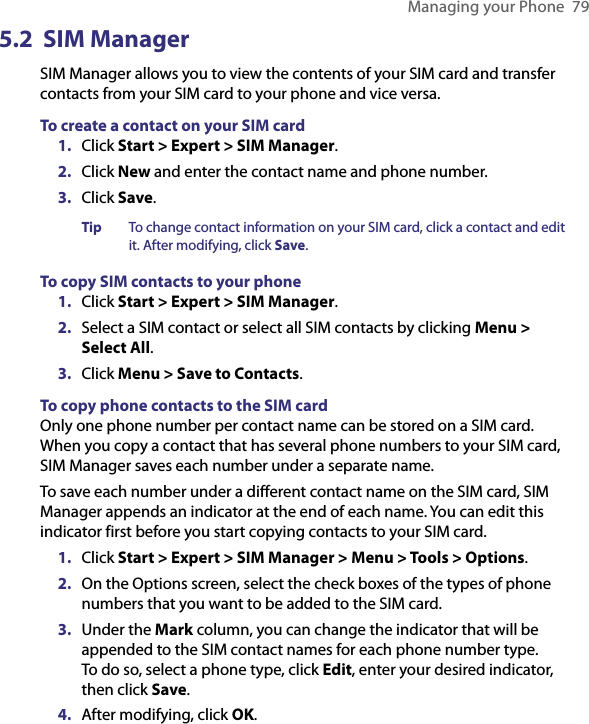
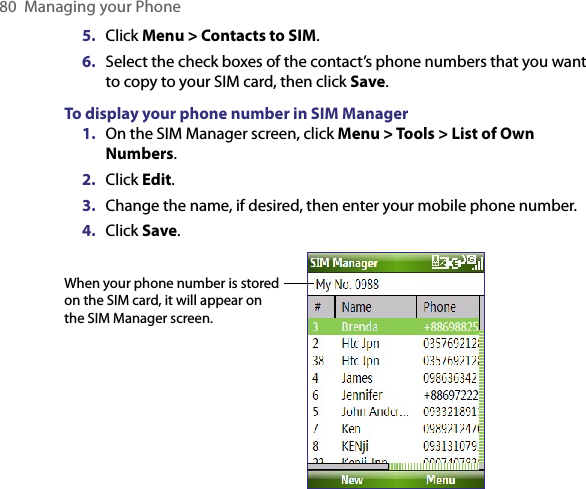
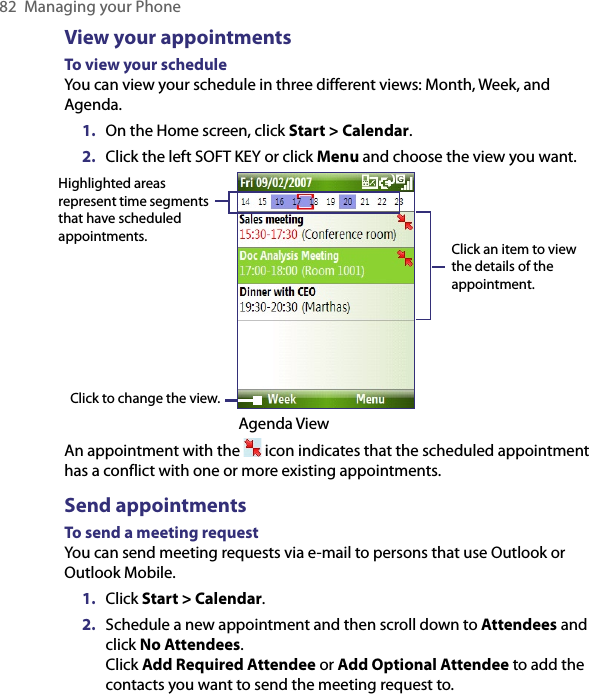
HTC Corporation smartphone Book VOX HTC English Manual indb
UserManual.wiki
>
HTC
>
VX User Manual
>
User Manual 1
Contents
1.
User Manual 1
2.
User Manual 2
3.
Manual Revised 0710
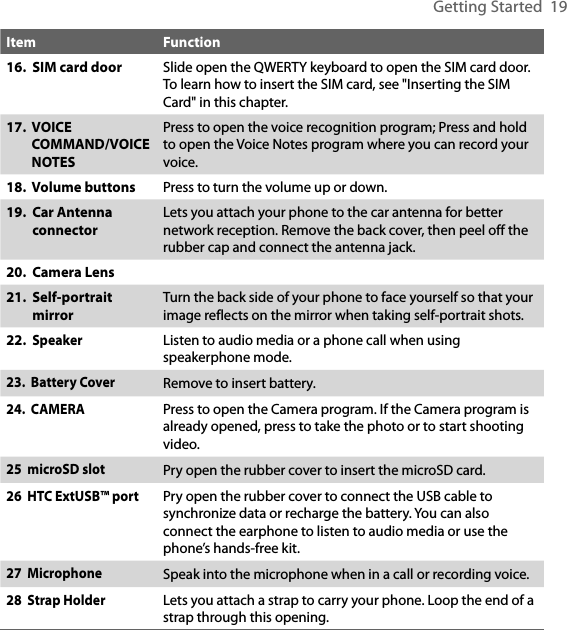
4.
User Manual Revised 0710 2
User Manual 1
Navigation menu
Upload a User Manual
Namespaces
Wiki Guide
HTML
PDF
Info
Views
User Manual
Discussion / Help
Navigation


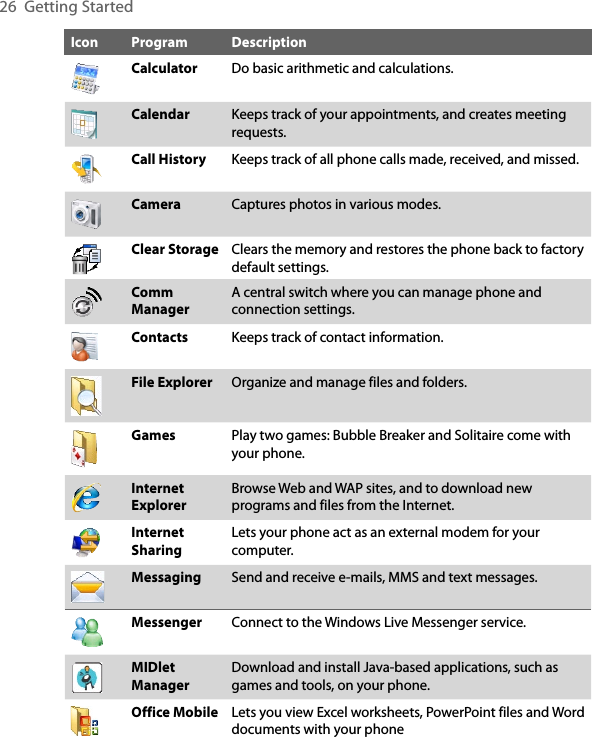

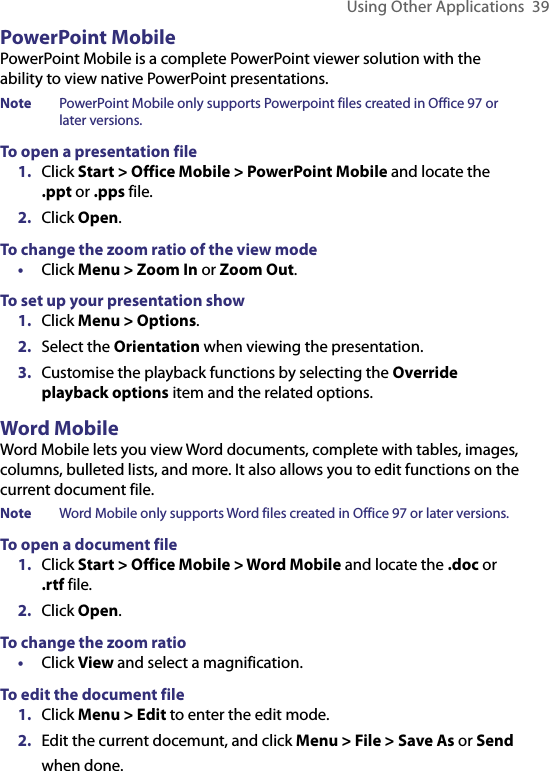

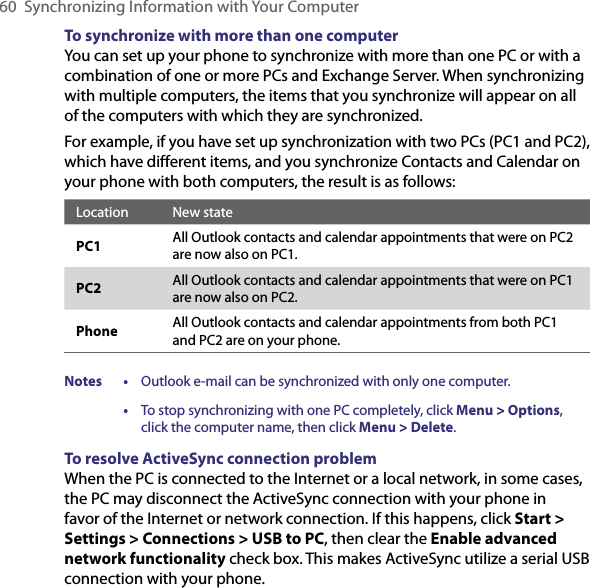
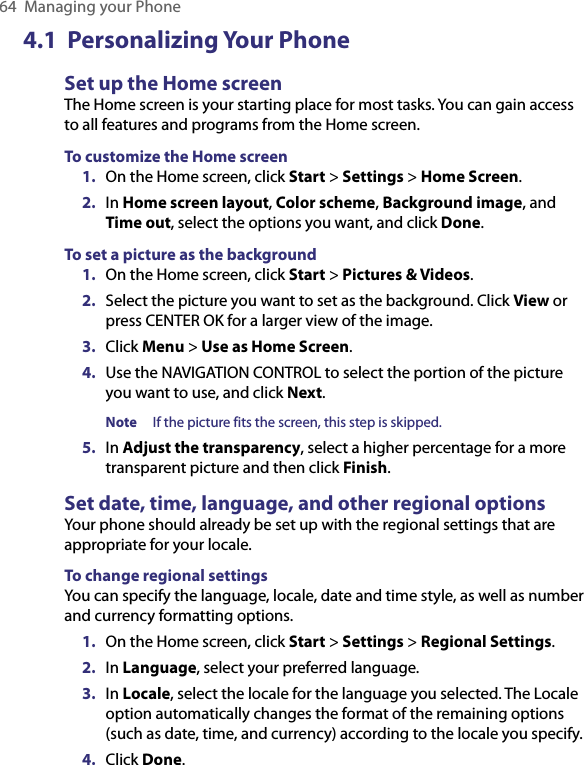
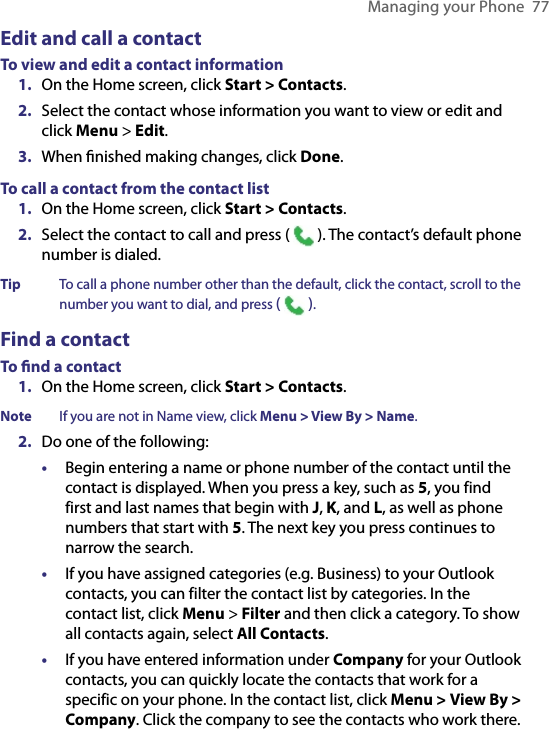
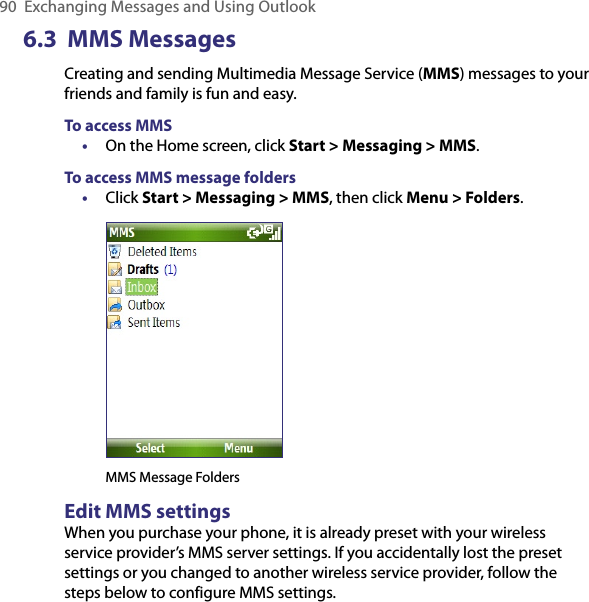
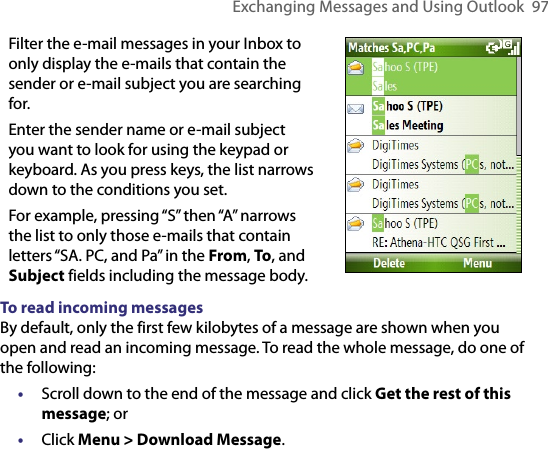
![Managing your Phone 65To set the date and time1. On the Home screen, click Start > Settings > Clock & Alarm > Date and Time.2. Set the Time zone, Date, and Time, and then click Done.Choose how to be notified about events or actionsA profile is a group of settings that determine how your phone will alert you to phone events such as incoming calls and notifications. To change the current profile1. On the Home screen, click Profile [Type]. Example: Profile Normal.2. Choose a new profile, and click Done.Tip To quickly change the profile, briefly press POWER to display the Quick List, and choose a profile.To edit a profile1. On the Home screen, click Profile [Type]. Example: Profile Normal.2. Select the profile to edit.3. Click Menu > Edit.4. Modify the settings, and click Done. To cancel without saving changes, click Cancel.Tip To revert to the default profile settings, click Menu > Reset to default.To specify the sound for an event1. On the Home screen, click Start > Settings > Sounds.2. For the desired event, select a sound. Select None if you do not want to hear a sound.3. Click Done.Note For ring tones, you can use sound files in either the .wav, .mid, .wma, or .mp3 file format. For notifications or reminders, you can use .wav or .mid files.Tip When you select a sound, the sound plays. To hear it again, select Menu > Play.](https://usermanual.wiki/HTC/VX.User-Manual-1/User-Guide-794337-Page-65.png)
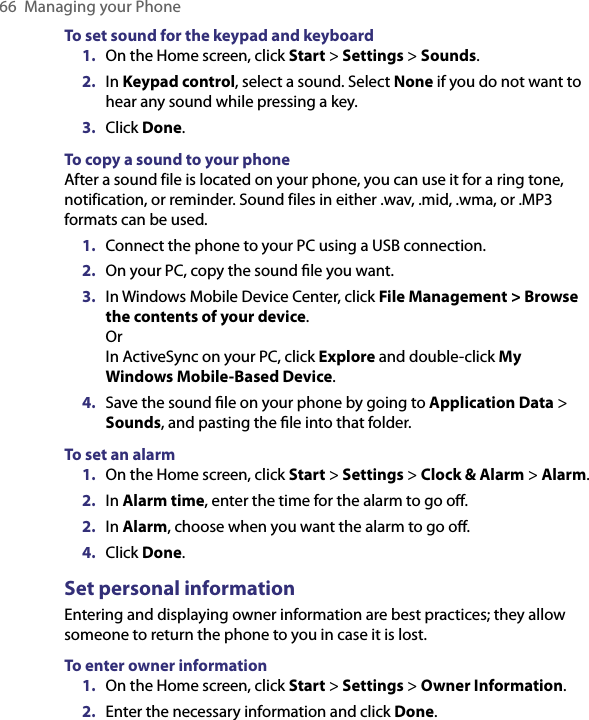
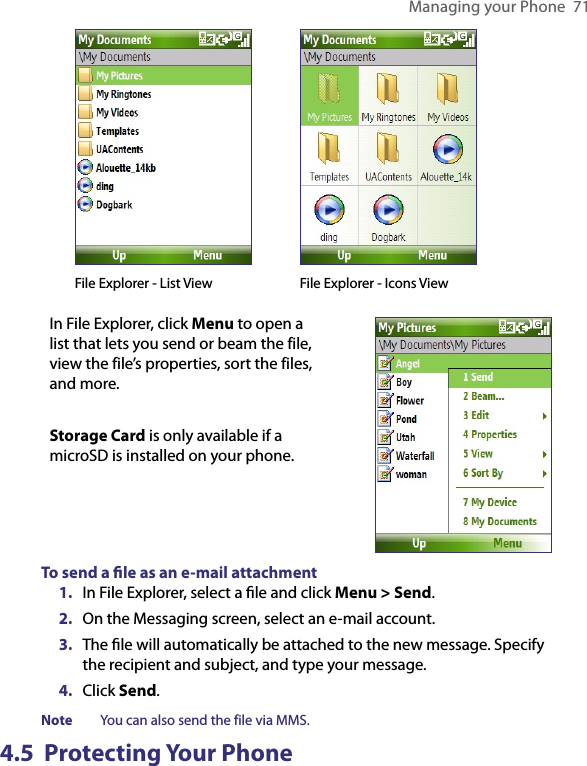
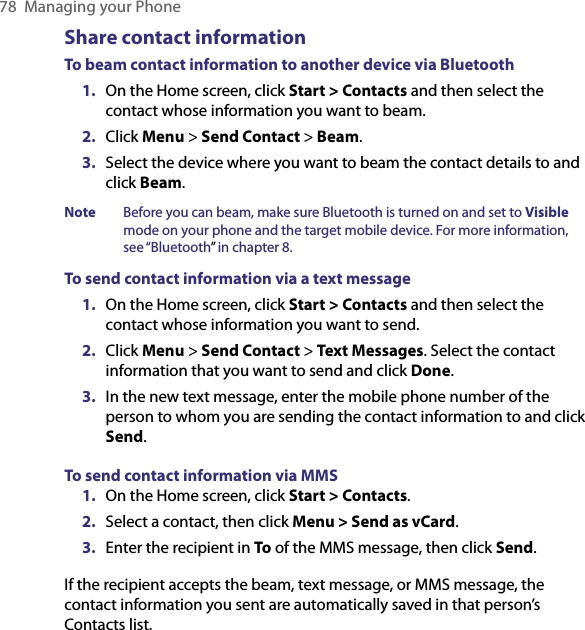
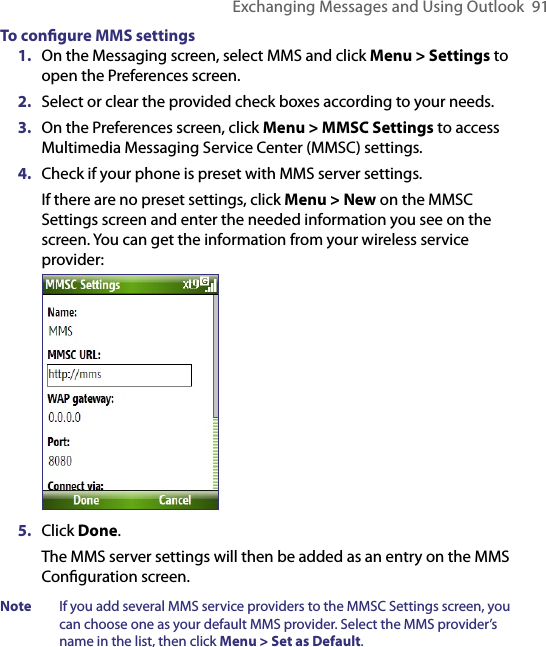
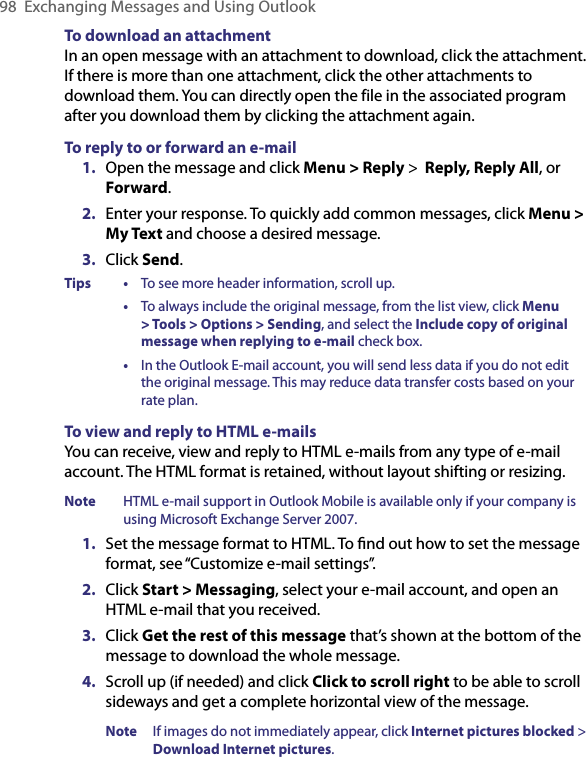
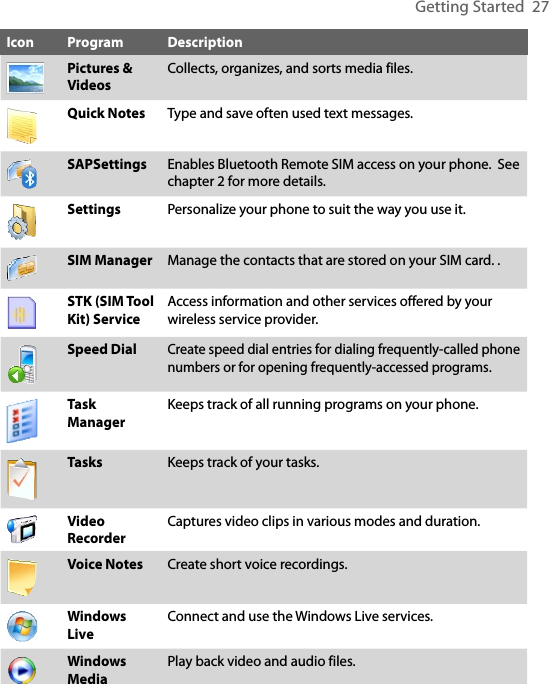
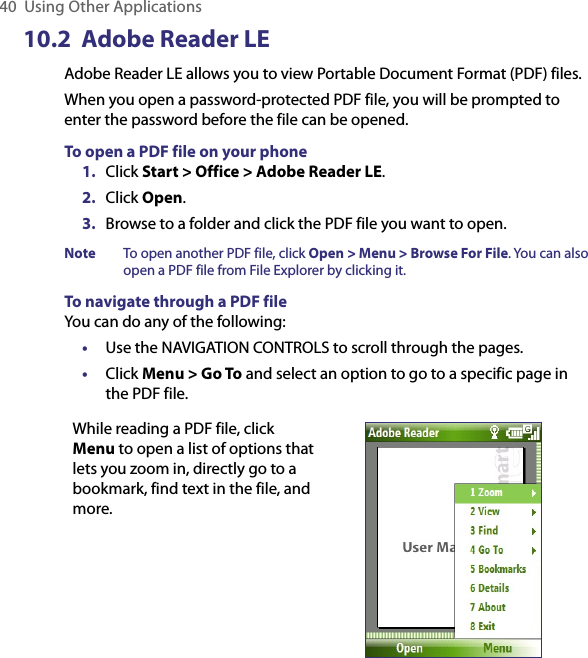
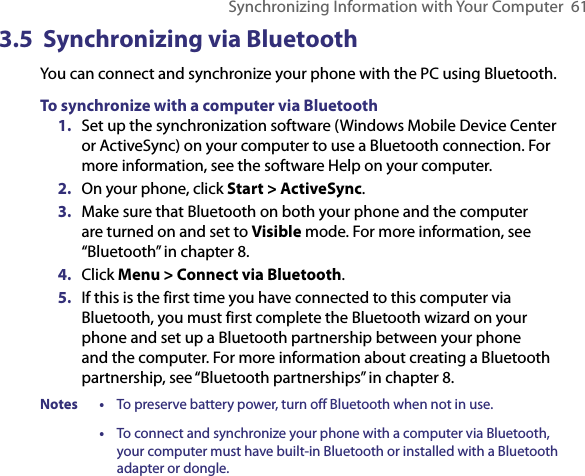
![70 Managing your Phone4.4 Managing and Backing Up FilesYou can back up files to your PC using Windows Mobile Device Center or ActiveSync or copy files to a storage card that is installed on your phone. You can also efficiently manage your files and folders using File Explorer installed on your phone.To copy files using Windows Mobile Device Center/ActiveSync to the PC1. Connect your phone to your PC. 2. In Windows Mobile Device Center, click File Management > Browse the contents of your device. Or In ActiveSync on your PC, click Explore. This opens the Mobile Device folder for your phone. 3. Browse your phone for files that you want to copy to your PC.4. Select and copy the files [Ctrl + C] and then paste them [Ctrl+V] to the destination folder in the PC.Copying a file results in separate versions of a file on your phone and PC. Changes made to one file will not affect the other since the files are not synchronized. Use File ExplorerFile Explorer provides many easy-to-use features for file and folder management.To start File Explorer• On the Home screen, click Start > File Explorer.File Explorer operates in the following two views: • List View • Icons ViewFile Explorer displays the entire file structure in your phone’s memory. The functions focus primarily on folder management. When initially started, File Explorer is in List View by default. To switch between views, click Menu > View > Icons or List.](https://usermanual.wiki/HTC/VX.User-Manual-1/User-Guide-794337-Page-70.png)