Harman BE2820 Automotive Infotainment Unit w/ Bluetooth, GPS and WLAN User Manual 2
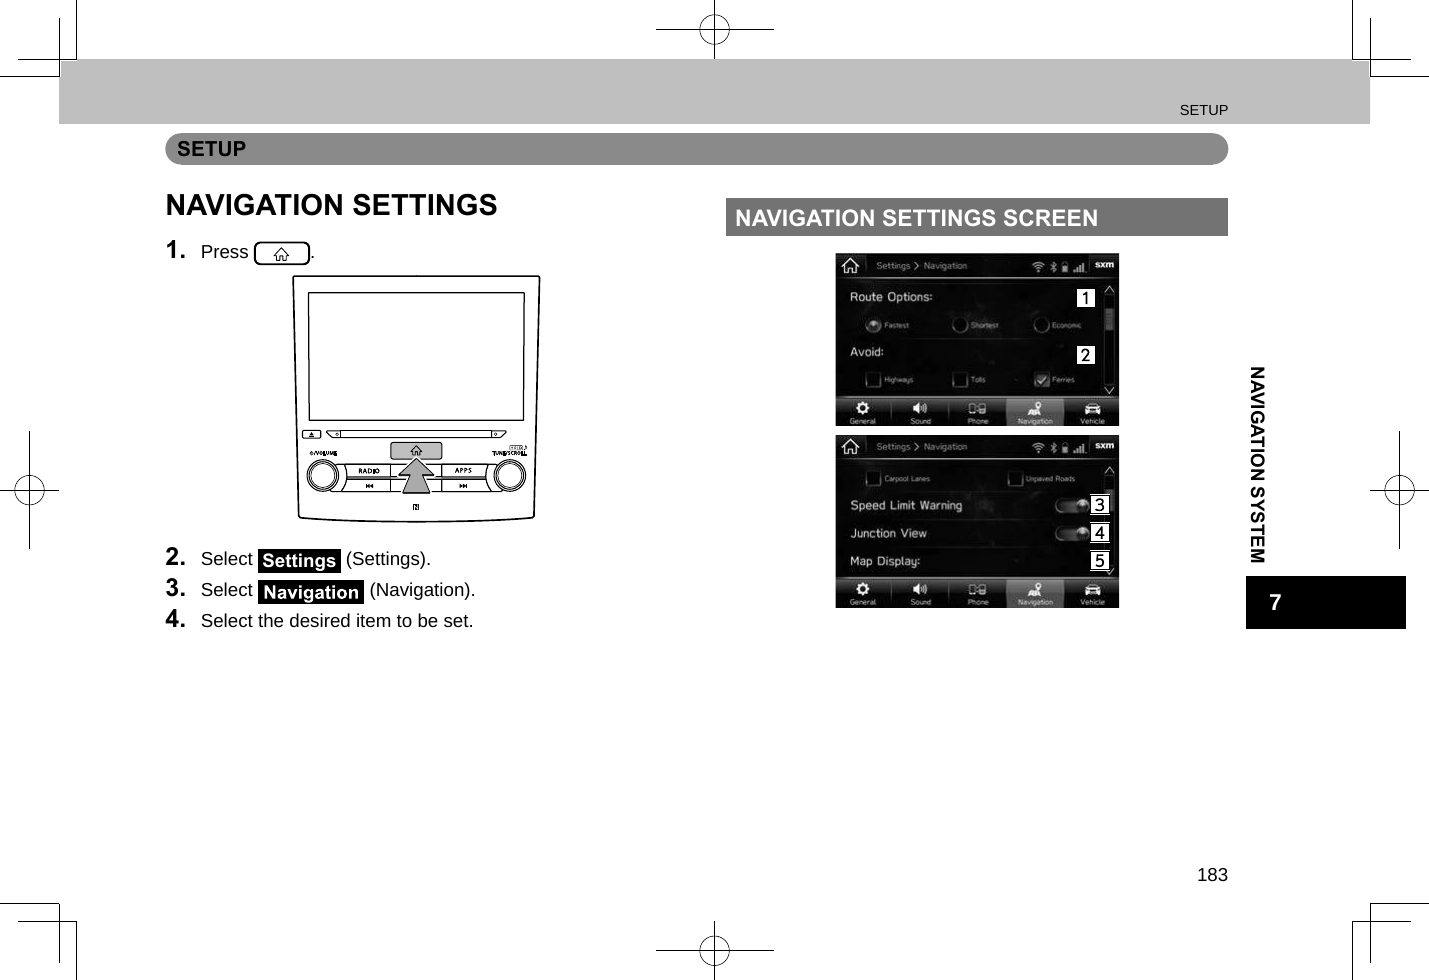
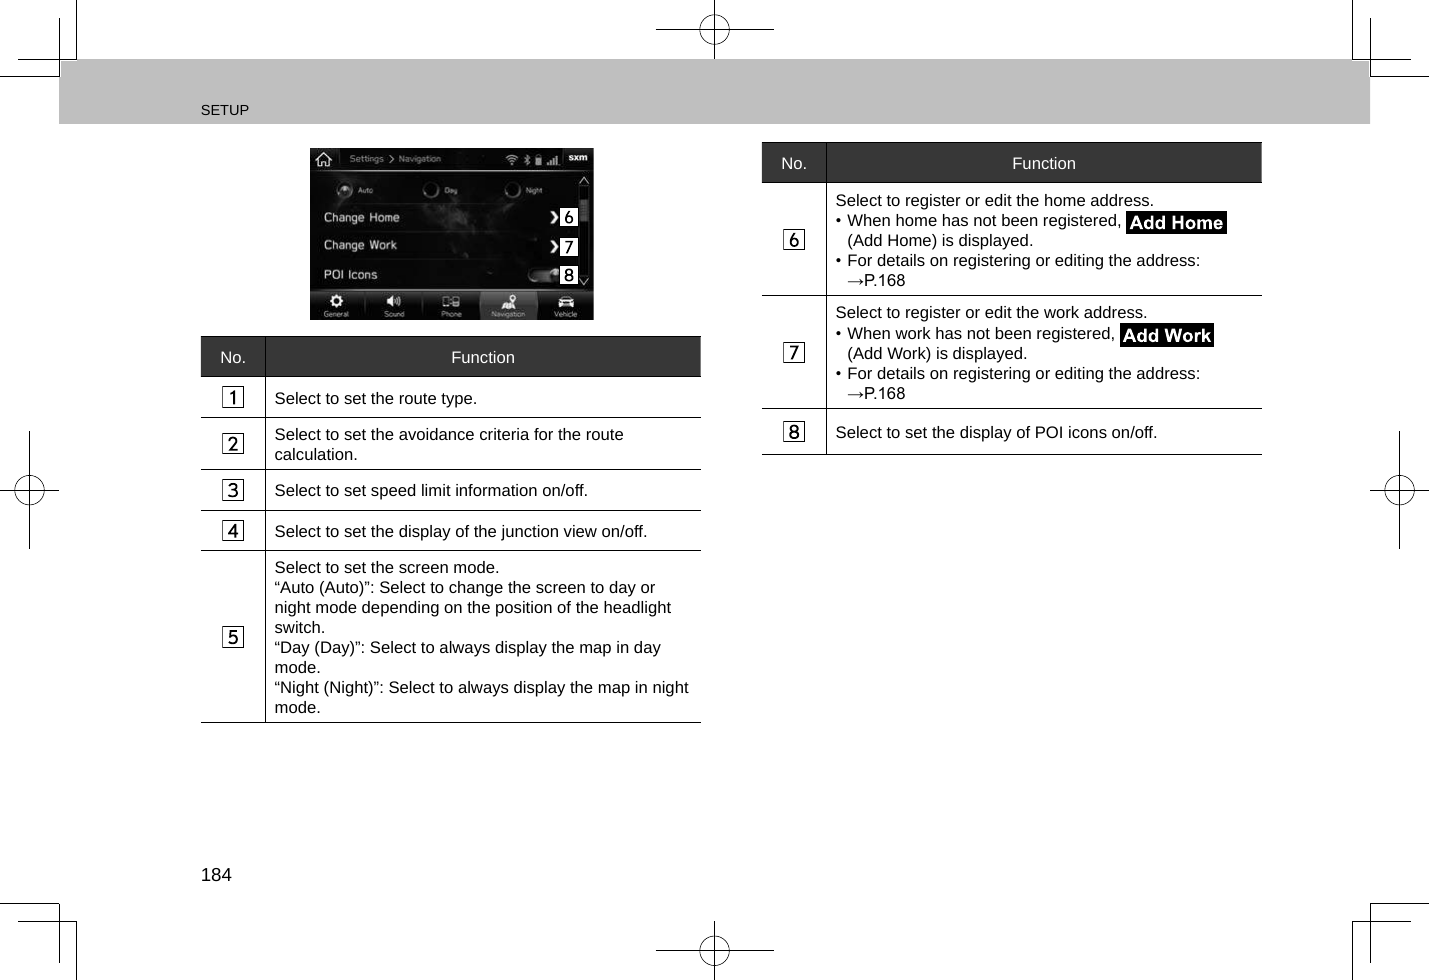
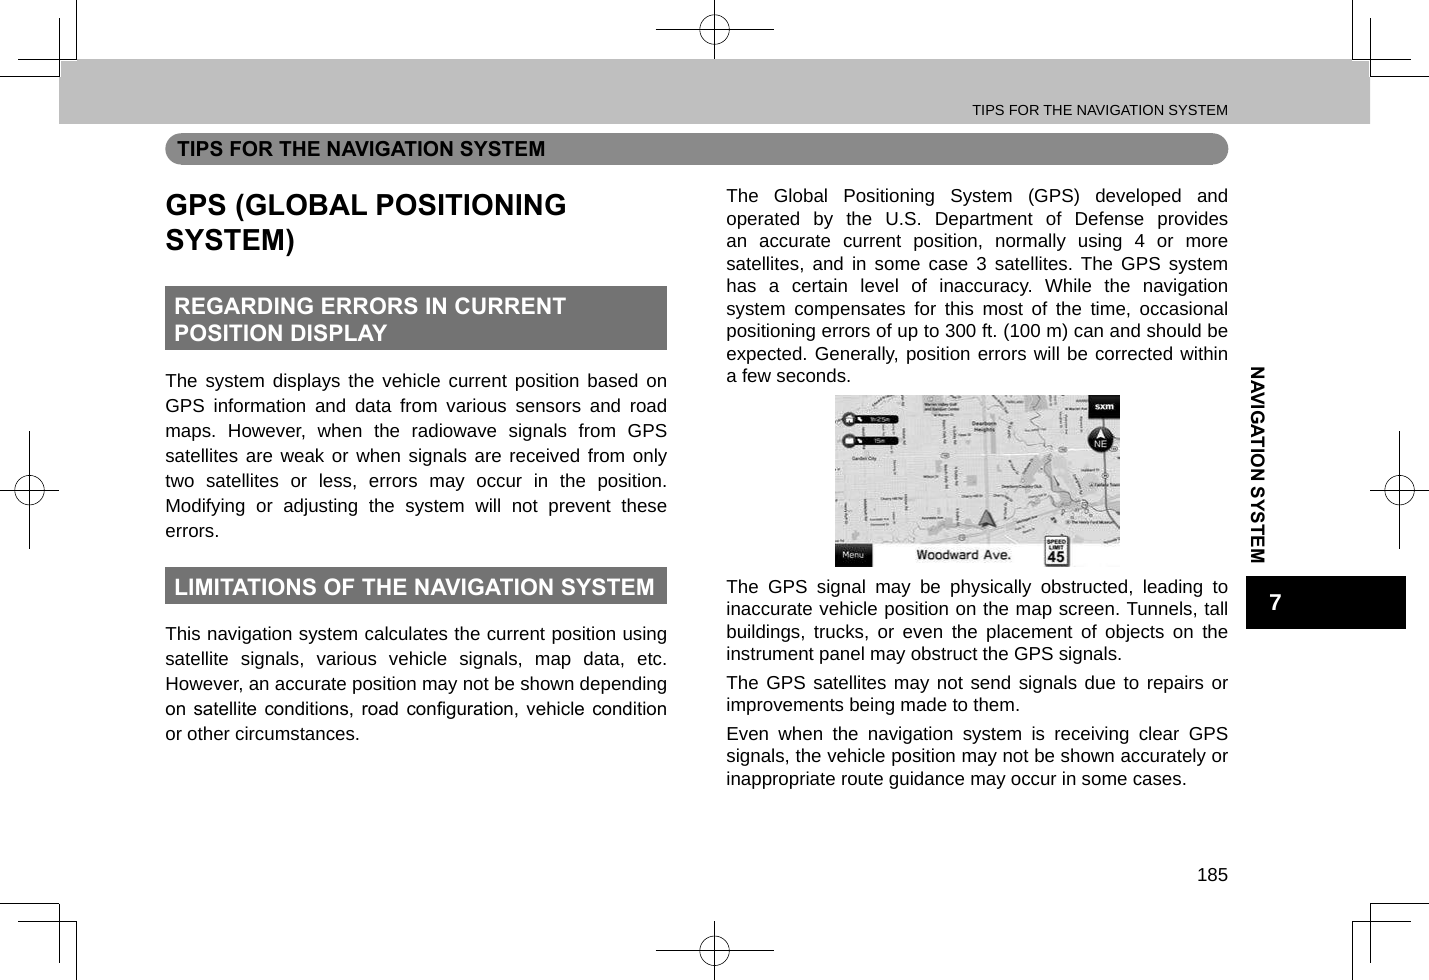
Harman International Industries, Inc. Automotive Infotainment Unit w/ Bluetooth, GPS and WLAN 2
Harman >
Contents
- 1. User manual_2
- 2. User manual_1
- 3. Users Manual-1
- 4. Users Manual-2
User manual_2

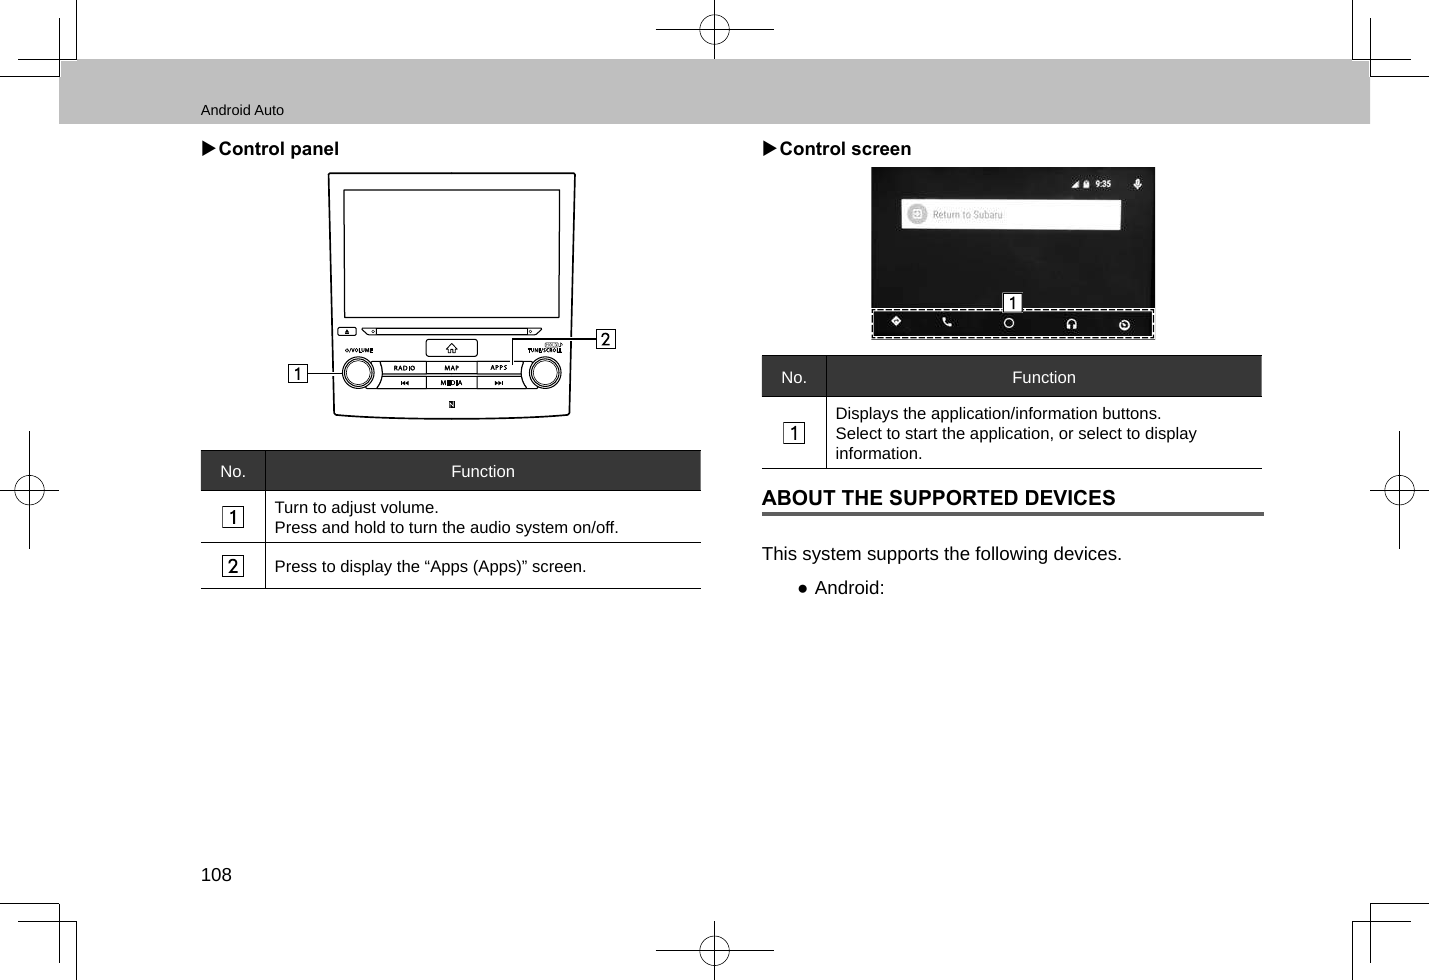


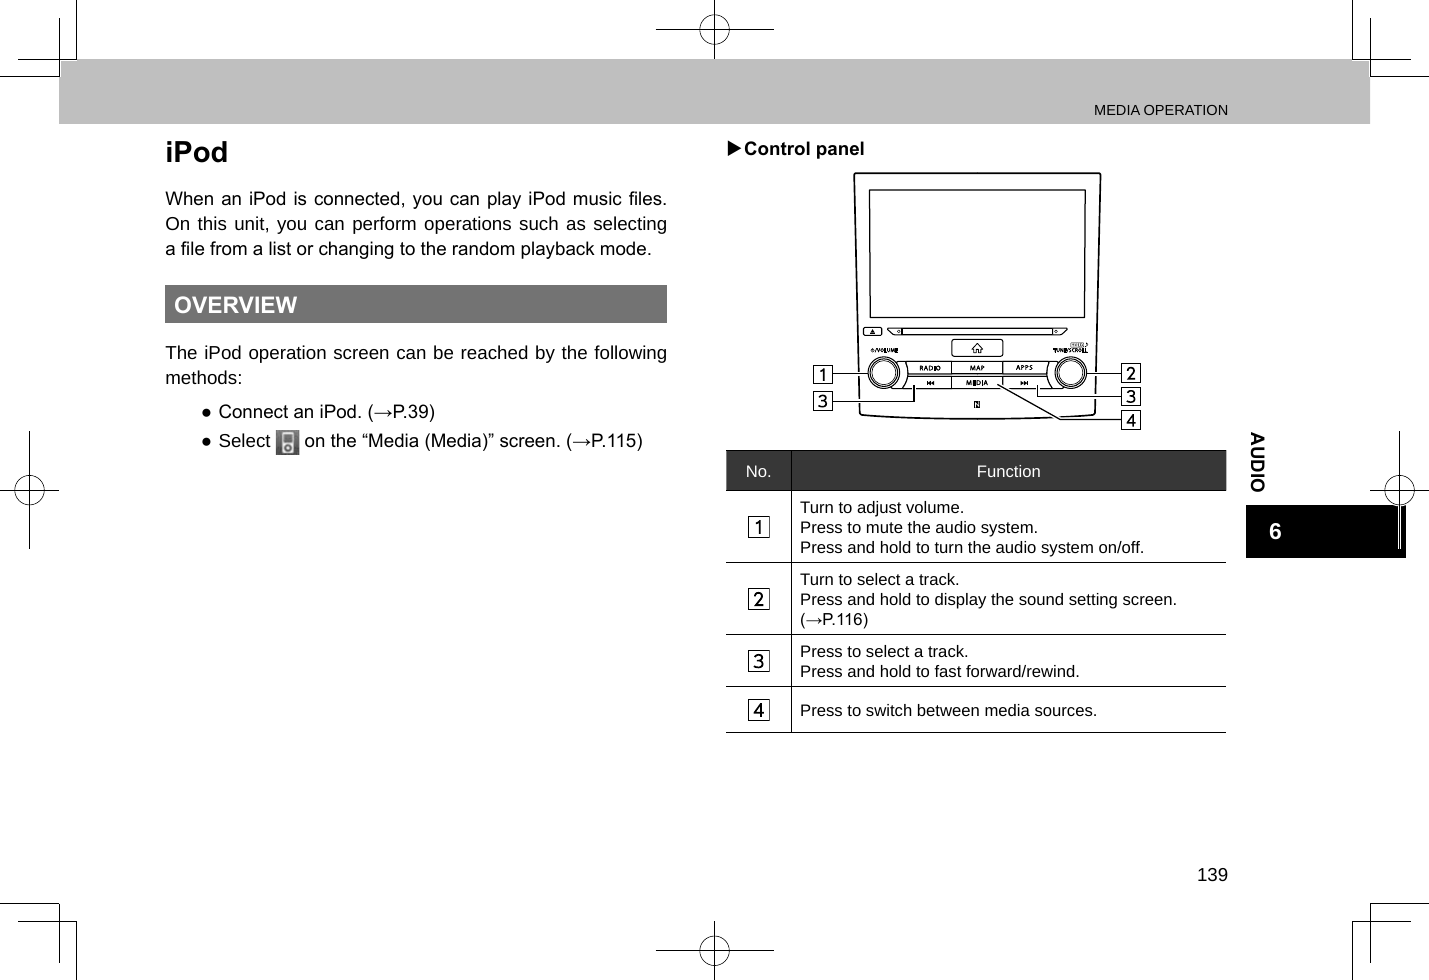


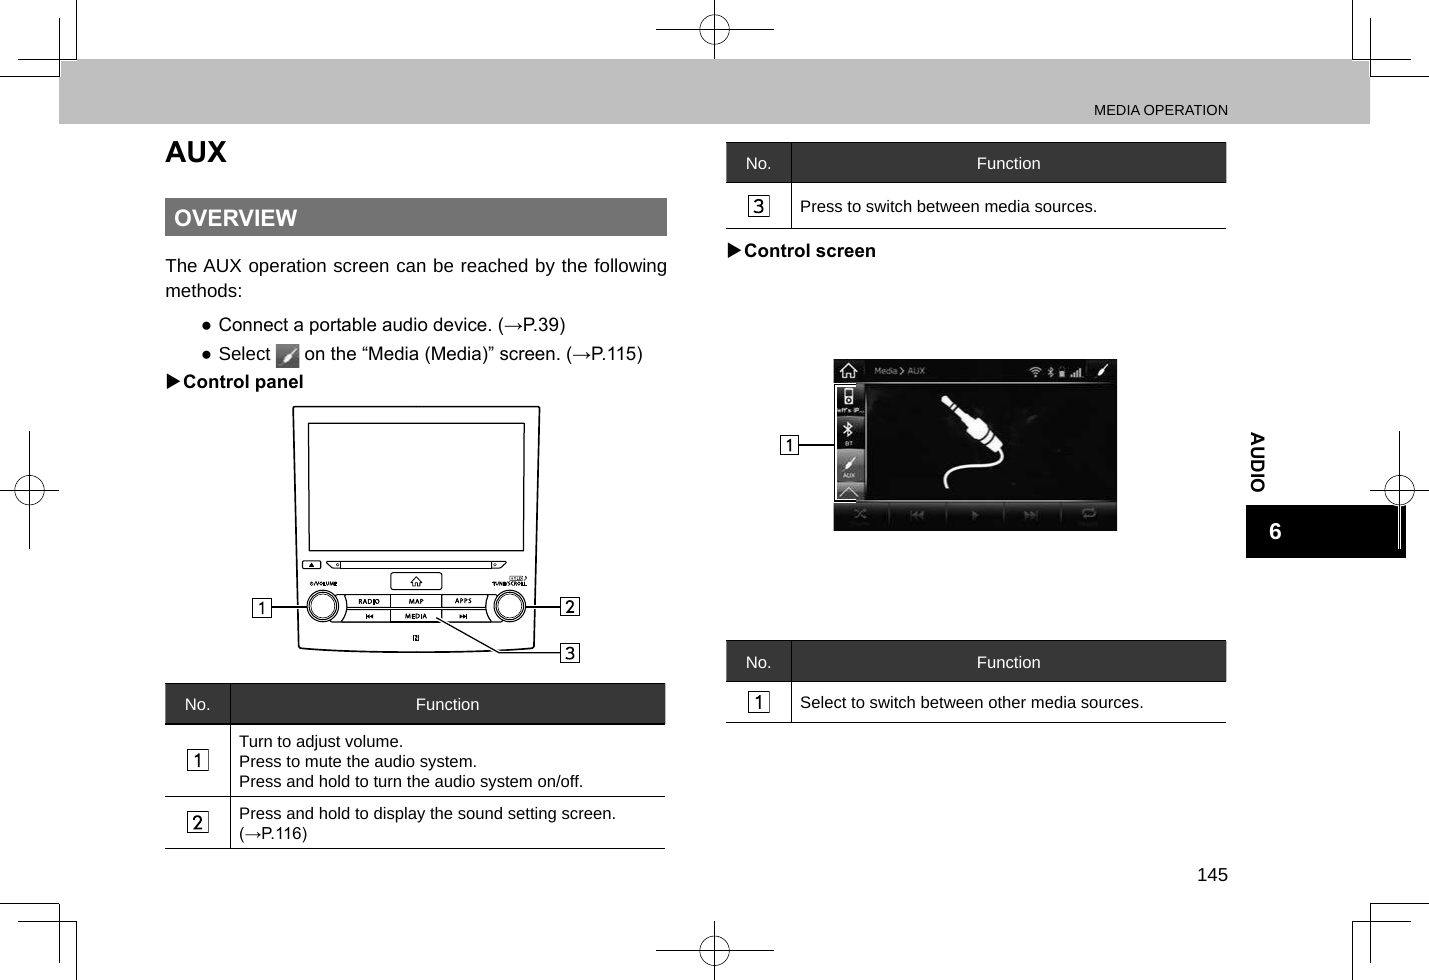


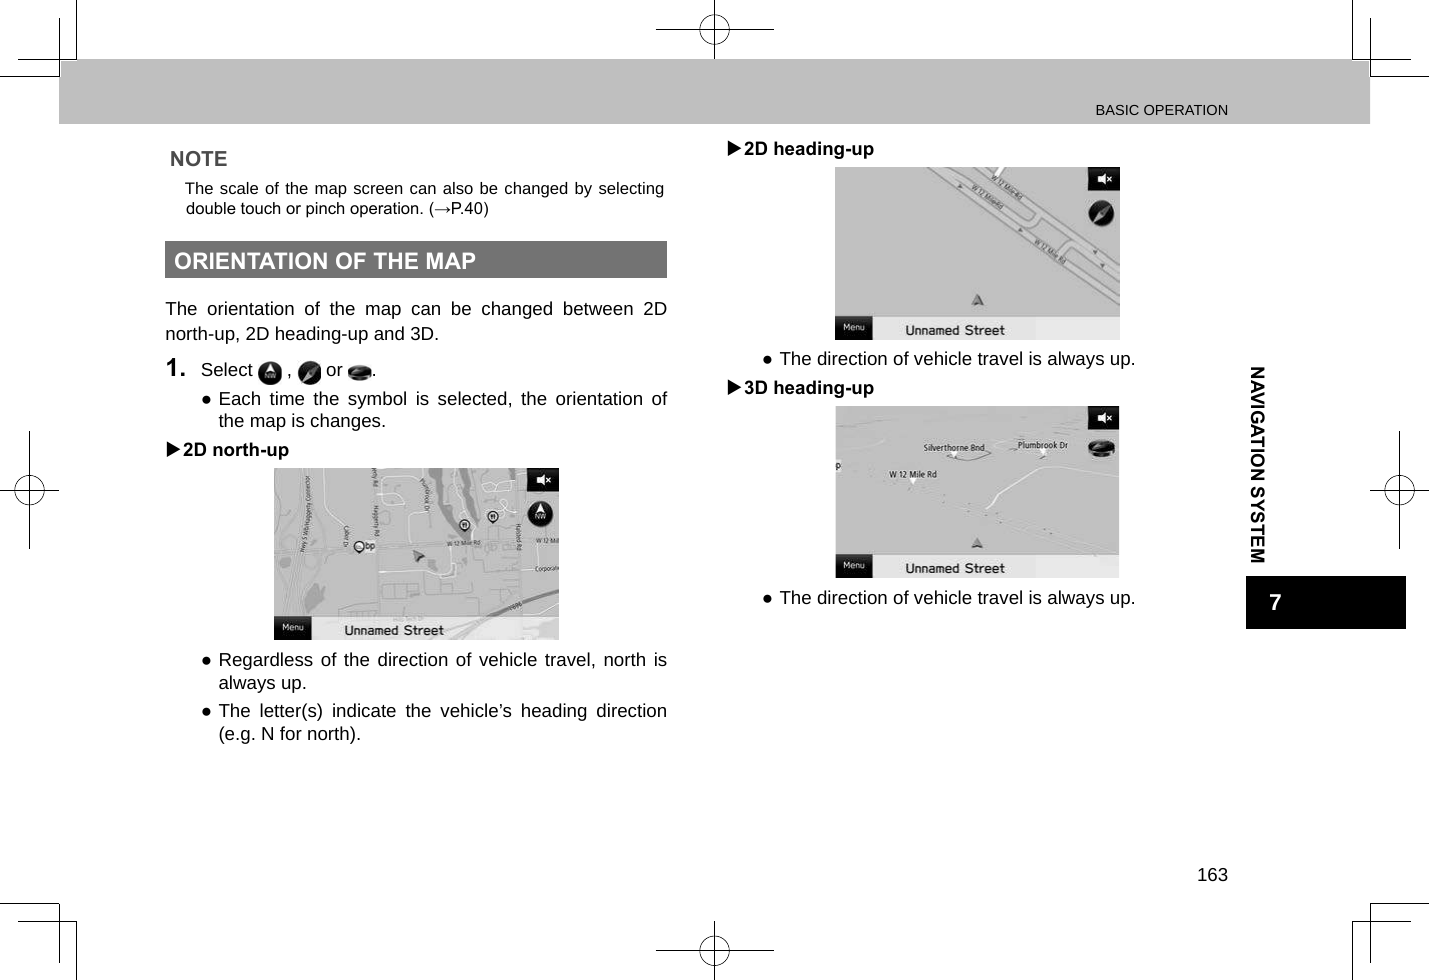
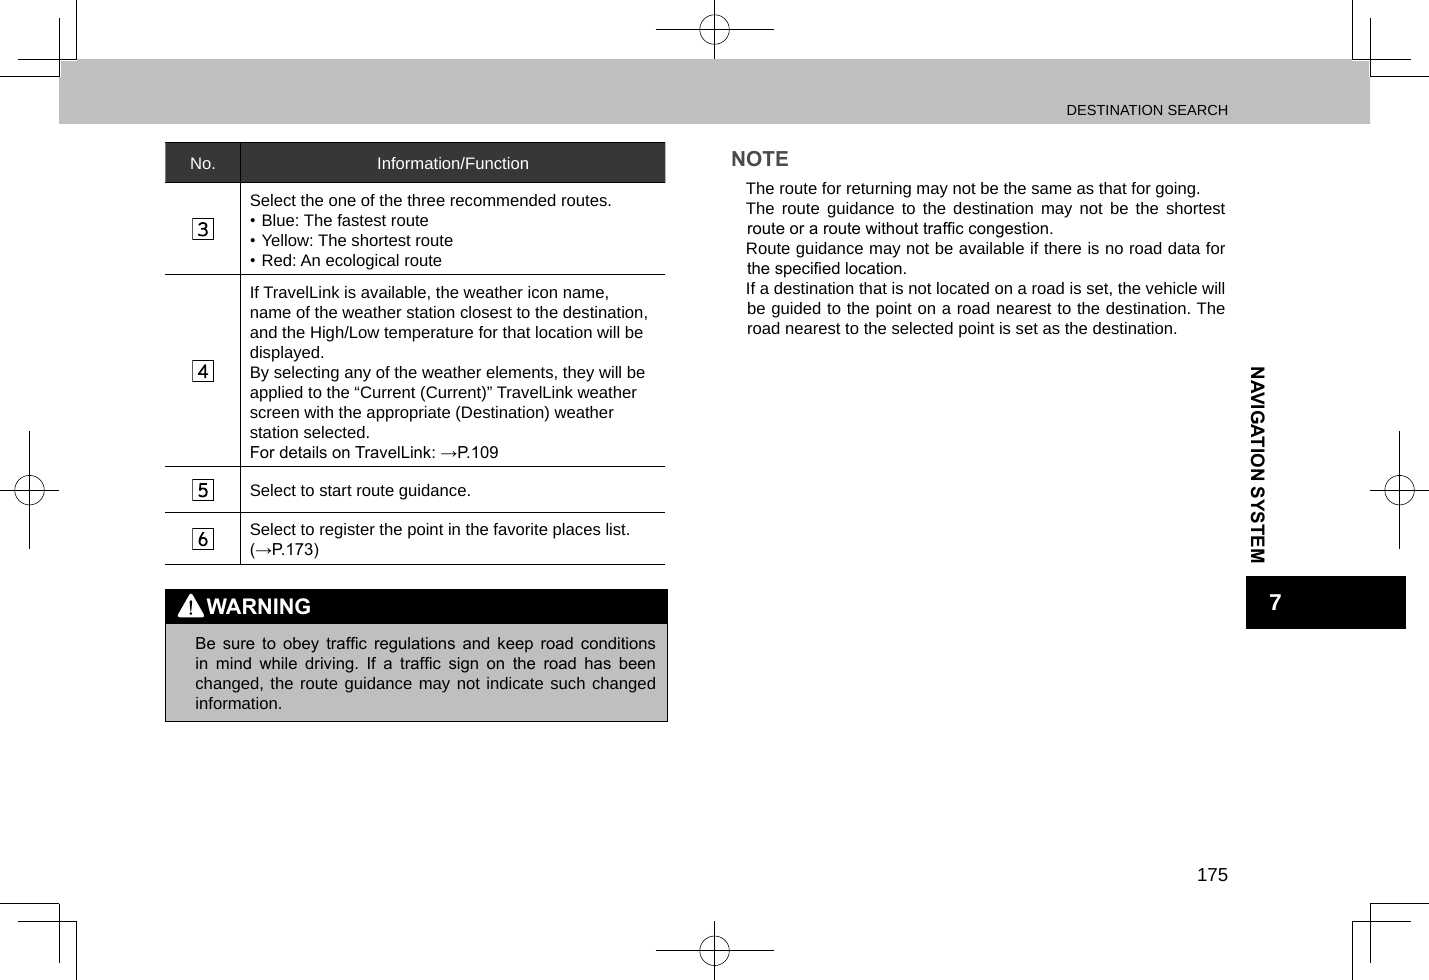


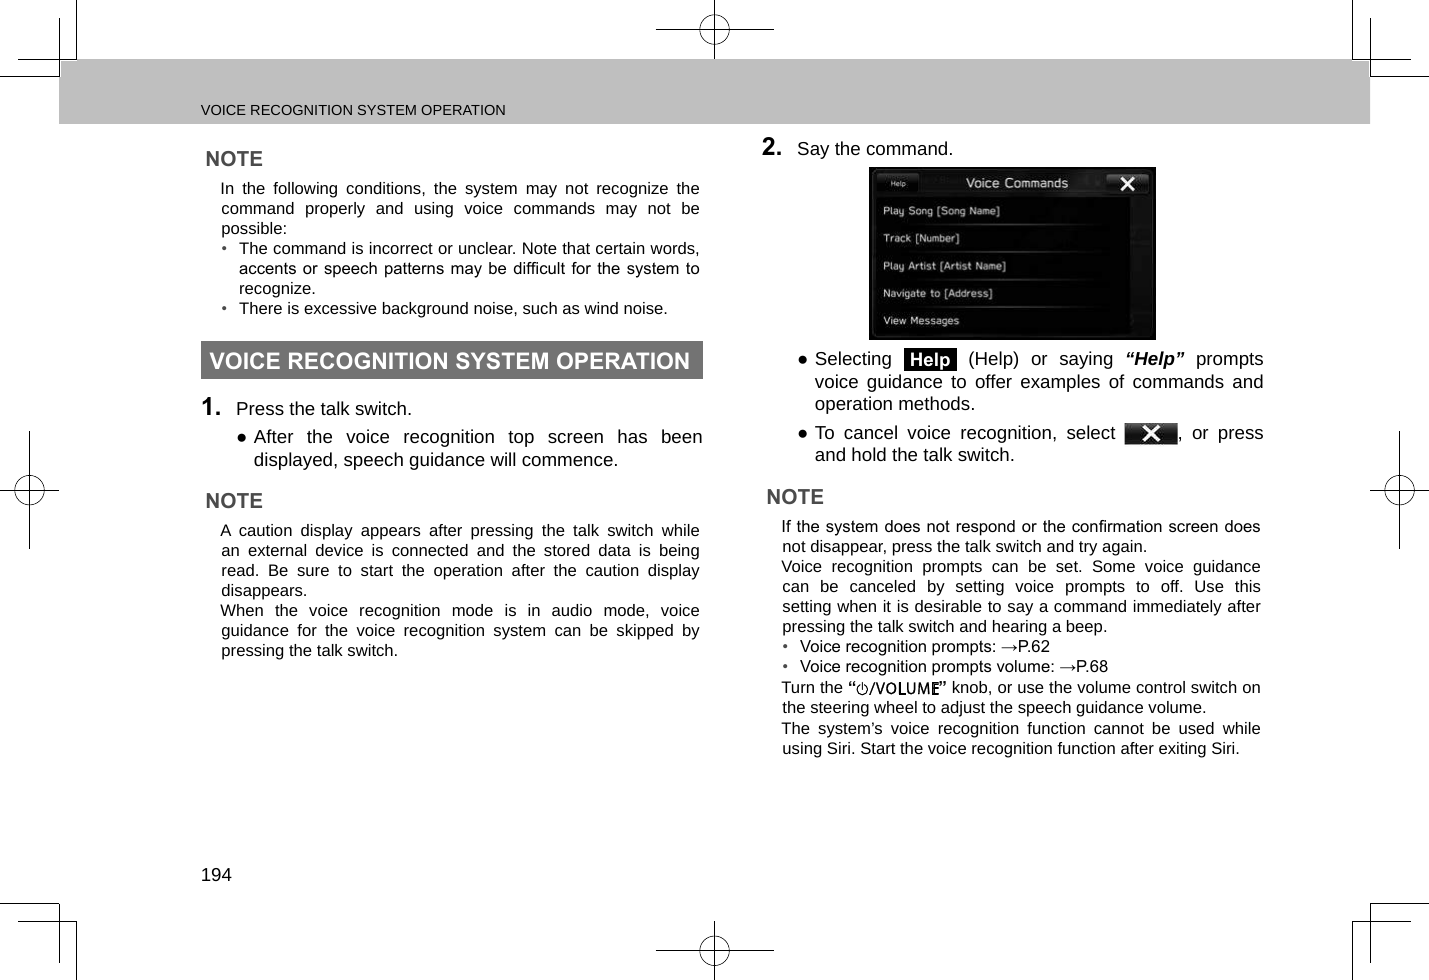
![VOICE RECOGNITION SYSTEM OPERATION197Siri/VOICE RECOGNITION SYSTEM8COMMAND LISTRecognizable voice commands and their actions are shown below. ●Frequently used commands are listed in the following tables. ●For devices that are not installed in the vehicle, the related commands will not be displayed in the screen. Also, according to conditions, other commands may not be displayed in the screen. ●The functions available may vary according to the system installed. ●Voice recognition language can be changed. (→P.62)NOTE lThe notations used in the commands are as follows.• [○○○]: Numbers, titles, or names to be spoken• (○○○): Choose one of the command from within the brackets XMain commandsVoice command FunctionEnter an Address* Enables setting a destination by saying the addressNavigate to [House Number, Street, City, State]*Enables setting a destination by saying the address with city and stateCall [Name] Place a call to the said contact nameDial [Number] Places a call to the said phone numberFind Nearest [POI]* Displays a list of POI category near the current positionHelp Changes to help screen*: Type A only](https://usermanual.wiki/Harman/BE2820.User-manual-2/User-Guide-3039916-Page-102.png)
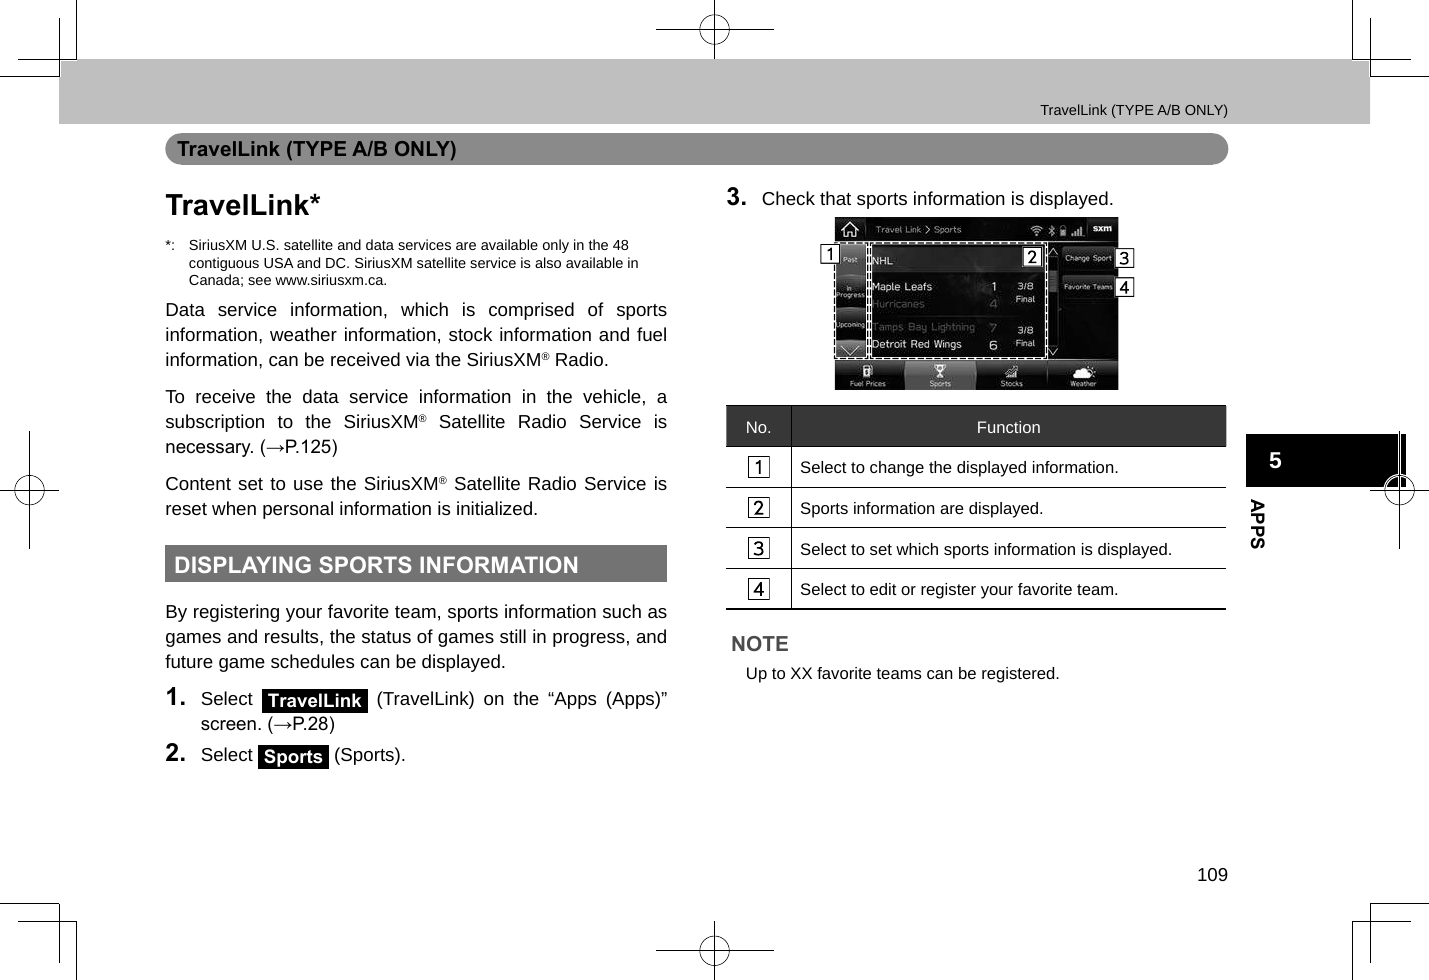
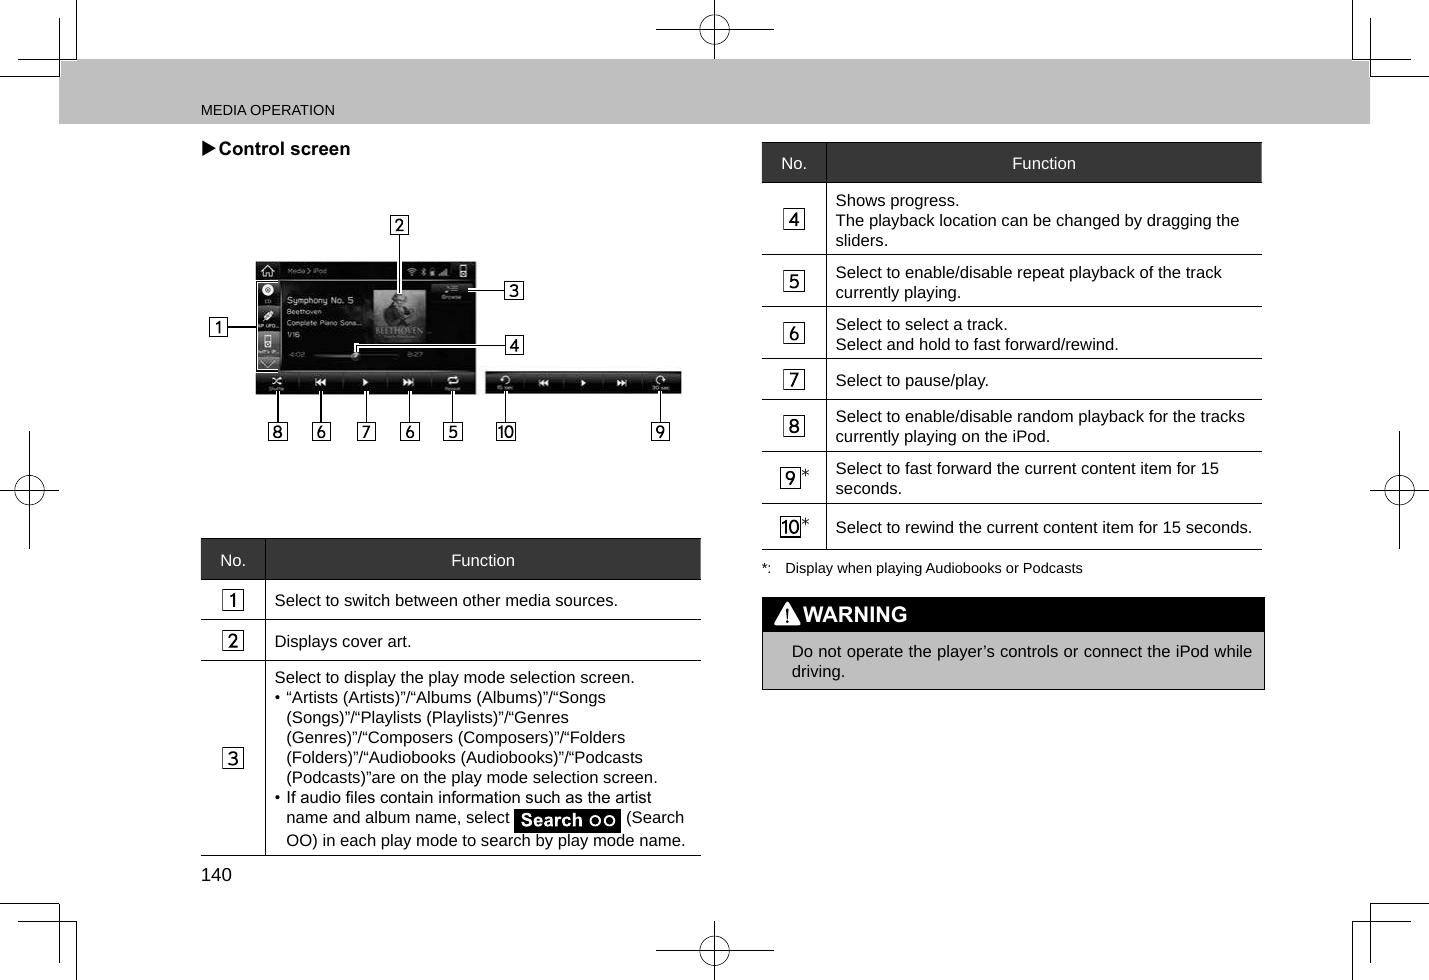
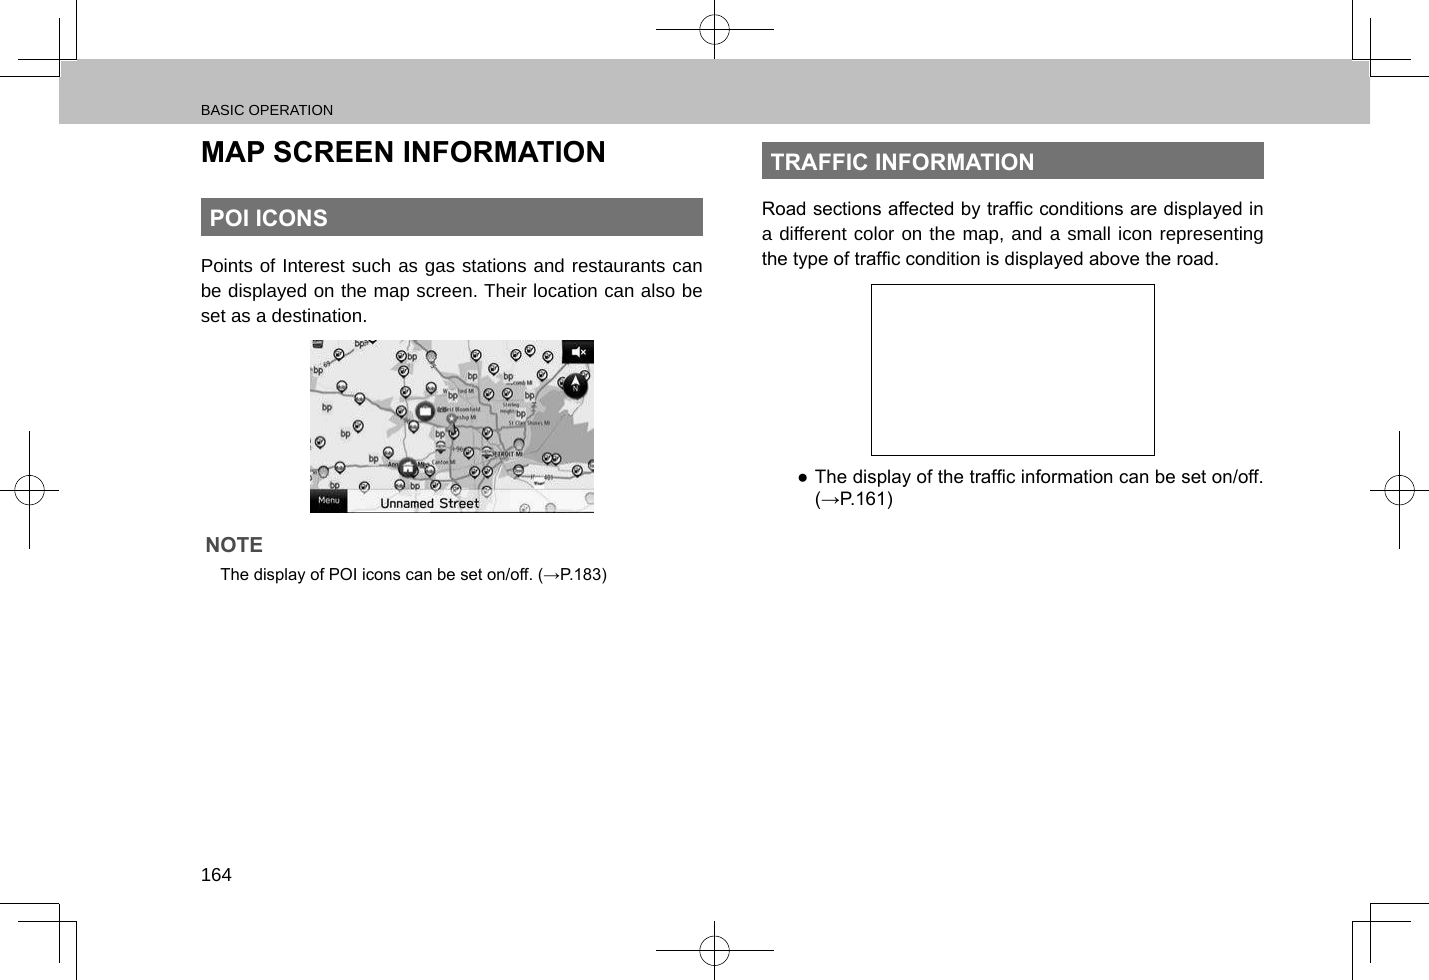
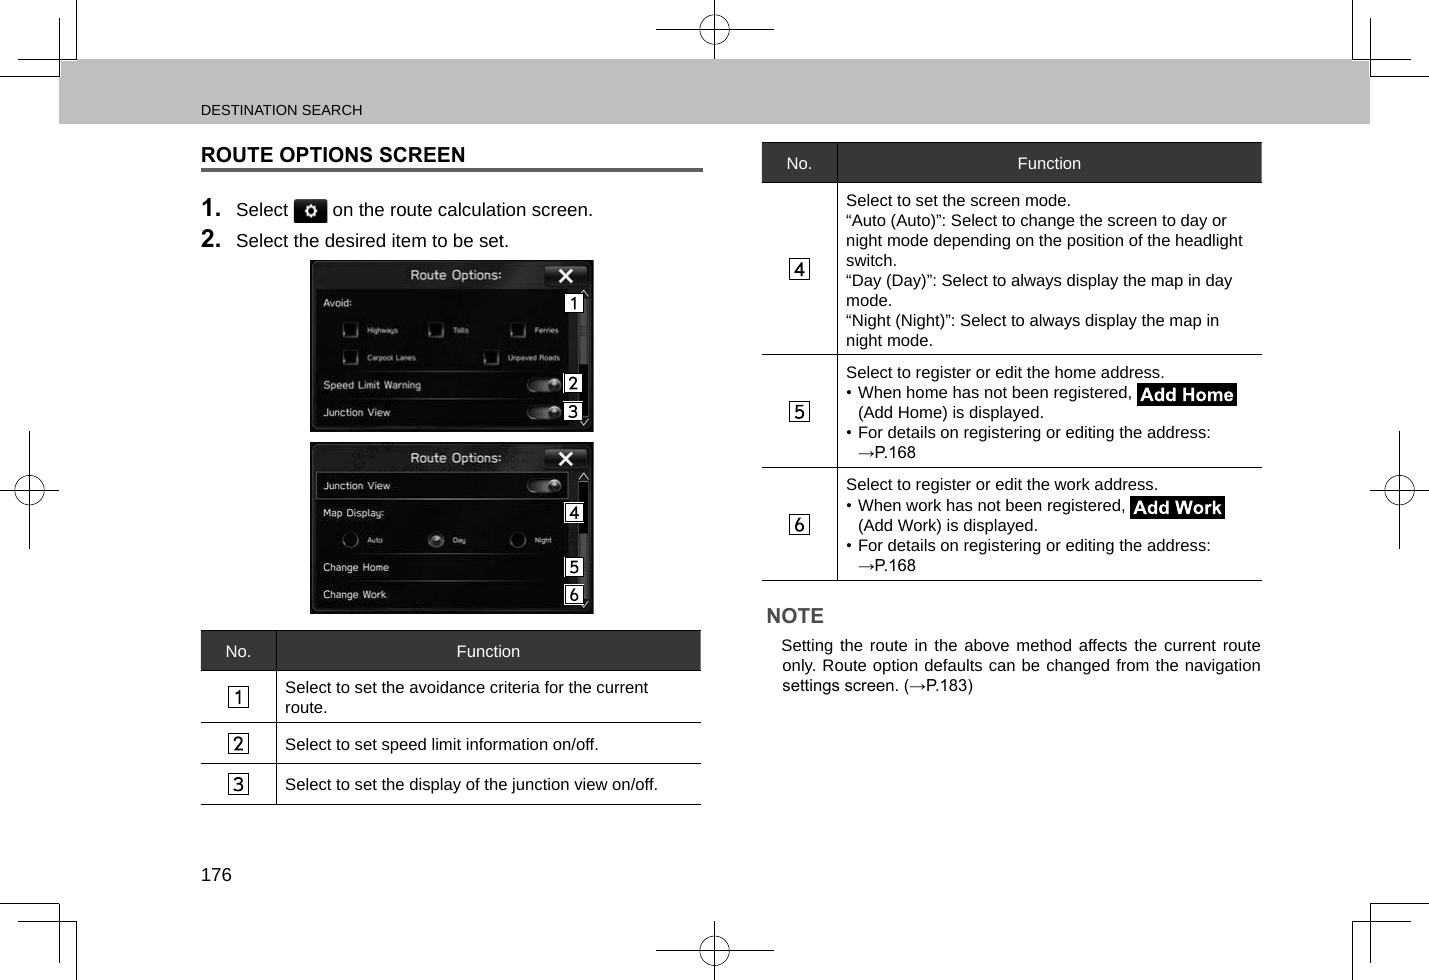
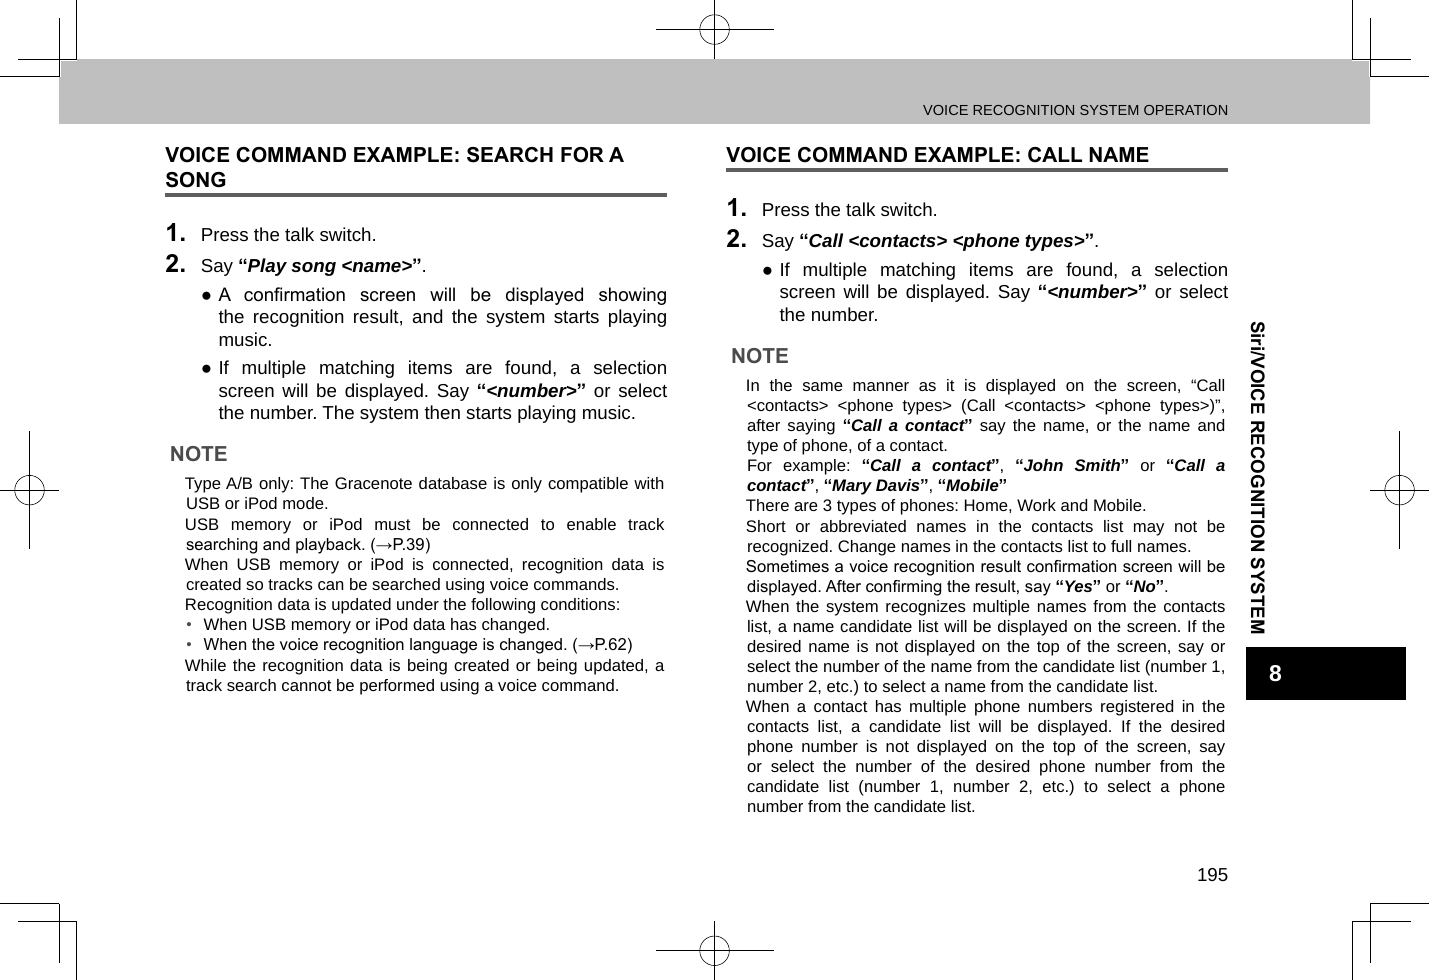
![VOICE RECOGNITION SYSTEM OPERATION198 XNavigation commands**: Type A onlyVoice command FunctionEnter an Address Enables setting a destination by saying the addressEnter Country Enables setting the countryNavigate to [House Number, Street, City, State]Enables setting a destination by saying the address with city and stateDrive Home Displays the route to homeDrive to Work Displays the route to workFind Nearest [POI] Displays a list of POI category near the current positionFind Gas Station Displays the list of gas station near the current positionFind Parking Lot Displays the list of parking lot near the current positionShow Map Displays the map screenStop Route Cancels route guidanceWhere am I Displays current location on mapNavigation Help Displays a list of voice commands related to navigation XPhone commandsVoice command FunctionSend a Text Message to [Name] [Phone Type]Send the preset message to the said contact name and phone type of the contact from the phonebookCall [Name] [Phone Type]Place a call to the said contact name and phone type of the contact from the phonebookDial [Number] Places a call to the said phone numberRedial Places a call to the phone number of the latest outgoing callPaired Phones Displays the phone settings screenRecent Calls Displays the call history screenMissed Calls Displays the missed call list screenReply to Text Message Reply to text messageView Text Messages Displays the message inbox screenPhone help Displays a list of voice commands related to controlling your phone](https://usermanual.wiki/Harman/BE2820.User-manual-2/User-Guide-3039916-Page-103.png)
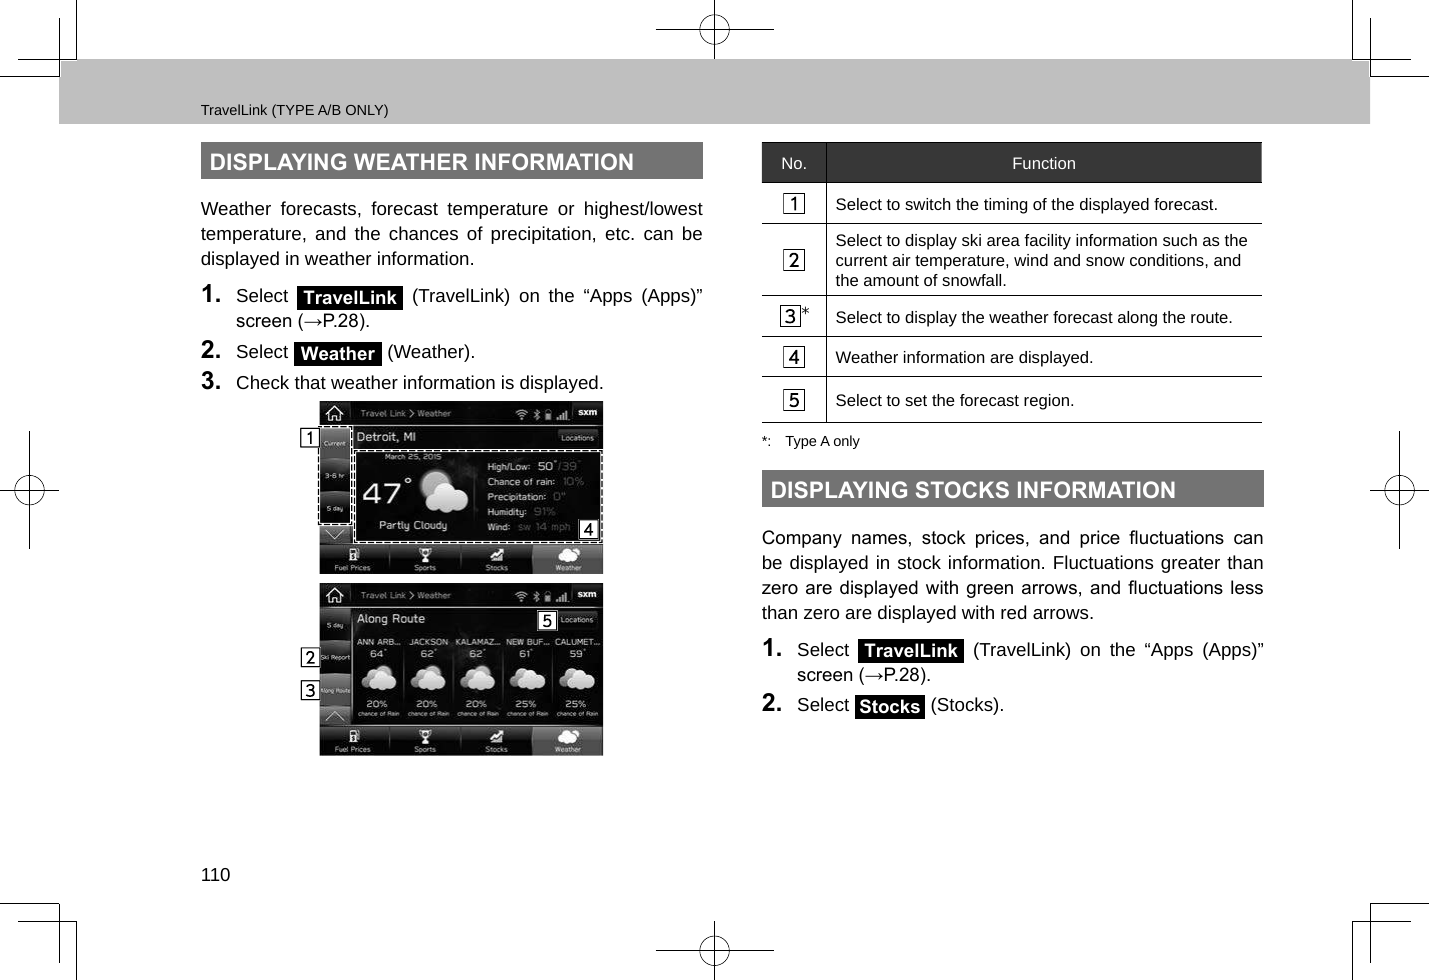
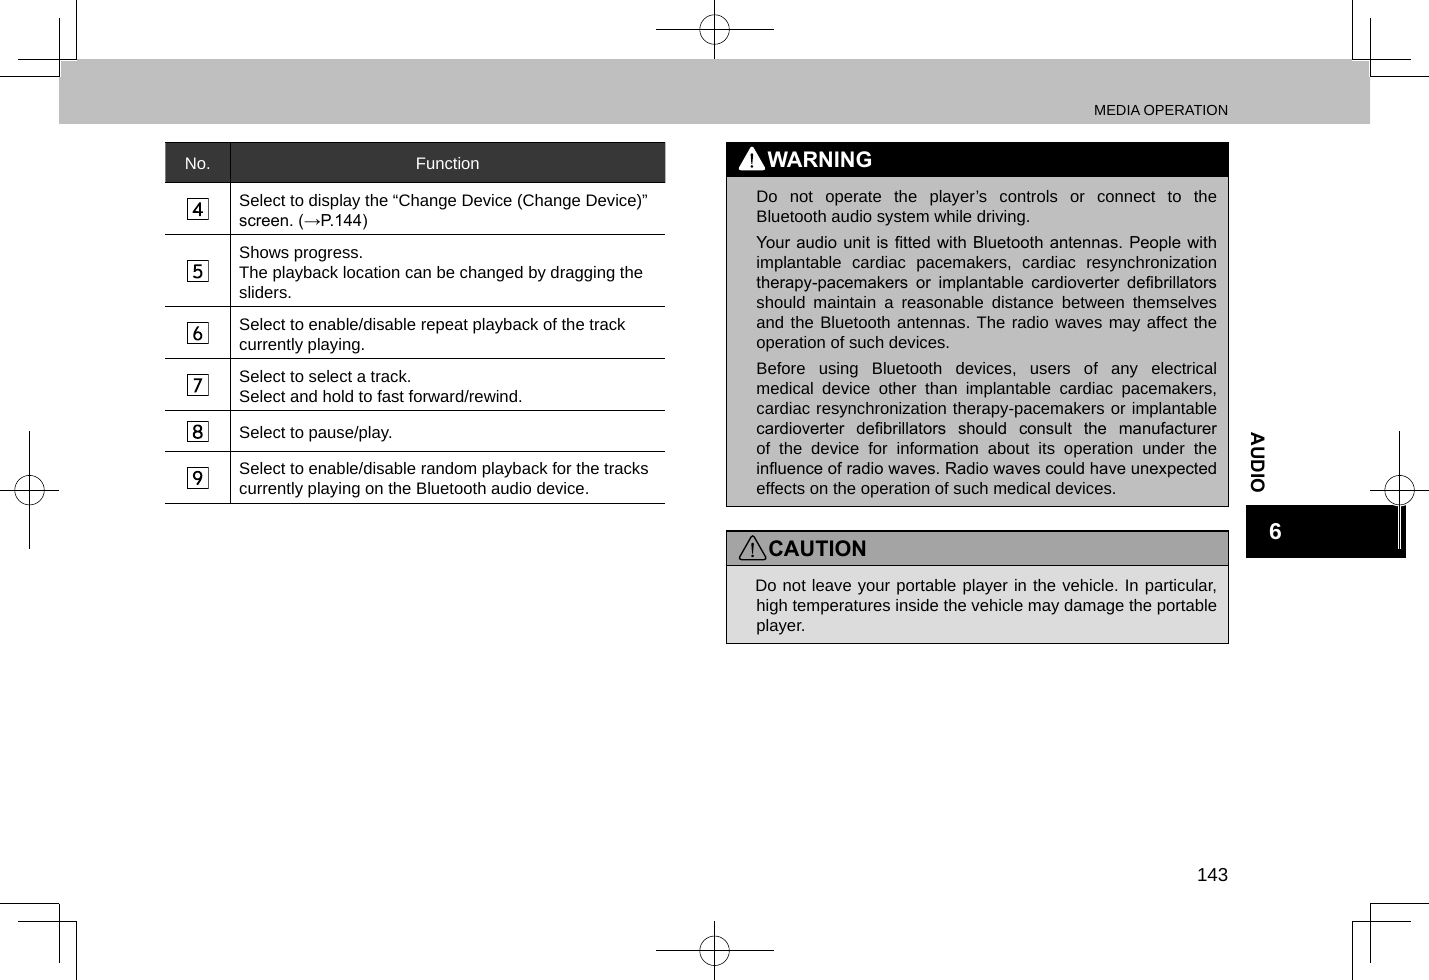
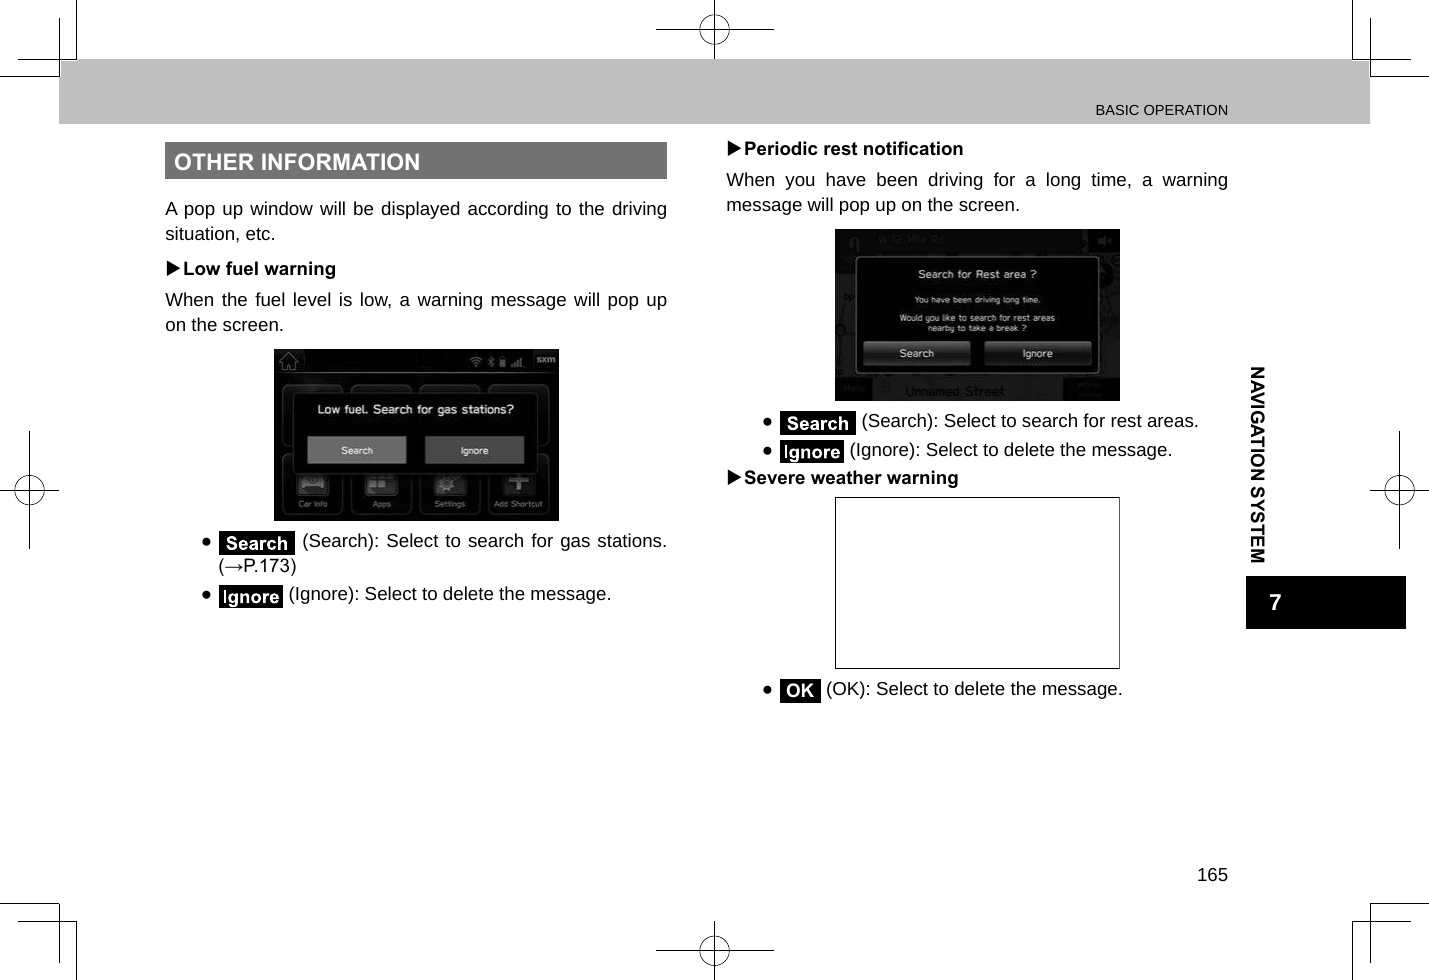
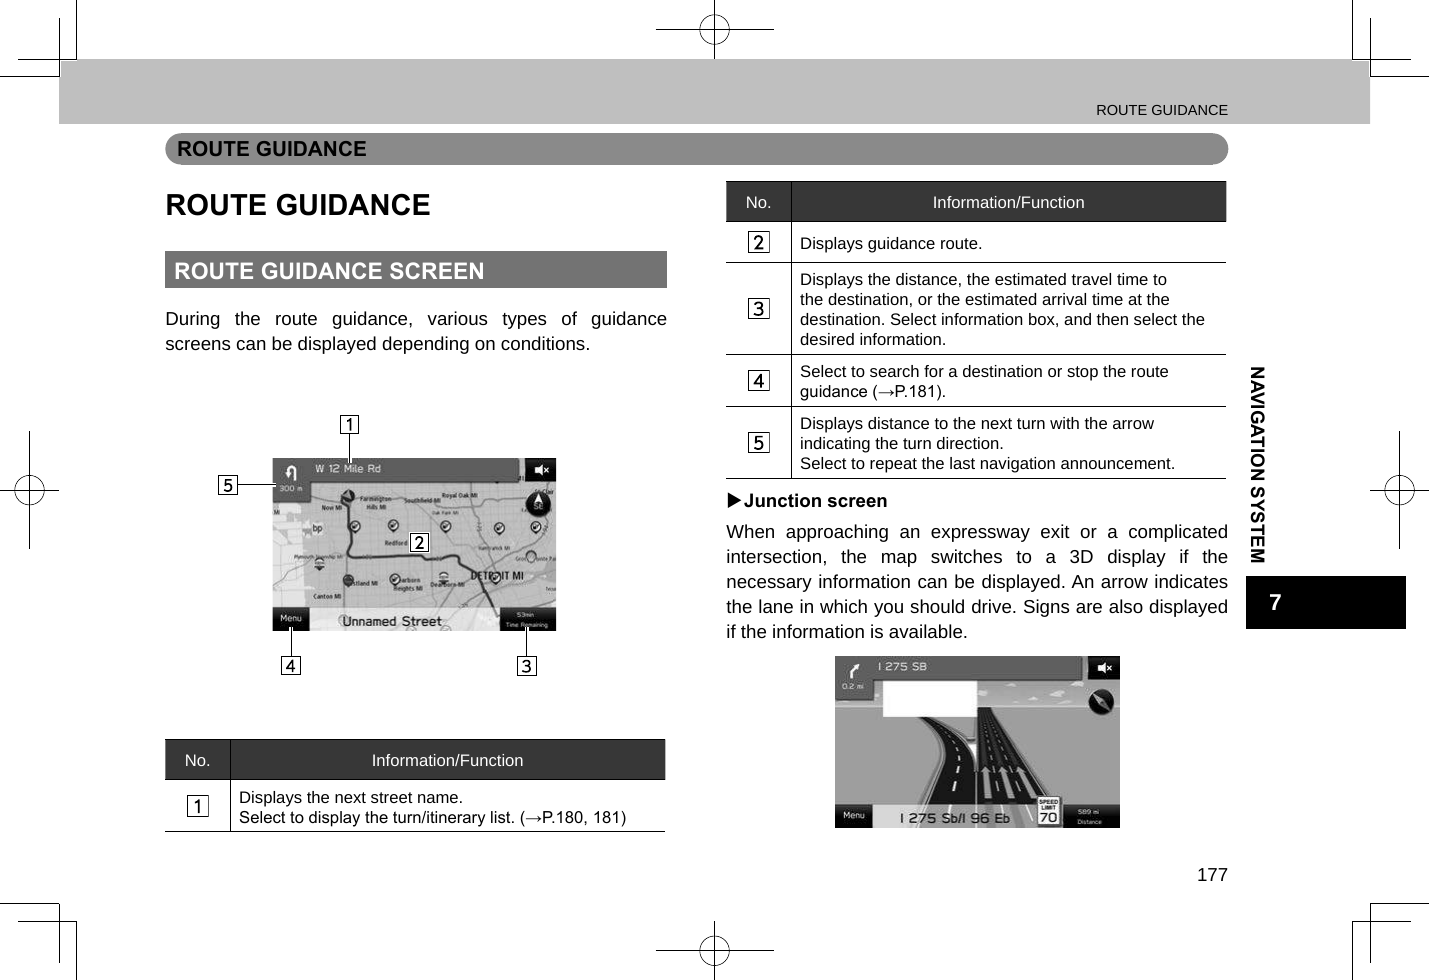
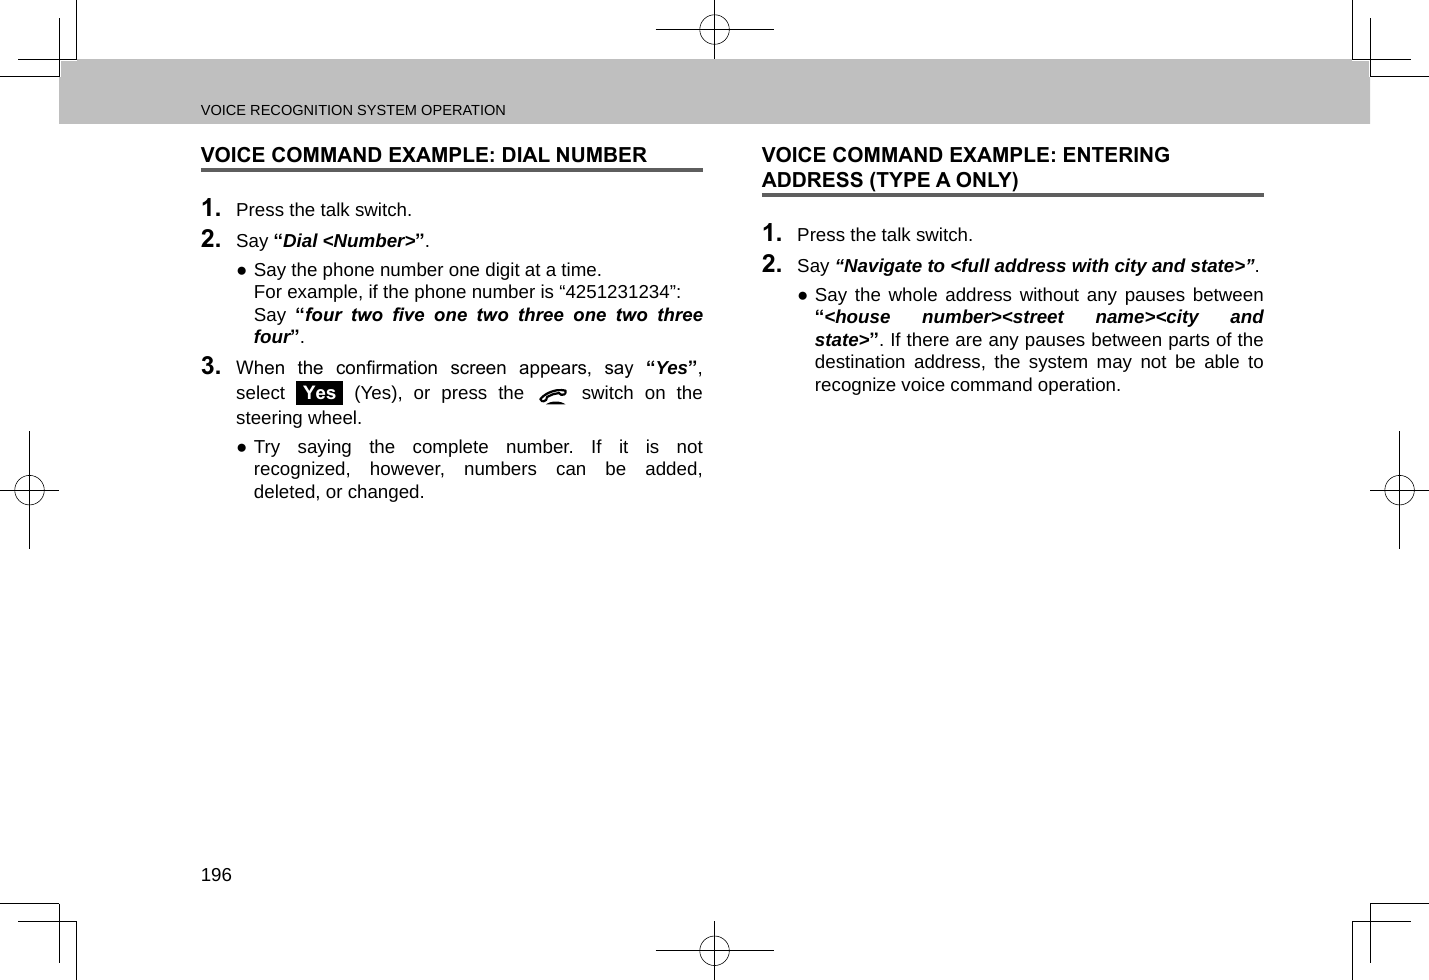
![VOICE RECOGNITION SYSTEM OPERATION199Siri/VOICE RECOGNITION SYSTEM8 XMedia commandsVoice command FunctionTrack [Number] Plays the selected trackPlay Song [Song Name] Plays the selected songPlay Album [Album Name] Plays tracks from the selected albumPlay Artist [Artist Name] Plays tracks from the selected artistPlay Genre [Genre Name] Plays tracks from the selected genrePlay Playlist [Playlist Name] Plays tracks from the selected playlistPlay Podcast [Podcast Name] Plays the selected podcastPlay Audiobook [Book Name] Plays the selected audiobookPlay Composer [Composer Name] Plays tracks from the selected composerVoice command FunctionShow (Songs/Albums/Artists/Genres/Playlists/ Podcasts/Audiobooks/Composers)Displays the list of Songs/Albums/Artists/Genres/Playlists/ Podcasts/Audiobooks/ComposersShufe (On/Off) Turn shufe on/offBrowse Album [Album Name] Displays the list of songs of the albumBrowse Artist [Artist Name] Displays the list of albums of the artistBrowse Genre [Genre Name] Displays the list of artists of genreBrowse Playlist [Playlist Name] Displays the list of playlistBrowse Composer [Composer Name]Displays the list of albums from the composerMedia Help Displays a list of commands related to the radio](https://usermanual.wiki/Harman/BE2820.User-manual-2/User-Guide-3039916-Page-104.png)
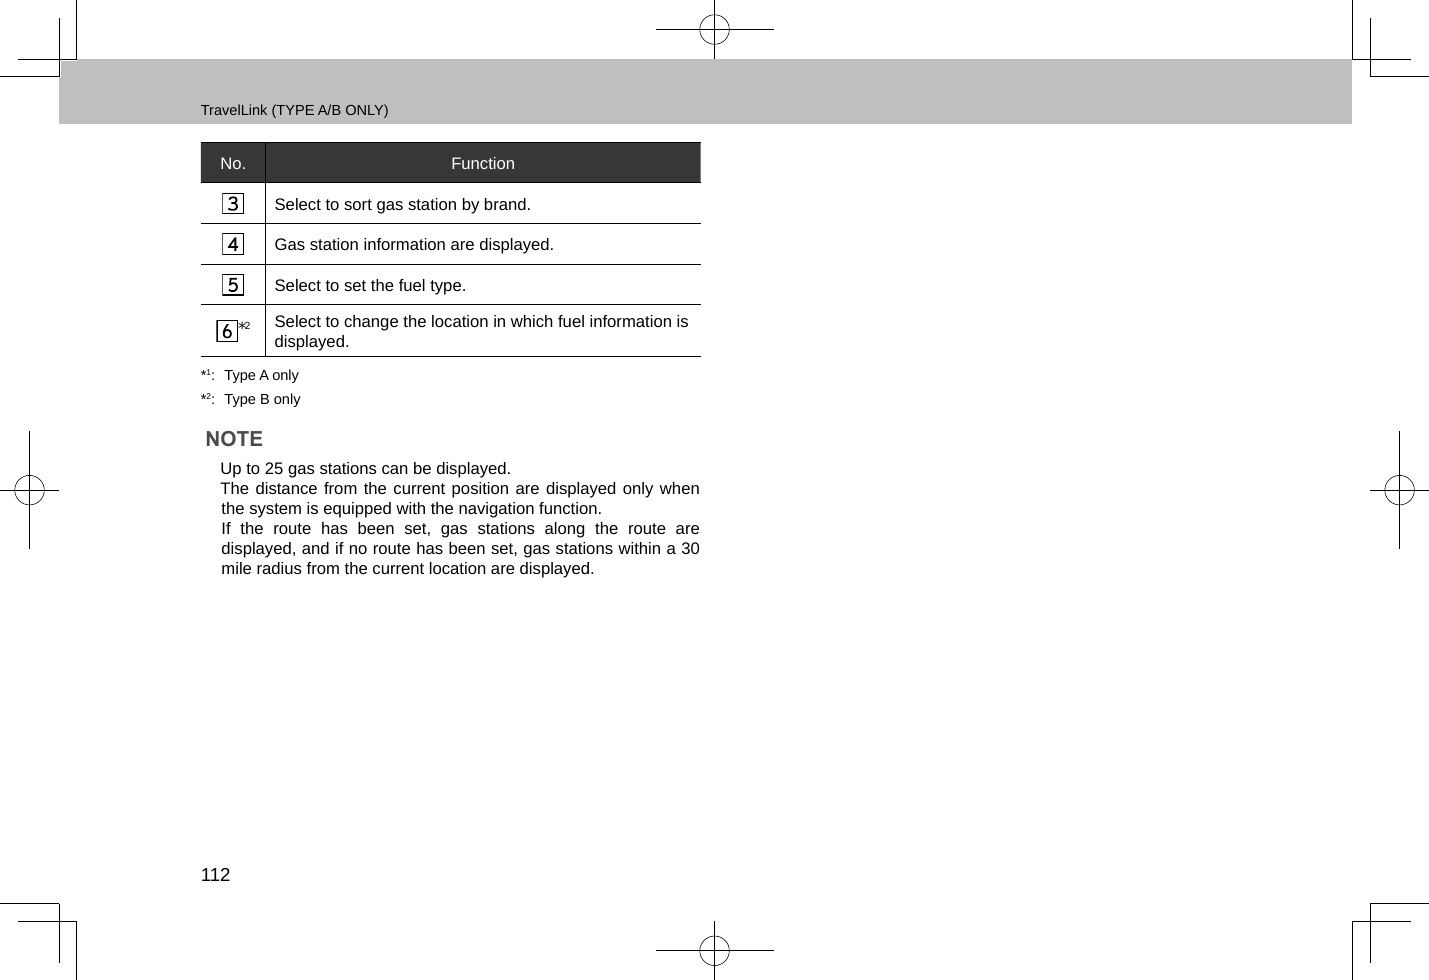
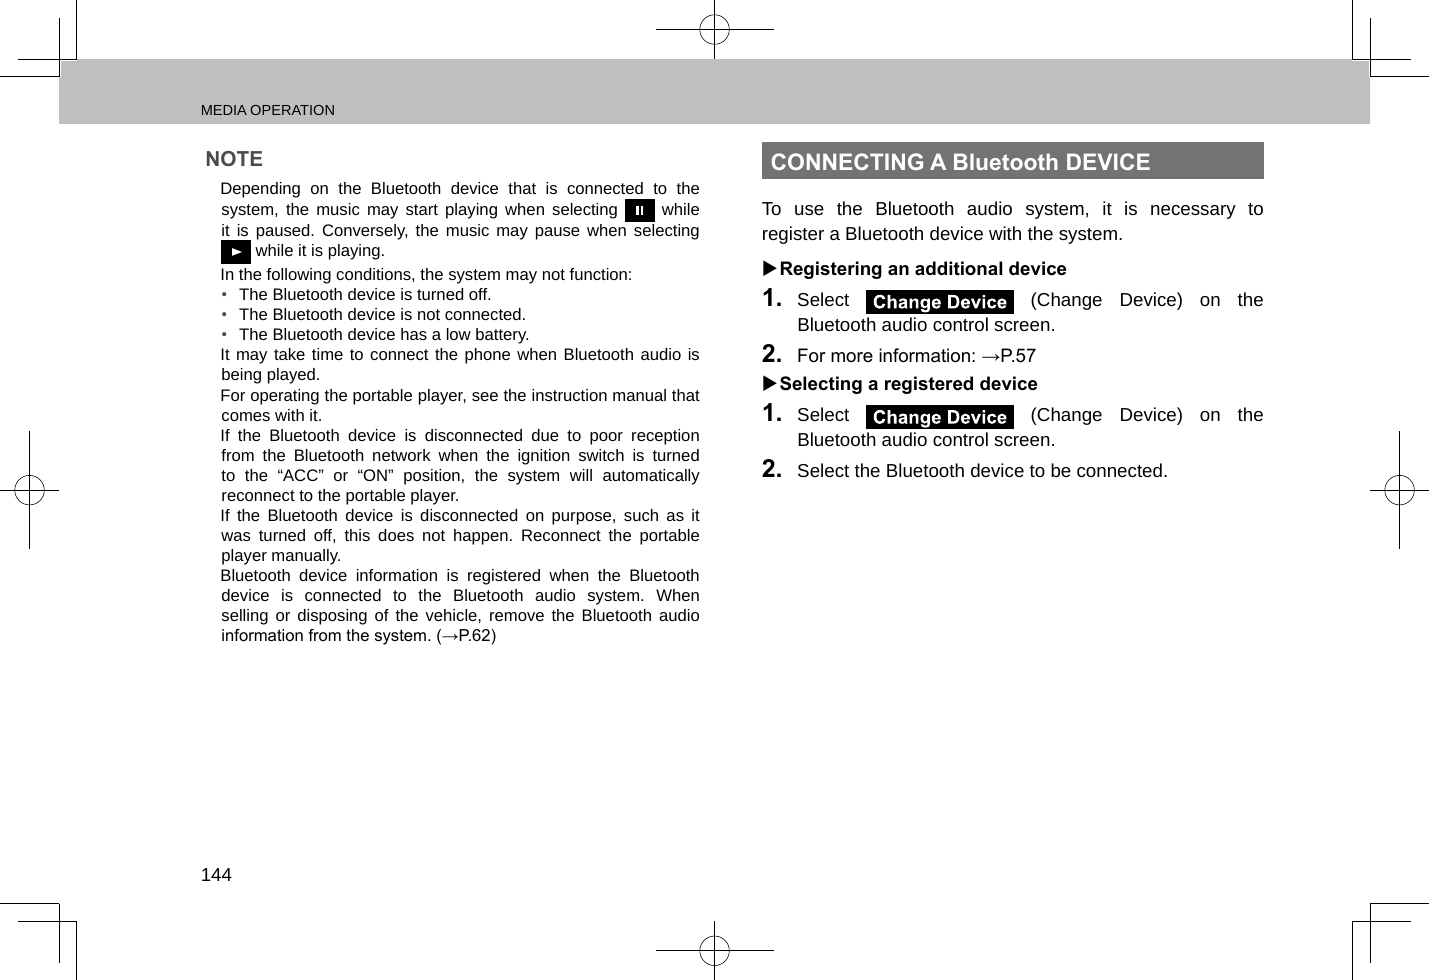
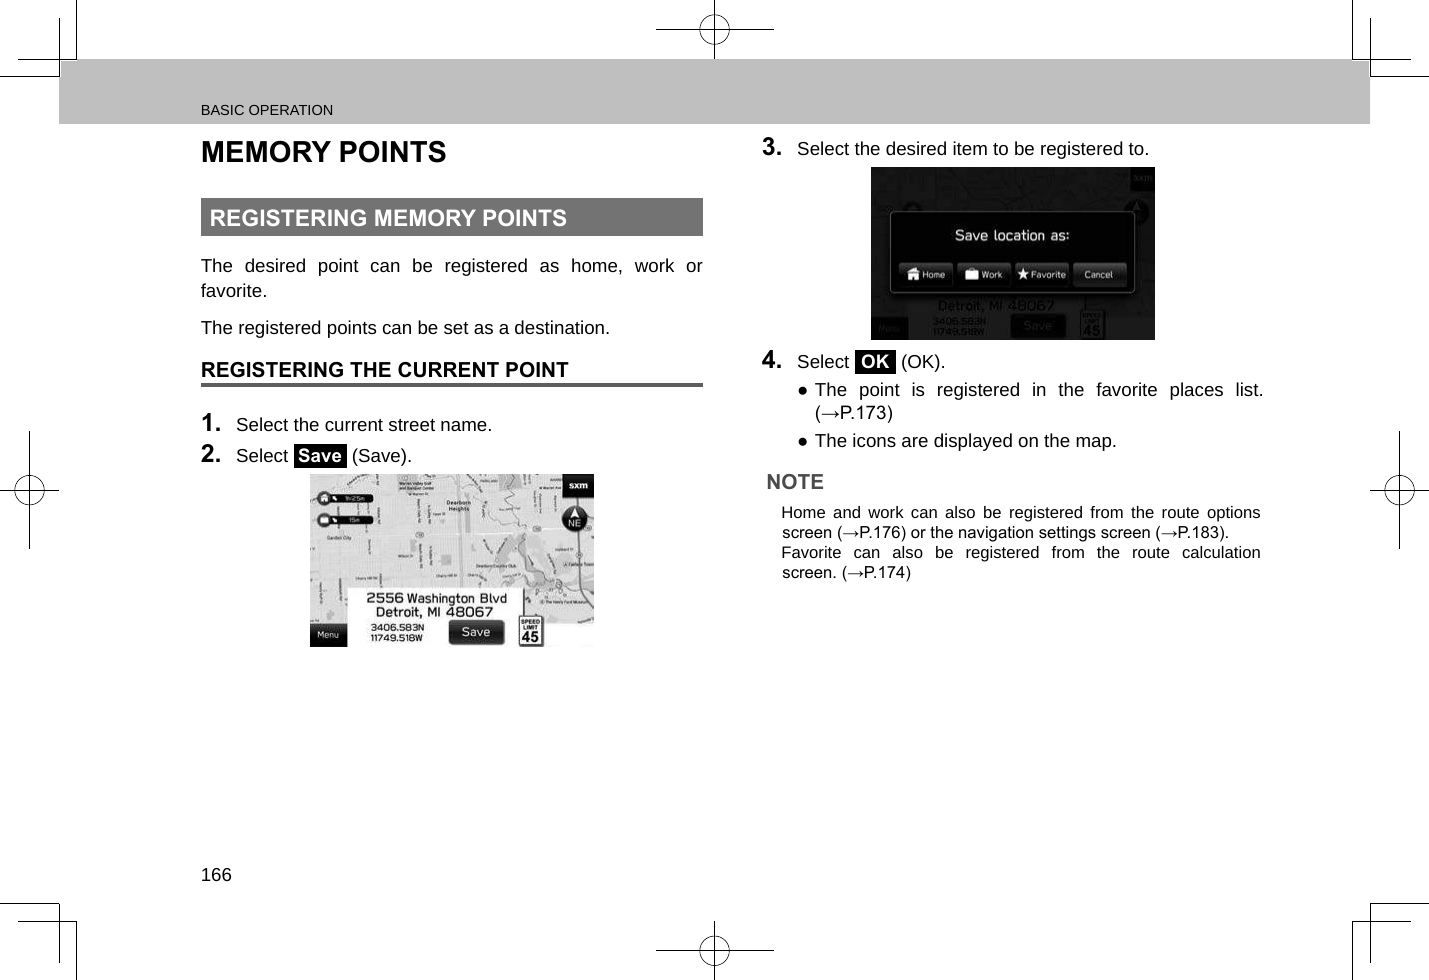
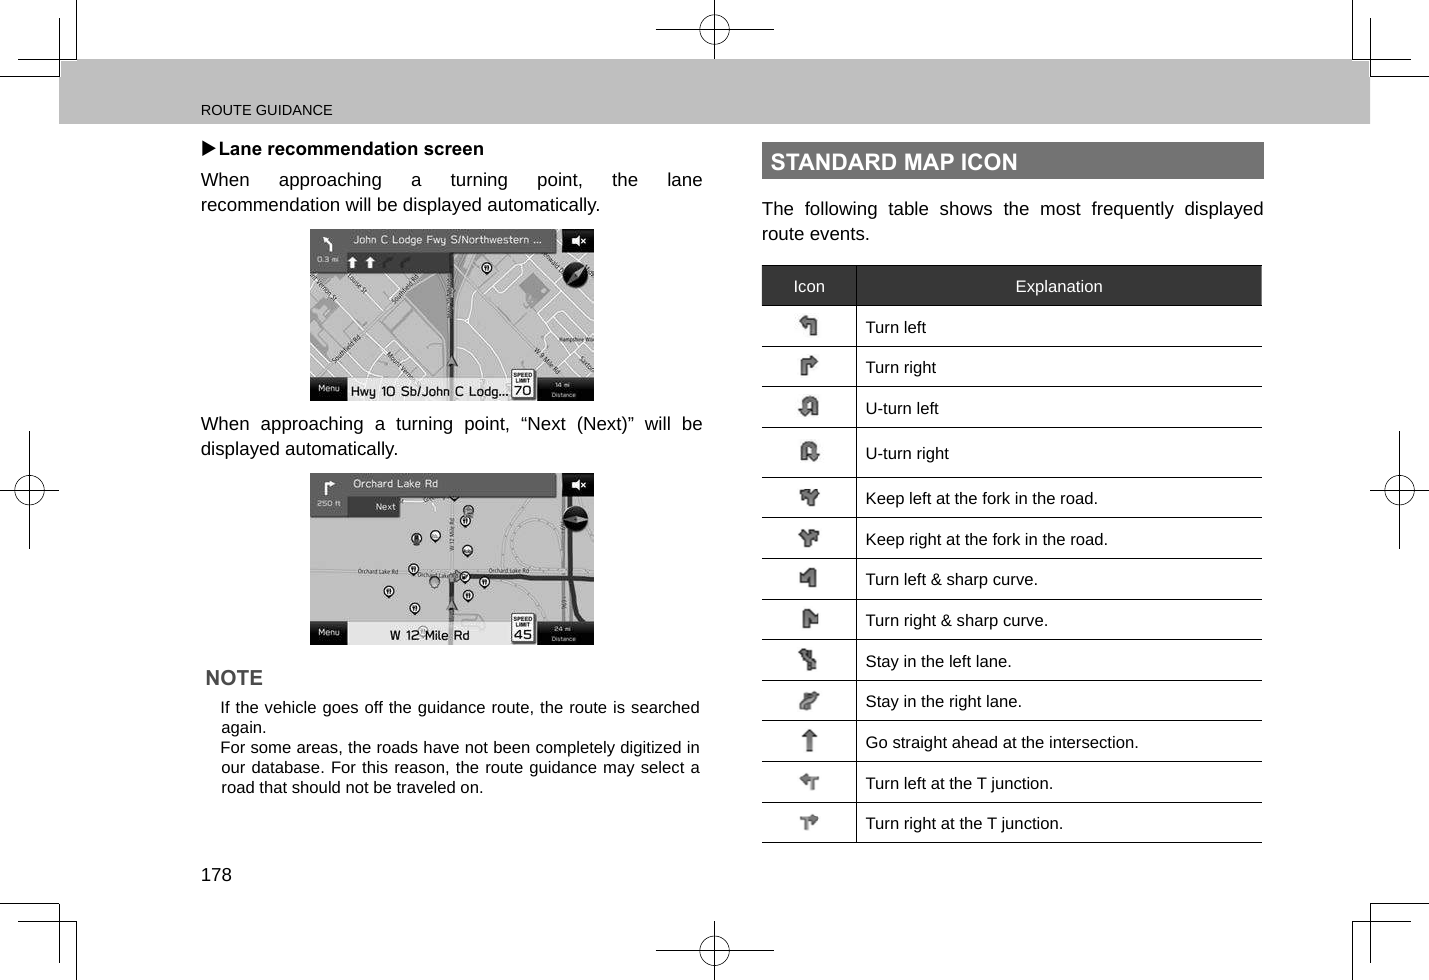
![VOICE RECOGNITION SYSTEM OPERATION200 XRadio commandsVoice command FunctionTune to [Frequency] (FM/AM) Switches to FM/AM and tunes to said frequencyStation [FM Station Name] Switches to the spoken FM stationPreset [Number] Switches to the preset channelSatellite Channel [Name or Channel Number]*Switches to satellite channel numberSatellite Category [Category Name]*Displays the list of Satellite Channels of the spoken categoryRadio Help Displays a list of commands related to the radio*: Type A/B only XClimate commands**: Type A/B onlyVoice command FunctionAuto AC (On/Off) Switches on the Auto AC mode On/OffMax AC (On/Off) Switches on the Maximum AC mode On/OffFan (On/Off) Turns Fan to Level 3/OffSet Fan Speed to [1-5]Sets the Fan Speed to Spoken Fan Speed(Increase/Decrease) Fan Speed Increments/Decrements Fan SpeedSet Driver Temperature to [Number]Sets the Driver temperature to Spoken TemperatureSet Passenger Temperature to [Number]Sets the Passenger temperature to Spoken Temperature(Increase/ Decrease) Driver Temperature Increments/Decrements Driver temperature(Increase/ Decrease) Passenger TemperatureIncrements/Decrements Passenger temperatureSet Temperature to [Number]Sets the temperature to Spoken Temperature](https://usermanual.wiki/Harman/BE2820.User-manual-2/User-Guide-3039916-Page-105.png)
![VOICE RECOGNITION SYSTEM OPERATION201Siri/VOICE RECOGNITION SYSTEM8Voice command Function(Increase / Decrease) Temperature Increments/Decrements temperatureSet Both Temperatures to [Number]Sets the Both temperature to Spoken Temperature(Increase / Decrease) Both TemperaturesIncrements/Decrements Both temperature XMore commandsVoice command FunctionChange Source to (AM/FM/USB/ iPod/Bluetooth/ Auxiliary)Changes source to AM/FM/USB/ iPod/Bluetooth/ AuxiliaryGo to (Radio/Media/Phone/CarPlay/Android Auto/Home/Settings/Apps)Changes screen to Radio/Media/Phone/CarPlay/Android Auto/Home/Settings/AppsGas Prices*1Changes screen to TravelLink Fuel PricesSports Scores*1Changes screen to TravelLink Sports ScoresVoice command FunctionStocks*1Changes screen to TravelLink Stock PricesWeather*1Changes screen to TravelLink WeatherGo to Aha Changes screen to AhaGo to Pandora*2Changes screen to PandoraGo to CarPlay Changes screen to carplay auto projection modeGo to Android Auto Changes screen to android auto projection modeRepeat Play back last dialog promptCancel Cancels current dialog session*1: Type A/B only*2: Pandora is available in the United States, Australia, and New Zealand.](https://usermanual.wiki/Harman/BE2820.User-manual-2/User-Guide-3039916-Page-106.png)