Hisense Electric LCDF0093 LED LCD TV User Manual W9HLCDF0093 2
Hisense Electric Co., Ltd. LED LCD TV W9HLCDF0093 2
Contents
W9HLCDF0093_User Manual 2

11
Shortcuts Instructions
Shortcuts Instructions
You can use shortcuts on the remote control for fast operation. For more information about your TV remote, refer to the Quick Start
Guide in accessories.
Turning your TV on or off
To turn your TV on:
1. Connect the power cord to the back of the TV, then plug the power cord into an AC outlet.
2. When the TV is powered on, press the [ ] button on the remote to turn TV.
To turn your TV off, press the [ ] button on the remote.
NOTES
• When your TV is in standby mode, it is still consuming power. To completely disconnect power, please remove the plug from the
AC outlet.
• If your TV does not receive an input signal for several minutes, it automatically goes into standby mode
Selecting the Input Source
Select the Input Source depending on the video device you have connected to your TV.
To select the input source:
1. Turn on your TV, then press the [INPUT] button on the remote, the list of Source appears.
2. Press the [< / >] buttons to select the input source.
3. Press the [OK] button to confirm your selection.
Using the Live TV
To view broadcast programs, press the [Live TV] button on your remote.
Channel search guide
When you select TV as input, if no TV channels were saved before, you will be prompted to do a channel search. Before channel
tuning could start, you must specify the tune mode, Antenna or Cable. You can also go to Setting menu > Channel to change the
channel settings.
Launch Live TV
After channel tuning is done for the first time, the screen will display Live TV operating tips, including: how to start the channel list,
how to start channel info and so on.
[OK] Show channel list
[
v
] View channel info
[Back] View recent channels
View channel info
PRE-CH
Show channel list
12
Completing the First-Time Setup Menu
Now that you have attached the TV stand and connected your external devices, it's time to complete the first-time setup menu.
Completing the First-Time Setup Menu
Press the [Power] button on the remote to turn on the TV.
A splash screen that shows the Hisense logo appears. Next, the First-Time Setup Menu begins by prompting you to choose your
Language, Country, and Time Zone. After the splash screen that displays the Hisense logo appears, begin the first-time setup menu.
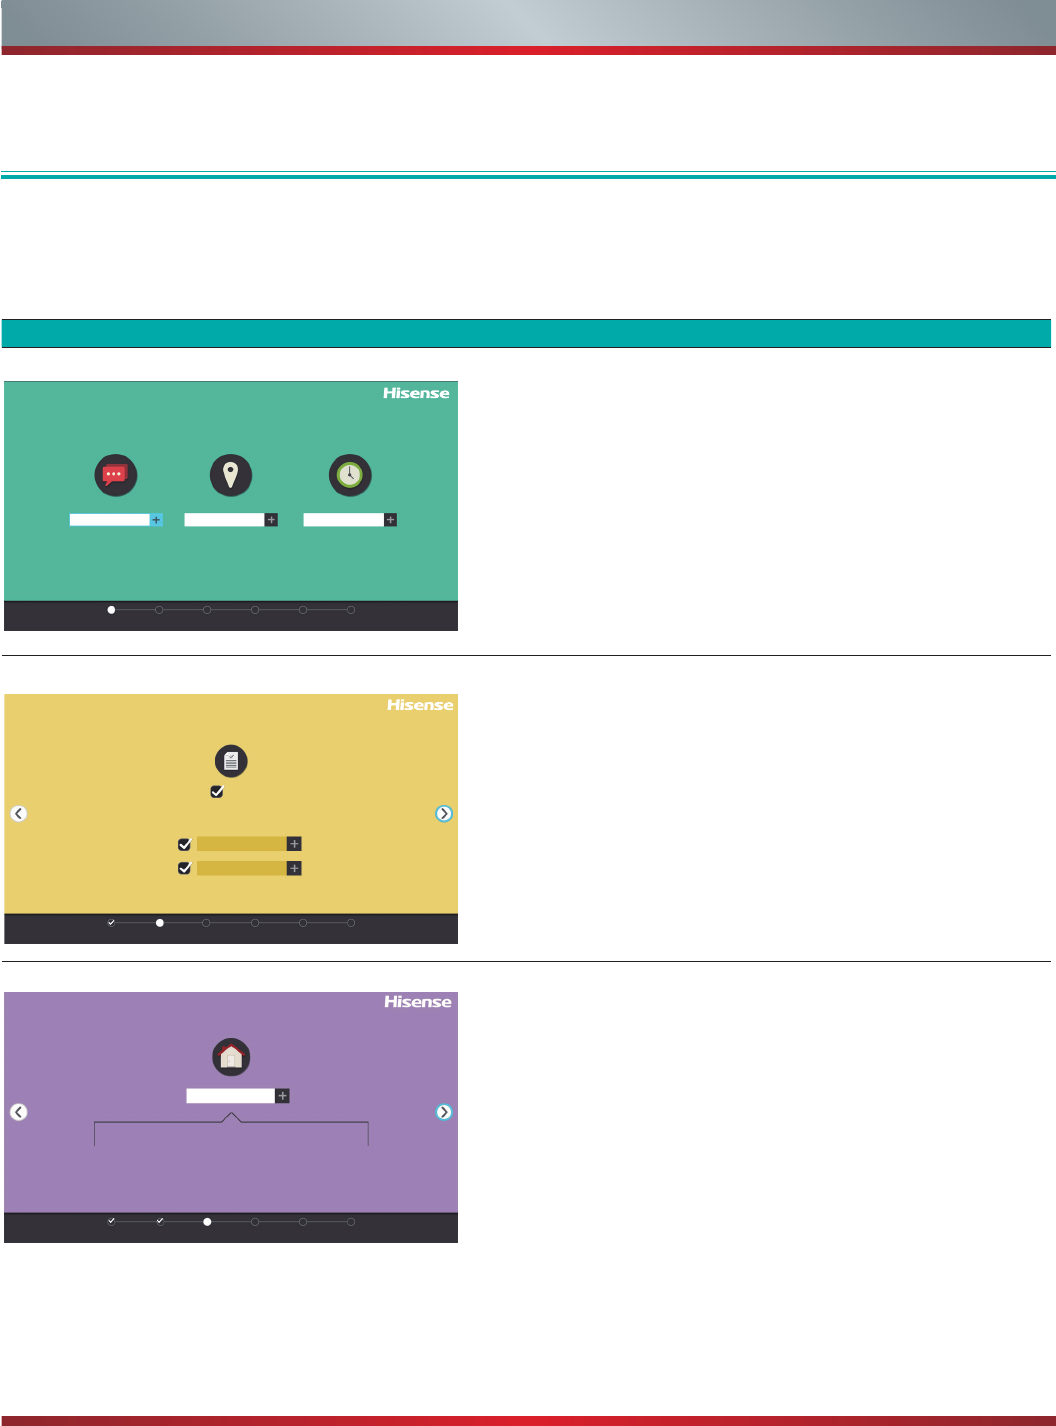
Screen Task
Language and Location
LANGUAGE AND LOCATION
Language
Language ModeTerms Network Input Done
English United State Select
Country Time Zone
1. Using the D-pad arrows of your remote, choose
your Language, Country and Time Zone.
2. Next, navigate to the Forward arrow and press [OK].
TIP: The edge of the drop-down boxes and the back and
forward arrows change to blue when you select them.
Terms of Service
TERMS OF SERVICE
Accept all
Accept EULA
Accept Terms of Serv...
Language ModeTerms Network Input Done
The EULA and Terms must be accepted in
order to continue.
1. Press [OK] on your remote to select Accept All.
2. When you’re done, then navigate to the Forward arrow and
press [OK].
TV Usage Mode
TV USAGE MODE
TV Mode
Home
Language
Home Mode
In Home Mode, your TV will automatically adjust the
brightness of your screen based on the ambient light in
the room.
ModeTerms Network Input Done
Select Home (which appears by default) and then navigate to the
Forward arrow to press [OK].
Note: ‘Store mode’ should only be selected by Retailers who plan
to demonstrate the TV.
Disclaimer: Images throughout this document are for illustrative purposes only and may differ from the actual product.
13
Completing the First-Time Setup Menu
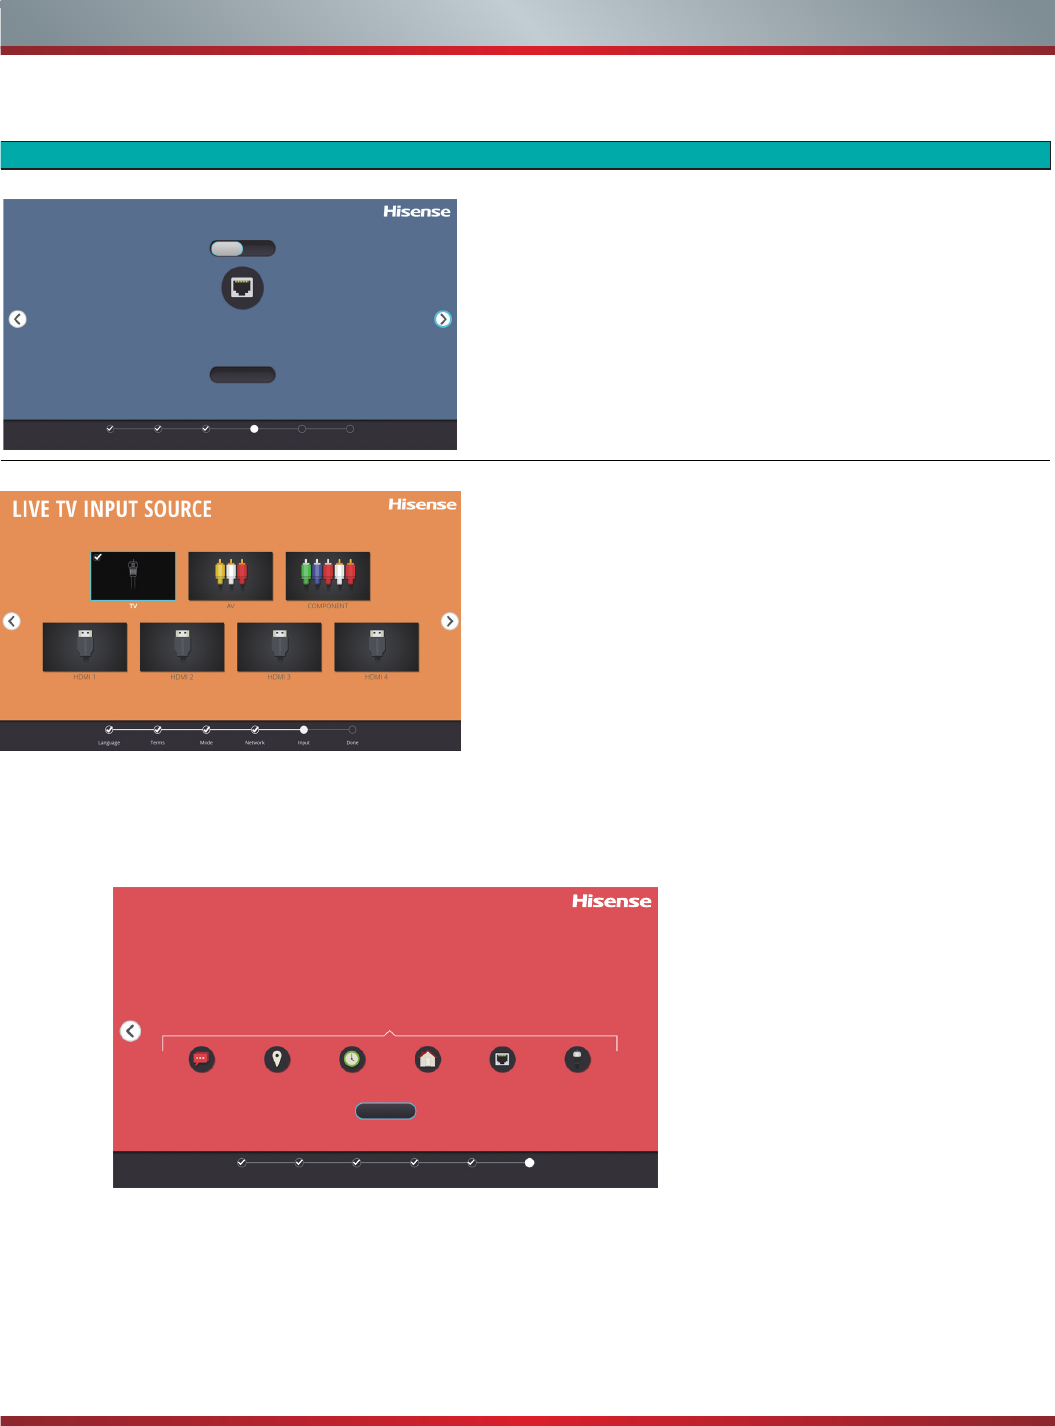
Screen Task
Network Connection
NETWORK CONNECTION
Language Terms
Ethernet
Connecting Ethernet
Configure
WiFi
Mode Network Input Done
If your TV does not automatically detect an Ethernet con-
nection, then select Wi-Fi. When you’re done, select your
network from the list that displays and move to the next
screen.
LIVE TV INPUT SOURCE Select how you receive your TV channels. Choose
from one of the following sources below and then move
to the next screen.
•TV
•AV
•COMPONENT
•HDMI
NOTE: If you use an antenna to receive channels,
thenyoumustcompletetherst-timesetupmenuin
order to run a channel scan.
CONGRATULATIONS! Your TV is now ready to use.
Press [OK] on your remote if you are fine with the selections that appear on the screen. Otherwise, navigate
to the back arrow on the screen to change your selection.
First-time Setup Menu (continued)
CONGRATULATIONS !
Your TV is now ready to use
TV Selections
English United States Eastern Home Mode Ethernet TV
OK
Language Terms Mode Network Input Done
14
Your Hisense TV comes with many TV setting features to allow you to customize the picture based on your viewing preference and
environment. As you navigate throughout different screens to access settings, some of the indicators appear as words ‘On’ and ‘Off’
and some are open [o] and closed [I] symbols. An [o] indicator signifies a feature that is disabled.
Accessing the Quick Setup Menu
You can press the [Quick Setup] menu button [ ] and press the right arrow on the D-pad to view the full menu settings.
The Quick Setup menu consists of the following settings:
• Picture
• Sound
• Channel
• Network
• System
• About TV
Basic and Advanced TV Settings
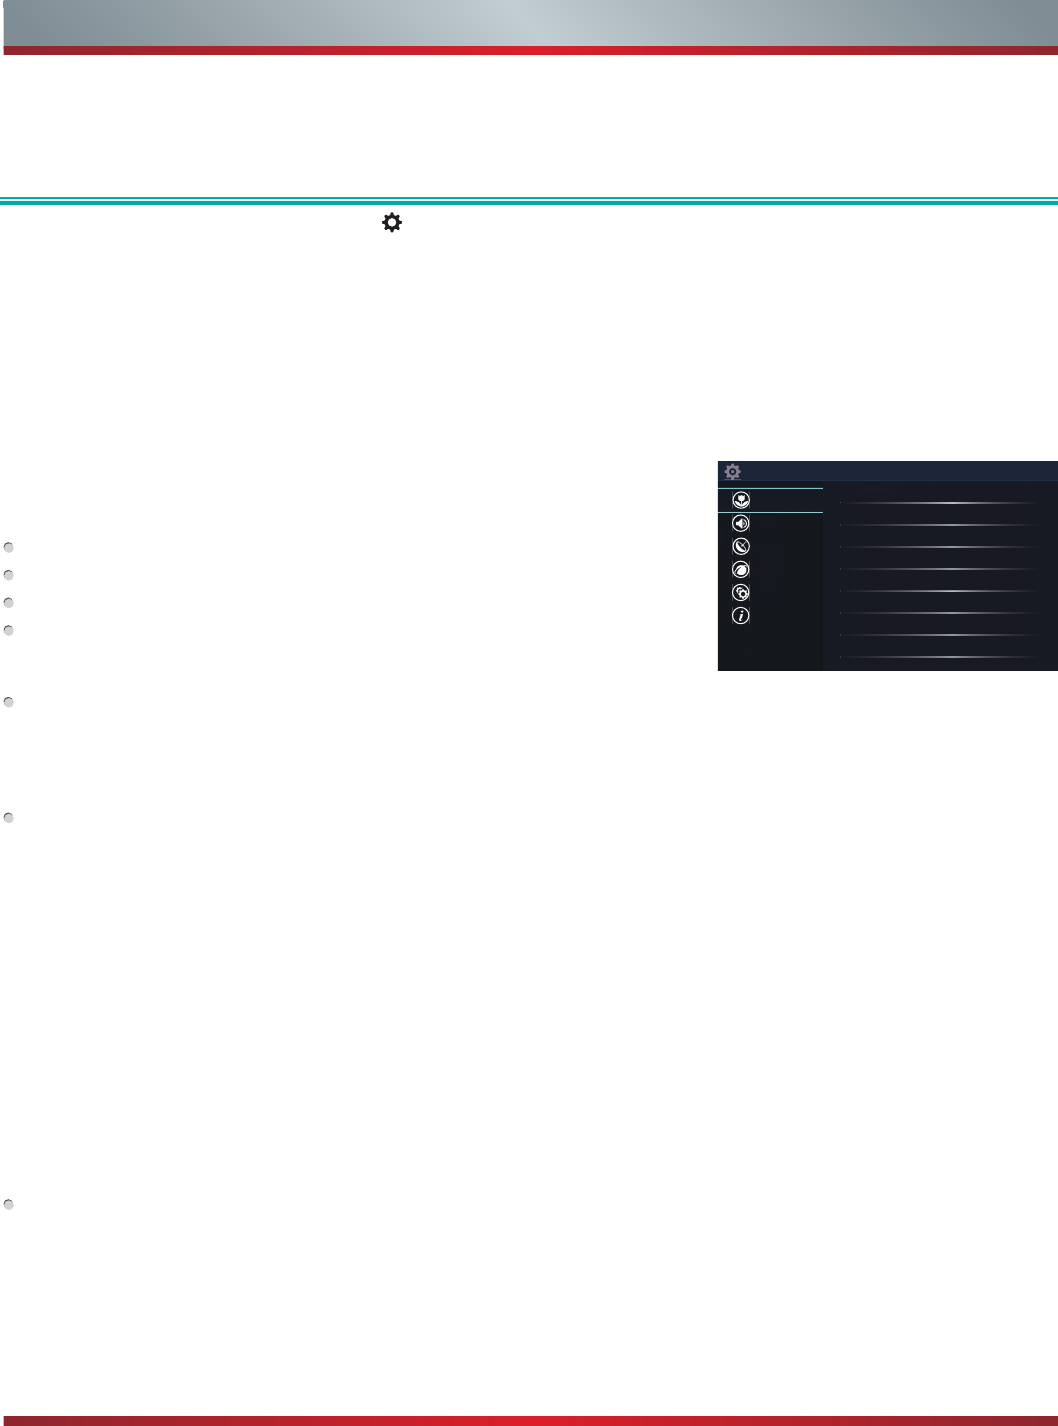
Picture Menu
If you’d like to configure the settings for your picture, then there are six types of picture
modes available: Vivid, Standard, Theater, Energy Saving, Game and Sport.
Once you choose the mode, you can adjust the picture based on the following settings:
Brightness: Adjust the Brightness level to generate lighter or darker images.
Contrast: Adjust the Contrast level to increase or decrease how bright images appear.
Color: Adjust the color intensity of the picture for a more vibrant image.
Aspect Ratio: Adjust the Aspect Ratio to stretch or zoom in on your picture. You can
choose from the following settings: Normal, Zoom, Wide, Cinema, 1:1 PIXEL MAP,
Panoramic, Direct, Auto.
Backlight: This TV has a Dynamic Backlight Control setting that you can set to
high or low. The Backlight setting enables you to adjust how bright you want images
to appear. In addition, an Eco Sensor setting is available that will enable the TV to
automatically adjust the picture settings according to the amount of ambient light in
your room. This is a money-saving feature because it reduces power consumption.
Advanced Picture Settings: Adjust advanced picture settings based on your viewing
preference.
•Display: Adjust advanced picture settings in the component source.
•OverScan: Disable the overscan for PC inputs to fully display all menu items at the
edges of the screen.
•Tint: Adjust the colors from a green to magenta tint to view the natural skin tones of
people on the screen.
•Sharpness: Adjust how sharp or soft edges of images appear.
•Noise Reduction: Improve how clear the picture appears by reducing noise.
•Adaptive Contrast: Automatically darken dark areas and lighten light areas of
images to see more details.
•Color Temperature: Select a preset color temperature.
•White Balance: Adjust the intensity of red, green and blue lights to view the true
colors of all images in the picture.
•Color Tuner: Adjust the Hue, Saturation and Brightness of color settings.
Restore Defaults : Restore all the picture settings in the current picture mode to the
factory default values.
Settings
Picture
Sound
Channel
Network
System
About TV
Picture Mode
Standard
Brightness
50
Contrast
50
Color
50
Aspect Ratio
Auto
Backlight
Advanced Picture Settings
Restore Defaults

15
Basic and Advanced TV Settings
Sound Menu
Sound Mode: Select a preset sound mode to suit the type of content you are
listening to: Standard, Theater, Music , Speech and Late Night.
Set the sound effects to suit your preference:
Configure your audio settings for your sound preferences. Once you choose the mode,
you can adjust the audio based on the following settings:
TM Audio Enhancements: dbx-tv’s Total Technology delivers the best possible
TV sound for your TV.
• Total Sonics: Optimizes overall sound quality by increasing bass, making
dialog clear and natural, and widening the sound field.
• Total Surround: Provides surround sound experience with psycho-
acoustic processing to place sounds beside, behind, and above the viewer. For best
results use with Total Sonics.
• Total Volume: Maintains consistent loudness levels from wide dynamic
range programs, too-loud commercials, and channel or input changes.
Advanced Audio Settings: Tune the audio settings and quality of the TV.
•Equalizer: Boost the volume at different frequencies.
•Lip Sync: Synchronize the displayed image with the audio output.
•Balance: Adjust the left and right speaker strength to optimize audio for a specific
location.
•Digital Audio Out: Select the digital audio output format that best suits the audio
device type. For example, choose RAW (which is uncompressed audio in RAW form)
if you have 5.1 Channel Surround Sound Speaker set up. Choose PCM if you have an
amplifier that does not support Dolby Digital technology.
•Digital Audio Delay: Adjust the digital audio output delay time to sync sound from
an external speaker with the images on the TV.
•TV Speaker & ARC: Select the TV speaker or an external speaker for sound output.
•Audio Out: Change the way audio is sent through the type of device that’s
connected to your TV Audio Out port.
Restore Defaults : Restore all of the audio settings in current audio mode to the
factory default values.
Channel Menu
Tuner Mode: Select Tuner Mode if you receive TV channels over the air (antenna) or
directly through a cable connection without using a set top box. The input will be used
during a channel scan.
Auto Channel Scan: Automatically scan for channels to view programming from your
TV source.
Channel Skip: Skip a channel that your TV picked up during a previous channel
scan search.
Favorites List: Quickly access your most-watched channels by creating a Favorites
list.
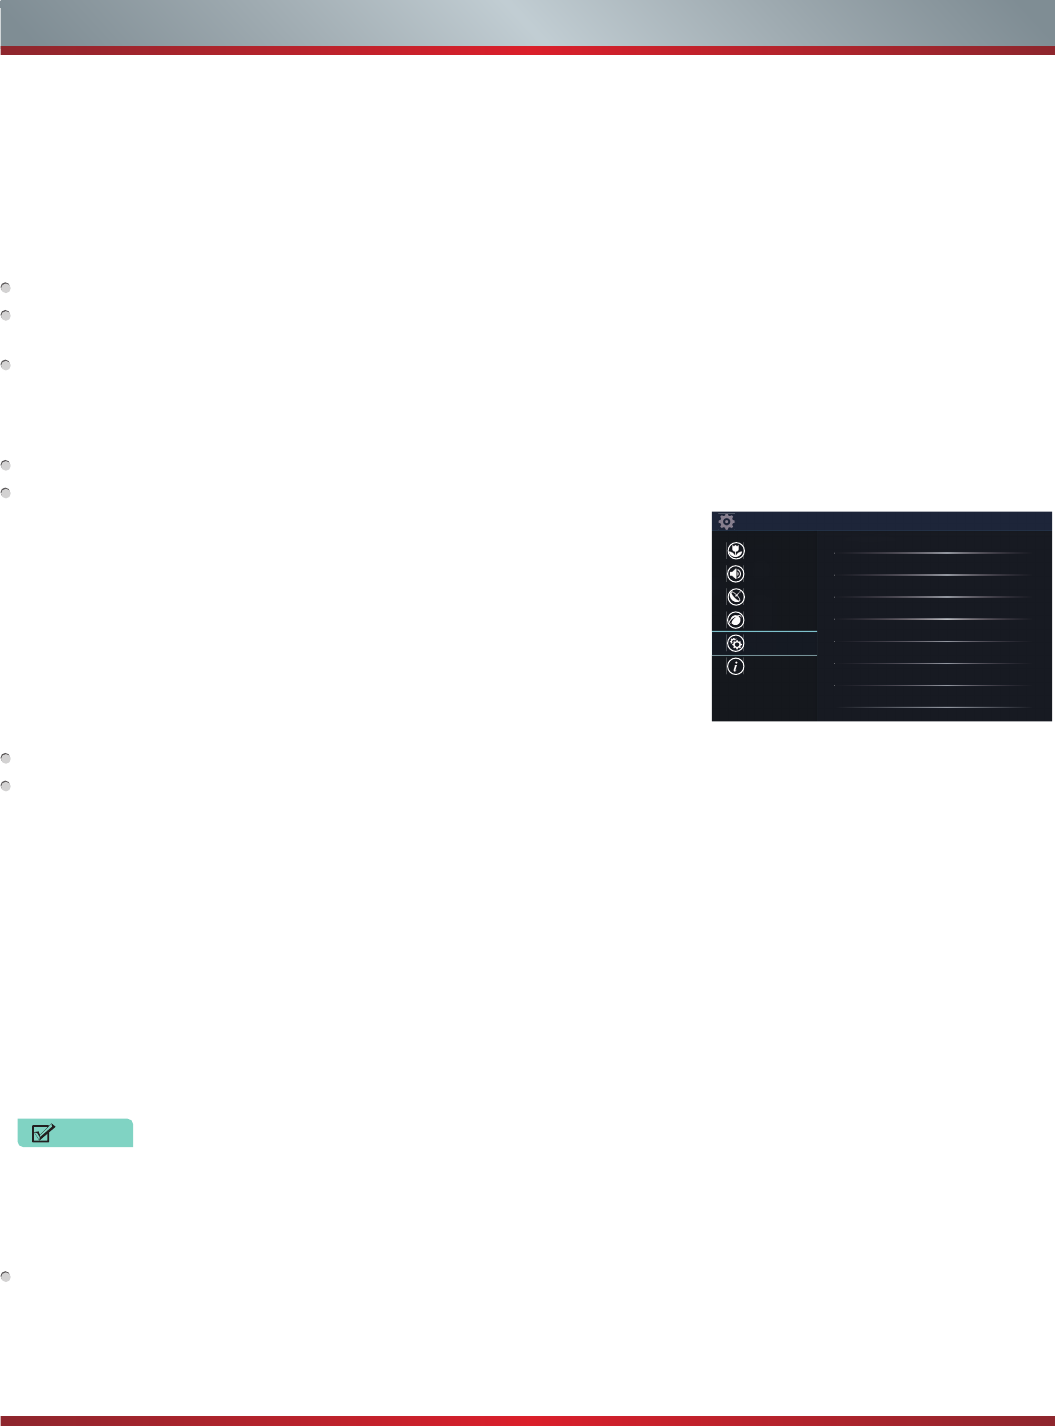
Network Menu
Network Configuration: Set up the network to gain full access of Smart TV features.
• Connection Type: Ethernet
Choose a wired network connection to access the Internet.
• Ethernet: Display the network connection status.
• IP Setting Mode: Configure the IP setting for your network connection.
Settings
Picture
Sound
Channel
Network
System
About TV
Sound Mode
Standard
Audio Enhancements
Advanced Audio Settings
Restore Defaults
Settings
Picture
Sound
Channel
Network
System
About TV
Tuner Mode
Antenna
Auto Channel Scan
Channel Skip
Favorites List
Settings
Picture
Sound
Channel
Network
System
About TV
NetworkConguration
Network Information
Disconnected
Anyview Stream
On
TV Name
Smart TV
16
Network Information: View information about your network connection.
Anyview Stream: Share video, music or other content from another device on to
your TV screen.
TV Name: Choose a name for your TV. The name will be shown to devices that are
available for sharing data.
System Menu
Location: Choose the location from where you will watch your TV.
Time: Set the current time based on your location.
• Time Zone: Select your time zone.
• Time Format: Set the time to display in a 12 or 24-hour format.
• Daylight Savings: Select whether to apply Daylight Savings Time to the TV.
• Date/Time: Set the Date and Time.
• Power On Timer: Enable the Power On Timer to Off, Once or Daily.
• Power Off Timer: Enable the Sleep Timer to Off, Once or Daily.
• Sleep Timer: Set the sleep timer to automatically turn the TV Off within a
specified time: Off, 10 Minutes, 20 Minutes, 30 Minutes, 40 Minutes, 50 Minutes,
60 Minutes, 90 Minutes and 120 Minutes.
Language: Adjust the default language settings for the TV.
Parental Controls: Turn On Parental Controls to block children from being able to
view certain programs. The default password is 0000.
• Locks: Enable or disables all locks. All selected locks can be turned off for
parental viewing and easily turned on again.
• Block Time: Block certain channels and programs during certain periods of time.
• Channel Block: Block programs by channels when you turn On the Parental
Controls feature.
• Program Block: Blocks programs according to their TV or MPAA (movie) rating
when you have turned on the Parental Controls feature and selected that rating to
be blocked.
•Input Block : Block content from devices that are connected to certain TV ports.
• Change PIN: Change your PIN that you use to access Parental Controls. If you
want to change your parental control password, first enter the new password then
enter the same password again.
NOTE
If you forget your password, call the Hisense Consumer Electronics Care
Center or reset your TV back to the factory settings.
• Restore Parental Control Defaults: Restore Parental Control back to the factory
default setting.
Application Settings: Set settings for apps on your TV.
• Netflix : Remove this TV from your Netflix account. Please contact Netflix if you
want to stop being billed for you service.
• ESN : Display the Netflix Electronic Serial Number.
• VUDU : Remove this TV from your VUDU account. Please contact VUDU if you
Basic and Advanced TV Settings
• Connection Type: Wireless
Choose a wireless network connection to access the Internet.
• Advanced Settings: Configure the advanced wireless network settings for the TV.
• Available Networks: Select an available network to connect. And you can also add wireless network or refresh wireless
network.
• Connection Type: Off
Turn off the Internet connection.
Settings
Picture
Sound
Channel
Network
System
About TV
Location
USA
Time
Language
Closed Caption
Parental Controls
HDMI Function
Application Settings
Advanced Settings
17
captioning that covers half or all of the screen. Text1-Text4 display content are
provided by the broadcaster.
Off: To turn off the Analog Caption.
• Digital Caption: Select a Digital Caption setting: Off,CS1-CS6.
• Digital CC Settings: There are two caption styles. One is the automatic function
set as the broadcaster, while the other is the custom style where you can adjust the
Style, Size, Font, Text Color, Text Opacity, Background Color etc.
HDMI Function : Configure how to control CEC-enabled devices with your TV remote.
• CEC & MHL Control: Allow HDMI devices to control each other.
• Device Auto Power Off: Allow CEC-enabled devices to turn Off with the TV.
• TV Auto Power On: Allow the TV to turn On with CEC-enabled devices.
• Device Connect: Allow CEC-enabled devices to communicate with each other
when connected through an HDMI cable.
• CEC Device Lists: View a list of all CEC-enabled devices.
NOTE
HDMI cables must be used to connect HDMI CEC-compatible devices to your TV.
The HDMI CEC feature of the connected device must be turned on.
If you connect an HDMI device that is not HDMI CEC-compatible, all the HDMI-CEC
Control features do not work.
Depending on the connected HDMI device, the HDMI-CEC Control feature may not
work.
Advanced Settings: Access the Advanced Settings menu.
• Menu Timeout : Set the amount of time that you’d like for the menu to display : 10s,
20s , 30s , 60s or Off.
• Use Mode: Set the TV to use in Home, Store Mode, or Store Mode with 4K Video.
• Input Labels: Edit the input labels.
• Default LiveTV Source: Select the default input selected by the remote control Live
TV button.
• SetupWizard: Use the Setup Wizard for instructions to help you set up your TV.
• Power Indicator: Set the Power Indicator light to stay On or Off when watching TV.
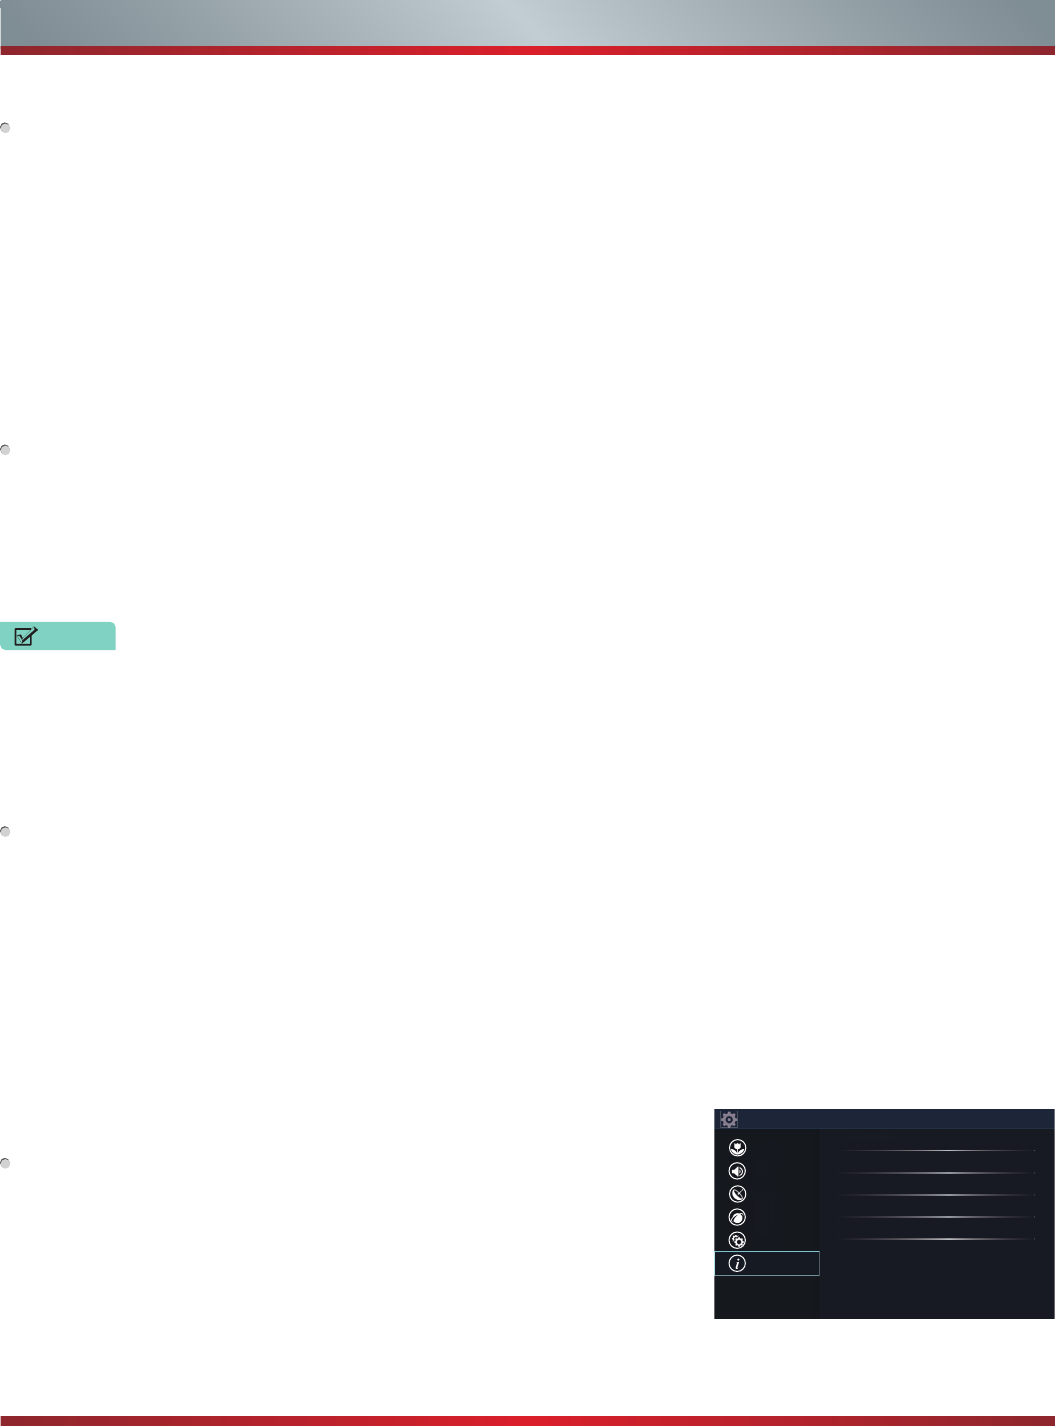
About TV Menu
About TV
• SystemInformation: View system information.
• HisenseLegalDisclaimer: Read the Hisense Legal Disclaimer.
• AutoFirmwareUpgrade: Set your TV to automatically receive the latest firmware.
• CheckFirmwareUpgrade: Check to ensure that your TV has received the latest
firmware.
• RestoreToFactoryDefault: Restore your TV back to the factory default.
Basic and Advanced TV Settings
want to stop being billed for you service.
Closed Caption: Adjust Closed Captioning settings.
• Analog Caption: Select an Analog Caption setting from Off, CC1-CC4, Text 1-TEXT4.
CC1-CC4: Closed captioning appears in a small banner across the bottom of the
screen. CC1 is usually the “printed” version of the audio.
CC2-CC4 display content are provided by the broadcaster.Text1-Text4: Closed
Settings
Picture
Sound
Channel
Network
System
About TV
System Information
Hisense Legal Disclaimer
Auto Firmware Upgrade
On
Check Firmware Upgrade
Restore To Factory Default