Huawei Technologies U1301 WCDMA/GPRS/GSM Mobile Phone with BT User Manual U121
Huawei Technologies Co.,Ltd WCDMA/GPRS/GSM Mobile Phone with BT U121
Contents
- 1. User Manual Part 1
- 2. User Manual Part 2
- 3. User Manual Part 3
- 4. User Manual Part 4
User Manual Part 3
"123" Numeric Input Method
16
ters. Repeatedly press the key that carries the letter
to be entered when it appears on the screen.
For example, to enter the word "Hello" with the tradi-
tional input method, follow these steps.
1Press that carries "h" repeatedly and all let-
ters carried by this key will be displayed succes-
sively on the screen. You can scroll through this
list and select the character you want. Stop when
you see an "h" on the screen.
2After entering the first letter, you can directly
press another key (except ) to enter the next
letter. If the next desired letter is on the same
key as the current one, wait until the cursor
appears to the right of the current letter and then
you can enter the next one.
3Enter "e", "l", "l" and "o" in the same way.
Note
Press repeatedly and you will see
"abc", "Abc" or "ABC" on the upper left cor-
ner of the screen successively. It indicates
the words to be entered will be in lower
case, first letter capitalized or in upper case.
"123" Numeric Input Method
In a text editing screen, press and hold the character/
number keys to enter corresponding numeric charac-
ters.
You can also press successively the key to
switch to the "123" numeric input method, and enter
corresponding numeric characters by pressing the
character/number keys.
Symbol Input Method
You can press to display the symbols list and
then select Recent to display recent symbols.
You can also press to input the commonly-used
symbols in a text editing screen.
Input Different Languages
In a text editing screen, Press and hold the key
to set the language for the text.
U121.book Page 16 Friday, June 13, 2008 11:46 AM

17
5Contacts
Contacts enables you to save and manage such
information as phone numbers and addresses of your
contacts. You can save such information in your
phone or your SIM card. You can also assign fre-
quently-used numbers to speed dialing keys for your
convenience.
Making Calls from the Contacts
You can make a voice/video call with a contact
selected from the contacts list.
1In the Contacts screen, press the left/right scroll
key to select Contacts.
2Select a contact and select Options > Call.
Then, you can select Voice call or Video call to
make a call. Alternatively, you can select Edit
before call to edit the number before making the
call.
Searching for a Contact
You can find a contact from the contacts list easily
and quickly by using this function on the Contacts
screen. Select Options > Search, and then enter the
contact name you are searching for. The contact is
displayed.
You can also use quick search in the contacts list
screen. You can find a contact by entering the initials
of the first name or the last name of the contact. For
example, to find a contact named "Alice Green",
enter the initials "a" or "g". This contact is displayed in
the candidate list.
Viewing Contacts in Phone/SIM
In the Contacts screen, select Options > View
Contacts in Phone/View Contacts in SIM. You can
display the contacts list saved in the phone or that in
the SIM card. You can also select Options > Set-
tings to set the default contact list displayed in the
contact screen.
Other Operations
In the Contacts screen, select Options for the fol-
lowing options.
U121.book Page 17 Friday, June 13, 2008 11:46 AM

Groups
18
•Details:To view the detailed information of the con-
tact.
•Call: To make a voice call, a video call or edit the
contact before call.
•Send message: To send a message or Email to the
selected contact.
•Add new contact: To create a new contact.
•Management: To back up your contacts from your
phone to a memory card or from your memory card
to your phone.
•Search: To find a contact from the contacts list.
•Send contact: To send a contact to other devices
supporting Message or Bluetooth.
•Copy to SIM/Copy to phone: To Copy one or more
contacts from your phone to the SIM card or from
your SIM card to the phone.
•Delete: To delete the selected contact.
•Mark/Unmark: To mark/unmark a record or all
records in your phone and SIM card.
•View contacts in Phone/SIM: To display the con-
tacts list saved in the phone or that in the SIM card.
•Speed Dial Number: To assign often-used num-
bers to speed dialing keys "2" to "9".
•My business card: To save your own information
to a Business Card. You can send the information
by Message or Bluetooth.
•Settings: To set the default contact list displayed in
the contact screen, to sort the contacts on the
Contacts screen.
•Memory status: To view the memory status of both
your phone and SIM card.
Groups
You can rename a group, add group members, or
delete a group member.
Adding/Deleting Group Members
You can add a member to a group in your phone or
delete a member from it.
1In the Contacts screen, press the left/right scroll
key to select Groups .
2Select a group and press to view the details.
U121.book Page 18 Friday, June 13, 2008 11:46 AM

Groups
19
Contacts
5
3Select Options > Add new users. Select a con-
tact and press Add. The member you added is
displayed in the group member list.
To delete a group member, select a member from the
group member list, and then select Options >
Remove.
Managing a Group
1In the Contacts screen, press the left/right scroll
key to select Groups.
2Select a group and select Options for the follow-
ing options.
• Details: to view the details of a group.
• Rename: to change the name of a group.
• Send message: to send message or email to
all members of a group.
• Remove all members: to delete all members of
the group.
U121.book Page 19 Friday, June 13, 2008 11:46 AM
20
6Messaging
Messages
The maximum content for a single text message is
160 characters. If the characters you enter exceed
this limit, the text is divided into two or more continu-
ous messages when it is sent.
Creating a Message
With this option, you can create new SMS, MMS,
MMS Postcard, and Email.
1Select Messaging > Create message in the
main menu.
•Message: To access the SMS or MMS editing
screen.
•From template: To edit the SMS or MMS from
template.
•Email: To access the email editing screen.
2After editing the message, press to add a
recipient’s number.
3 Press or select Options > Send to send
the message.
Messages Mailboxes
The phone provides four mailboxes for messages,
namely, Inbox, Drafts, Outbox and Sent.
◆ Inbox
You can save the received messages in Inbox.
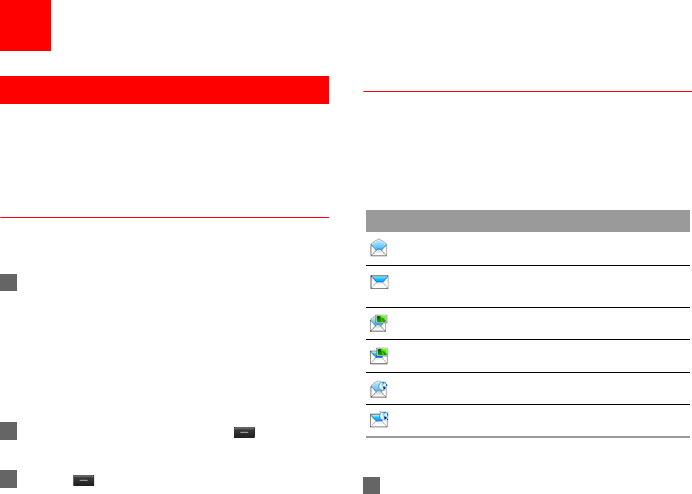
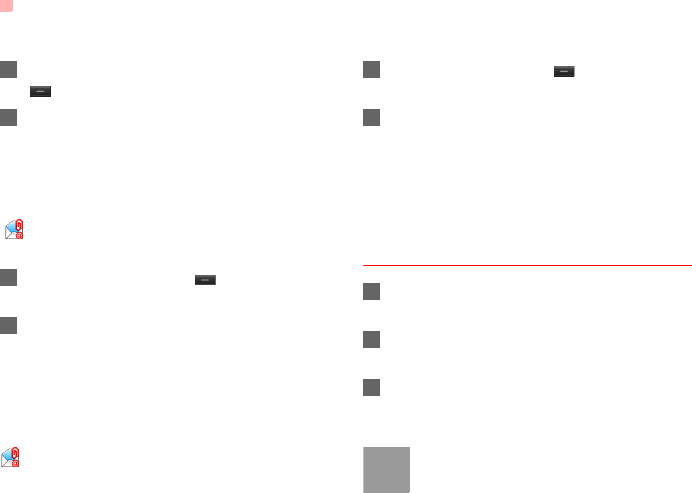
Icons in Inbox
Viewing Messages in Inbox
1Select Messaging > Inbox.
Icon Description
a read SMS or a read message report
an unread SMS or an unread message
report
a read MMS
an unread MMS
A read Push message
An unread Push message
U121.book Page 20 Friday, June 13, 2008 11:46 AM
Messages
21
Messaging
6
2Press the up/down scroll key to view the mes-
sages and then press to view the details.
3You can select Options for the following opera-
tions.
• Play: To play the multimedia message.
• Reply: To reply the message.
• Forward: To forward the message.
• Delete: To delete the message.
• Call sender: To call the message sender or edit
befoe call.
• Info.: To view the details of the message.
• Save text: To save the text of the MMS.
• Save as template: To save this message as a
template.
◆ Drafts
The Draft is used to save the messages you created
and saved.
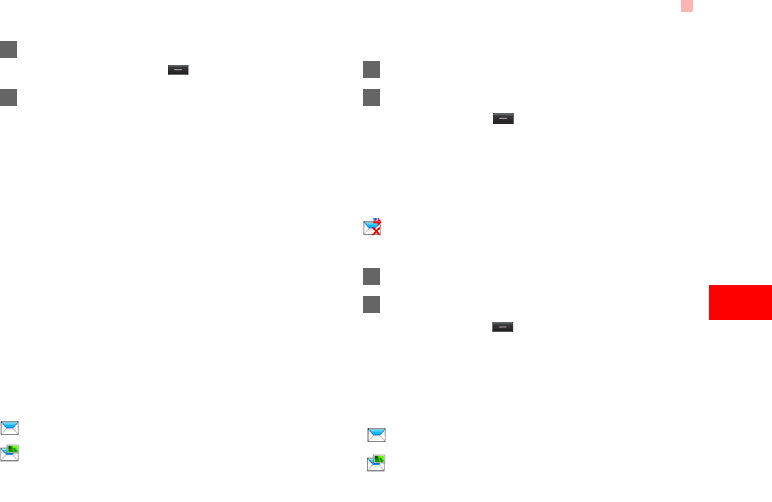
Icons in Drafts
: A text message saved to the phone.
: A multimedia message saved to the phone.
Viewing and Editing Messages in the Draft
1Select Messaging > Drafts.
2Press the up/down scroll key to select a mes-
sage and press to edit it.
◆ Outbox
Outbox is used to save the messages that failed to
be sent.
Icon in Outbox.
: A message that fails to be sent.
Viewing Messages in the Outbox
1Select Messaging > Outbox.
2Press the up/down scroll key to select a mes-
sage and press to edit it.
◆ Sent
Sent is used to save the messages that have been
sent successfully.
Icons in Sent
: A text message has been sent.
: A multimedia message has been sent.
U121.book Page 21 Friday, June 13, 2008 11:46 AM

Email
22
Viewing Messages in Sent
1Select Messaging > Sent.
2Press the up/down scroll key to select a mes-
sage and press to view the details.
3You may select Options for operations such as
Play, Forward, info., Save Text, Save as tem-
plate.
Message Settings
You can change the message settings by performing
the following steps.
1Select Messaging > Settings > SMS & MMS
from the main menu.
2Set the parameters related to messages:
• Receiving settings: To set parameters related
to retrieval of messages.
• Sending settings: To set parameters related to
sending messages.
• Signature: To set whether your signature will
be sent along with the message. You can edit
the signature while creating a new message.
• Font size: To set the size of the character
entered in the message.
• Reply settings: To set whether to reply to a
message with the original text.
• MMS Account: To set the MMS account.
• Voice mail: The voice mail number is already
preset for you in the phone.
• Save unknown number: This function is used
to prompt whether to save the number when
there is a new message.
Email
Before sending an email, please set an email account
first. For details, please refer to "Email Settings" on
page 24.
Creating an Email
1Select Messaging > Email from the main menu.
Select Options > New Email to access the
email editing screen.
2Select 【To】 or 【Cc】and press .
U121.book Page 22 Friday, June 13, 2008 11:46 AM
Email
23
Messaging
6
•Select Add from contacts or Add from
groups to select an email address.
•Select Enter recipient to directly enter the
email address.
3In the email editing screen, select Subject and
press to edit the content.
4In the email editing screen, select the Message
text box to edit the content.
5In the email editing screen, select Options >
Add attachment to attach picture, music, video,
or eBook.
6In the email editing screen, select Options >
send to send the email.
Mailboxes
Your phone provides five mailboxes for email,
namely, Inbox, Drafts, Sent, Outbox and Blocked.
◆ Inbox
All Emails received are saved in the Inbox.
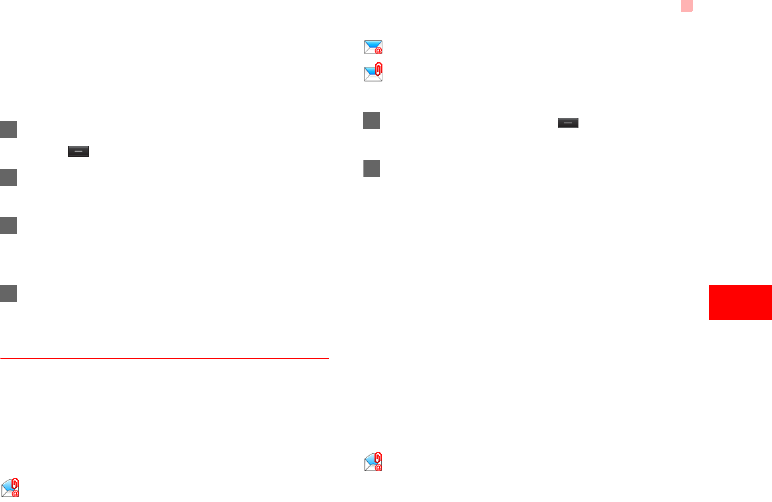
Icons in Inbox
: A read email.
: An unread email without attachment.
: An unread email with attachment.
Viewing and Editing Emails in Inbox
1Select an email and press to view the con-
tent.
2In the Details screen, select Options for the fol-
lowing operations:
• Reply: To reply to the email sender.
• Reply all: To reply to the email sender and all
email receivers except the replier.
• Add to contacts: To save the details of the
sender to the contacts.
• Forward: To forward the selected email.
• Delete: To delete the selected email.
• Call sender: To call the email sender by a voice
call, a video call or edit before call.
◆ Drafts
The saved new emails are saved in the drafts.
Icon in Drafts
: Emails to be saved.
U121.book Page 23 Friday, June 13, 2008 11:46 AM
Email
24
Viewing and Editing Emails in Drafts
1Select the desired email in the drafts and press
to access the editing screen.
2Edit the related information. For details, perform
the same operations as in creating an email.
◆ Sent
The emails sent to server are saved in the sent box.
Icon for Sent
: A sent email.
Viewing and Editing Emails in Sent
1Select an email and press to access the
editing screen.
2Edit the related information. For details, perform
the same operations as those of the Inbox.
◆ Outbox
Those emails which failed to be sent are retained in
the Outbox.
Icon in Outbox
: Emails failed to send.
Viewing and Editing Emails in Outbox
1Select an email and press to access the
Resend screen.
2Edit the related information. For details, perform
the same operations as in creating an email.
◆ Blocked messages
The blocked emails are saved in this folder. You can
select Messaging > Settings > Email to set the
blocking conditions.
Email Settings
1Select Messaging > Settings > Email and
select an account.
2The related account information contains:
General, Incoming, Outgoing and Online help.
3Return to the Account screen. Select Options >
Set as default to activate this account.
After completing all settings, press Back.
Note
For the account settings, contact your ser-
vice provider.
U121.book Page 24 Friday, June 13, 2008 11:46 AM

Broadcast Inbox
25
Messaging
6
Broadcast Inbox
The broadcast messages are saved in the broadcast
inbox. You can set the broadcast message.
Select Messaging > Settings > Broadcast to set the
following items.
• Service: to enable or disable this service.
• Subscription: to subscribe to broadcast channels or
cancel the subscription.
• Language: to select the language of the broadcast.
• Silent alert: to set whether to use an alert when
there is a new broadcast message.
• Auto delete: to set whether to auto delete earlier
messages when the broadcast inbox memory is
full.
Templates
You can save the frequently-used SMS or MMS as
template for your convenience.
U121.book Page 25 Friday, June 13, 2008 11:46 AM
26
7Music
Music enables you to manage your music files easily
and conveniently. It also enables you to purchase a
wide variety of latest music.
Music Library
You can play various music files, including those sup-
plied with the phone, recorded by using the phone,
downloaded from the Internet, and attached to email.
You can also enjoy the online audio files.
In music library, select All tracks > Add tracks, you
can add the music files in the handset or memory
card to the music library. You can also select Options
> Refresh, and all music files in the music folder of
the handset and memory card are automatically
added to the music library.
Function Options During Playing
During playing the music file, select Options for the
following operations.
• Now playing: To access the current playlist.
• Playlists: To access the music playlist.
• Bookmarks: To access the bookmark list.
• Info.: To view the information of the music files.
• Shuffle: To enable/disable the random play.
• Loop: To play current music circularly, loop all
music or close.
• Equalizer: To select the music style.
• Streaming setting: To set the streaming setting.
• Exit: To exit the music play screen.
Screen Operations During Playing
During playing the music file, you can perform the fol-
lowing operations on the music file.
Operation Description
Press the up scroll key to access the
current playlist.
Press the down scroll key to go back to
the beginning of the current music file.
Press the right scroll key to access the
next music file. Press and hold the right
scroll key to fast forward the current
music file.
U121.book Page 26 Friday, June 13, 2008 11:46 AM

Playlists
27
Music
7
Playlists
Selecting this option, you can rename and edit the
playlist as well as play the music in the playlist.
Press the left scroll key to access the
last music file. Press and hold the left
scroll key to fast backward the current
music file.
/Press to pause the playing.
Press again to resume the playing.
Press the volume keys to adjust the vol-
ume.
Operation Description
U121.book Page 27 Friday, June 13, 2008 11:46 AM

28
8Organiser & Tools
This function provides you with various helpful tools.
You can access the Organiser & Tools screen by
selecting Organiser & Tools from the main menu.
Alarms
You can set several alarm clocks. You can also set
alarm time, alarm tones and the cycle period for
alarm clocks.
Setting Alarm Clocks
Enter alarm function, you can select one alarm from
the list, and then press to set an alarm clock.
In the screen for editing alarm clock, you can set the
following items: alarm time, message, the sound
function, the vibration function, Alert tone, the snooze
function, the alarm cycle.
Alarm Prompt
When it is time for an alarm clock to ring, the selected
alarm tone is played and a prompt displayed. You can
stop the ringing by pressing any key. The prompt
allows you to snooze or stop the alarm prompt.
If your phone is powered off, the alarm clock will still
ring. When the alarm rings, you can choose to power
on the phone.
Stopping the Alarm Clock
Select an alarm clock from the list, and press the left
function key to deactivate it.
Calendar
With this function, you can view the calendar and
manage your schedules.
New Schedule
Enter calendar function, you can select Options >
New to create the schedule events for the current
day.
In the screen for editing schedule, you can set the fol-
lowing items: schedule subject, start/end time of the
schedule, schedule location, schedule category,
schedule content, whether the sound is on, the
vibration function, alert tone, alert type, alert cycle,
and alert image.
U121.book Page 28 Friday, June 13, 2008 11:46 AM

Task
29
Organiser & Tools
8
Note
You can create up to 500 schedules in total
and 15 for each day. While creating a new
schedule, you need to set the alarm on
before setting the alarm time, the alarm
cycle, the alarm tone and the image.
Calendar Functions
Enter calendar function and select Options. You can
perform the following operations.
• New: To create a new schedule.
• Go to...: To go to a certain date directly from the
Month view screen.
• Display: To view all events, specified events, Calen-
dar files and to back up all schedules to a memory
card.
• View mode: To view the calendar in three different
modes: month view, week view, and day view.
• Delete event: To delete all past events, specific
period events or all events.
• Management: To backup all schedules to the mem-
ory card or to restore all schedules from the mem-
ory card to the phone.
• Settings: To set save location, view mode, week
begin day.
• Memory status: To view the memory status, includ-
ing the used space and the total space.
Schedule Prompt
When it is time to remind you of a schedule, the
selected ringtone is played and a prompt displayed.
You can stop the ringing by pressing any key. From
the prompt, you can snooze or stop the prompt.
Task
You can define and manage tasks to be conducted
before a certain time. Your phone can remind you of
these tasks and track them automatically.
Select Task from Organiser & Tools.The tasks are
classified into three kinds: pending, done, and all
tasks. You can define up to 1000 tasks on your
phone.
U121.book Page 29 Friday, June 13, 2008 11:46 AM

Memo
30
New Tasks
To define a new task, press or select Options >
New on the Tasks screen.
In the screen for editing task, you can set the follow-
ing items: the subject of the task, the deadline, the
priority level, the task status, the task alert, the
vibration function, the alert time, the task type.
Tasks Functions
On the Tasks screen, you can also perform the fol-
lowing operations: edit, new, set as done, send by
Message, Email or Bluetooth, copy, day view, delete,
delete all, and view the memory status.
Task Prompt
When it is time for the phone to remind you of a task,
it rings automatically and a prompt interface is dis-
played. You can stop the ringing by pressing any key.
From the prompt , you can snooze or stop the task
prompt.
Memo
You can store important events on your phone. You
can save up to 100 such memos.
Select Memo from Organiser & Tools. If there is no
memo, you need to create one when you access the
Memo screen.
On the Memo Pad screen, you can perform the fol-
lowing operations: edit, new, delete, send by Mes-
sage or Bluetooth, view the memory status and
delete all.
Synchronise
You can synchronise contacts with your personal
phone book stored on a network server. This service
is network dependent. Contact your service provider
for further details.
Select Synchronise from Organiser & Tools to cre-
ate or edit a profile. Select Options > View log to
view the latest synchronisation log. Before you use
the synchronise function, you may need to set a pro-
file.
U121.book Page 30 Friday, June 13, 2008 11:46 AM
Calculator
31
Organiser & Tools
8
1To create a profile, select Options > New to cre-
ate a profile.
2Press the left/right scroll key to switch between
Synchronise items, Server Setting, and Network
profile.
3In the Synchronise items screen, select the
item to be synchronised and press to con-
firm it. Then, enter the database name, user
name, and password of the synchronisation
items.
4In the Server Setting screen, enter server
address, user name, password.
5In the Network profile screen, enter the proxy
server address and the port. Then, enter the net-
work access point and select a desired profile.
6Return to the previous menu and select Options
> Synchronise to start synchronising.
Note
This service is not available in all networks.
For details, contact your service provider for
more information.
Calculator
You can perform addition, subtraction, multiplication,
division and extraction operations on your phone.
• Press the number keys to enter the figures.
• Press the scroll key to enter the operators.
• Press the left function key to clear.
• Press the right function key to exit Calculator.
• Press to enter a radix point.
• Press to delete the character to the left of the
cursor.
• Press to perform extraction.
• Press to enter an equal mark.
Unit converter
You can convert units of length and weight between
different systems on your phone.
1Press the up/down scroll key to switch between
the setup items.
2On the unit type selection bar, press the left/right
scroll key to select weight or length.
U121.book Page 31 Friday, June 13, 2008 11:46 AM

Currency converter
32
3Press the number keys to enter a numeric value
to be converted in the Input bar.
4On the From bar, press the left/right scroll key to
select the unit to be converted from.
5On the To bar, press the left/right scroll key to
select the unit to be converted to.
Press or select CE to clear the numeric values
you entered.
Currency converter
You can convert a value from one currency to another
using your phone.
To using this function, access the Currency con-
verter screen, and then press the up/down scroll key
to switch between the setup items.
1On the Input bar, press the number keys to enter
a numeric value to be converted.
2On the From bar, press the left/right scroll key to
select the currency to be converted from.
3On the To bar, press the left/right scroll key to
select the currency to be converted to.
4On the Rate bar, enter the currency rate.
Then you can view the conversion result.
Press to clear the numeric values you entered.
Select Setting in the currency converter screen, and
you can select frequently used currency units. This
makes it easy to switch between selected units in the
From or To bar.
Voice recorder
You can record voices or sounds on your phone.
On the standby screen of the voice recorder, you can
select Options to set the recording duration.
• Record/Pause: During recording, press to
pause, and press again to resume.
• Stop and save: During recording, press the left
function key to stop recording. The audio file is
saved in My Files\Music automatically.
• Play: After recording is complete, select Option >
Play to play the audio file instantly.
U121.book Page 32 Friday, June 13, 2008 11:46 AM

World Time
33
Organiser & Tools
8
Alternatively, you can select Options for the follow-
ing operations: send by Message, Email or Blue-
tooth, set as ringtone and delete.
World Time
You can view the time of important cities around the
world. To switch among the time zones, press the left/
right scroll key.
If the daylight saving time (DST) is used in your city,
you need to set the phone to DST. Then, you can get
the right local time. To set the phone to DST, switch to
the desired time zone and then select Options >
DST.
Stopwatch
You can use the stop watch function. On the
Stopwatch screen, you can perform the following
operations: start, save, pause, continue, reset.
Timer
You can set a timer for up to 99 hours and 59 min-
utes. After you have set it, the timer is displayed on
the home screen.
Service dial number
With this number you can get in touch with your ser-
vice provider.
U121.book Page 33 Friday, June 13, 2008 11:46 AM

34
9My Files
My Files enables you to manage the Pictures, Music,
Ringtones, Videos, Games, Applications and other
files conveniently. You can access My Files by
selecting My Files from the main menu.
Select Pictures, Music, Ringtones or Videos
folder. You can perform the following operations on
files.
• View: To view the picture file.
• Play: To play a selected file.
• Send: To send the selected file by MMS, Email,
postcard or Bluetooth.
• Set as: To set the picture as the wallpaper or the
image of a contact.
• Set as ringtone: To set a file as ring tone, specific
contact tone, message tone or email tone.
• Cut: To cut the selected file.
• Copy: To copy the selected file.
• Edit: To edit a picture file.
• Rename: To rename the selected file.
• Sort: To sort the selected file by name or by date.
• Delete: To delete the selected files.
• Mark/Unmark: To select one or more files or cancel
the selection.
• Info.: To view the properties of one or more files.
Note
Some sound files are protected by Digital
Rights Management (DRM), and may not be
able to be used as a ringtone.
Select Games, Applications, Themes, Other
folder.
• Games: To play games and download more games.
The downloaded files are saved in this folder. For
more details, Please refer to "Entertainment/
games" on page 37.
• Applications: Any applications that you download
are saved in this folder.
• Themes: All themes that you download are saved
in this folder.
• Other: You can save any kind of files. You can also
create new folders in this folder to categorise your
files.
• Memory status: To view the memory status of your
phone.
When the phone detects and recognises the memory
card, Memory card is displayed as a tab on the top
of the My Files screen.
U121.book Page 34 Friday, June 13, 2008 11:46 AM