IDP SMART Card Printer (RFID) User Manual
IDP Corp., Ltd. Card Printer (RFID)
UserManual.wiki
>
IDP
>
SMART User Manual
Users Manual
Navigation menu
Upload a User Manual
Namespaces
Wiki Guide
HTML
PDF
Info
Views
User Manual
Discussion / Help
Navigation
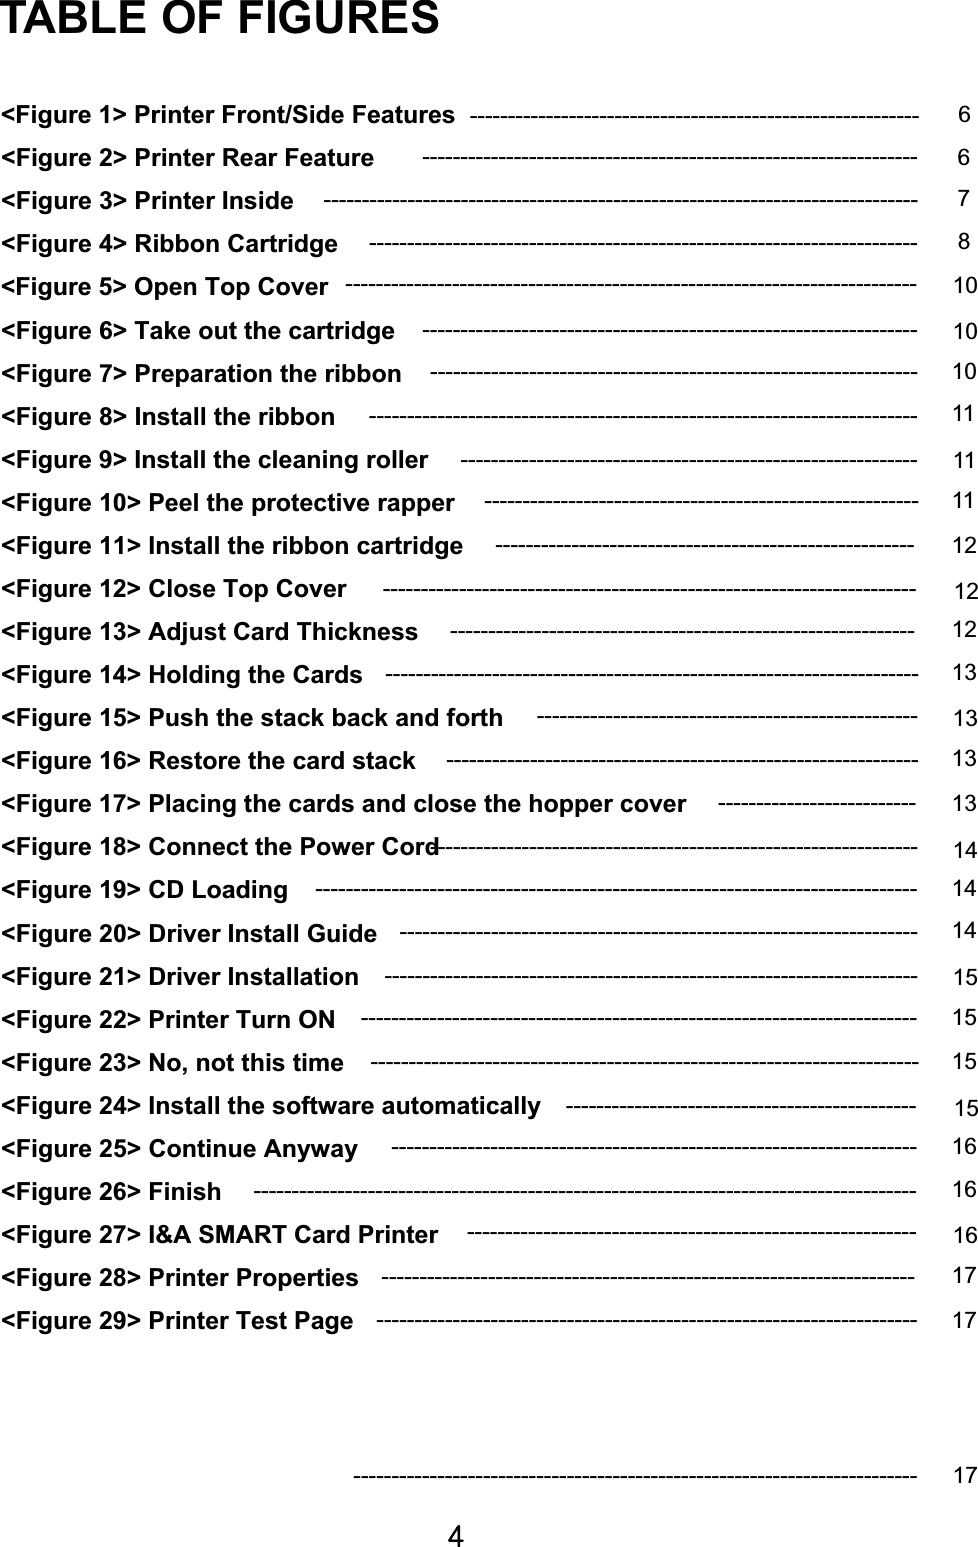
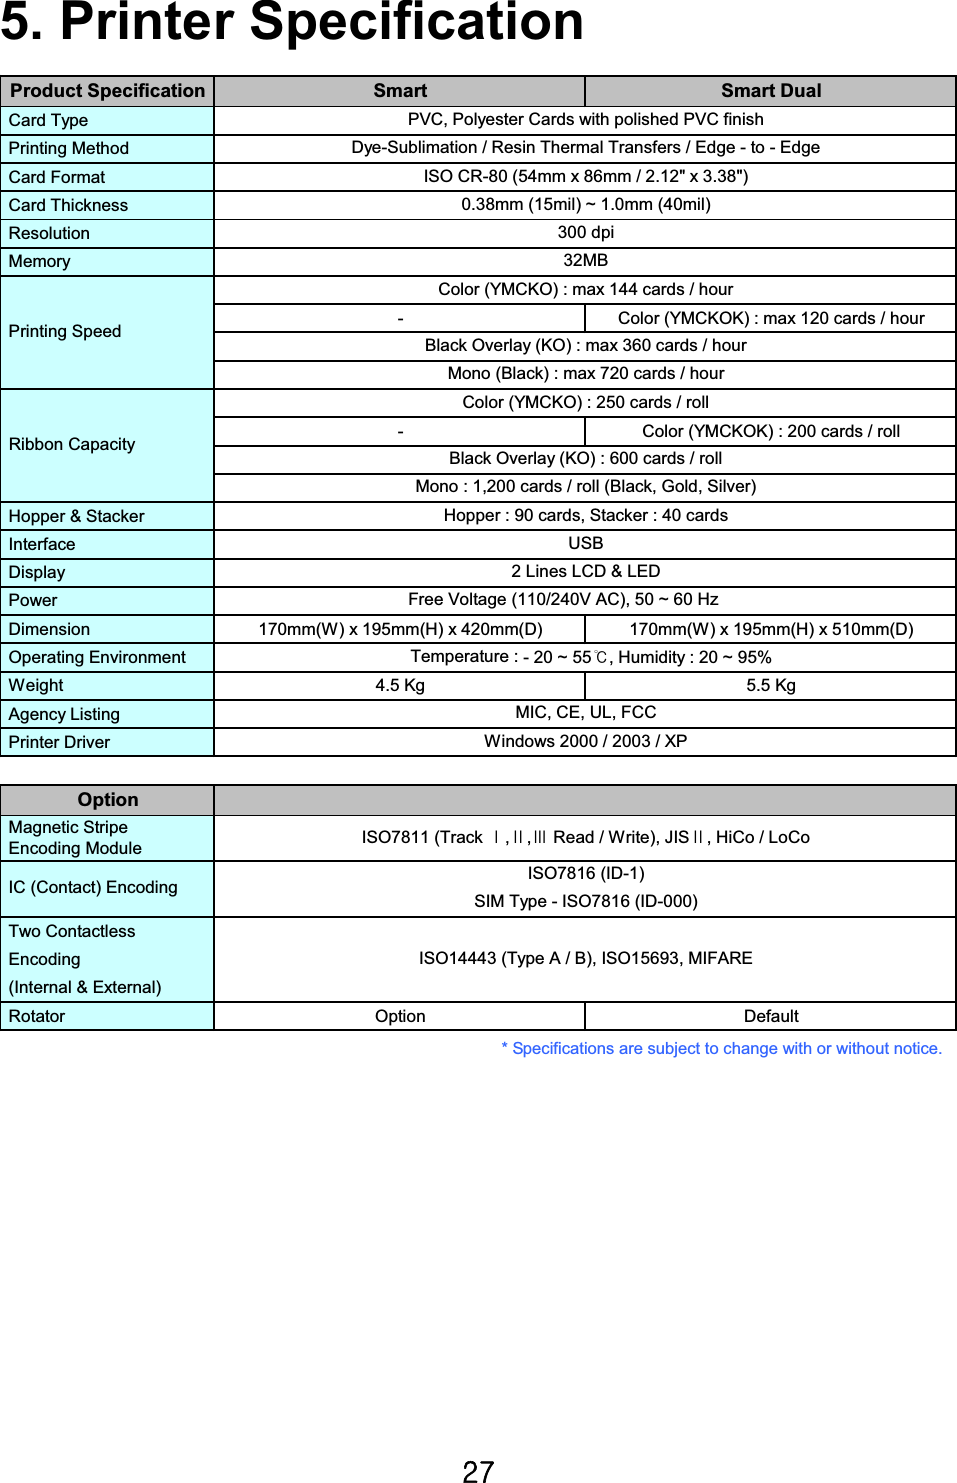
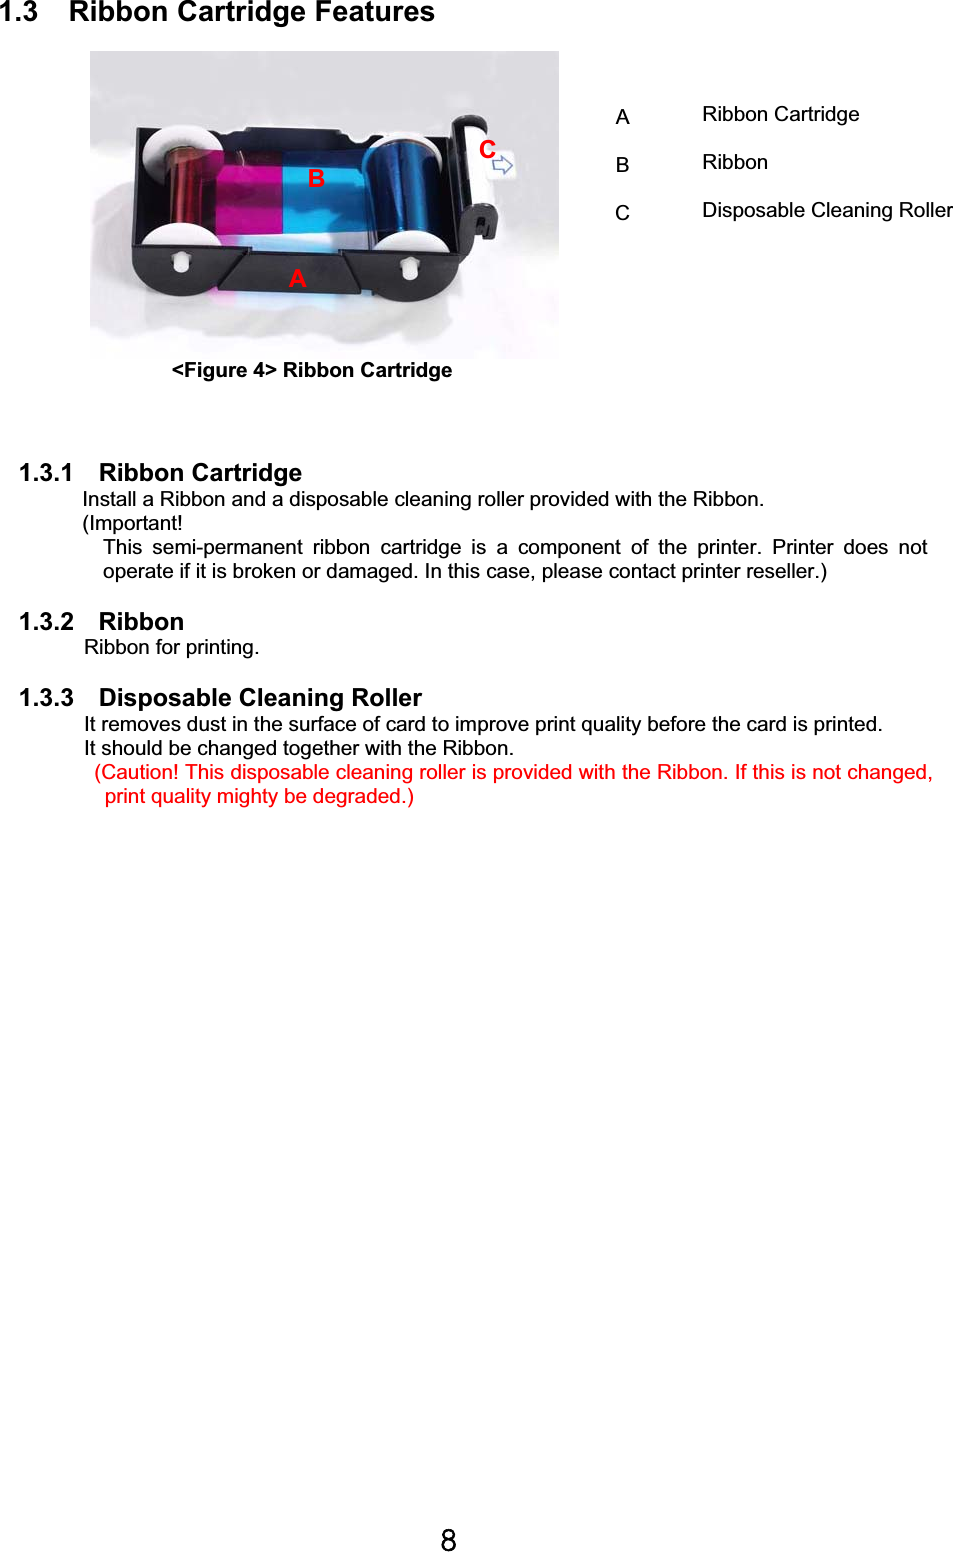
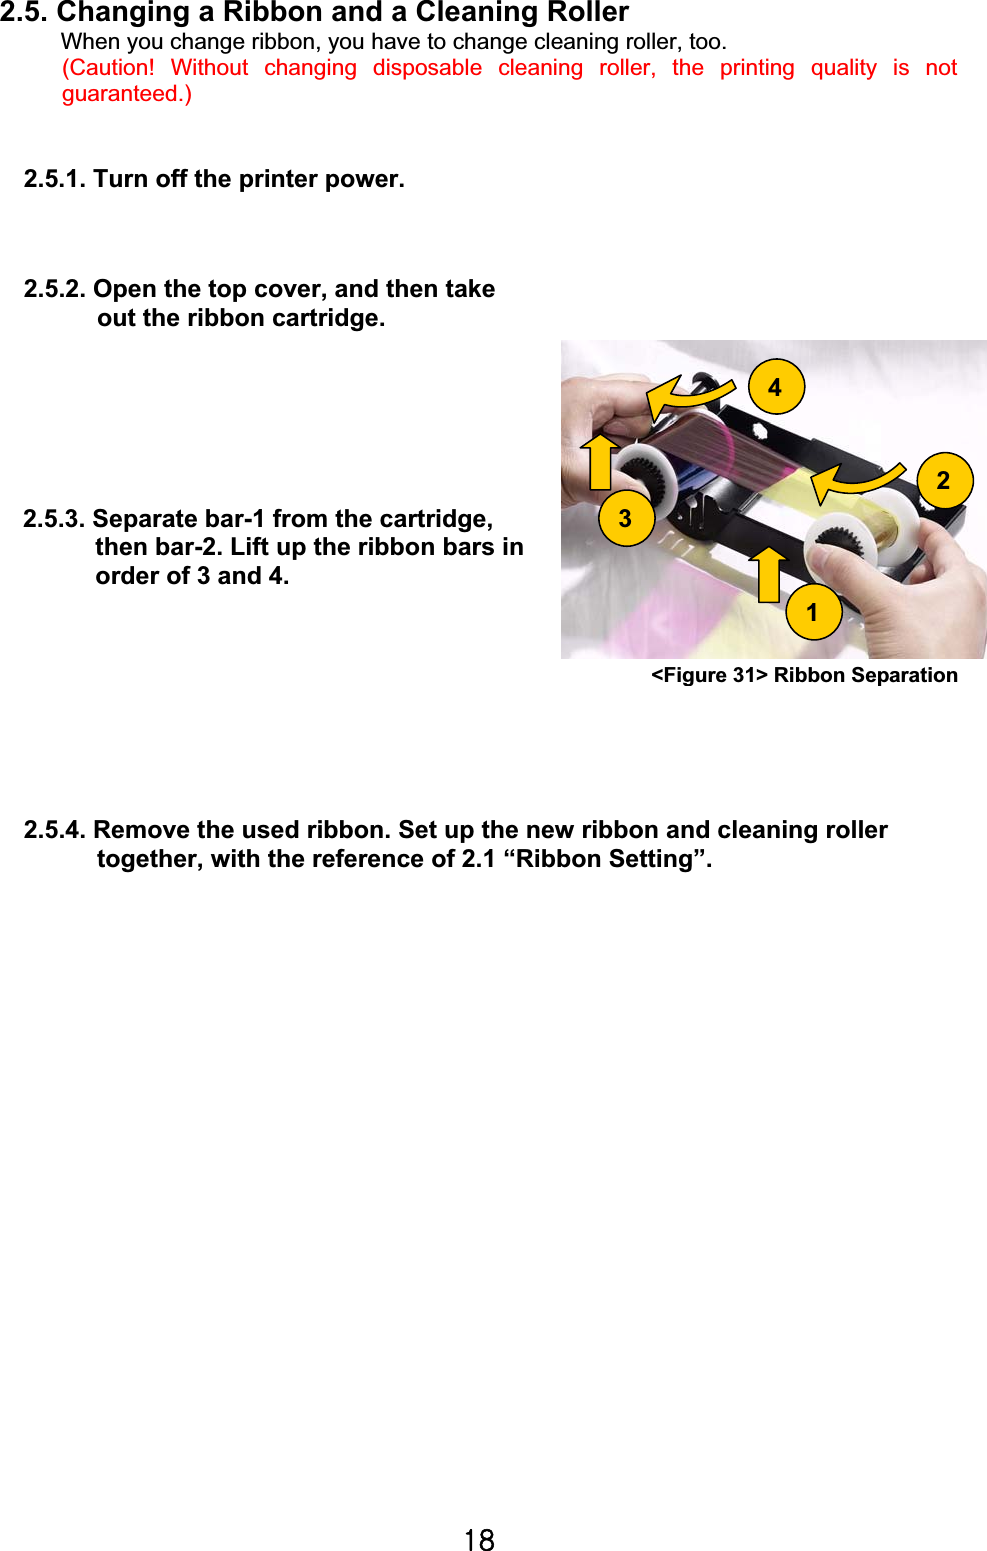
![]G1. Introduction Thank you for choosing the I&A System Smart Card Printer. This manual helps you effectively and professionally for the start-up and operation of your new Card Printer. 1.1 Printer Outside FeaturesThis Smart Card Printer takes a power via the adaptor provided with the printer. Using USB port, it communicates with user’s PC. For the user’s convenience, the printer process status can be seen through LCD and most of the operations can be controlled by two LED buttons. The following shows the external functional features found on your Smart Printer. ABCDEFGHGPower Switch Power Connector USB Port Rear Card Outlet (If necessary) Top Cover Open Button External Contactless IC Encoding PositionHopper (Input Hopper) LED buttons LCD (Show the process status) Magnetic/Contact IC/Contactless IC Encoder are installed inside External Contact IC Encoder (SIM Type) GStacker (Output Hopper) IJKLGG<Figure 1> Printer Front/Side Features <Figure 2> Printer Rear Feature A BCDEFGIJKHL](https://usermanual.wiki/IDP/SMART/User-Guide-884592-Page-6.png)
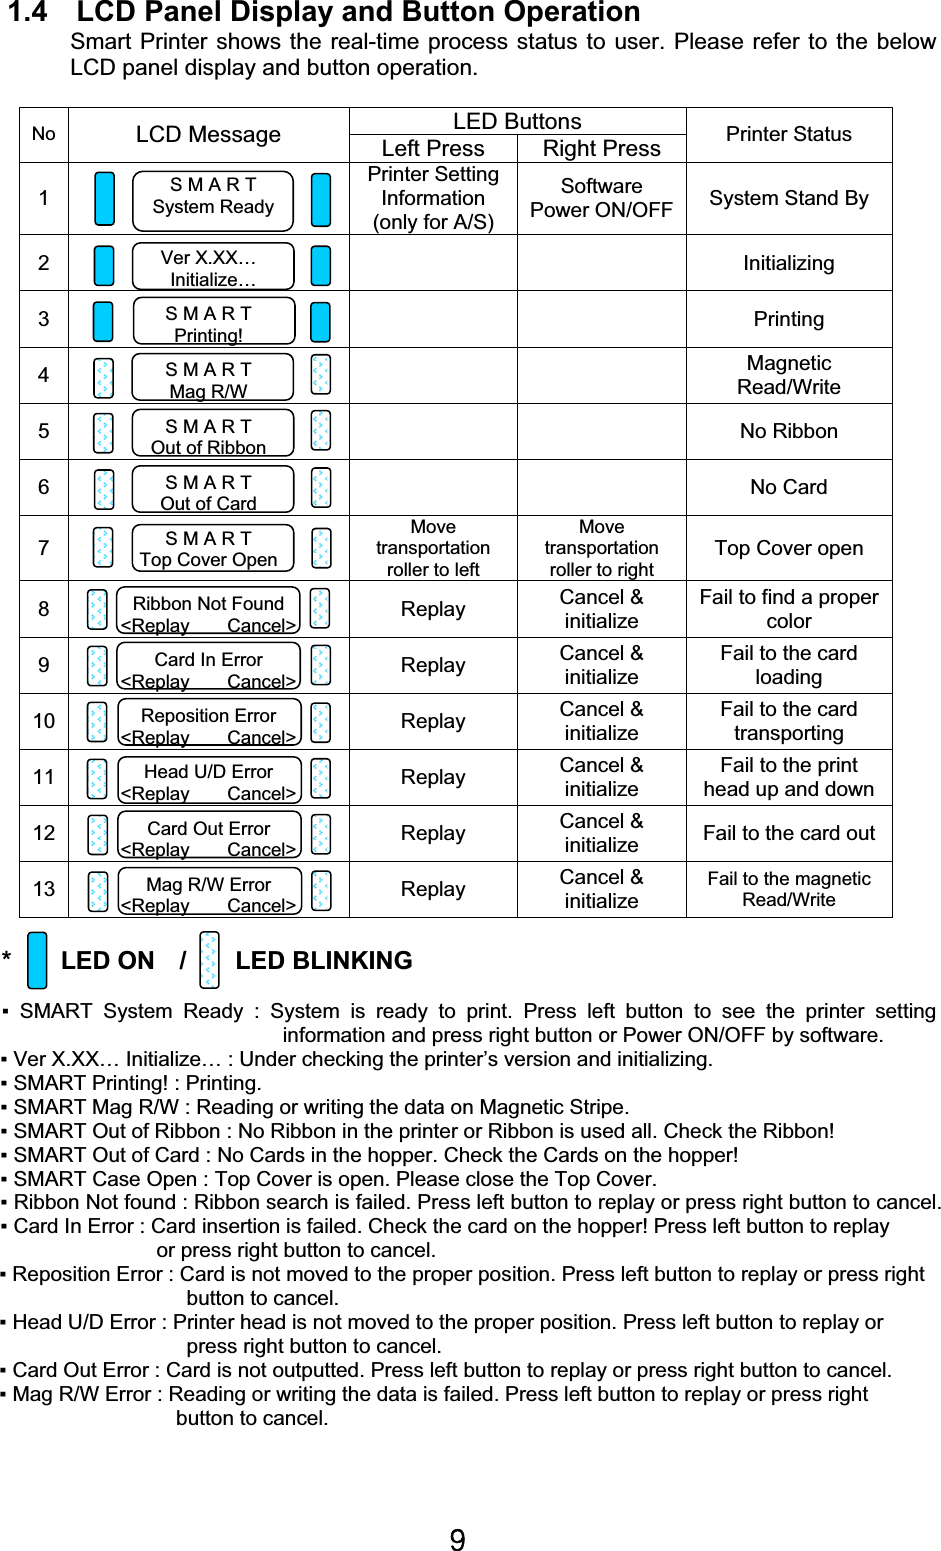
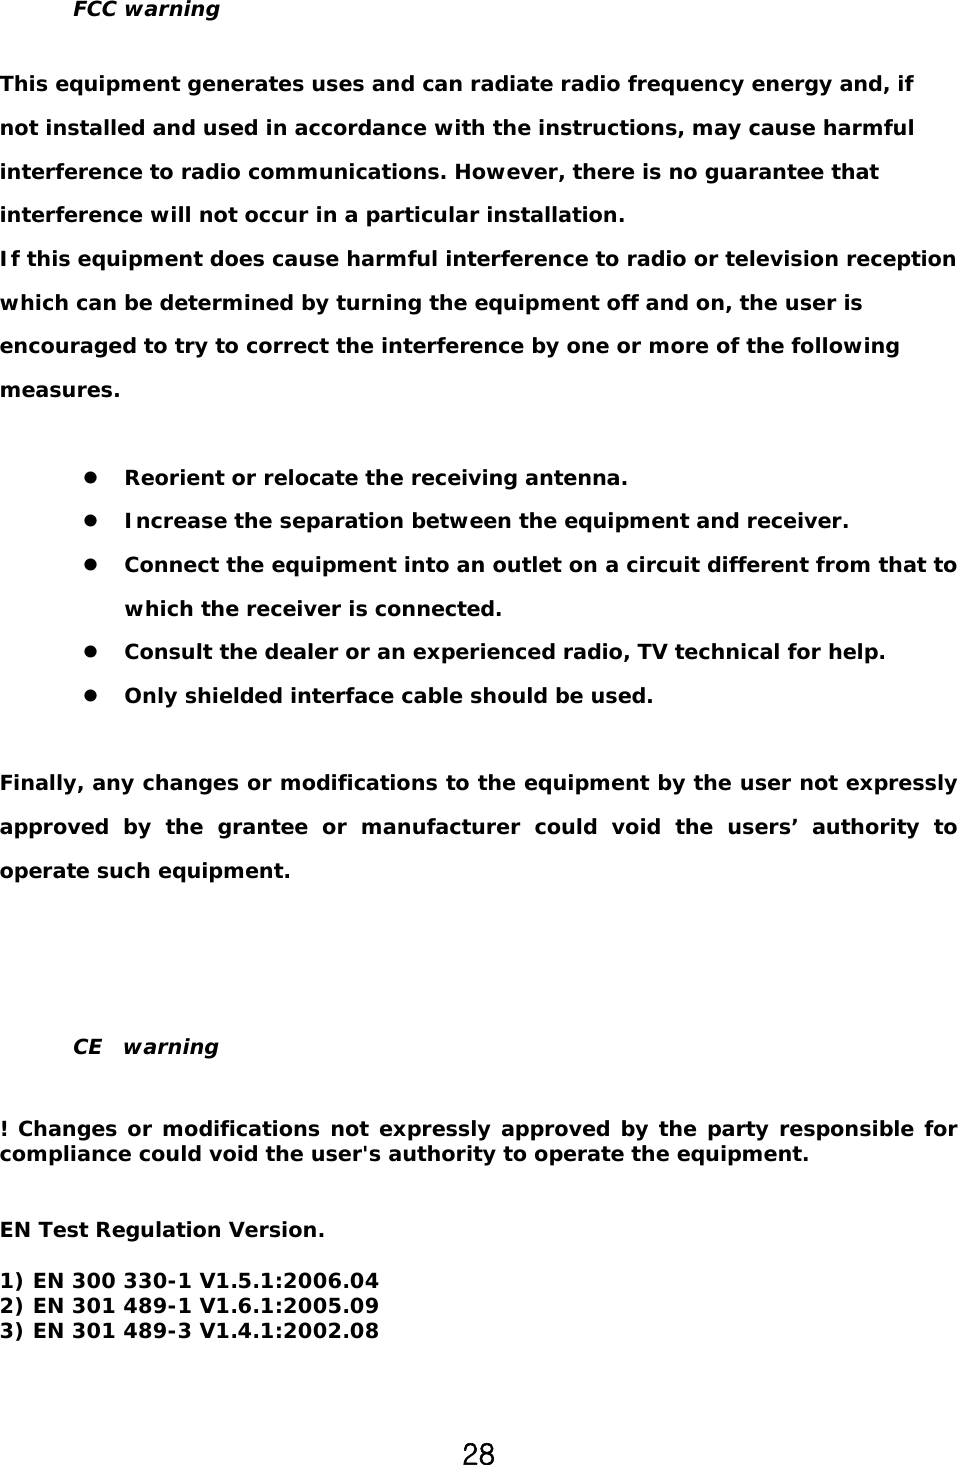
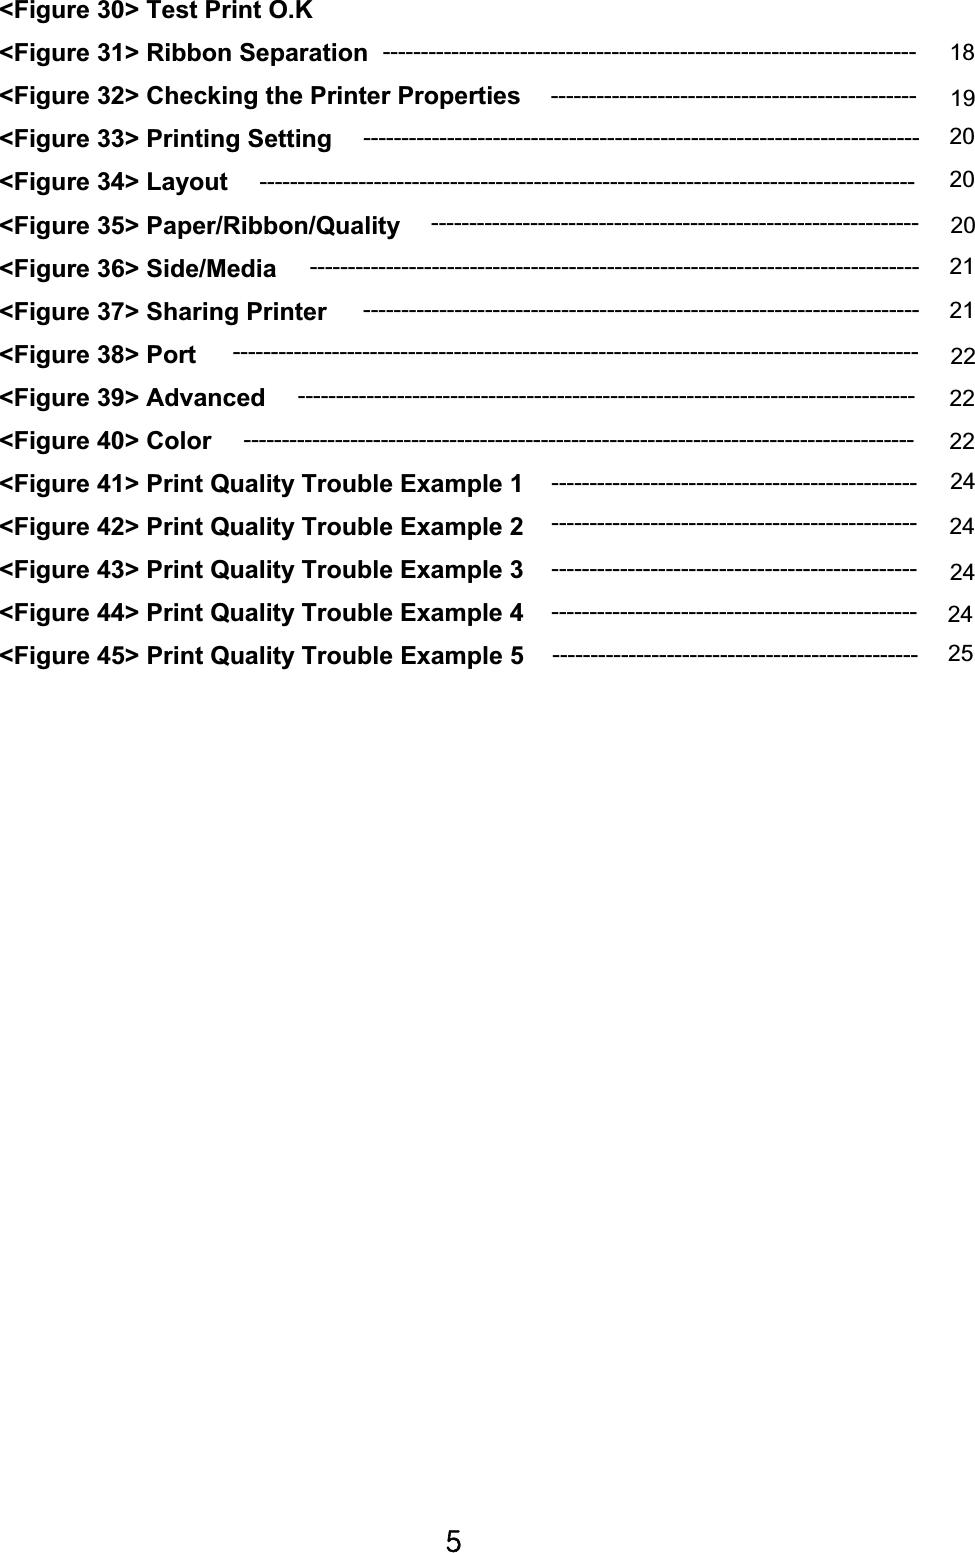
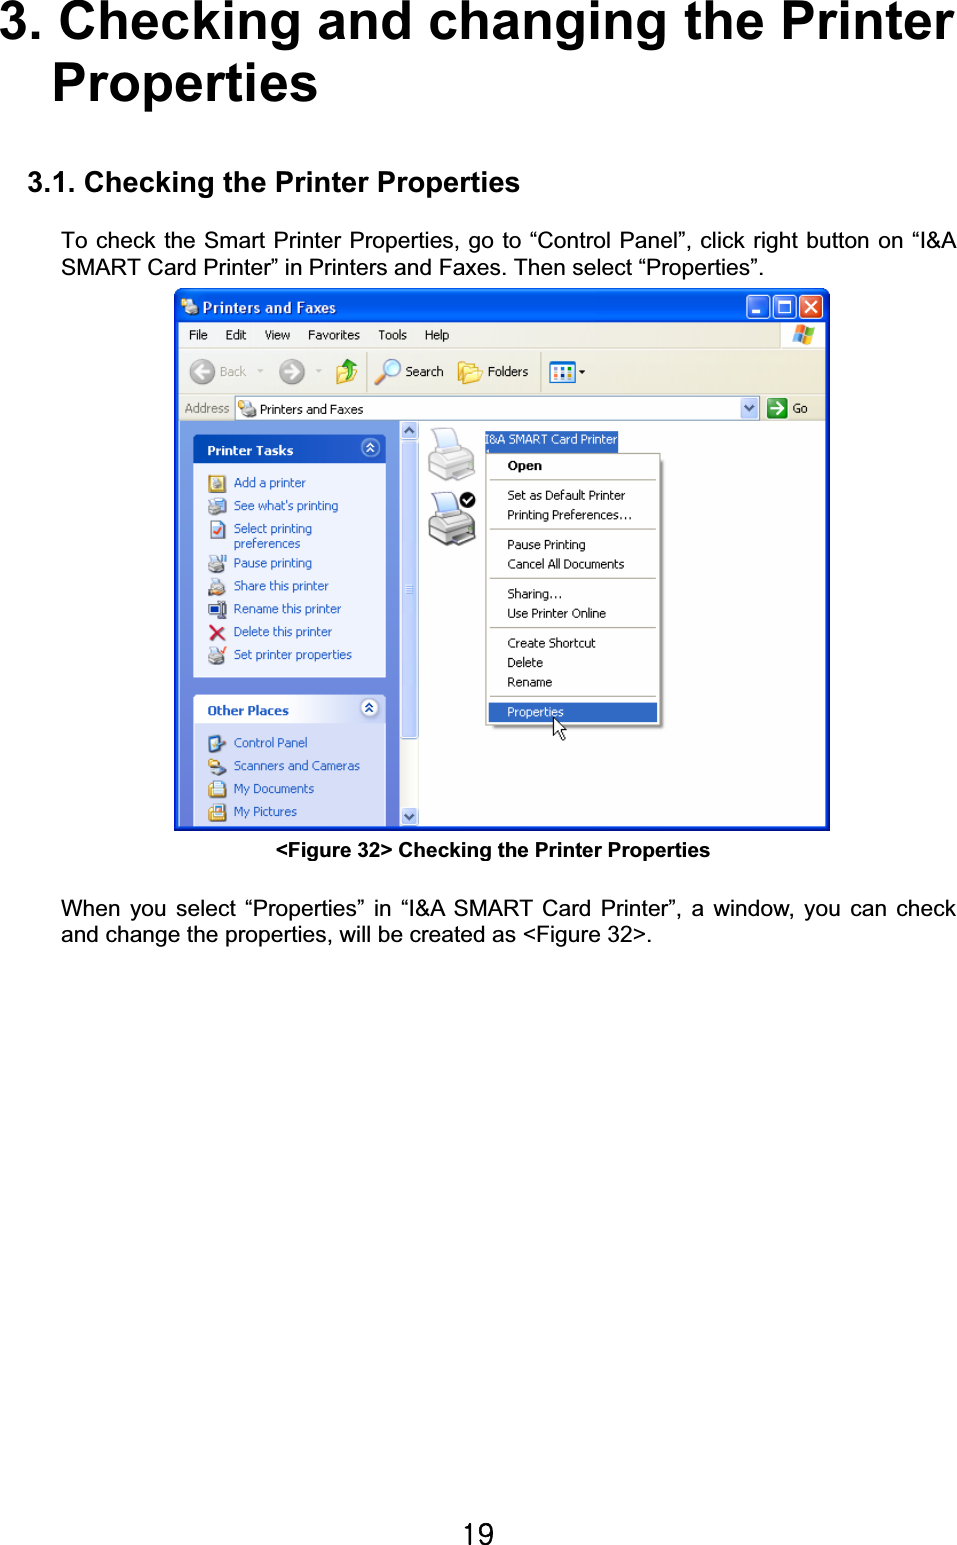
![X]G2.3.9. Click “Continue Anyway” in Hardware Installation. 2.3.10. Click “Finish” in Completing the Found New Hardware Wizard. 2.3.11. Check “I&A SMART Card Printerºis generated in Printers and Faxes.<Figure 25> Continue Anyway <Figure 26> Finish <Figure 27> I&A SMART Card Printer](https://usermanual.wiki/IDP/SMART/User-Guide-884592-Page-16.png)

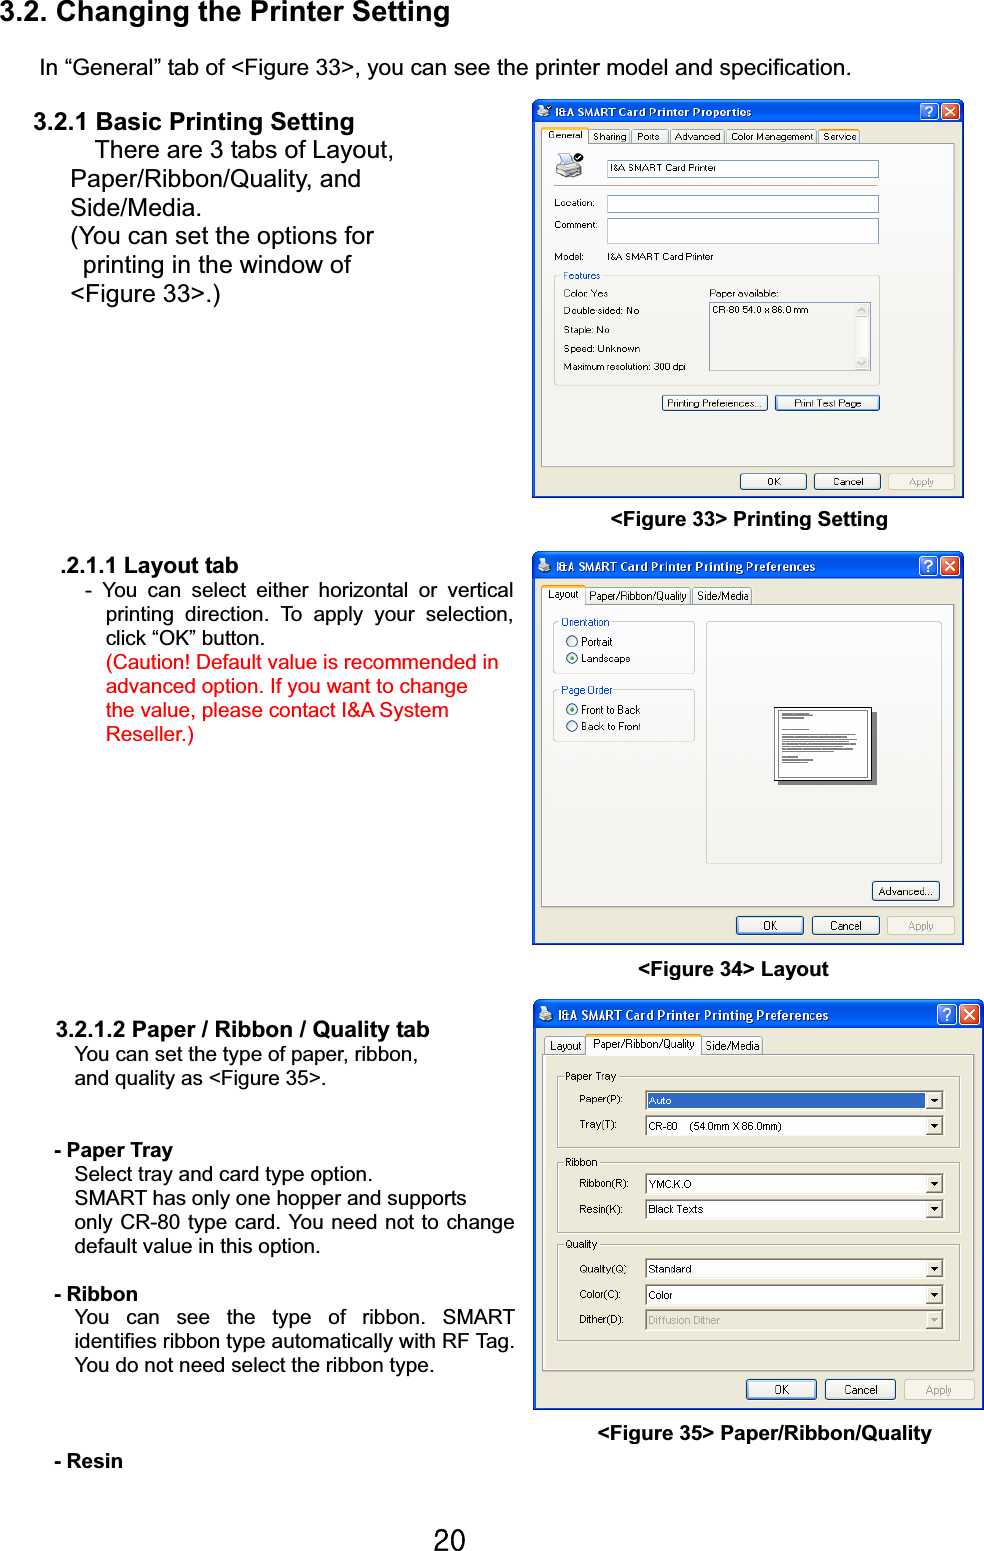

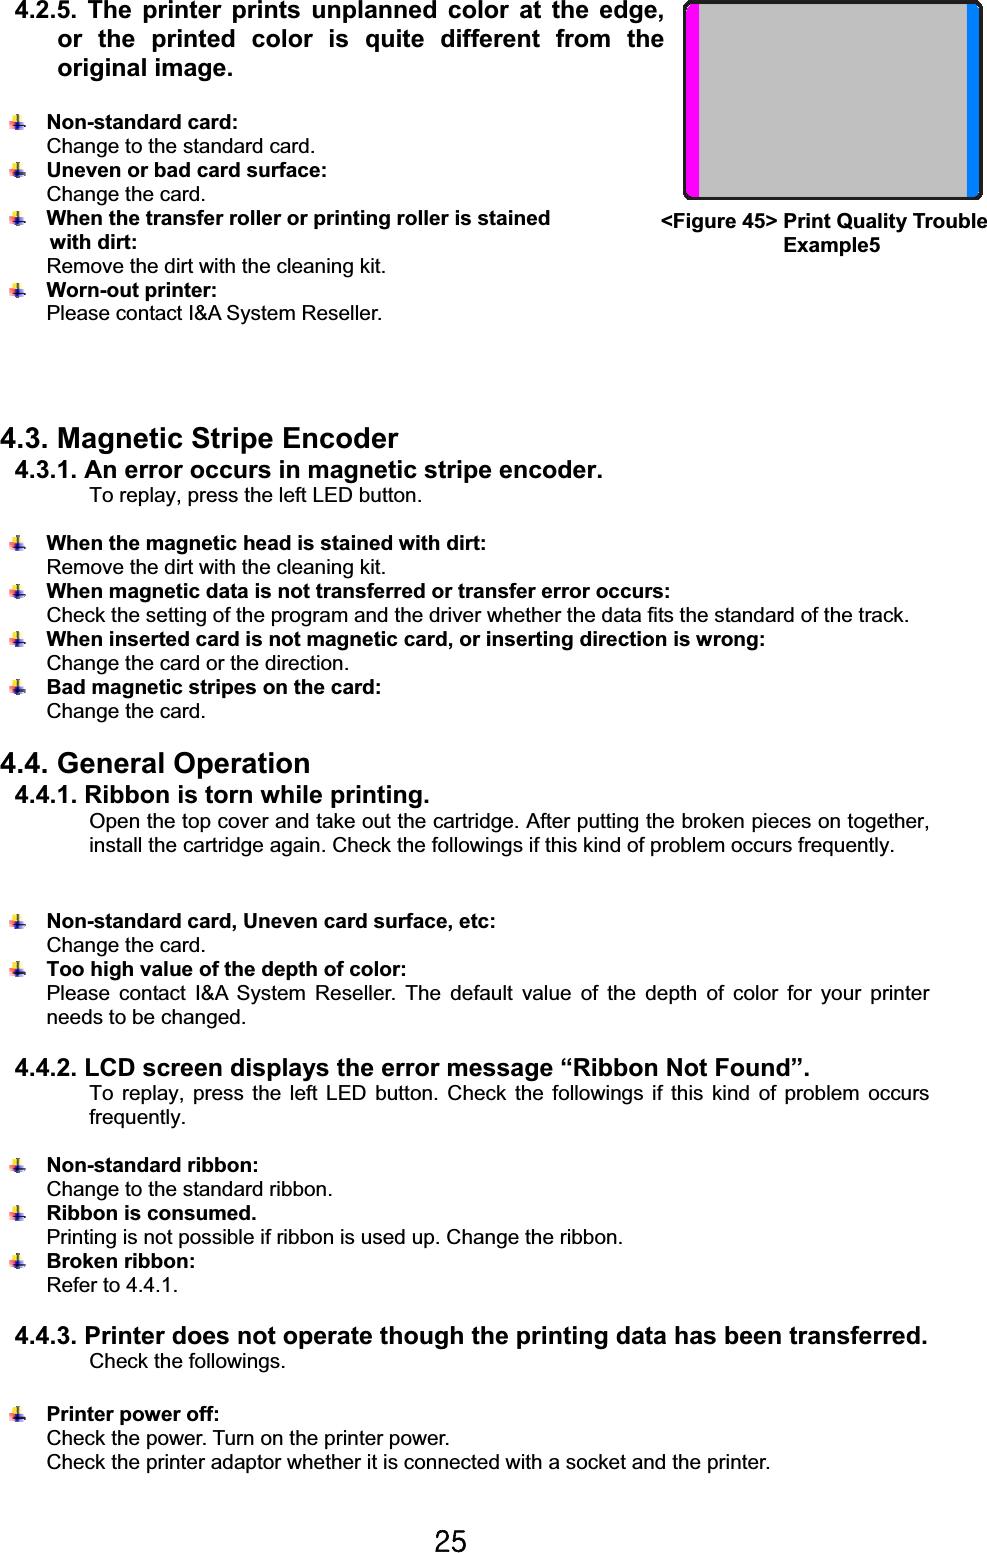
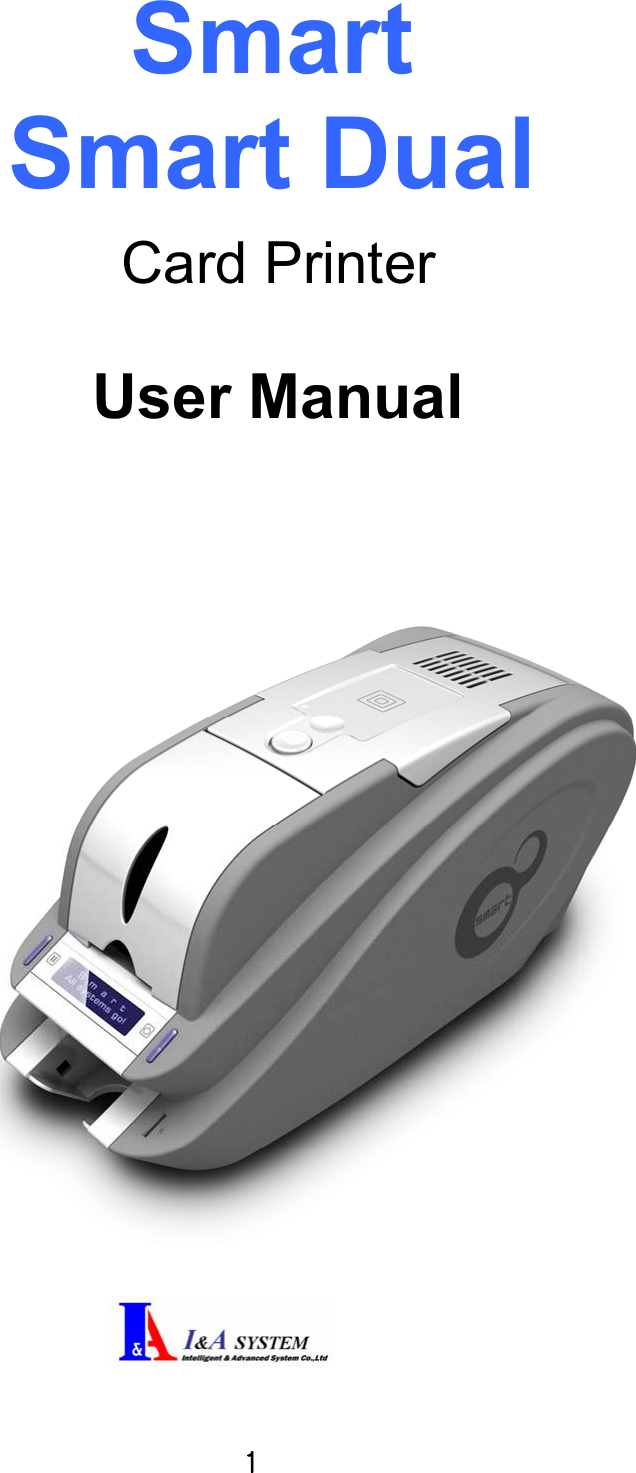
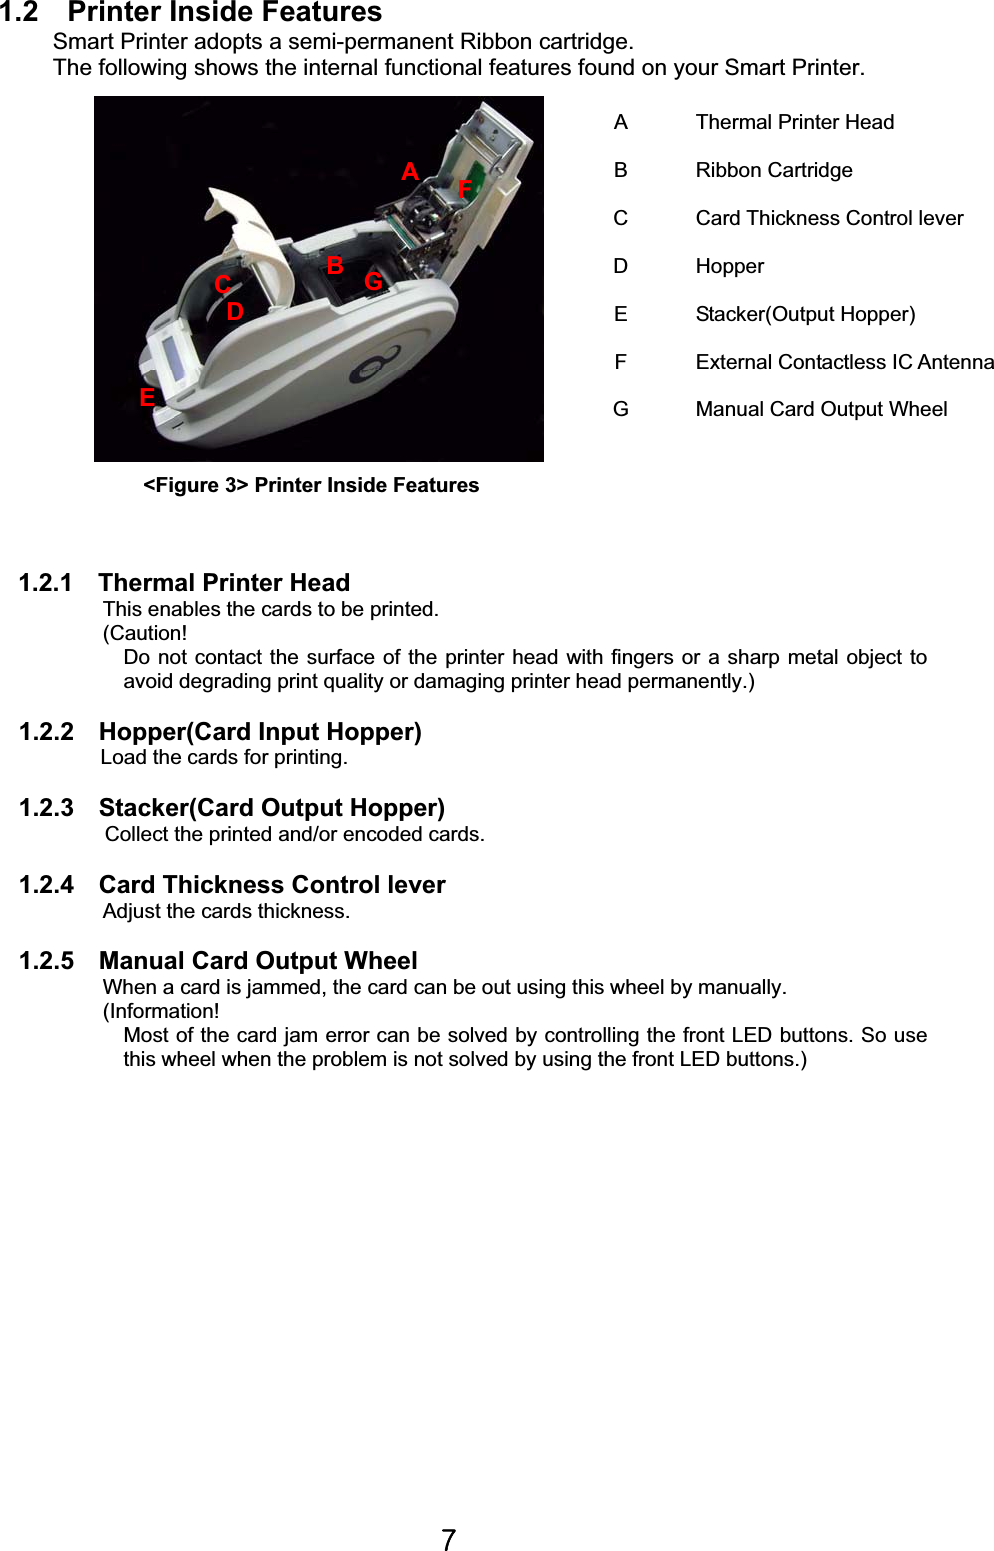
![Y]GBad power adaptor:Please contact I&A System Reseller for replacement of the adaptor. When the value of the printer driver is not “Online” but “Offline”: Change the setting to “Online”. When the USB cable for printer transfer is off or the connection is bad: Check the connection of the cable between PC and the printer. Make the USB cable connection again.Bad USB cable for printer transfer:Change the USB cable.If the selected printer is different model rather than SMART: Select SMART to print.Wrong port setting of the printer driver: Check the port setting of the printer driver whether it is USB port or not. No ribbon in the printer or printer in error mode: Install ribbon in the printer or resolve the error. Too long power or transfer cable (more than 1.5M): Use the cable provided with the printer.When USB transfer port of PC is down: Restart your PC.](https://usermanual.wiki/IDP/SMART/User-Guide-884592-Page-26.png)