Contents
- 1. User Manual 1 of 2
- 2. User Manual 2 of 2
User Manual 2 of 2
Using the Mute . . . . . . . . . . . . . . . . . . . . . . . . . . . . . . . . . . . . . .42
Adjusting the Volume . . . . . . . . . . . . . . . . . . . . . . . . . . . . . . . . . .43
Customizing the Sound . . . . . . . . . . . . . . . . . . . . . . . . . . . . . . . .44
Sound Control
Sound Control
Sound Control
Sdi42-3.qxd 2001.11.16 5:5 PM Page 40
4342
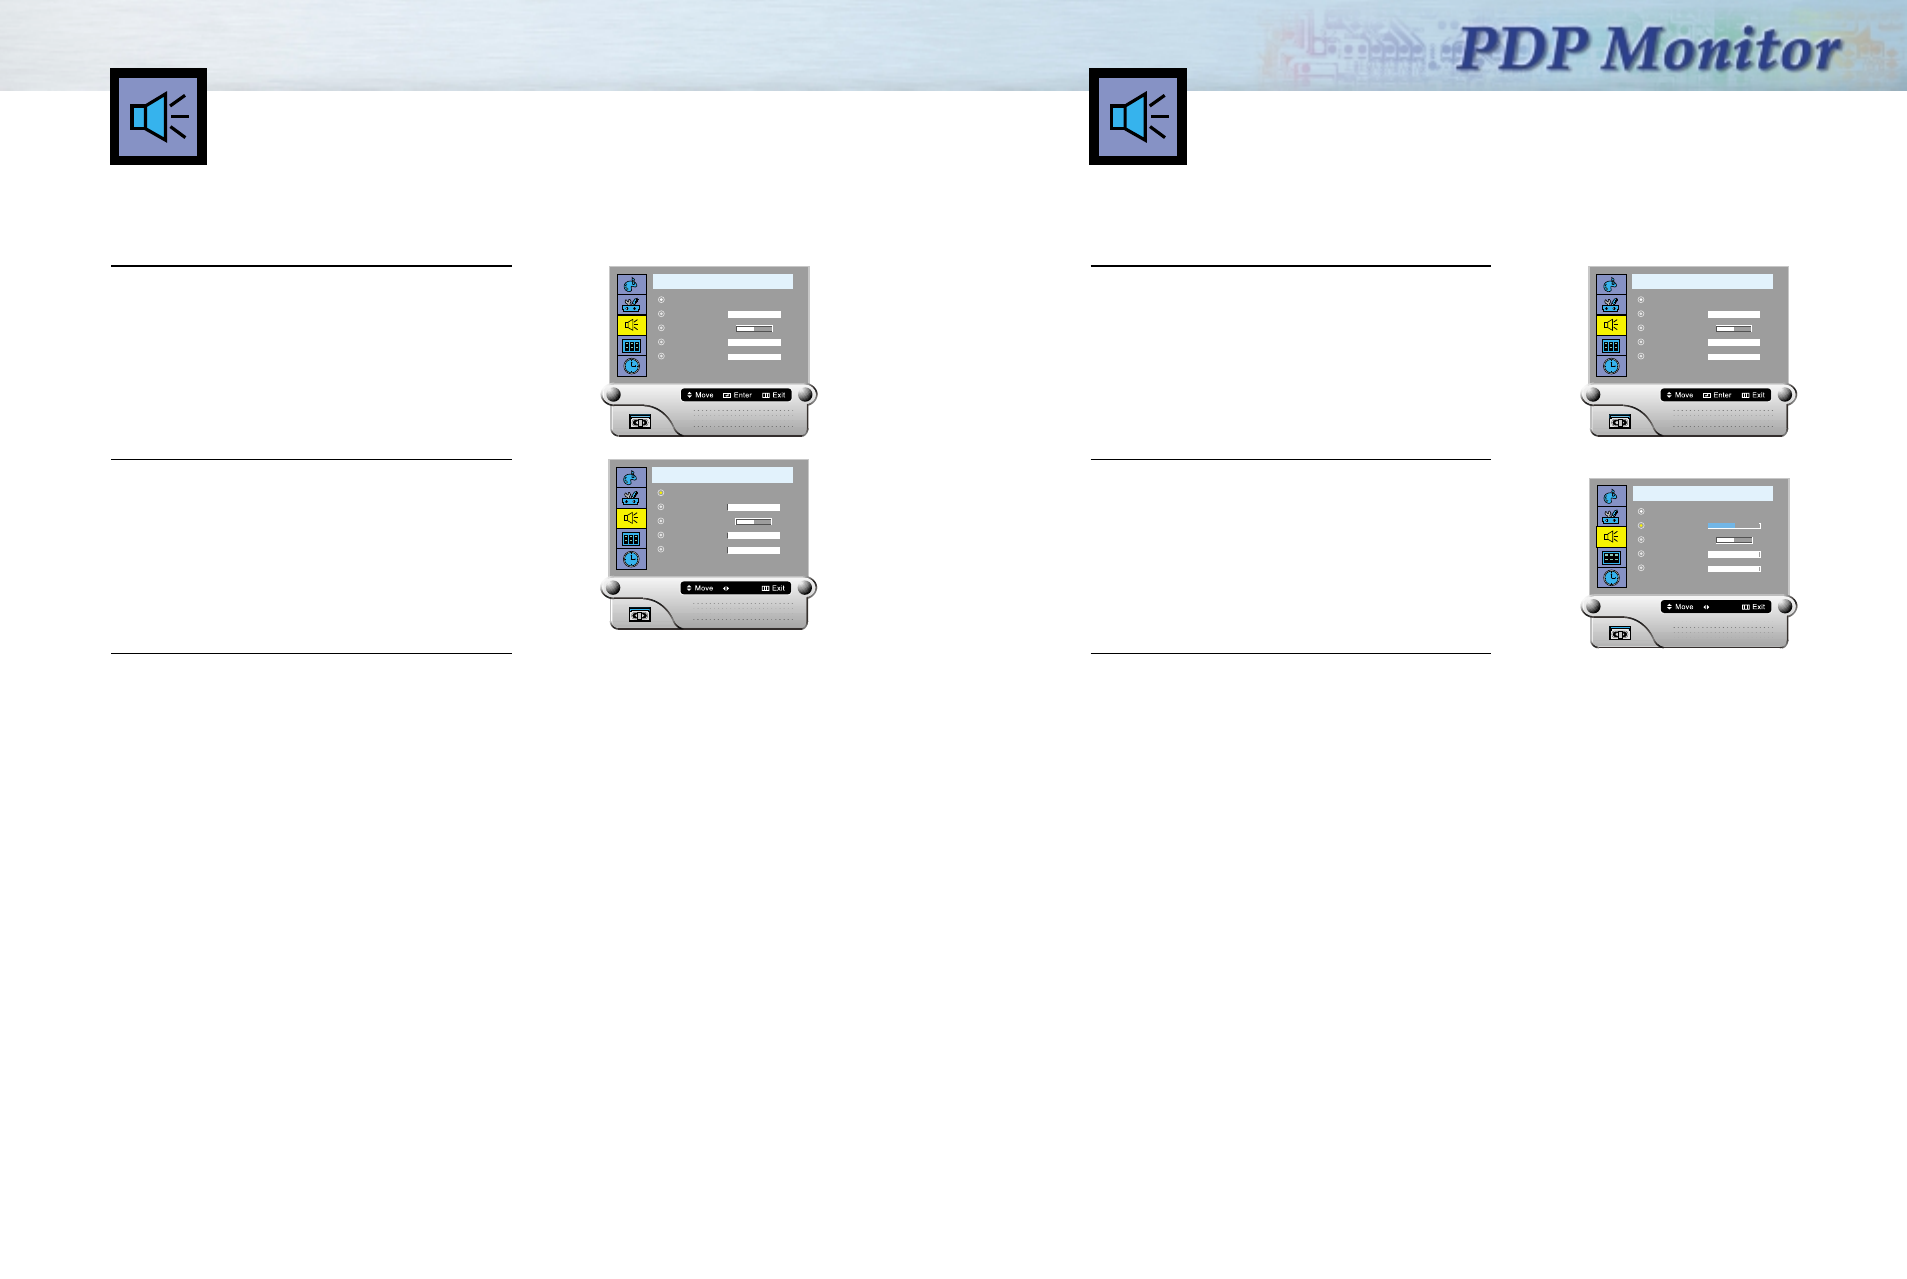
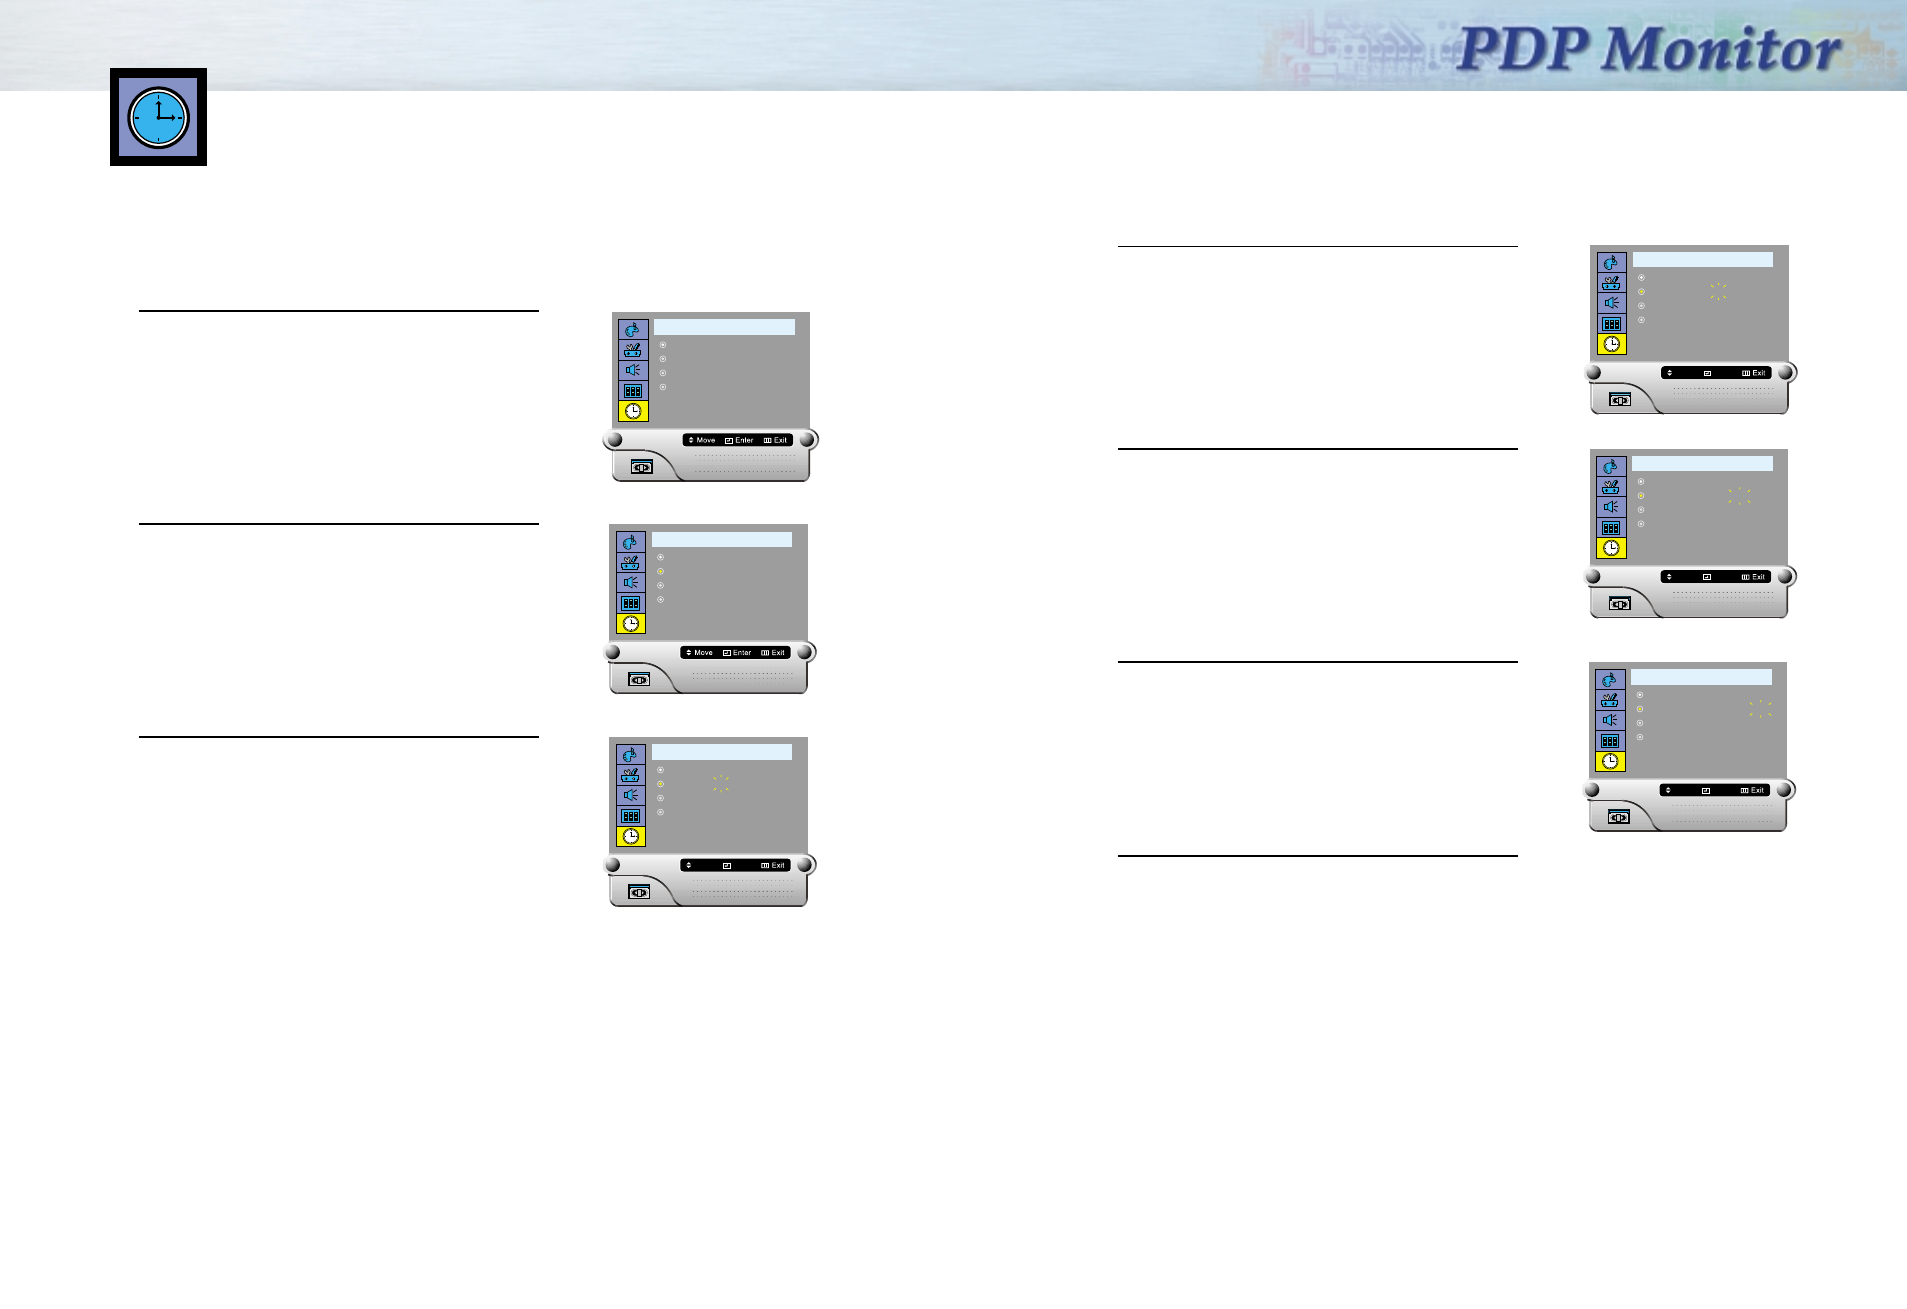
You can control and customize the Sound levels and settings of the TV with the remote control.
1 Press the Menu button. Move the joystick up or
down to select “AUDIO”, then press the joystick to
enter the sub-menu.
Quick way to access the Mute: Just press “Mute” on
the remote control.
2 Move the joystick left or right to select the Mute
“On” or “ Off”.
3 Press the Menu button to exit.
Using the Mute
A U D I O
Mute off
Volume
Balance
Treble
Bass
50
5050 L R
50
50
A U D I O
Mute off
Volume
Balance
Treble
Bass
50
5050 L R
50
50
Select
1 Press the Menu button. Move the joystick up or
down to select “AUDIO”, then press the joystick to
enter the sub-menu.
Quick way to access the Volume:
Move the joystick left or right to access.
2 Move the joystick left or right to adjust the Volume
on the screen.
3 Press the Menu button to exit.
Adjusting the Volume
A U D I O
Mute off
Volume
Balance
Treble
Bass
50
5050 L R
50
50
A U D I O
Mute off
Volume
Balance
Treble
Bass
50
5050 L R
50
50
Adjust
Sdi42-3.qxd 2001.11.16 5:5 PM Page 42
Setting the Clock . . . . . . . . . . . . . . . . . . . . . . . . . . . . . . . . . . . . .46
Setting the Timers . . . . . . . . . . . . . . . . . . . . . . . . . . . . . . . . . . . .48
Setting the Sleep Timer . . . . . . . . . . . . . . . . . . . . . . . . . . . . . . . . .50
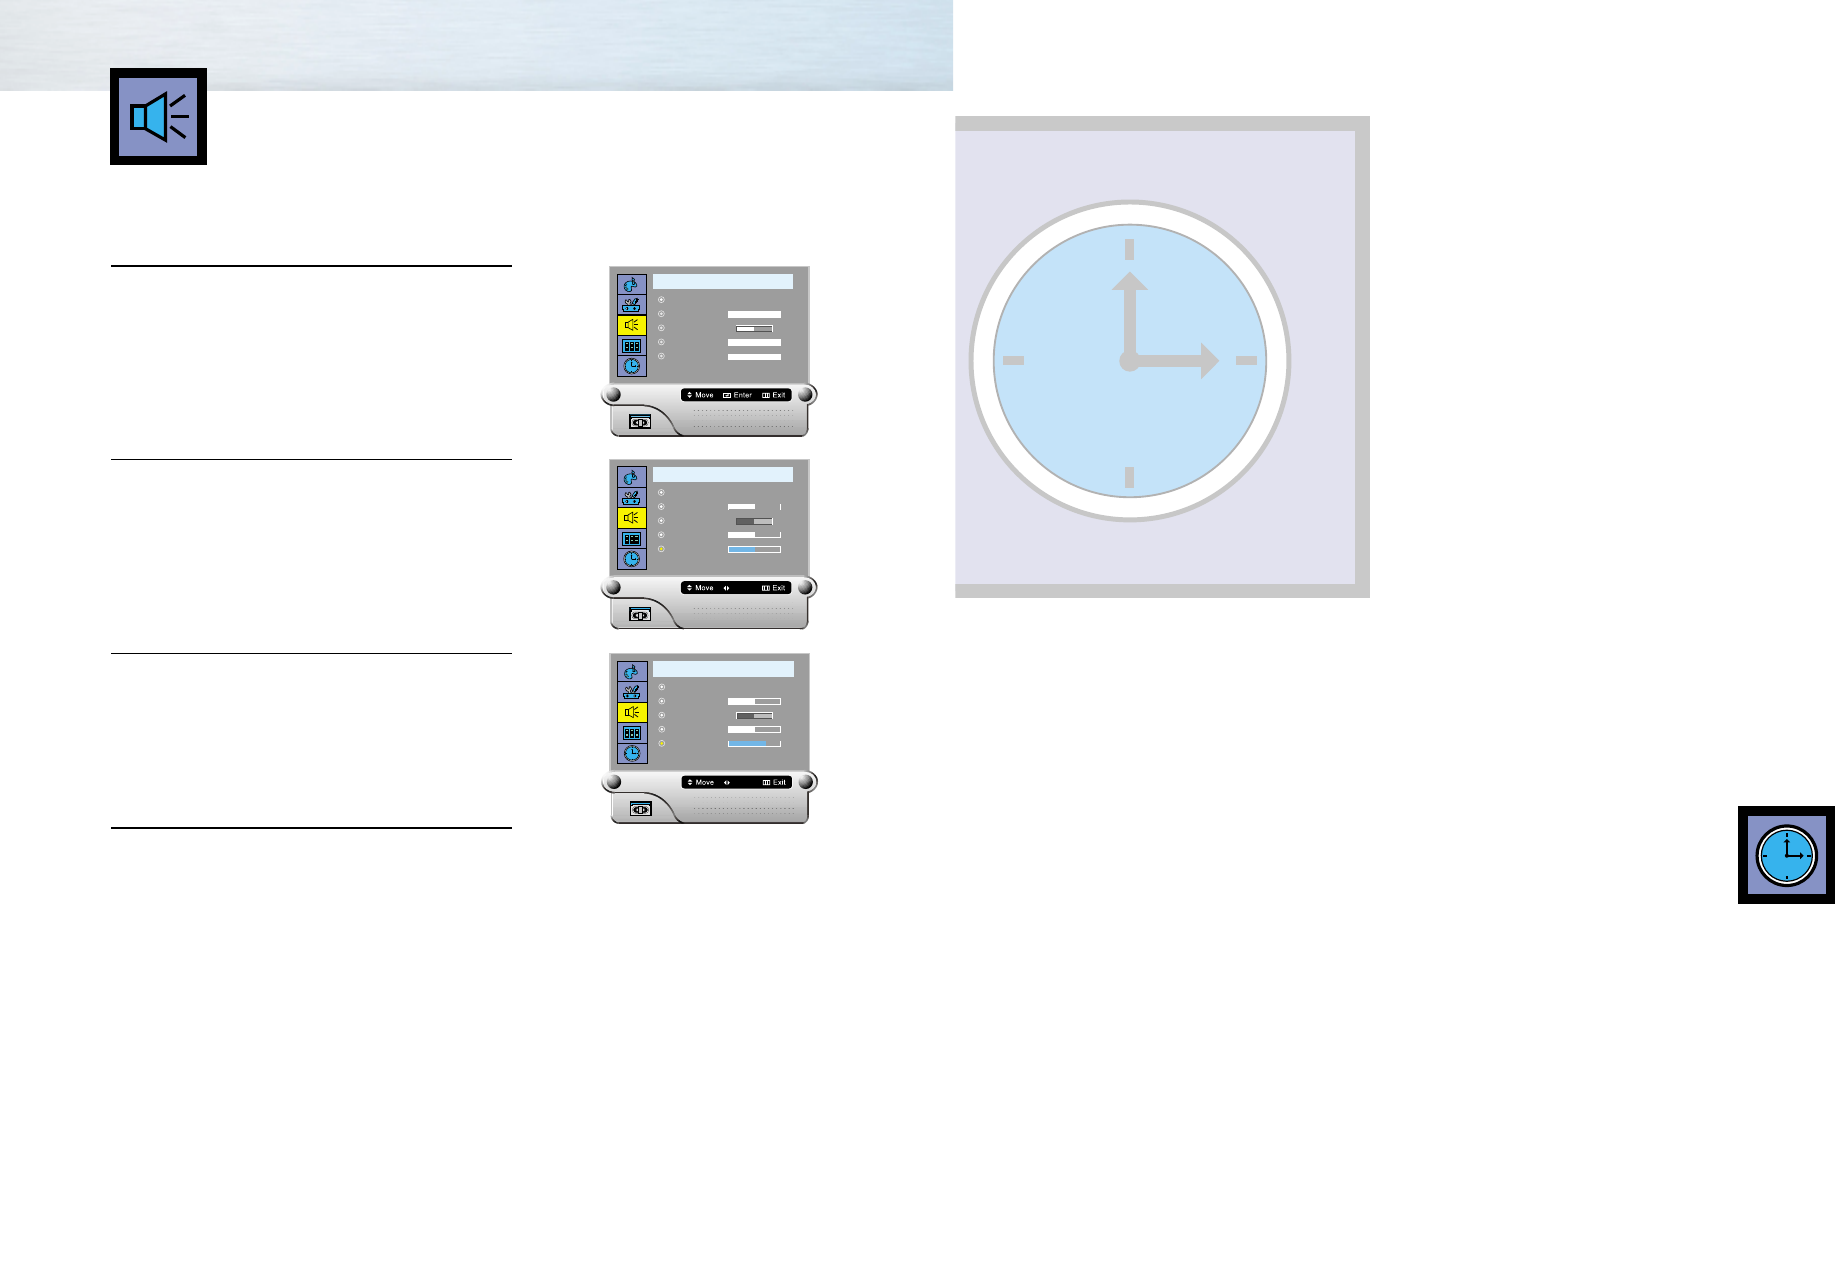
Time
44
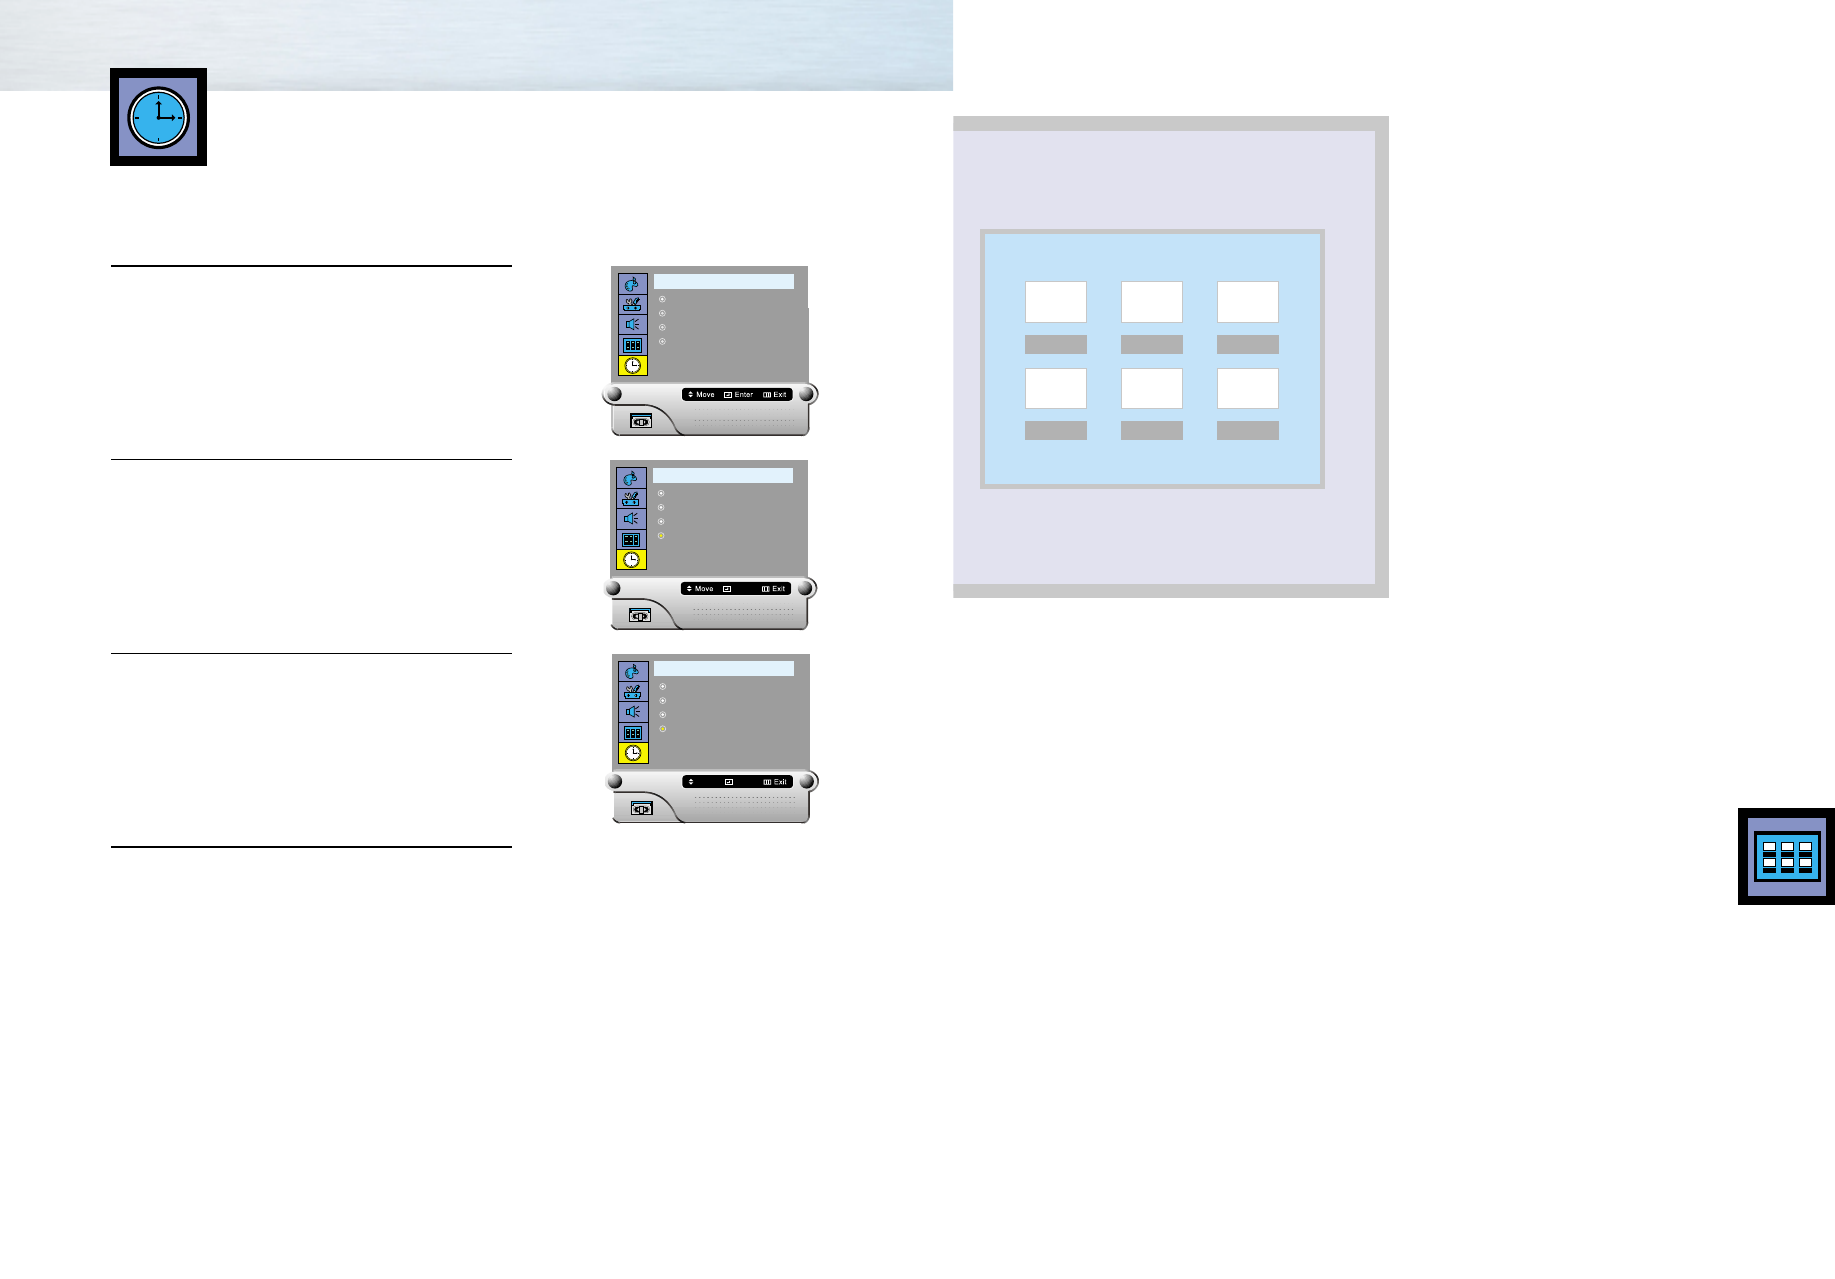
1 Press the Menu button. Move the joystick up or
down to select “AUDIO”, then press the joystick to
enter sub-menu.
2 Move the joystick down to select the item you want
to change.
3 Move the joystick left or right to raise or lower the
value of the item.
4 Press the Menu button to exit.
Customizing the Sound
A U D I O
Mute off
Volume
Balance
Treble
Bass
50
5050 L R
50
50
A U D I O
Mute off
Volume
Balance
Treble
Bass
50
5050 L R
50
50
Adjust
A U D I O
Mute off
Volume
Balance
Treble
Bass
50
5050 L R
50
70
Adjust
Time
Time
Sdi42-3.qxd 2001.11.16 5:5 PM Page 44
4746
4 After the hour is entered, press the joystick (at this
point the minutes digits will be blinked).
Move the joystick up or down to select the correct
minutes.
5 After selecting the correct minutes, press the joystick
(the Am / Pm digits will be blinked).
Move the joystick up or down to select the
"Am"or"Pm".
6 Press the Menu button to exit.
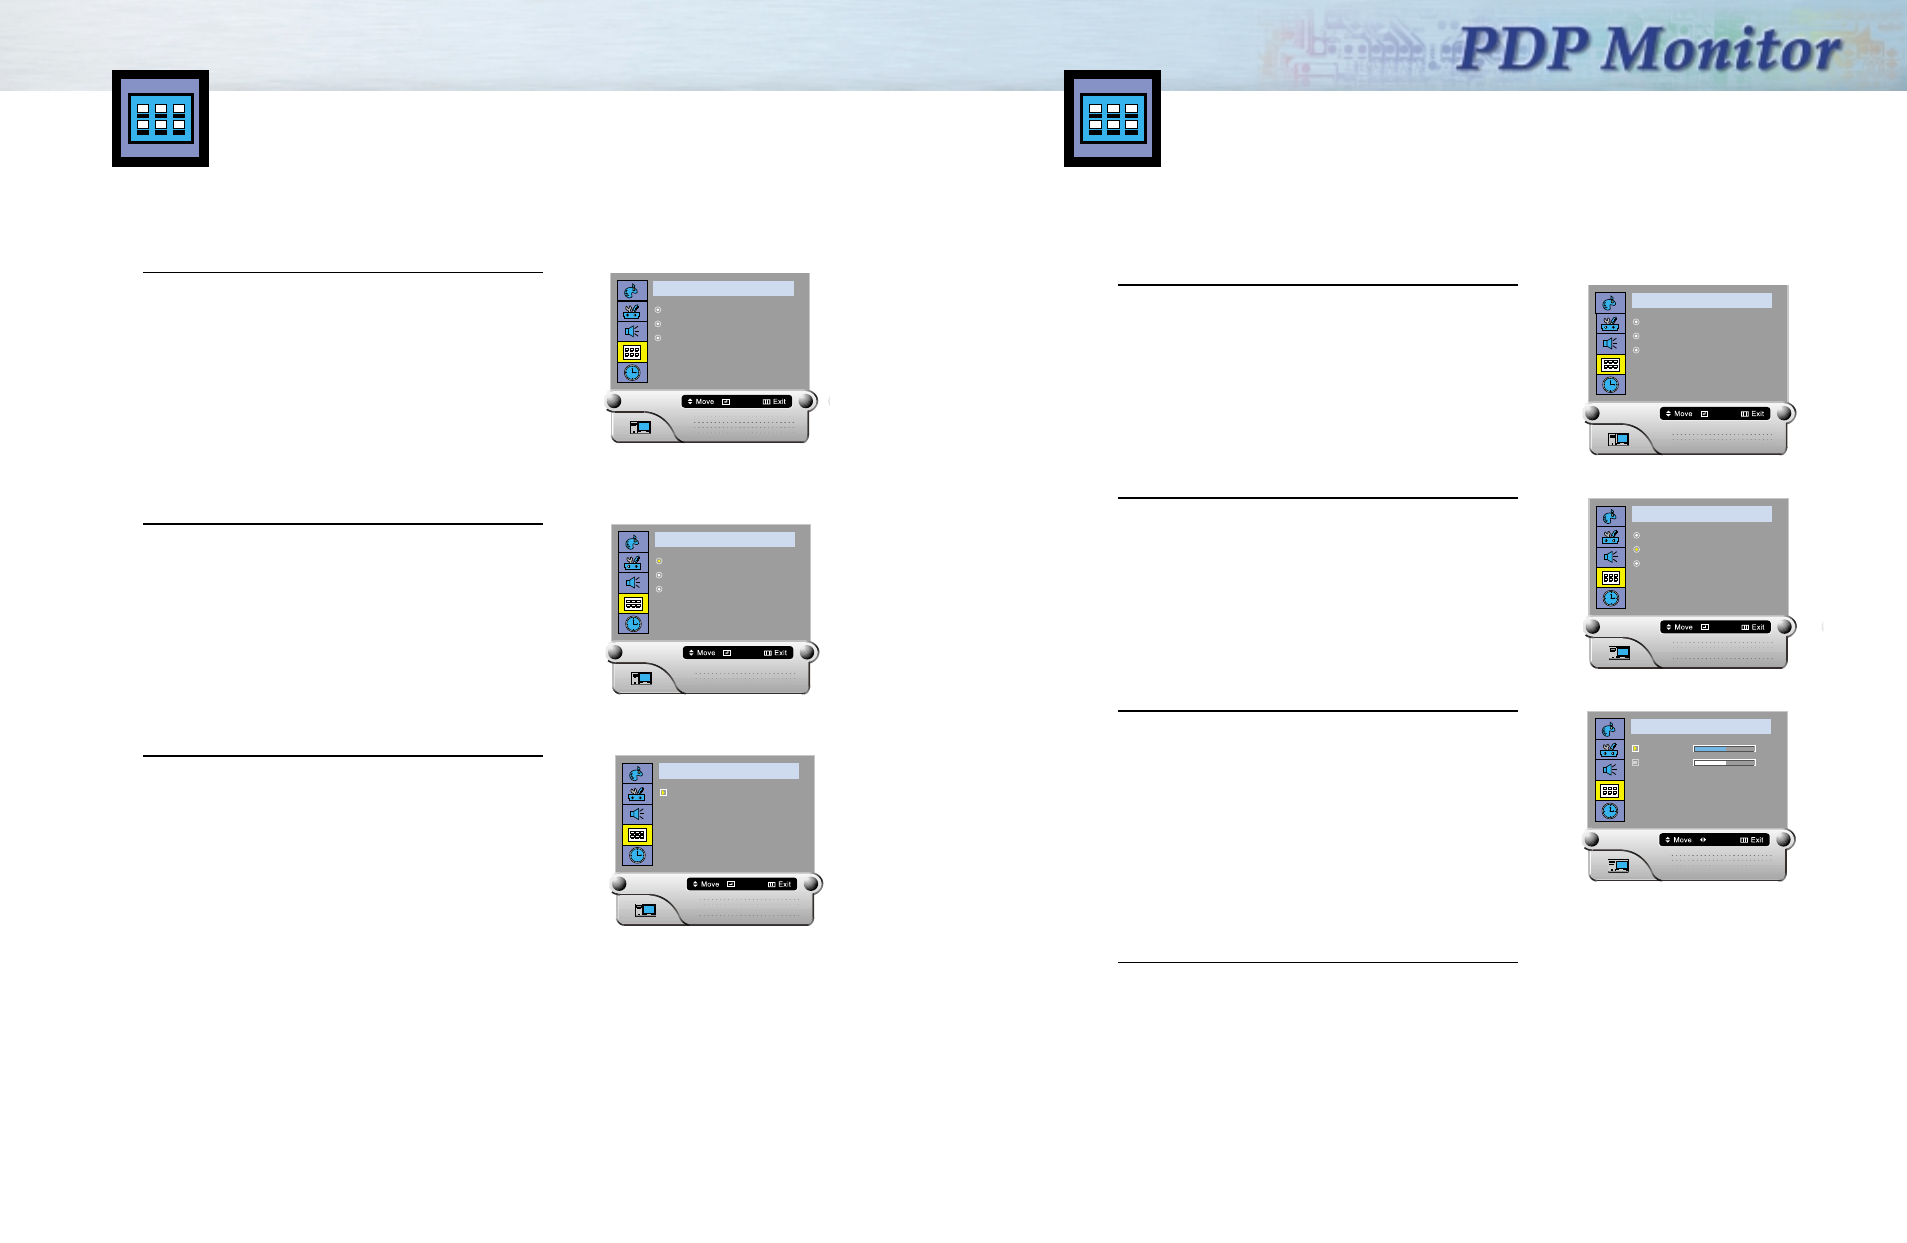
1 Press the Menu button. Move the joystick up or
down to select the "TIME", then press the joystick
to enter the sub-menu.
2 Press the joystick to select the "Clock".
3 Press the joystick again (the hours digits will be
blinked). Move the joystick up or down
repeatedly until the correct hour appears.
Setting the Clock
T I M E
Clock
On Time
Off Time
Sleep
08 : 48
05 : 59
12 : 00
Off
Pm
Am
Am Off
On
T I M E
Clock
On Time
Off Time
Sleep
08 : 48
05 : 59
12 : 00
Off
Pm
Am
Am Off
On
T I M E
Clock
On Time
Off Time
Sleep
08 : 48
05 : 59
12 : 00
Off
Pm
Am
Am Off
NextAdjust
On
T I M E
Clock
On Time
Off Time
Sleep
08 : 48
05 : 59
12 : 00
Off
Pm
Am
Am Off
NextAdjust
On
T I M E
Clock
On Time
Off Time
Sleep
08 : 48
05 : 59
12 : 00
Off
Pm
Am
Am Off
NextAdjust
On
Sdi42-3.qxd 2001.11.16 5:5 PM Page 46
4948
4 After the hour is entered, press the joystick (at this
point the minutes digits will being blinked).
Move the joystick up or down to select the correct
minutes.
5 After selecting the correct minutes, press the joystick
(the Am / Pm digits will be blinked). Move the joystick
up or down to select the "Am" or "Pm".
6 Press the joystick to blink "On/Off". Move the joystick
up or down to turn the On Timer " On ".
If you want to set the Off Time, move the joystick
down to select the "Off". Set the "Off" just as you
set the "On".
7 Press the Menu button to exit.
Setting the Timers
This PDP can be set to turn on or off automatically at specific times that you choose. Before using the
timers, you must set the PDP’s clock, as described previously.
Setting the On/Off Timer
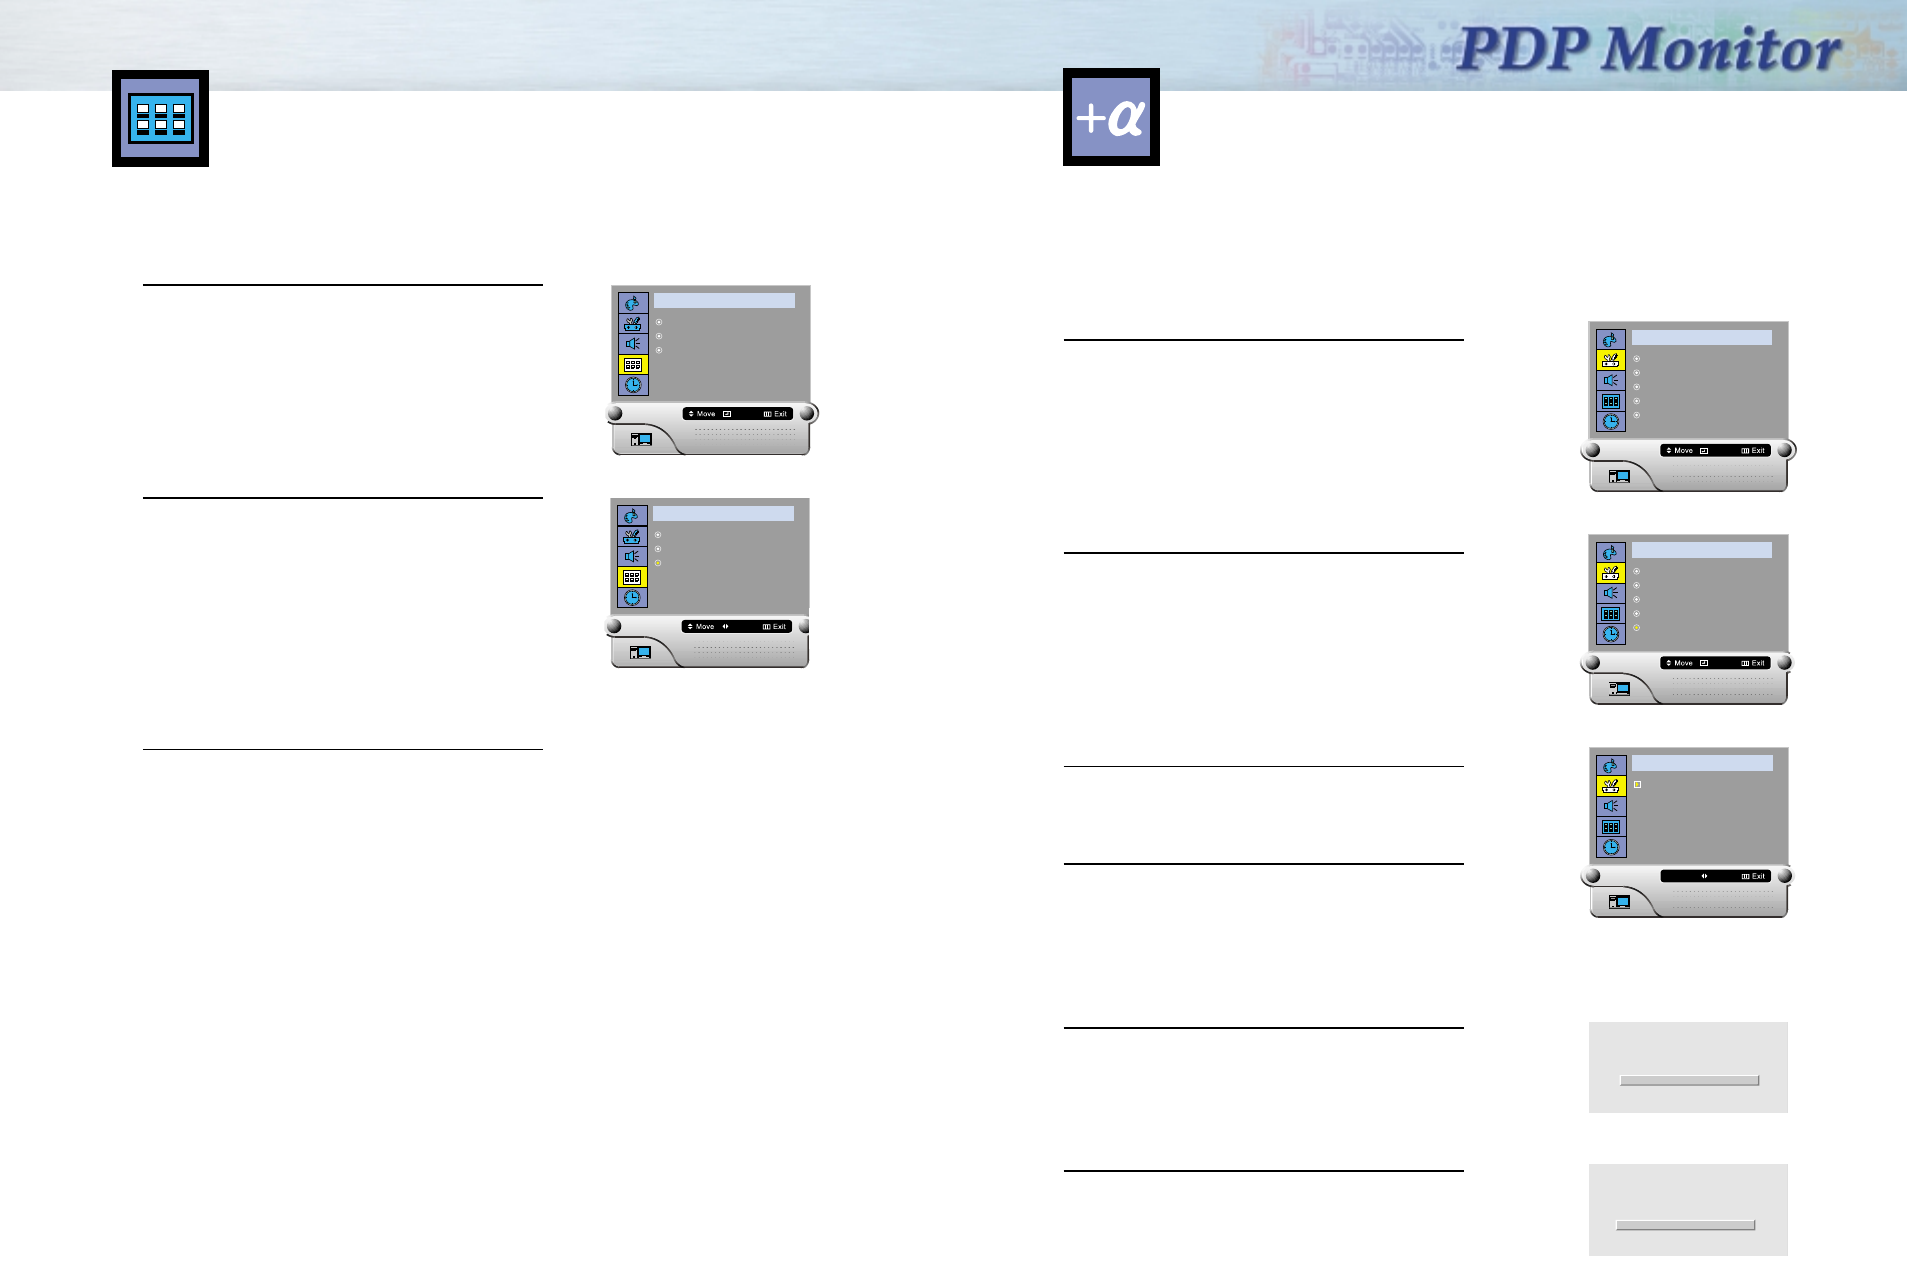
1 Press the Menu button. Move the joystick up or
down to select the "TIME", then press the joystick to
enter the sub-menu.
2 Move the joystick up or down to select the "On
Time", the press the joystick to enter.
3 Press the joystick again (the hours digits will be
blinked). Move the joystick up or down
repeatedly until the correct hour appears.
T I M E
Clock
On Time
Off Time
Sleep
08 : 48
05 : 59
12 : 00
Off
Pm
Am
Am Off
On
T I M E
Clock
On Time
Off Time
Sleep
08 : 48
05 : 59
12 : 00
Off
Pm
Am
Am Off
On
T I M E
Clock
On Time
Off Time
Sleep
08 : 48
05 : 59
12 : 00
Off
Pm
Am
Am Off
On
NextAdjust
T I M E
Clock
On Time
Off Time
Sleep
08 : 48
05 : 59
12 : 00
Off
Pm
Am
Am Off
On
NextAdjust
T I M E
Clock
On Time
Off Time
Sleep
08 : 48
05 : 59
12 : 00
Off
Pm
Am
Am Off
On
NextAdjust
T I M E
Clock
On Time
Off Time
Sleep
08 : 48
05 : 59
12 : 00
Off
Pm
Am
Am Off
On
NextAdjust
Sdi42-3.qxd 2001.11.16 5:5 PM Page 48
Function
Description
Function
Description
5150
Selection the Menu Language . . . . . . . . . . . . . . . . . . . . . . . . . . . .52
Setting the position . . . . . . . . . . . . . . . . . . . . . . . . . . . . . . . . . . .53
Setting the Turn Off Time . . . . . . . . . . . . . . . . . . . . . . . . . . . . . . .54
Setting the Pin . . . . . . . . . . . . . . . . . . . . . . . . . . . . . . . . . . . . . . .55
Using RS 232C cable (optional) . . . . . . . . . . . . . . . . . . . . . . . . . .56
Function Description
You can set your PDP to automatically turn off after a preset interval.
1 Press the Menu button. Move the joystick up or
down to select “TIME”, then press the joystick to
enter.
2 Move the joystick up or down to select the “Sleep”,
then press the joystick to enter.
3 Move the joystick up or down to select the time
interval for the PDP to stay on. The interval ranges
from 10 to 360 minutes.
4 Press the Menu button to exit.
Setting the Sleep Timer
T I M E
Clock
On Time
Off Time
Sleep
08 : 48
05 : 59
12 : 00
Off
Pm
Am
Am Off
On
T I M E
Clock
On Time
Off Time
Sleep
08 : 48
05 : 59
12 : 00
Off
Pm
Am
Am Off
Select
On
T I M E
Clock
On Time
Off Time
Sleep
08 : 48
05 : 59
12 : 00
10 Minute
Pm
Am
Am Off
EnterAdjust
On
Sdi42-3.qxd 2001.11.16 5:6 PM Page 50
5352
Setting the Position
Setting the Position of OSD ( On Screen Display )
1 Press the Menu button. Move the joystick up or
down to select the "OSD", then press the joystick.
OSD (On Screen Display) menus are displayed.
2 Move the joystick up or down to select the
"Position", then press the joystick to select items.
3 Move the joystick up or down to select the
"Horizontal", then move the joystick left or right to
adjust position you want.
Set the "Vertical" just as you set the
"Horizontal".
4 Press the Menu button to exit.
O S D
Language
Position
Turn Off Time
Enter
3sec
O S D
Horizontal
Vertical
Adjust
50
50
O S D
Language
Position
Turn Off Time 3sec
Enter
Choose a language for the on-screen menus : English.
1 Press the Menu button. Move the joystick up or
down to select the "OSD", then press the joystick
OSD(On Screen Display) menus are displayed.
2 Press the joystick button to select the "Language".
3 Press the Menu button to exit.
NN
NNoo
oott
ttee
ee::
::This menu Language provided only in English.
O S D
Language
Position
Turn Off Time 3sec
Enter
O S D
Language
Position
Turn Off Time
Enter
3sec
O S D
English
Enter
Selection the Menu Language
Sdi42-3.qxd 2001.11.16 5:6 PM Page 52
5554
In case various PDP sets are displayed using a multi cube, use this function to stop the remote control
operating by turning the PIN function ON for a specific set.
Do NOT forget the PIN number. If you forgot the PIN number, disconnect the power cord.
And the mode will automatically turn PIN OFF.
1 Press the Menu button. Move the joystick up or
down to select the “SETUP”, then press the joystick
to enter.
2 Move the joystick up or down to select the “Pin”,
then press the joystick to enter.
3 Move the joystick left or right to enter pin number.
4 Press the Menu button to exit.
Operating pins (when Pin No. is set to 001)
1. Press the Information button.
2. Using the Number buttons, enter the pin number.
3. A remote control can’t run the PDP set.
Canceling pins (when Pin No. is set to 001)
1. Press the Information button.
2. Using the Number buttons, enter the pin number.
3. A remote control can run the PDP set.
S E T U P
Position
Image Lock
Aspect Radio Fill All
Zoom/Pan
Pin
Enter
S E T U P
Position
Image Lock
Aspect Radio Fill All
Zoom/Pan
Pin
Enter
S E T U P
Pin No
Adjust
001
Pin ON ID : 001
Pin OFF ID : 001
Setting the Pin
Setting the Turn Off Time of OSD ( On Screen Display )
1 Press the Menu button. Move the joystick up or
down to select the "OSD", then press the joystick.
OSD (On Screen Display) menus are displayed.
2 Move the joystick up or down to select the "Turn Off
Time", then move the joystick left or right to
select the seconds you want. The time ranges from
3 to 60seconds.
3 Press the Menu button to exit.
Setting the Turn Off Time of OSD
O S D
Language
Position
Turn Off Time 3sec
Enter
O S D
Language
Position
Turn Off Time
Adjust
3sec
Sdi42-3.qxd 2001.11.16 5:6 PM Page 54
56
Troubleshooting............................................................................58
Care and Maintenance ................................................................59
Specifications ..............................................................................60
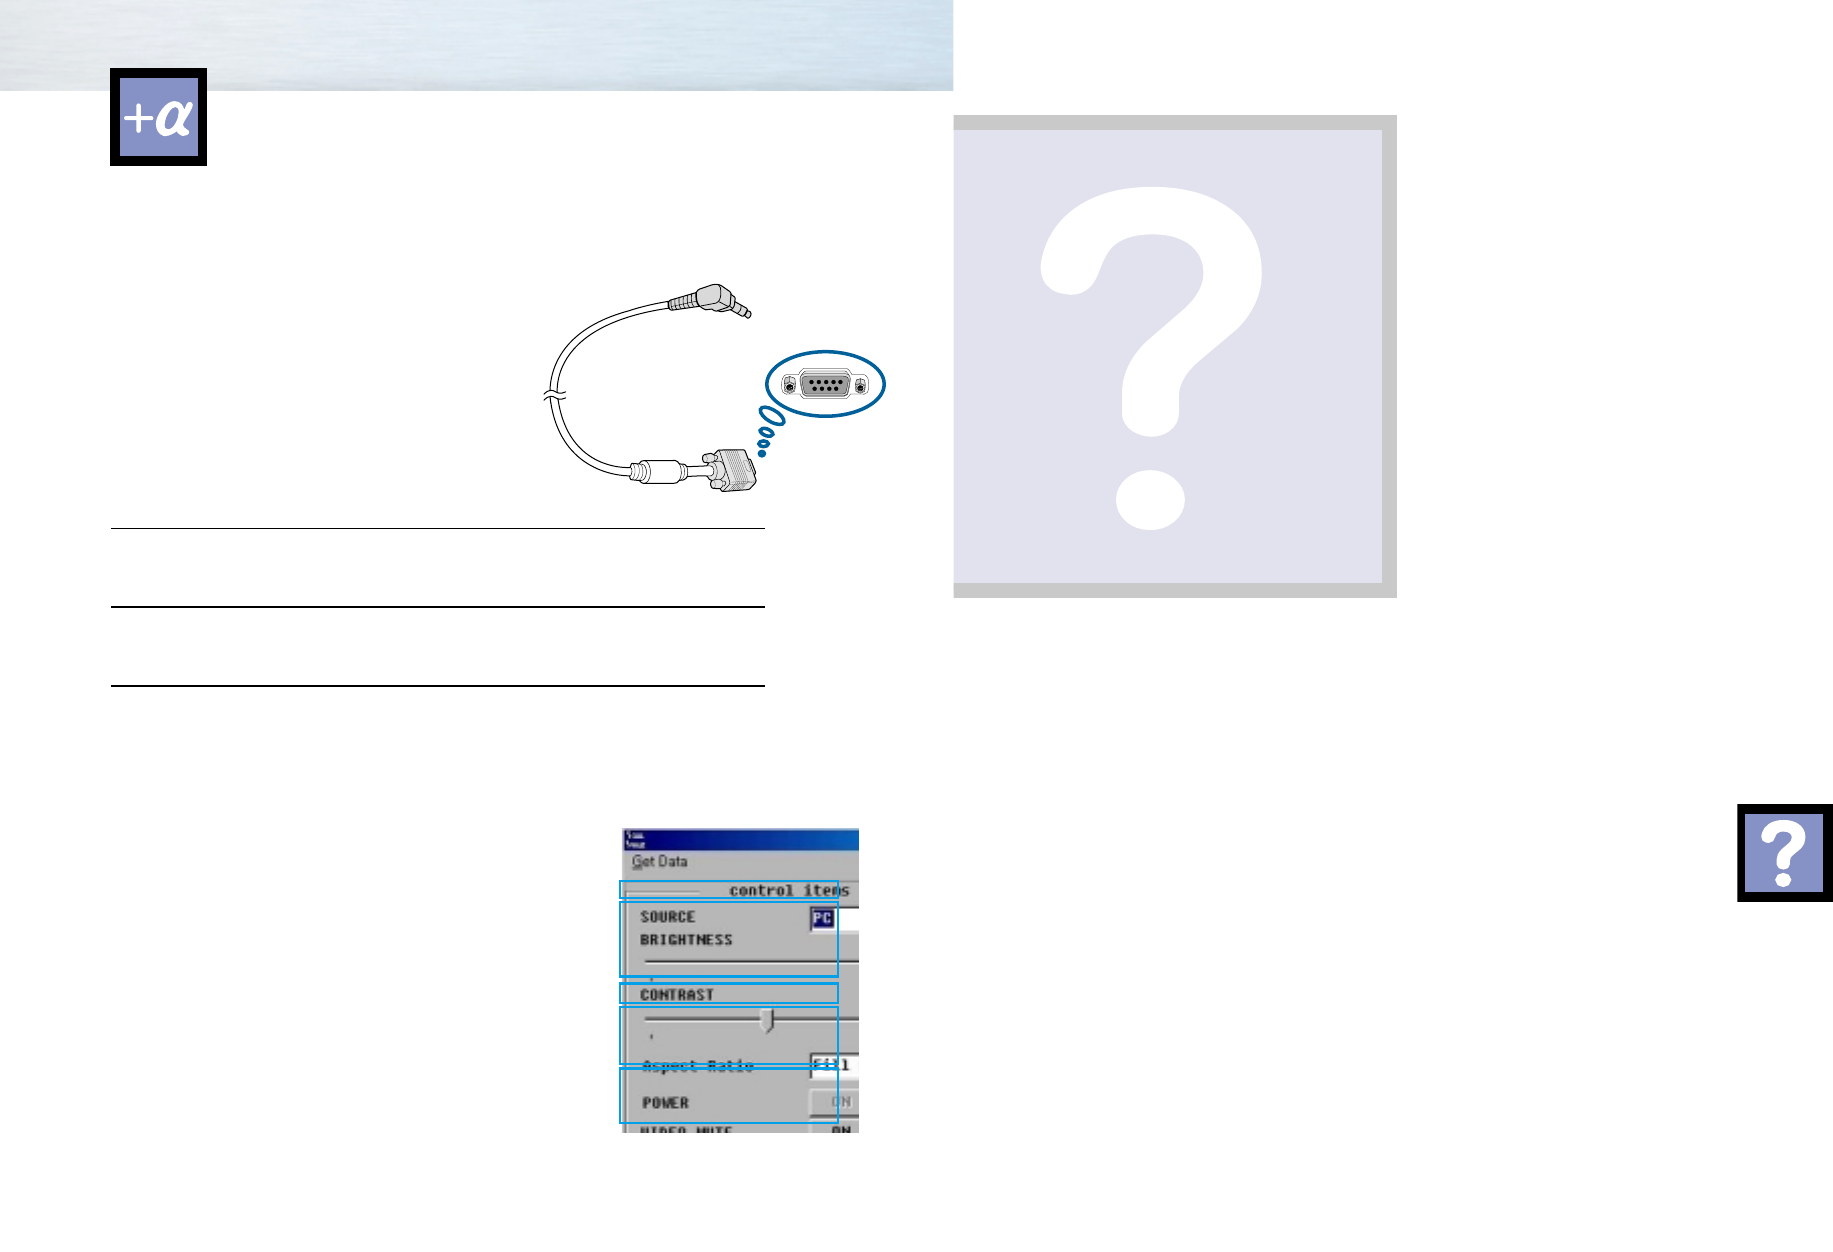
Using RS 232C cable (optional)
A RS 232C cable is not included with the monitor. (The separately sold RS 232C cable is required)
As shown on the screen, PDP Remote Controller is used to control the PDP, Controls are made the PDP
Remote Control pad shown in diagram. Program disk is provided with your PDP monitor.
Supported Operating Systems
•Window 98 (including Second Edition)
•Window Me
•Window NT 4.0
•Window 2000
Installation Procedures
1 Connect RS-232C cable (optional) to the PC and monitor’s RS 232C input port.
2 Start your computer. If you have any application programs running, close them now.
3 Insert the floppy in the floppy drive. Run the PDP.EXE.
PDP Remote Controller menu
ŒTo select the input source, click the drop-down box.
´To change the brightness and contrast, drag the control bar.
ˇTo select the screen mode, click the drop-down box.
¨ To control these functions, click the buttons.
(The video mute is screen off)
ˆ To active the Power ON/OFF Dates, adjust the time and
check the box.
Note
•The remote control doesn’t operate when connecting
your PDP monitor to RS-232C.
Œ
´
ˇ
¨
ˆ
Appendix
Appendix
Appendix
Sdi42-3.qxd 2001.11.16 5:6 PM Page 56

5958
Troubleshooting
With proper care, your PDP Monitor will give you many years of service. Please follow these guidelines
to get the maximum performance from your PDP.
Identifying Problems
• Do not put the PDP Monitor near extremely hot, cold, humid or dusty places.
• Keep the ventilation openings clear.
• Do not place the PDP Monitor on a rough and slanted surface, such as cloth or paper.
Liquids
• Do not handle liquids near or on the PDP Monitor.
Cabinet
• Never open the cabinet or touch the parts inside.
• Wipe your PDP Monitor with a clean, dry cloth. Never use water, cleaning fluids, wax, or chemi-
cals.
• Do not put heavy objects on top of the cabinet.
Temperature
• If your PDP Monitor is suddenly moved from a cold to a warm place, unplug the power cord for at
least two hours so that moisture that may have formed inside the unit can dry completely.
Care and Maintenance
Problem
Poor picture
The power indicator is
amber blinking
Your Remote control does
not operate the monitor
The monitor won’t turn on
There is no screen image
The image is too light or
too dark
The image is too large or
too small
When a noise happens in
S-Video
Before you call a service technicion, please scan this list of problems and possible solutions. It may save you
time and money.
Possible Solution
Check all wire connections.
The monitor is using its power management system.
Check the power management utility on your computer.
Press the “Mode” button to put your remote control in
the “Monitor” mode.
Check the pin function is in use.
Make sure the wall outlet is working.
Check to see that both the monitor and the source are
plugged in and turned on.
Adjust the Brightness or Contrast settings.
Adjust the Size settings.
Check the provided cable is used.
A noise may happen if an irregular S-Video cable is used.
Sdi42-4.qxd 2001.11.16 5:7 PM Page 58

6160
Specifications
The information on power consumption and screen size is shown on the rear side of the product. Exteri-
or design and product specifications are subject to change without prior notice to improve the perfor-
mance of this product.
Memo
1038 (W) X 89 (D) X 638 (H)mm
54 (W) X 31.5 (D) X 220 (H)mm
32 kg
150 g (including batteries)
AC100 - 240V 50/60 Hz
320 Watts
920 x 518 (mm)
Model
Dimensions Display
Remote Control
Weight Display
Remote Control
Voltage
Power Consumption
Screen Size
Sdi42-4.qxd 2001.11.29 10:5 AM Page 60

6362
Memo Memo
Sdi42-4.qxd 2001.11.16 5:7 PM Page 62