LG Electronics USA 55LV555HUA LCD TV/Monitor User Manual SAC34134301 Edit1
LG Electronics USA LCD TV/Monitor SAC34134301 Edit1
Contents
- 1. User manual 1 of 5
- 2. User manual 2 of 5
- 3. User manual 3 of 5
- 4. User manual 4 of 5
- 5. User manual 5 of 5
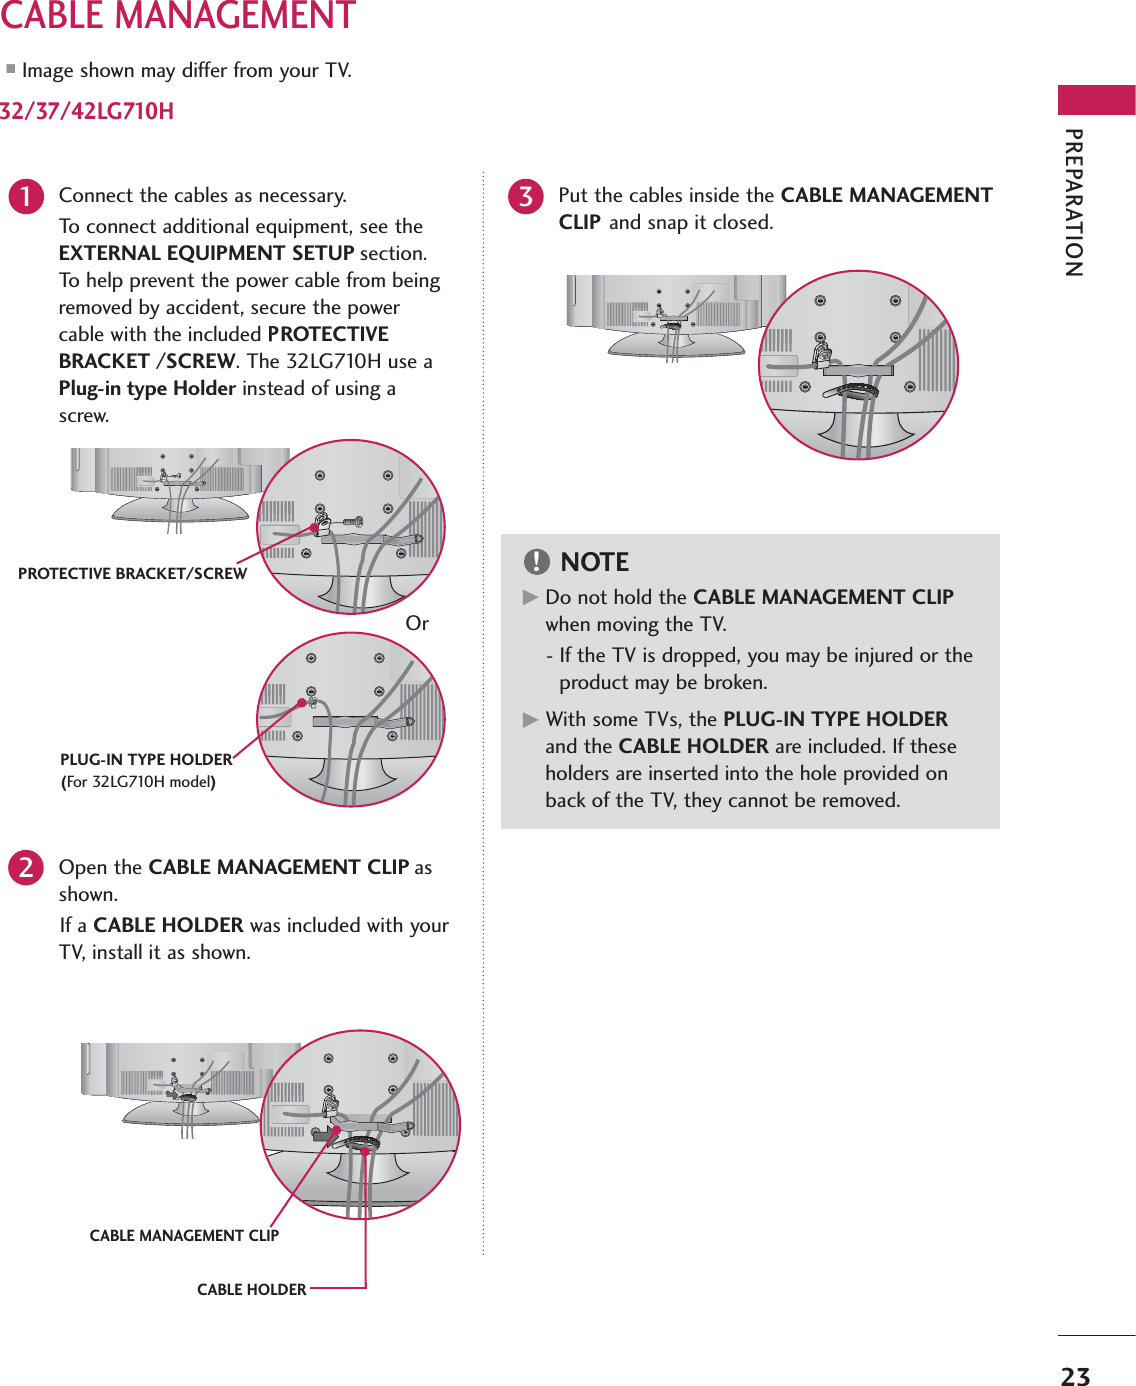
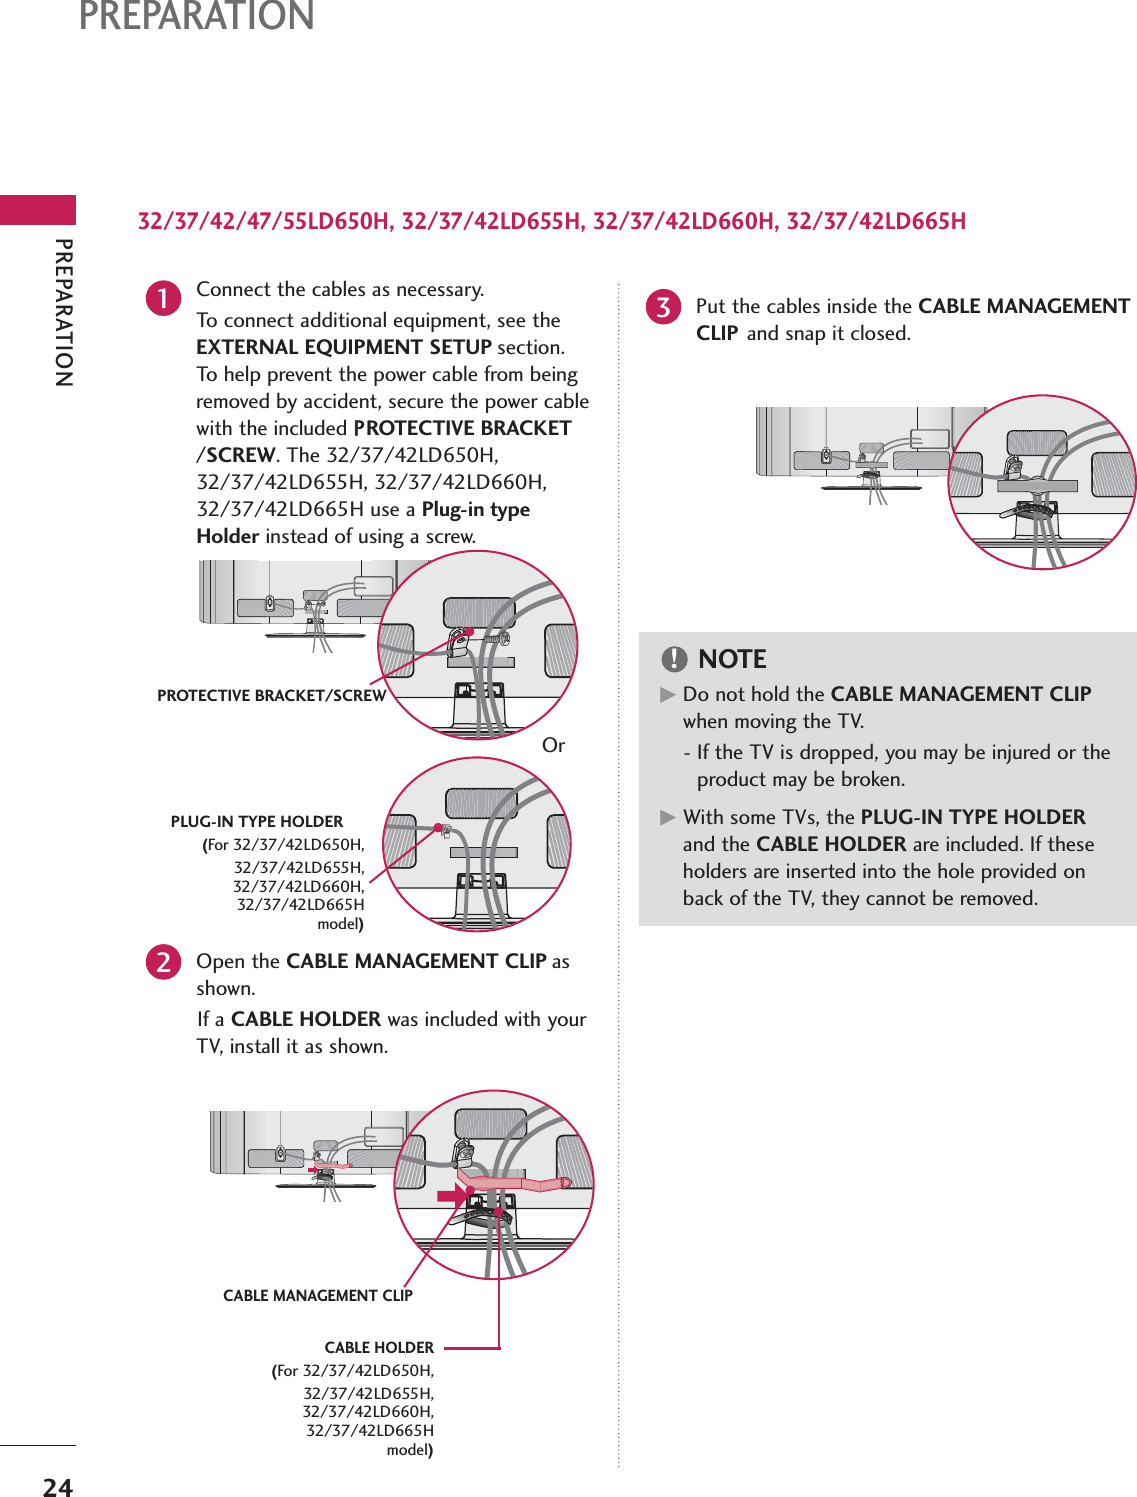
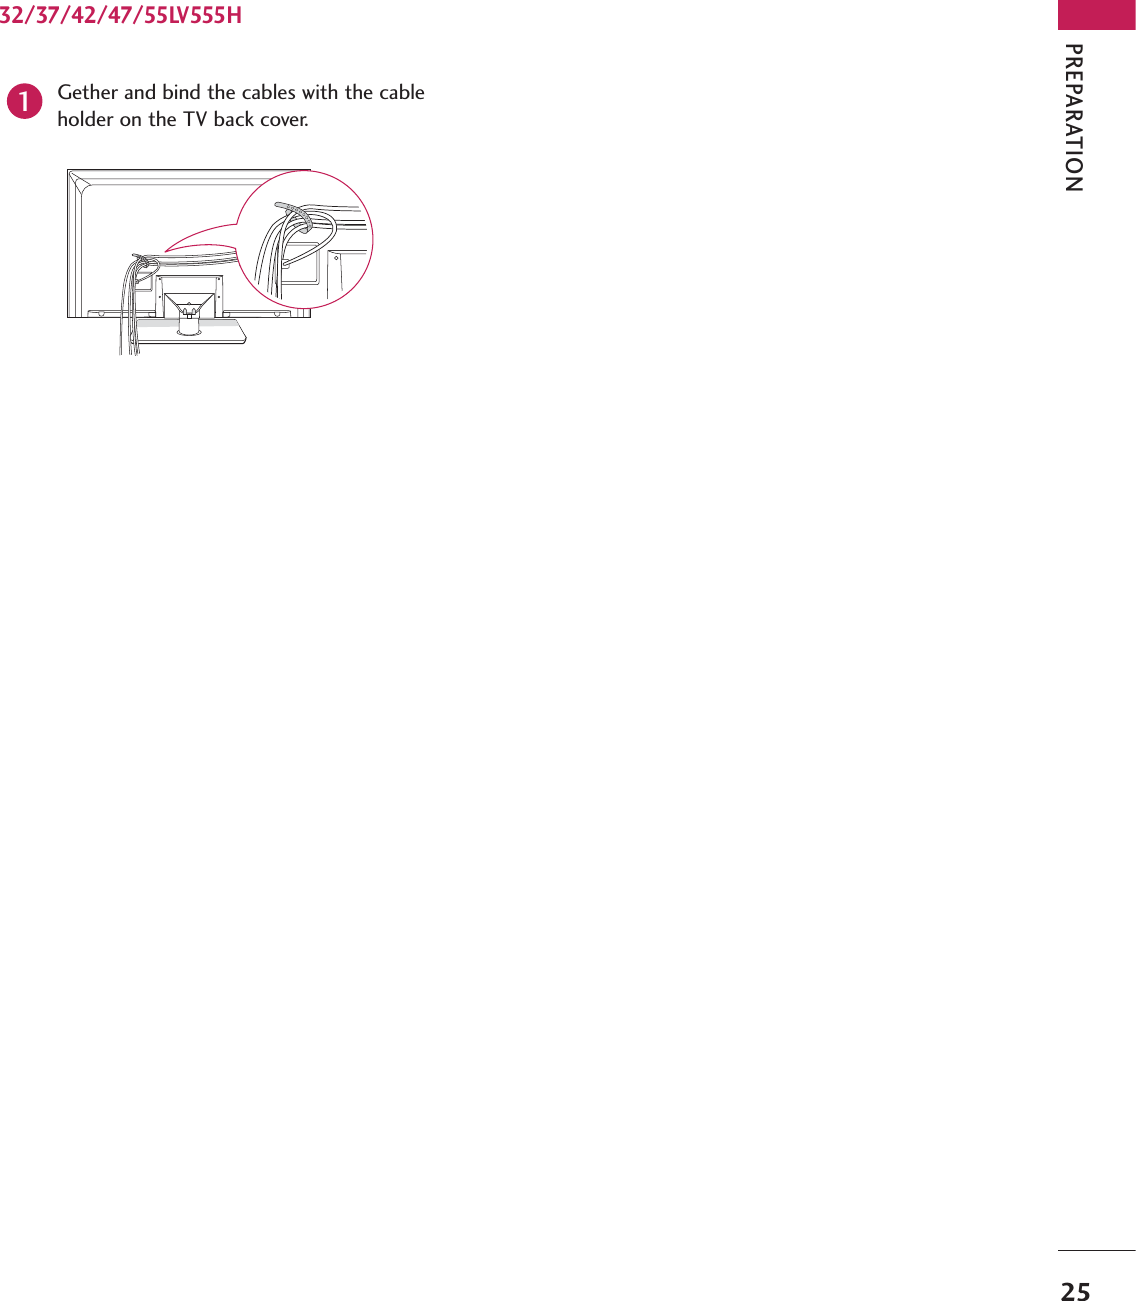
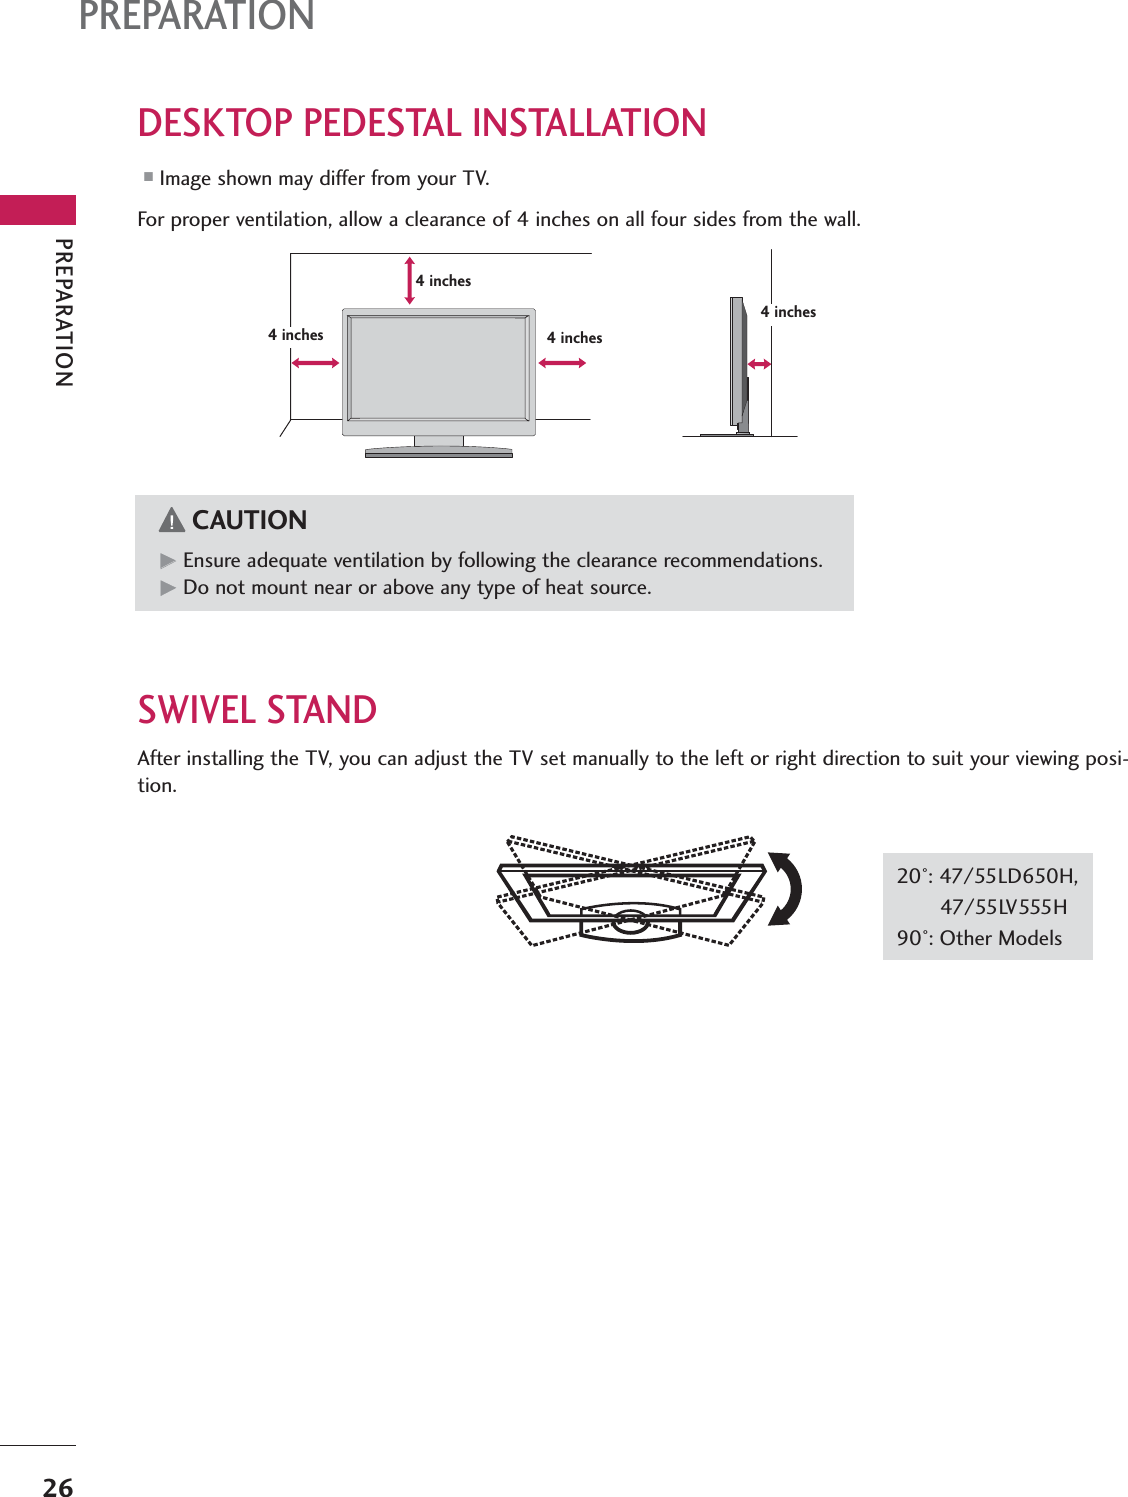
User manual 1 of 5