LINKSYS WRT54G2V1 Wireless-G Broadband Router User Manual Manual Part 6
LINKSYS LLC Wireless-G Broadband Router Manual Part 6
LINKSYS >
Contents
Manual Part 6

Chapter 3 Advanced Configuration
19
Wireless-G Broadband Router
Administration > Log
The Router can keep logs of all traffic for your Internet
connection.
Administration > Log
Log
Log To disable the Log function, keep the default setting,
Disable. To monitor traffic between the network and the
Internet, select Enable.
When you wish to view the logs, click Incoming Log or
Outgoing Log, depending on which you wish to view.
Click Save Settings to apply your changes, or click Cancel
Changes to cancel your changes.
Administration > Diagnostics
The diagnostic tests (Ping and Traceroute) allow you to
check the connections of your network components.
Administration > Diagnostics
Ping Test
Ping The Ping test checks the status of a connection.
Click Ping to open the Ping Test screen. Enter the address
of the PC whose connection you wish to test and how
many times you wish to test it. Then, click Ping. The Ping
Test screen will show if the test was successful. To stop the
test, click Stop. Click Clear Log to clear the screen. Click
Close to return to the Diagnostics screen.
The Ping Test
Traceroute Test
Traceroute To test the performance of a connection,
click Traceroute to open the Traceroute Test screen. Enter
the address of the PC whose connection you wish to test
and click Traceroute. The Traceroute Test screen will show
if the test was successful. To stop the test, click Stop. Click
Clear Log to clear the screen. Click Close to return to the
Diagnostics screen.
The Traceroute Test
Administration > Factory Defaults
The Administration > Factory Defaults screen allows you
to restore the Router’s configuration to its factory default
settings.
Factory Defaults
Restore Factory Defaults To reset the Router’s settings
to the default values, select Yes, and then click Save
Settings. Any settings you have saved will be lost when
the default settings are restored.
Administration > Factory Defaults
Chapter 3 Advanced Configuration
20
Wireless-G Broadband Router
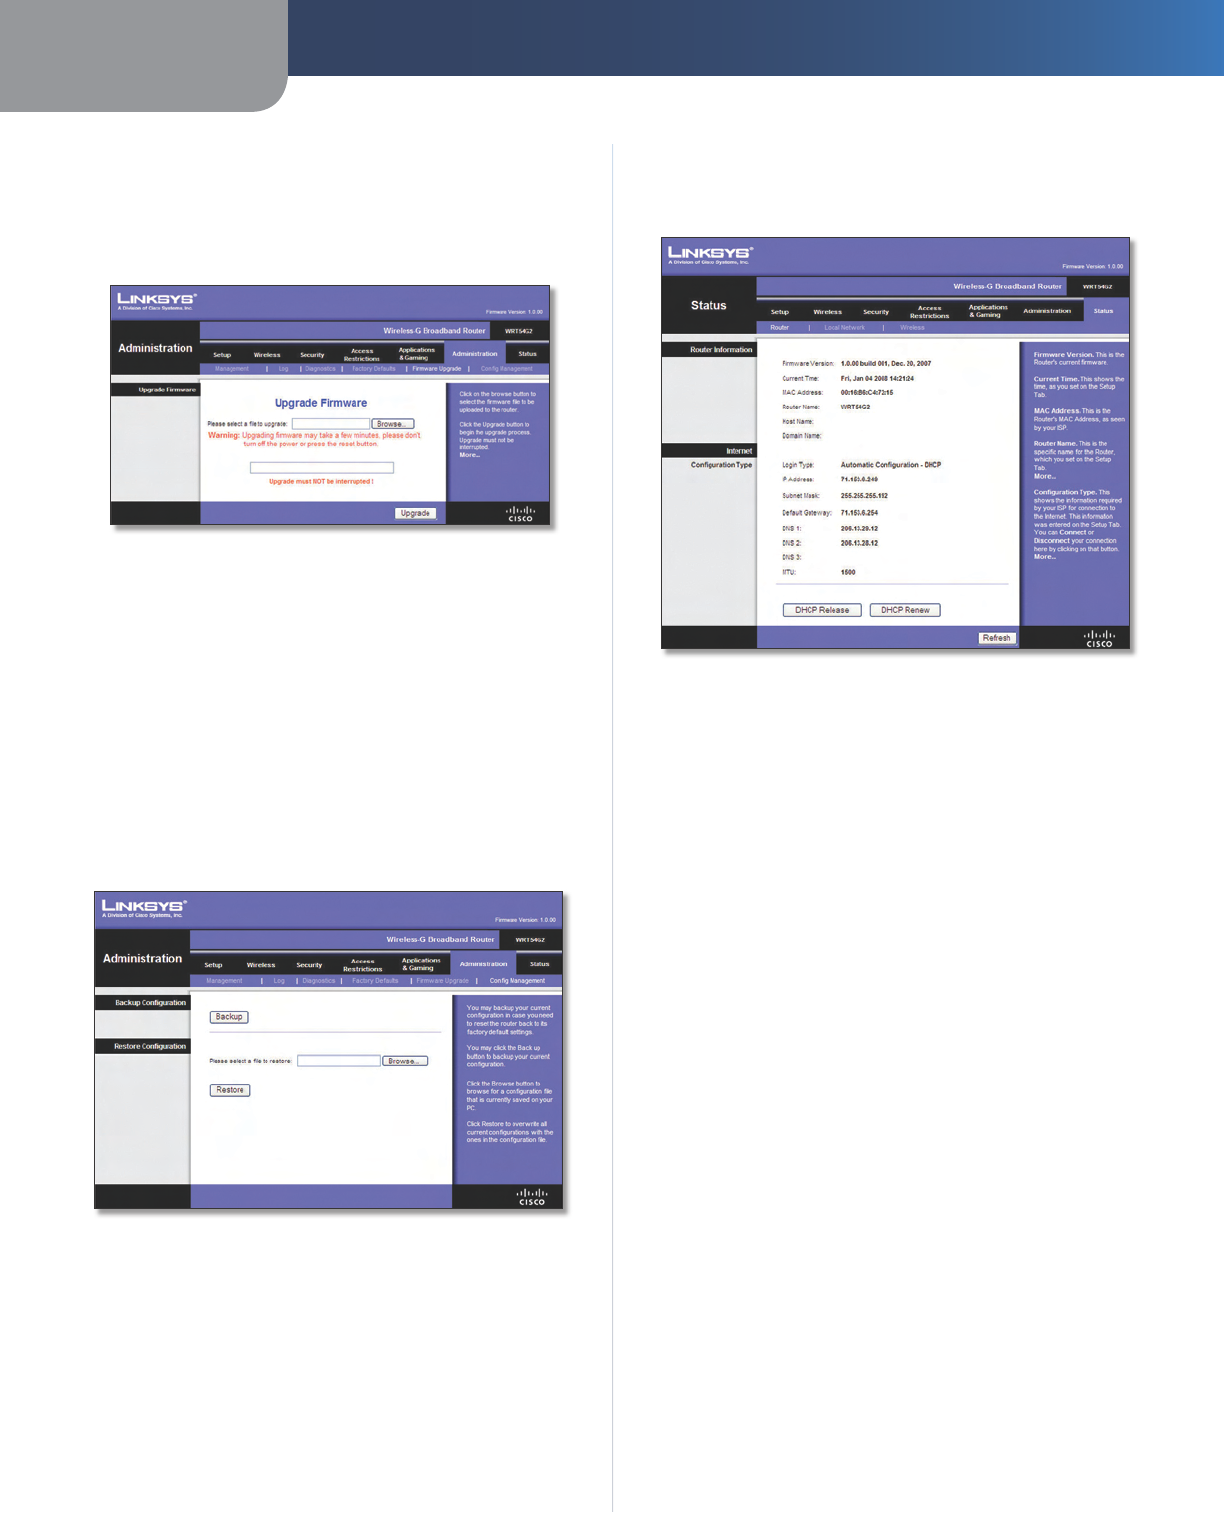
Administration > Upgrade Firmware
The Administration > Upgrade Firmware screen allows you
to upgrade the Router’s firmware. Do not upgrade the
firmware unless you are experiencing problems with the
Router or the new firmware has a feature you want to use.
Administration > Upgrade Firmware
Before upgrading the firmware, download the Router’s
firmware upgrade file from the Linksys website, www.
linksys.com. Then extract the file.
Upgrade Firmware
Please select a file to upgrade Click Browse and select
the extracted firmware upgrade file. Then c
lick Upgrade
and follow the on-screen instructions.
Administration > Config Management
This screen is used to back up or restore the Router’s
configuration file.
Administration > Config Management
Backup Configuration
To back up the Router’s configuration file, click Backup.
Then follow the on-screen instructions.
Restore Configuration
Please select a file to restore Click Browse and select
the configuration file. Then click Restore.
Status > Router
The Status > Router screen displays the Router’s current
status.
Status > Router
Router Information
Firmware Version This is the Router’s current firmware.
Current Time This shows the time, as you set on the
Setup tab.
MAC Address This is the Router’s MAC Address, as seen
by your ISP.
Router Name This is the specific name for the Router,
which you set on the Setup tab.
Host Name If required by your ISP, this would have been
entered on the Setup tab.
Domain Name If required by your ISP, this would have
been entered on the Setup tab.
Internet
Configuration Type
This section shows the current network information
stored in the Router. The information varies depending on
the Internet connection type selected on the Setup > Basic
Setup screen.
Click Refresh to update the on-screen information.
Chapter 3 Advanced Configuration
21
Wireless-G Broadband Router
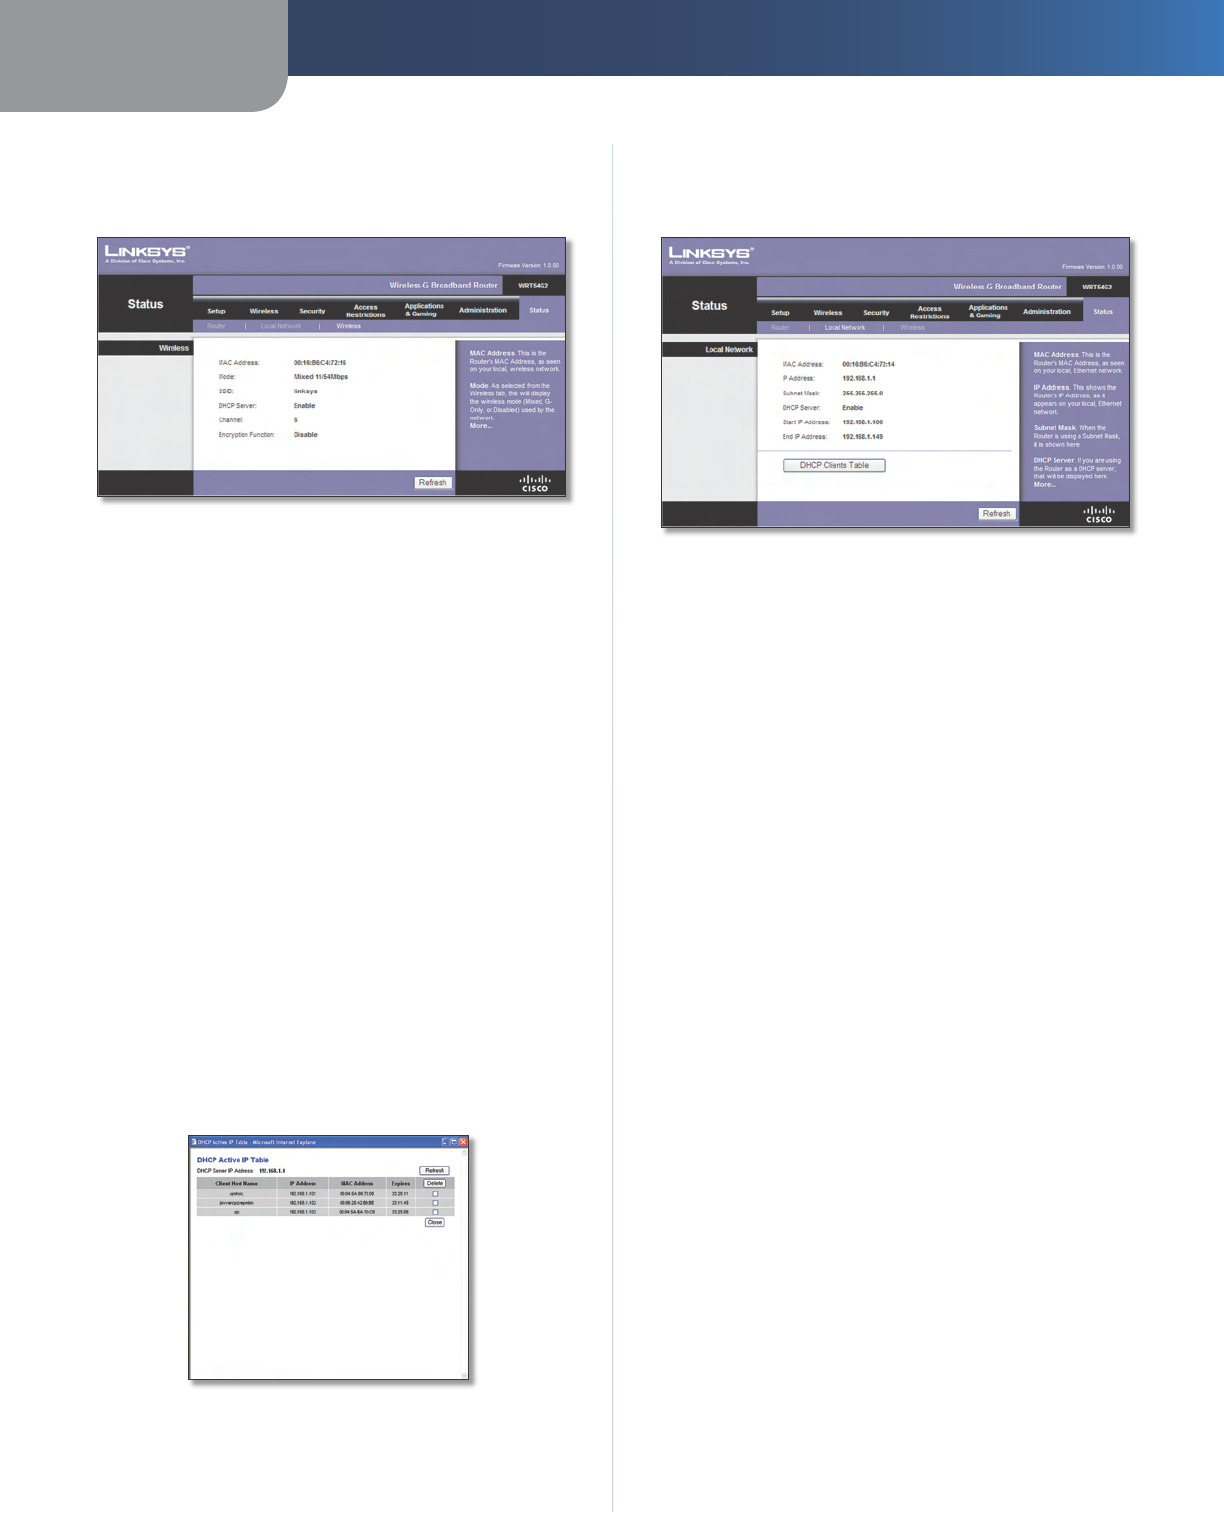
Status > Local Network
The Status > Local Network screen displays the status of
your network.
Status > Local Network
Local Network
MAC Address This is the Router’s MAC Address, as seen
on your local, Ethernet network.
IP Address This shows the Router’s IP Address, as it
appears on your local, Ethernet network.
Subnet Mask This shows the current subnet mask being
configured for your local network.
DHCP Server If you are using the Router as a DHCP server,
that will be displayed here.
Start IP Address For the range of IP Addresses used by
devices on your local, Ethernet network, the beginning of
that range is shown here.
End IP Address For the range of IP Addresses used by
devices on your local, Ethernet network, the end of that
range is shown here.
DHCP Clients Table Clicking this button will open a
screen to show you which PCs are utilizing the Router as a
DHCP server. You can delete PCs from that list, and sever
their connections, by checking a Delete box and clicking
the Delete button.
DHCP Clients Table
Click Refresh to update the on-screen information.
Status > Wireless
The Status > Wireless screen displays the status of your
wireless network.
Status > Wireless
Wireless
MAC Address This is the Router’s MAC Address, as seen
on your local, wireless network.
Mode As selected from the Wireless > Basic Wireless
Settings screen, this displays the wireless mode (Mixed, G-
Only, or Disabled) used by the network.
SSID As entered on the Wireless > Basic Wireless Settings
screen, this displays the wireless network name or SSID.
DHCP Server The status of the DHCP server function is
displayed here.
Channel As entered on the Wireless > Basic Wireless
Settings screen, this displays the channel on which your
wireless network is broadcasting.
Encryption Function As selected on the Wireless >
Wireless Security screen, this displays the status of the
Router’s wireless security.
Click Refresh to update the on-screen information.