Mandolyn Electronic Technology WS Weather Station Receiver User Manual WS2300U English

Mandolyn Electronic Technology Inc. Weather Station Receiver WS2300U English

Contents

User Manual WS2300U

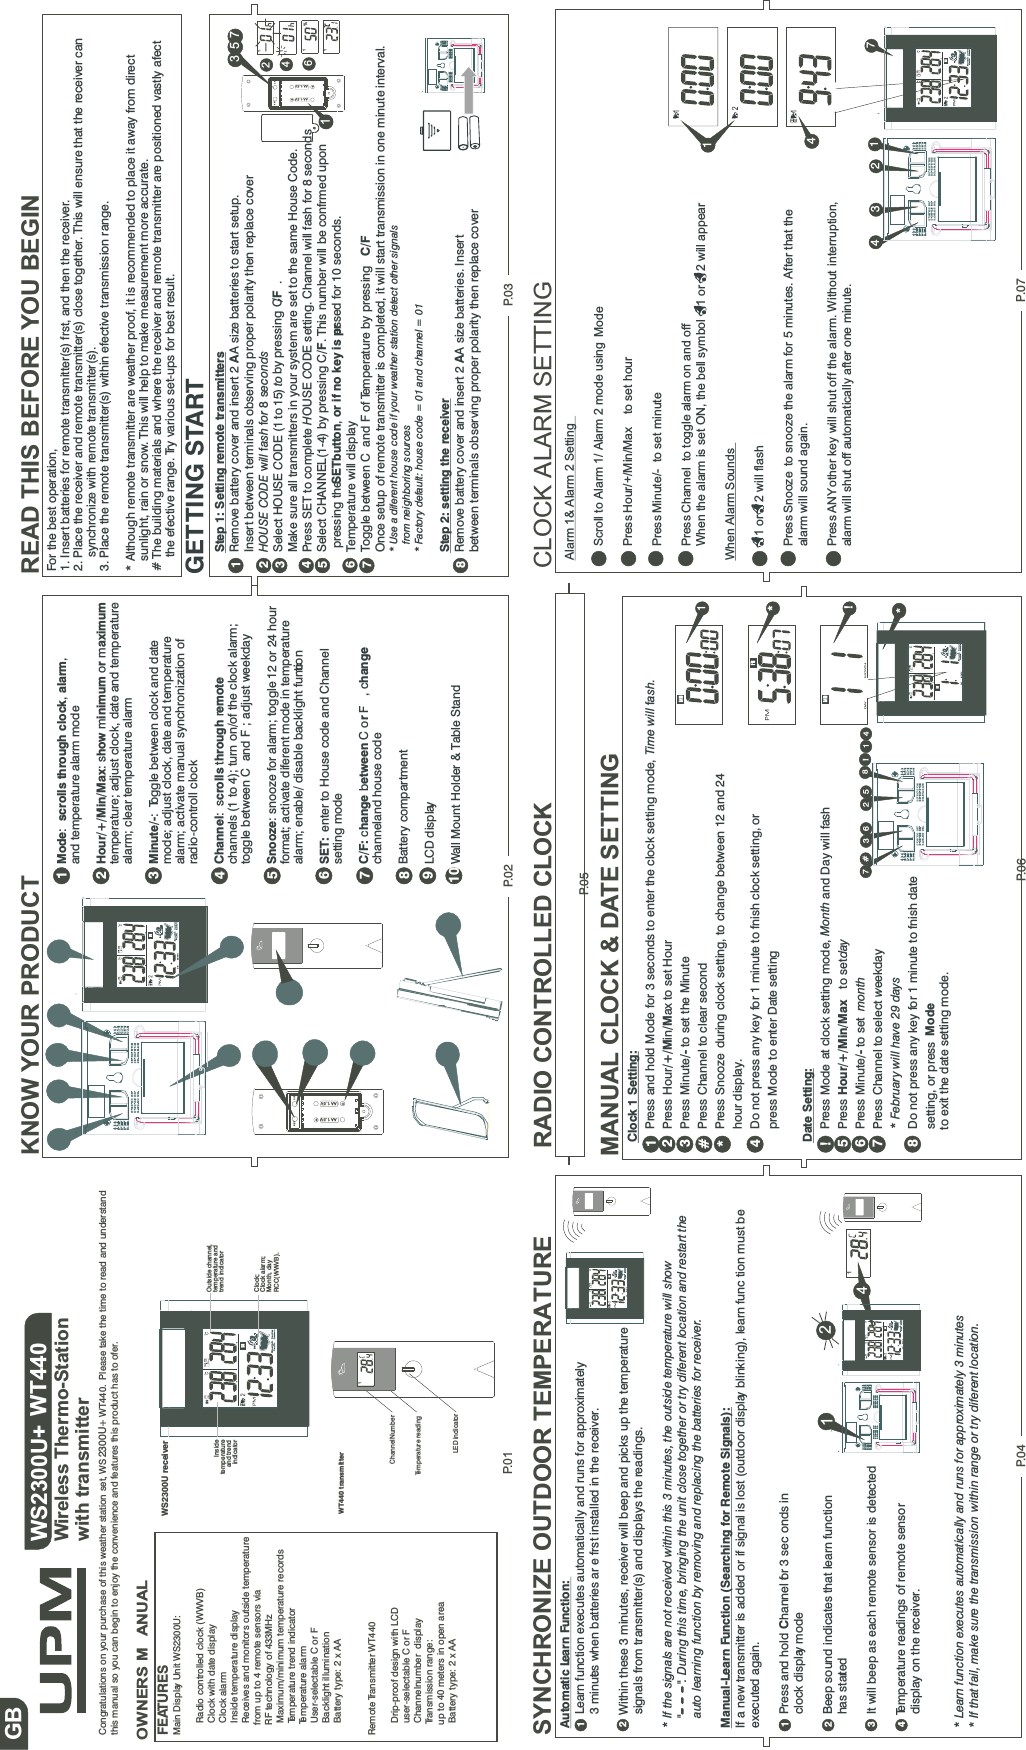
P.01Congratulations on your purchase of this weather station set, WS 2300U+ WT440. Please take the time to read and understandthis manual so you can begin to enjoy the convenience and features this product has to ofer.FEATURESMain Display Unit WS2300U:Radio controlled clock (WWVB)Clock with date displayClock alarmInside temperature displayReceives and monitors outside temperaturefrom up to 4 remote sensors viaRF technology of 433MHzMaximum/minimum temperature recordsTemperature trend indicatorTemperature alarmUser-selectable C or FBacklight illuminationBatterytype:2xAARemote Transmitter WT440Drip-proof design with LCDuser-selectable C or FChannelnumber displayTransmission range:up to 40 meters in open areaBatterytype:2xAAWS2300U+ WT440Wireless Thermo-Stationwith transmitterWS2300U receiverOWNERS M ANUALGB KNOW YOUR PRODUCTP.02READ THIS BEFORE YOU BEGINFor the best operation,1. Insert batteries for remote transmitter(s) frst, and then the receiver.2. Place the receiver and remote transmitter(s) close together. This will ensure that the receiver cansynchronize with remote transmitter(s).3. Place the remote transmitter(s) within efective transmission range.* Although remote transmitter are weather proof, it is recommended to place it away from directsunlight, rain or snow. This will help to make measurement more accurate.# The building materials and where the receiver and remote transmitter are positioned vastly afectthe efective range. Try various set-ups for best result.GETTING STARTP.04 P.06P.03WT440 transmitterChannelNumber1Temperature readingLED indicatorMode scrolls through clock alarm:,,and temperature alarm modeHour/+/Min/Max how inimum r aximum:s m o mtemperature; adjust clock, date and temperaturealarm; clear temperature alarmMinute/-:Toggle between clock and datemode; adjust clock, date and temperaturealarm; activate manual synchronization ofradio-controll clockChannel crolls hrough emote:s t rchannels (1 to 4); turn on/of the clock alarm;toggle between C and F ; adjust weekdaySnooze: snooze for alarm; toggle 12 or 24 hourformat; activate diferent mode in temperaturealarm; enable/ disable backlight functionSET: enter to House code and Channelsetting modeC/F: hange etween r hangecb CoF,cchanneland house codeBattery compartmentLCD displayWall Mount Holder & Table Stand12345678910Step 1: Setting remote transmittersRemove battery cover and insert 2 A size batteries to start setup.AInsert between terminals observing proper polarity then replace coverHOUSE CODE ill ash or econdswf f 8sSelect HOUSE ODE (1 to 15)Ctoby pressing C ./FMake sure all transmitters in your system are set to the same House Code.Press SET to complete OUSE ODE setting. Channel will fash for 8 secondsHCSelect CHANNEL(1-4) by pressing C/F. This number will be confrmed uponpressing theSETbutton or if no key is pr, essed for 10 seconds.Temperature will displayToggle between C and F of Temperature by pressing C/FOnce setup of remote transmitter is completed, it will start transmission in one minute interval.* Use a diferent house code if your weather station detect other signalsfrom neighboring sources* Factory default: house code = 01 and channel = 01Step 2: setting the receiverRemove battery cover and insert 2 A size batteries. InsertAbetween terminals observing proper polarity then replace cover12345678SET C/F-AA1.5V+-AA 1.5 V +2463571111%1SYNCHRONIZE OUTDOOR TEMPERATUREAutomatic Learn Function:Learn function executes automatically and runs for approximately3 minutes when batteries ar e frst installed in the receiver.Within these 3 minutes, receiver will beep and picks up the temperaturesignals from transmitter(s) and displays the readings.* If the signals are not received within this 3 minutes, the outside temperature will show" ". During this time, bringing the unit close together or try diferent location and restart theauto learning function by removing and replacing the batteries for receiver.Manual-Learn Function (Searching for Remote Signals):If a new transmitter is added or if signal is lost (outdoor display blinking), learn func tion must beexecuted again.Press and hold hannel for 3 sec onds inCclock display modeBeep sound indicates that learn functionhas startedIt will beep as each remote sensor is detectedTemperature readings of remote sensordisplay on the receiver.* Learn function executes automatically and runs for approximately 3 minutes* If that fail, make sure the transmission within range or try diferent location.123412RADIO CONTROLLED CLOCK20SET C/F-AA1. 5V+-AA1. 5V +DSTClock;Clock alarm;Month, dayRCC(WWVB).Insidetemperatureand trendindicatorOutside channel,temperature andtrend indicatorDSTDAYMONTHDSTDAYMONTH1421DSTDAY MONTHMANUAL CLOCK & DATE SETTINGClock 1 Setting:Press and hold Mode for 3 seconds to enter the clock setting mode, Time will ashf.Press Hour in ax to set Hour/+/M /MPress Minute to set the Minute/-Press Channel to clear secondPress Snooze during clock setting, to change between 12 and 24hour display.Do not press any key for 1 minute to fnish clock setting, orpress Mode to enter Date settingDate Setting:Press Mode at clock setting mode, Month and Day will fashPress to setdayPress Minute to set/- monthPress Channel to select eekdayw* February will have 29 daysDo not press any key for 1 minute to fnish datesetting, or press Modeto exit the date setting mode.Hour/+/Min/Max12#4!5678*31*!*DSTDAY MONTH148!25367#P.07CLOCK ALARM SETTINGAlarm 1& Alarm 2 SettingScroll to Alarm 1/ Alarm 2 mode using ModePress to set hourPress Minute/- to set minutePress Channel to toggle alarm on and offWhen the alarm is set ON, the bell symbol 1 or 2 will appearWhen Alarm Sounds1 or 2 will flashPress Snooze to snooze the alarm for 5 minutes. After that thealarm will sound again.Press ANYother key will shut off the alarm. Without interruption,alarm will shut off automatically after one minute.Hour/+/Min/Max1471243DSTP.05
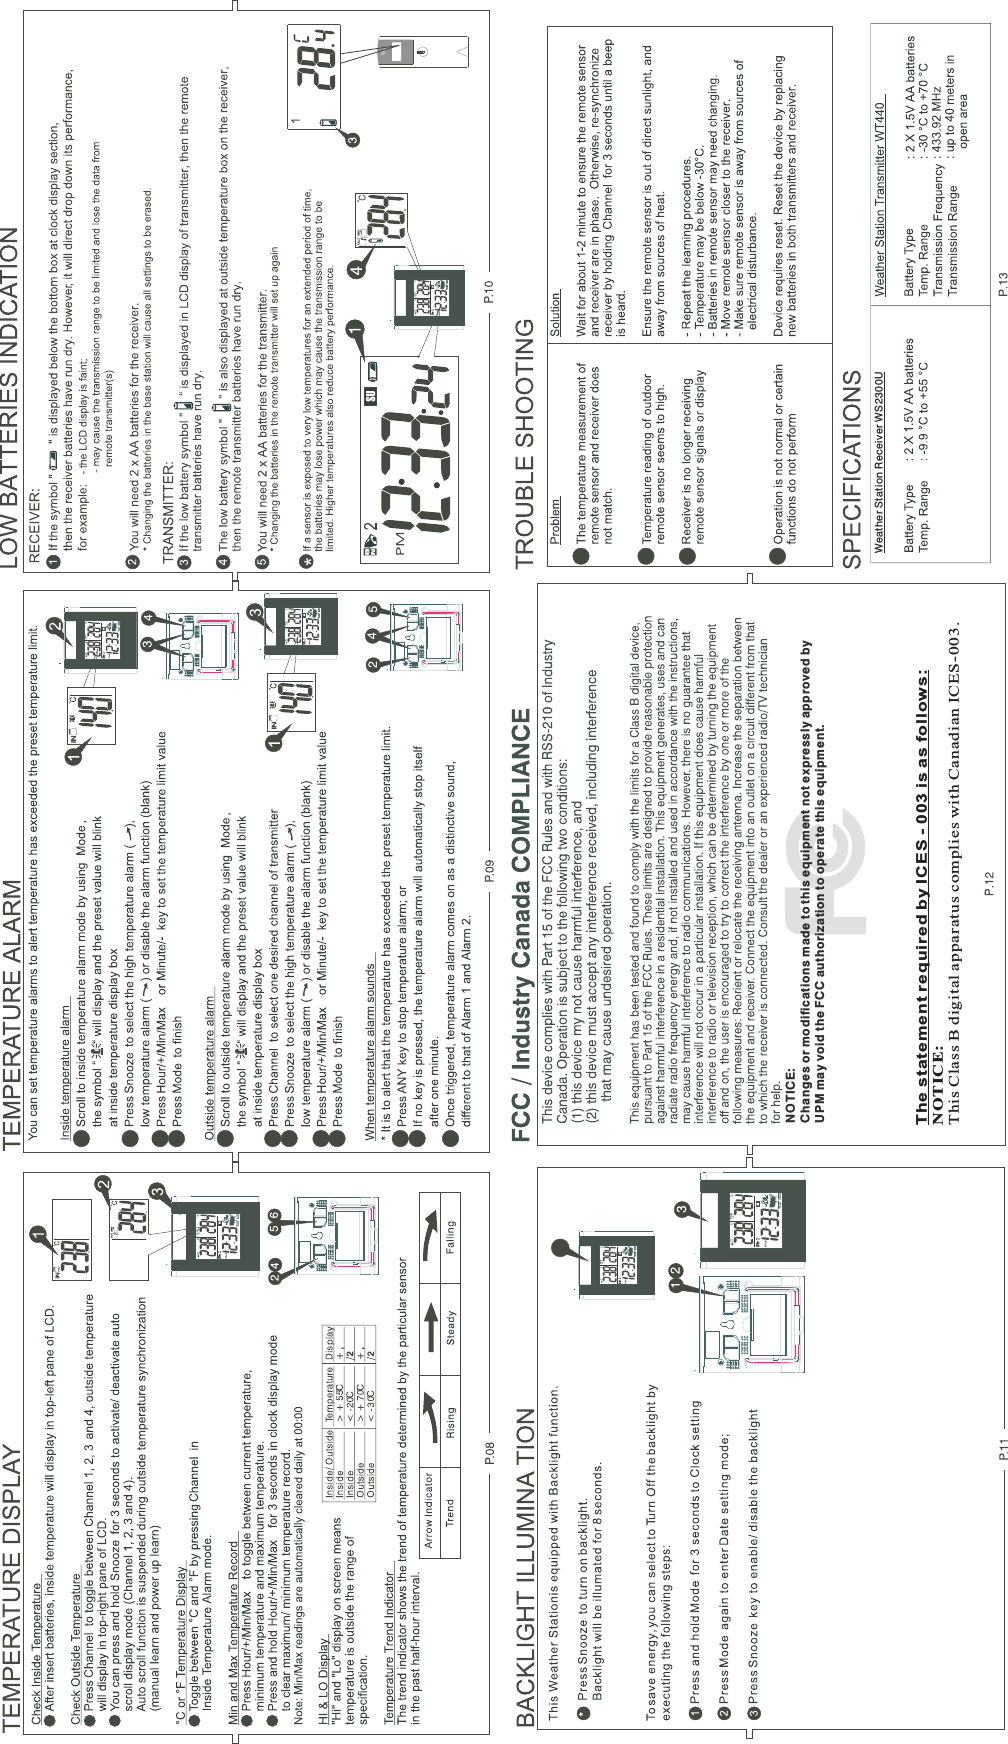
Weather Station Receiver WS2300UNOTICE:Changes or modifications made to this equipment not expressly approved byUPM may void the FCC authorization to operate this equipment.The statement required by ICES - 003 is as follows:NOTICE:This Class B digital apparatus complies with Canadian ICES-003.

Navigation menu