Modern 6012AR AUDIOPHILE USB TURNTABLE User Manual 910 281300 0020 100 FH10
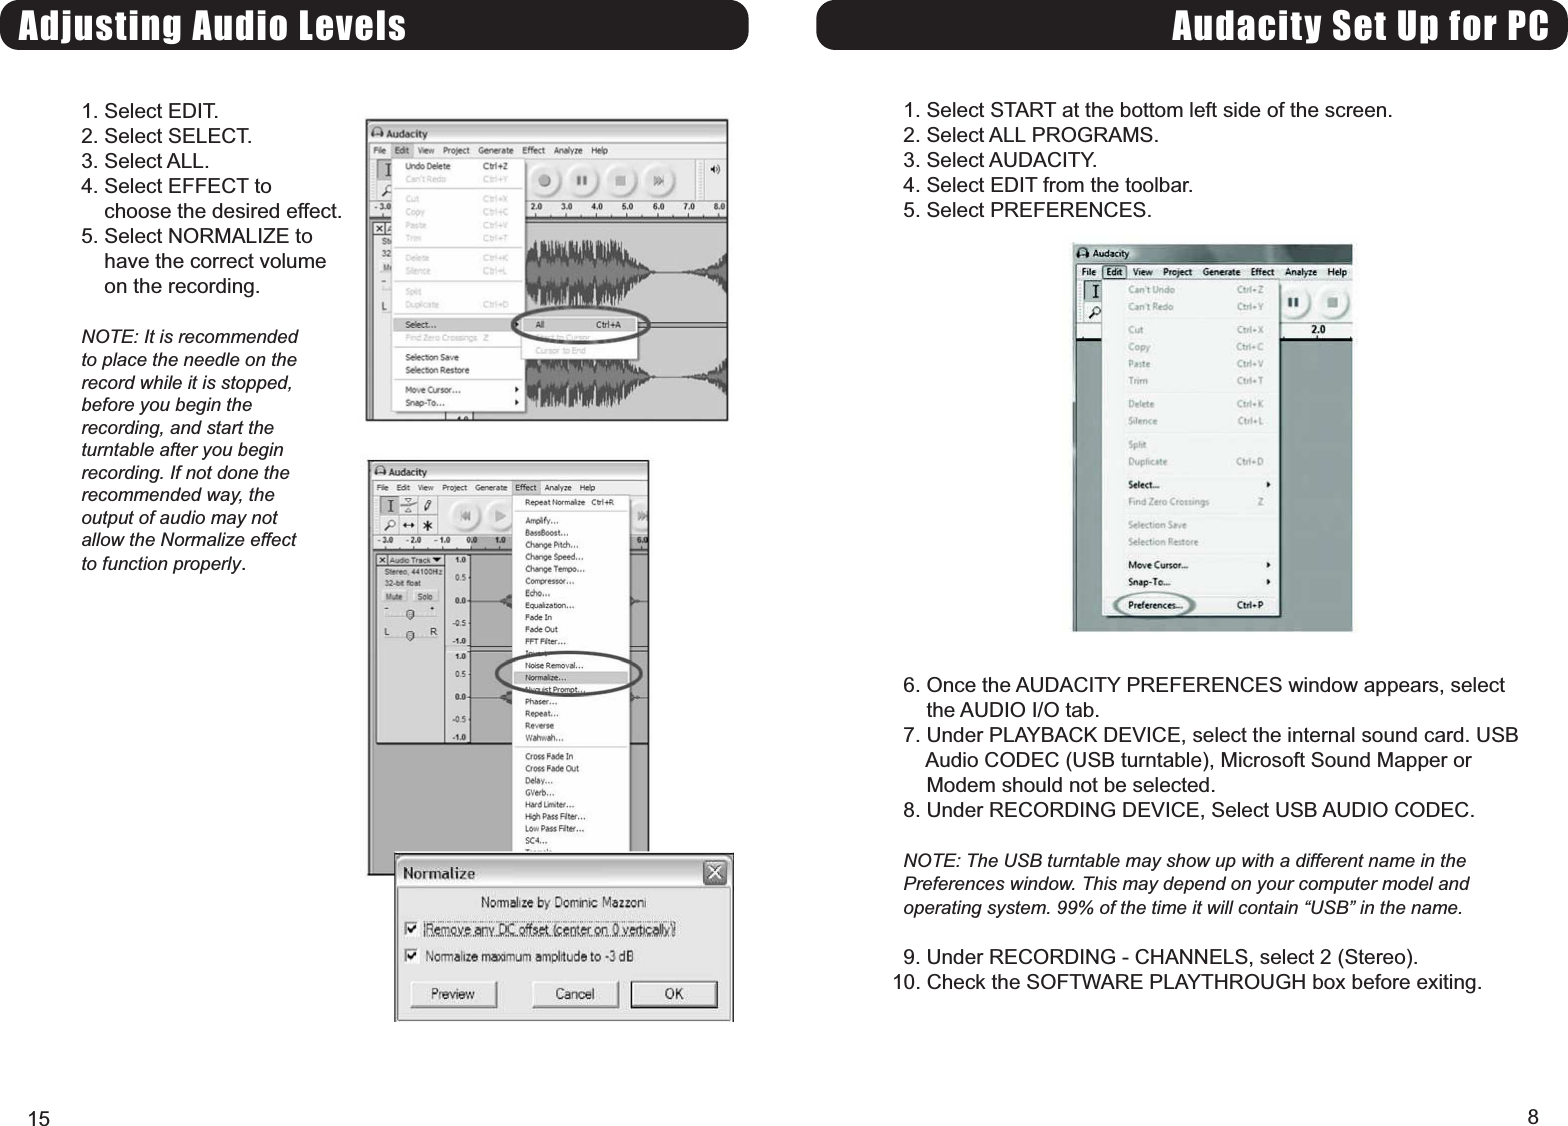
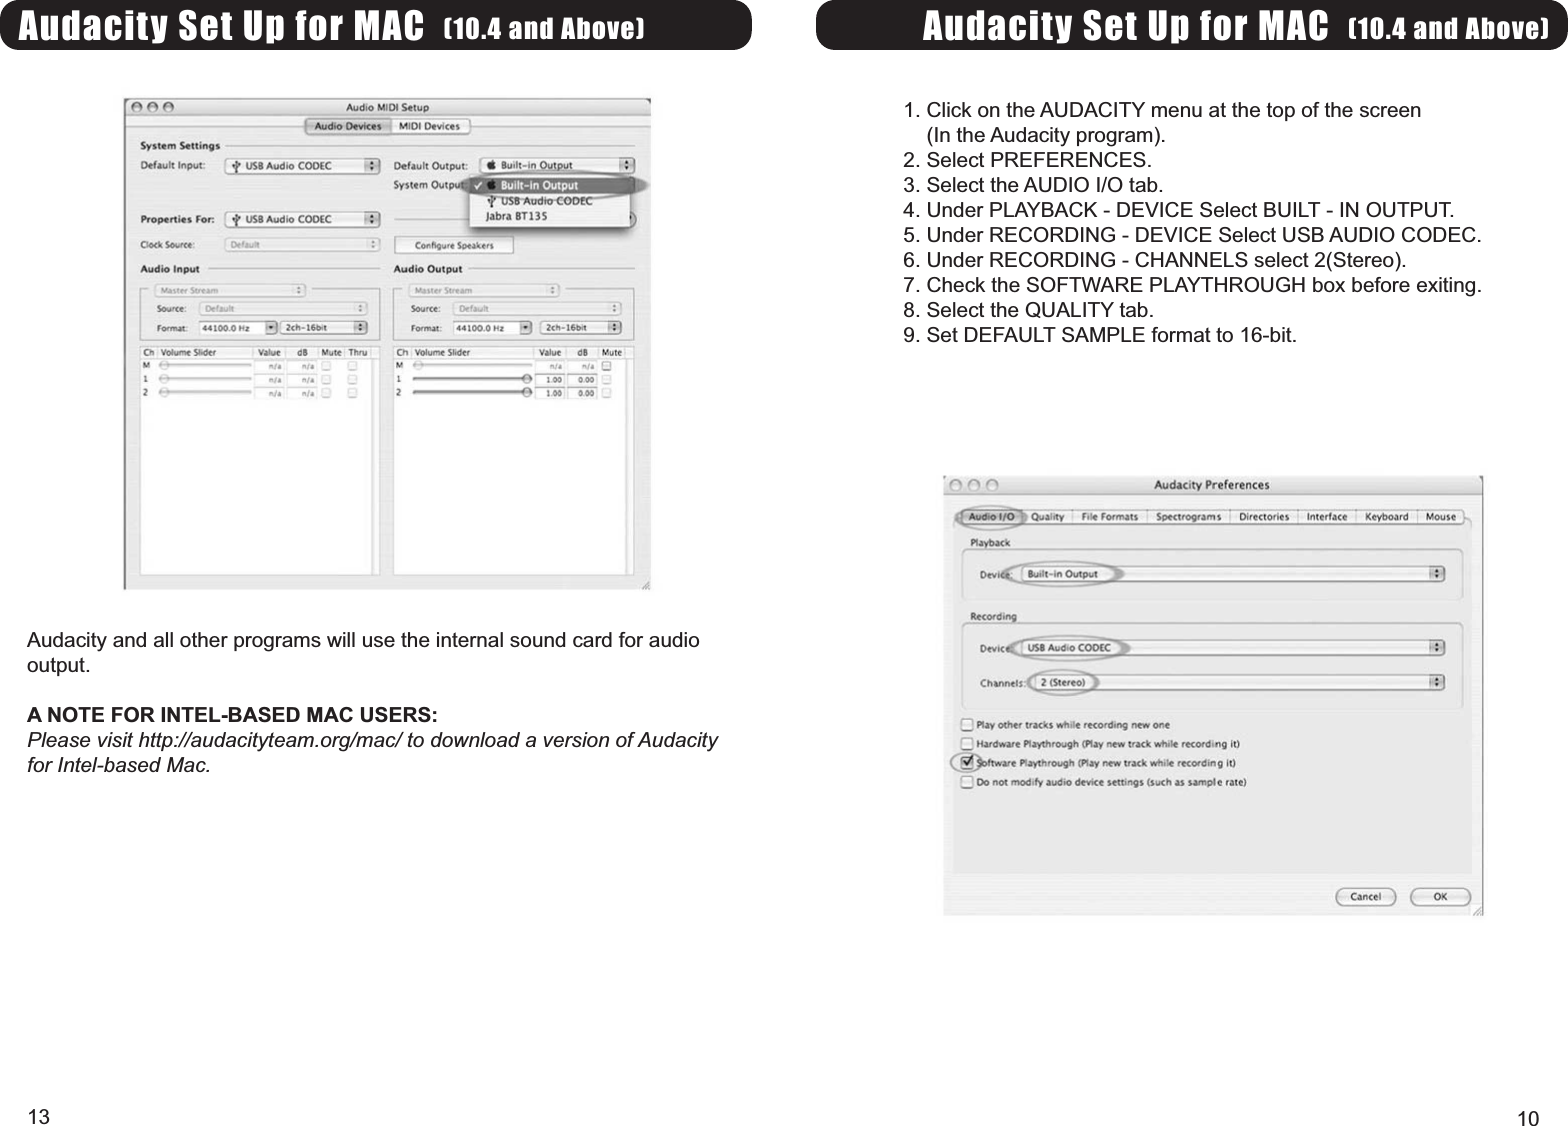
Hong Kong Modern Marketing Manufacturing Limited AUDIOPHILE USB TURNTABLE 910 281300 0020 100 FH10
Modern >
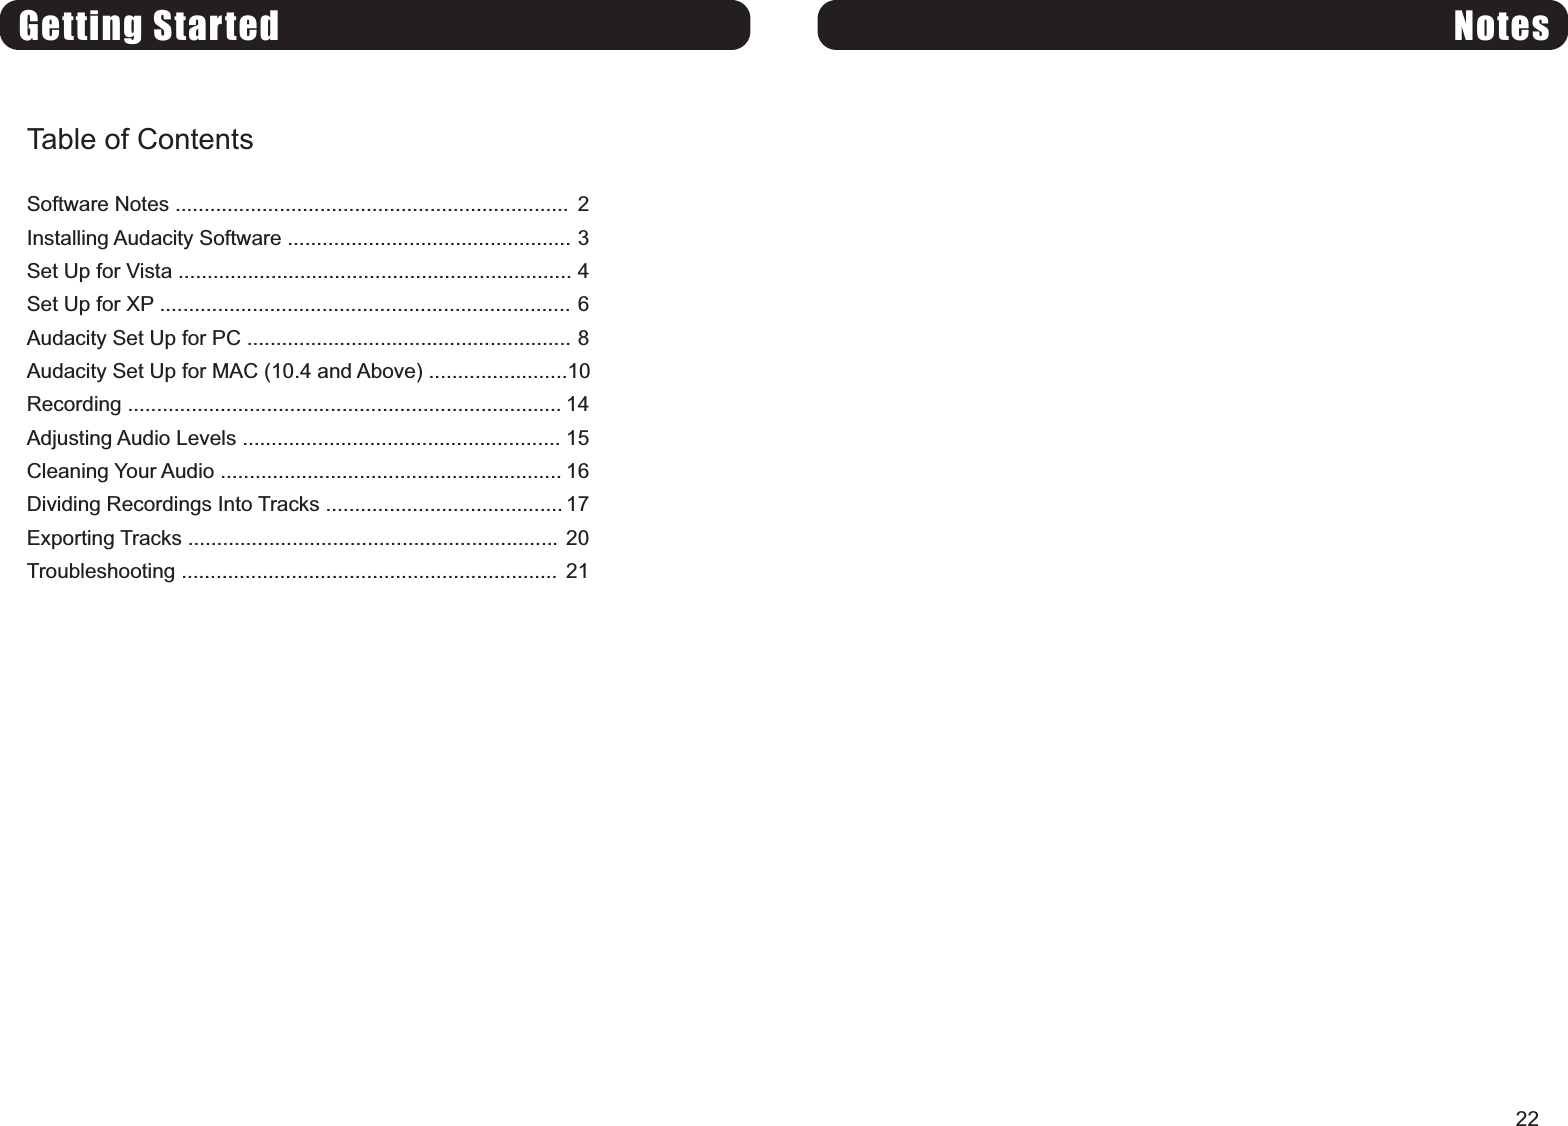
Contents
- 1. Software Guide
- 2. Users Manual
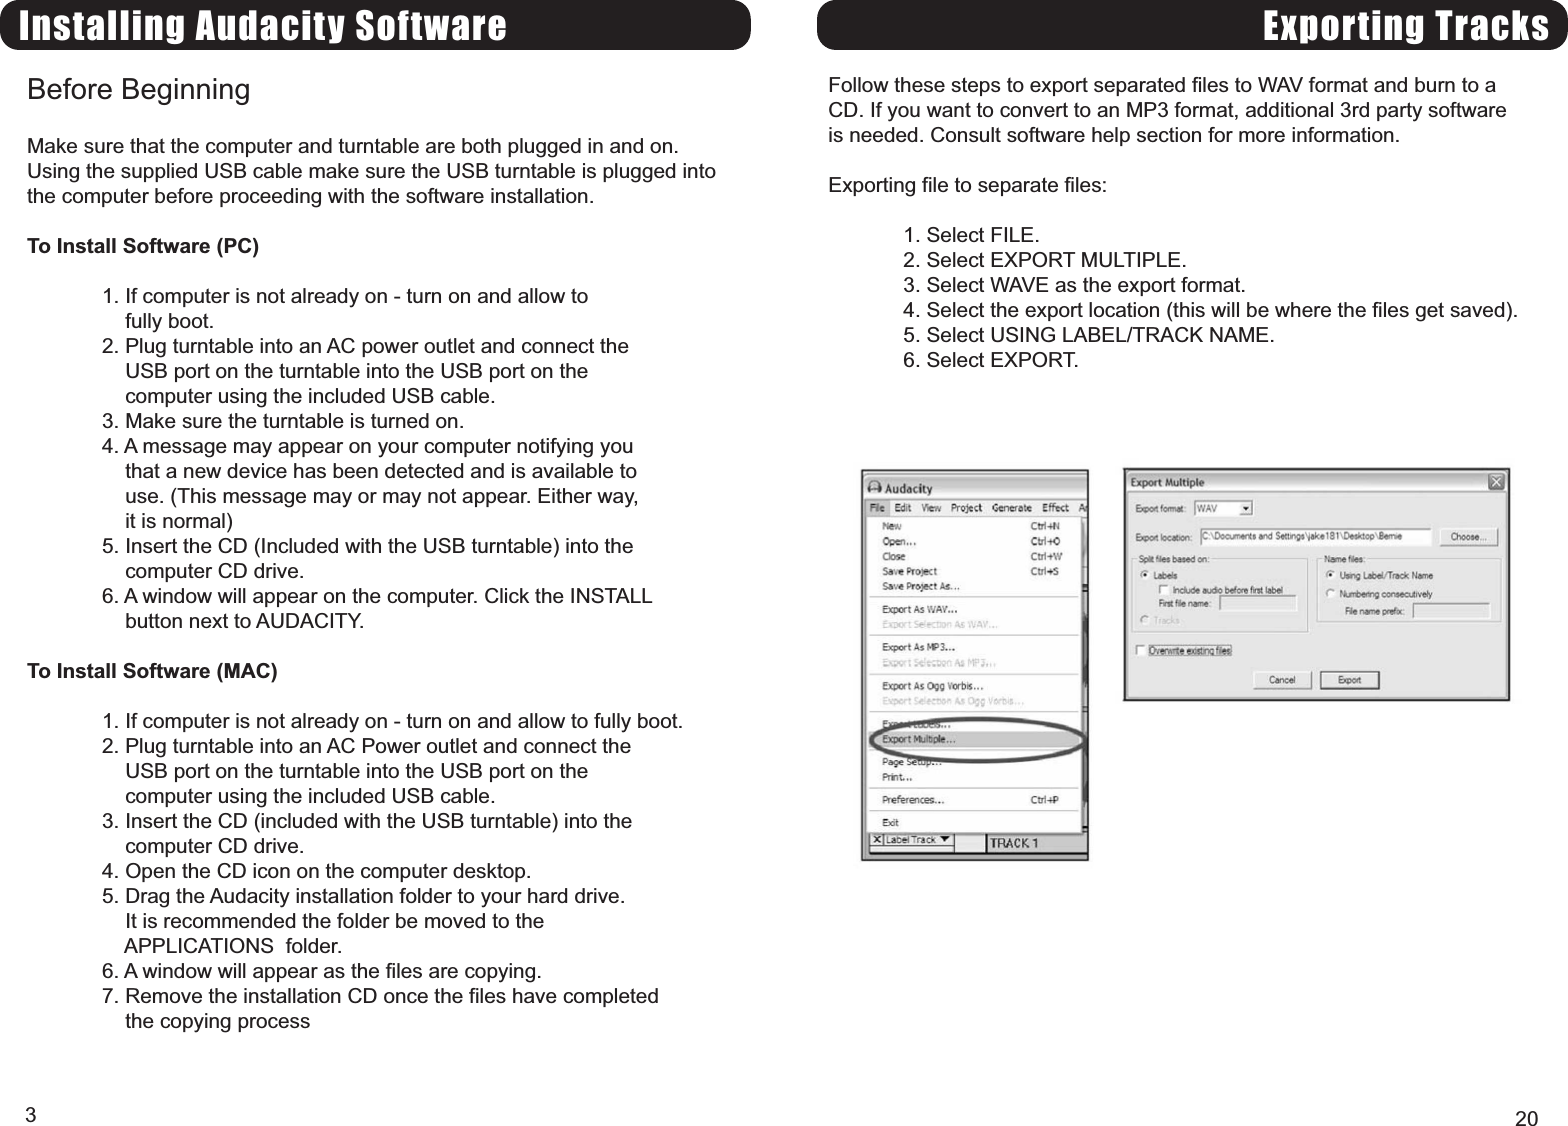
Software Guide