Motorola Mobility T6FK1 Portable PCS GSM Transceiver with Bluetooth User Manual A732 0819
Motorola Mobility LLC Portable PCS GSM Transceiver with Bluetooth A732 0819
Contents
- 1. Exhibit 8 Users Manual 1
- 2. Exhibit 8 Users Manual 2
- 3. Exhibit 8 Users Manual 3
- 4. Exhibit 8 Users Manual 4
- 5. Exhibit 8 Users Manual 5
Exhibit 8 Users Manual 5
184
News and Entertainment
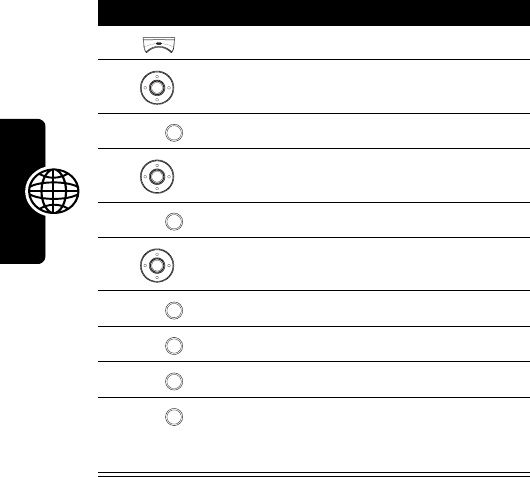
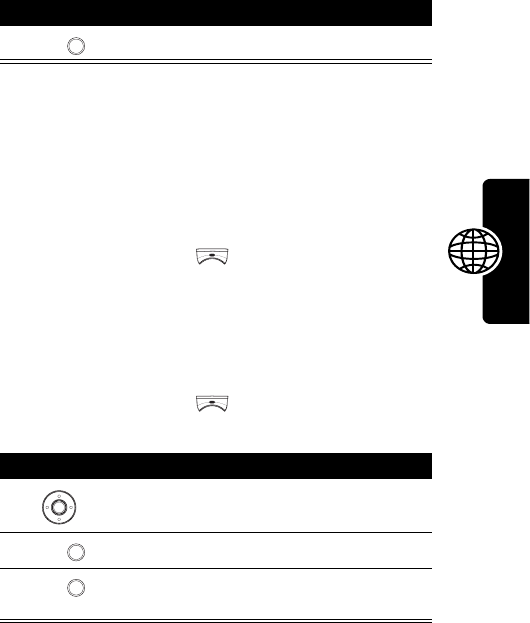
Framing Pictures
You can add frames around the images you want to
capture.
Tip:
This option is available only for pictures with the
128x160
resolution.
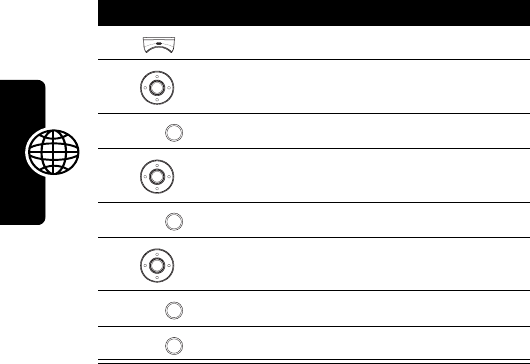
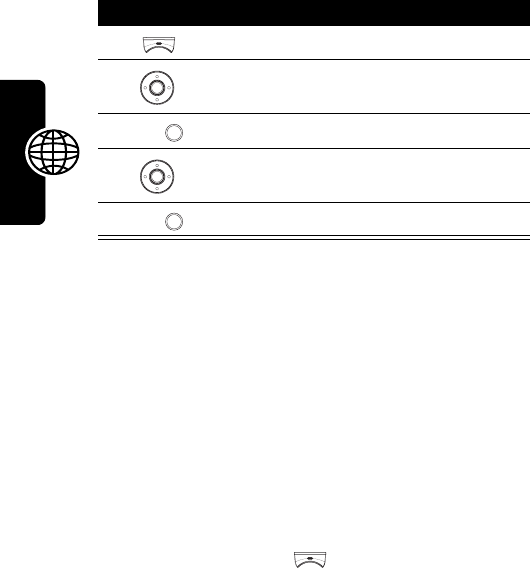
Press To
1
open the options menu
2
scroll to
Frame
3
OK
() select
Frame
4
scroll to
On
5
OK
() select
On
6
scroll to the desired frame
7
OK
() select the frame
8
OK
() prepare to capture images
185
News and Entertainment
Using Multi-Shots
You can capture a number of images at a time while in the
Multi-shot
mode. The
Multi-shot
mode falls into 2 types:
Continuous
and
Composite
.
Continuous
allows you to take 6, 9 or 15
shots successively at a specified speed.
Composite
allows
you to take 2 shots over the horizontal or vertical axis.
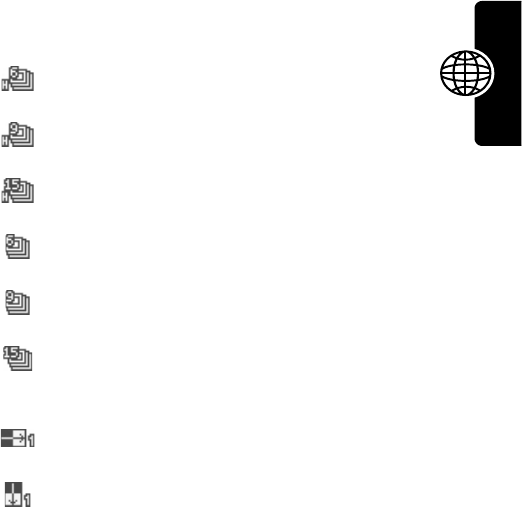
Icons which work with the
Multi-shot
functionality are
described below:
Tip:
This option is available only for pictures with the
160x120
or
128x160
resolution.
indicates you choose to take 6 shots
continuously at the high speed.
indicates you choose to take 9 shots
continuously at the high speed.
indicates you choose to take 15
shots continuously at the high speed.
indicates you choose to take 6 shots
continuously at the normal speed.
indicates you choose to take 9 shots
continuously at the normal speed.
indicates you choose to take 15
shots continuously at the normal
speed.
indicates you choose to take 2 shots
over the horizontal axis.
indicates you choose to take 2 shots
over the vertical axis.
186
News and Entertainment
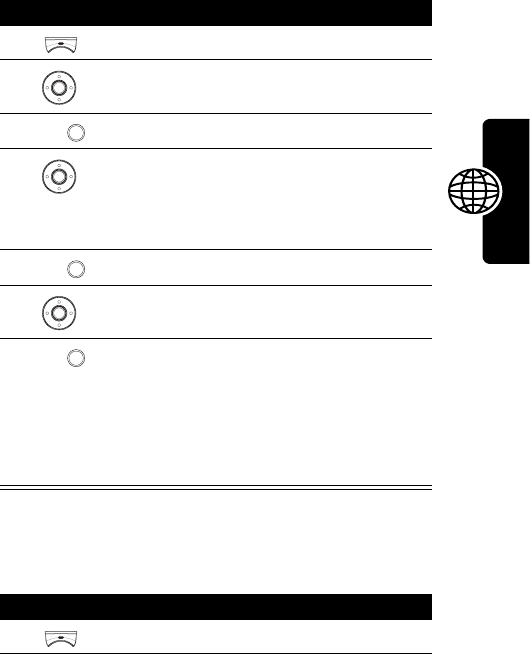
If you choose
Continuous
to capture 6, 9 or 15 images
continuously:
Tip:
You may press
Save all
() or >
Save
to store
photos in
Media center
>
Photo album
> default photo album.
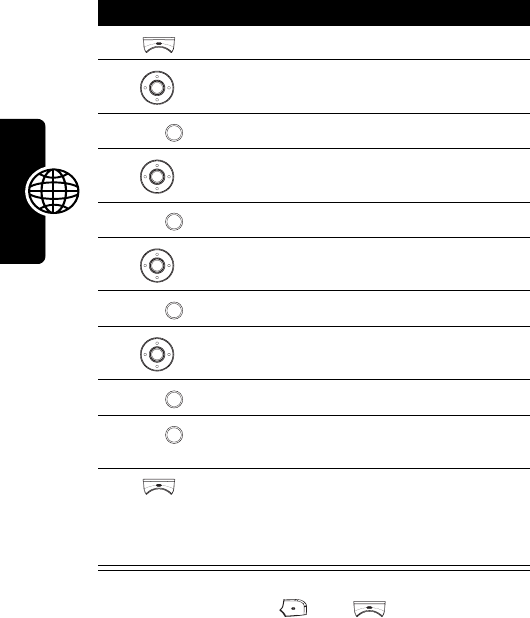
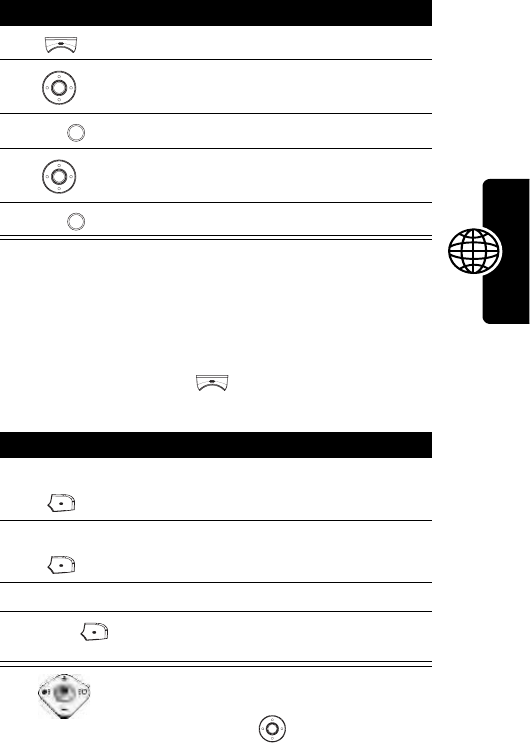
Press To
1
open the options menu
2
scroll to
Multi-shot
3
OK
() select
Multi-shot
4
scroll to
Continuous
5
OK
() select
Continuous
6
scroll to
High speed
/
Normal speed
7
OK
() select
High speed
/
Normal speed
8
scroll to
6 shots
/
9 shots
/
15 shots
9
OK
() select
6 shots
/
9 shots
/
15 shots
10
OK
() take the specified shots at a
time
11
>
Apply all
shots as slide show
save the taken pictures in the
folder named the starting
SlideShow
under
Media center
>
Slide show
187
News and Entertainment
Once you store 6, 9 or 15 shots in
Media center
>
Slide show
, you
can set those shots as a screen saver image. Those shots
will play in the internal or external display when no activity
occurs for a while.
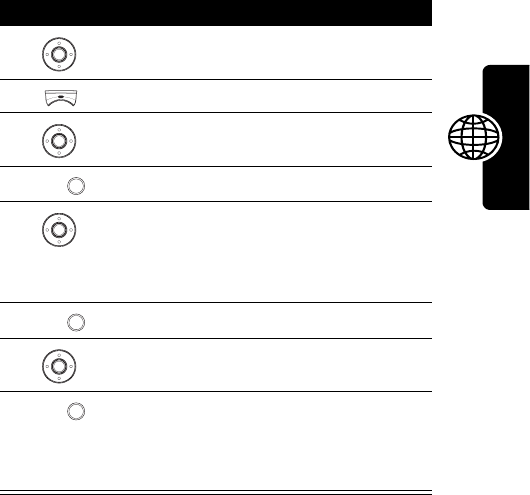
Press To
1
scroll to the desired slide
show folder
2
open the options menu
3
scroll to
Apply as screen saver
4
OK
() select
Apply as screen saver
5
scroll to the desired display
where the pictures you took
will be set as a screen saver
image
6
OK
() select the display
7
scroll to any entry
8
OK
() set the taken pictures as a
screen saver image and save
them in
Settings
>
Display
/
External
display
>
Screen saver
188
News and Entertainment
If you choose
Composite
to take 2 shots over the horizontal or
vertical axis:
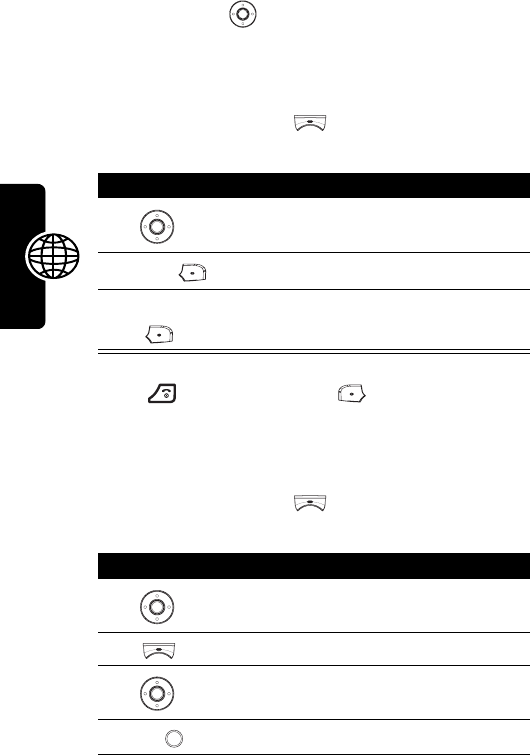
Press To
1
open the options menu
2
scroll to
Multi-shot
3
OK
() select
Multi-shot
4
scroll to
Composite
5
OK
() select
Composite
6
scroll to
Horizontal
/
Vertical
7
OK
() select
Horizontal
/
Vertical
8
OK
() take the 1st shot
9
OK
() take the 2nd shot
10
OK
() save the taken pictures as a
whole one in
Media center
>
Photo
album
> default photo album
189
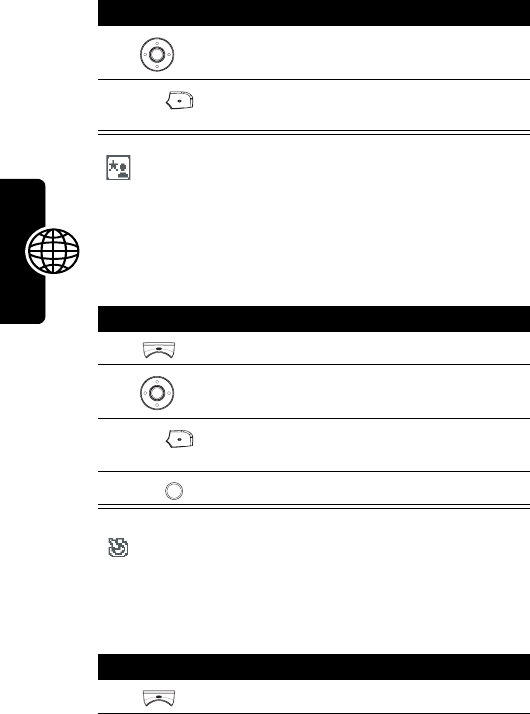
News and Entertainment
To set the 2-in-1 shot as a screen saver image before
saving it:
Using the Twilight Mode
You can use
Twilight mode
in the dark.
Press To
1
open the options menu
2
scroll to
Apply as screen saver
3
OK
() select
Apply as screen saver
4
scroll to the desired display
where the picture you took
will be set as a screen saver
image
5
OK
() select the display
6
scroll to any entry
7
OK
() set the taken picture as a
screen saver image and save
it both in
Media center
>
Photo
album
> default photo album
and in
Settings
>
Display
/
External
display
>
Screen saver
Press To
1
open the options menu
190
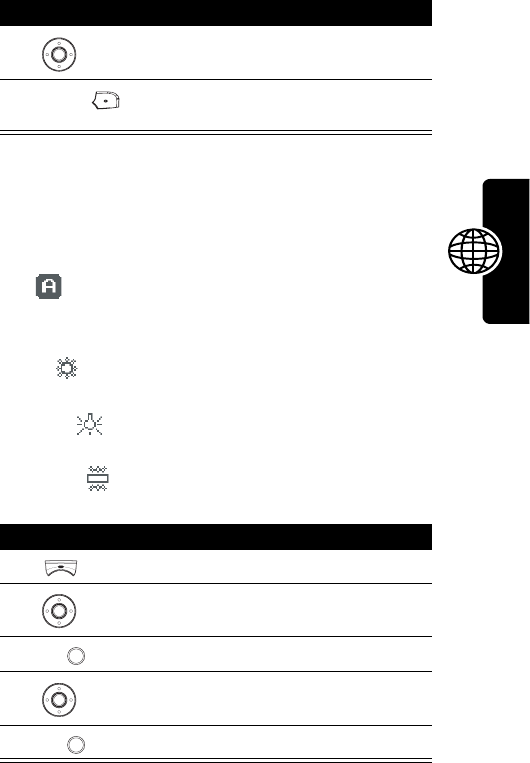
News and Entertainment
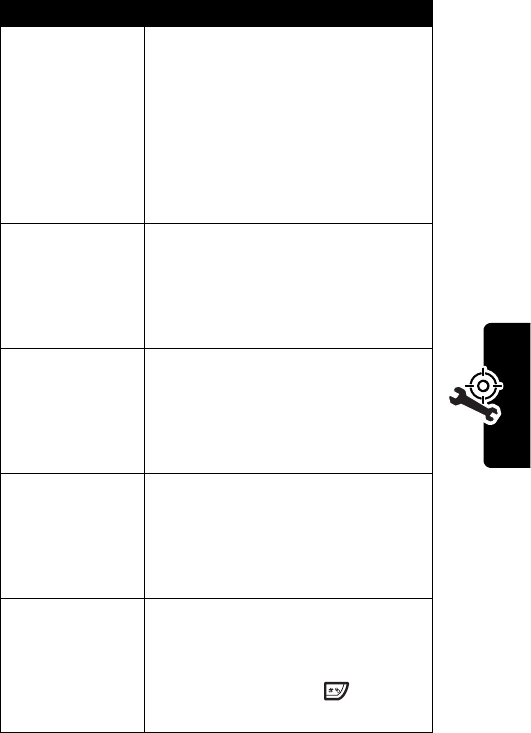
Tip:
indicates
Twilight mode
is turned on.
Using the Self-Timer
You can use
Self timer
to have a 10-second delay before
a photo is taken.
Tip:
indicates
Self timer
is turned on.
Turning the Shutter Sound On or Off
You can turn
Shutter sound
on or off before taking photos.
2
scroll to
Twilight mode
3
ON
() turn
Twilight mode
on and
prepare to capture images
Press To
1
open the options menu
2
scroll to
Self timer
3
ON
() turn
Self timer
on and prepare
to capture images
4
OK
() take a picture in 10 seconds
Press To
1
open the options menu
Press To
191
News and Entertainment
Selecting a White Balance Mode
There are 4 white balance modes for you to choose
from before taking photos.
2
scroll to
Shutter sound
3
ON
/
OFF
() turn
Shutter sound
on/off and
prepare to capture images
Auto
indicates the camera will adjust itself
to the environment where you want
to capture images.
Sunlight
indicates you want to capture images
outdoors on a sunny day.
Fluorescent
indicates you want to capture images
in a room with fluorescent lighting.
Incandescent
indicates you want to capture images
under incandescent light.
Press To
1
open the options menu
2
scroll to
White balance
3
OK
() select
White balance
4
scroll to the desired white
balance mode
5
OK
() prepare to capture images
Press To
192
News and Entertainment
Adding Touch-ups
You can use a variety of touch-ups to make pictures more
impressive before taking photos.
Using the Video Recorder
You can create video clips up to 30 seconds each.
Caution:
Obey the local law or regulations when you use
the video recorder.
Selecting a Time Length to Record Video
Clips
You can specify a time length (up to 30 seconds) to record
video clips.
Press To
1
open the options menu
2
scroll to
Special efficacy
3
OK
() select
Special efficacy
4
scroll to the desired option
5
OK
() prepare to capture images
Find the Feature
>
Media center
>
Video recorder
193
News and Entertainment
Creating a Video Clip
You can start to record video clips after selecting a time
length.
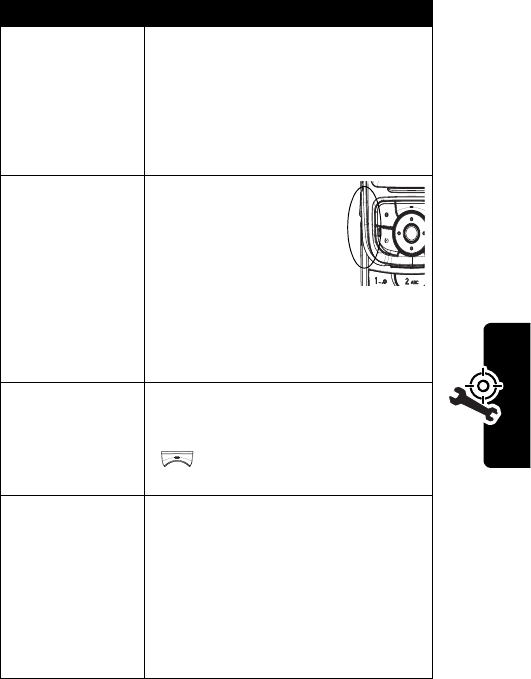
Tip:
indicates the zoom lens control as well as the
viewer brightness control. Press up/down to zoom
Press To
1
open the options menu
2
scroll to
Time to record
3
OK
() select
Time to record
4
scroll to the desired time
length
5
OK
() select the time length
Find the Feature
>
Media center
>
Video recorder
Press To
1
right soft key
()
start recording
2
right soft key
()
stop recording, if necessary
3
keypad keys enter a name
4
SAVE
() save the recorded video clip
in
Media center
>
Video
194
News and Entertainment
images in/out; press left/right to decrease/increase the
image brightness.
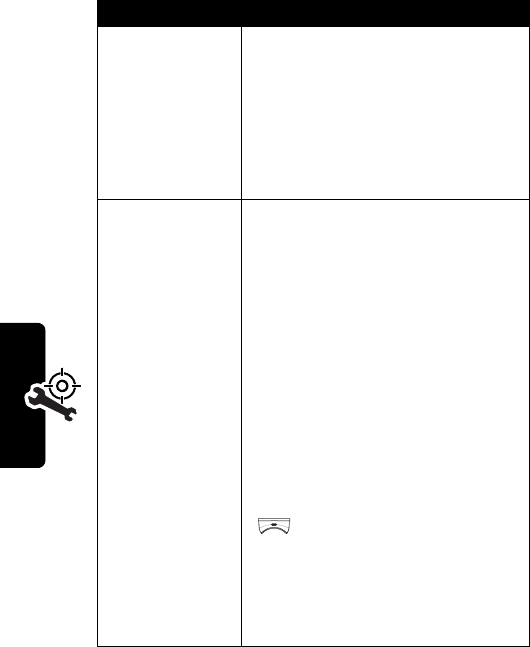
Playing a Video Clip
Tip:
Press or the left soft key ( ) to turn the video
recorder off.
Renaming a Video Clip
Find the Feature
>
Media center
>
Video
Press To
1
scroll to the desired video clip
2
PLAY
() play the selected video clip
3
right soft key
()
stop playing the selected
video clip, if necessary
Find the Feature
>
Media center
>
Video
Press To
1
scroll to the desired video clip
2
open the options menu
3
scroll to
Rename
4
OK
() select
Rename
195
News and Entertainment
Deleting a Video Clip
Sending a Video Clip
You can send video clips to friends via either
their phone numbers or email addresses.
5
keypad keys enter a new name
6
OK
() save the new name
Find the Feature
>
Media center
>
Video
Press To
1
scroll to the desired video clip
2
open the options menu
3
scroll to
Delete
4
OK
() select
Delete
5
OK
() delete the selected video clip
Find the Feature
>
Media center
>
Video
Press To

196
News and Entertainment
To send via a phone number:
Press To
1
scroll to the desired video clip
2
open the options menu
3
scroll to
Send
4
OK
() select
Send
5
keypad keys enter your message
6
SEND
() select
SEND
7
P.BOOK
() open your phonebook
8
scroll to the desired entry
9
OK
() select the entry
Tip:
If the entry includes more
than 1 phone numbers,
continue the following steps;
otherwise, repeat steps 8-9 to
add other recipients or go to
steps 13-14 to send your
selected video clip
immediately.
10
scroll to the desired phone
number
11
OK
() select the phone number
197
News and Entertainment
To send via an email address:
12
OK
() return to the previous menu
Tip:
Repeat steps 8-9 to add
other recipients or continue
the following steps to send
your selected video clip.
13
OK
() return to the previous menu
14
SEND
() send your selected video clip
Press To
1
scroll to the desired video clip
2
open the options menu
3
scroll to
Send
4
OK
() select
Send
5
keypad keys enter your message
6
SEND
() select
SEND
7
open the options menu
8
scroll to
New e-mail address
9
OK
() select
New e-mail address
10
keypad keys enter an email address
Press To
198
News and Entertainment
Viewing a Video Clip Info.
You can read the details of video clips.
Sorting Video Clips
You can sort video clips by name, size or date.
11
OK
() add the email address to the
Recipients
box
Tip:
Repeat steps 7-11 to add
other recipients.
12
SEND
() send your selected video clip
Find the Feature
>
Media center
>
Video
Press To
1
scroll to the desired video clip
2
open the options menu
3
scroll to
Details
4
OK
() view the information on the
selected video clip
Find the Feature
>
Media center
>
Video
Press To
199
News and Entertainment
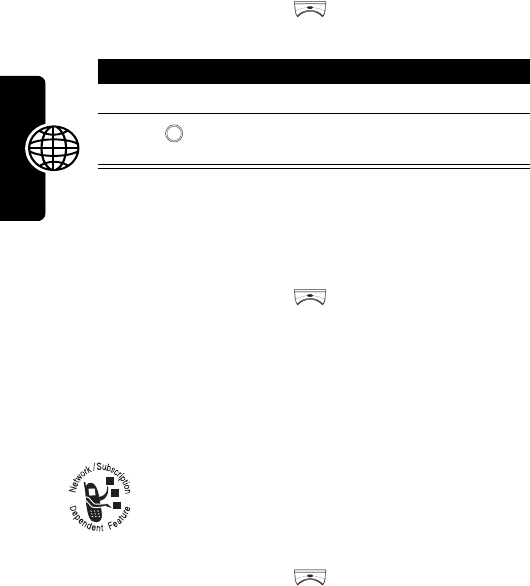
Managing a Network Profile
Your service provider or network administrator may have
configured a network profile (or networking connection
settings) before you receive the phone. You can also
customize the preset network profile or create a new 1.
Connecting to the Internet
You can connect to your service provider or
network administrator’s homepage, to the
favorite bookmarks, and to the desired Web
pages on your phone.
Press To
1
scroll to any video clip
2
open the options menu
3
scroll to
Sort files
4
OK
() select
Sort files
5
scroll to the desired sorting
type
6
OK
() sort video clips by the
selected sorting type
Find the Feature
>
Browser
>
Profiles
200
News and Entertainment
If networking connection is established, refer to the
following instructions to activate an option, return to the
last page, or end networking connection.
To activate an option:
To return to the last page:
To end networking connection:
To end networking connection alternatively:
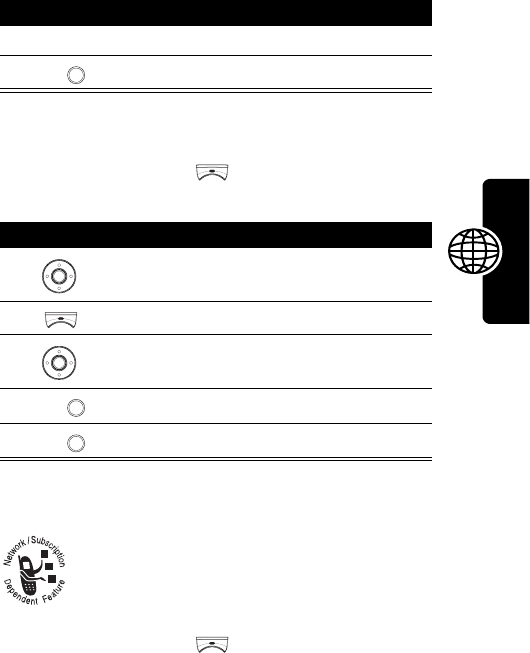
Press To
1
scroll to the desired option
2
OK
()
or
>
OK
()
activate the selected option
Press To
BACK
() return to the last page
Press To
end networking connection
Press To
1
open the options menu
2
scroll to
Exit
201
News and Entertainment
Connecting to Your Service Provider or
Network Administrator’s Homepage
You can browse your service provider or network
administrator’s hompage which has been set up in your
selected network profile.
Connecting to Bookmarks
You can connect to preset or self-created bookmarks.
3
OK
() end networking connection
Find the Feature
>
Browser
>
Home
Find the Feature
>
Browser
>
Bookmark
Press To
1
scroll to the desired
bookmark
2
OK
() select the bookmark
3
OK
() connect to the selected
bookmark
Press To
202
News and Entertainment
Connecting to Web Pages
You can edit a URL address for the Web page you want to
surf on.
Managing Bookmarks
You can create, edit or erase bookmarks.
Tip:
To connect to your favorite bookmarks, see
page 201.
Downloading Media Objects
You can download media objects from the
desired Web sites, such as pictures, ring tones,
animations, and video clips.
Find the Feature
>
Browser
>
Go to address
Press To
1
keypad keys enter a URL address
2
OK
() connect to the desired Web
page
Find the Feature
>
Browser
>
Bookmark
Find the Feature
>
Media center
>
Download media

203
News and Entertainment
Customizing the Web Page
Display Mode
You can select a style to display the Web pages you are
browsing.
Allowing or Rejecting
Cookies
You can download or reject cookies when you are
browsing Wed pages.
Clearing Cache Memory
You can delete the temporary files (which were
downloaded for you to quickly connect to the frequently-
browsed Web pages) from the phone’s cache memory.
Find the Feature
>
Browser
>
Appearance settings
Find the Feature
>
Browser
>
Download settings
>
Cookies
Find the Feature
>
Browser
>
Clear the cache

204
News and Entertainment
Reading Your Service Provider
or Network Administrator’s
Service Messages
You can receive the networking service
messages sent from your service provider or
network administrator.
Reading Certificates
You can view the certificates which have been downloaded
and saved on your phone when you are browsing Web
pages.
Find the Feature
>
Browser
>
Service Inbox
Find the Feature
>
Browser
>
Certificates
205
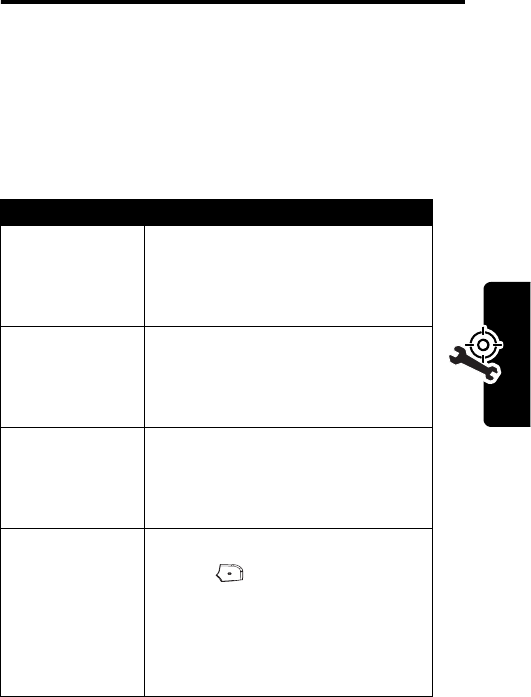
Troubleshooting
Troubleshooting
Problem with your MOTO? If you have questions or need
help, we're here to help. Go to www.motorola.com/
consumer/support. If you have returned your phone for
repairs, click on Check Repair Status.You can also contact
the Motorola Customer Support Center at (852) 2506-
3888 (Hong Kong).
Question Answer
Is your battery
charged?
The battery level indicator should
have at least 1 segment showing.
If it does not, recharge your
battery (see page 26).
Have you
installed a valid
SIM card?
If necessary, turn off your phone
and make sure that you have
inserted a valid SIM card (see
page 22).
Does the phone
have a signal?
The signal strength indicator
should have at least 1 segment
showing. If it does not, move to an
area with a stronger signal.
Is the other party
unable to hear
you?
Your phone may be muted. Press
OPTIONS
()
>
Unmute
to unmute
the phone.
Also, make sure that your phone’s
microphone is not blocked by its
carrying case or a sticker.
206
Troubleshooting
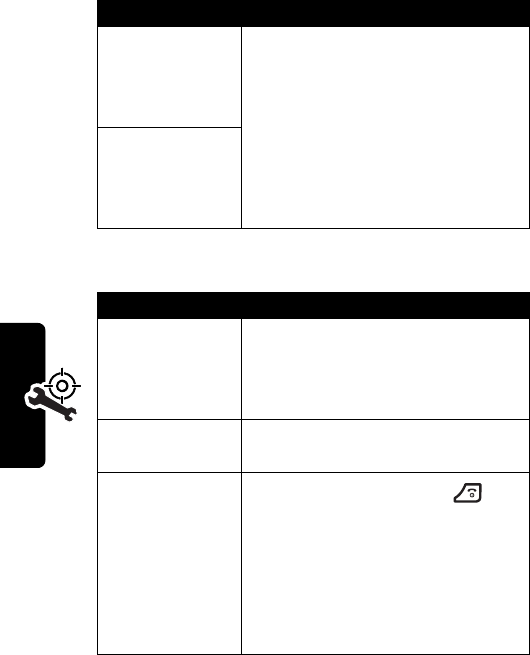
The following refers to specific symptoms:
Has the phone
been damaged,
dropped, or
gotten wet?
Dropping your phone, getting it
wet, or using a non-Motorola
battery or battery charger can
damage the phone. The phone’s
limited warranty does not cover
these types of damages.
Was a
non-Motorola
battery or battery
charger used?
Symptom Solution
My phone was
stolen. To whom
should I report
this?
Report a stolen phone to the
police and to your service provider
(the company that sends you your
monthly wireless service bill).
I forgot my
password.
Contact your service provider.
I pressed the
power key, but
nothing
happened.
Be sure to press and hold (the
power key) until you see the
welcome display and an alert
sounds. This could take several
seconds. If nothing happens,
check that a charged battery is
installed (see page 24).
Question Answer
207
Troubleshooting
The display
shows:
Insert SIM Card
or
Check SIM Card
even though I
have inserted my
SIM card in the
phone.
The SIM card may be incorrectly
inserted. Check the SIM card to
make sure that it is inserted
properly (see page 22).
The display
shows:
SIM Blocked
. How
do I unblock my
SIM card?
Call your service provider to
obtain the PIN Unblocking Key
(PUK) code.
The display
shows:
Enter
Unlock Code
. How
do I unlock my
phone?
Enter the factory-preset unlock
code (1234), or the last 4 digits of
your phone number. If this fails,
call your service provider.
My phone
prompts for an
unlock code
when I try to open
a feature.
The feature you want is locked. If
you do not know the unlock code,
contact your service provider.
My phone does
not ring.
The ringer may be set to
Silence
even though your phone is set to
an audible ring style. To turn off
Silence
, press and hold from the
idle display.
Symptom Solution
208
Troubleshooting
I tried to place a
call and heard an
alternating high/
low tone.
Your call did not reach the
wireless system. You may have
dialed the number too soon after
turning the phone on. Wait until
the display shows the name of
your service provider before
placing a call.
I cannot send/
receive calls.
Make sure that you have a phone
signal (the signal strength
indicator should have at least 1
segment showing). Avoid
electrical or radio interference,
and obstructions such as bridges,
parking garages, or tall buildings.
Your phone also may have the
Call barring
feature turned on. If you
know the unlock code, you can
change this setting in the call
barring menu to turn it off:
>
Settings
>
Call features
>
Call
barring
>
Cancel all
Also, check to be sure your SIM
card is installed and working (see
page 22).
Symptom Solution
209
Troubleshooting
My phone has
poor reception
and drops calls.
Make sure you have a phone
signal (the signal strength
indicator should have at least 1
segment showing). Stay clear of
any obstructions such as bridges,
parking garages, or tall buildings.
I cannot hear
others on my
phone.
While on a call, press
the up volume key. Your
phone display should
show the volume
increasing.
Also, make sure that your phone’s
earpiece is not blocked by its
carrying case.
How do I see the
calls I sent or
received?
To see the most recent calls you
dialed or received:
>
Recent calls
>
Dialed calls
or
Received calls
My phone’s
display is too
dark.
Use the
Adjust brightness
feature to
change the level of brightness in
your display (see page 60).
You can also use the
Backlight
feature to change the length of
time that the display backlight
stays on (see page 60).
Symptom Solution

210
Troubleshooting
My phone’s
battery charge
doesn’t last as
long as I
expected. What
can I do to extend
battery life?
Battery performance is affected by
charge time, feature use,
temperature changes, backlight
use, and other factors. For tips on
extending battery life, see
page 27.
I am unable to
record a voice
note, voice dial,
or voice launcher.
Try moving to a quieter location to
make your voice recording. Hold
the phone about four inches (10
centimeters) from your mouth,
and speak directly into your
phone’s microphone with a normal
tone of voice.
I launched the
micro-browser
but the display
shows:
Not
Available
.
You may be in an area without
service, or you may be connected
to a network that does not support
Internet access.
I launched the
micro-browser
but the display
shows:
Request
timed out. Gateway is
not responding
.
Try again in a few minutes. The
servers may be temporarily busy.
Symptom Solution

211
Troubleshooting
The handwriting
feature does not
work properly.
It happens as the Finger Writing
Recognition (FWR) technology is
vulnerable to the environmental
temperature, humidity and electric
charge of fingers. The solution is
to calibrate the FWR functionality:
>
Settings
>
Initial settings
>
Input
mode
>
Finger writing settings
>
Calibration
For more information, see
“Calibrating Your Finger Writing
Recognition” on page 45.
Symptom Solution

Specific Absorption Rate Data
The model wireless phone meets the government’s requirements
for exposure to radio waves.
Your wireless phone is a radio transmitter and receiver. It is designed and
manufactured not to exceed limits for exposure to radio frequency (RF)
energy set by the Federal Communications Commission (FCC) of the U.S.
Government and by the Canadian regulatory authorities. These limits are
part of comprehensive guidelines and establish permitted levels of RF
energy for the general population. The guidelines are based on standards
that were developed by independent scientific organizations through
periodic and thorough evaluation of scientific studies. The standards
include a substantial safety margin designed to assure the safety of all
persons, regardless of age or health.
The exposure standard for wireless mobile phones employs a unit of
measurement known as the Specific Absorption Rate, or SAR. The SAR
limit set by the FCC and by the Canadian regulatory authorities is 1.6 W/
kg
1
Tests for SAR are conducted using standard operating positions
accepted by the FCC and by Industry Canada with the phone transmitting
at its highest certified power level in all tested frequency bands. Although
the SAR is determined at the highest certified power level, the actual SAR
level of the phone while operating can be well below the maximum value.
This is because the phone is designed to operate at multiple power levels
so as to use only the power required to reach the network. In general, the
closer you are to a wireless base station, the lower the power output.
Before a phone model is available for sale to the public in the U.S. and
Canada, it must be tested and certified to the FCC and Industry Canada
that it does not exceed the limit established by each government for safe
exposure. The tests are performed in positions and locations (e.g., at the
ear and worn on the body) reported to the FCC and available for review by
Industry Canada. The highest SAR value for this model phone when
tested for use at the ear is 0.24
W/kg, and when worn on the body, as
212

213
described in this user guide, is 0.18 W/kg. (Body-worn measurements
differ among phone models, depending upon available accessories and
regulatory requirements).
2
While there may be differences between the SAR levels of various phones
and at various positions, they all meet the governmental requirements for
safe exposure. Please note that improvements to this product model
could cause differences in the SAR value for later products; in all cases,
products are designed to be within the guidelines.
Additional information on Specific Absorption Rates (SAR) can be found
on the Cellular Telecommunications & Internet Association (CTIA) Web
site:
http://www.phonefacts.net
or the Canadian Wireless Telecommunications Association (CWTA) Web
site:
http://www.cwta.ca
1.
In the United States and Canada, the SAR limit for mobile phones used by
the public is 1.6 watts/kg (W/kg) averaged over one gram of tissue. The
standard incorporates a substantial margin of safety to give additional
protection for the public and to account for any variations in measurements.
2. A
The SAR information includes the Motorola testing protocol, assessment
procedure, and measurement uncertainty range for this product.

214
Index
A
accessories 21
account book, managing
136
alarm clock 135
alert
setting 124, 130, 131
turning off 126, 130, 131
ambient light sensor
turning on/off 64
animation
screen saver 63, 157,
187
wallpaper 7, 62
answering a call 31, 65,
127
B
backlight 60
battery
charging 26
extending battery life 27
installing 24
level indicator 26
blocking a call 129
C
calculator 142
call
alert, turning off 124
answering 31, 65, 127
barring password,
changing 56
blocking 129
dialing 31
ending 31
making 31
muting 32
receiving 31, 65, 127
recent calls list, viewing
68
redialing 67
transfering 129
waiting 36, 65
call counter 132
call timer 131
caller group
photo caller ID, setting
107
ring alert, customizing
106
camera
framing a picture 184
multi-shot 185
215
composite 188
continuous 186
quality 183
resolution 182
rotating a picture 176
screen saver 178
self-timer 190
sending a picture 178
shutter sound, turning on/
off 190
taking a picture 174
touch-up 192
twilight mode 189
viewer brightness 182
wallpaper 176
white balance 191
zoom lens 181
clock
setting 54, 61, 62
closed user group, defined
155
codes
changing 56
forgetting 57
color, setting 60
contrast, setting 60
cursor 48, 49, 52, 161
D
date, setting 61
datebook, managing 136
dialing a number 31
display
backlight 60
color 60
contrast 60
external display 54
idle display, defined 33,
54
internal display 33
E
earpiece volume 30
end key 31
ending a call 31
Enter Unlock Code
message
207
F
factory preset setting,
restoring 122
Finger Writing Recognition
(FWR) functionality
calibrating 2, 45, 58
commands 47
customizing 44
gestures 48
training 44
warranty 41
Finger Writing Recognition
(FWR) text entry
method 39
216
fixed dial 111
flip
activating 32
external display 54
screen saver 63
wallpaper 62
G
game
embedded game, playing
156
Java game, playing 173
H
holding a call 65
I
idle display 33, 54
indicators 34
battery level 26
network signal 54
time and date 54
input modes
123 39
finger writing 39
iTAP English 39
symbol 39
TAP English 39
Internet connection 199
bookmark 201
hompage 201
URL 202
iTAP English predictive text
entry method 39
J
Java
configuration, setting 173
game, playing 173
K
key
end key 31
left soft key 33
menu key 37
power key 28
right soft key 33
send key 31, 66
keypad
backlight 60
L
left soft key
functions 33
lock
keypad 155
phone 55, 56
SIM card 56
M
main menu display style,
setting 5
217
making a call 31
making a conference call
127
making a fax or data call
129
media object
displaying 167
downloading 202
moving 172
sending 168
menu
entering text 37, 38
navigating 37
menu key 37
message
instant message
writing 88
MMS message
activating 72
previewing 77
saving 80
sending 77
writing 73
SMS message
saving 71
sending 70
writing 69
SMS/MMS message
deleting 83
managing 83
reading 81
my telephone number 30,
31, 66, 67, 68, 71,
77, 84, 91, 96, 98,
103, 105, 110, 111,
114, 127, 129, 140,
207, 208
N
network connection, setting
199
number
storing your number 22,
37, 38, 68, 69, 73,
84, 86, 91, 96, 98,
105, 110, 112,
114, 116, 129
viewing your number 30,
54, 69, 73, 103,
137, 140
number dialing 114
numeric text entry method
39
O
optional accessory, defined
21
optional feature, defined 21
P
phone
alert, turning off 126
218
auto power off, setting 62
auto power on, setting
135
codes 56
date, setting 61
flip 28, 30, 32, 54, 125,
174
locking 55, 56
time, setting 61
turning on/off 28
unlocking 55
phone number
storing your number 22,
37, 38, 68, 69, 73,
84, 86, 91, 96, 98,
105, 110, 112,
114, 116, 129
viewing your number 30,
54, 69, 73, 103,
137, 140
phonebook entry
adding 96
fixed dial 111
photo caller ID, setting
100
speed dial 104
voice dial 114
number dialing,
speaking 114
voice tag, recording
116
picture
cropping 161
drawing 156
screen saver 63, 157,
158, 178, 187, 189
wallpaper 7, 62, 157,
158, 176
PIN code
changing 56
PIN2 code
changing 56
power key 28
PUK code, defined 57, 207
PUK2 code, defined 57
Q
quick access menu
creating 122
using 123
quick note 69, 73, 85, 89
R
right soft key
functions 33
ring style
ring alert, composing 162
ring alert, turning off 124
setting 124
S
safety information 13
219
screen saver 63, 157, 158,
178, 187, 189
security code
changing 56
forgetting 57
send key 31, 66
service light
setting 63
service provider name
customizing 121
shortcut 1, 7, 44, 47, 122
silent ring alert, setting 124,
126
SIM card
defined 22
installing 22
PIN code entry 28
PIN code, changing 56
PIN2 code, changing 56
precautions 22
SIM Blocked
message 28
soft keys
functions 33
Specific Absorption Rate
(SAR) value 212
speed dial/1-touch dial 104
standby time, increasing
60, 173
STK service 134
stopwatch 142
symbol (and punctuation)
text entry method 39
T
TAP English standard text
entry method 39
text
entering 38
entry method, changing
38
entry method, predefining
39
finger writing input mode
39
flashing cursor 37
iTAP English input mode
39
TAP English input mode
39
time, setting 61
transfering a call 129
travel charger 26
U
unlock
keypad 155
phone 55, 56
SIM card 57
unlock code
bypassing 57
changing 56
entering 28, 55, 56, 57,
111, 122, 132,
207, 208
220
forgetting 57
V
vibrate alert
turning on/off 125
video recorder 192
voice dial 114
number dialing 114
voice tag 116
voice launcher 146
voice command 146
voice recorder 149
voicemail service number,
setting 86
volume
earpiece 30
keypad 125
ring alert 124
W
wallpaper 7, 62, 157, 158,
176
Web pages 202
word completion feature 40
world time, viewing 148