Motorola Mobility T6ZD1 User Manual leap en bk
Motorola Mobility LLC leap en bk
UserManual.wiki
>
Motorola Mobility
>
T6ZD1 User Manual
Motorola Exhibit 14 Instruction Manual
Navigation menu
Upload a User Manual
Namespaces
Wiki Guide
HTML
PDF
Info
Views
User Manual
Discussion / Help
Navigation


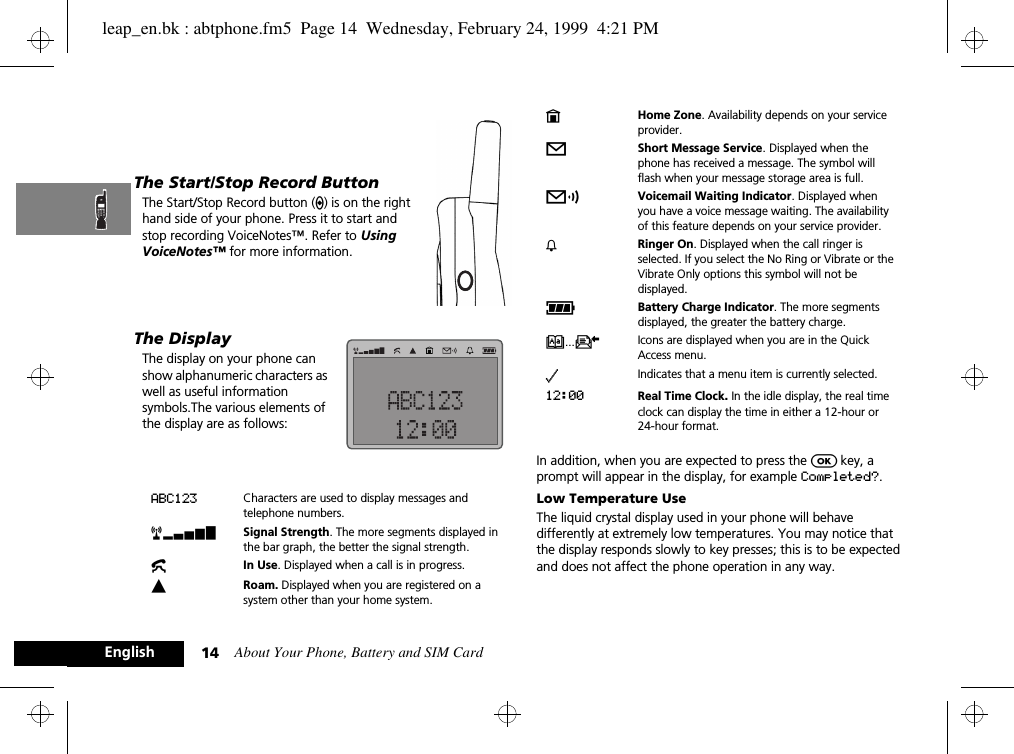


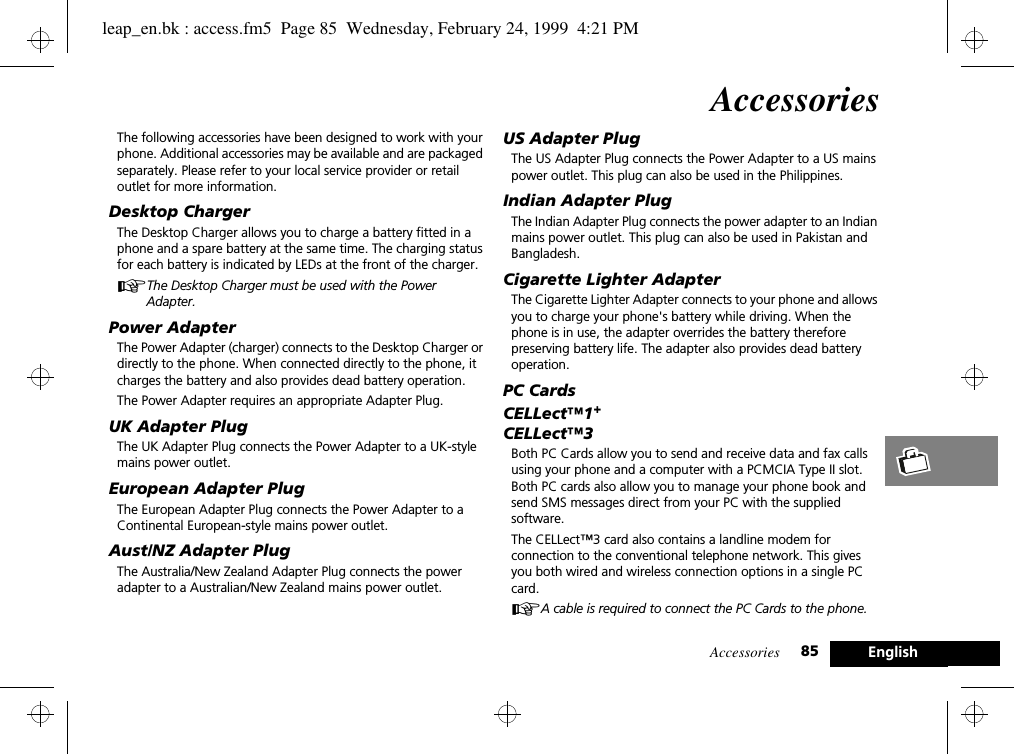
![Using the Options Menu44EnglishHow to Enter Alphabetic CharactersThe 0, 1,... ...,8 and 9 keys are used to enter alphabetic characters, for example when storing names in the Phone Book or when creating messages.For example, if you press the 5 key, the first displayed character will be J. If this is not the required character, then you can press the same key again to show K. Another press will display L, another... ...will display 5. Your phone will continue to scroll through the characters available on the selected key with each new key press.A long press of any of the keys will switch all the characters to lower case, a second long press will switch back to upper case.To enter the next character press the appropriate key. If, however, the next character is on the same key as the previous character you will first need to press the > key. Pressing the > key a second time will produce a space.If a mistake has been made, you can go back to the incorrect character by pressing <.Characters can be removed from the display by pressing the C key.The character before the cursor (Ö) is the character which will be deleted.Press the O key to store the information.Available CharactersPress the appropriate keys to get the following characters:1Space . 1 ? ! , Ÿ Ä & : " ( ) ' ` @ % ¡ ¢Space . 1 ? ! , Ÿ Ä & : " ( ) ' ` @ % ¡ ¢2A B C 2 [ ® ± ¼ ¾ ©a b c 2 { ¯ ± ½ ¾ ©3D E F 3 ° ¿ ¤ ² d e f 3 ° ¥ ¤ ²4G H I 4 À §g h i 4 À §5J K L 5 Áj k l 5 Á6M N O 6 ] \ « ¨ µm n o 6 } | ¬ ¨ µ7P Q R S 7 Â ¾ ¸p q r s 7 Â ¾ ¸8T U V 8 ¹ ^ ¦t u v 8 ¹ ~ ¦9W X Y Z 9 º ·w x y z 9 º ·0+ - 0 x * / = > < #+ - 0 x * / = > < #The top line for each key shows the upper case characters, the lower line shows the lower case.leap_en.bk : opt_menu.fm5 Page 44 Wednesday, February 24, 1999 4:21 PM](https://usermanual.wiki/Motorola-Mobility/T6ZD1/User-Guide-26416-Page-47.png)