Motorola Solutions 89FT5815 iDEN i88s, i58sr User Manual i88s
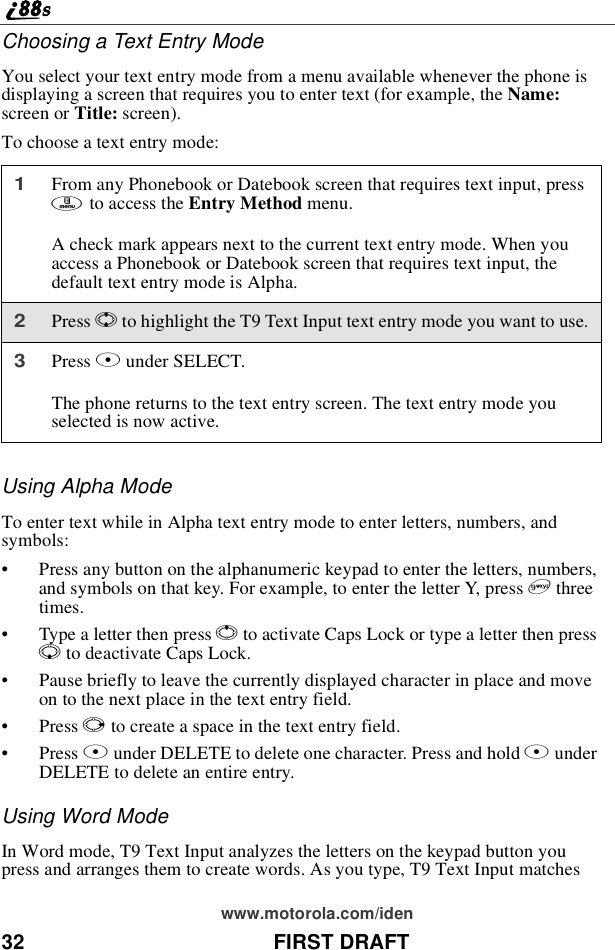
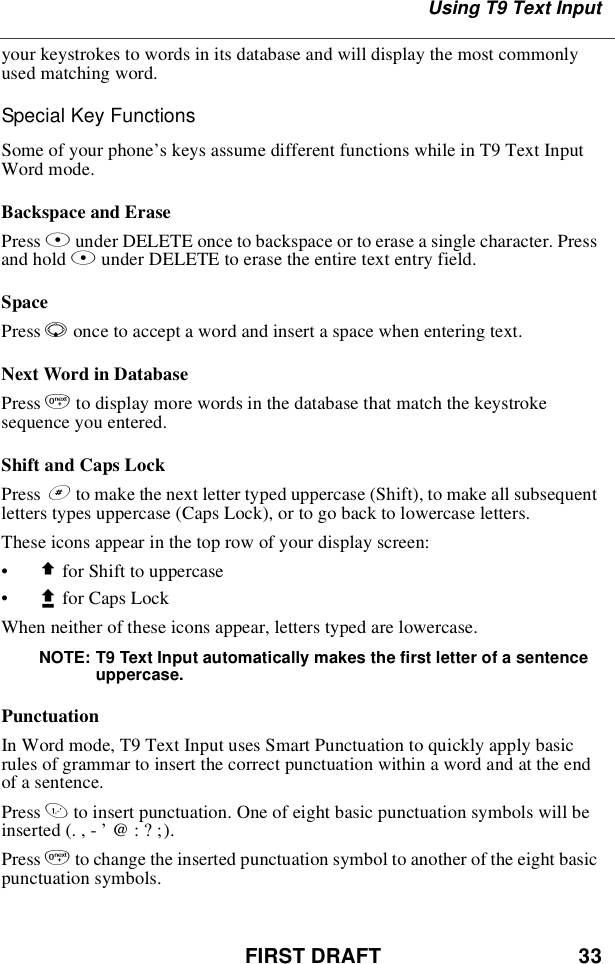
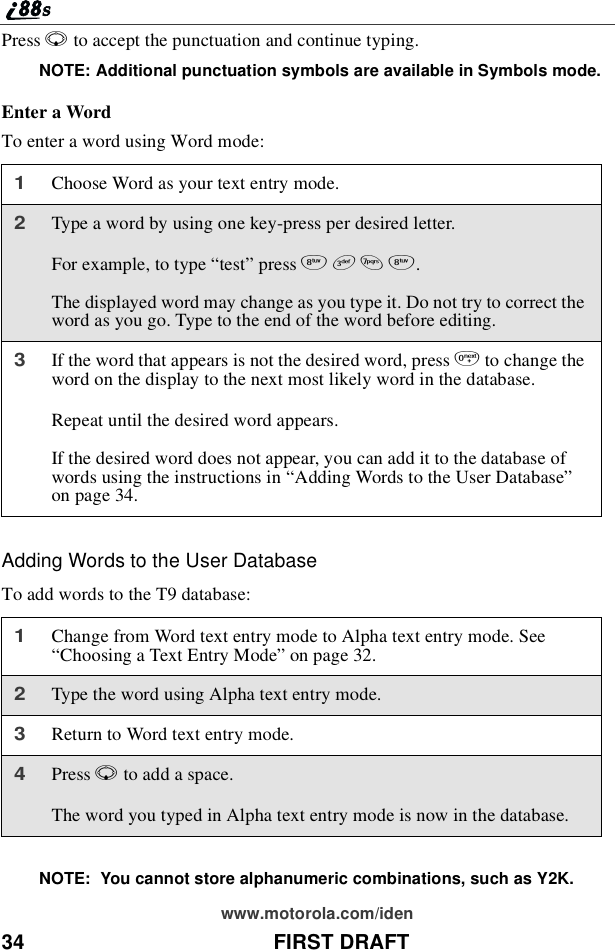
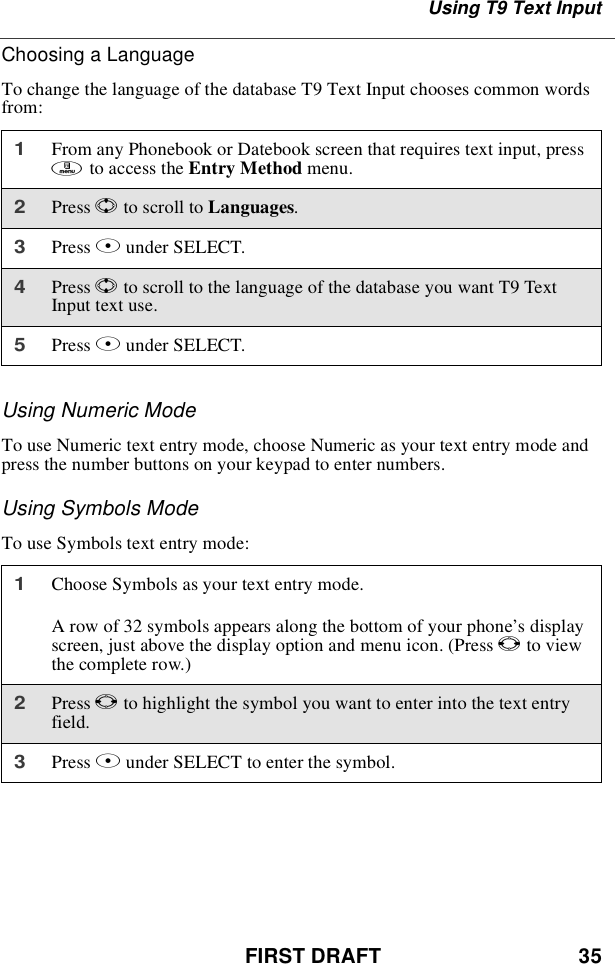
Motorola Solutions, Inc. iDEN i88s, i58sr i88s
UserManual.wiki
>
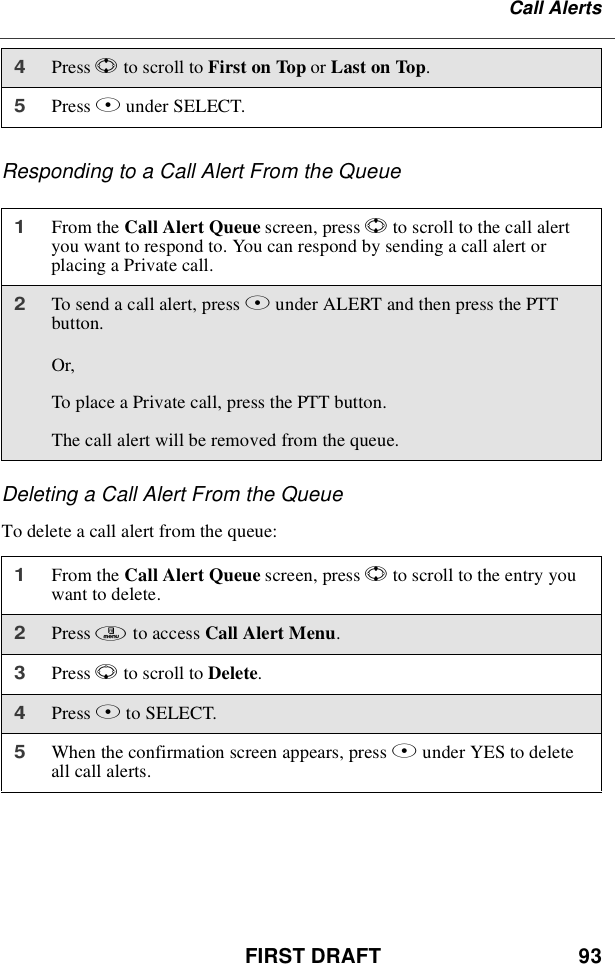
Motorola Solutions
>
89FT5815 User Manual
>
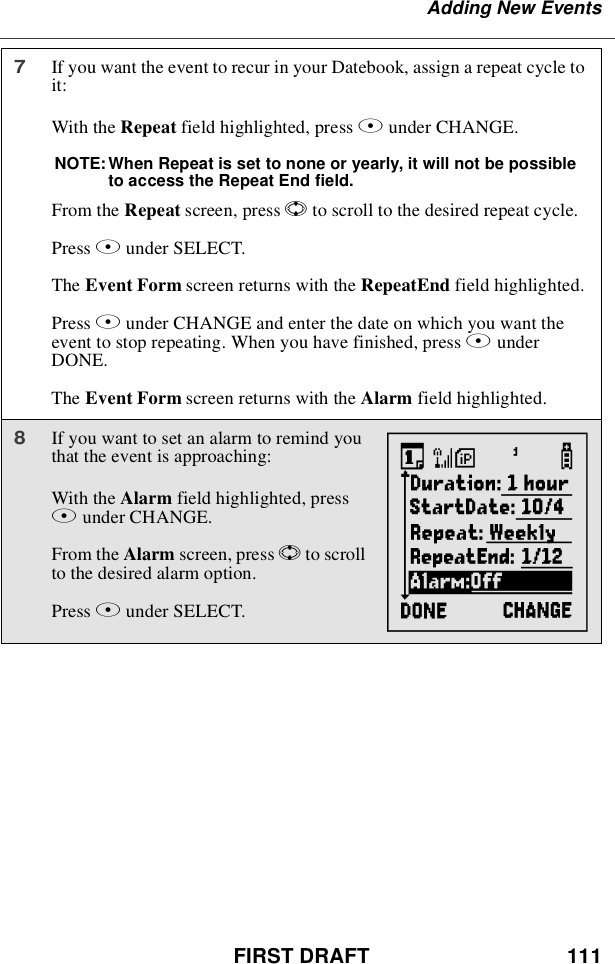
Ex8 User Manual i88s
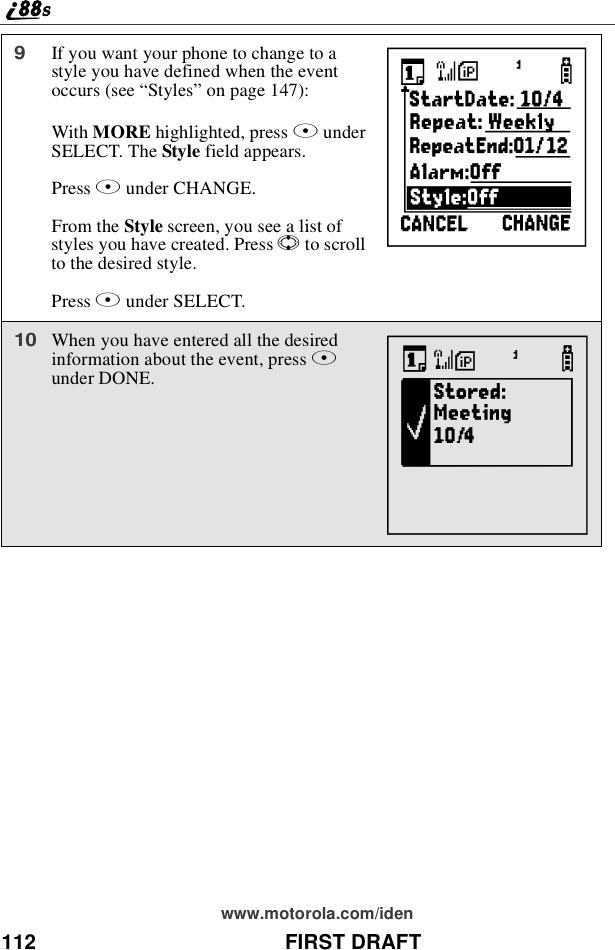
Contents
1.
Users Manual
2.
Ex8 User Manual 1 of 2 i58sr
3.
Ex8 User Manual 2of 2 i58sr
4.
Ex8 User Manual i88s
5.
MANUAL 2
6.
users manual
Ex8 User Manual i88s
Navigation menu
Upload a User Manual
Namespaces
Wiki Guide
HTML
PDF
Info
Views
User Manual
Discussion / Help
Navigation


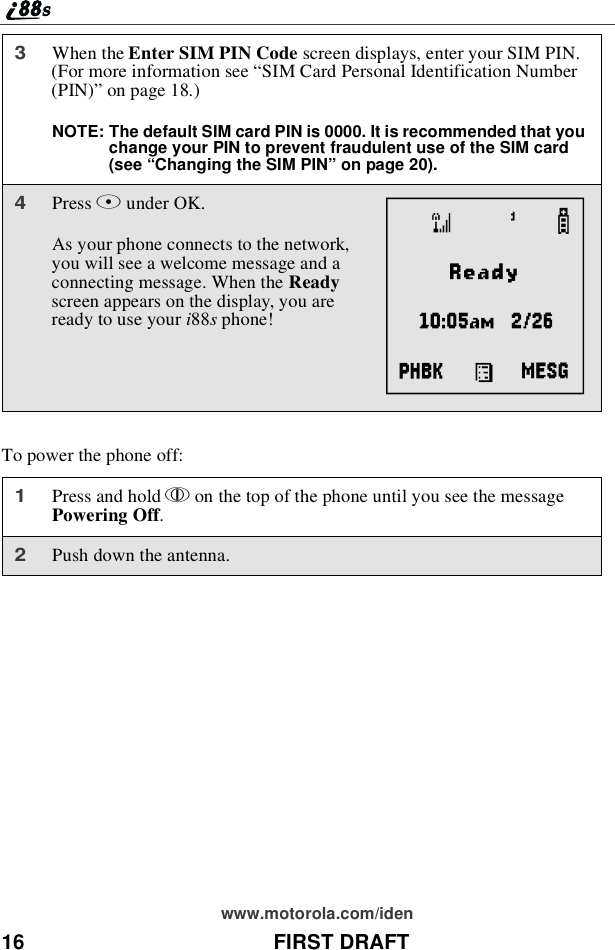

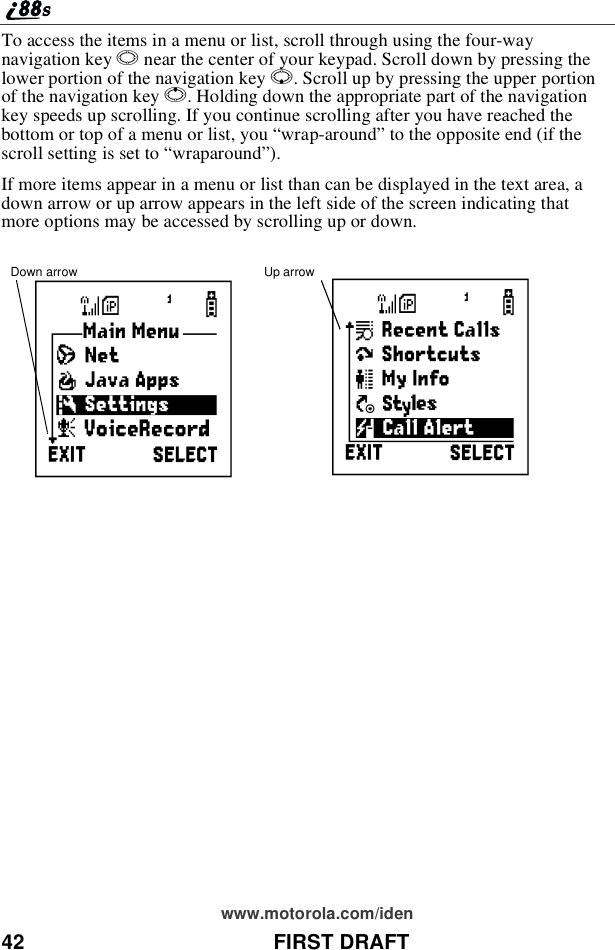
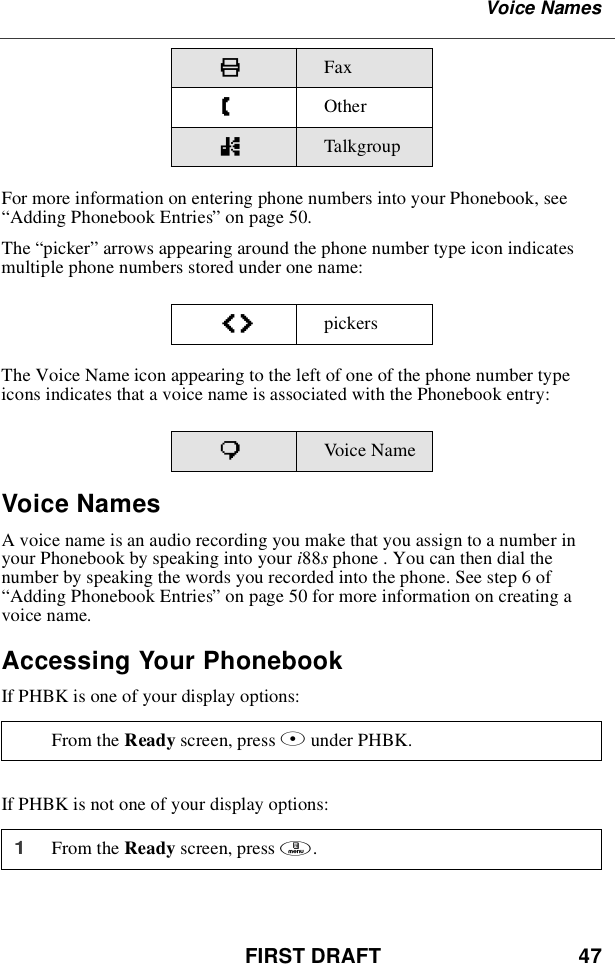
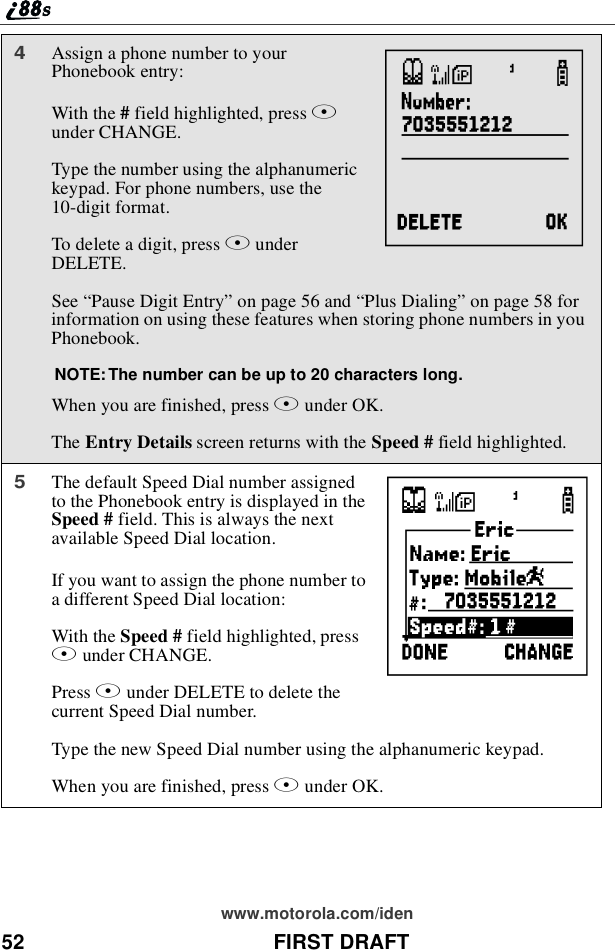
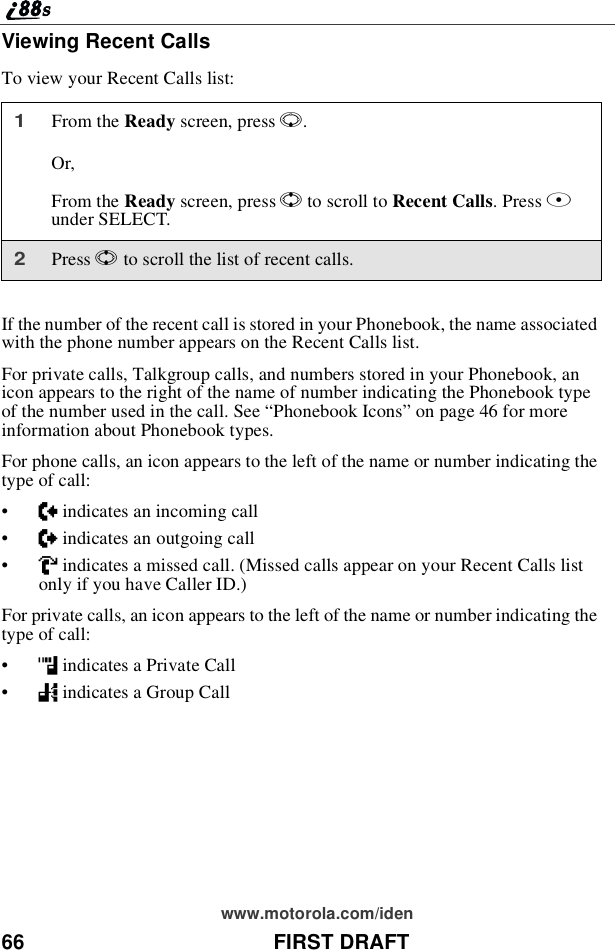
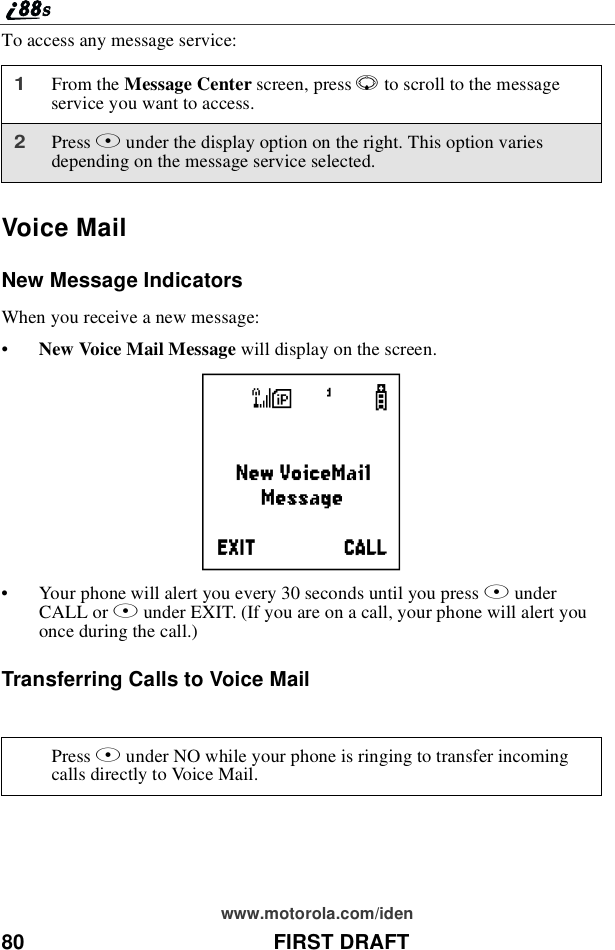
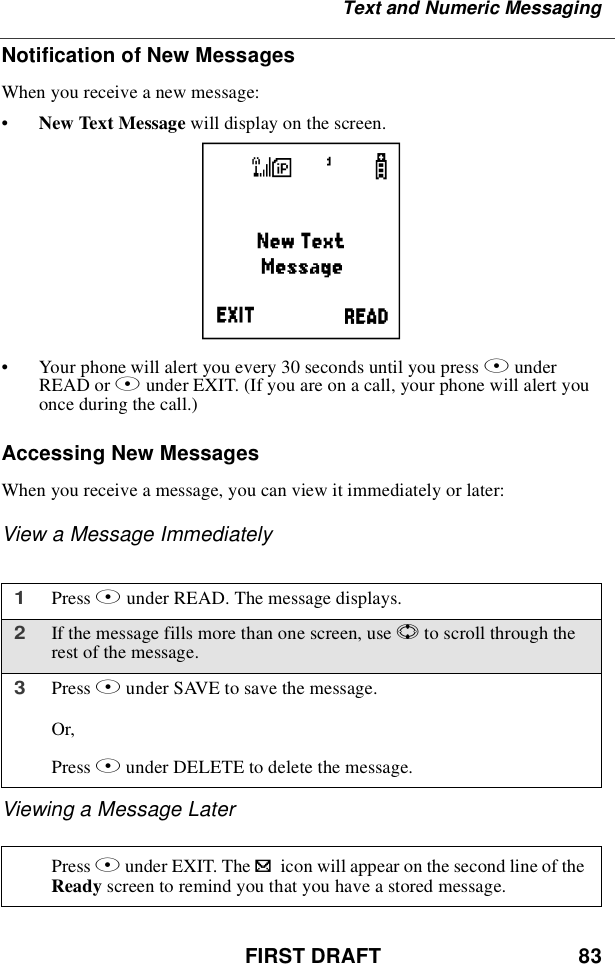
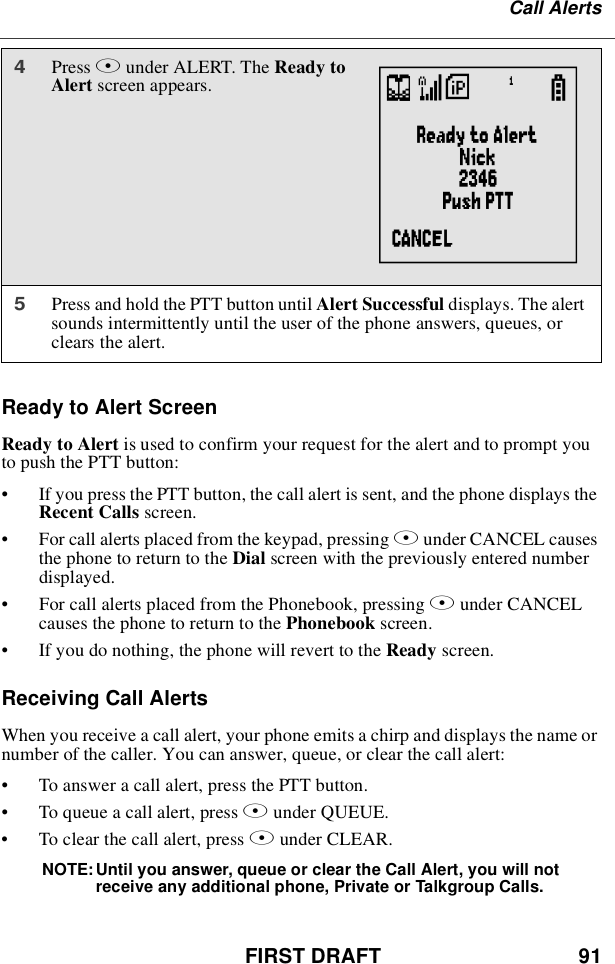
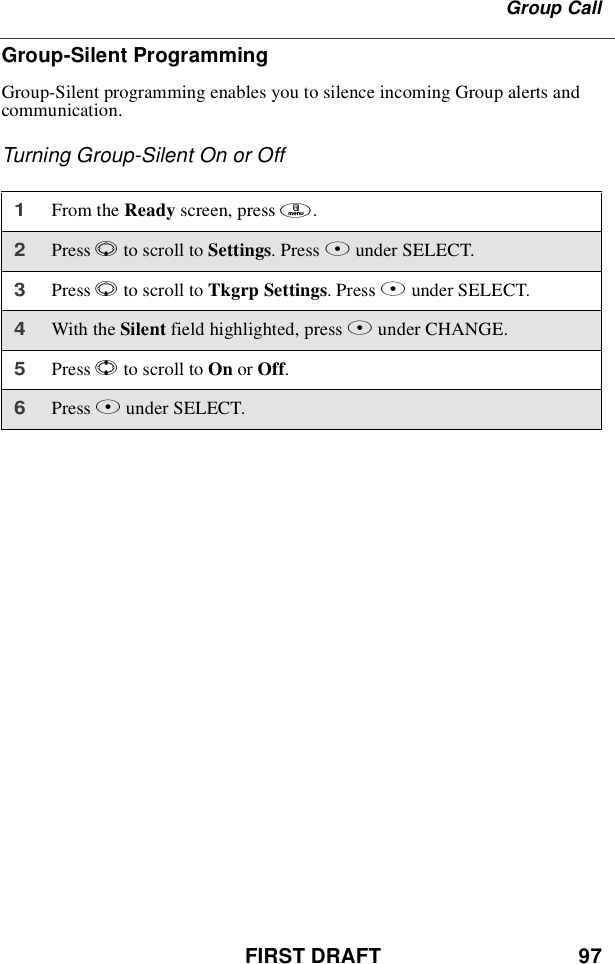
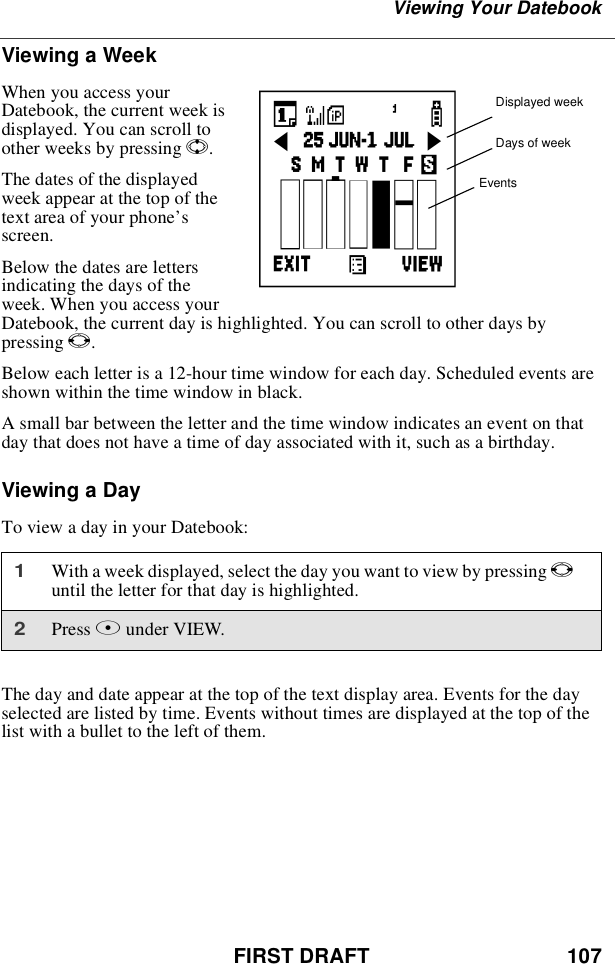
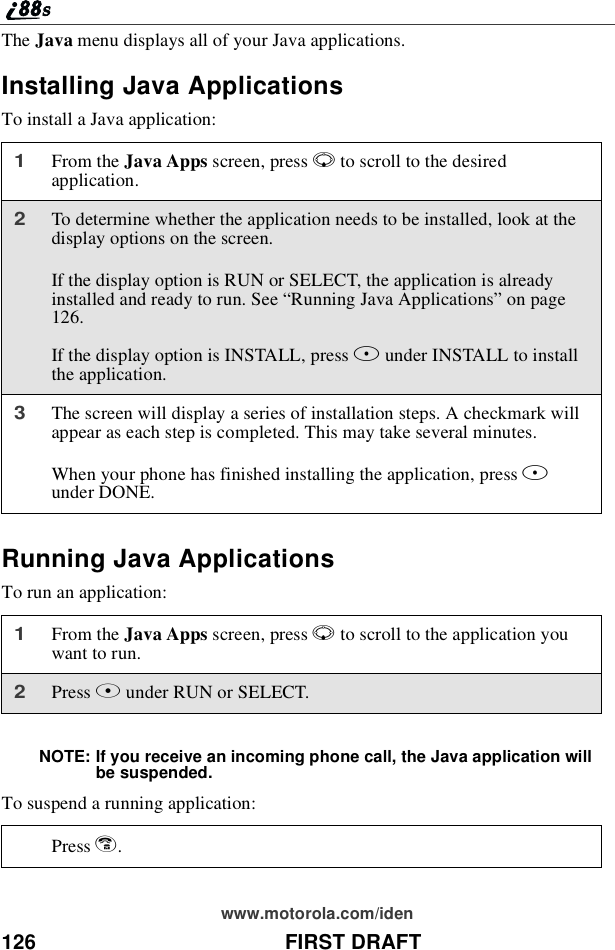
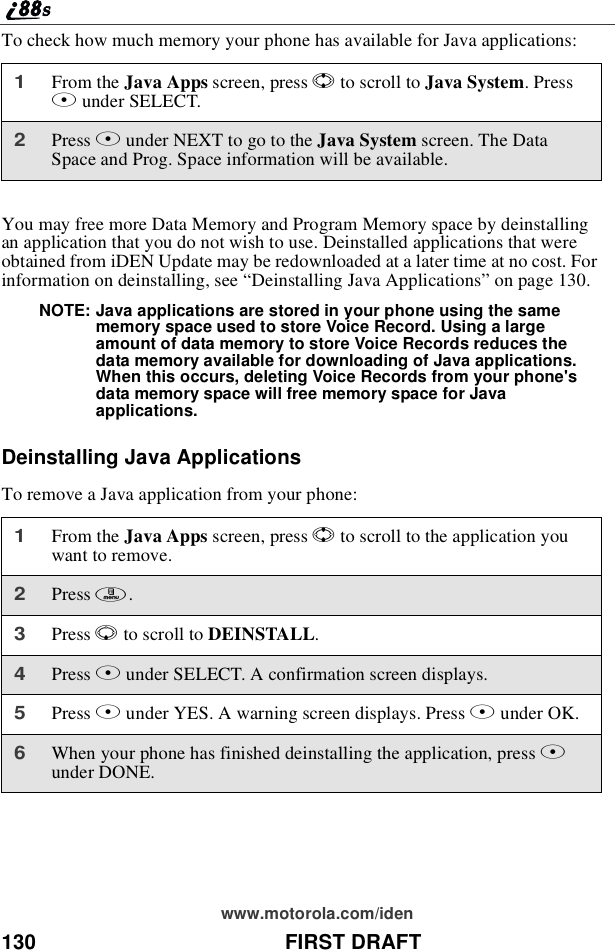
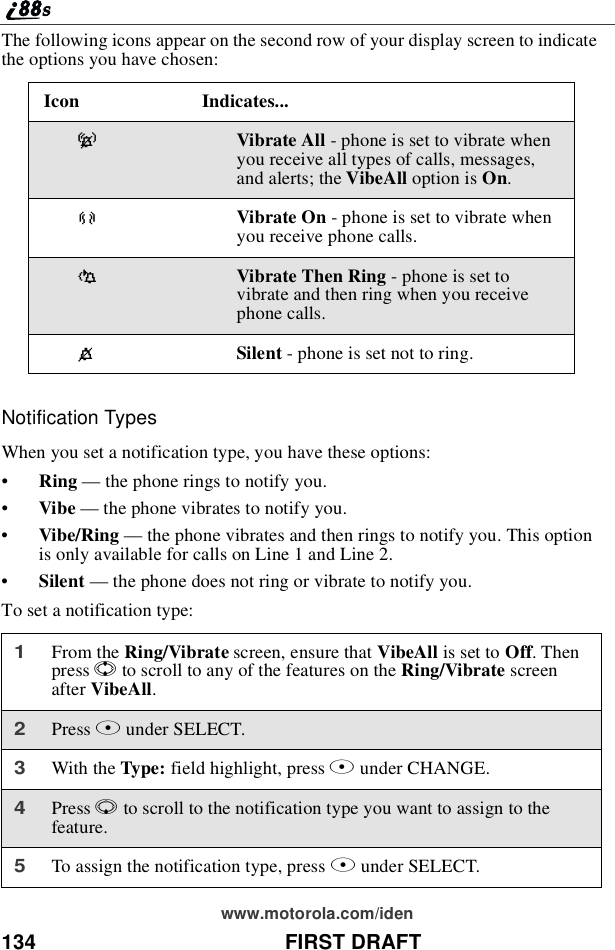
![FIRST DRAFT 39Display Screen ElementsYPacket Data Ready —phone is ready toreceive data through a data cable.ZPacket Data Activity —phone istransmitting data.]Mobile IP —phone is ready to access theInternet.{Secure Data —phone is accessing theInternet using a secure connection.}Non-secure Data —phone is accessingthe Internet using a non-secure connection.lRoaming —phone is searching fornetwork connections outside your localarea..Text Message —you have one or moreText Messages or Net Alert messages.yVoice Mail —you have one or more VoiceMail messages.BFaxMail —you have one or more FaxMailmessages.uSpeaker Off —phone’s speaker is off.-[\* Ring/Vibe icons —you have customizedthe way in which the phone is set to notifyyou when you receive calls and other typesof messages. See “Ring Style andNotification Type”on page 133 for moreinformation.](https://usermanual.wiki/Motorola-Solutions/89FT5815.Ex8-User-Manual-i88s/User-Guide-254660-Page-41.png)
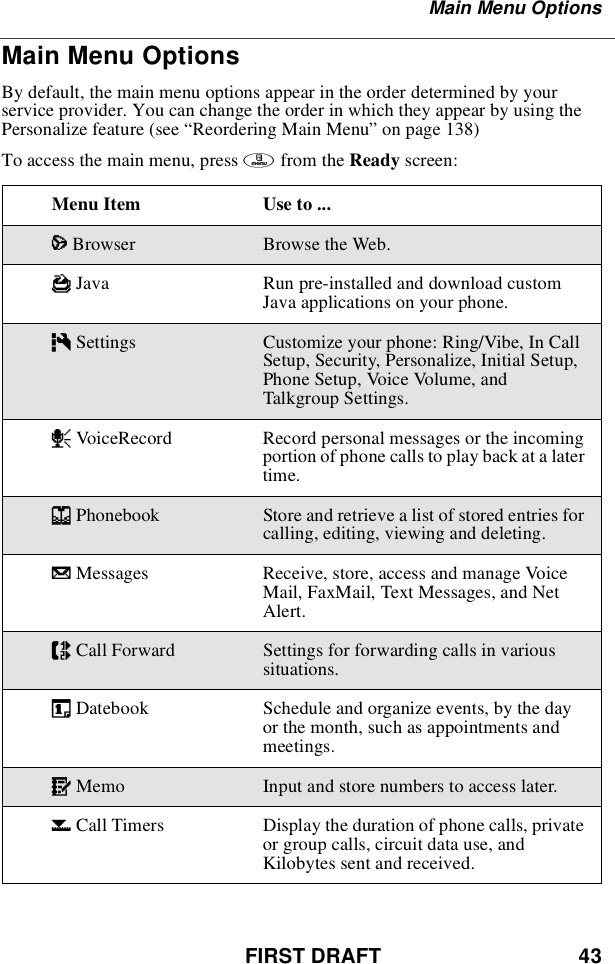
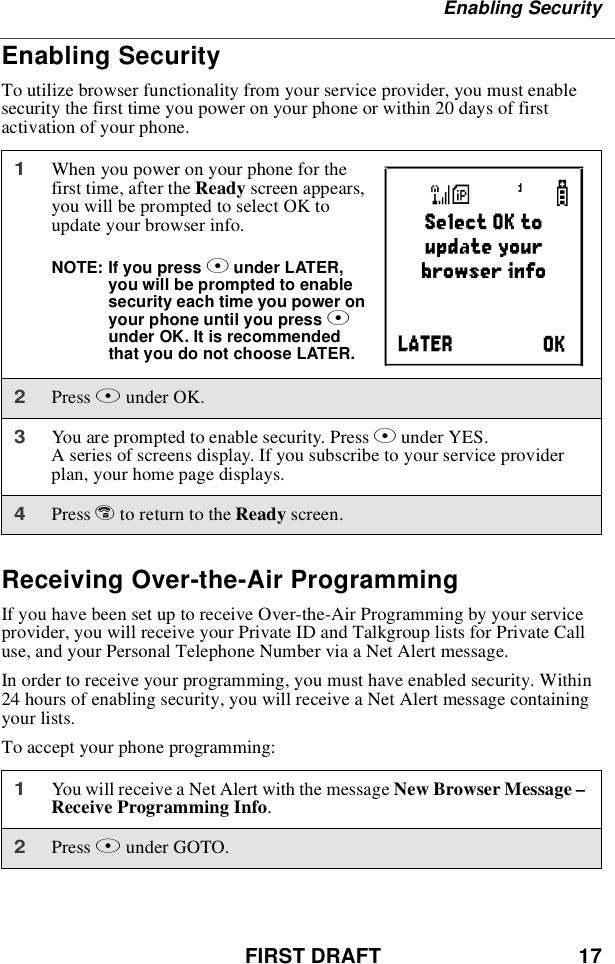
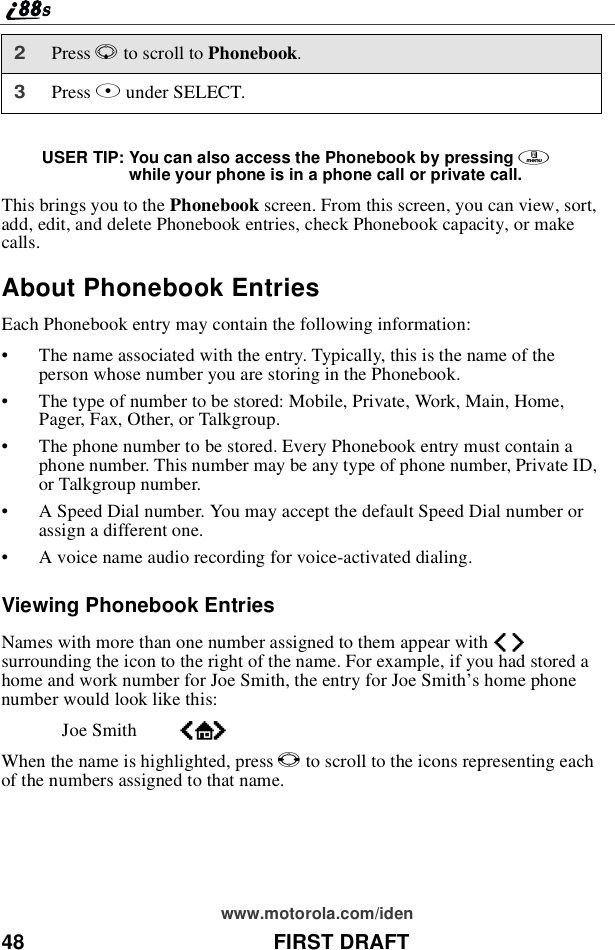
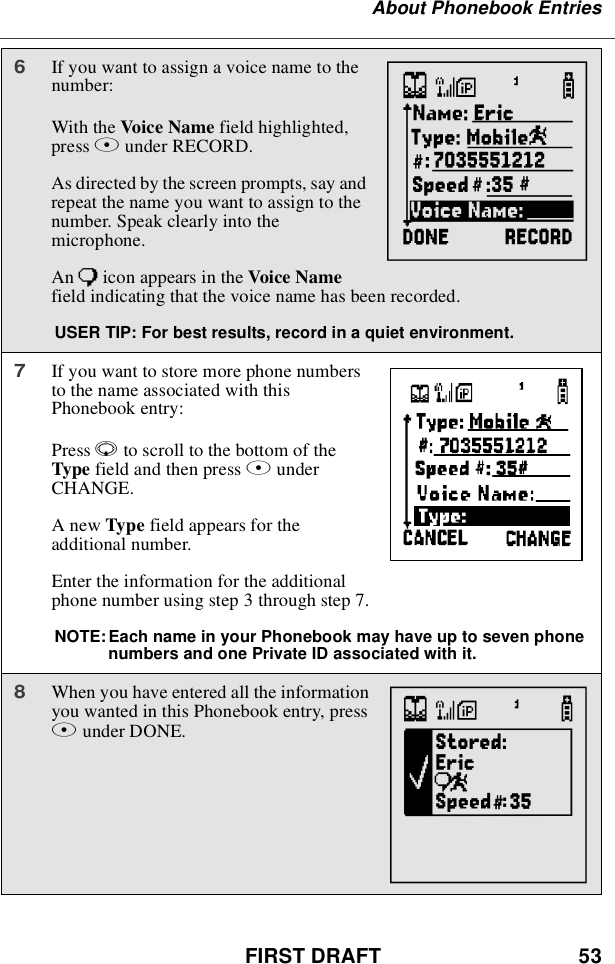
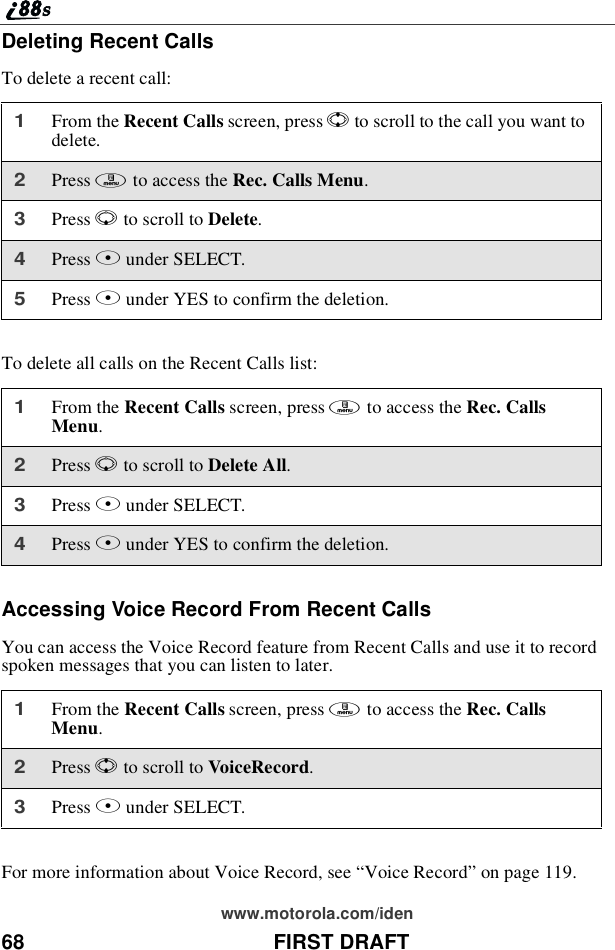
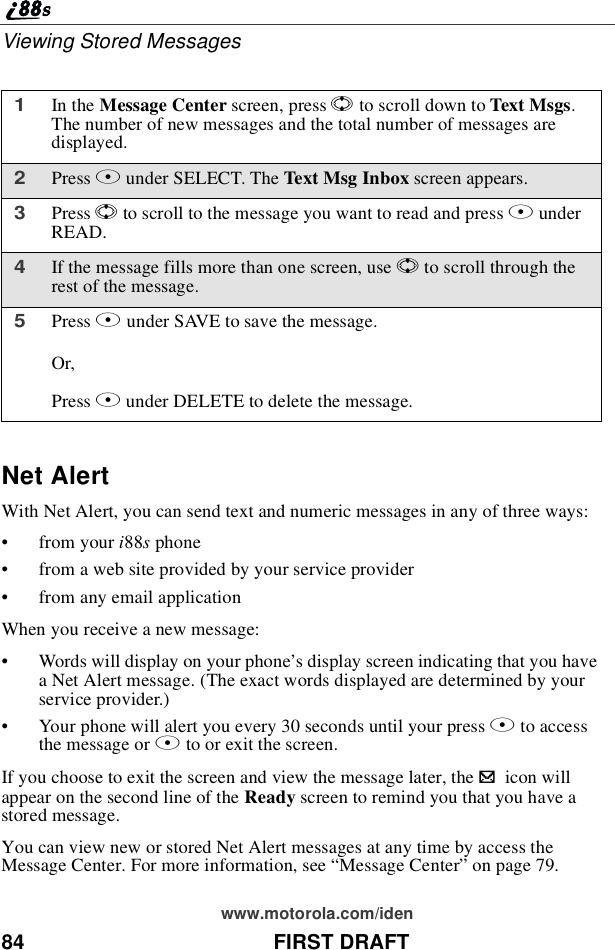
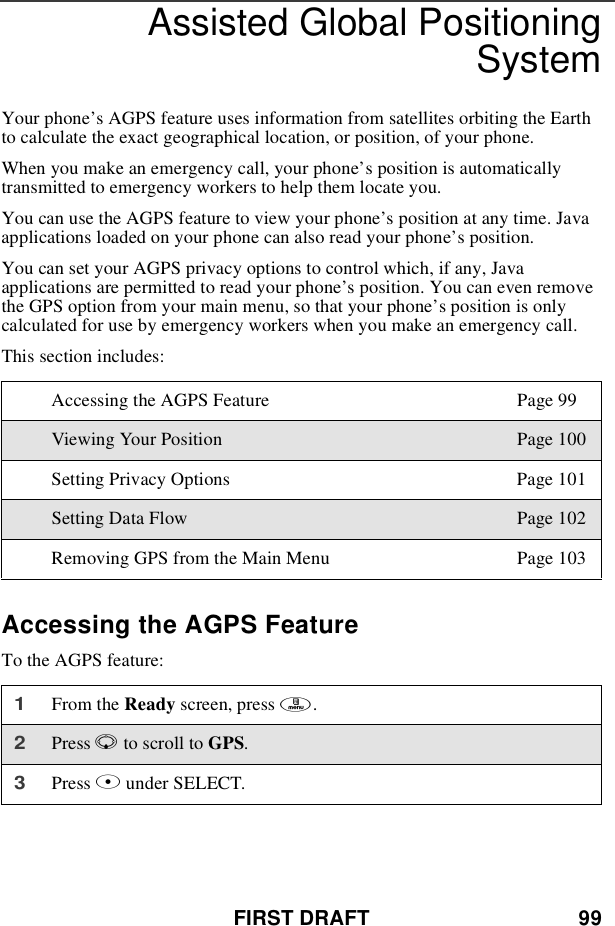
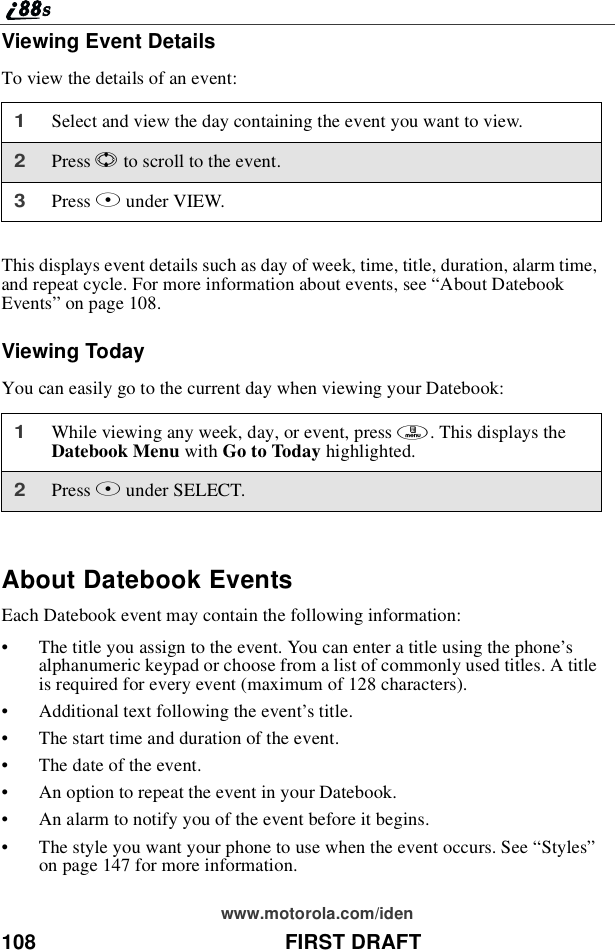
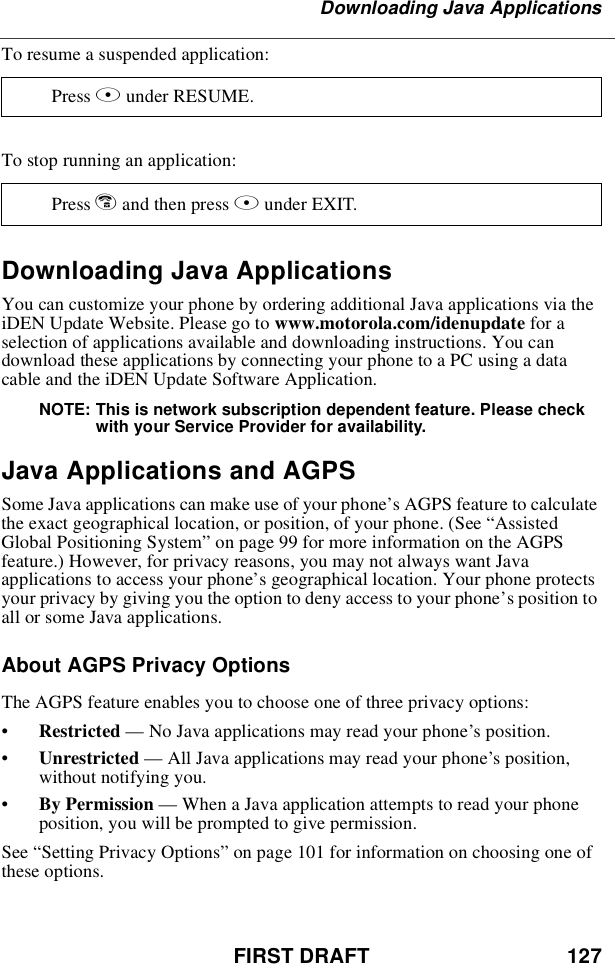
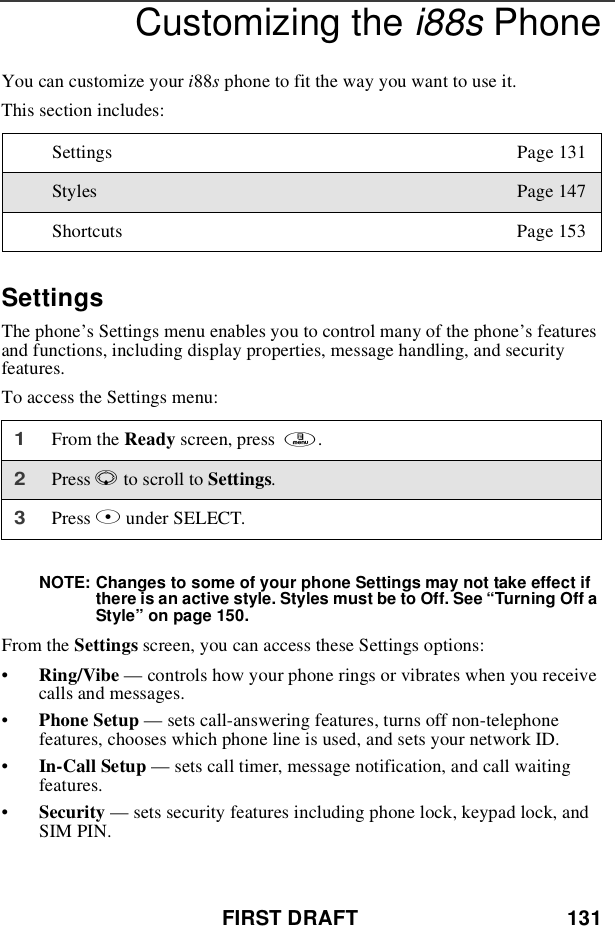
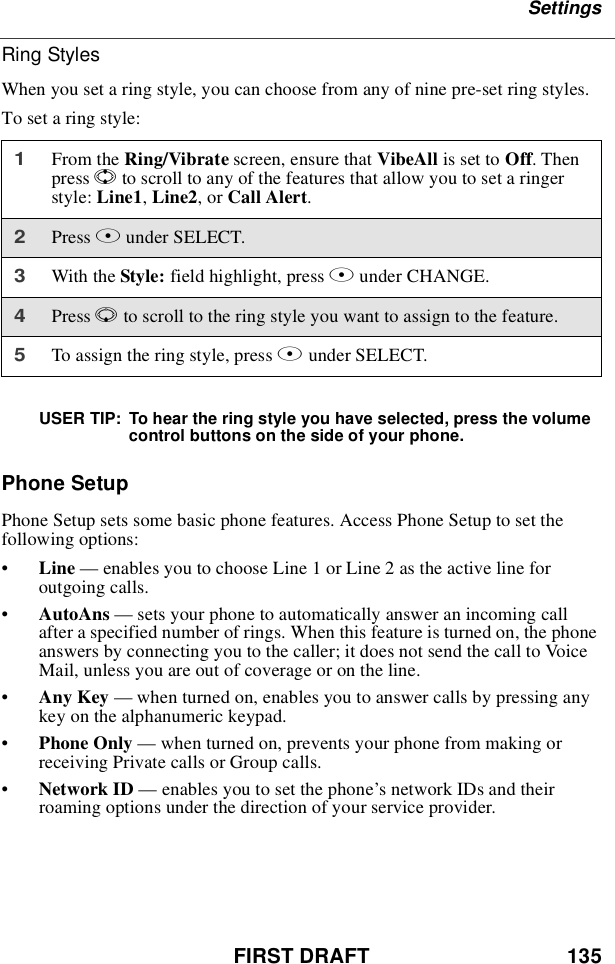
![44 FIRST DRAFTwww.motorola.com/idenTo choose the highlighted Main Menu selection, press Bunder SELECT. ToexittheMainMenu(andreturntotheReady screen), press Aunder EXIT orpress e.jRecent Calls Access a list of the last 20 sent, received, ormissed calls. Calls can be made from thislist.nShortcuts Associate a menu option with a number onthe alphanumeric keypad for quick andeasy access.UMy Info View the name, Private ID, phone numbersfor lines 1 and 2, IP address, and circuitdata number of your phone.vStyles Create or edit a group of settings and savethem as one for use in differentenvironments.:Call Alert Store received call alerts to respond to atyour convenience.[icon pending] GPS Find your phone’s exact geographicallocation.](https://usermanual.wiki/Motorola-Solutions/89FT5815.Ex8-User-Manual-i88s/User-Guide-254660-Page-46.png)
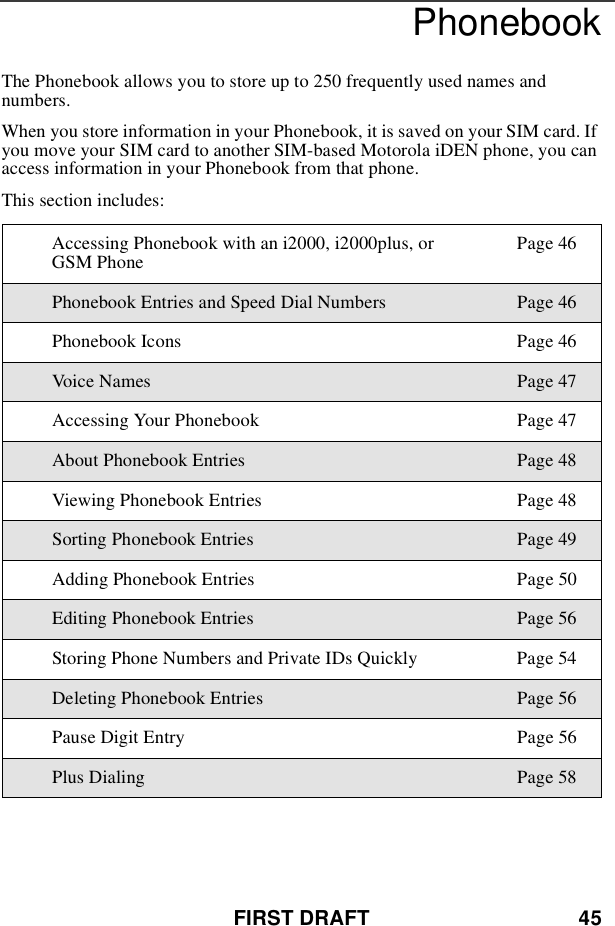
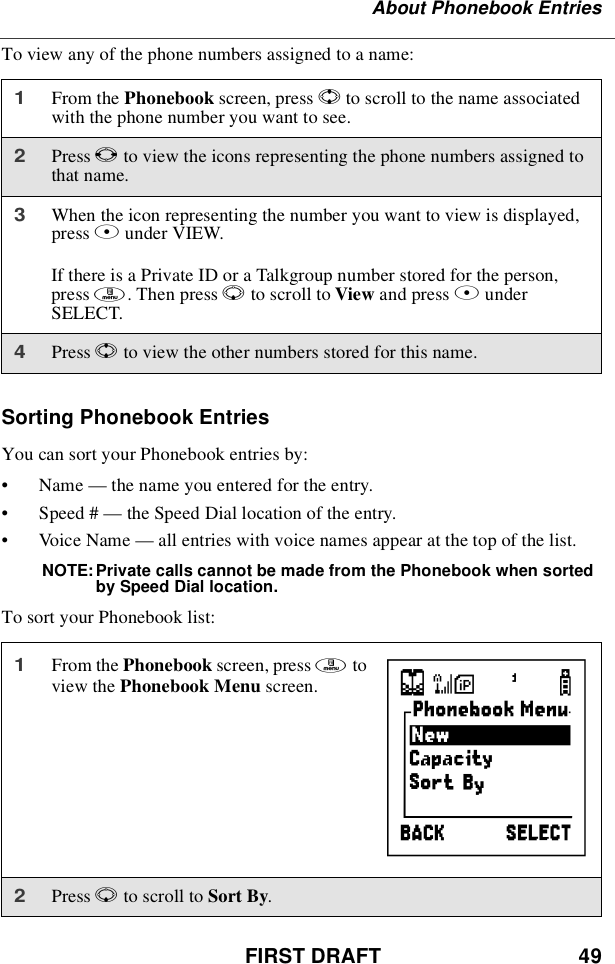
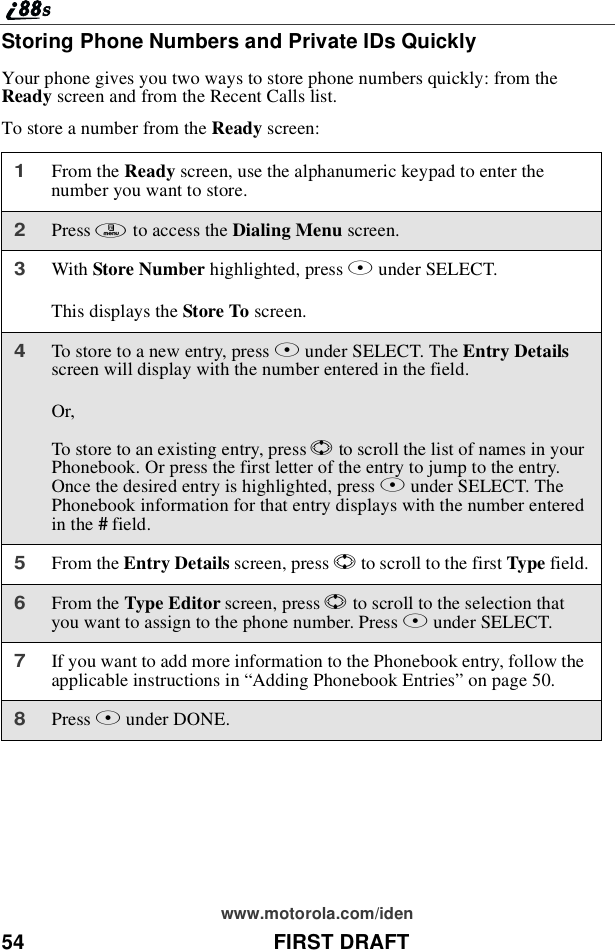
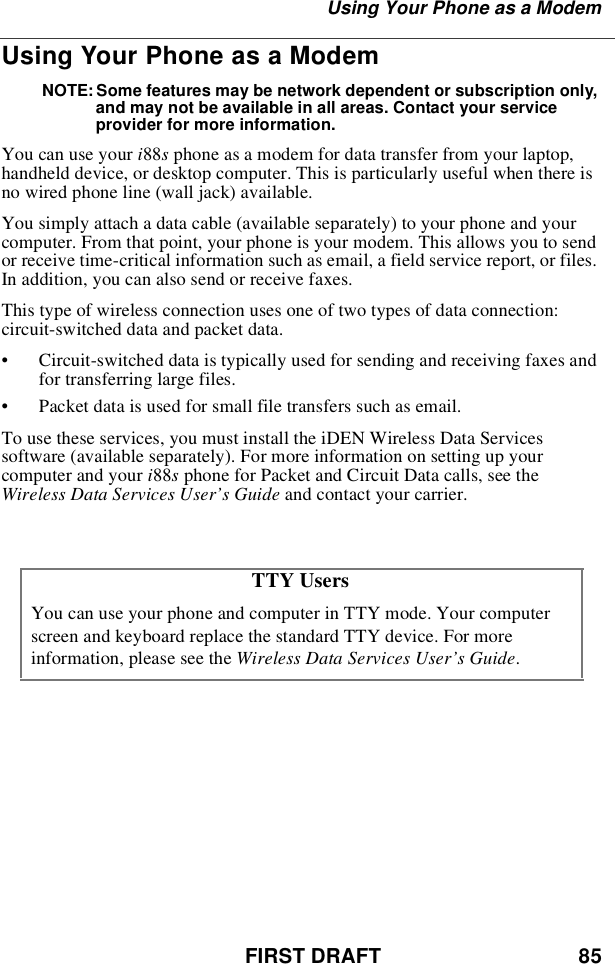
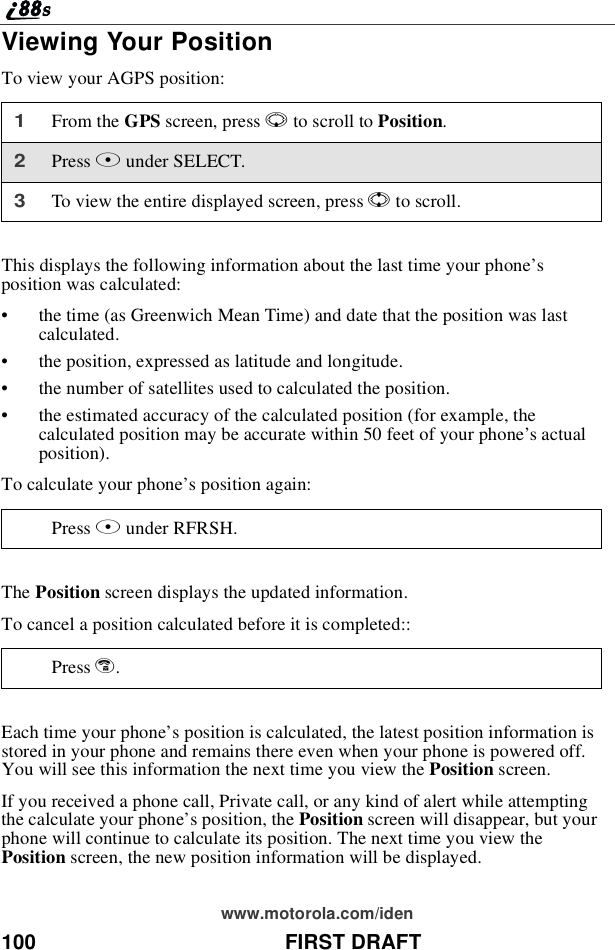
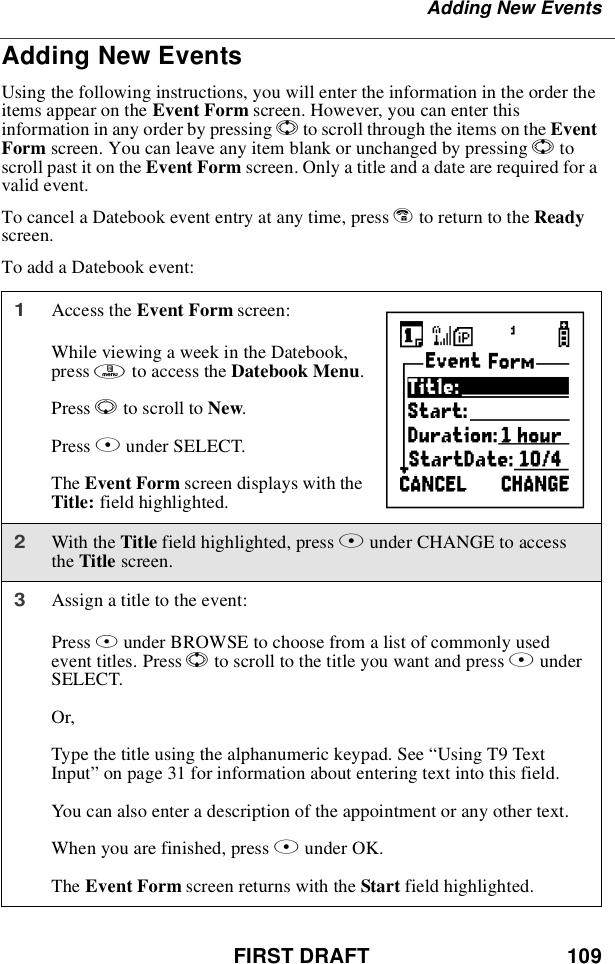
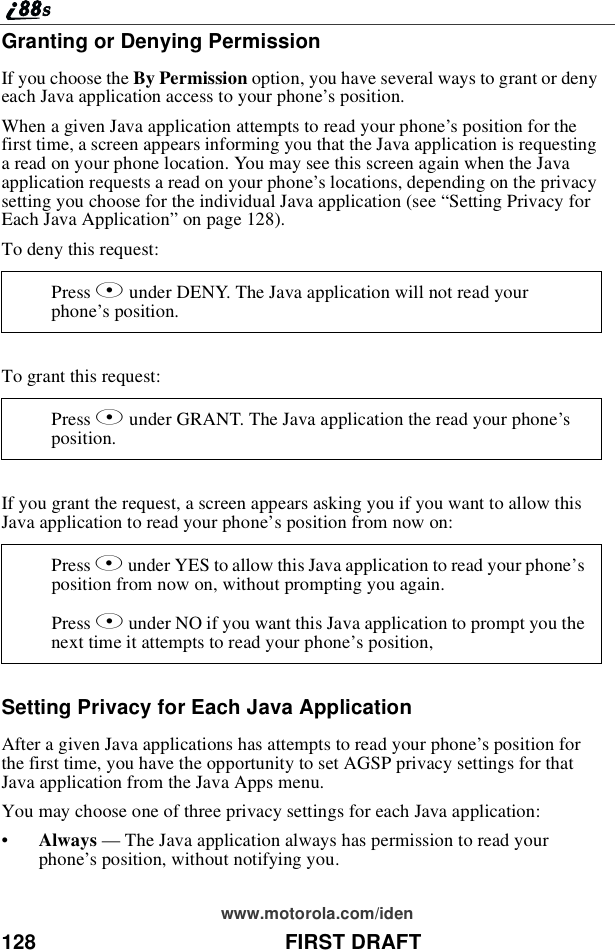
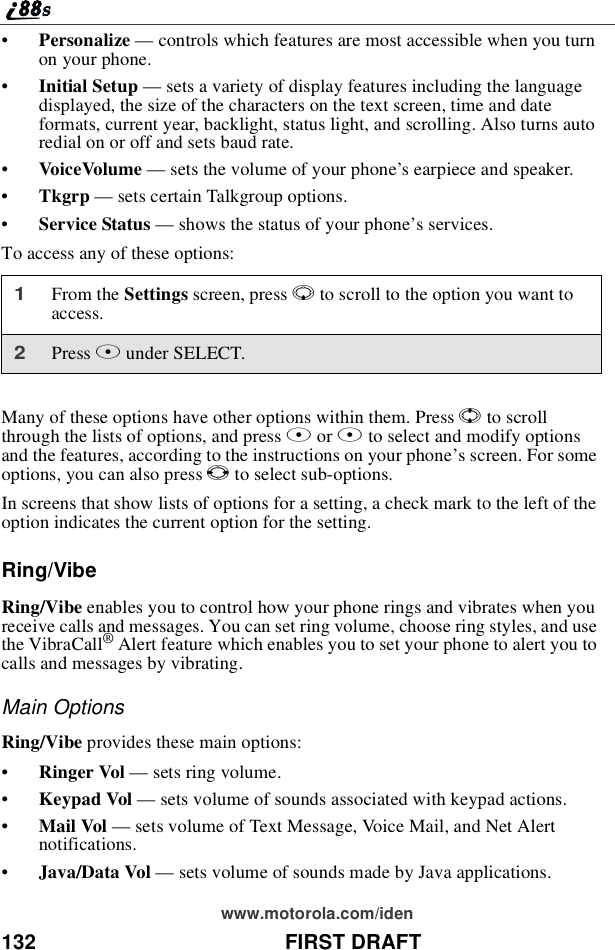
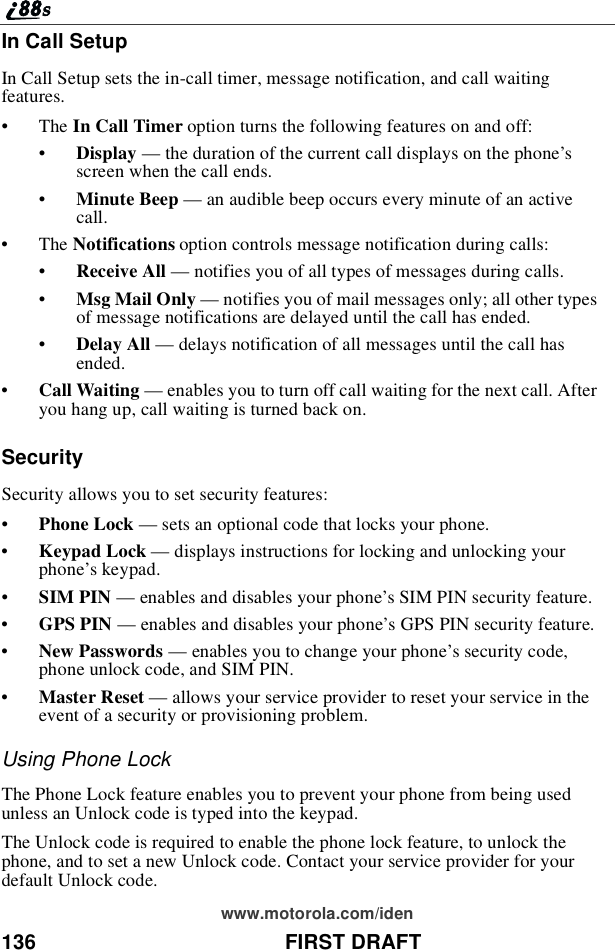
![FIRST DRAFT 51About Phonebook EntriesTo add a Phonebook entry:1To access the Entry Details screen:From the Phonebook screen with [NewEntry] highlighted, press BunderSELECT.Or,From the Phonebook screen, press m.Then press Rto scroll to New and pressBunder SELECT.2If you want to assign a name to yourPhonebook entry:With the Name field highlighted, pressBunder CHANGE.From the Name screen, enter the nameusing the alphanumeric keypad.See “UsingT9TextInput”on page 31 forinformation about entering text into thisfield.When you are finished, press Bunder OK.The Entry Details screen returns with the Type field highlighted.3To assign the number type:With the Type field highlighted, press Bunder CHANGE.From the Type Editor screen, press Rtoscroll to the type of phone number youwant to assign to the Phonebook entry.Press Bunder SELECT.The Entry Details screen returns with the#field highlighted.HIJ](https://usermanual.wiki/Motorola-Solutions/89FT5815.Ex8-User-Manual-i88s/User-Guide-254660-Page-53.png)
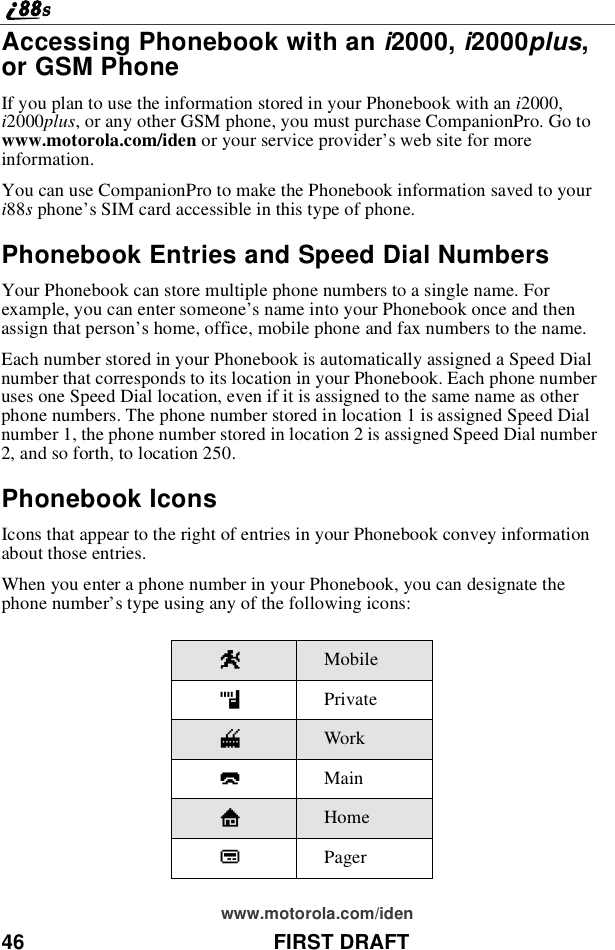
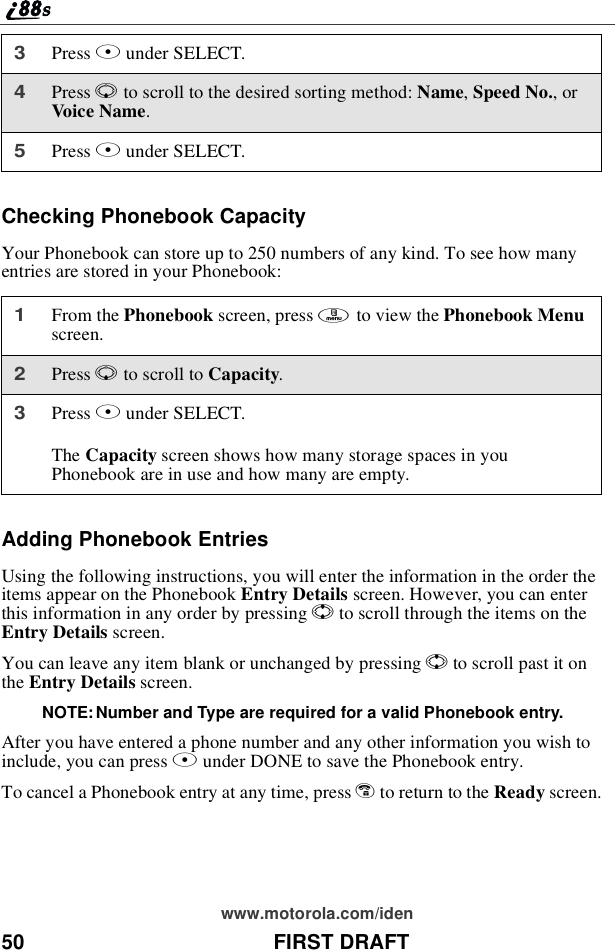
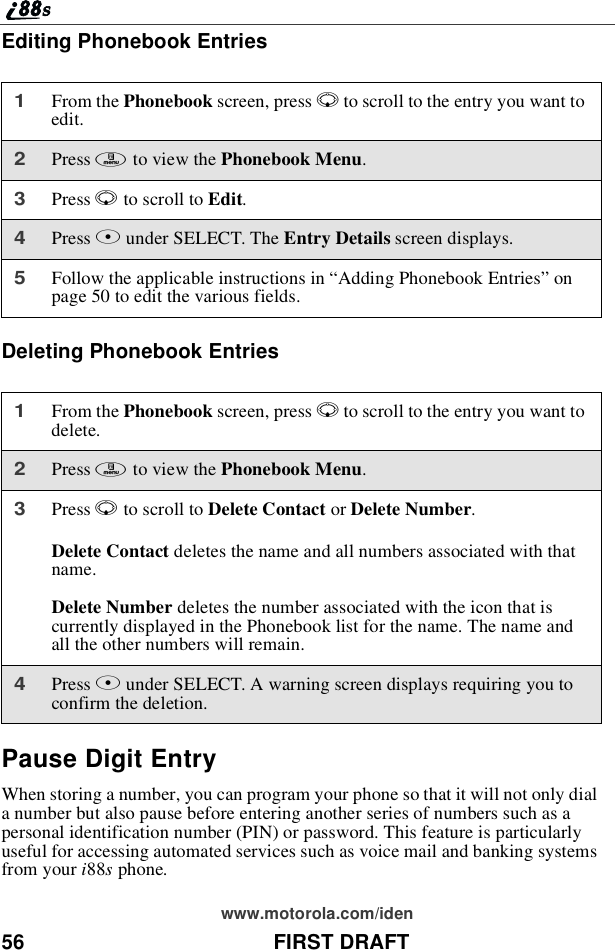
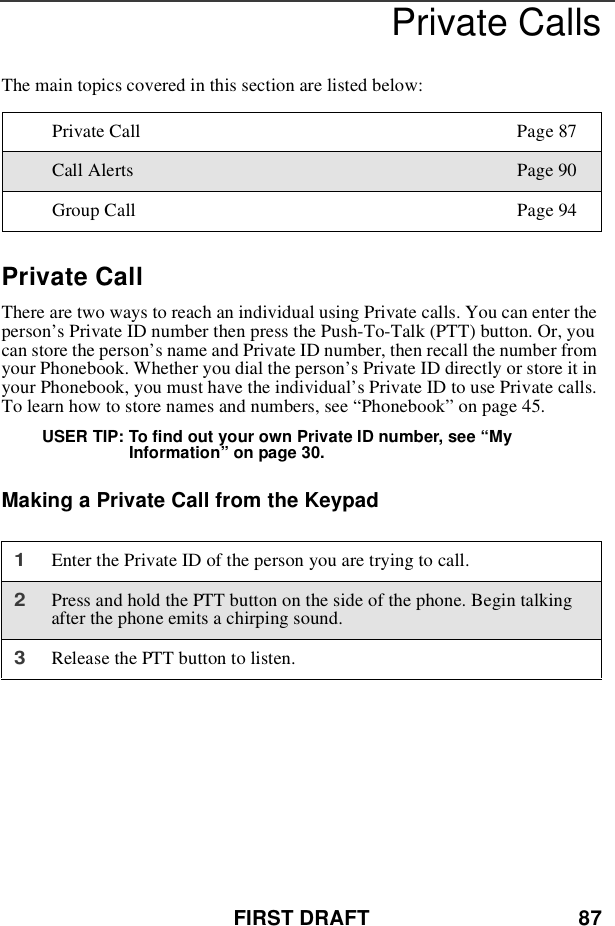
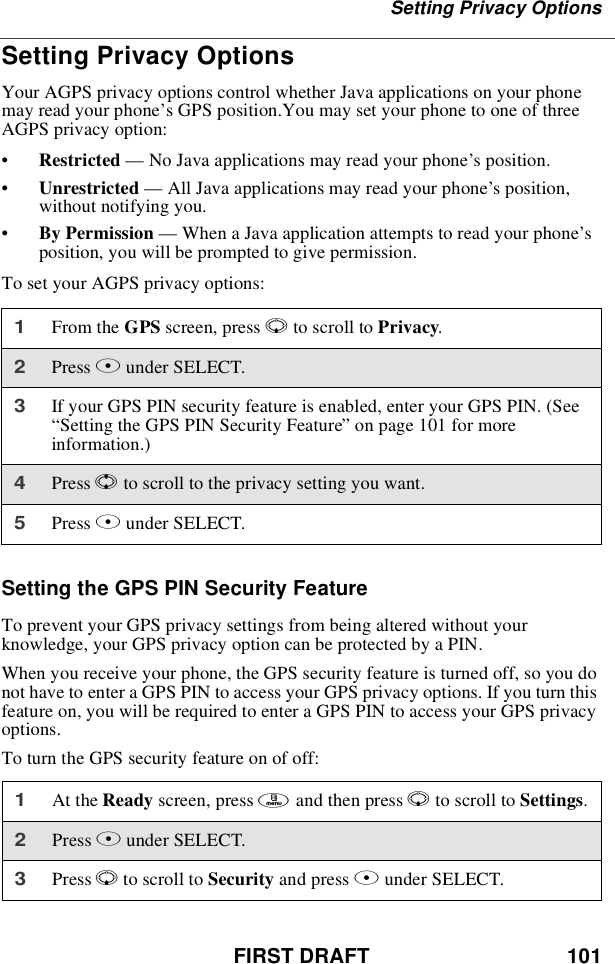
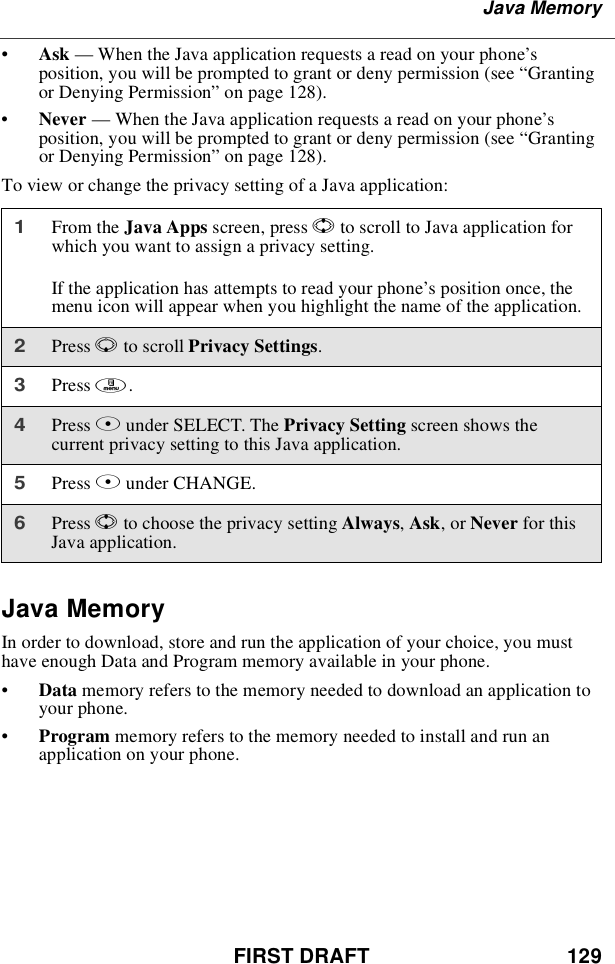
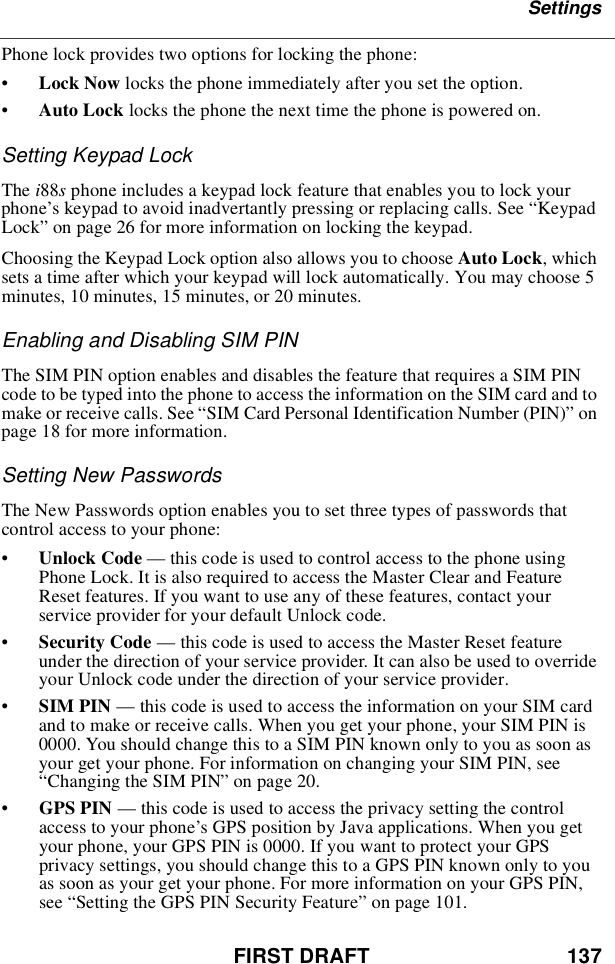
![FIRST DRAFT 55About Phonebook EntriesTo store a number from the Recent Calls list:To store a Private ID from the Recent Calls list:Follow steps 3-6 in "To store a number from the Recent Calls list" (listed on theprevious page).1From the Recent Calls screen, press Rto scroll to the 10-digittelephone number you want to store.2Press Bunder STORE. This displays the Store To screen with [NewEntry] highlighted.3To store a new entry, press Bunder SELECT. The Entry Detailsscreen displays with the number entered in the #field and the Type fieldhighlighted.Or,To store to an existing entry, press Sto scroll the list of names in yourPhonebook. Or press the first letter of the entry to jump to the entry.Once the desired entry is highlighted, press Bunder SELECT. ThePhonebook information for that entry displays with the number enteredin the #field and the Type field highlighted.4Press Bunder CHANGE. Press Rto scroll to the type of number youwant to assign to the Phonebook entry. Press Bunder SELECT.5If you want to add more information to the Phonebook entry, follow theapplicable instructions in “Adding Phonebook Entries”on page 50.6Press Aunder DONE.1Press Rto scroll to the Private ID number you want to store. Note:The Store option for Private ID numbers (e.g., 123*123*1234), will notdisplay in the Recent Calls list.2With the Private ID highlighted, press mto access the Rec. CallsMenu. Press Rto scroll to Store. Press Aunder SELECT. Thisdisplays the Store To screen with [New Entry] highlighted.](https://usermanual.wiki/Motorola-Solutions/89FT5815.Ex8-User-Manual-i88s/User-Guide-254660-Page-57.png)

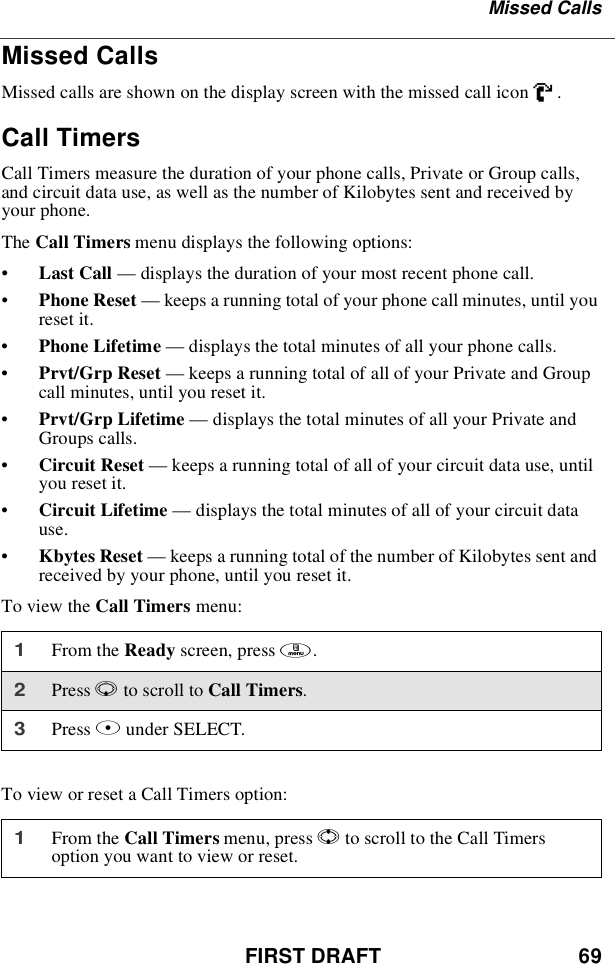
![FIRST DRAFT 67Recent CallsGetting Detailed Information About Recent CallsTo get more information about a recent call:The Call Details screen that appears displays information such as the nameassociated with the phone number of the recent call, the phone number, the date,time, and duration of the call.Storing a Recent Call Number to the PhonebookTo store a number from the Recent Calls list to the Phonebook:Calling From the Recent Calls ListSee “Making Calls from the Recent Calls List”on page 62.1From the Recent Calls screen, press Sto scroll to the call you wantmore information on.2Press mto access the Rec. Calls Menu.ThenpressRto scroll toView and press Bunder SELECT.1From the Recent Calls screen, press Sto scroll to the number youwant to store.2Press Bunder STORE.Or,Press mto access the Rec. Calls Menu.ThenpressRto scroll toStore and press Aunder SELECT.This displays the Store To screen with [New Entry] highlighted.3To store a Recent Call number of Private ID to the Phonebook, followstep 3-6 in “Storing Phone Numbers and Private IDs Quickly”on page54.](https://usermanual.wiki/Motorola-Solutions/89FT5815.Ex8-User-Manual-i88s/User-Guide-254660-Page-69.png)
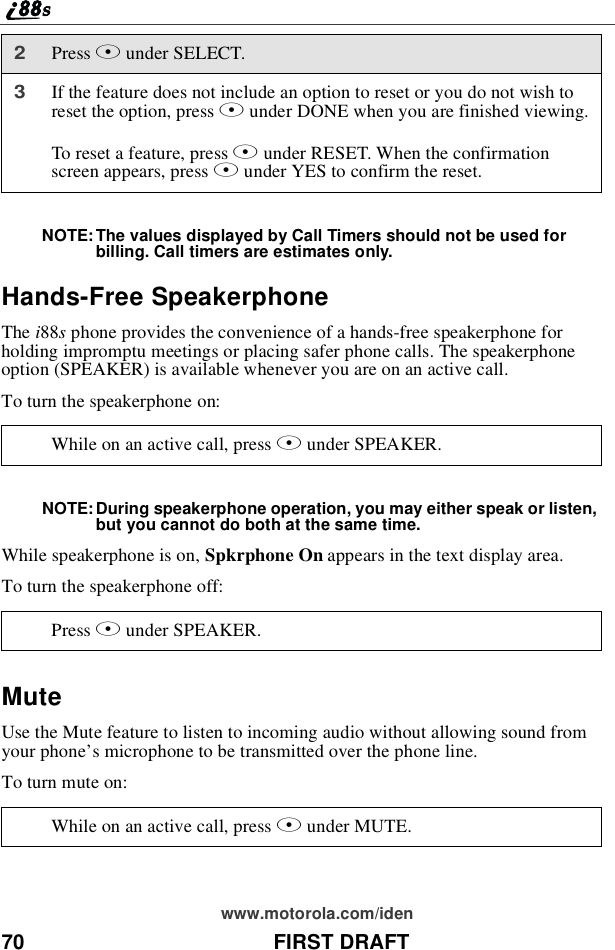


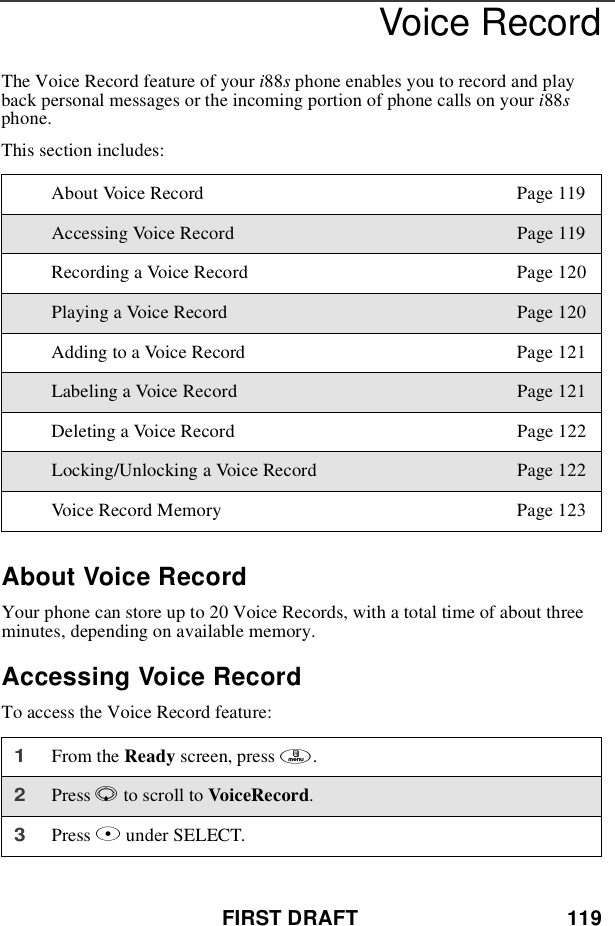
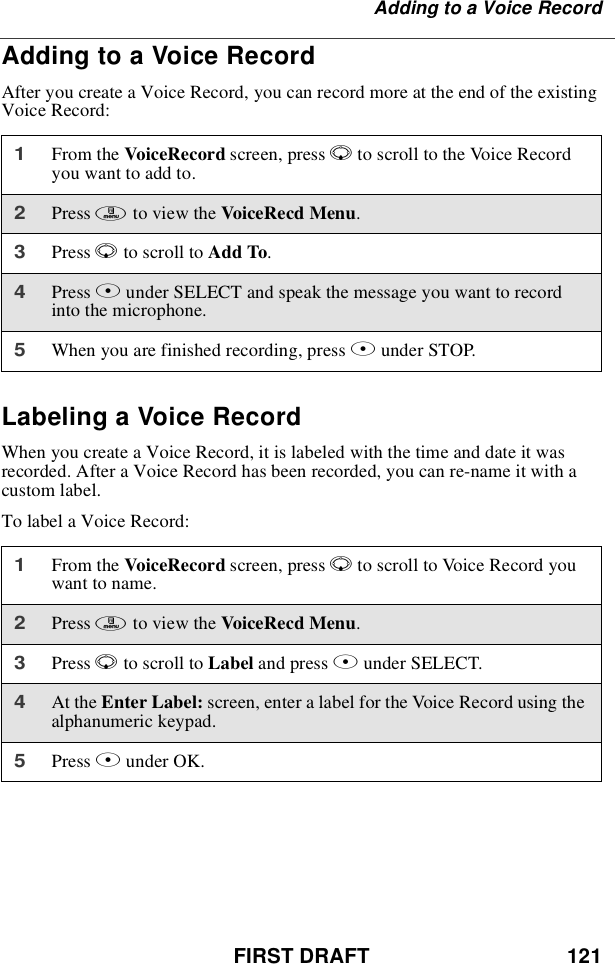
![120 FIRST DRAFTwww.motorola.com/idenRecording a Voice RecordNOTE: Recording of phone calls is subject to varying State and Federallaws regarding privacy and recording of phone conversations.To record a personal message as a Voice Record:To record the incoming portion of a call as a Voice Record:Playing a Voice Record1From the VoiceRecord screen, press Rto scroll to [New VoiceRec].2Press Bunder RECORD and speak the message you want to recordinto the microphone.3When you are finished recording your Voice Record, press BunderSTOP.1While on an active call, press m.2Press Rto scroll to VoiceRecord.3Press Bunder SELECT to record the incoming portion of the call.Your own voice will not be recorded.4When you are finished recording your Voice Record, press BunderSTOP.1From the VoiceRecord screen, press Rto scroll to the Voice Recordyouwanttoplay.2Press Bunder PLAY.3To stop the Voice Record while it is playing, press Aunder BACK.](https://usermanual.wiki/Motorola-Solutions/89FT5815.Ex8-User-Manual-i88s/User-Guide-254660-Page-122.png)

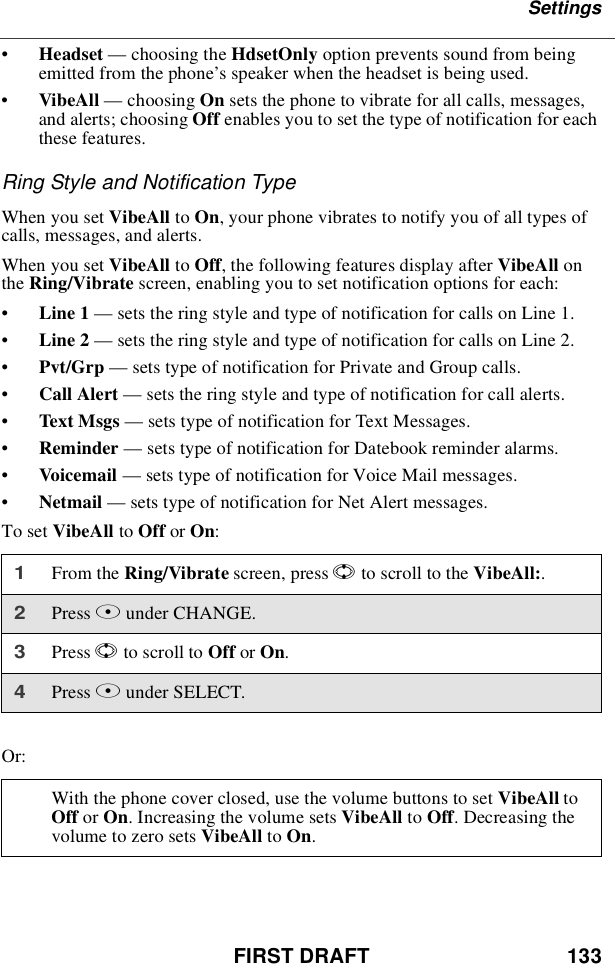
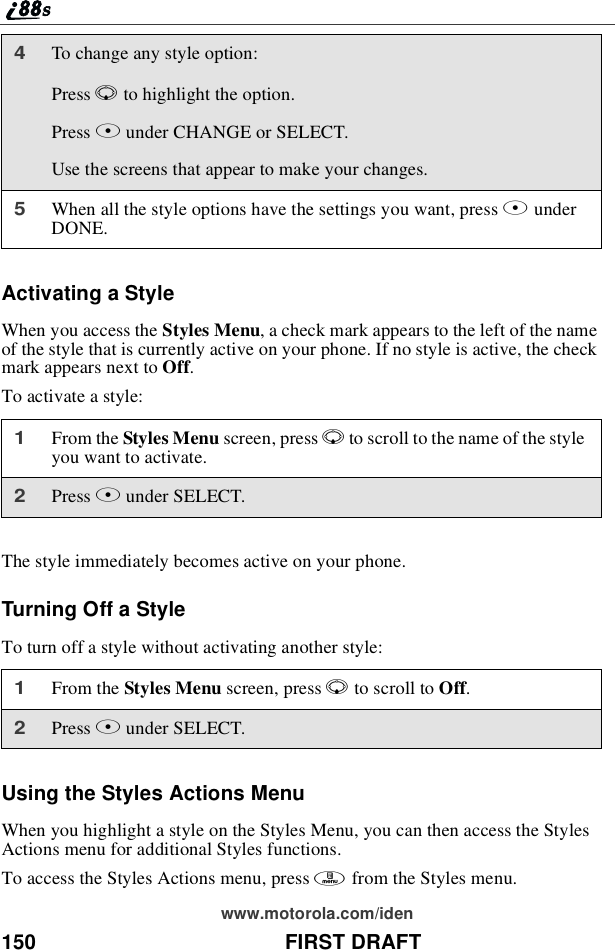
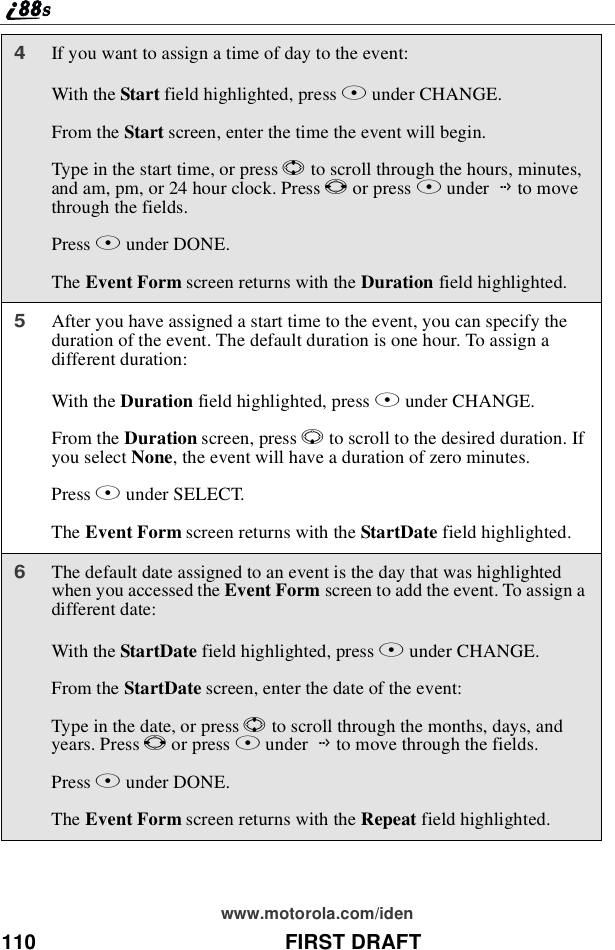
![FIRST DRAFT 149StylesTo create a style:Editing a StyleTo change the settings of a style:1From the Styles Menu screen, press Rto scroll to [New Style].2Press Bunder SELECT.3Assign a name to the style you are creating:In the Name screen, use the alphanumeric keypad to enter the name youwant to give the style.As you type, you can delete a letter by pressing Aunder DELETE. Tocreate a space, press Ponce.Press Bunder OK.4In the New screen, press Rto scroll through the settings for each styleoption.5To change any style option:Press Rto highlight the option.Press Bunder CHANGE or SELECT.Use the screens that appear to make your changes.6When all the style options have the settings you want, press AunderDONE.1From the Styles Menu screen, press Rto scroll to the name of the styleyouwanttoedit.2Press mto access the Styles Action menu.3Press Rto scroll to Edit and press Bunder SELECT.](https://usermanual.wiki/Motorola-Solutions/89FT5815.Ex8-User-Manual-i88s/User-Guide-254660-Page-151.png)