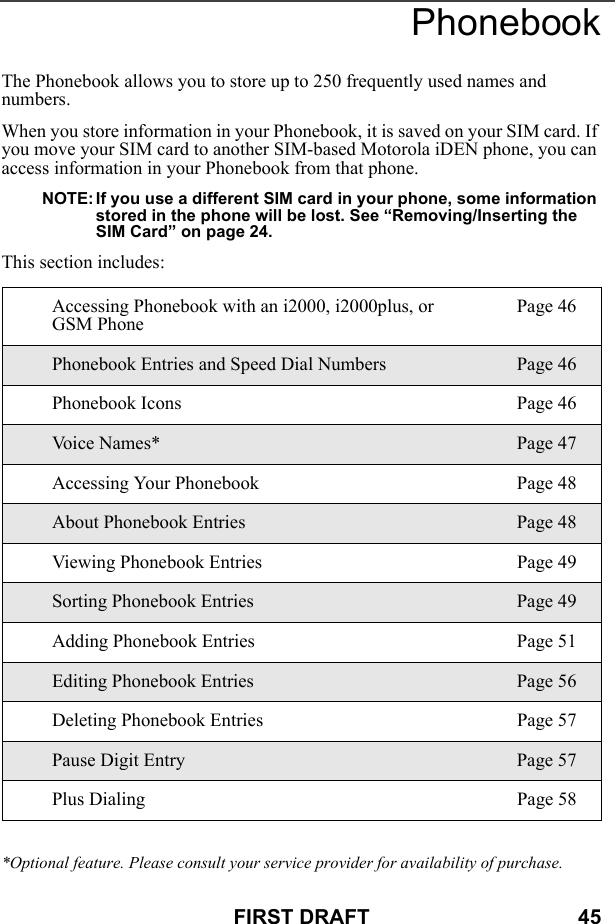
Motorola Solutions 89FT5815 iDEN i88s, i58sr User Manual i58sr
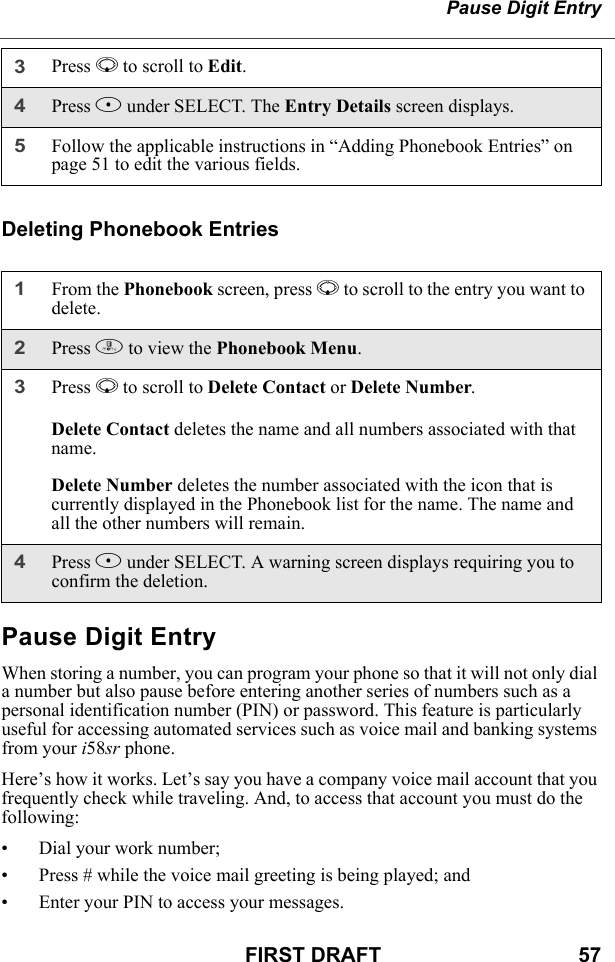
Motorola Solutions, Inc. iDEN i88s, i58sr i58sr
Contents
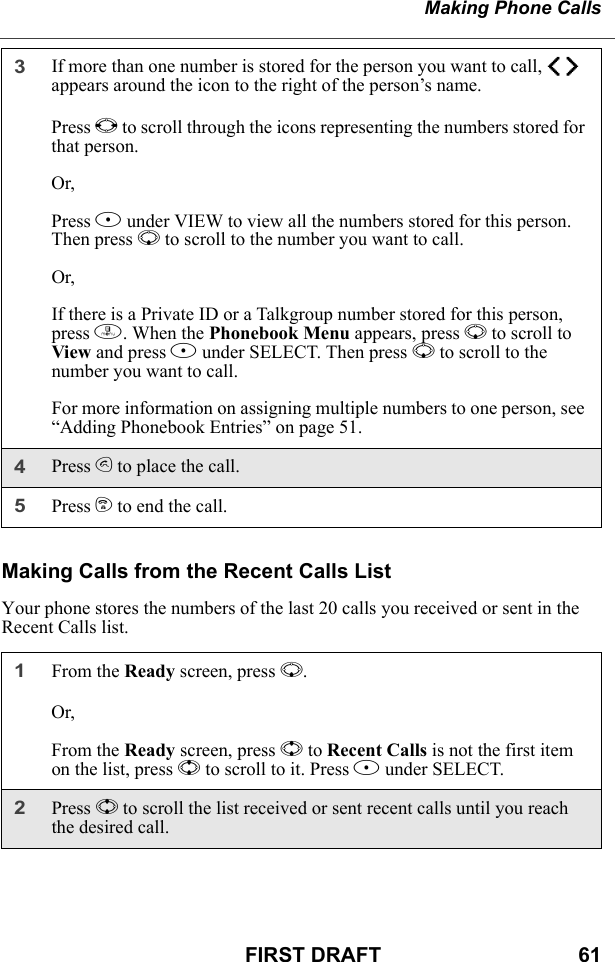
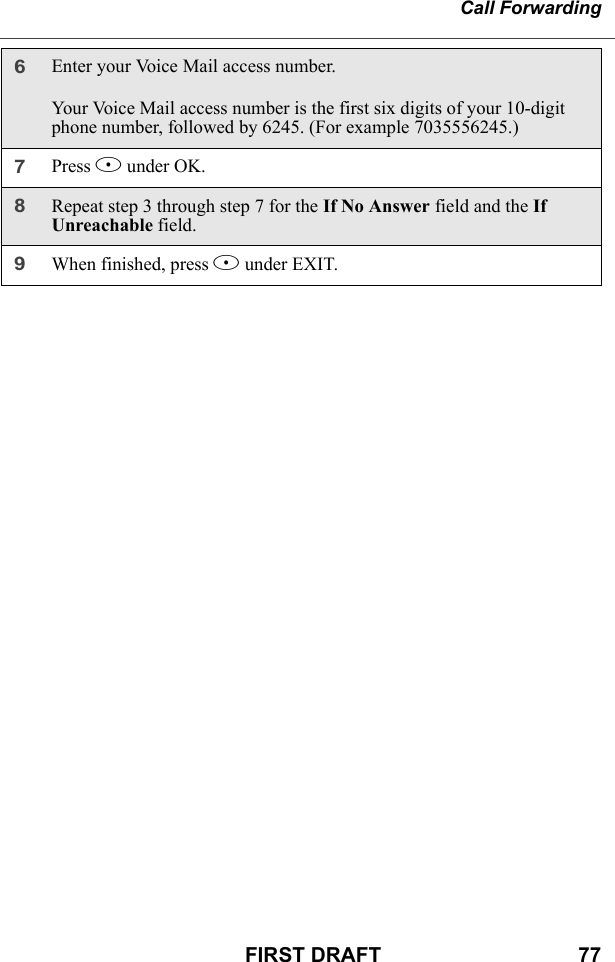
- 1. Users Manual
- 2. Ex8 User Manual 1 of 2 i58sr
- 3. Ex8 User Manual 2of 2 i58sr
- 4. Ex8 User Manual i88s
- 5. MANUAL 2
- 6. users manual
Ex8 User Manual 1 of 2 i58sr

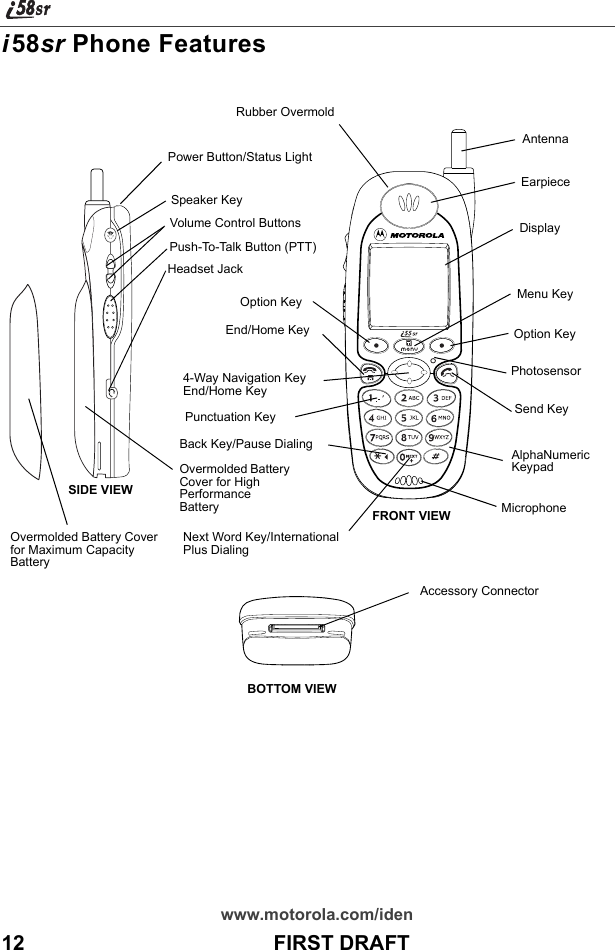
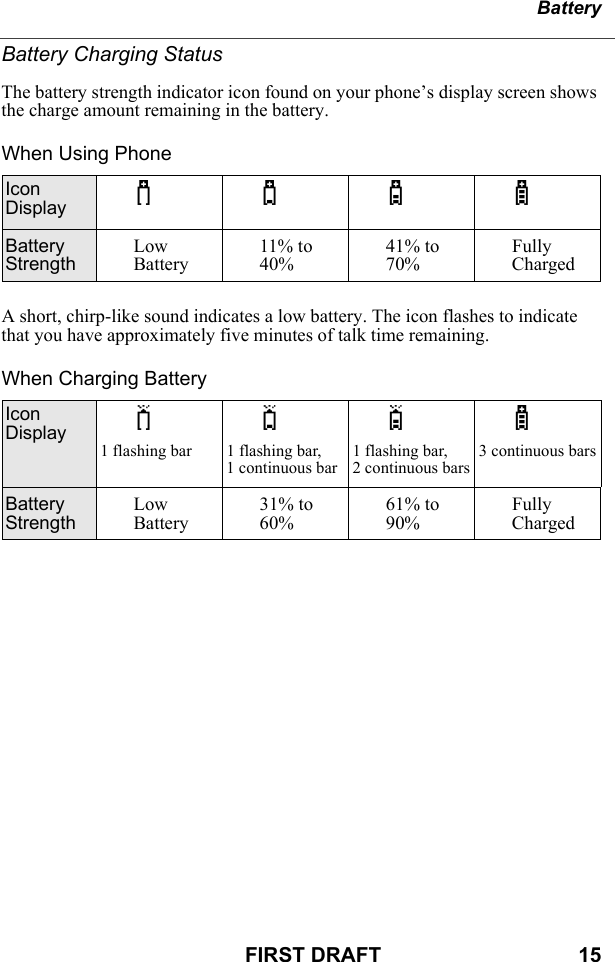


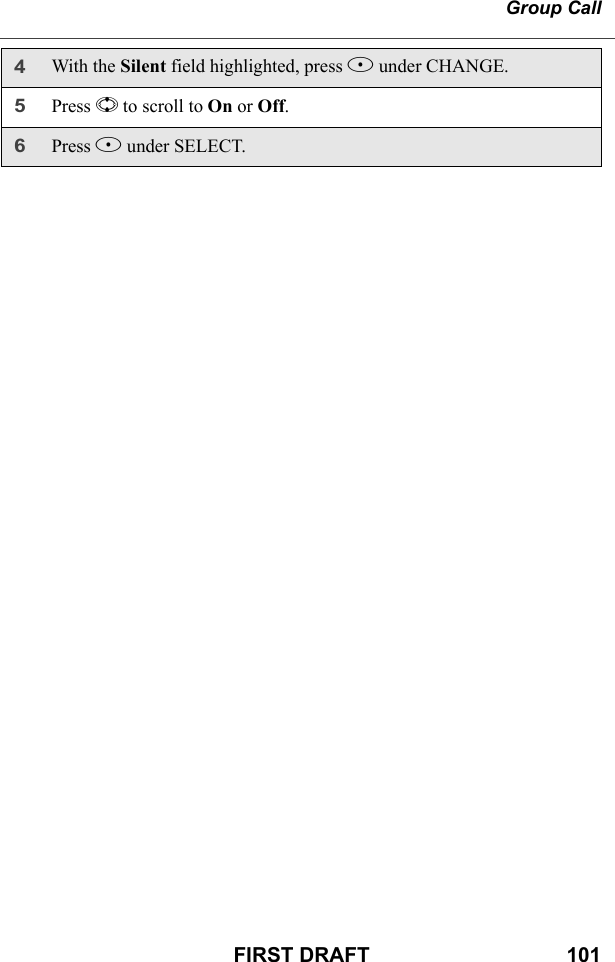
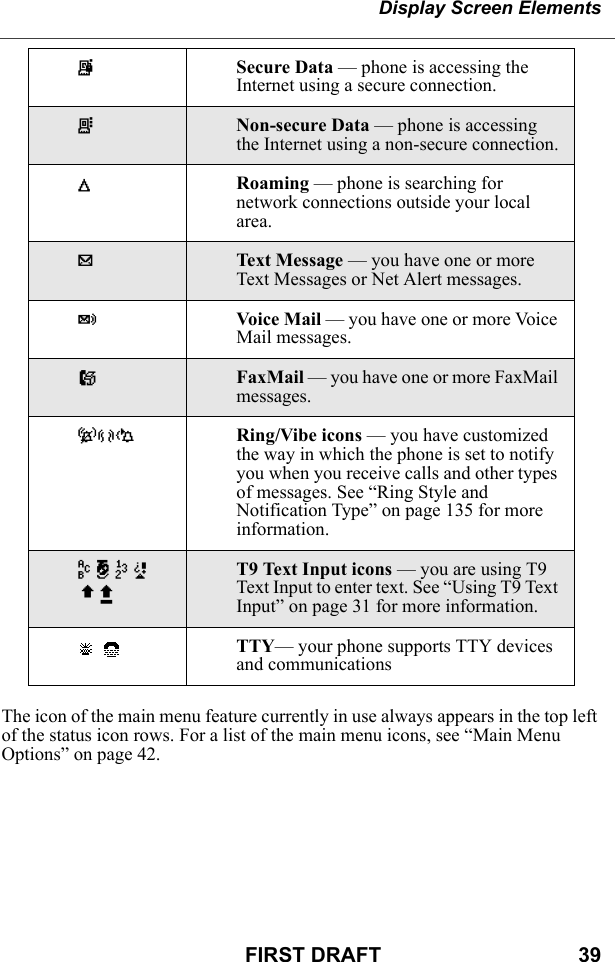
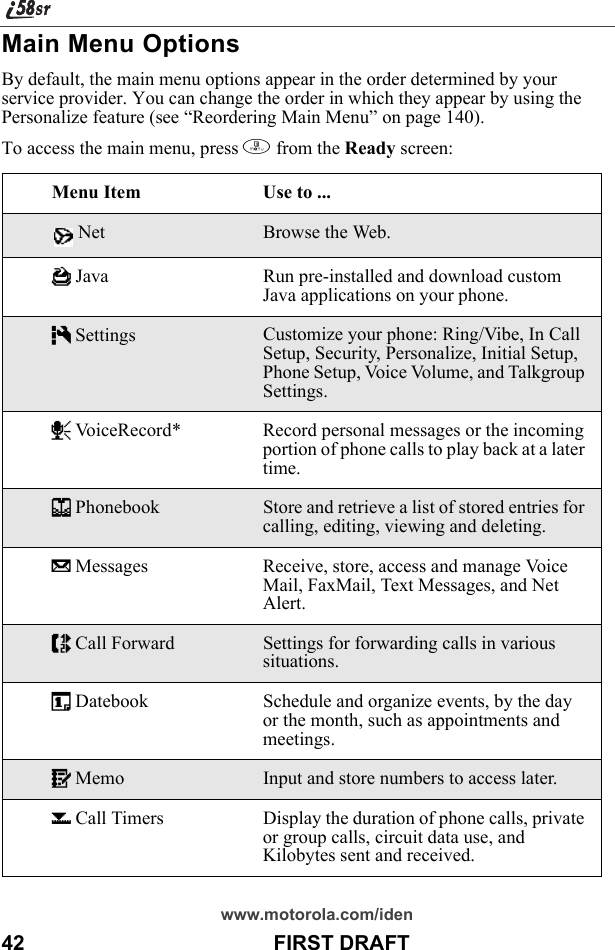
![www.motorola.com/iden38 FIRST DRAFTStatus icons appear in the two rows at the top of the display screen. Some appear at all times. Others appear only when your phone is engaged in certain activities or when you have activated certain features.Icon Indicates...abcdefgdBattery Strength icons — remaining battery charge. More bars on the battery indicate a greater charge. See the table on page 15 for detailed information about the meaning of each battery strength icon.opqrsSignal Strength icons — strength of the network signal. More bars next to the antenna indicate a stronger signal.01 Active Line icons — currently active phone line; 0 indicates Line 1 is active; 1 indicates Line 2 is active.GHIJKL Call Forward icons — phone is set to forward calls. See “Call Forwarding” on page 73 for more information.cPhone In Use — phone is connected on an active call.hPrivate In Use — number being called is a Private ID.%Talkgroup In Use — phone is active on a talkgroup call.YPacket Data Ready — phone is ready to receive data through a data cable.ZPacket Data Activity — phone is transmitting data.]Mobile IP — phone is ready to access the Internet.](https://usermanual.wiki/Motorola-Solutions/89FT5815.Ex8-User-Manual-1-of-2-i58sr/User-Guide-254658-Page-40.png)
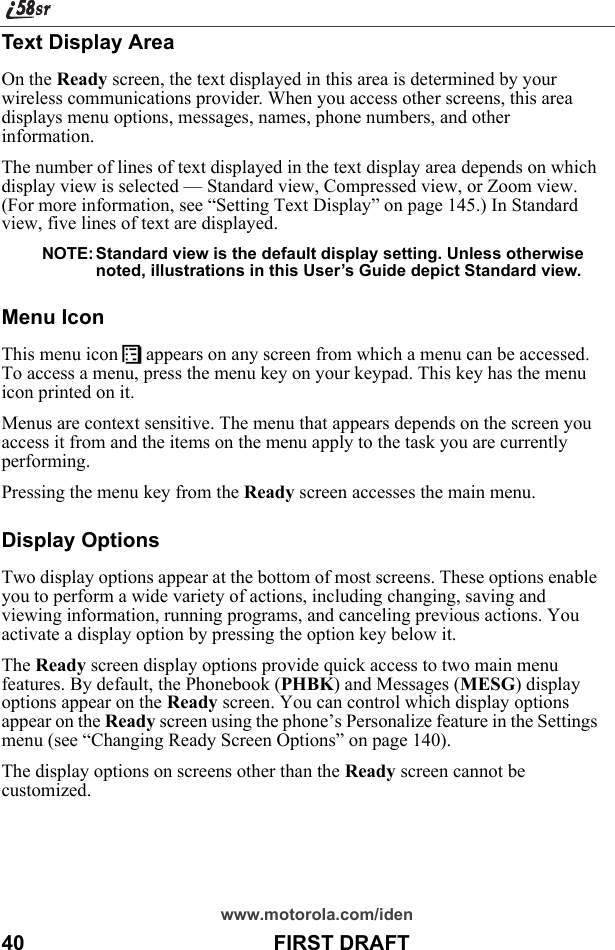
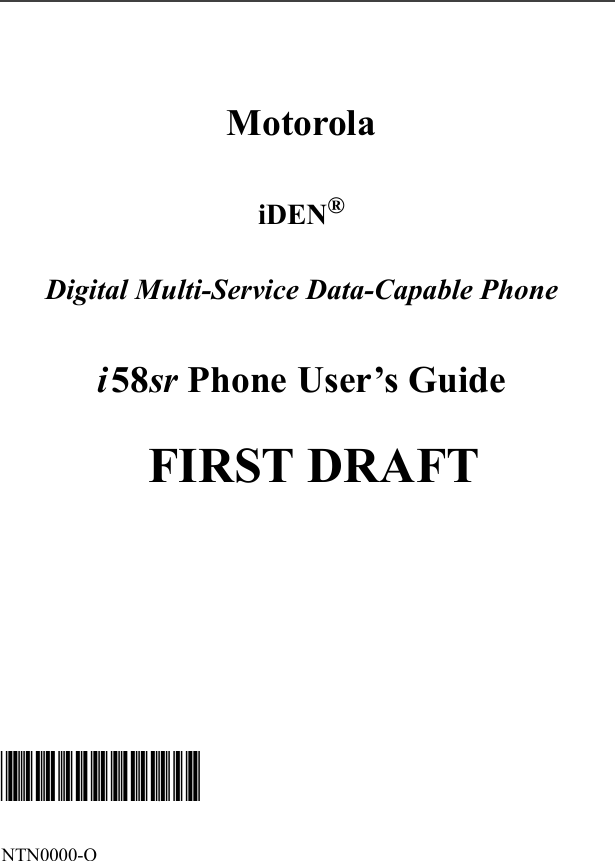
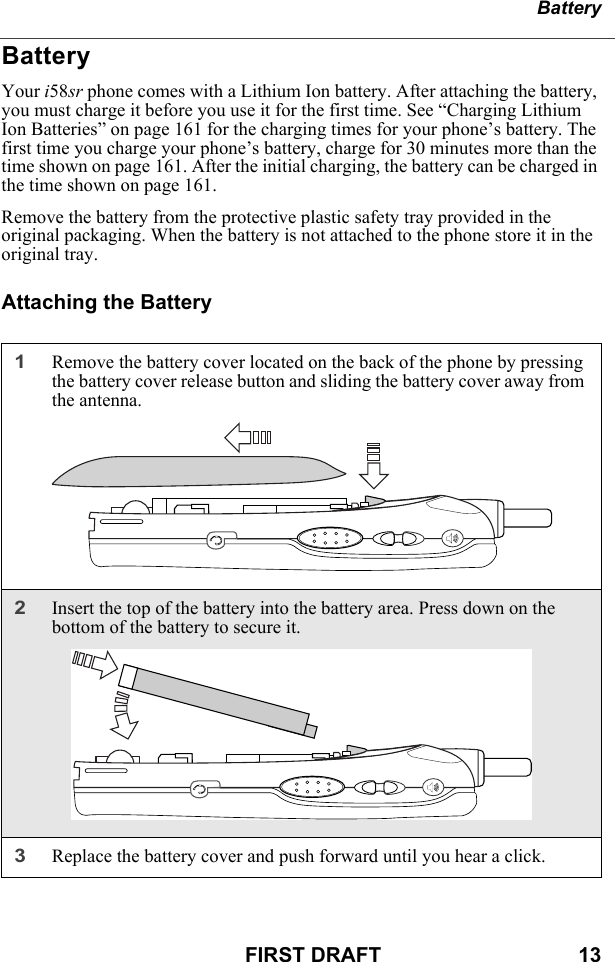
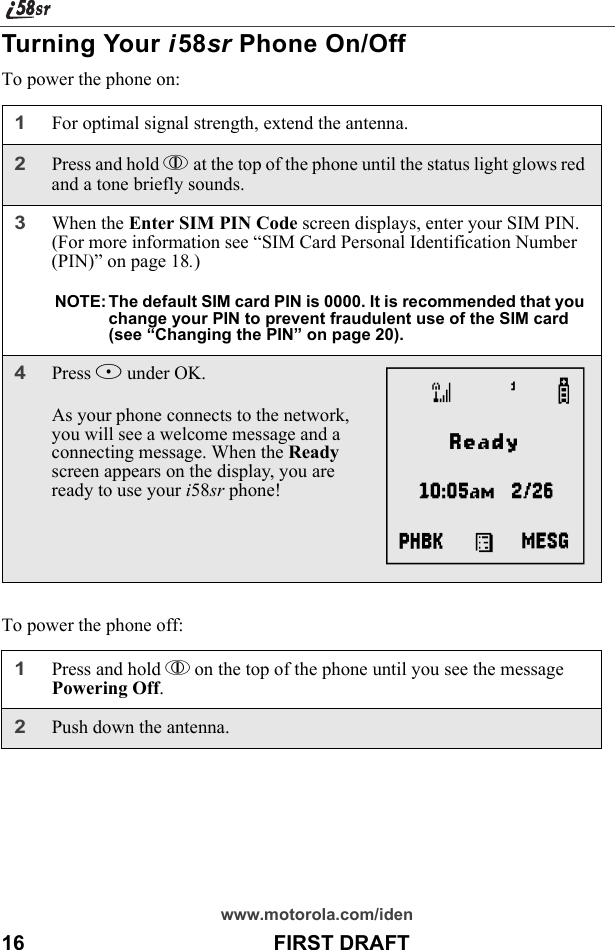
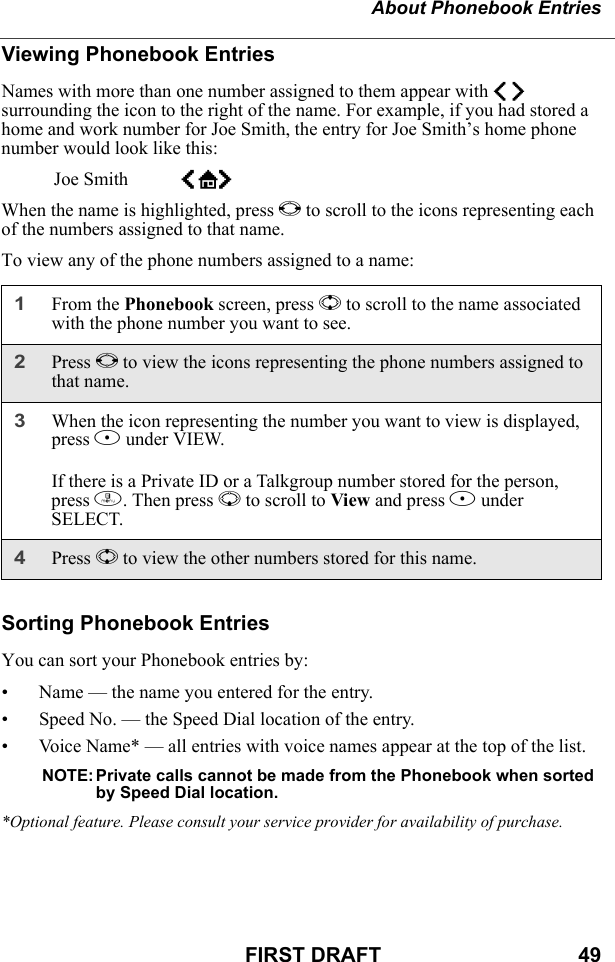
![Main Menu OptionsFIRST DRAFT 43*Optional feature. Please consult your service provider for availability of purchase.To choose the highlighted Main Menu selection, press B under SELECT. To exit the Main Menu (and return to the Ready screen), press A under EXIT or press e.j Recent Calls Access a list of the last 20 sent, received, or missed calls. Calls can be made from this list.n Shortcuts Associate a menu option with a number on the alphanumeric keypad for quick and easy access.U My Info View the name, Private ID, phone numbers for lines 1 and 2, IP address, and circuit data number of your phone.v Styles* Create or edit a group of settings and save them as one for use in different environments.: Call Alert Store received call alerts to respond to at your convenience.[icon pending] GPS Find your phone’s exact geographical location.](https://usermanual.wiki/Motorola-Solutions/89FT5815.Ex8-User-Manual-1-of-2-i58sr/User-Guide-254658-Page-45.png)

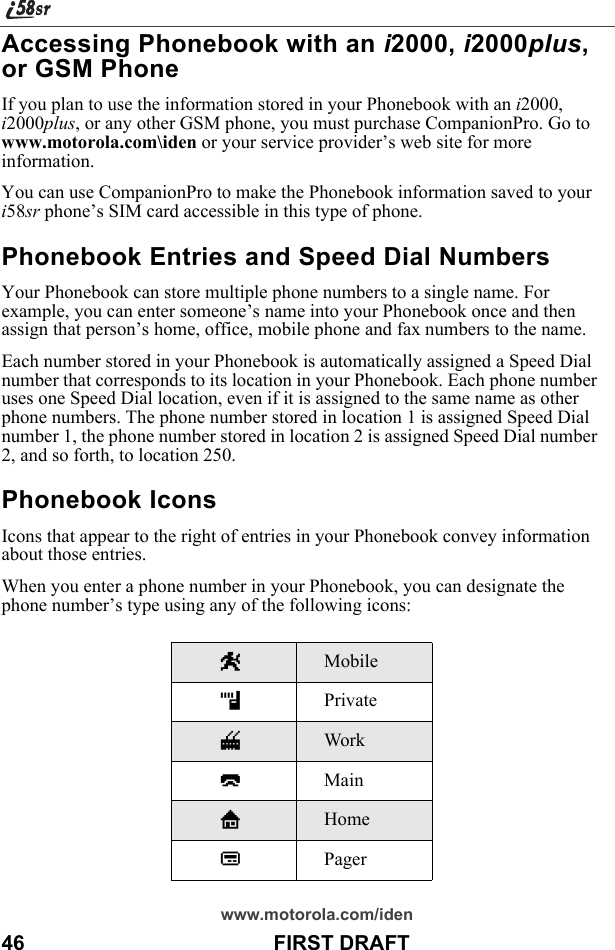
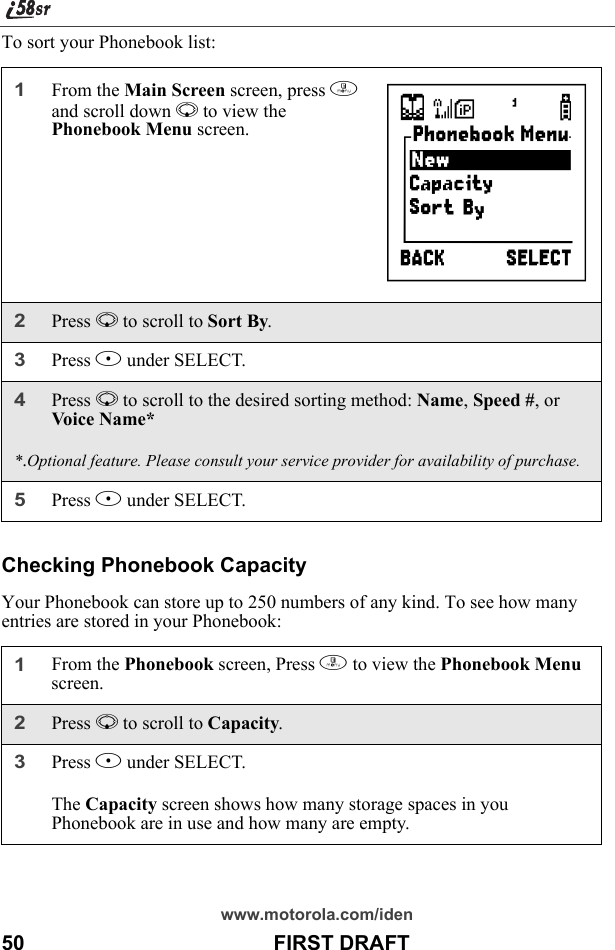
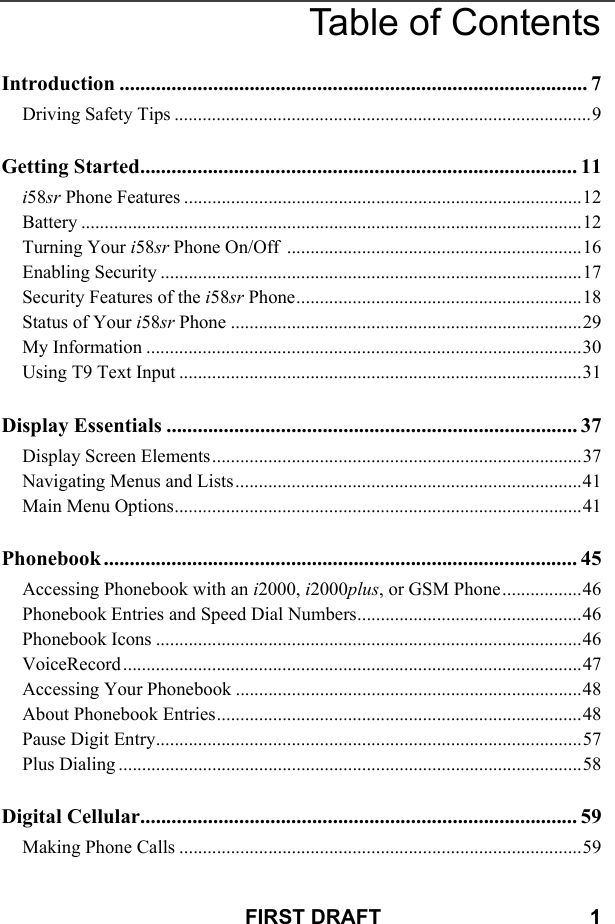
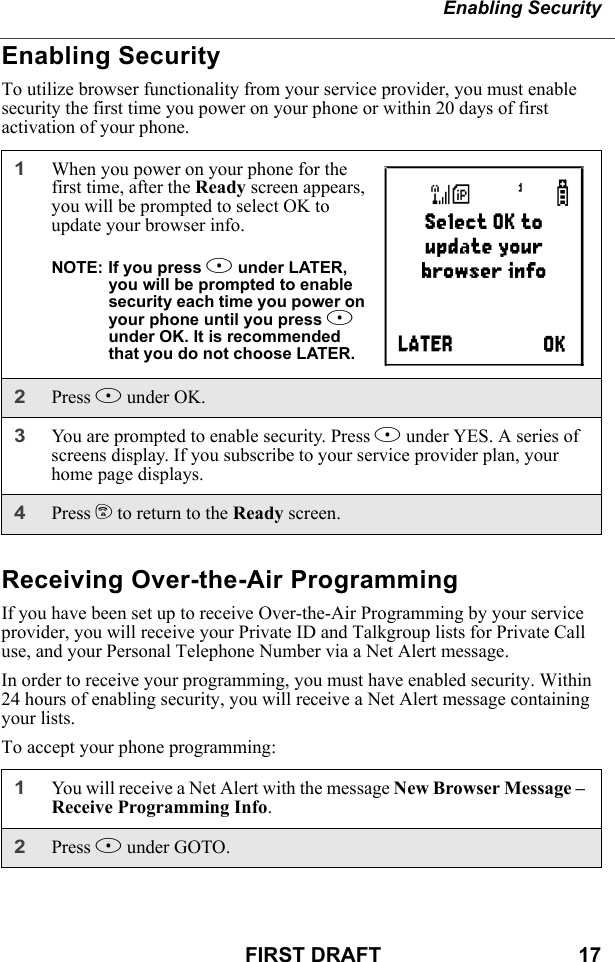
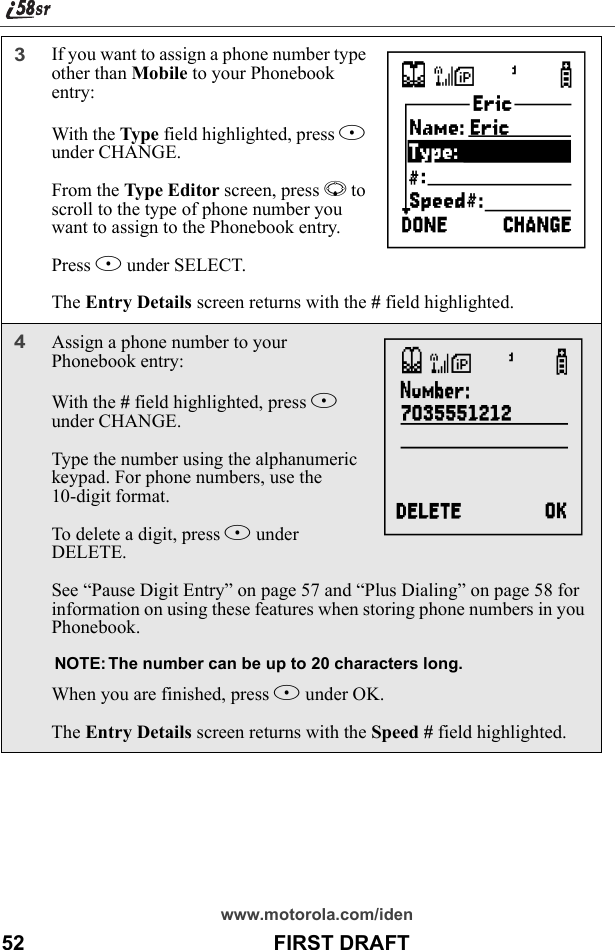
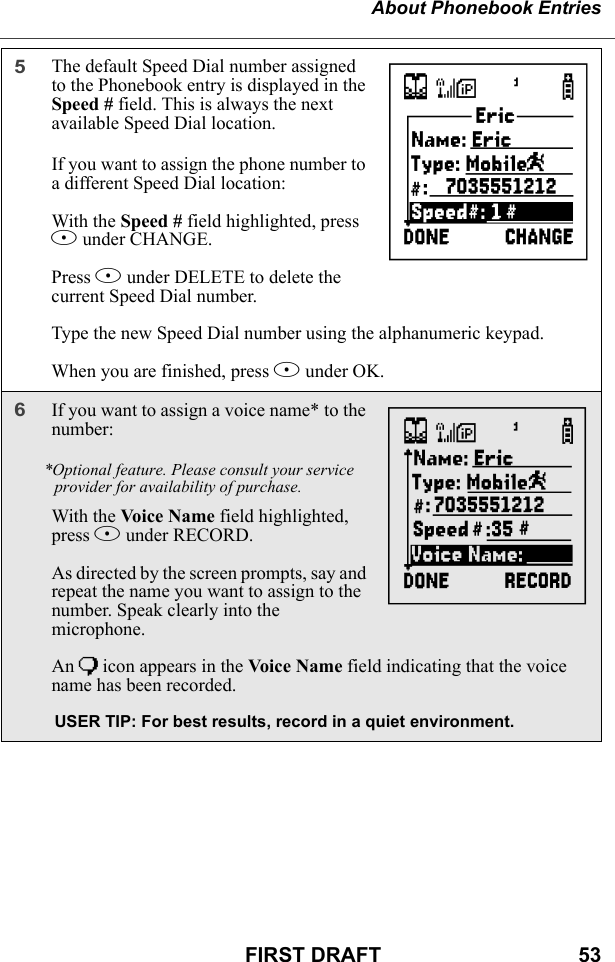
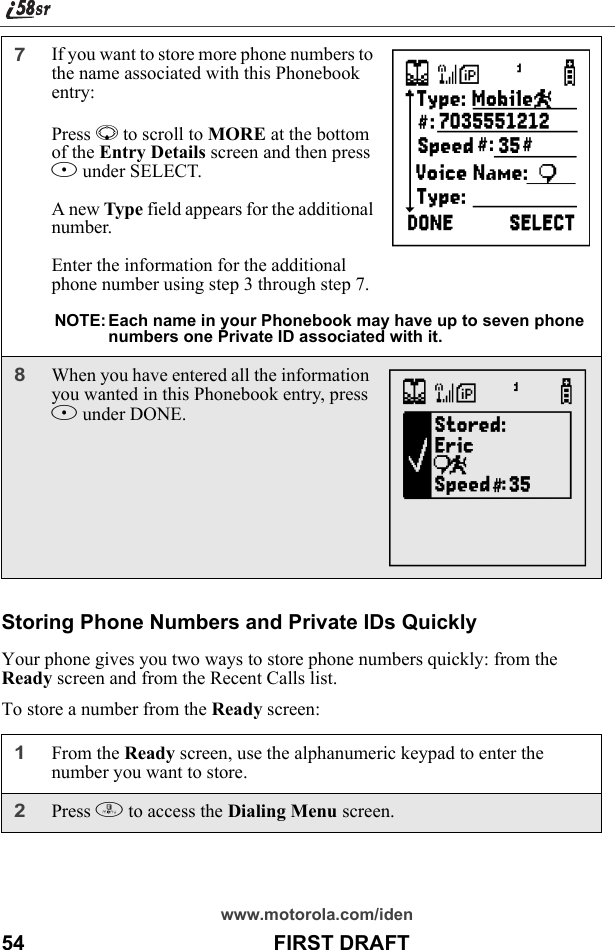
![About Phonebook EntriesFIRST DRAFT 51Adding Phonebook EntriesUsing the following instructions, you will enter the information in the order the items appear on the Phonebook Entry Details screen. However, you can enter this information in any order by pressing S to scroll through the items on the Entry Details screen.You can leave any item blank or unchanged by pressing S to scroll past it on the Entry Details screen. Only a phone number is required for a valid Phonebook entry.After you have entered a phone number and any other information you wish to include, you can press A under DONE to save the Phonebook entry.To cancel a Phonebook entry at any time, press e to return to the Ready screen. To add a Phonebook entry:1Access the Entry Details screen:From the Main Screen screen, press m. Then press R to scroll to Phonebook. Press B under SELECTTo add a [New Entry], press B under SELECT.2If you want to assign a name to your Phonebook entry: With the Name field highlighted, press B under CHANGE.From the Name screen, enter the name using the alphanumeric keypad.See “Using T9 Text Input” on page 31 for information about entering text into this field.When you are finished, press B under OK.The Entry Details screen returns with the Type field highlighted.HI](https://usermanual.wiki/Motorola-Solutions/89FT5815.Ex8-User-Manual-1-of-2-i58sr/User-Guide-254658-Page-53.png)
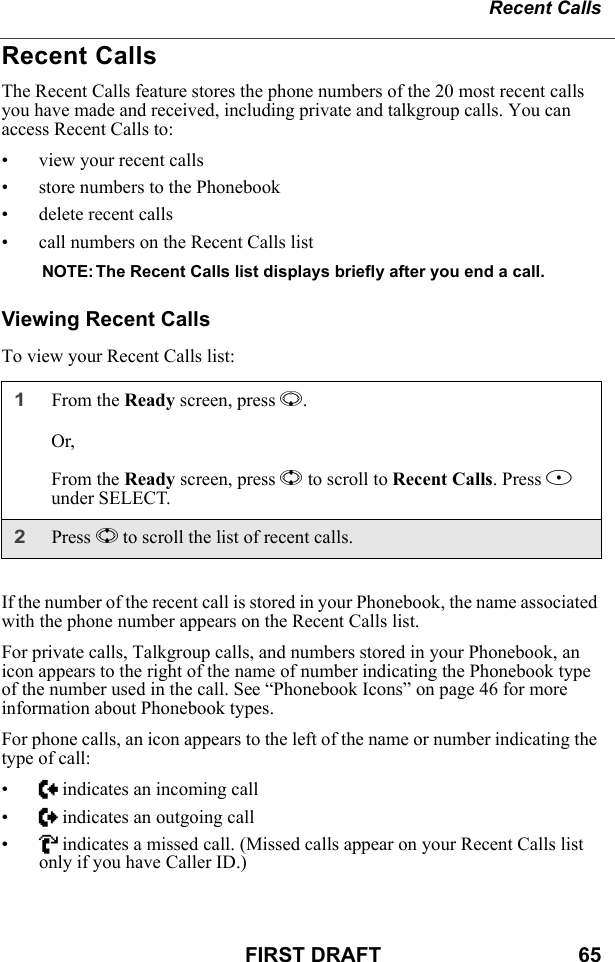
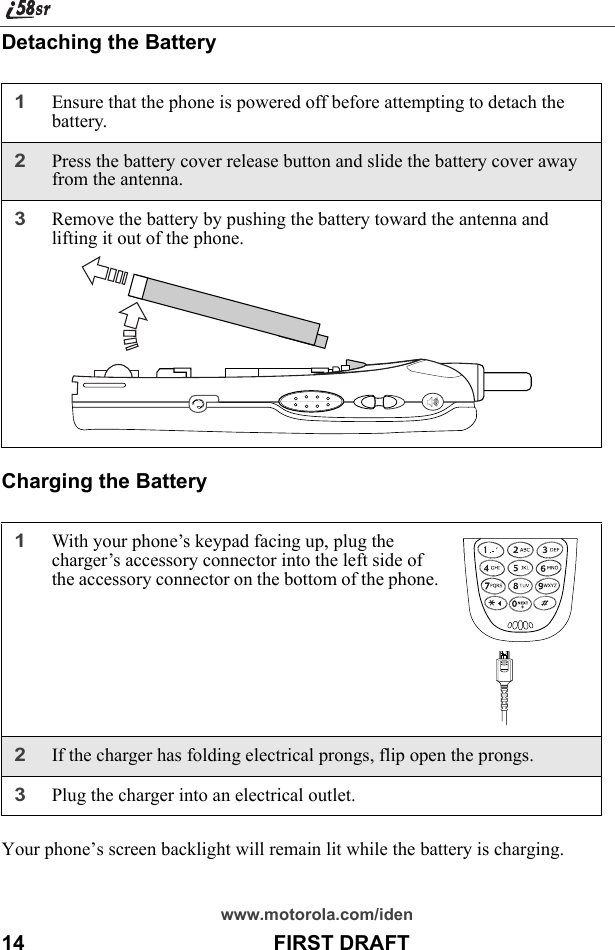
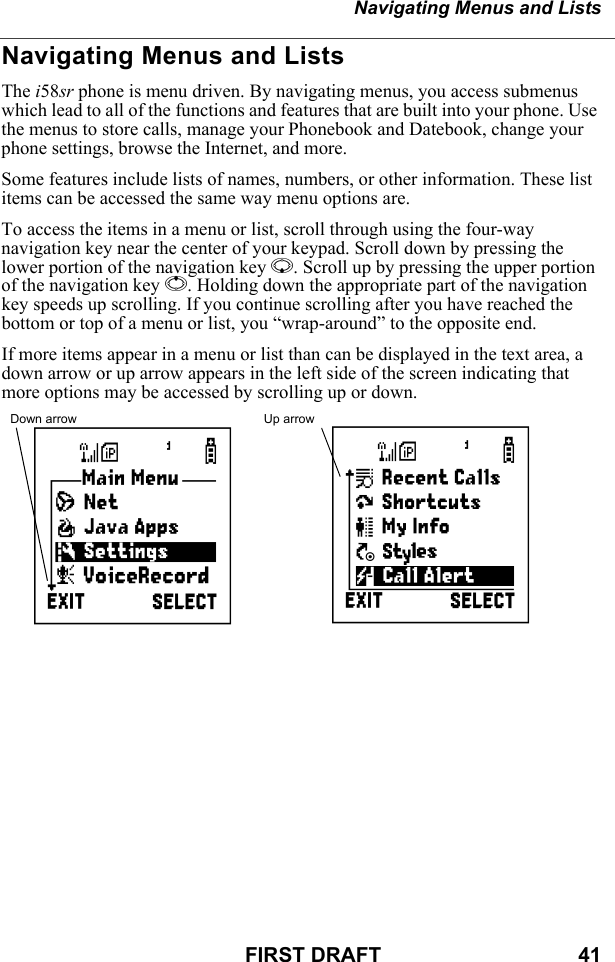
![About Phonebook EntriesFIRST DRAFT 55To store a number from the Recent Calls list:3With Store Number highlighted, press B under SELECT.This displays the Store To screen.4To store to a new entry, press B under SELECT. The Entry Details screen will display with the number entered in the field.Or,To store to an existing entry, press S to scroll the list of names in your Phonebook. Or press the first letter of the entry to jump to the entry. Once the desired entry is highlighted, press B under SELECT. The Phonebook information for that entry displays with the number entered in the # field.5From the Entry Details screen, press S to scroll to the first Type field.6From the Type Editor screen, press S to scroll to the selection that you want to assign to the phone number. Press B under SELECT.7If you want to add more information to the Phonebook entry, follow the applicable instructions in “Adding Phonebook Entries” on page 51.8Press A under DONE.1From the Recent Calls screen, press R to scroll to the 10-digit telephone number you want to store.2Press B under STORE. This displays the Store To screen with [New Entry] highlighted.](https://usermanual.wiki/Motorola-Solutions/89FT5815.Ex8-User-Manual-1-of-2-i58sr/User-Guide-254658-Page-57.png)
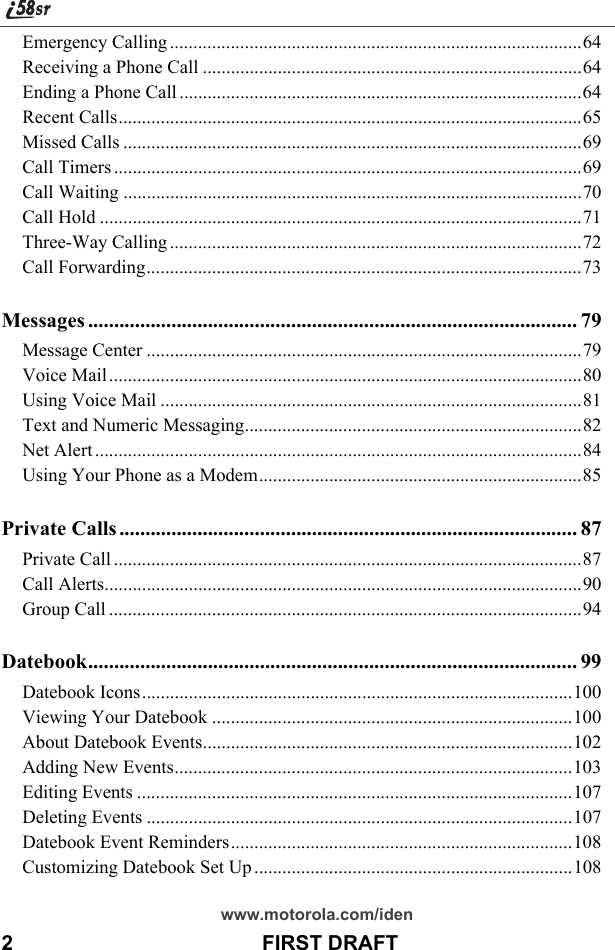
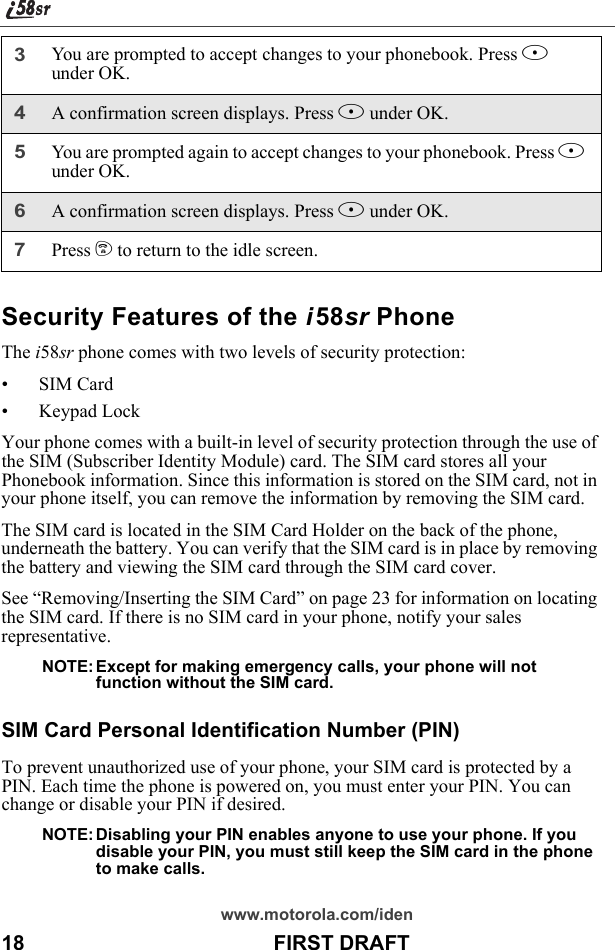
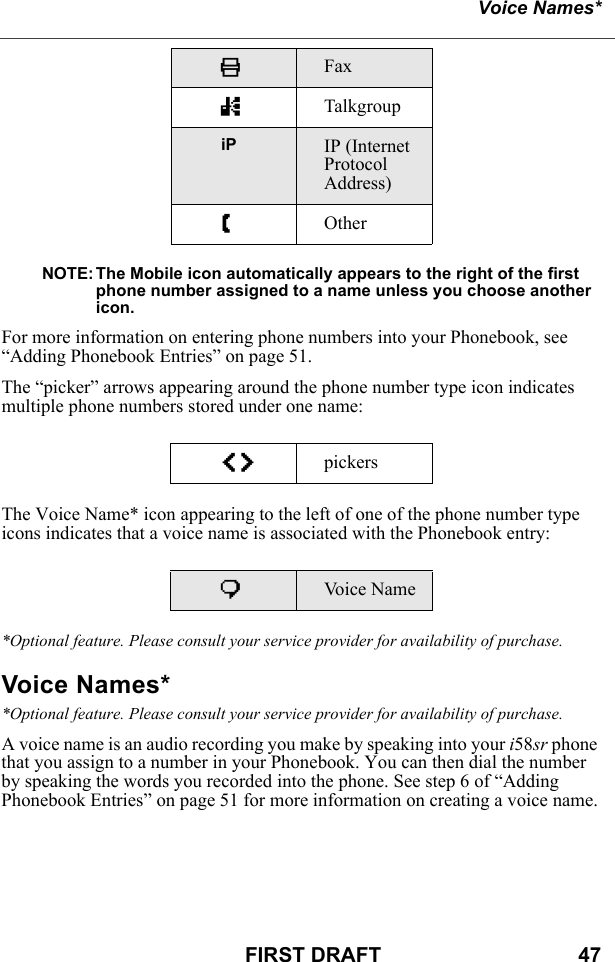
![www.motorola.com/iden56 FIRST DRAFTTo store a Private ID from the Recent Calls list:Follow steps 3-6 in “To store a number from the Recent Calls list” (listed on the previous page).Editing Phonebook Entries3To store a new entry, press B under SELECT. The Entry Details screen displays with the number entered in the # field and the Type field highlighted.Or,To store to an existing entry, press S to scroll the list of names in your Phonebook. Or press the first letter of the entry to jump to the entry. Once the desired entry is highlighted, press B under SELECT. The Phonebook information for that entry displays with the number entered in the # field and the Type field highlighted.4Press B under CHANGE. Press R to scroll to the type of number you want to assign to the Phonebook entry. Press B under SELECT.5If you want to add more information to the Phonebook entry, follow the applicable instructions in “Adding Phonebook Entries” on page 51.6Press A under DONE.1Press R to scroll to the Private ID number you want to store. Note: The Store option for Private ID numbers (e.g., 123*123*1234), will not display in the Recent Calls list.2With the Private ID highlighted, press m to access the Rec. Calls Menu. Press R to scroll to Store. Press A under SELECT. This displays the Store To screen with [New Entry] highlighted.1From the Phonebook screen, press R to scroll to the entry you want to edit.2Press m to view the Phonebook Menu.](https://usermanual.wiki/Motorola-Solutions/89FT5815.Ex8-User-Manual-1-of-2-i58sr/User-Guide-254658-Page-58.png)