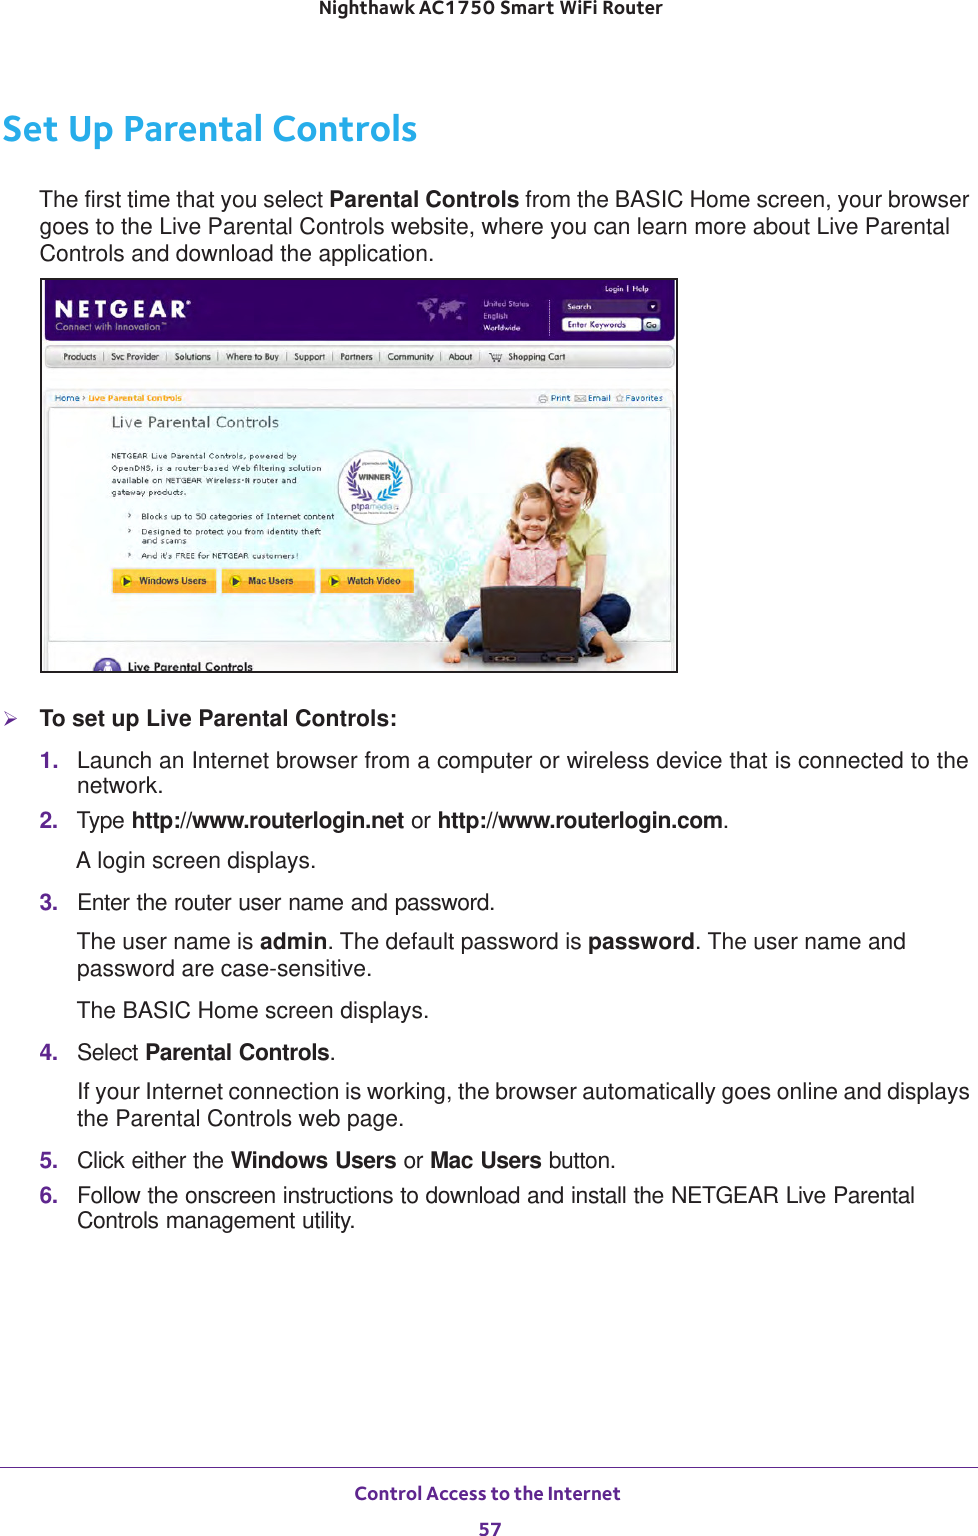
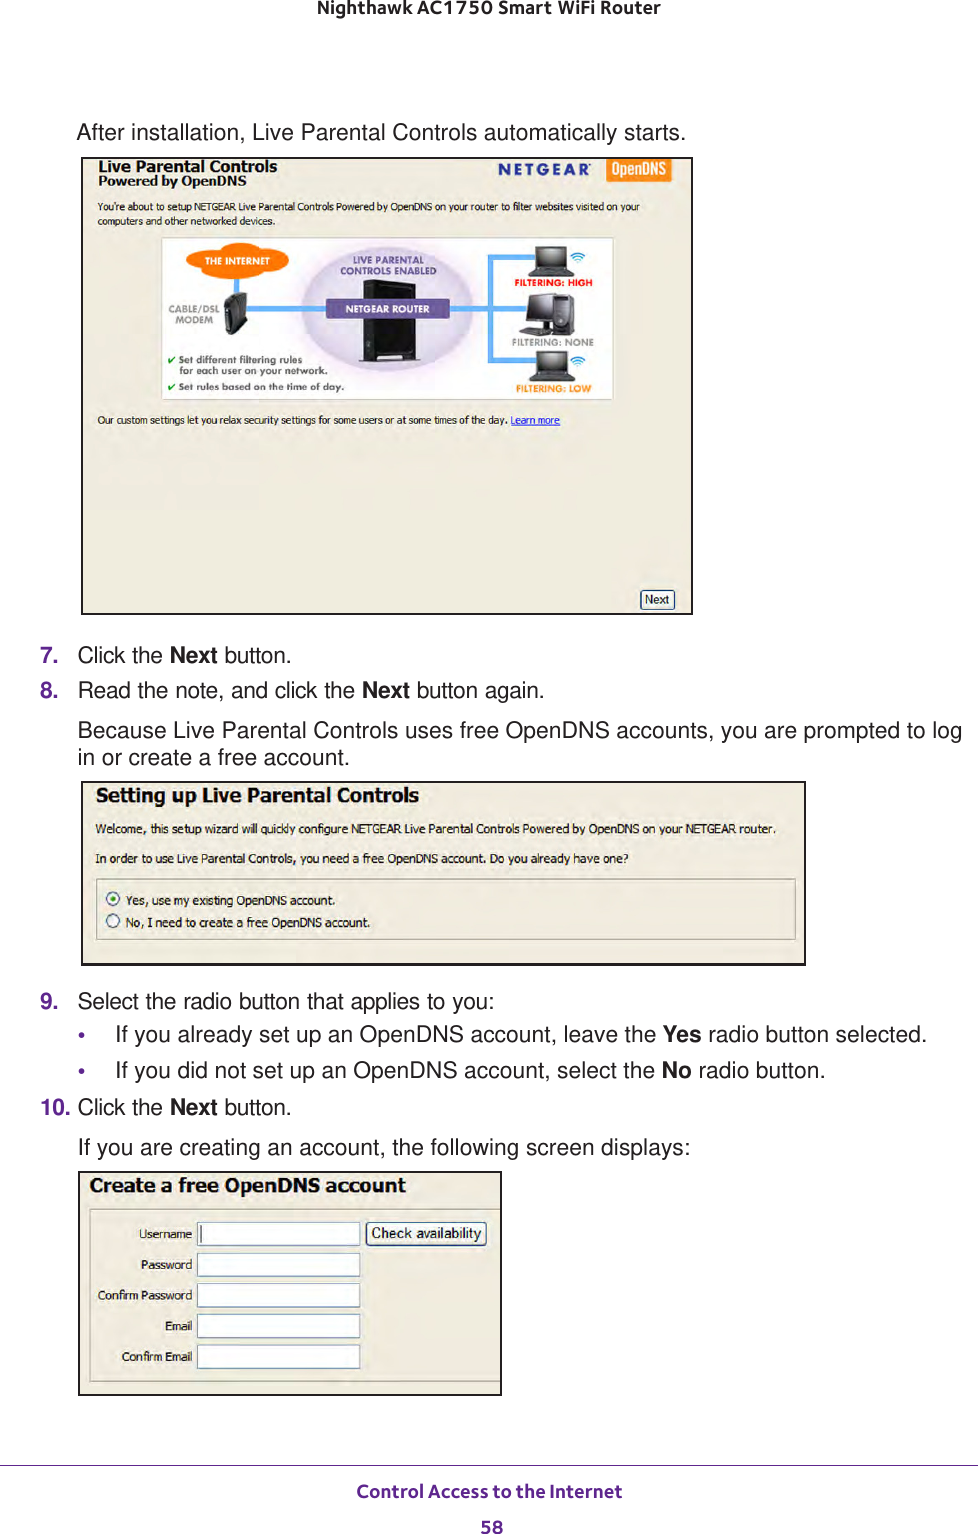
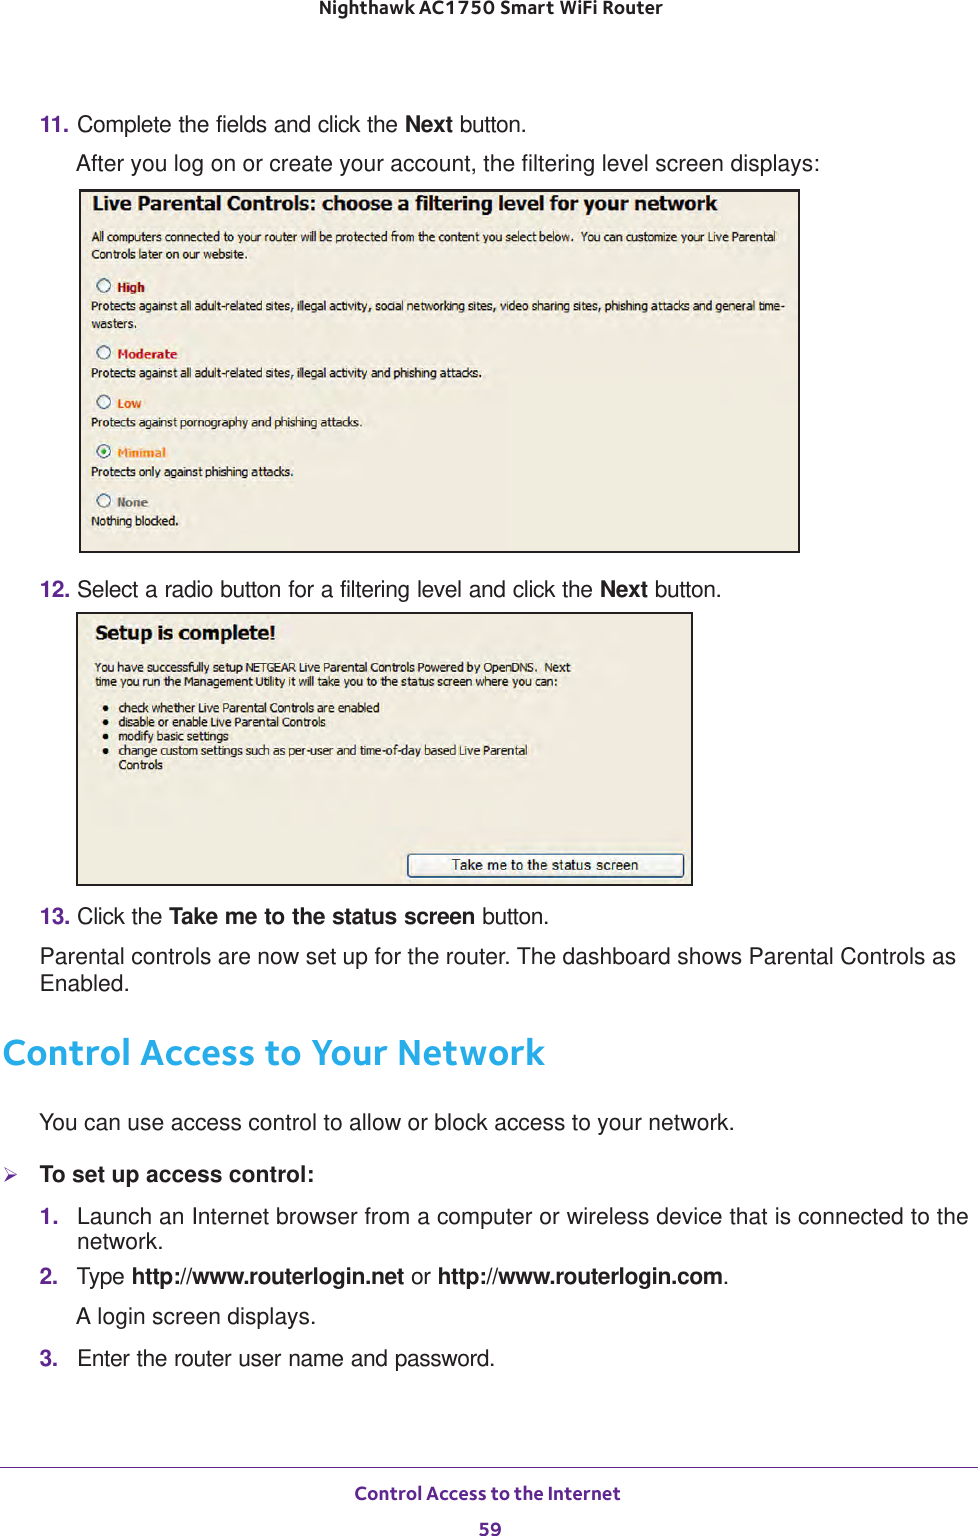
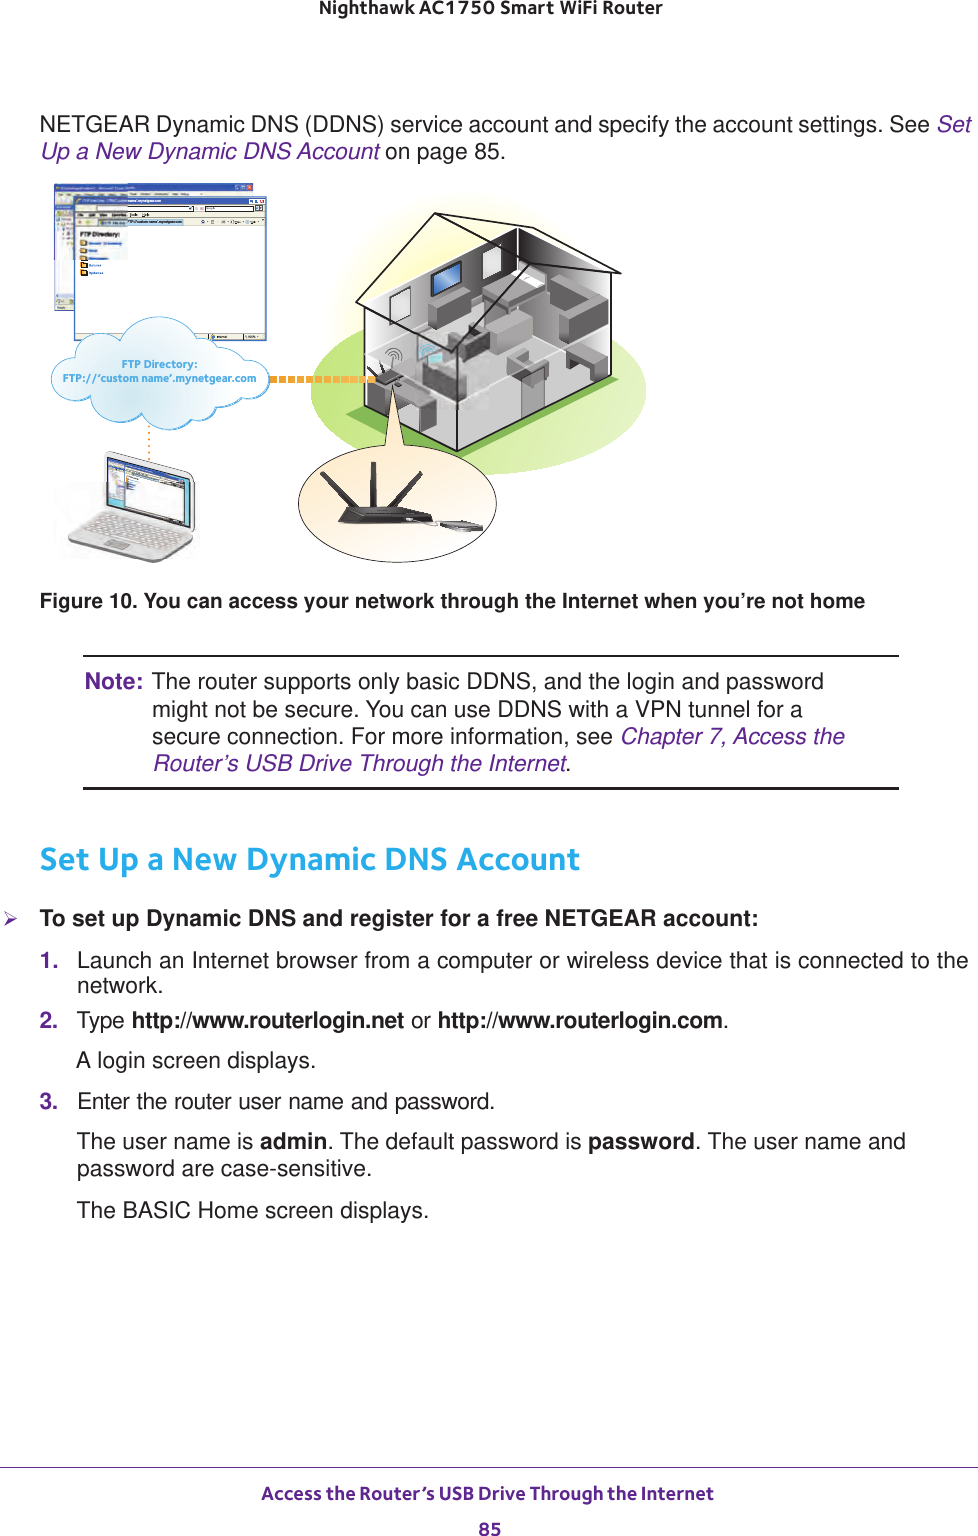
Netgear orporated 13200233 R7000 AC1900 Smart WiFi Router / AC1750 Smart WiFi Router User Manual Part 1
Netgear Incorporated R7000 AC1900 Smart WiFi Router / AC1750 Smart WiFi Router Part 1
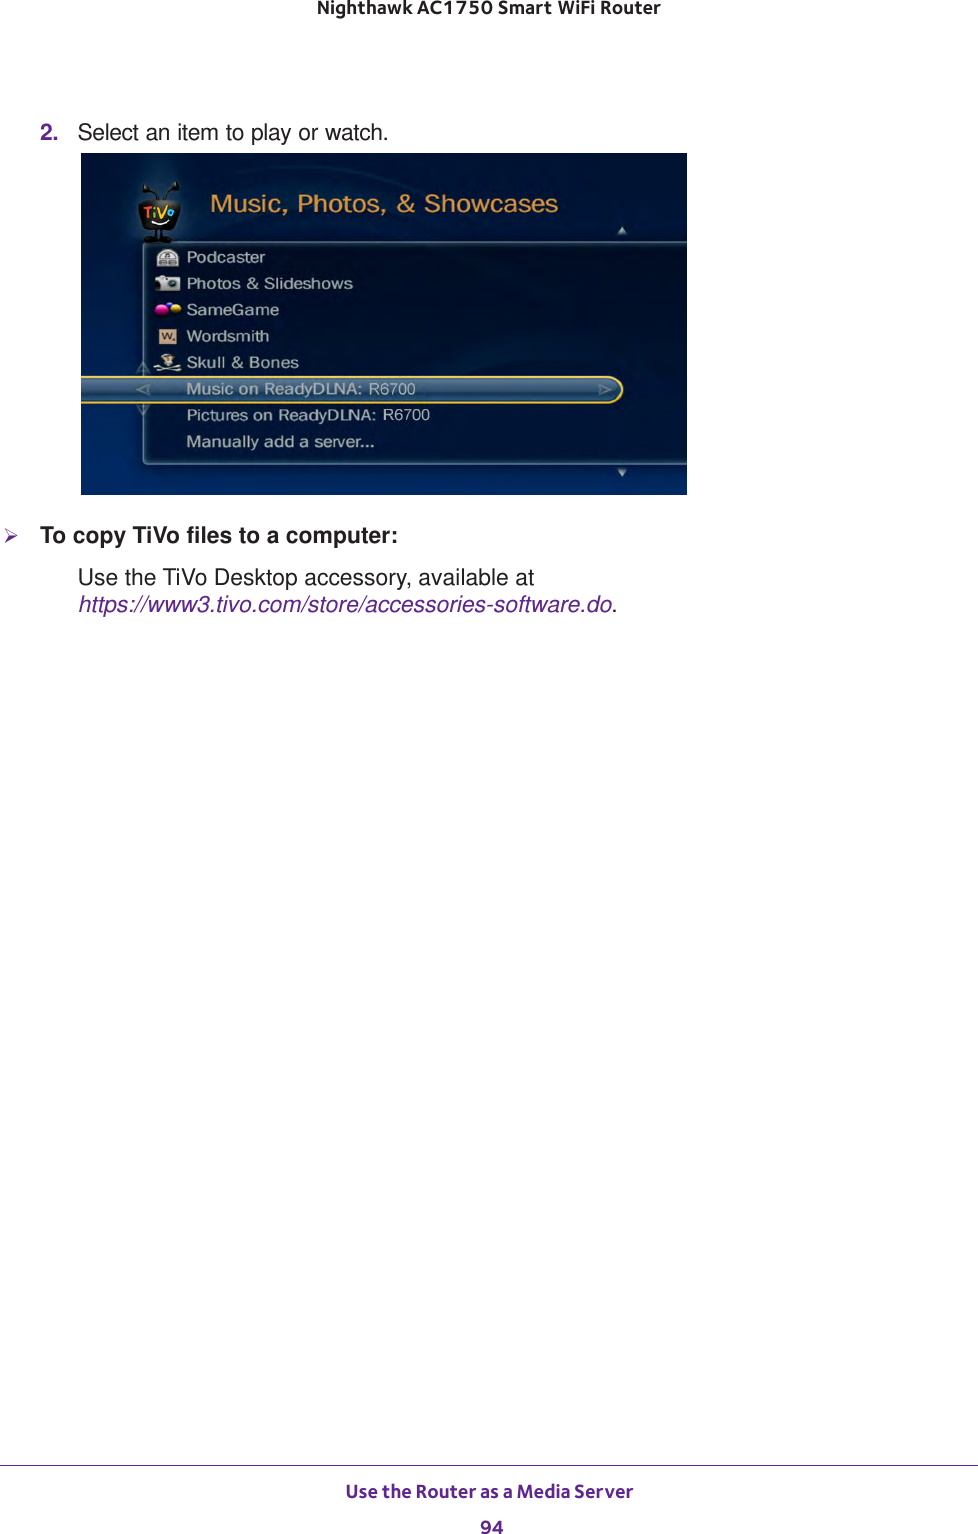
Contents
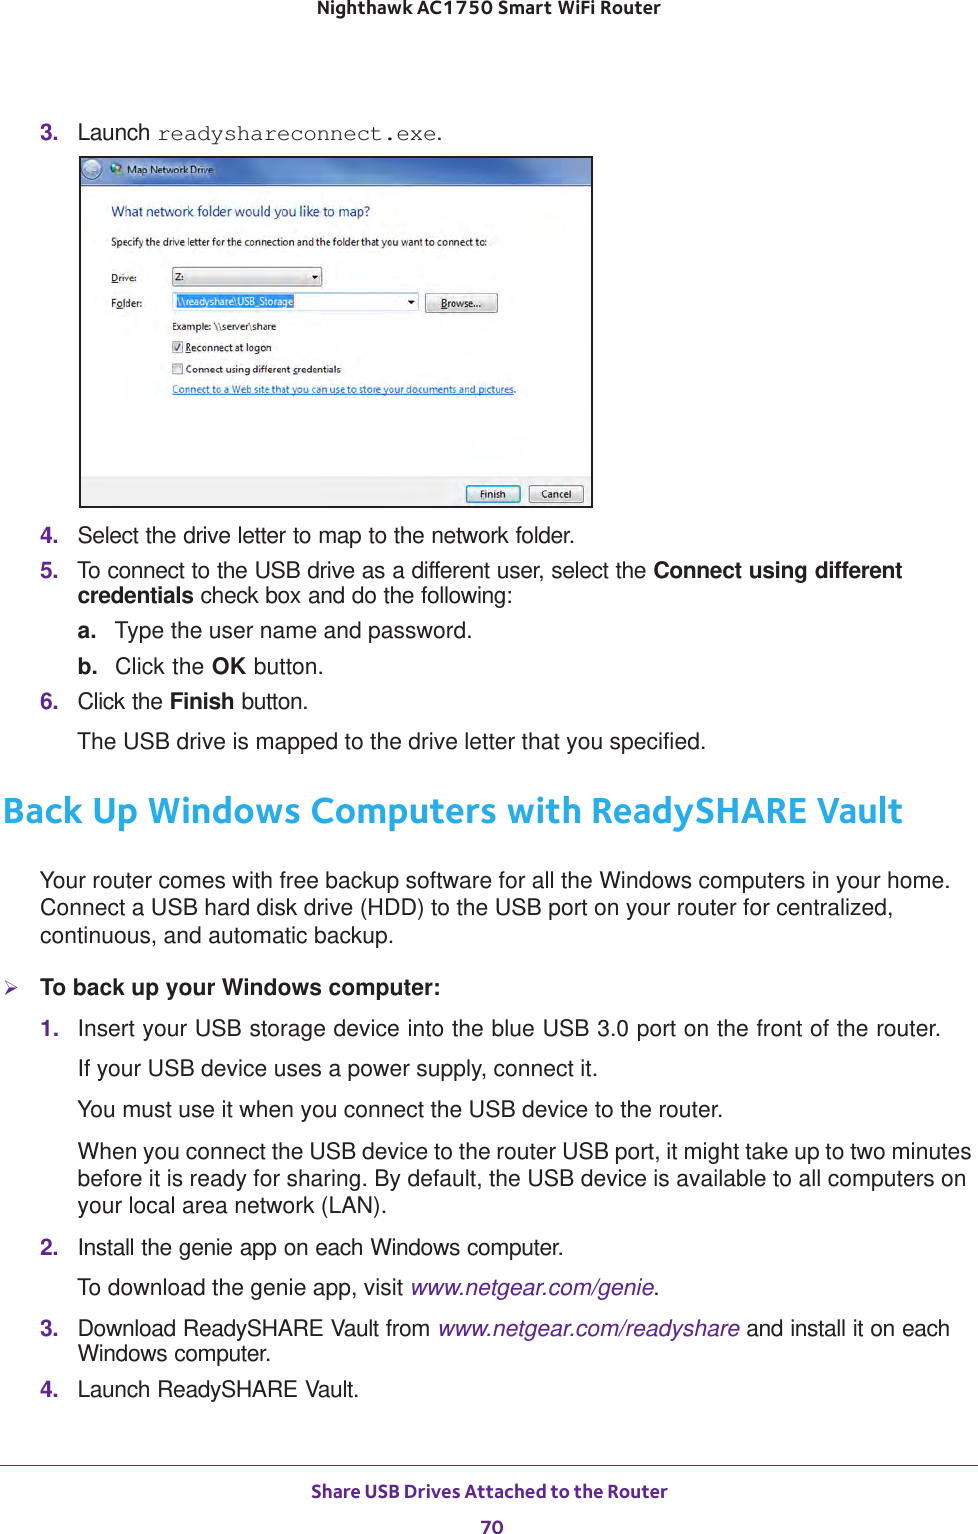
- 1. User Manual
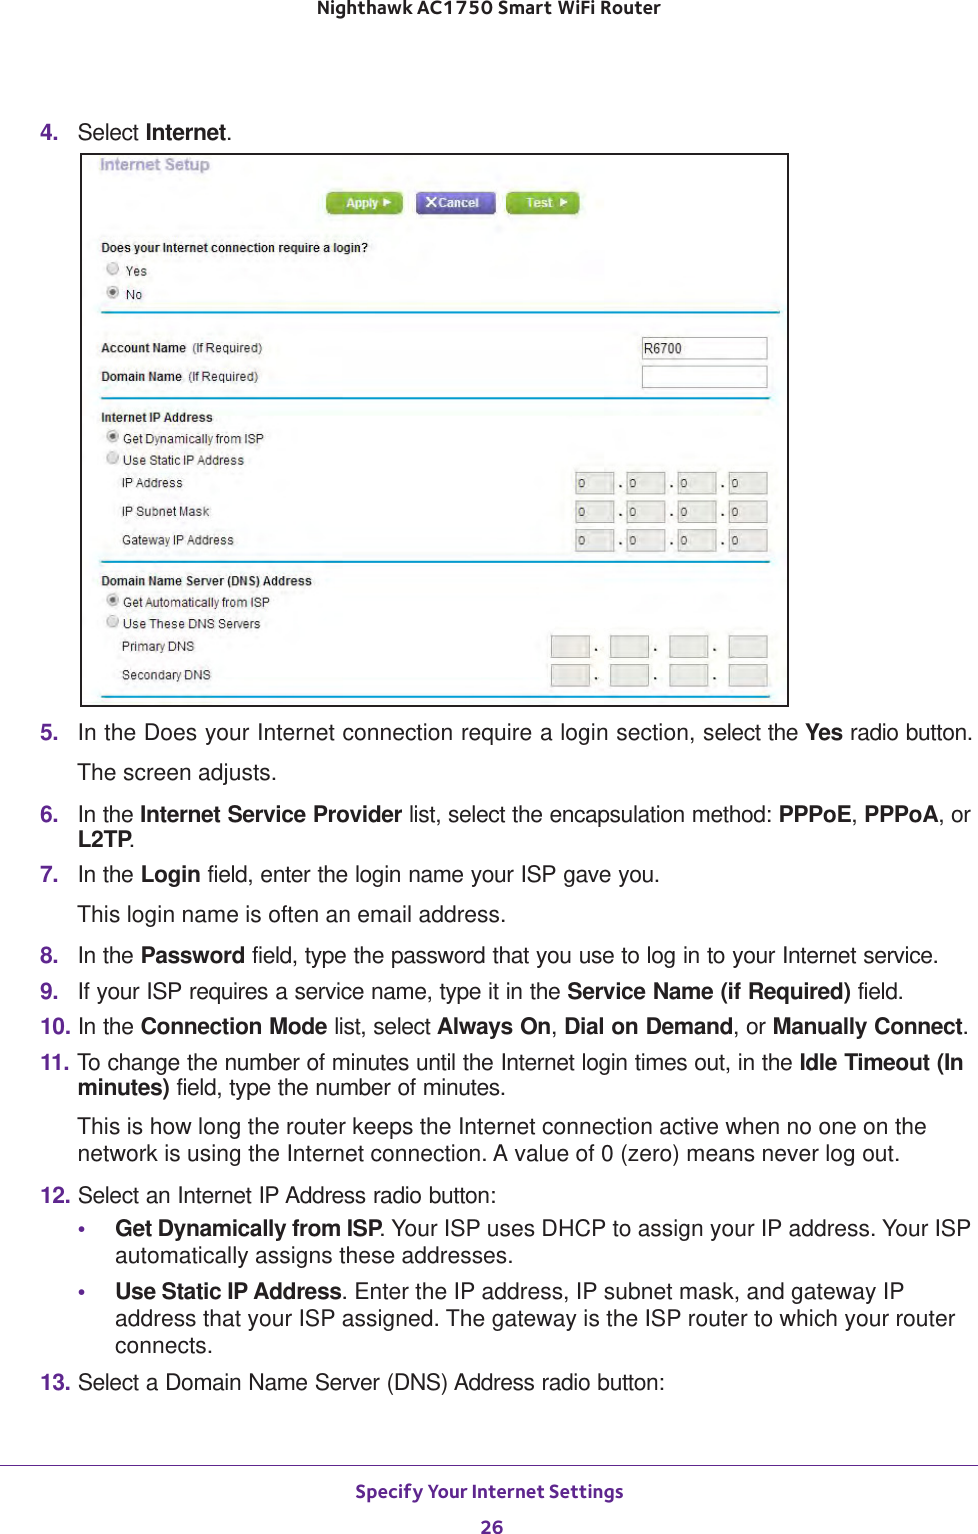
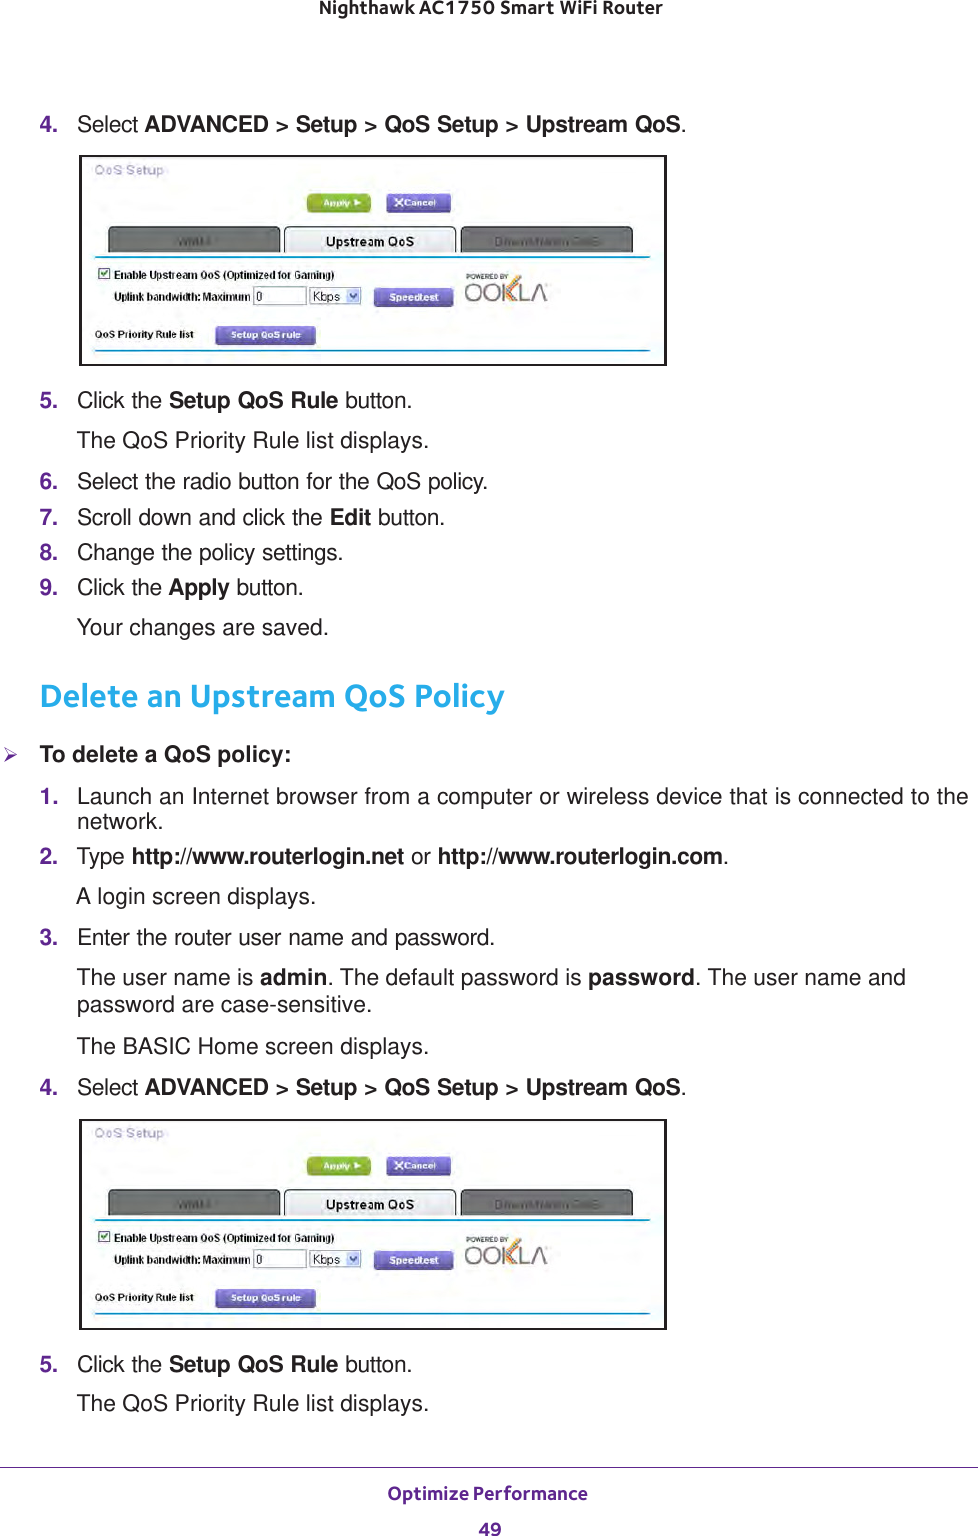
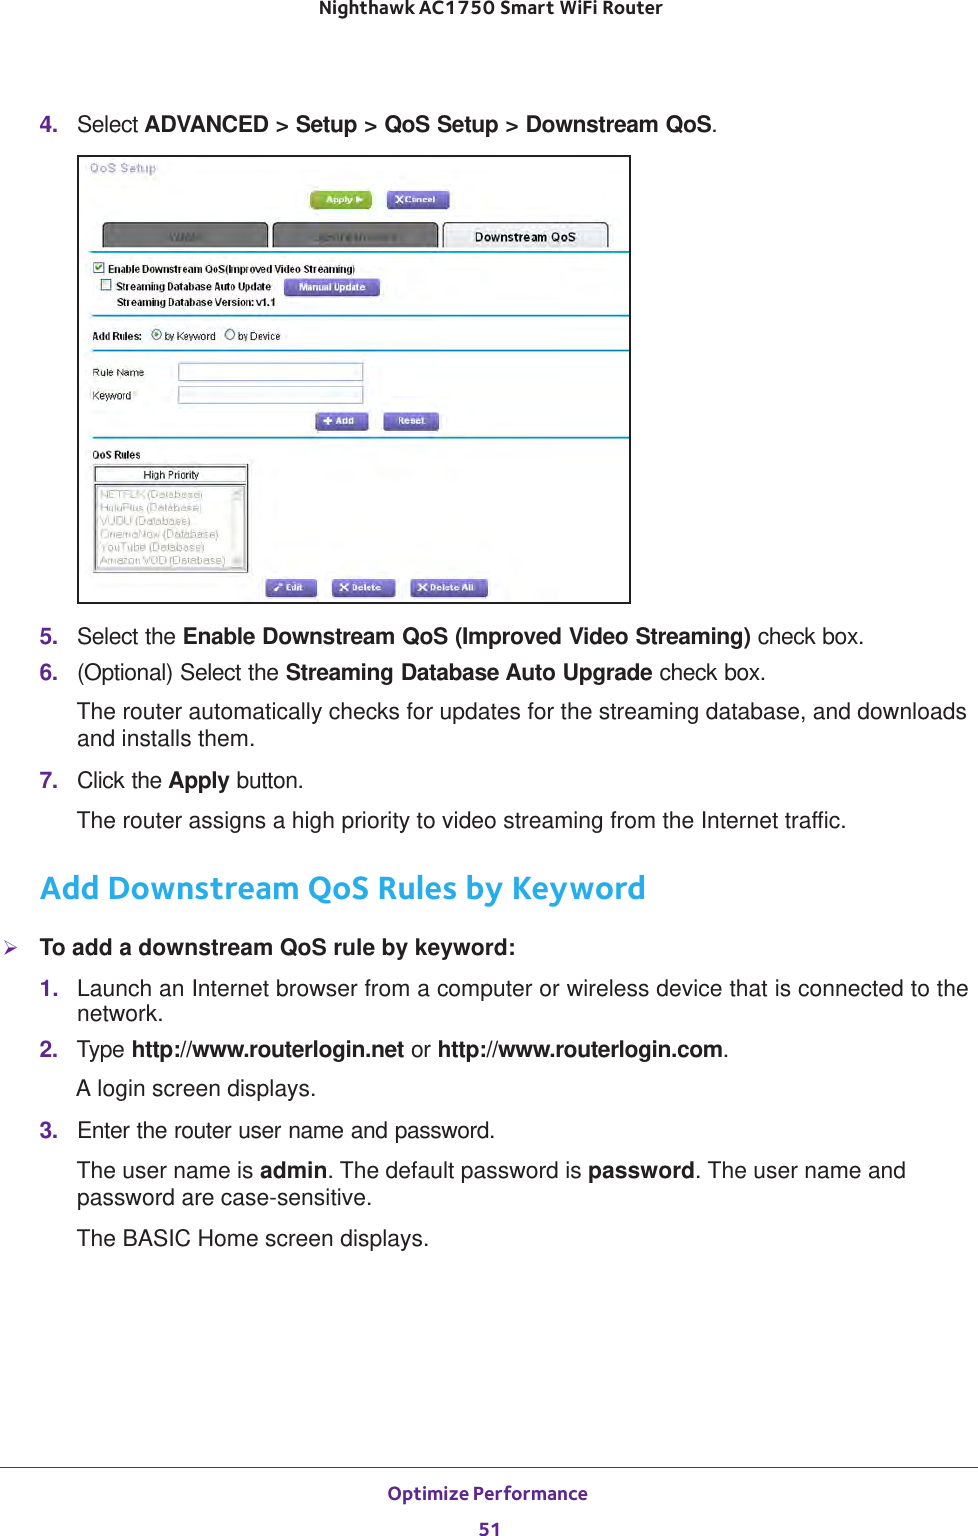
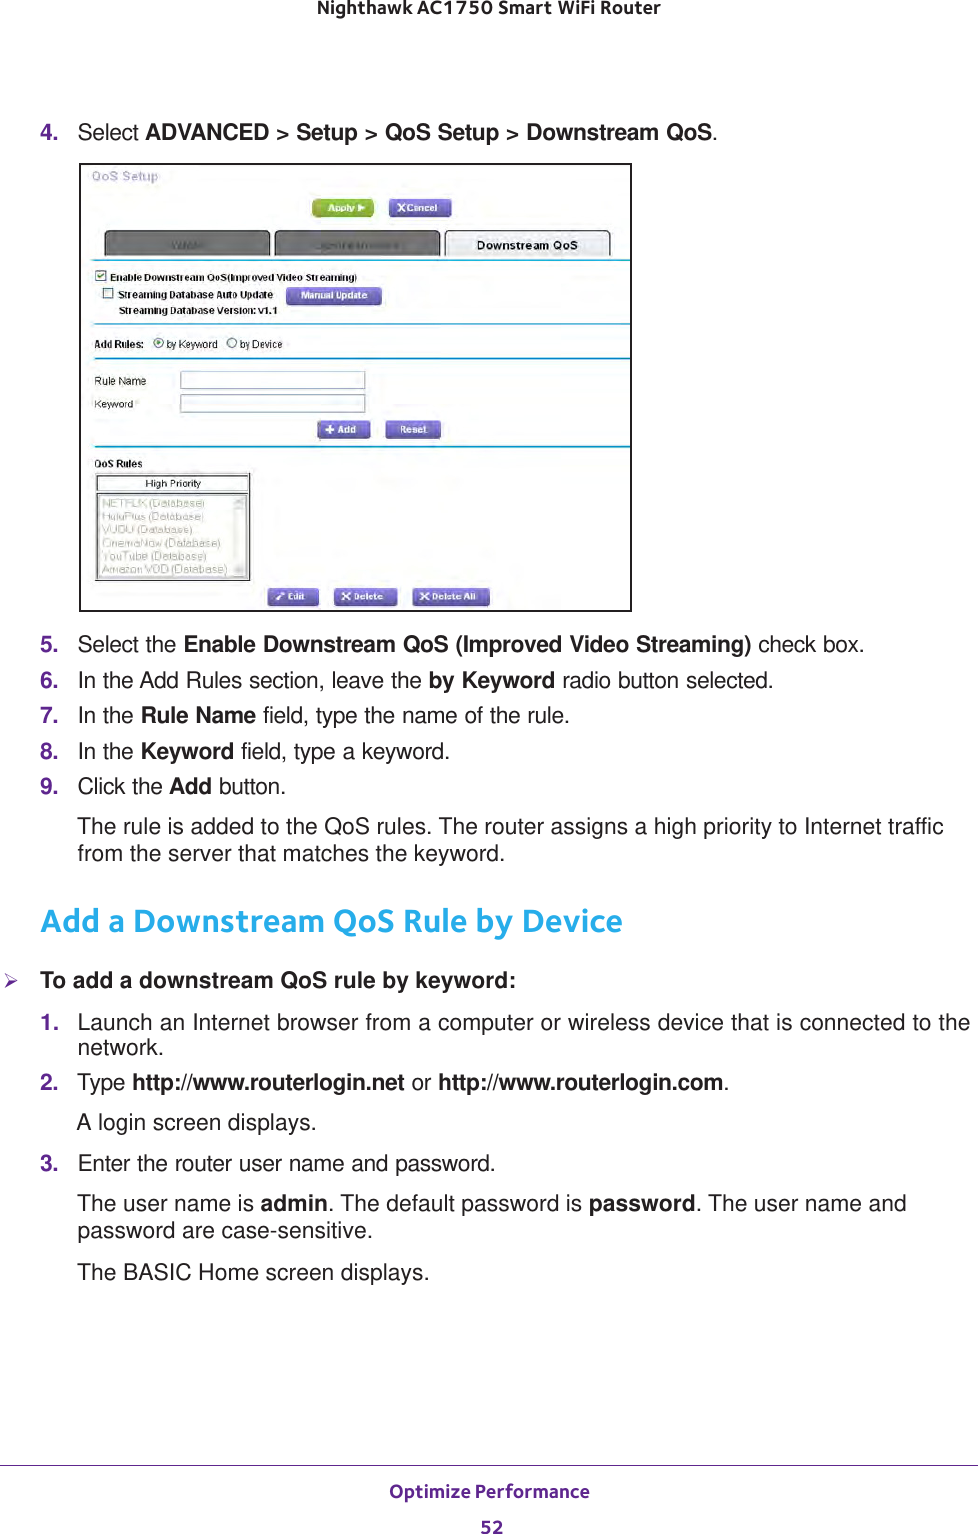
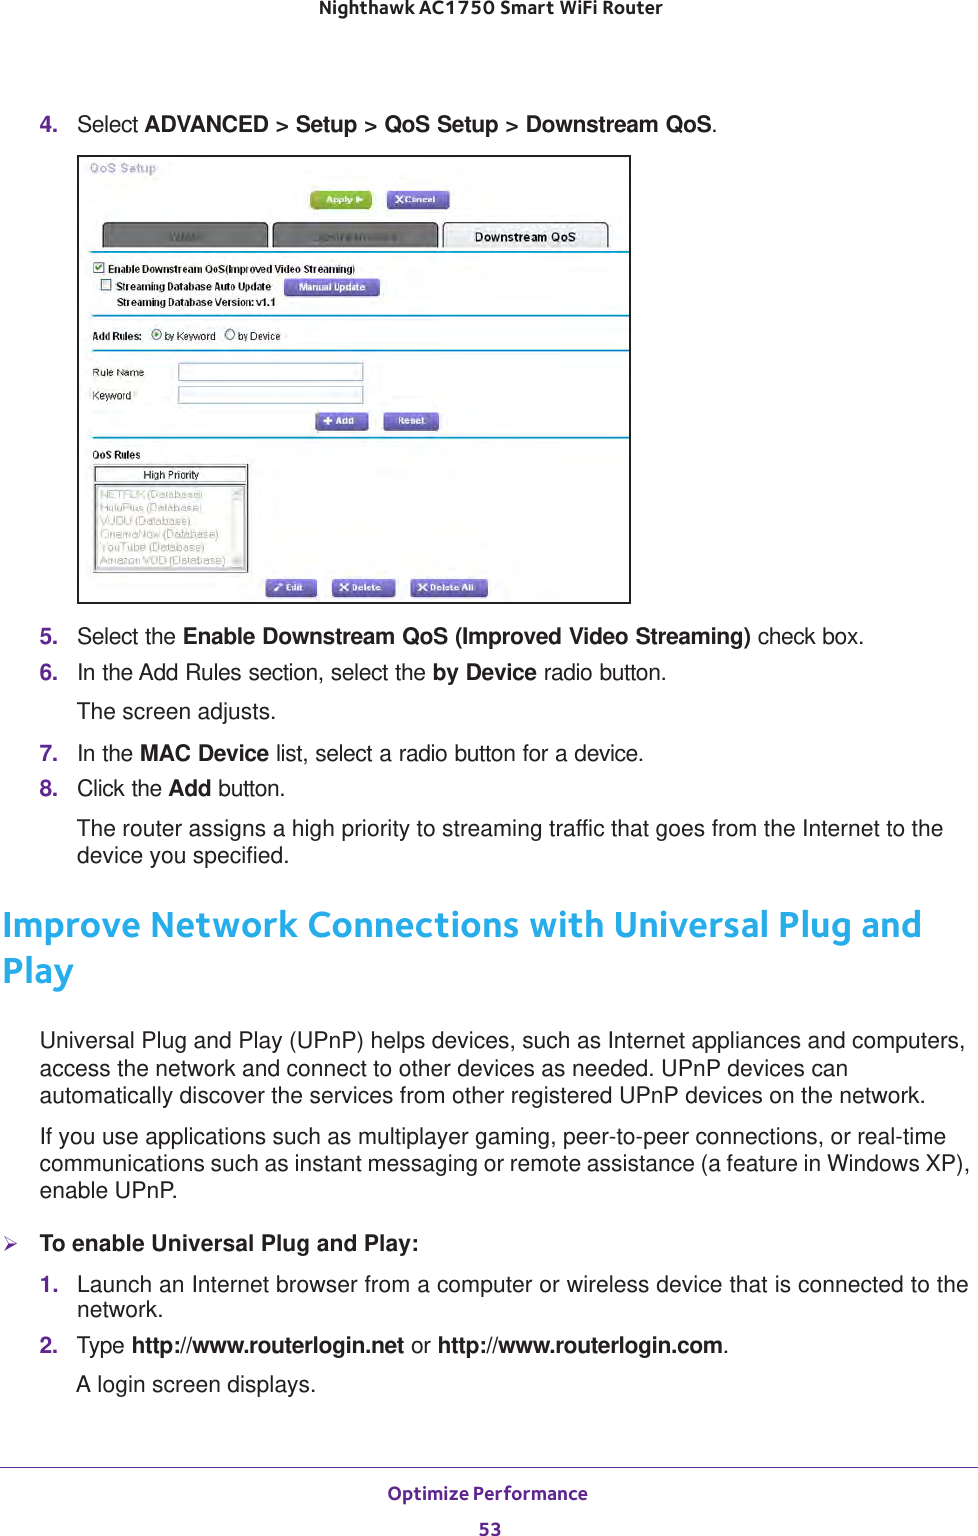
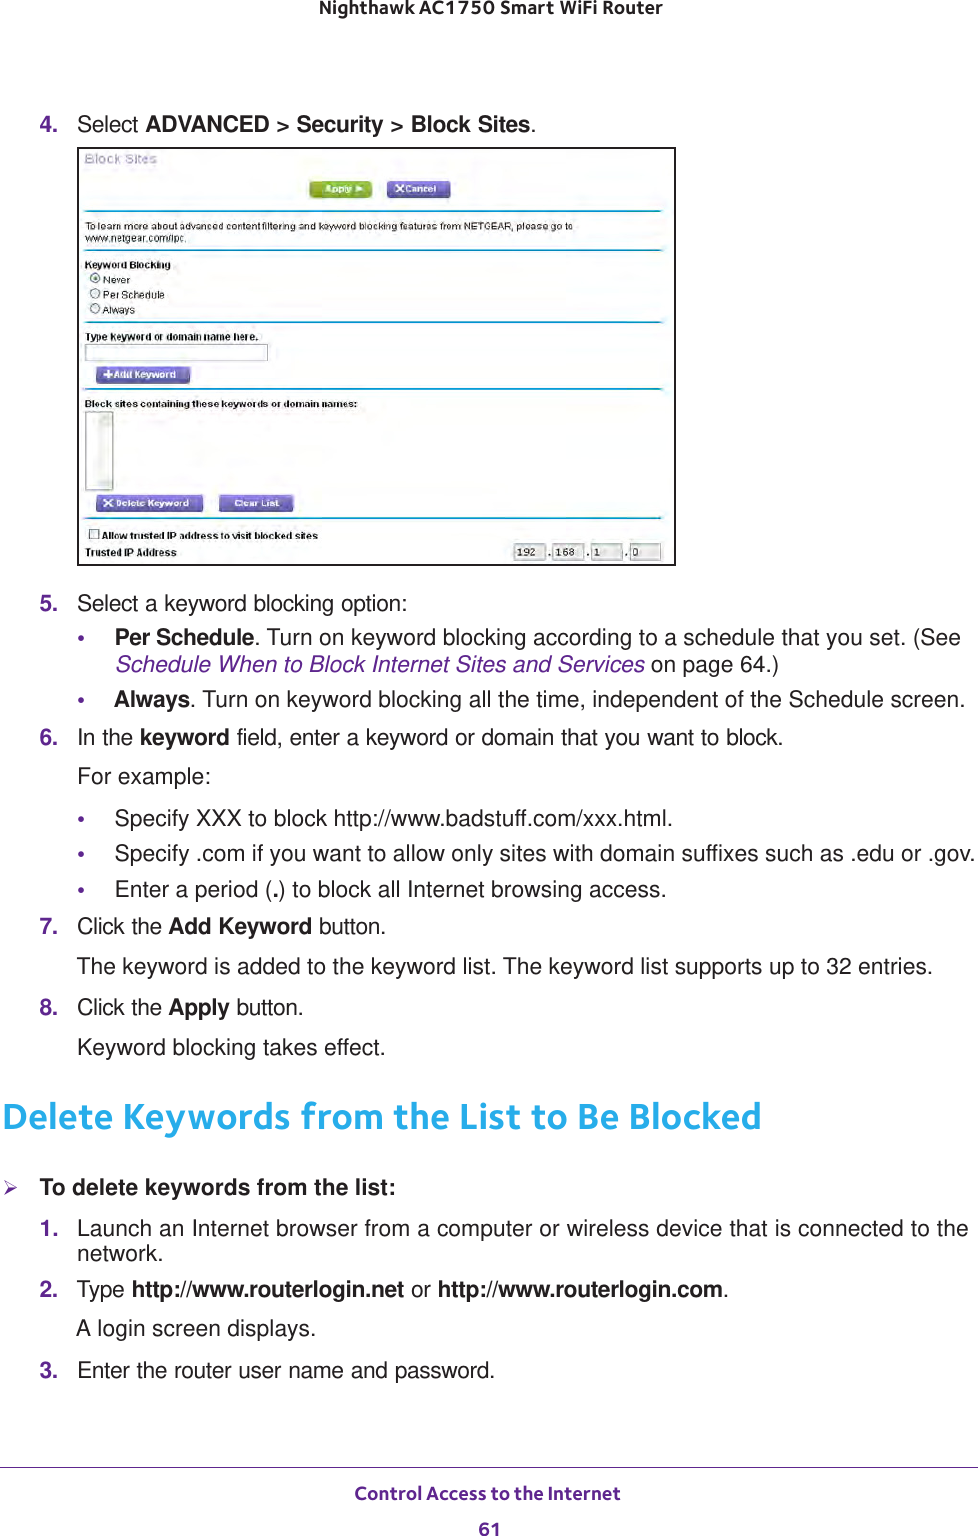
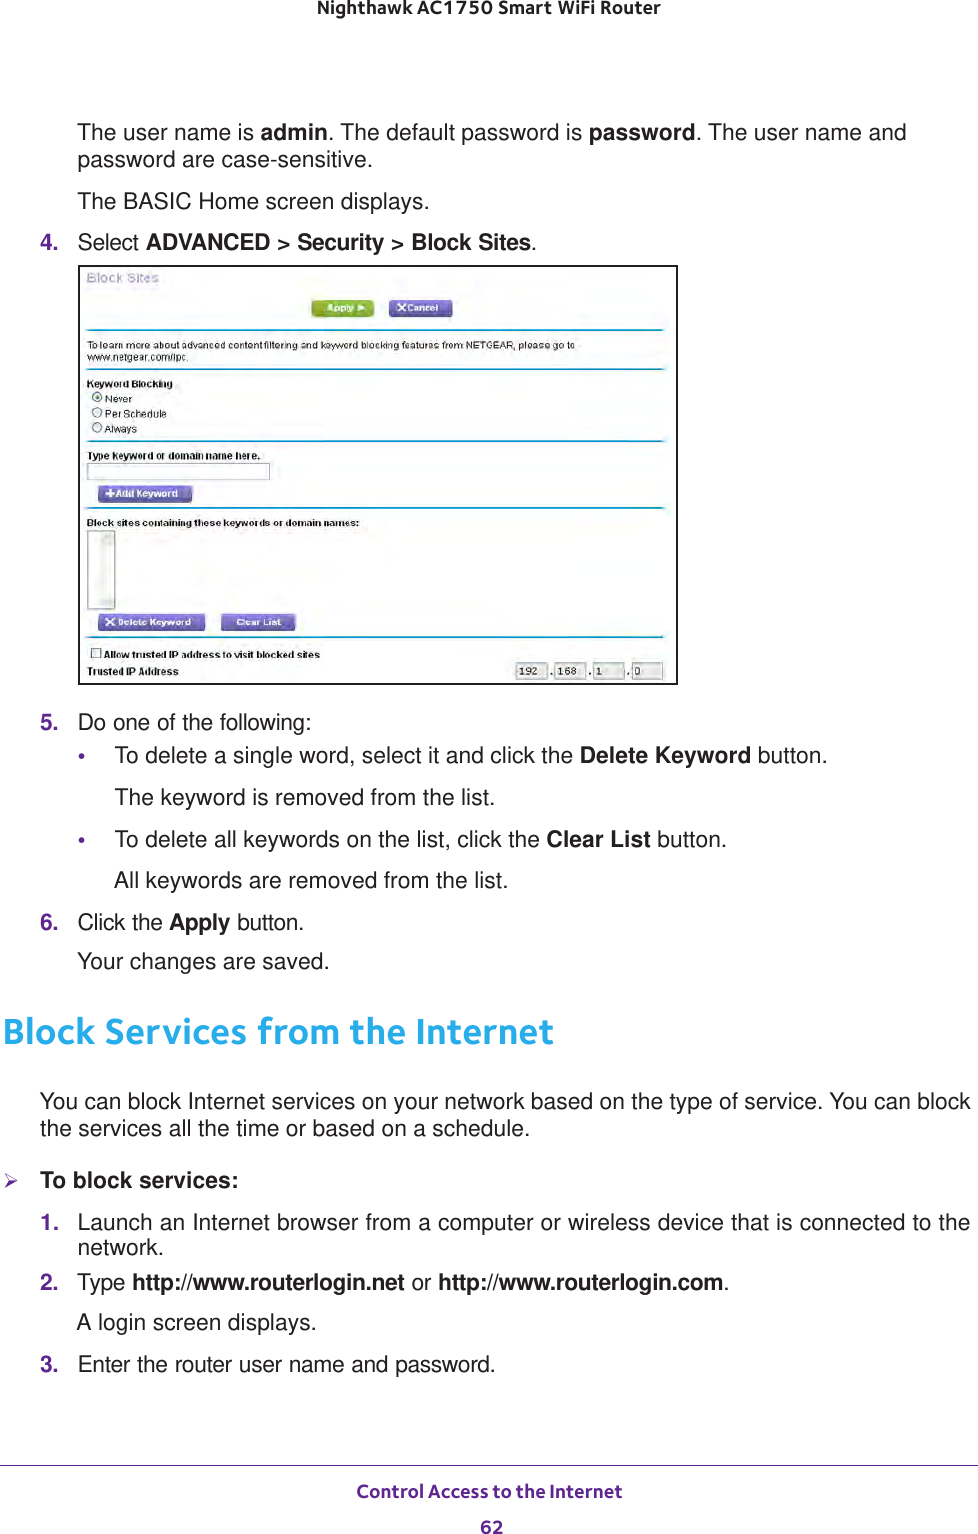
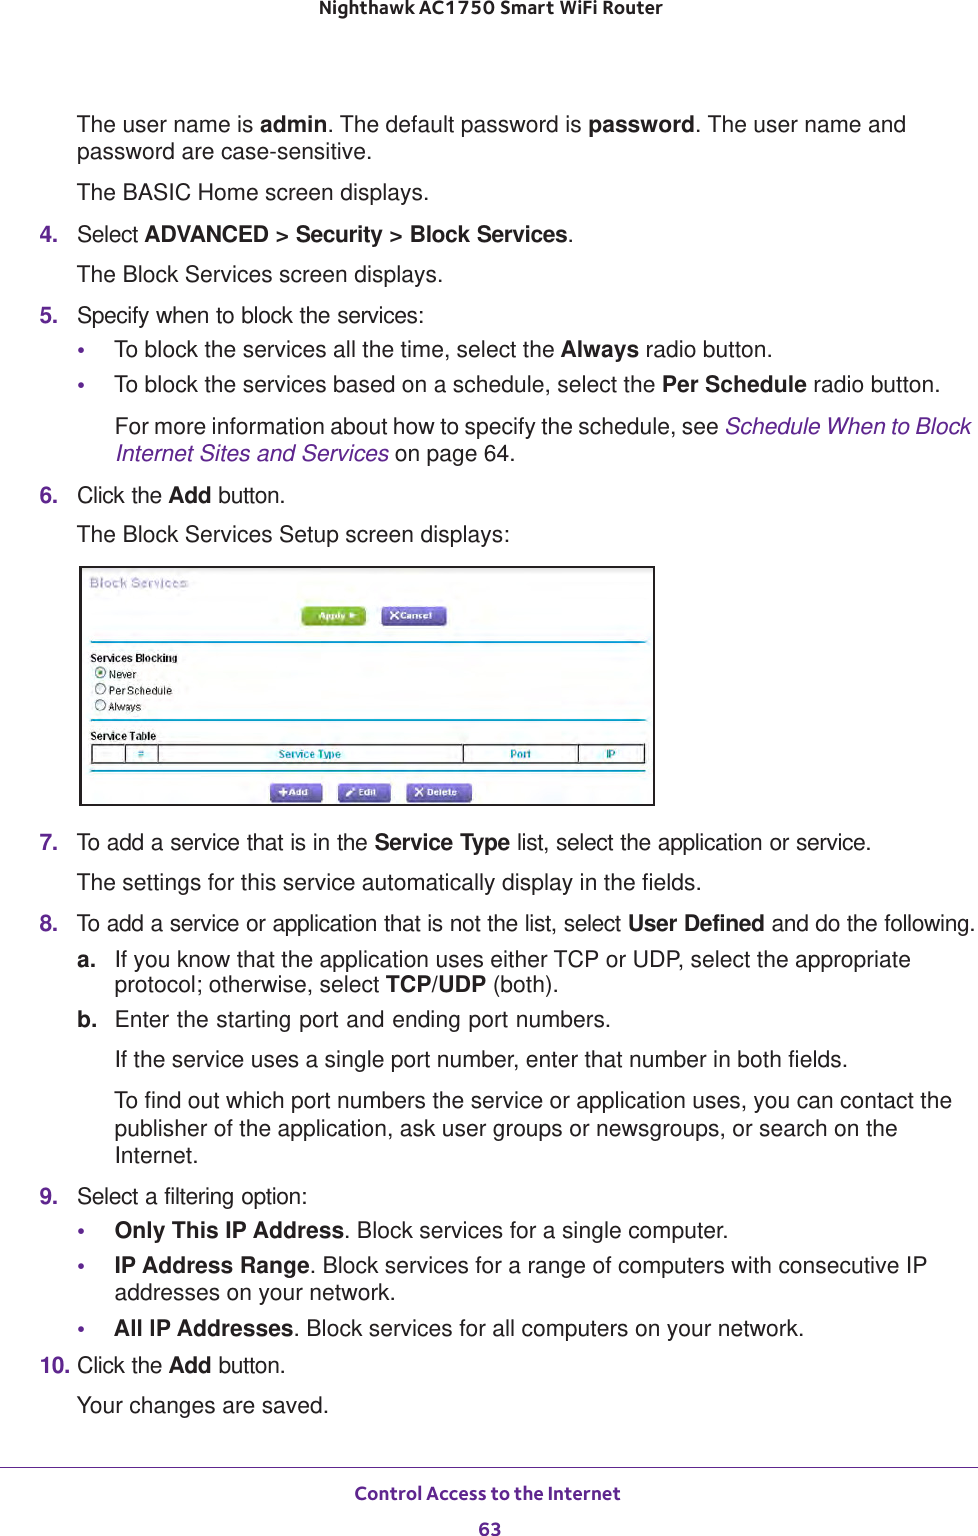
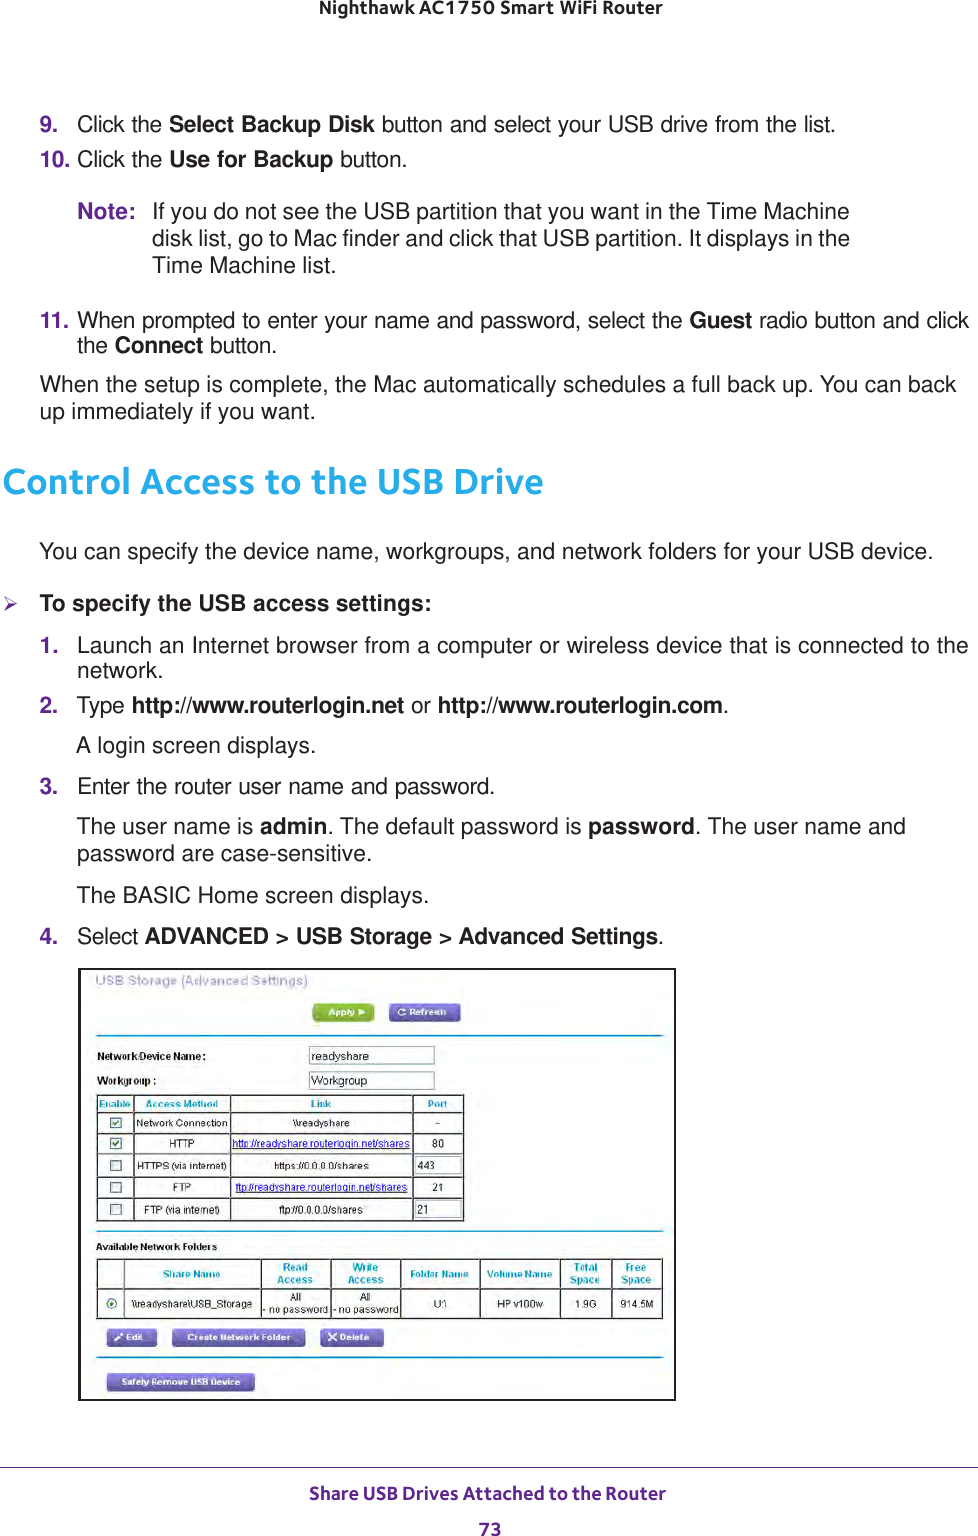
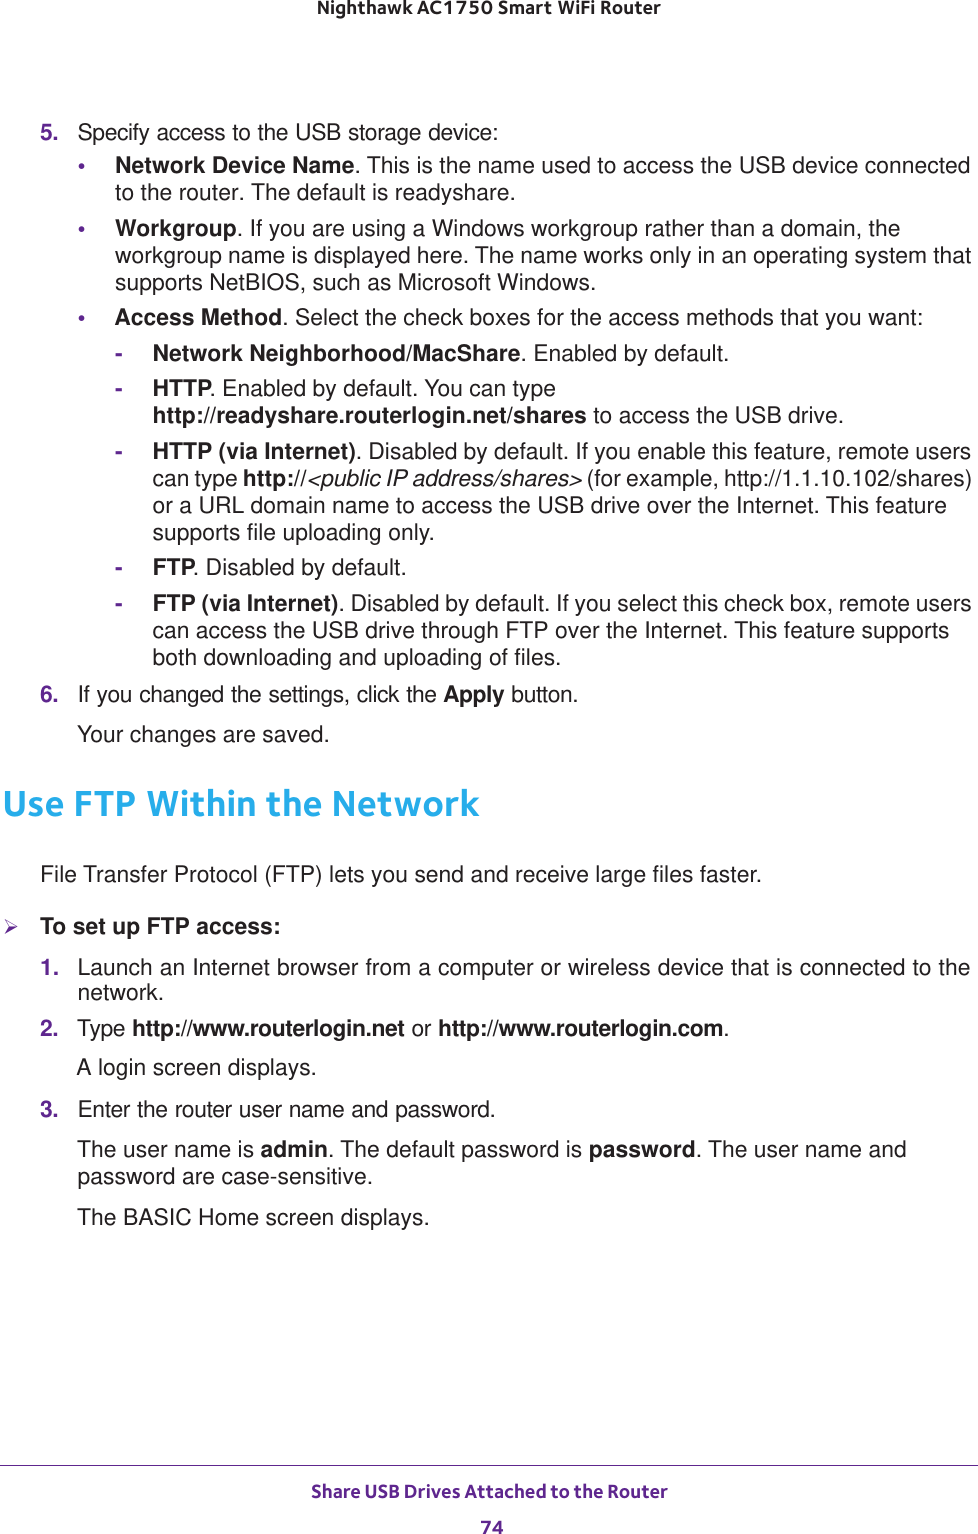
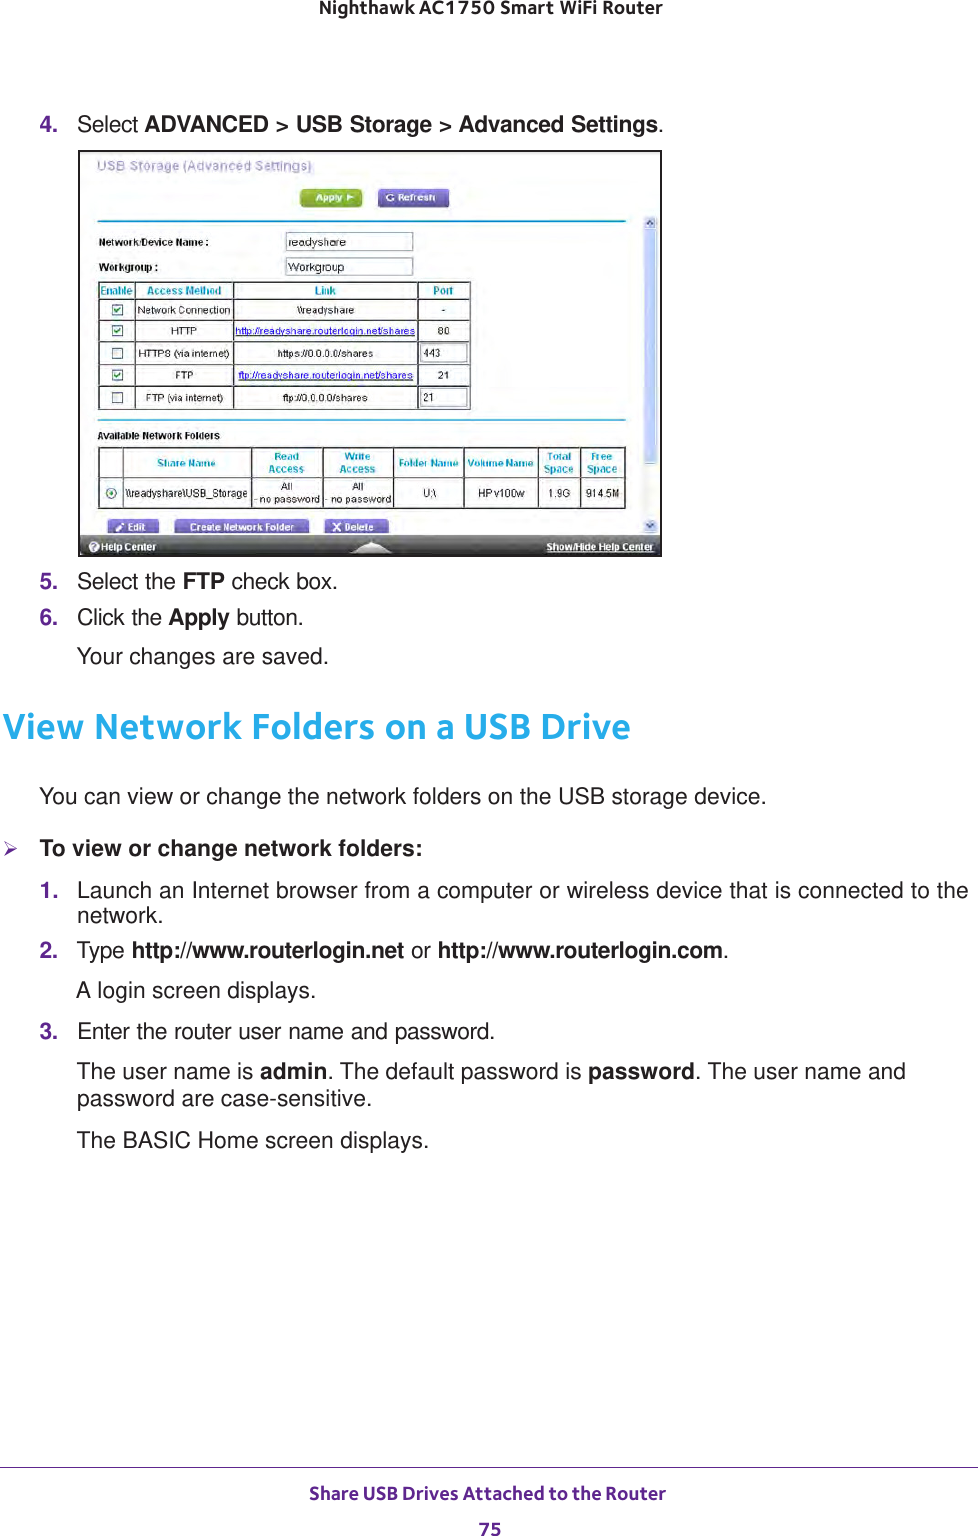
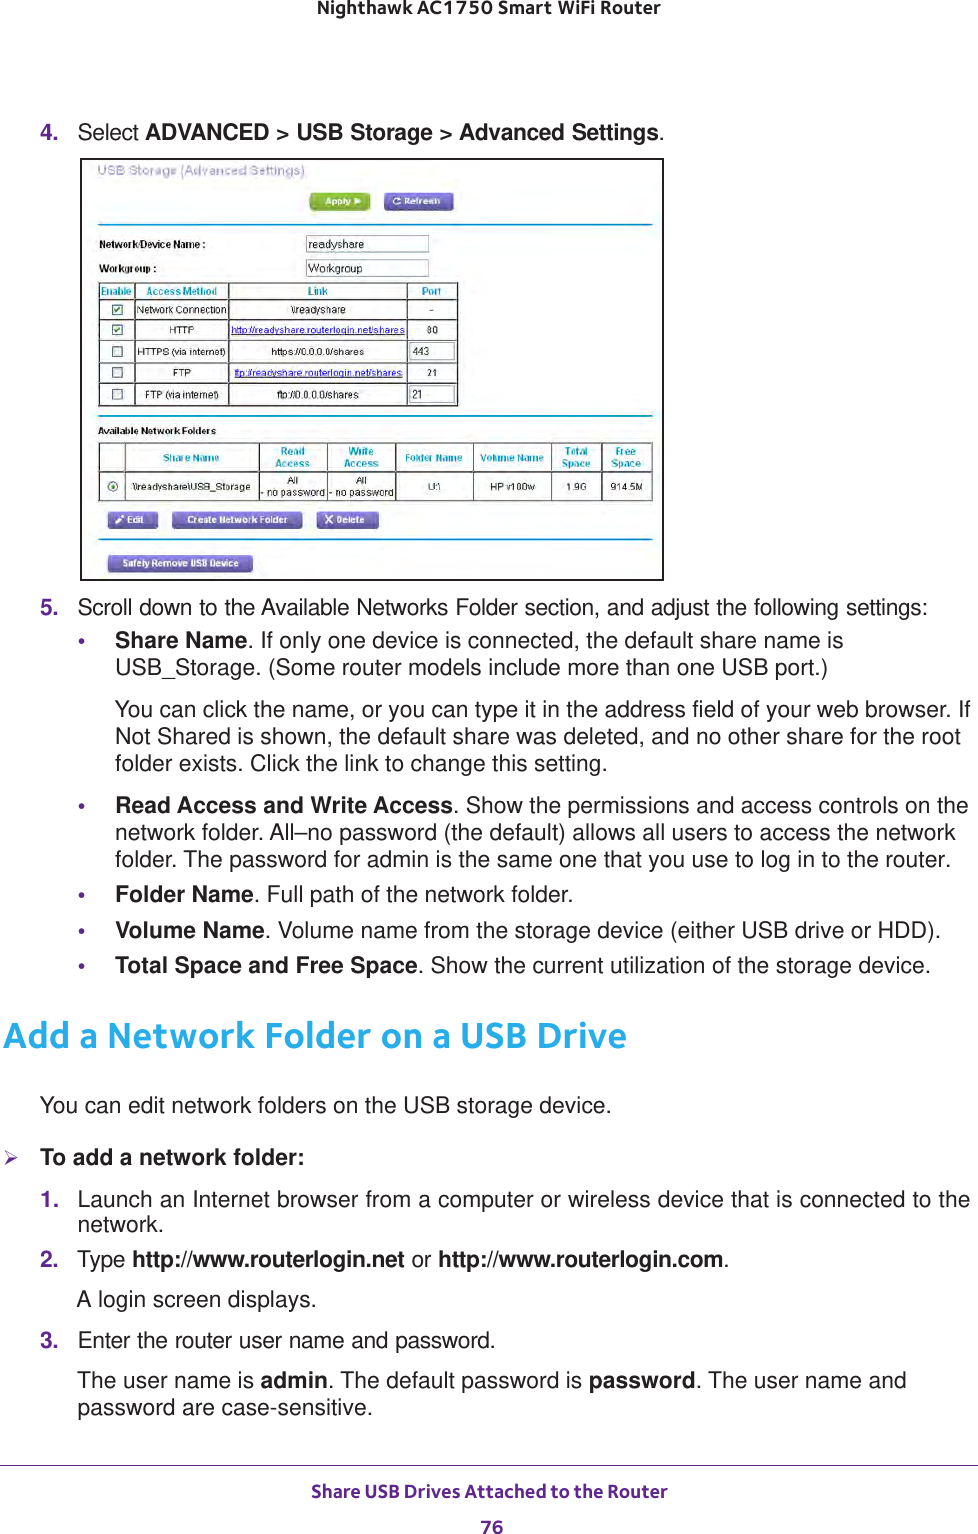
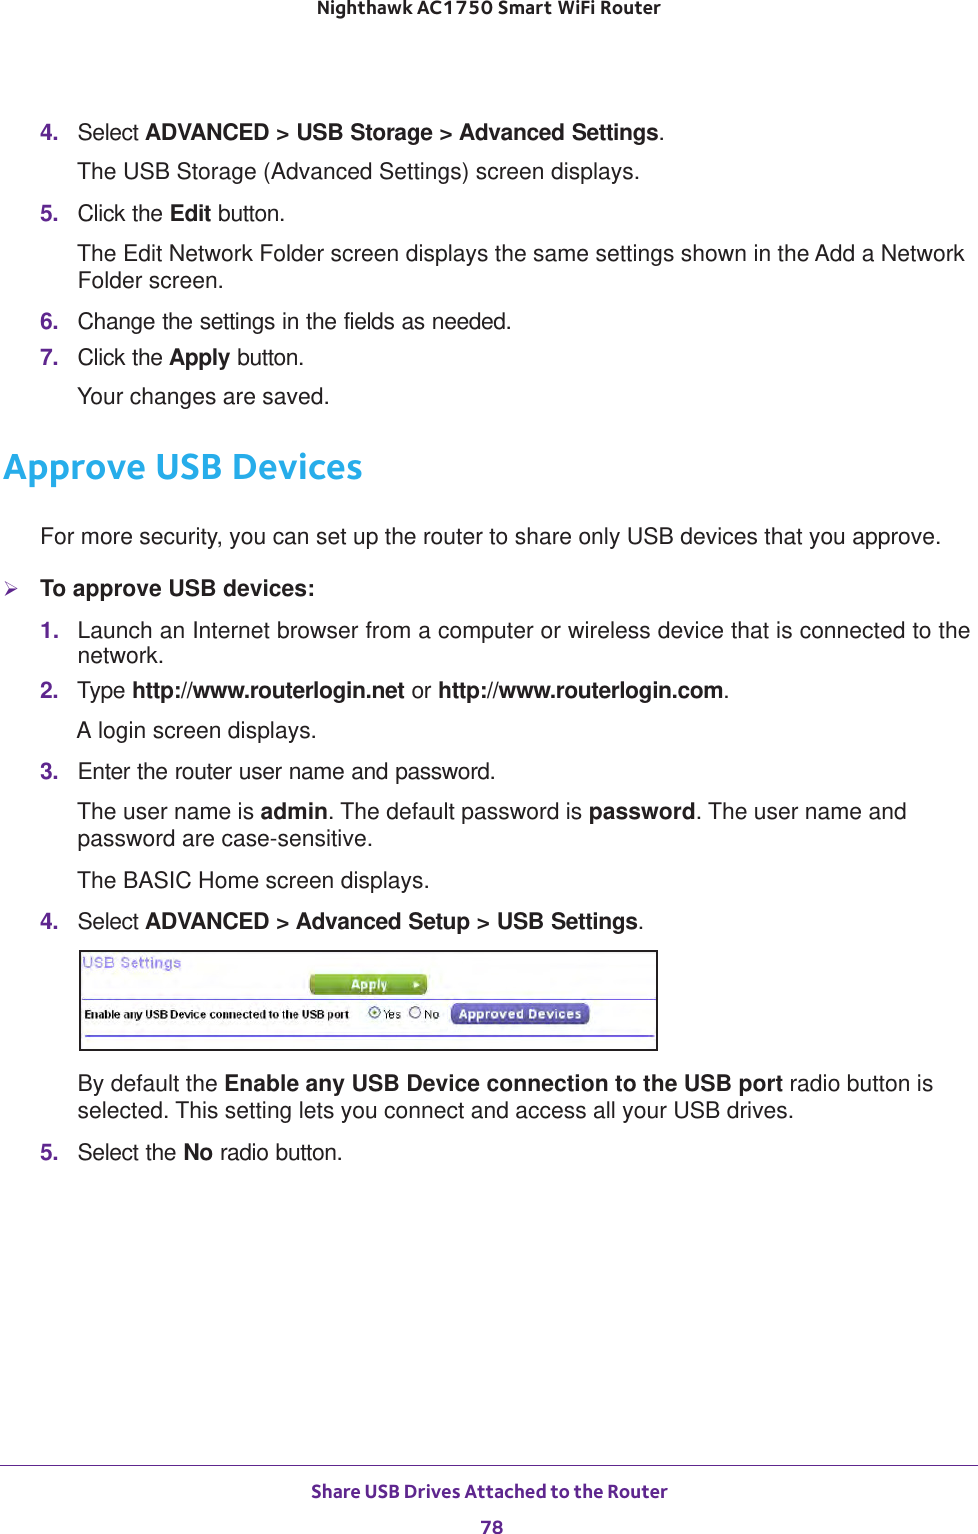
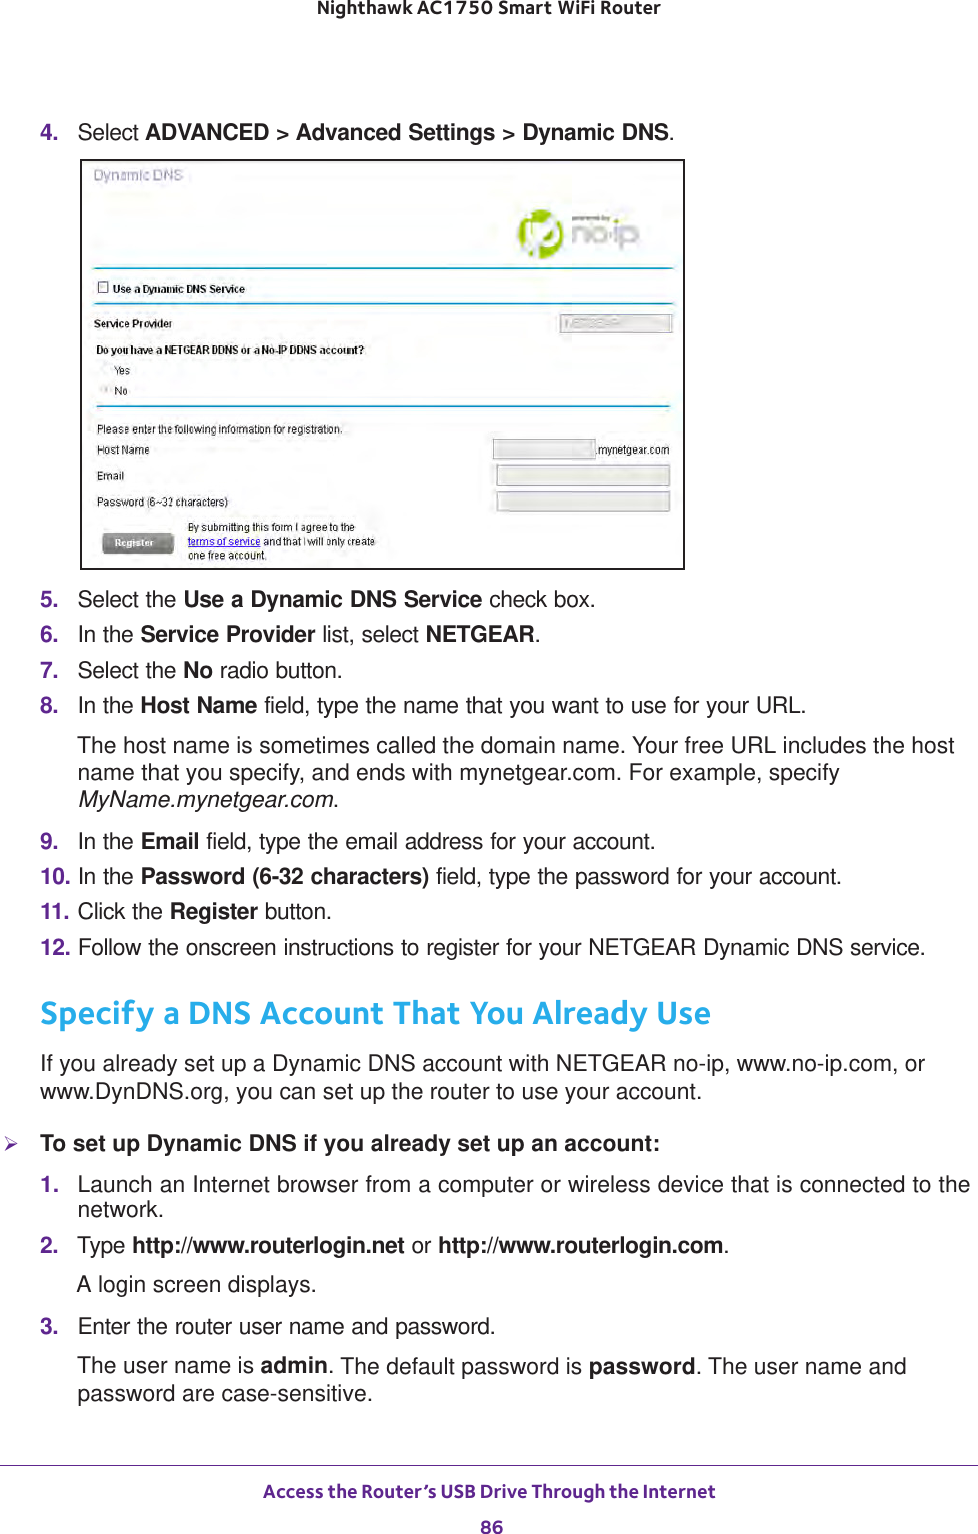
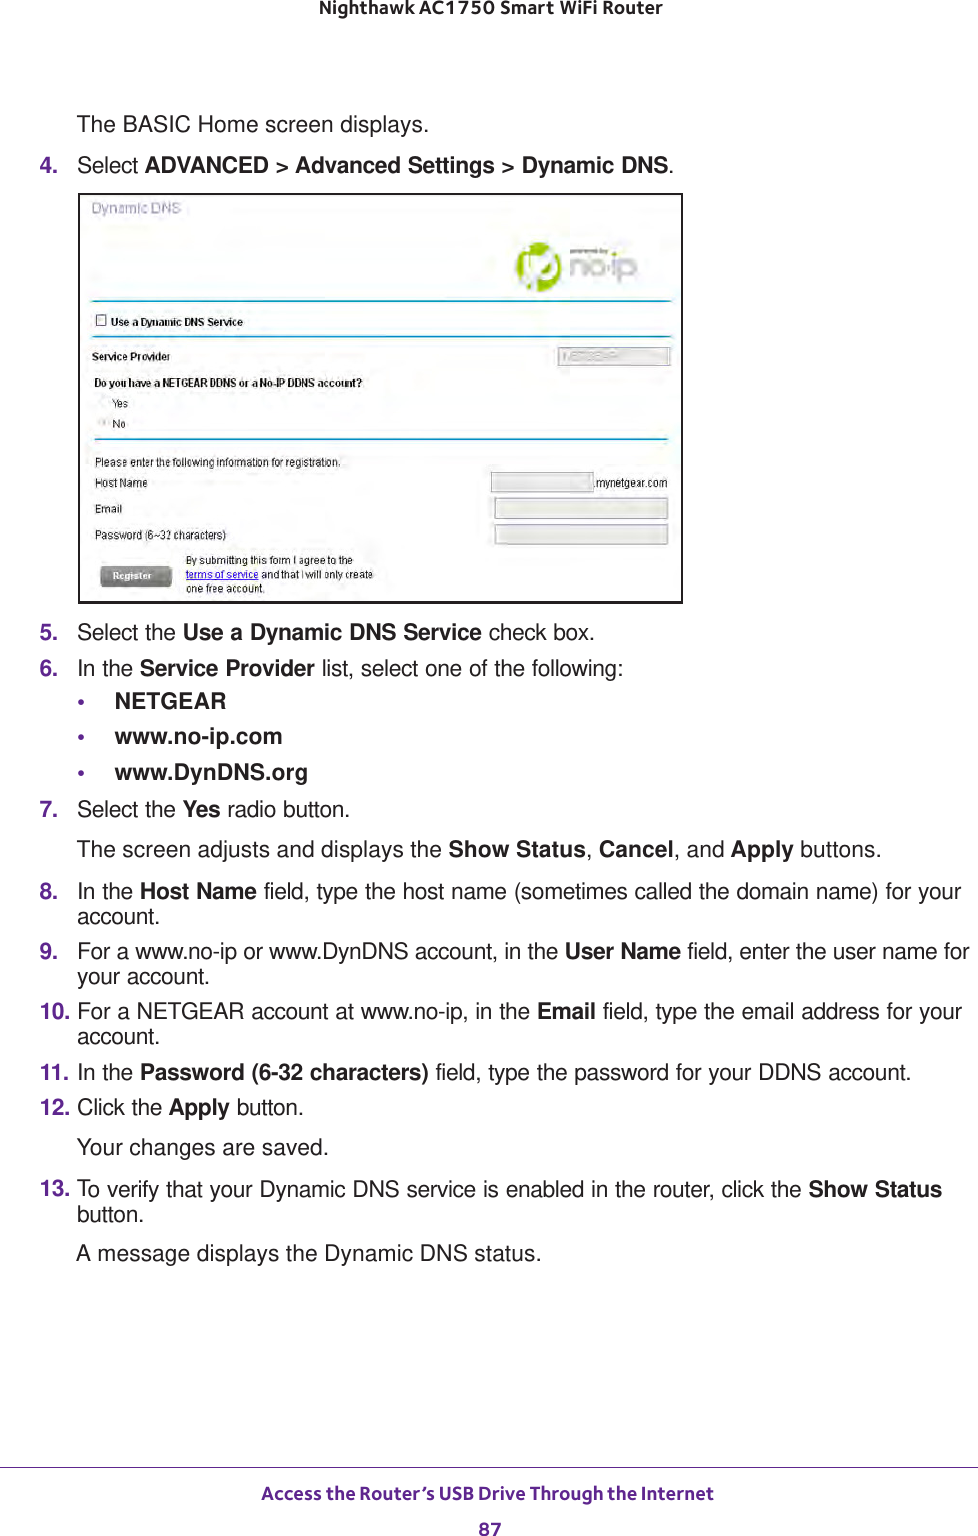
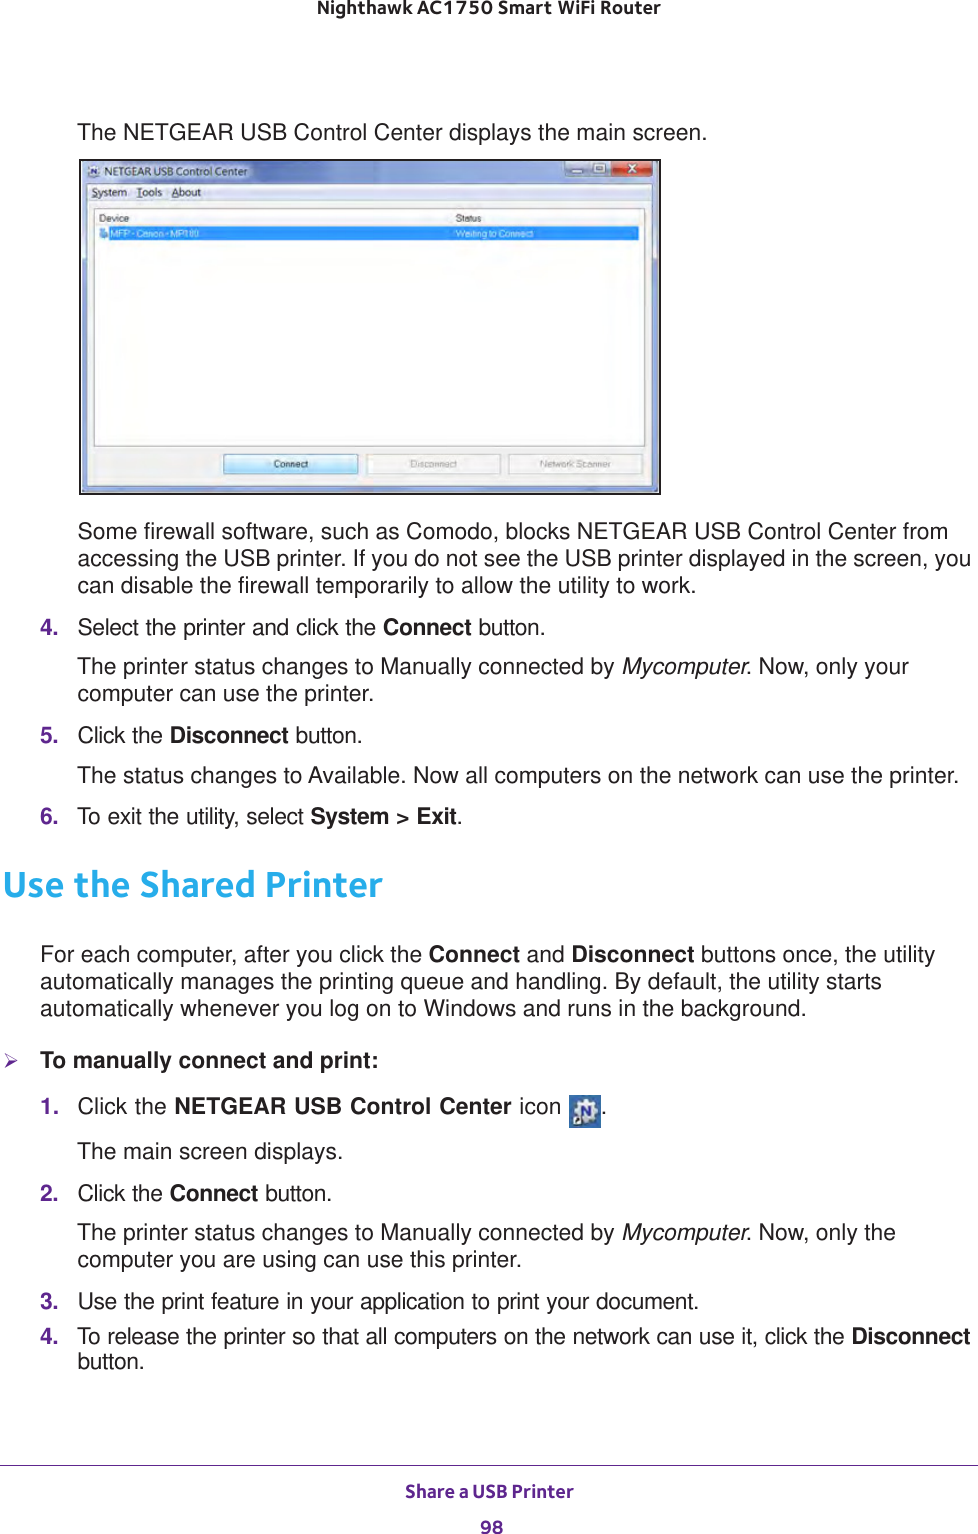
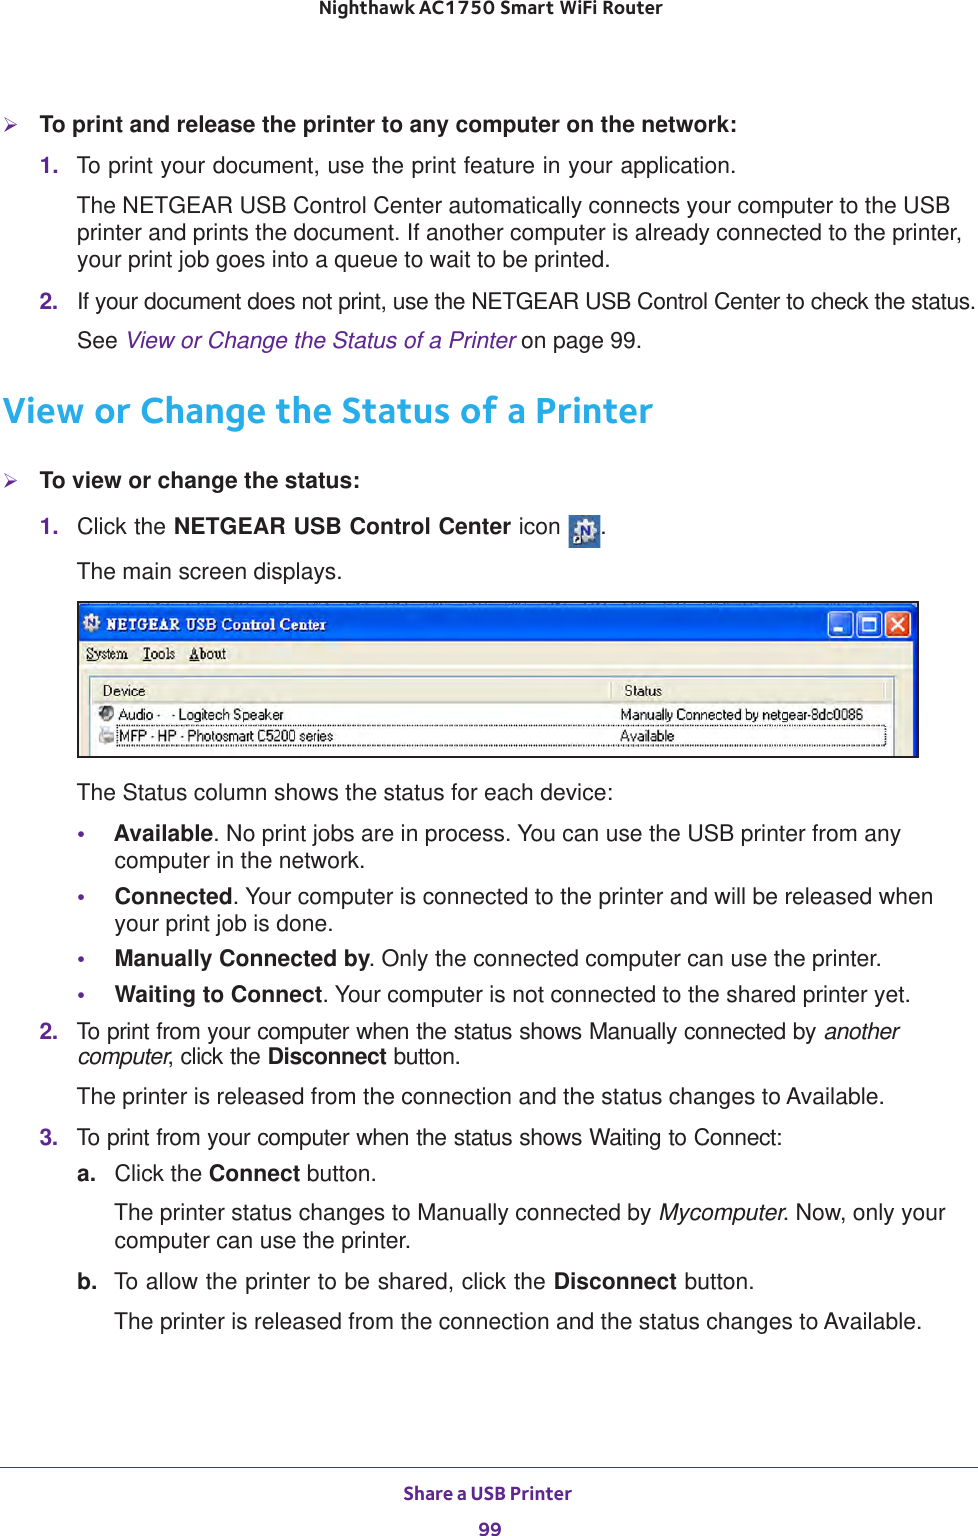
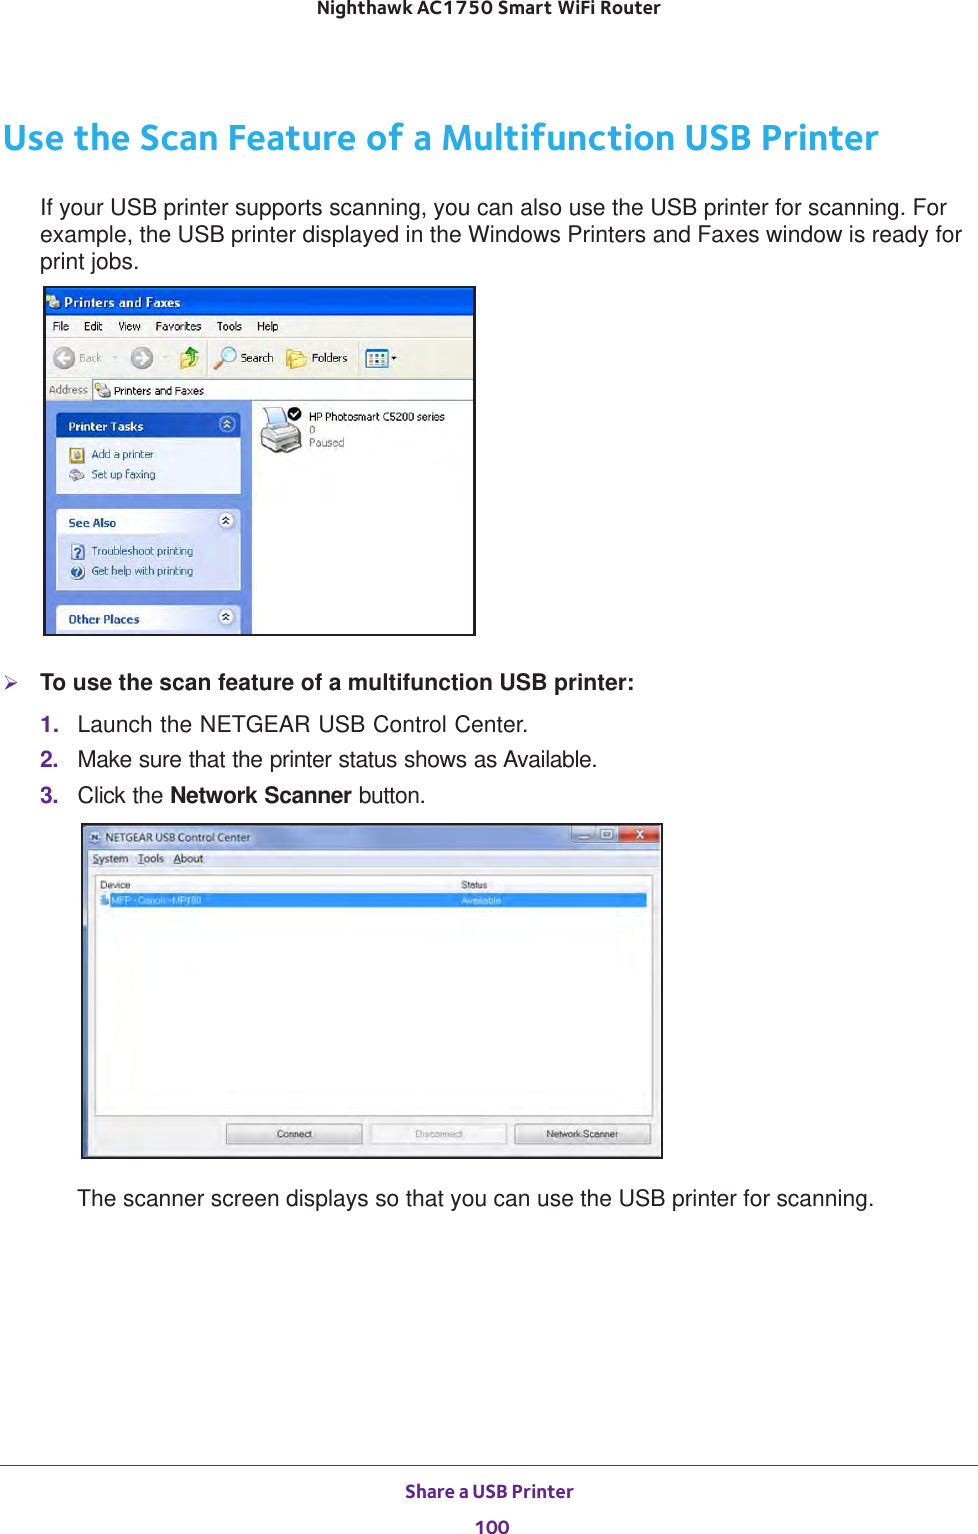
- 2. User Manual Part 2
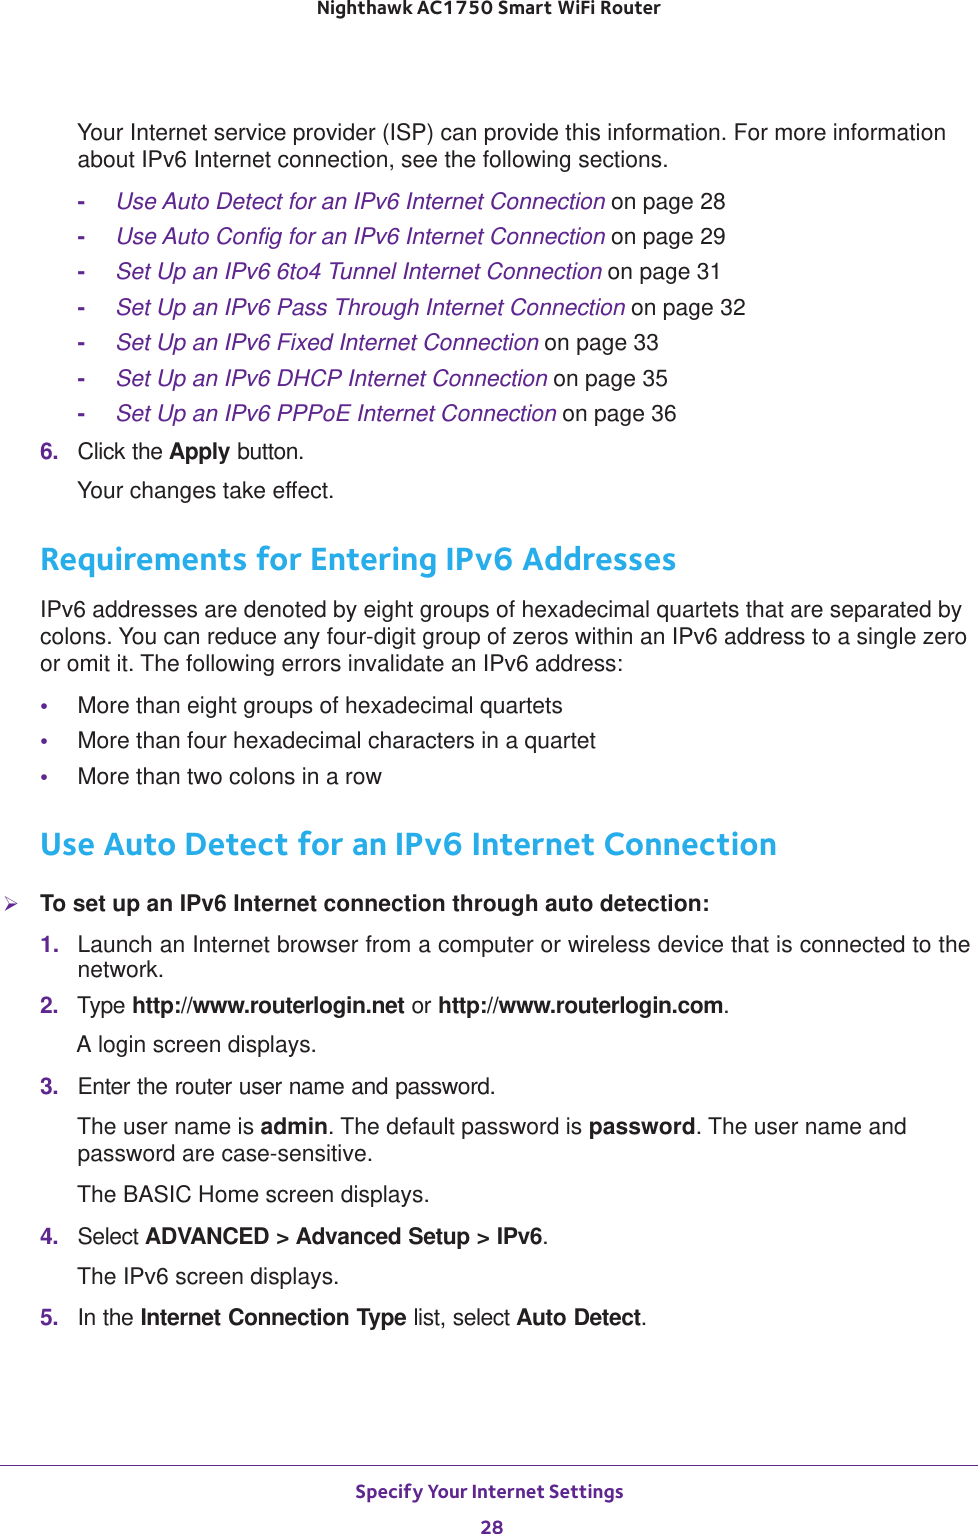
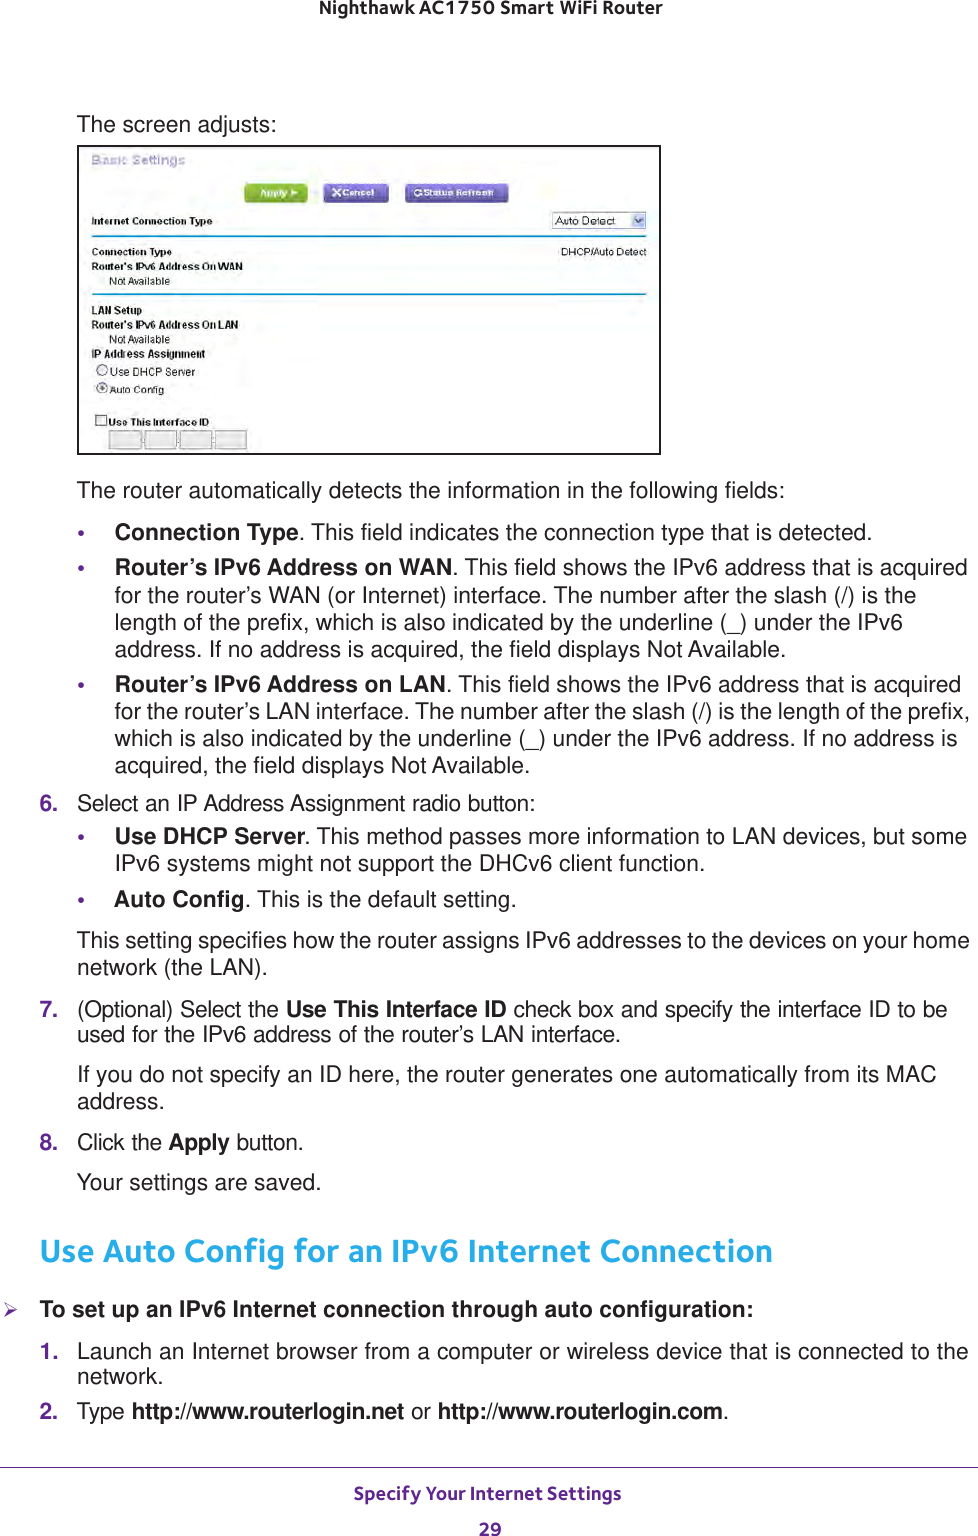
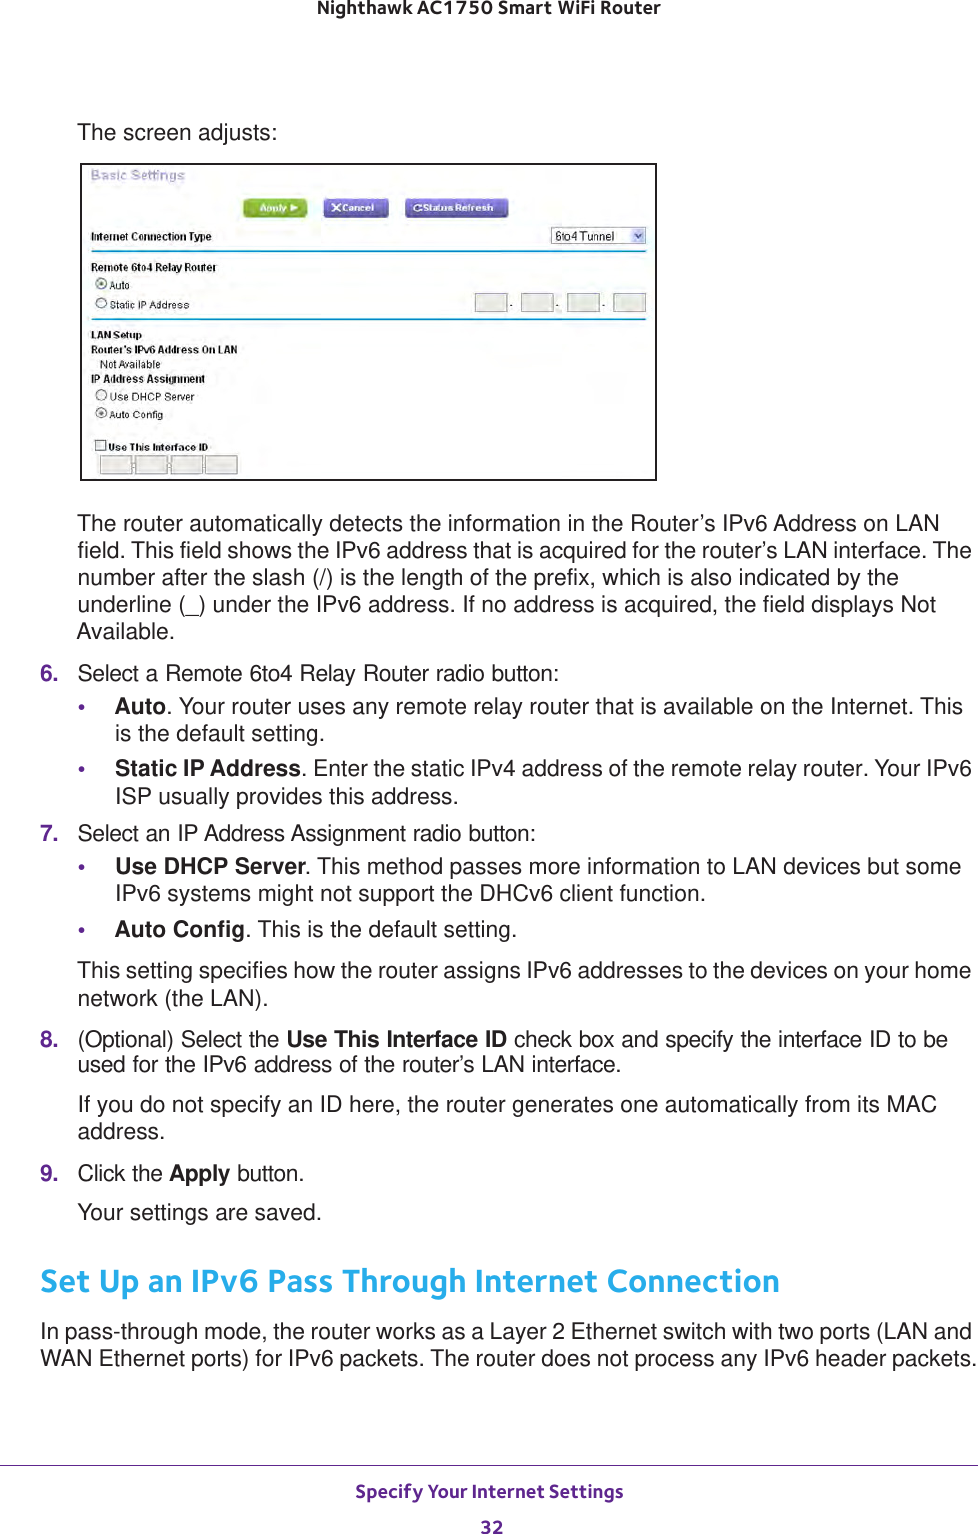
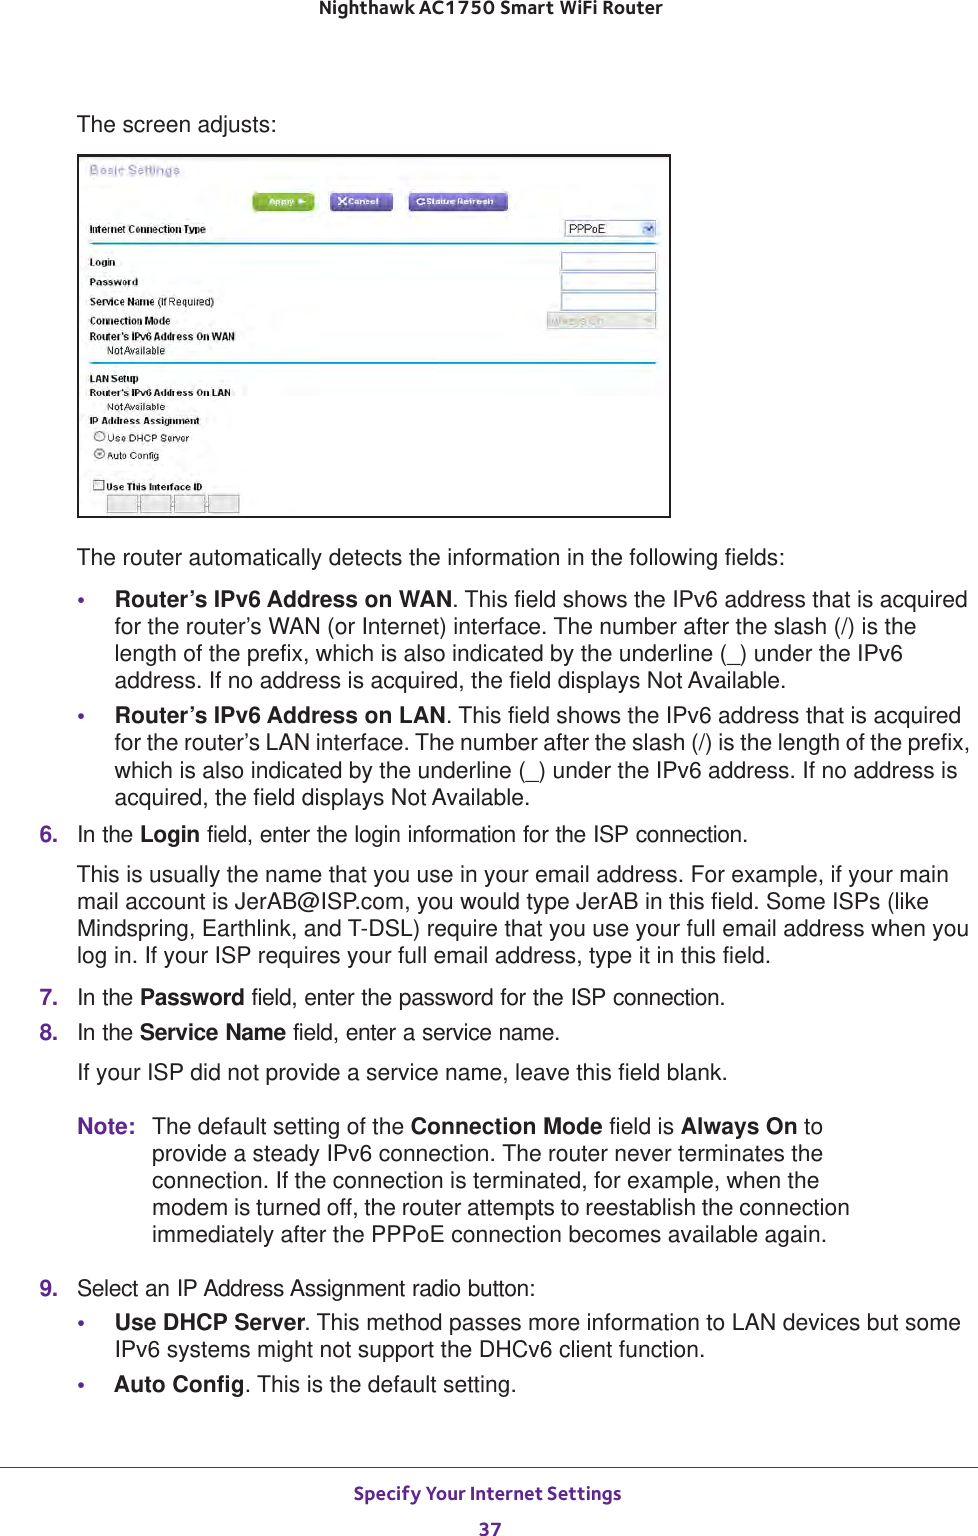
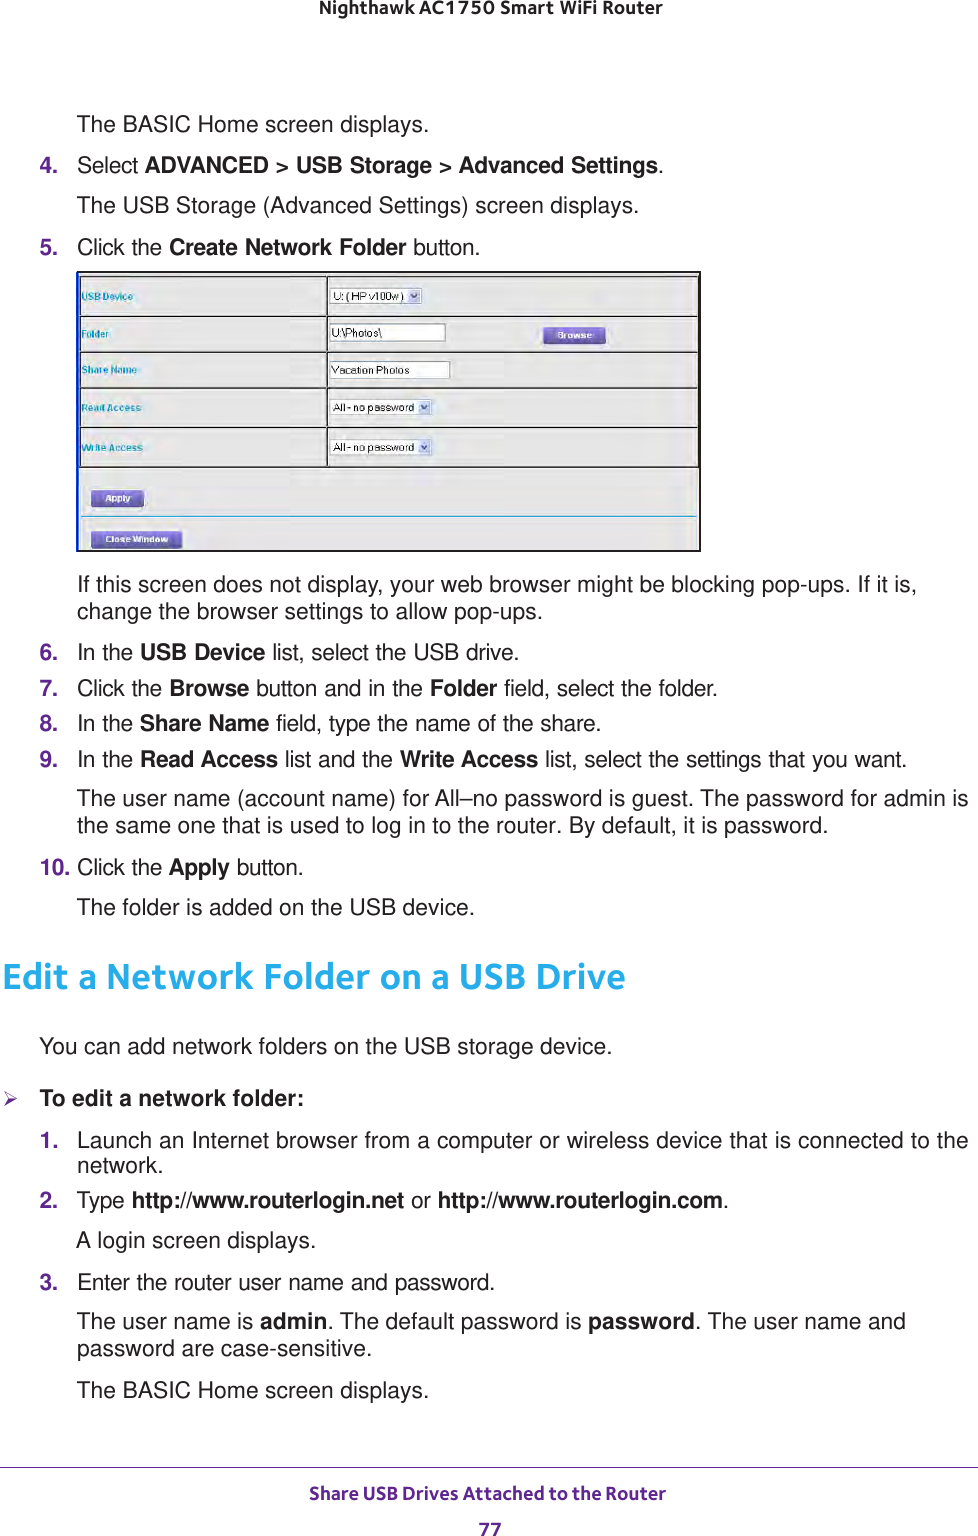
- 3. User Manual Part 1
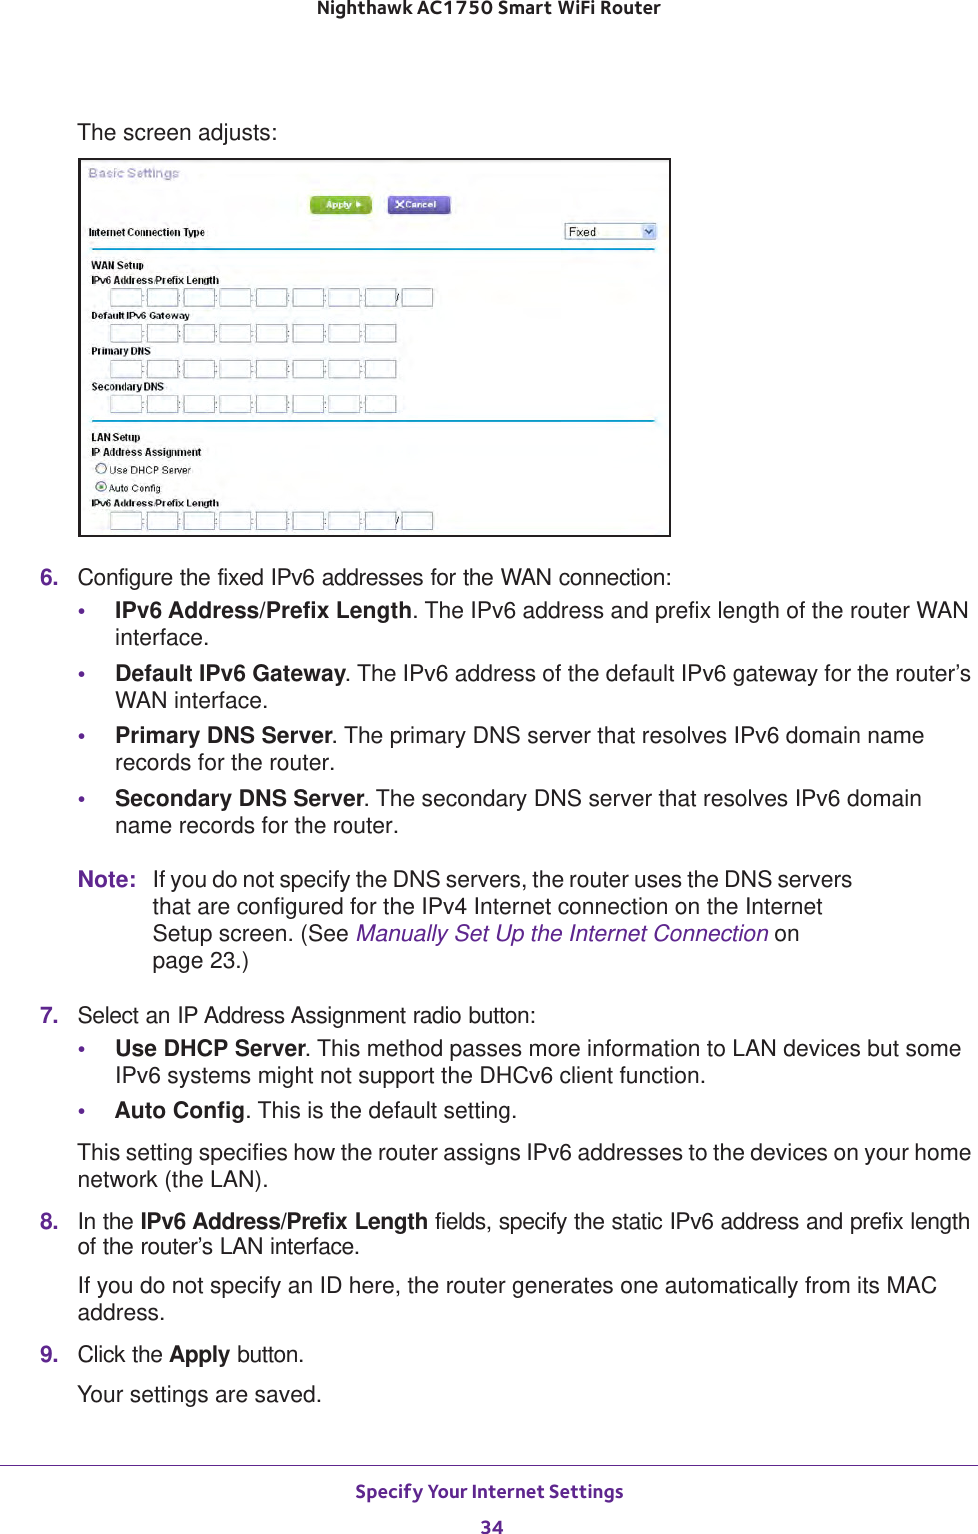
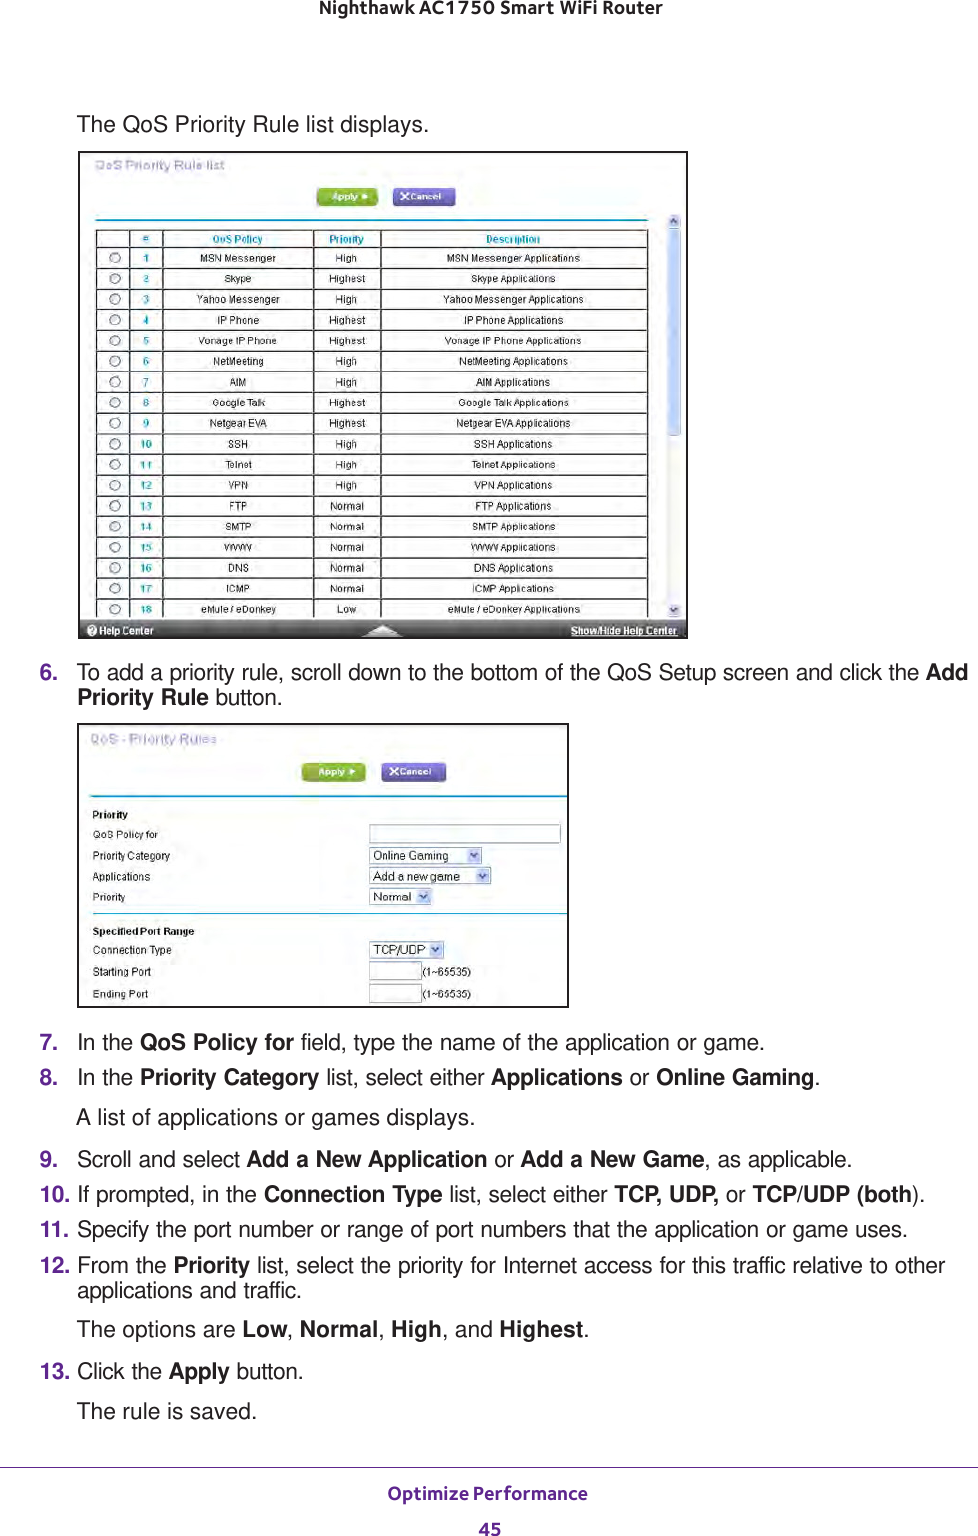
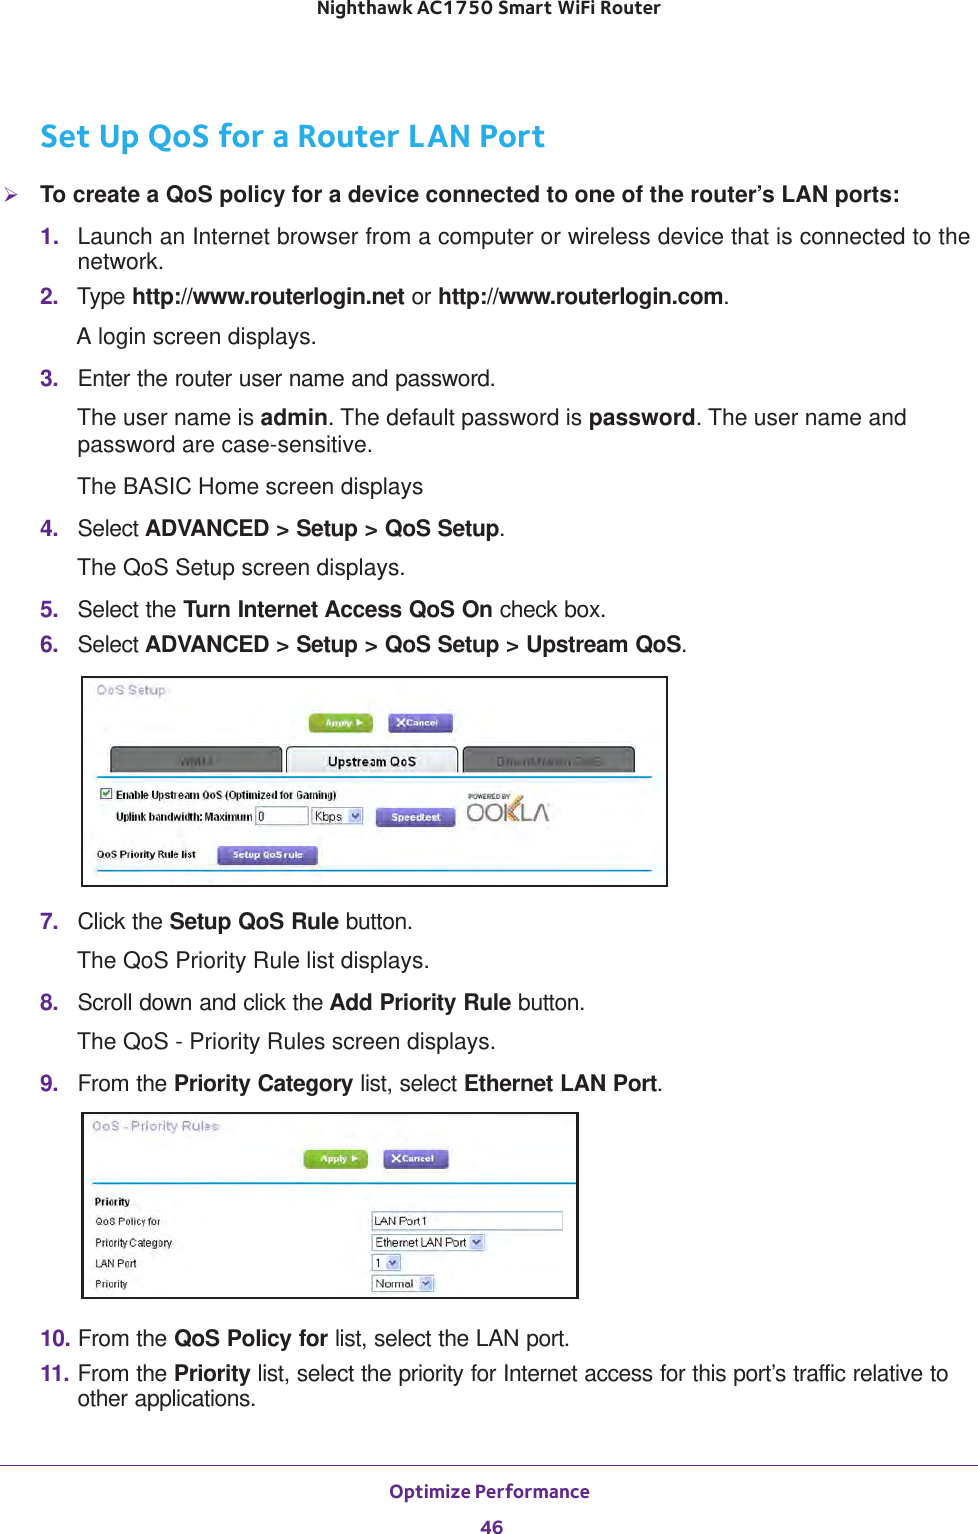
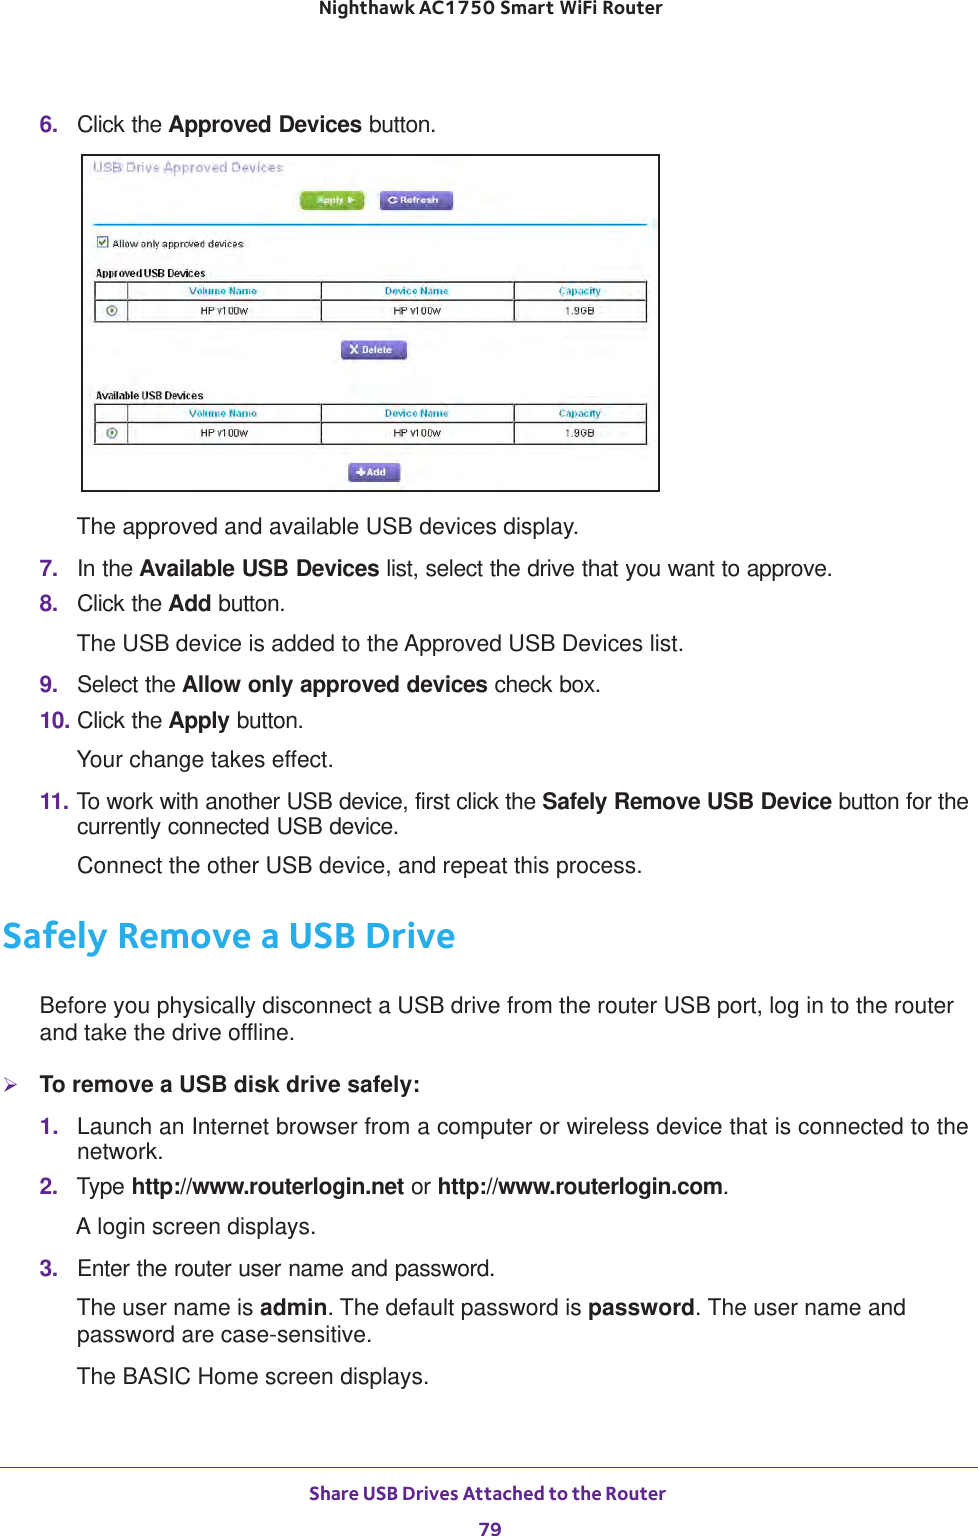
User Manual Part 1