Northfield Telecommunications d b a Advanced Wireless Communications 04032108 UHF Radio Transceiver User Manual Owners Manual
Northfield Telecommunications, Inc. d/b/a Advanced Wireless Communications UHF Radio Transceiver Owners Manual
Contents
- 1. Owners Manual
- 2. Revised User Manual
Owners Manual
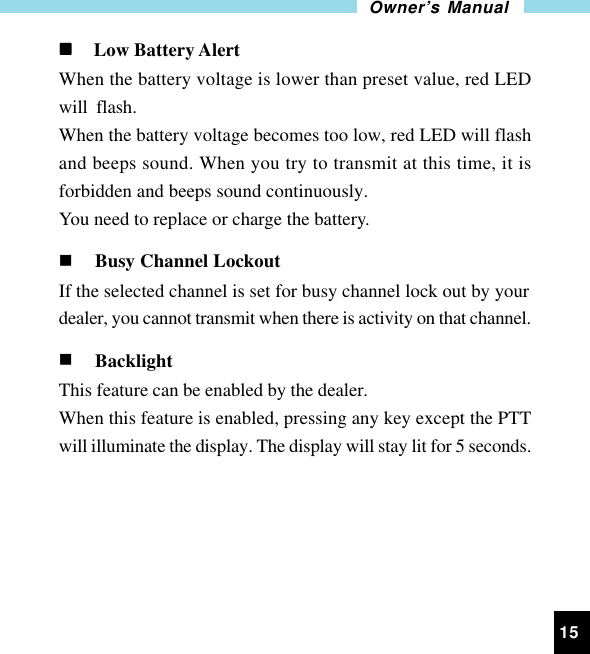
![11Owner’s Manualkey; radio skips the current channel and scans other se-lected channels in descending order.3. Press SCAN key again, scan stops.4. Adding or deleting a channel in/from the scan list. The dealercan add or delete a channel in/from the scan list. Only chan-nels in the scan list can be scanned.n Priority Channel ScanIf your dealer has set a priority channel, when radio scans non-priority channels, it will periodically sample the priority channel.If desired activity is detected on the priority channel, it willswitch to the priority channel for communications.n Scan Revert ChannelThe scan revert channel feature allows you to transmit on theproper channel while initiating a call during channel scan. Press[PTT] button, radio stops scanning and transmits on the revertchannel. This feature is set by the dealer.n Selectable CTCSS/CDCSSCTCSS/CDCSS feature is used to avoid receiving unwantedsignals on the same channel. When CTCSS/CDCSS is enabled,the radio only allows audio with the same CTCSS/CDCSS codeto activate the speaker. If CTCSS/CDCSS is disabled, the radiowill hear all calls on the same channel. When the dealer allowsCTCSS/CDCSS to be selectable by the end user, the operationsare as follows:Press the [UP] key while holding down the [MONI] key to enter](https://usermanual.wiki/Northfield-Telecommunications-d-b-a-Advanced-Wireless-Communications/04032108.Owners-Manual/User-Guide-342726-Page-20.png)
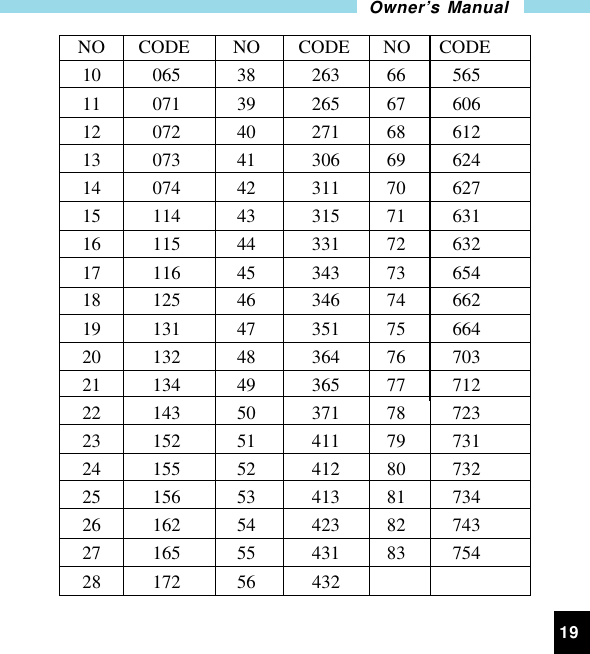
![12Industrial RadioCTCSS/CDCSS set mode.In this mode, press [UP] or [DOWN]to select CTCSS/CDCSS.Press [SCAN], LCD display toggles between OFF/CTCSS/CDCSS/-CDCSS:CTCSS/CDCSS OFF: 00 CTCSS: 01— 38 CDCSS: 01— 83-CDCSS: -01— -83OFF CTCSS CDCSS](https://usermanual.wiki/Northfield-Telecommunications-d-b-a-Advanced-Wireless-Communications/04032108.Owners-Manual/User-Guide-342726-Page-21.png)
![13Owner’s Manual -CDCSSPlease refer to CTCSS/CDCSS table.Press [UP] while holding down [MONI] to exit CTCSS/CDCSSmode.Note: Though CTCSS/CDCSS feature can prevent you fromreceiving unwanted signals, it doesn’t mean your calls areabsolutely private.n Selectable squelch levelIf this feature is enabled by the dealer, thenPress the [DOWN] key while holding down the [MONI] key toenter squelch level set mode. In this mode, press [UP]/[DOWN]to select the level 0—9.Press [PTT] or [MONI] or [SCAN] to exit the mode.n High/Low powerIf this feature is enabled by the dealer, thenWhile holding down [PTT], press [MONI] to toggle the powerof the current channel between high and low.When the power is low, “Lo” will be displayed on LCD.n Key lockThe key lock feature is designed to avoid accidental pressing ofkeys. If this feature is enabled by the dealer.](https://usermanual.wiki/Northfield-Telecommunications-d-b-a-Advanced-Wireless-Communications/04032108.Owners-Manual/User-Guide-342726-Page-22.png)
![14Industrial RadioThe operation procedures are as follows:1. Press [SCAN] while holding down [MONI] to lock keys. When keys are locked, [UP],[DOWN] and [SCAN] keys are inoperable, but [PTT] and [MONI] keys will still function.2. Press [SCAN] while holding down [MONI] to unlock keys.3. lock symbol appears on LCD: n Time Out Timer (TOT)Time Out Timer is to prevent user from transmitting on the samechannel for extended periods of time. This also protects the radiofrom damage caused by accidental transmissions.If transmission exceeds the preset time, (the TOT time can bepreset by the dealer), the radio will stop transmitting and returnto the receive mode. Alert beeps will sound to indicate the halt intransmission. Releasing the PTT button will cause the beepsstop.n Battery SaveWhile no activity is on channel and no operation is performed for5 seconds, the Battery Save feature will automatically be switchedon to reduce power consumption. When a signal is received or anoperation is performed, the Battery Save feature is automaticallyswitched off.](https://usermanual.wiki/Northfield-Telecommunications-d-b-a-Advanced-Wireless-Communications/04032108.Owners-Manual/User-Guide-342726-Page-23.png)