Palm 850 PDA Phone With GSM/GPRS/EDGE and Bluetooth User Manual 2 of 4
Palm Inc PDA Phone With GSM/GPRS/EDGE and Bluetooth 2 of 4
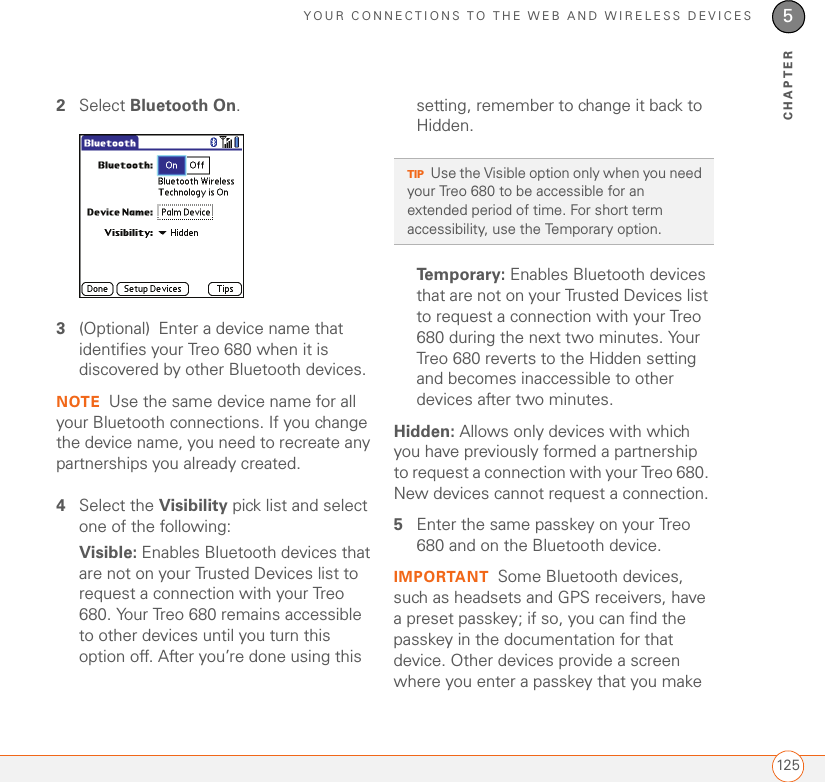
Palm >
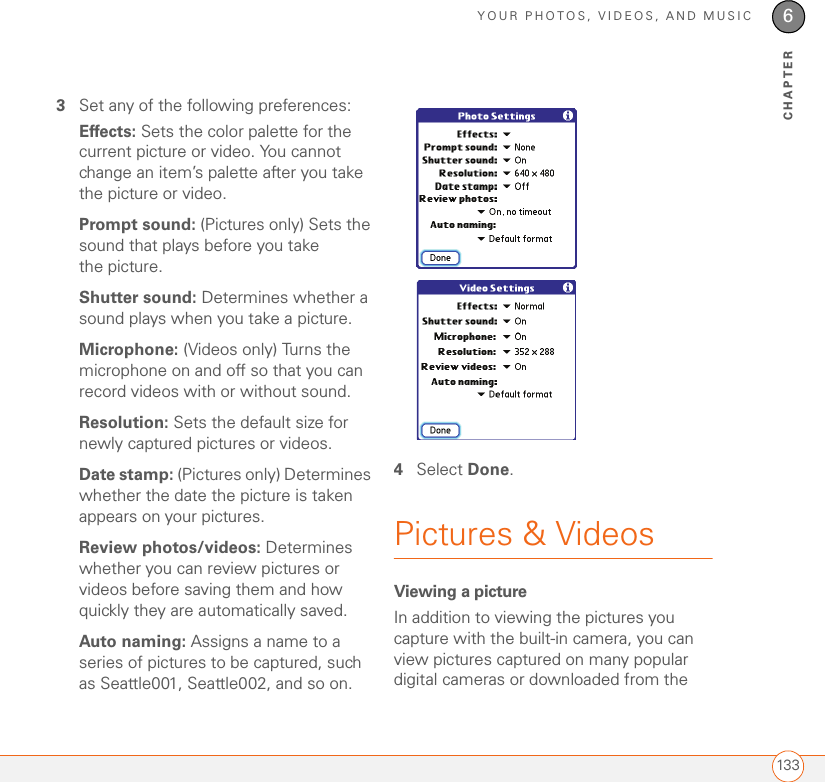
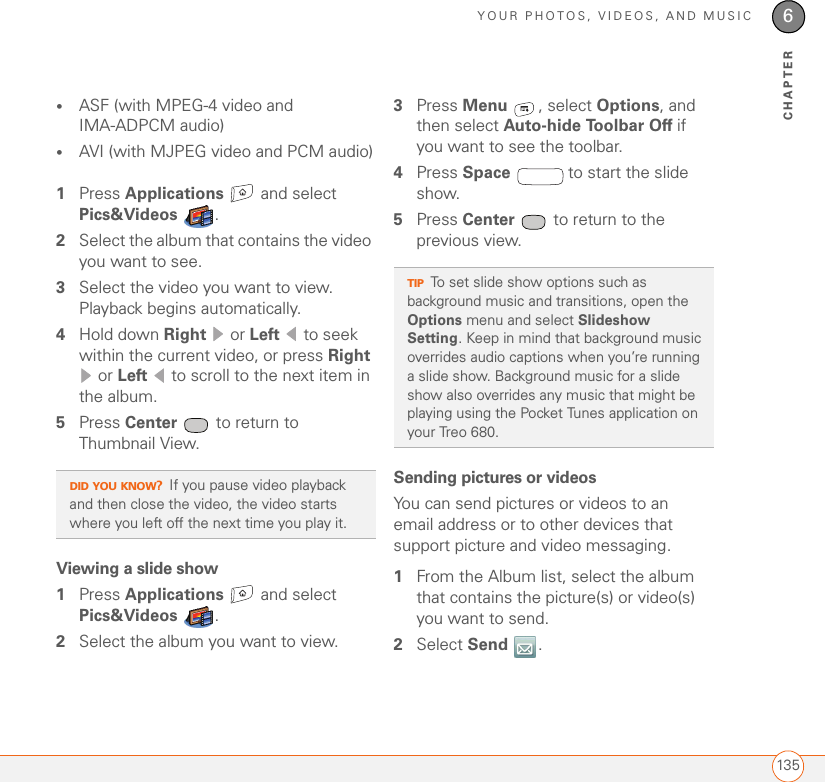
Contents
- 1. User Manual 1 of 4
- 2. User Manual 2 of 4
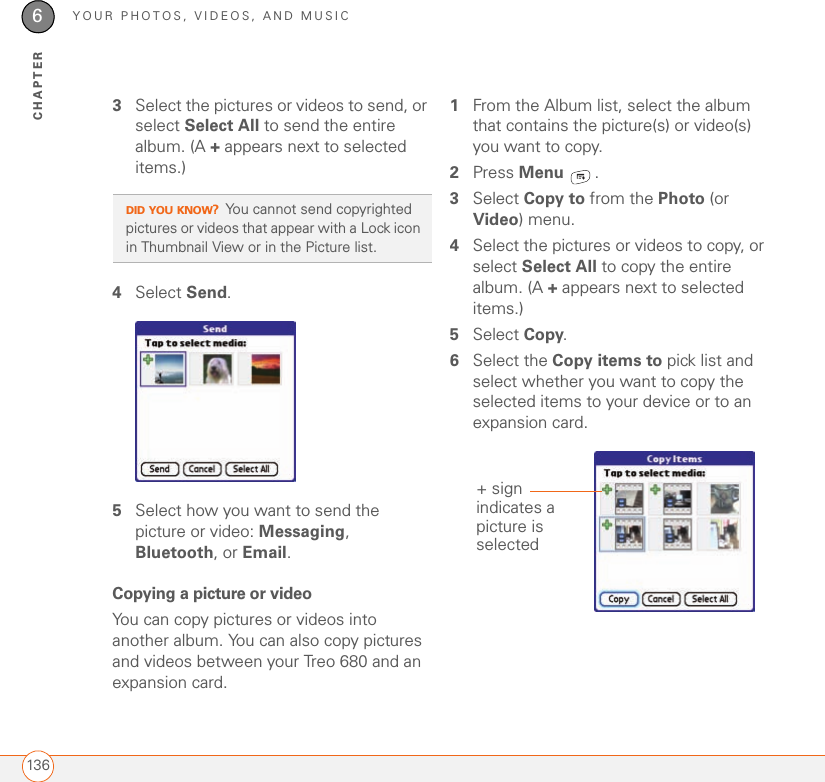
- 3. User Manual 3 of 4
- 4. User Manual 4 of 4
User Manual 2 of 4
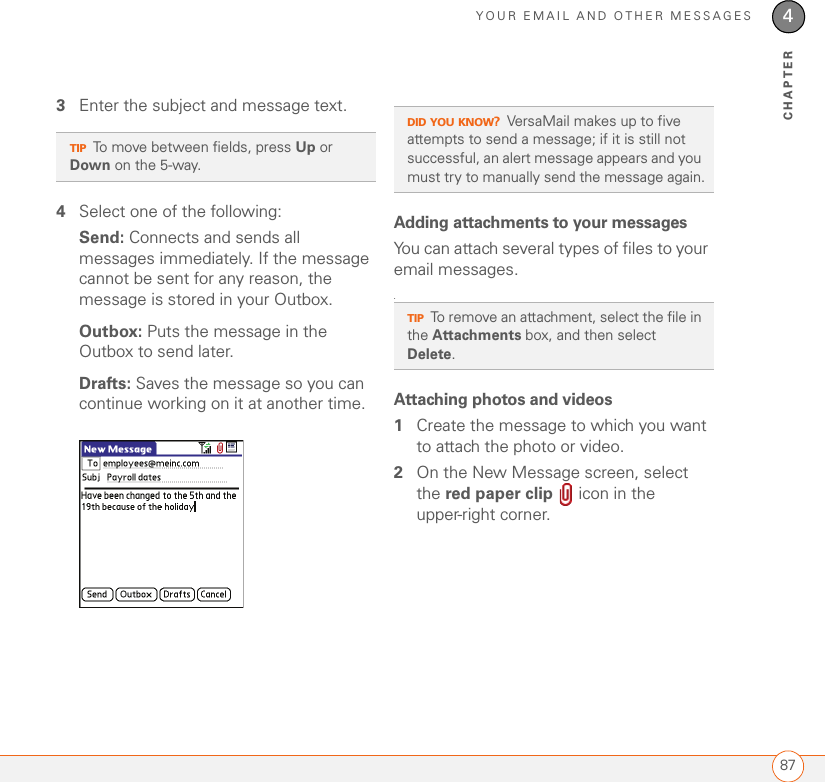
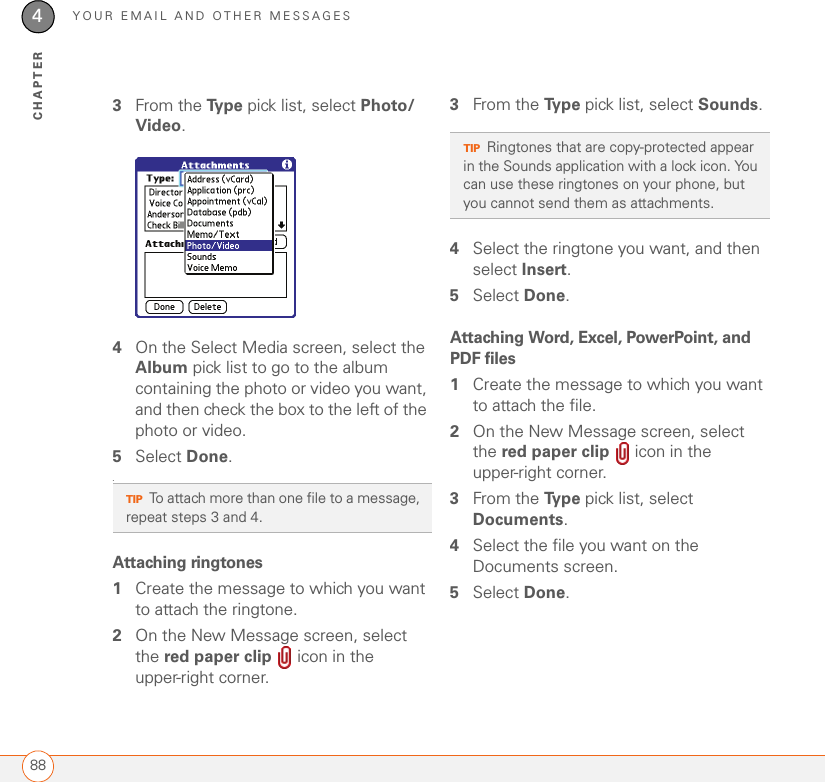
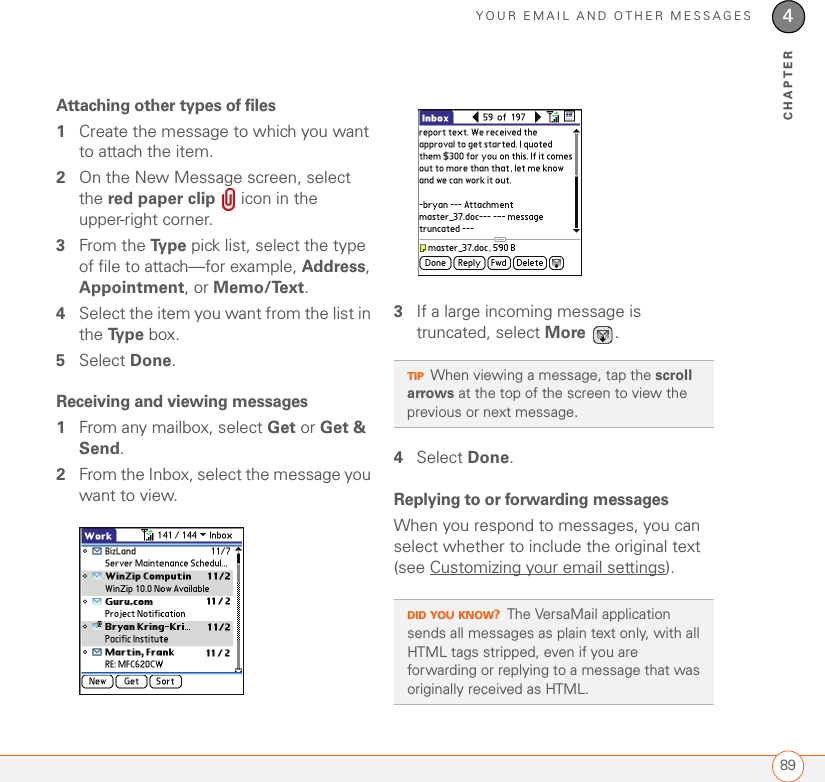
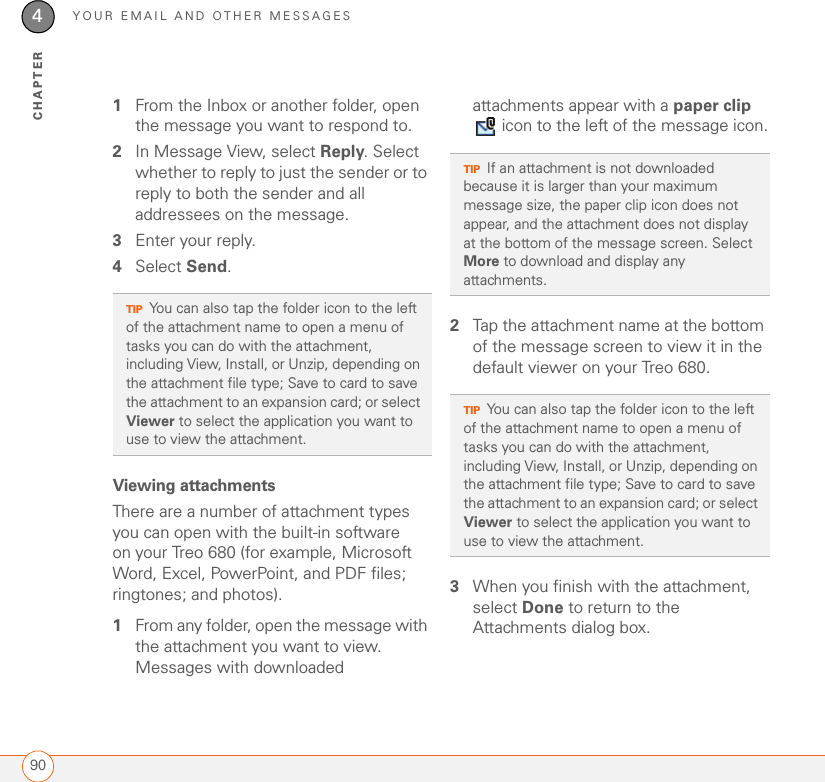

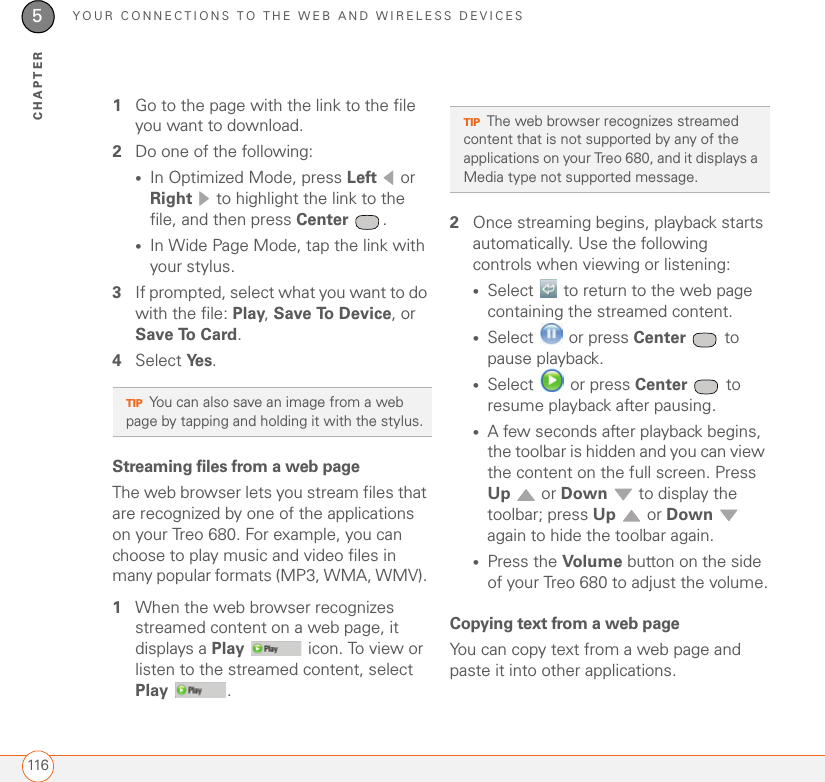
![YOUR EMAIL AND OTHER MESSAGES954CHAPTERDownload attachments: Automatically downloads files attached to email, except for attachments that exceed the maximum message size. Maximum message size: Sets the maximum size of an incoming email message. Enter the size in kilobytes (KB). The default is 5KB, but you can enter any size up to 2048KB [approximately 2 megabytes (MB)], including attachments. The maximum message size that you can retrieve is 60KB for the body text and approximately 5MB of total data for any attachments. Message Format: Sets the format for messages you retrieve. •HTML: Displays messages sent in HTML format with basic formatting intact and displays other messages as plain text. •Text: Displays all messages as plain text, regardless of the format in which they were sent.Attaching a signature to a messageYou can attach a personal signature, with info like your company’s address and phone numbers, to the bottom of all messages you send.1From any mailbox screen, press Menu .2Select Options, and then select Preferences.3Select Signature.4Check the Attach Signature box.5Enter your signature information, and then select OK.Working with Microsoft Exchange ActiveSyncMicrosoft Exchange ActiveSync works with the VersaMail, Calendar, and Contacts apps on your Treo 680 to directly access corporate groupware information on a Microsoft Exchange 2003 server. You can synchronize business email, calendar, and contact info with the Exchange 2003 server from your Treo 680 without using a desktop computer.](https://usermanual.wiki/Palm/850.User-Manual-2-of-4/User-Guide-726414-Page-21.png)