Palm CAGEMS GSM Cellphone with Bluetooth User Manual Using Your Treo 650 Smartphone by palmOne
Palm Inc GSM Cellphone with Bluetooth Using Your Treo 650 Smartphone by palmOne
Palm >
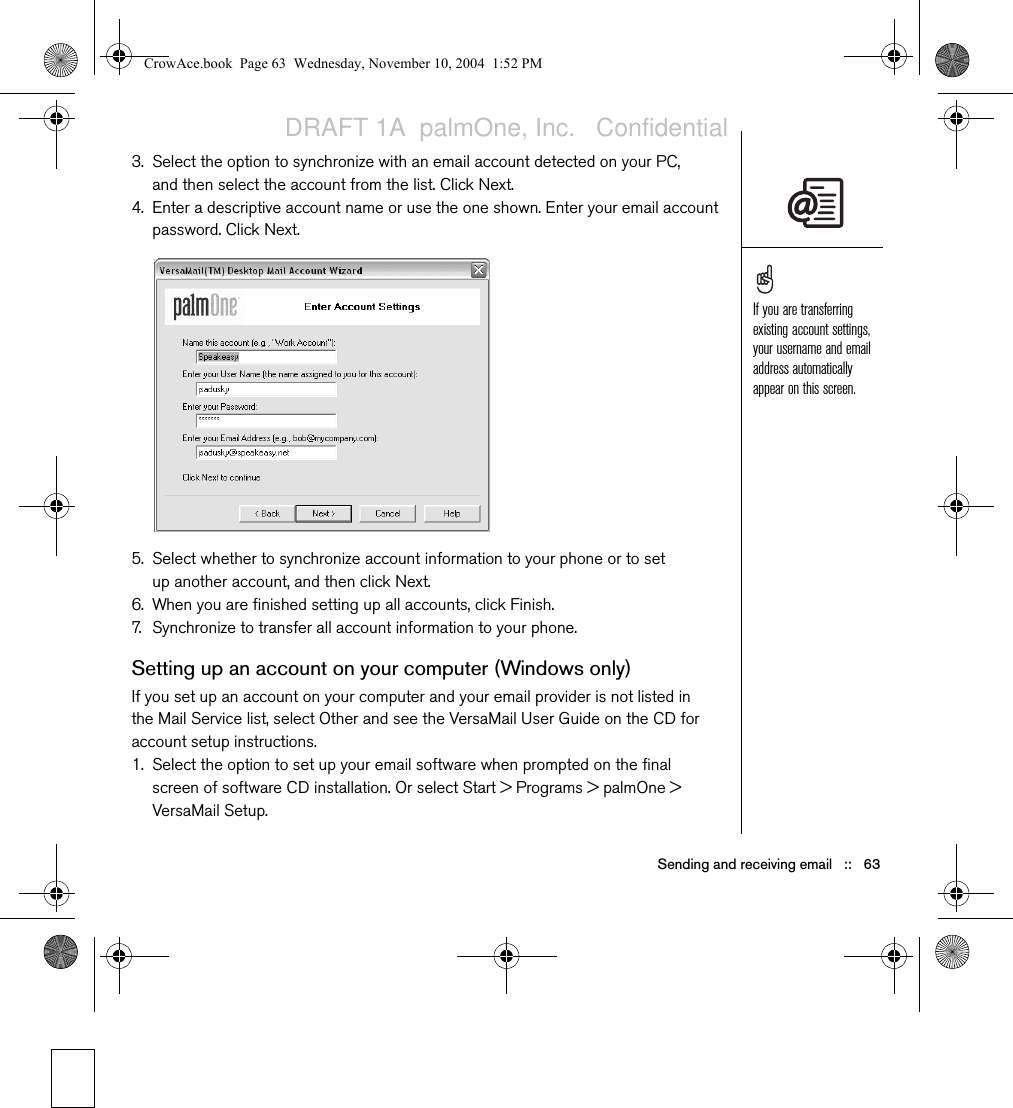
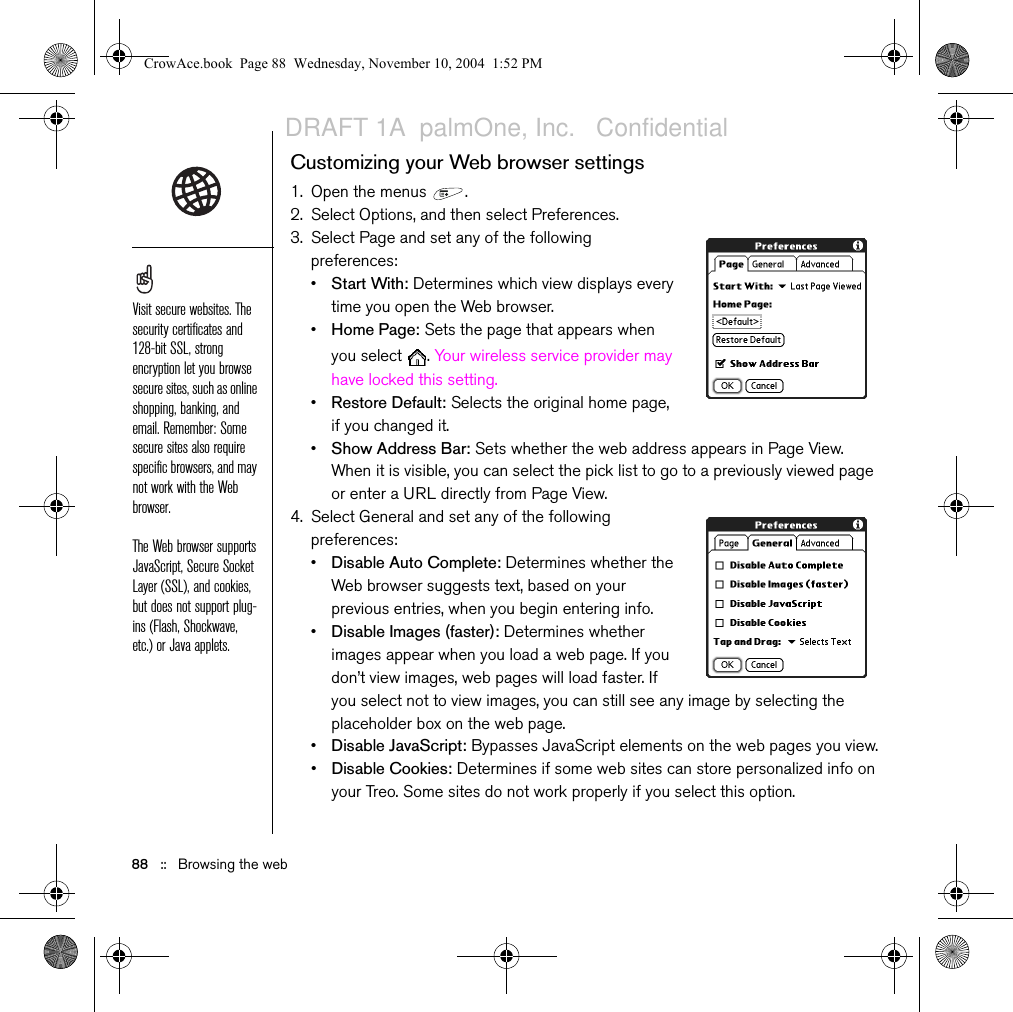
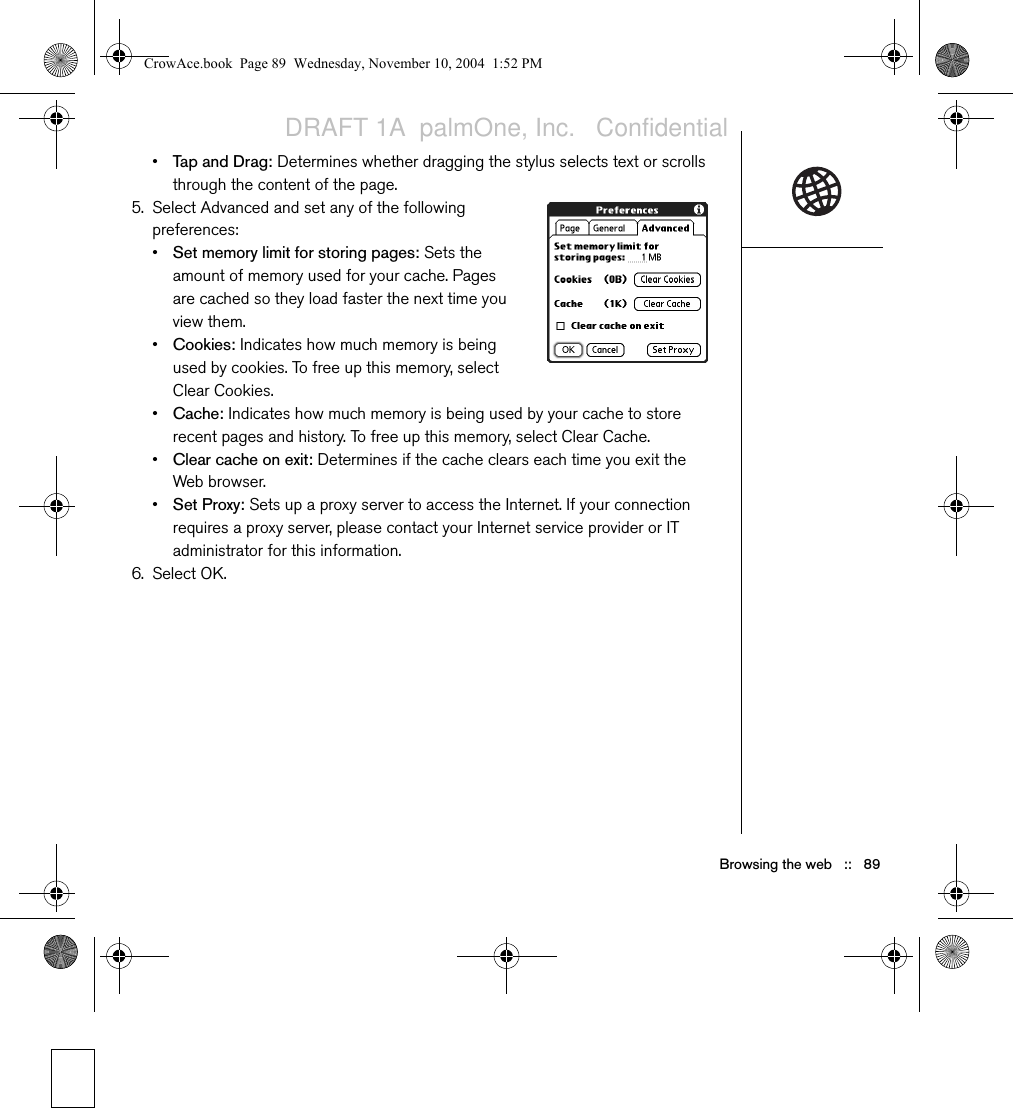
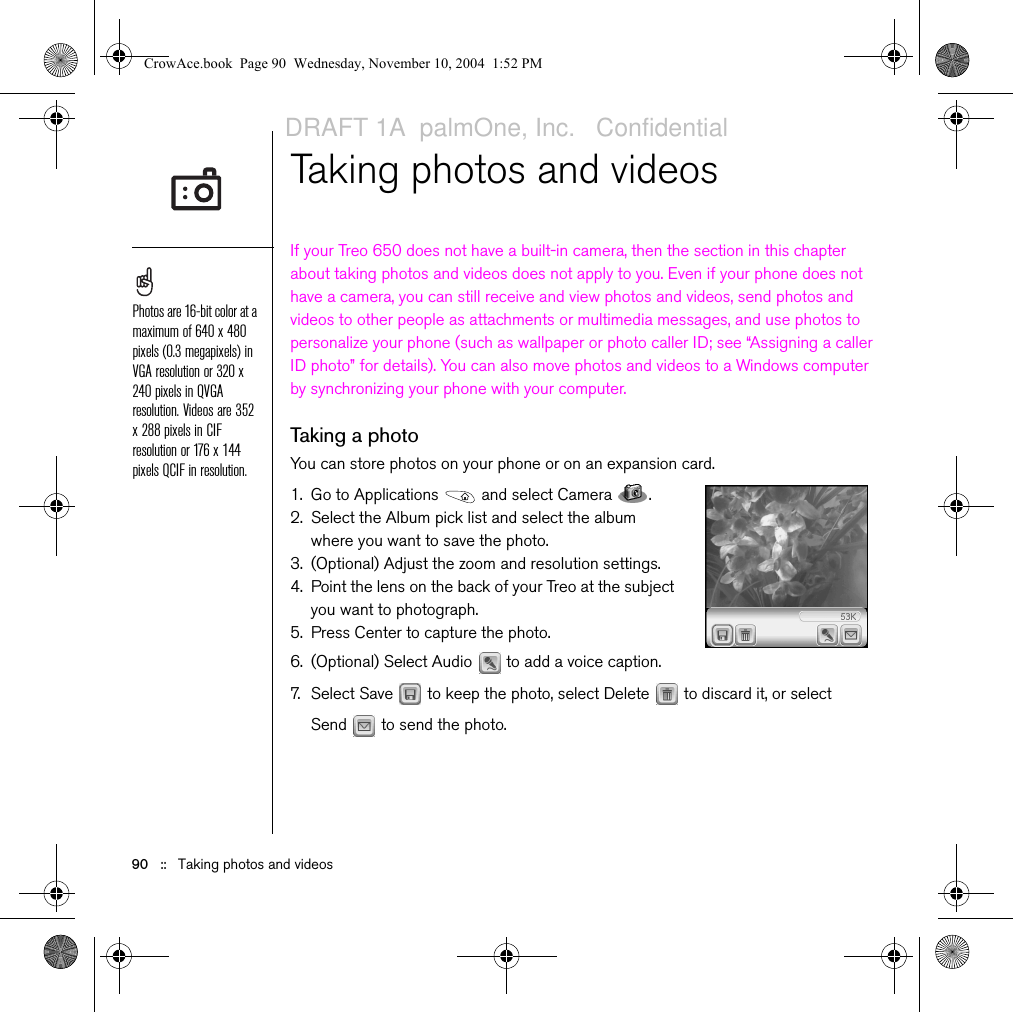
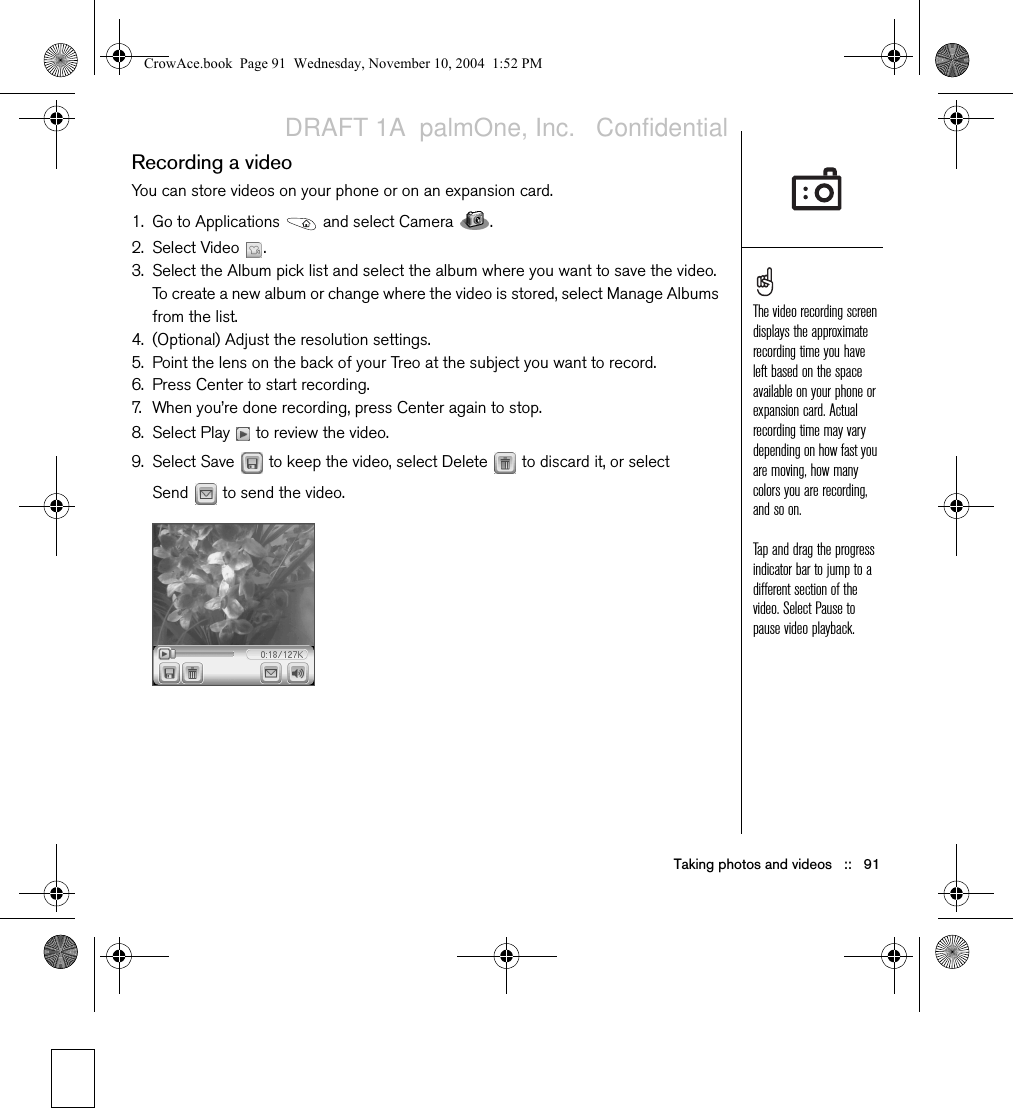
Contents
- 1. Users Manual
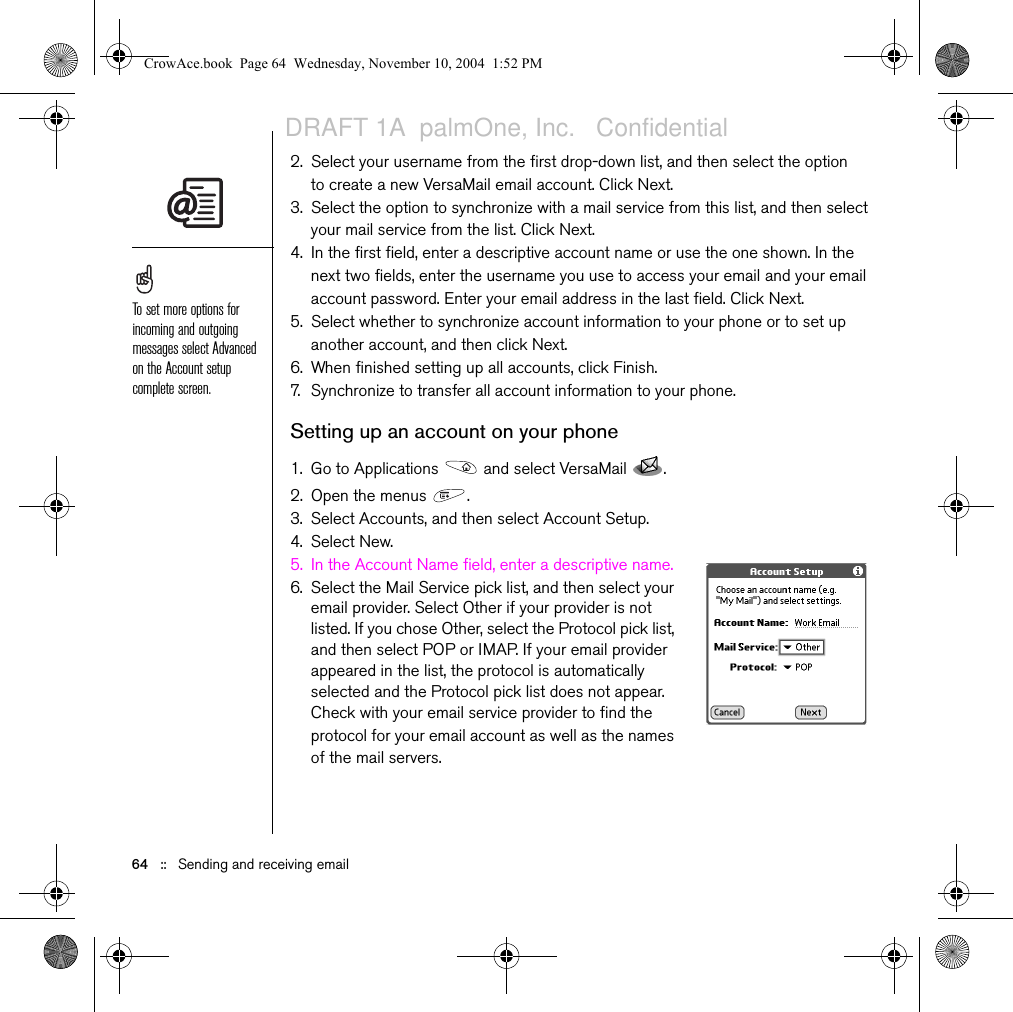
- 2. Users Manual Part 1 Revised 120104
- 3. Users Manual Part 2 Revised 120104
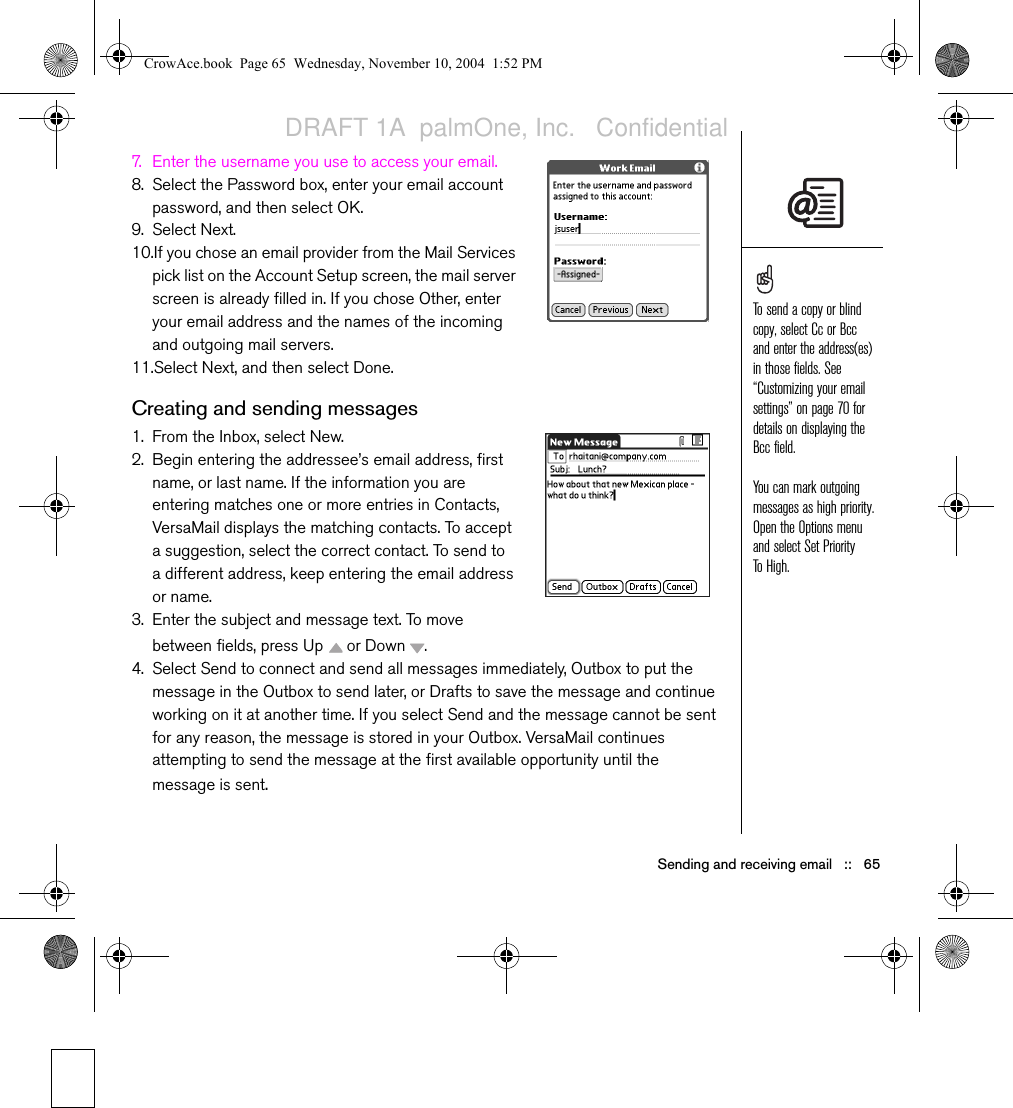
Users Manual Part 1 Revised 120104
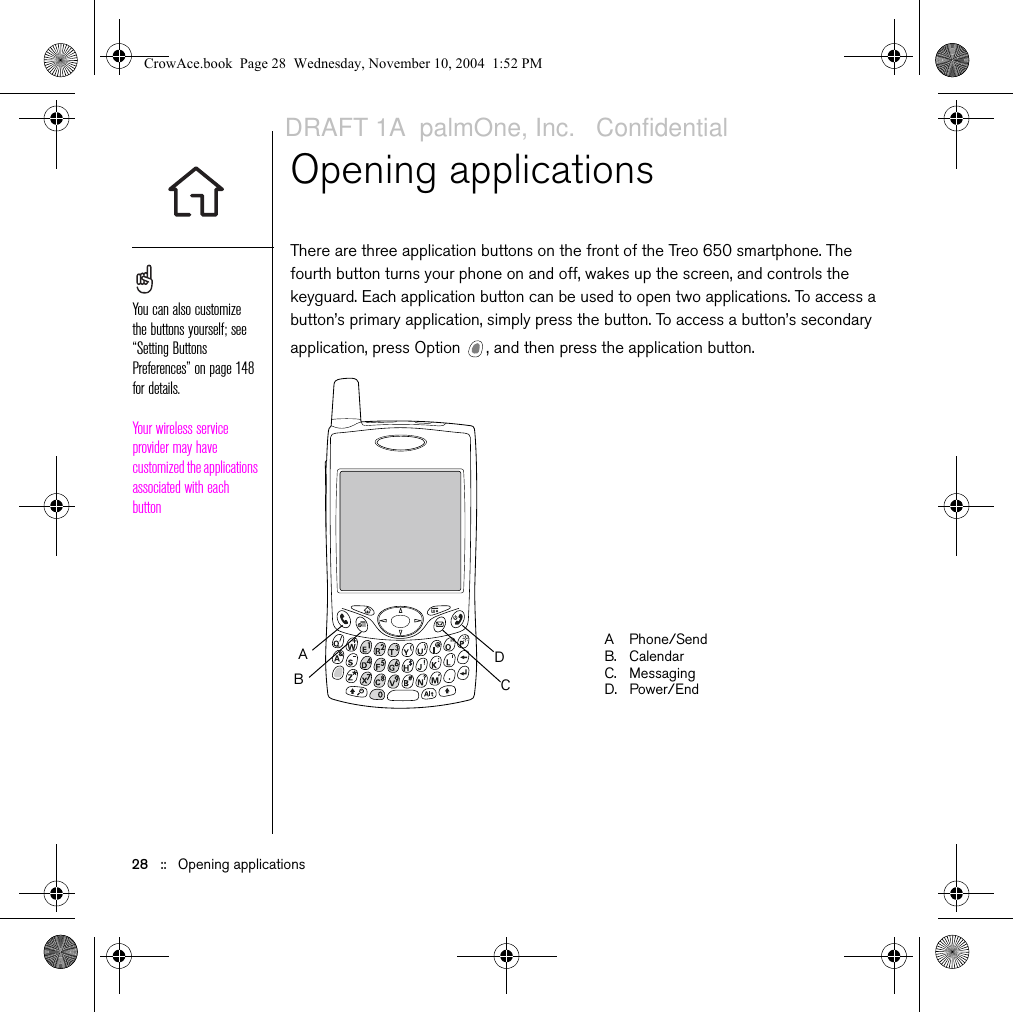
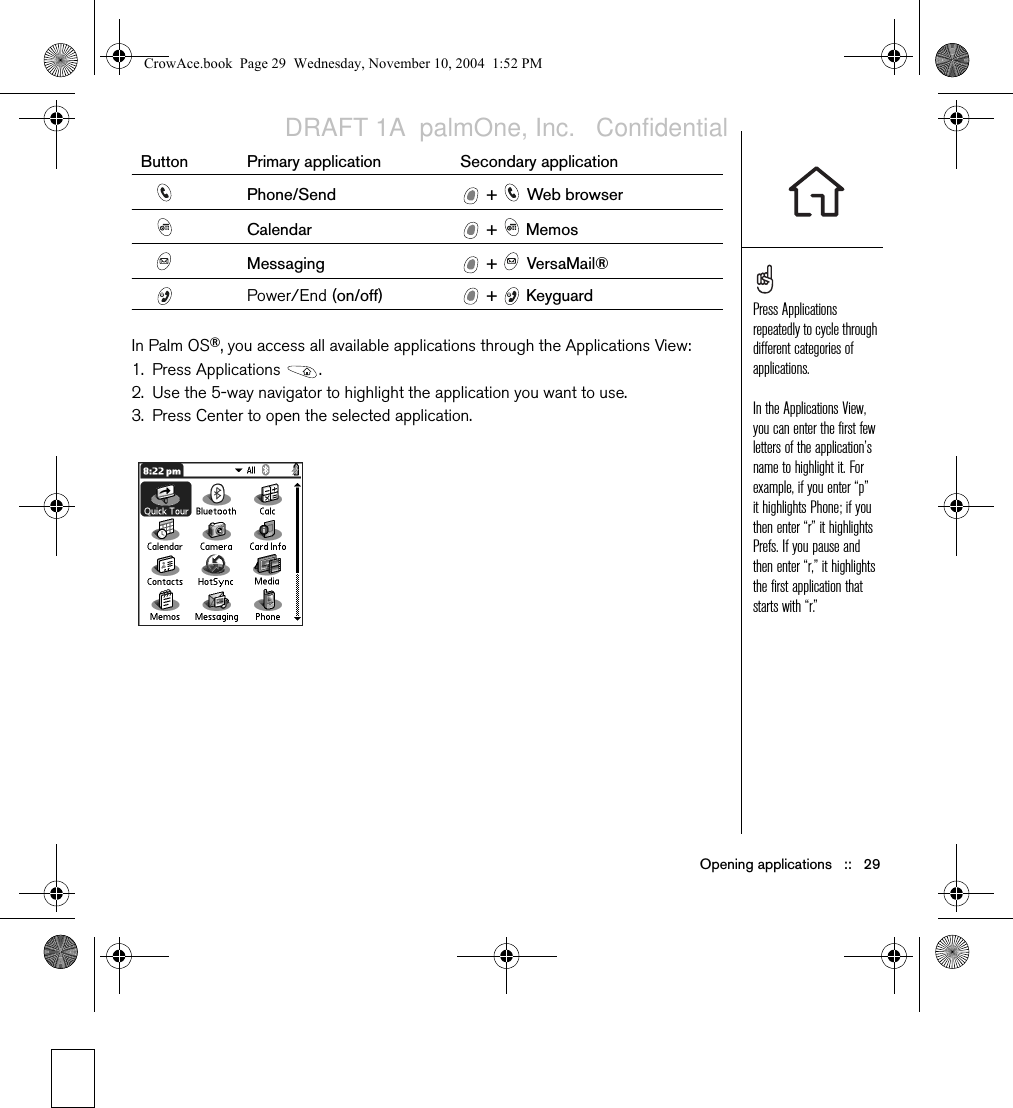
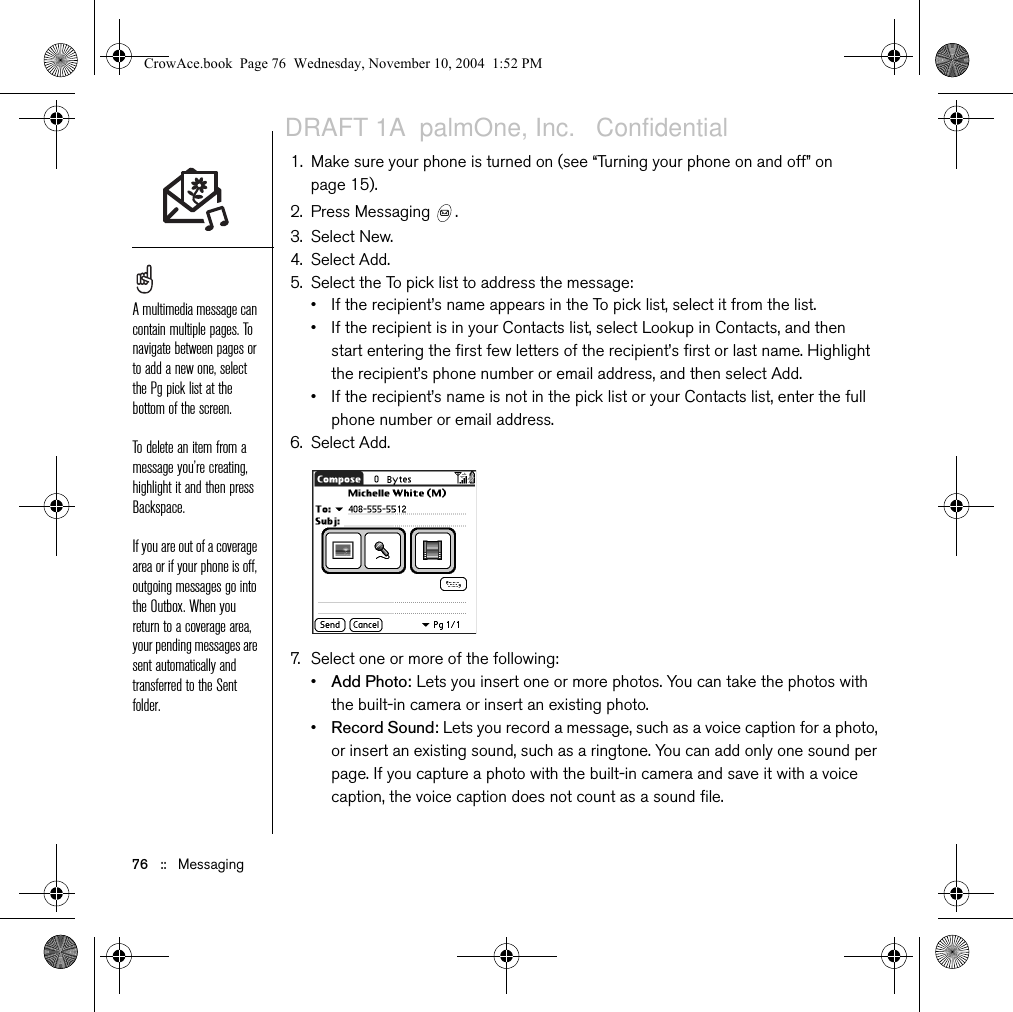
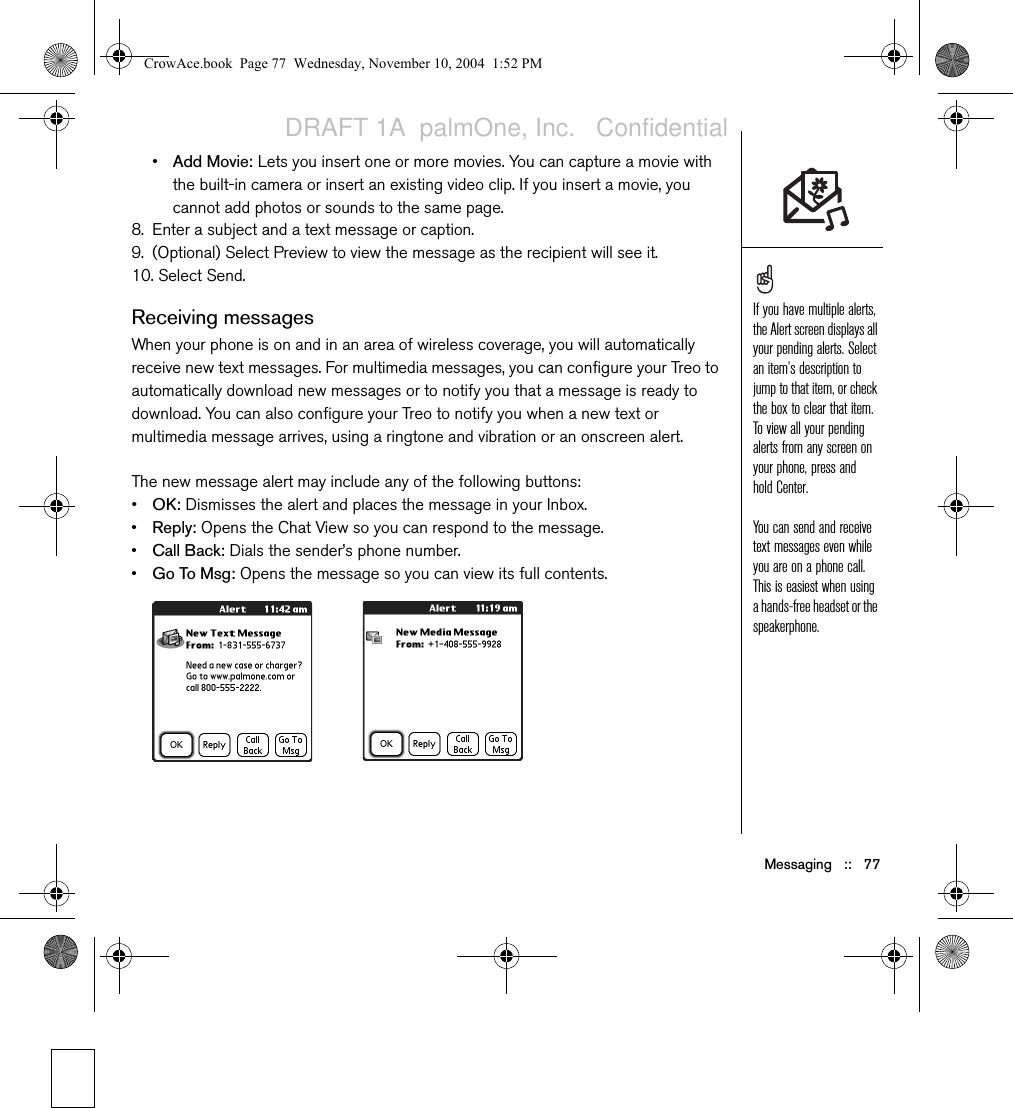
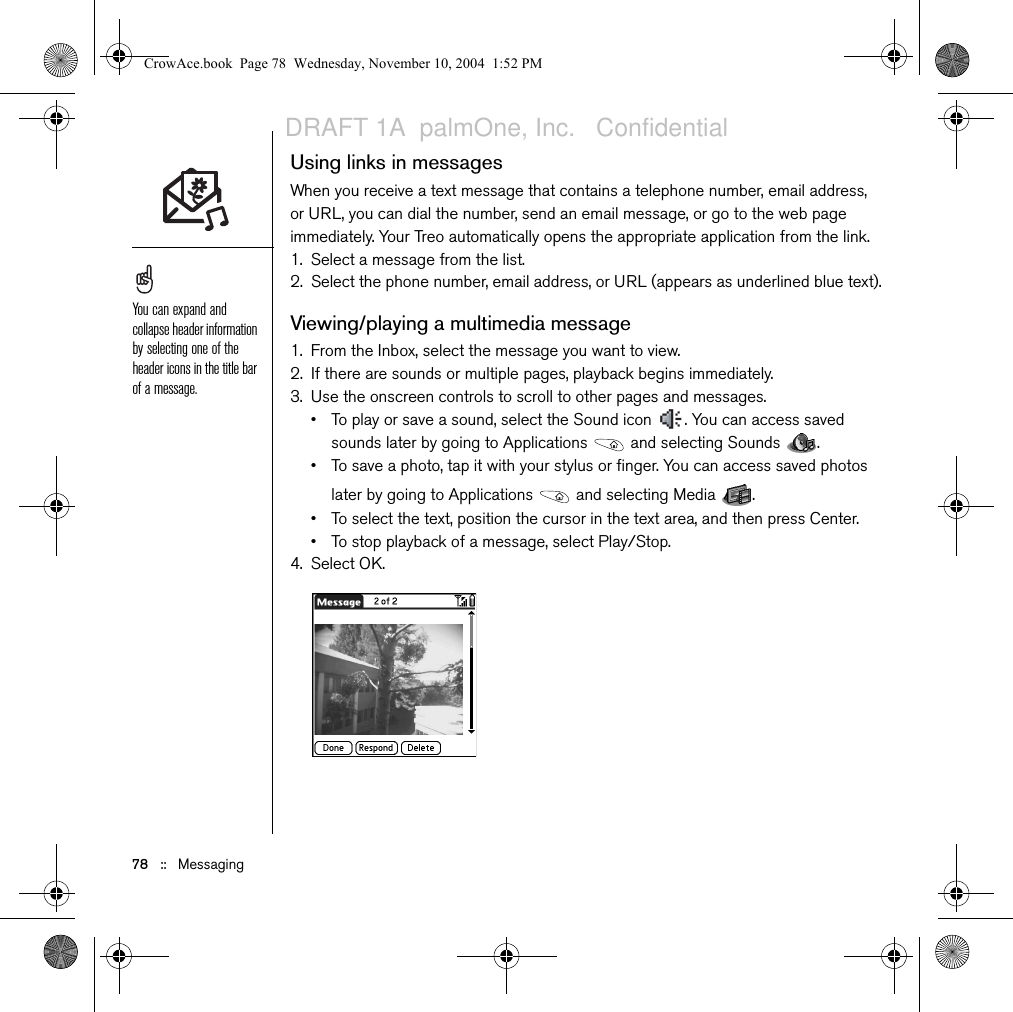
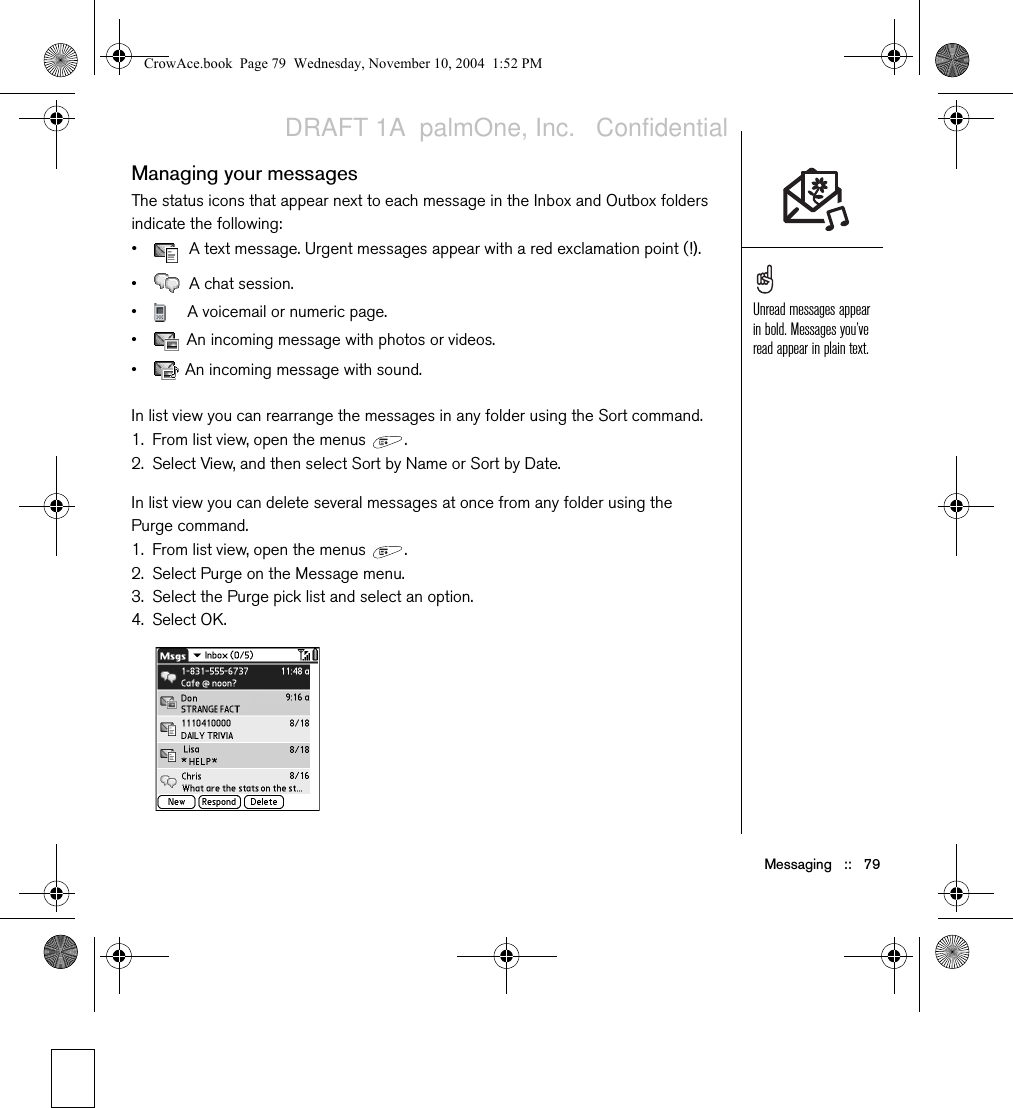
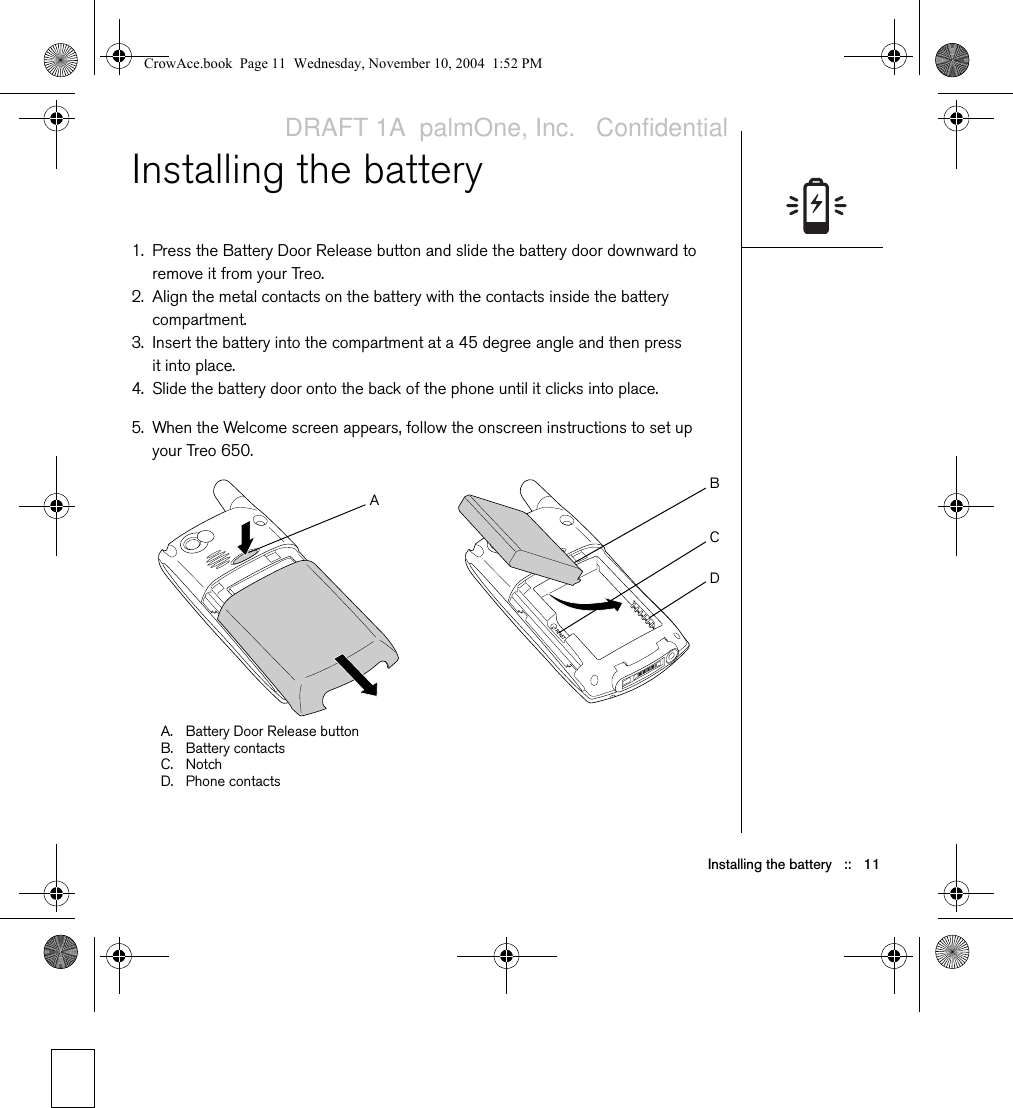
![Welcome :: 3WelcomeCongratulations on the purchase of your Treo™ 650 smartphone by palmOne. In one compact and indispensable device, you now have all of the following:• An advanced mobile phone*• A Palm Powered™ organizer with portable expansion capability (MultiMediaCard/Secure Digital/Secure Digital input/output [SD/SDIO])• Email**• Web browsing**• Text* and multimedia** messaging•A digital camera**** Requires service contract with your wireless service provider.** Requires service contract and GPRS or EDGE high-speed data service from your wireless ser-vice provider.***There are two models of Treo 650: One model has a built-in camera and the other model does not have a camera. The packaging for your Treo 650 identifies if a camera is included.This guide will help you set up your Treo 650 smartphone and quickly learn to use it. LOOK HERE: Don’t miss the helpful tips and cross-references given in this column.CrowAce.book Page 3 Wednesday, November 10, 2004 1:52 PMDRAFT 1A palmOne, Inc. Confidential](https://usermanual.wiki/Palm/CAGEMS.Users-Manual-Part-1-Revised-120104/User-Guide-493228-Page-5.png)


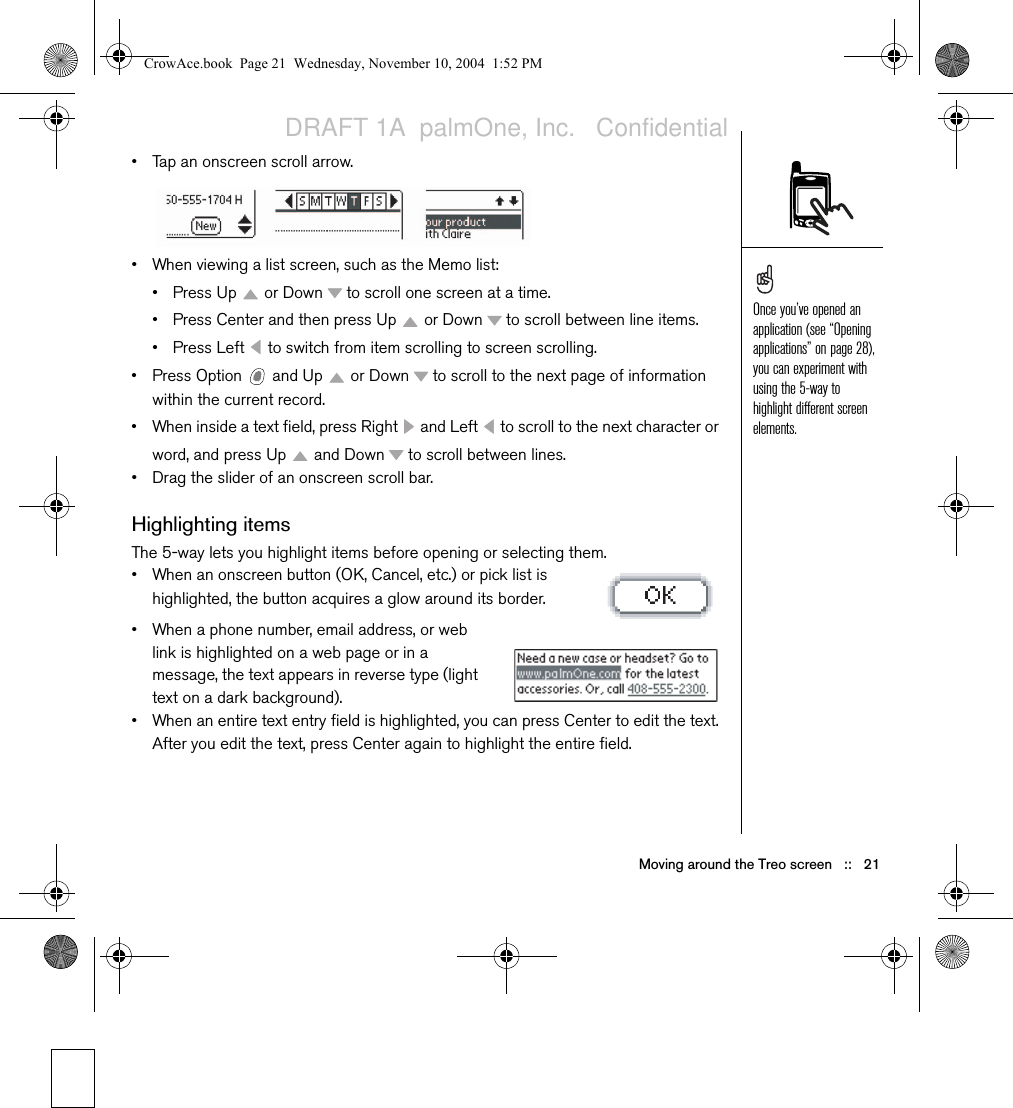
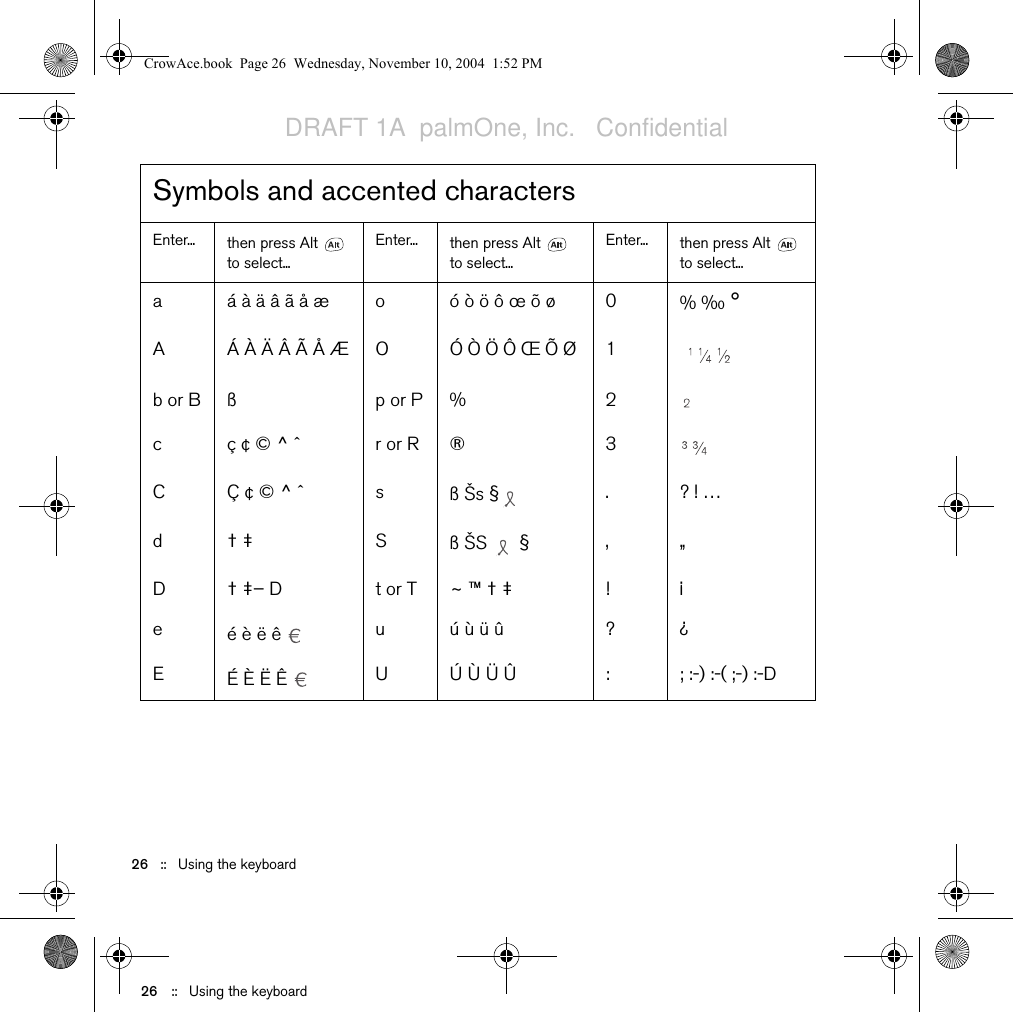
![27 :: Using the keyboardUsing the keyboard :: 27f or F ƒ x or X x ' ‘ ’ < > ~ `i í ì ï î y ÿ ¥ "“ ” « »I Í Ì Ï Î Y Ÿ ¥$ £ ¥ ¢l or L £ + &m or Mµ - _ ~ • = – —nñ /% \ ÷ | NÑ #=(< [ { ‹)> ] } ›Symbols and accented charactersEnter... then press Alt to select...Enter... then press Alt to select...Enter... then press Alt to select...CrowAce.book Page 27 Wednesday, November 10, 2004 1:52 PMDRAFT 1A palmOne, Inc. Confidential](https://usermanual.wiki/Palm/CAGEMS.Users-Manual-Part-1-Revised-120104/User-Guide-493228-Page-29.png)