Palm CAGEMS GSM Cellphone with Bluetooth User Manual Using Your Treo 650 Smartphone by palmOne
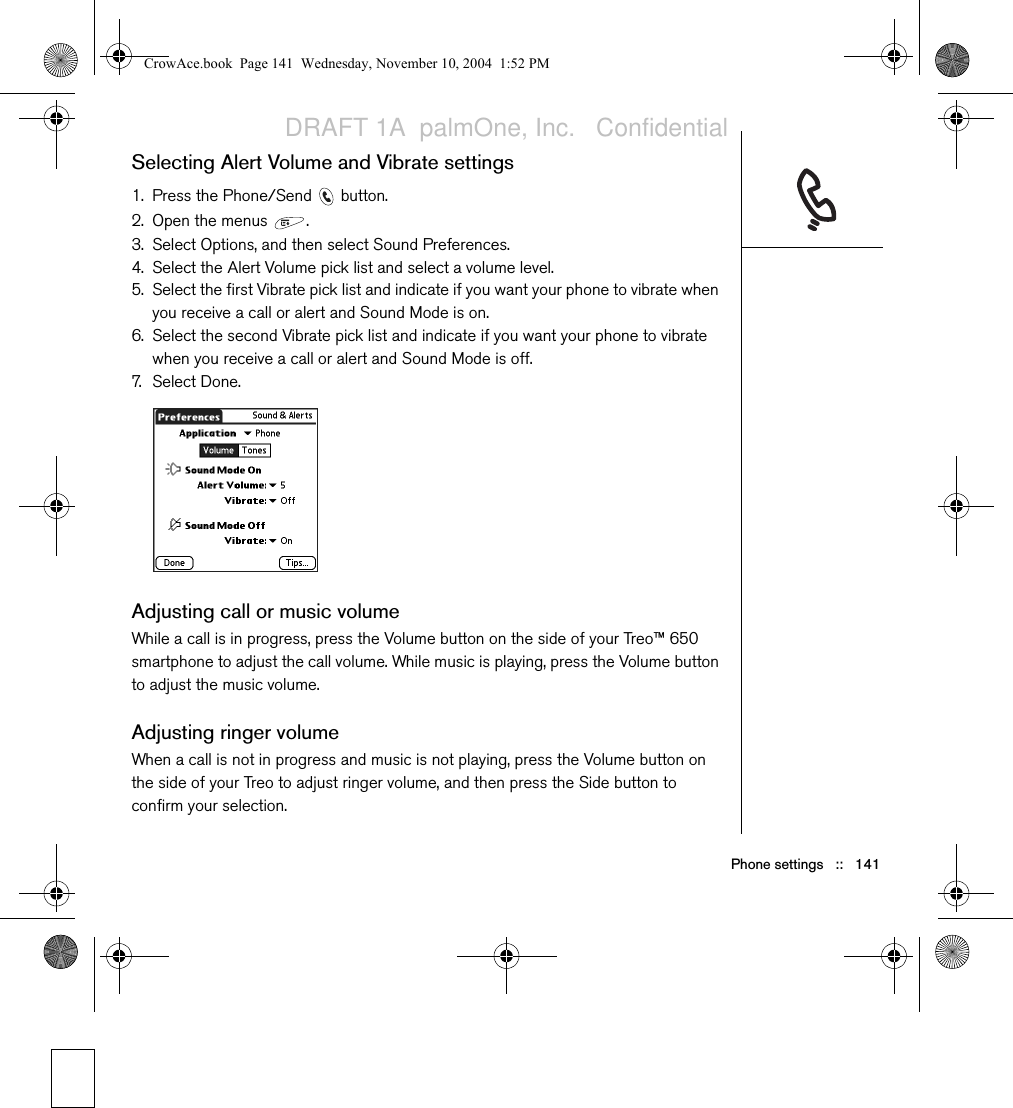
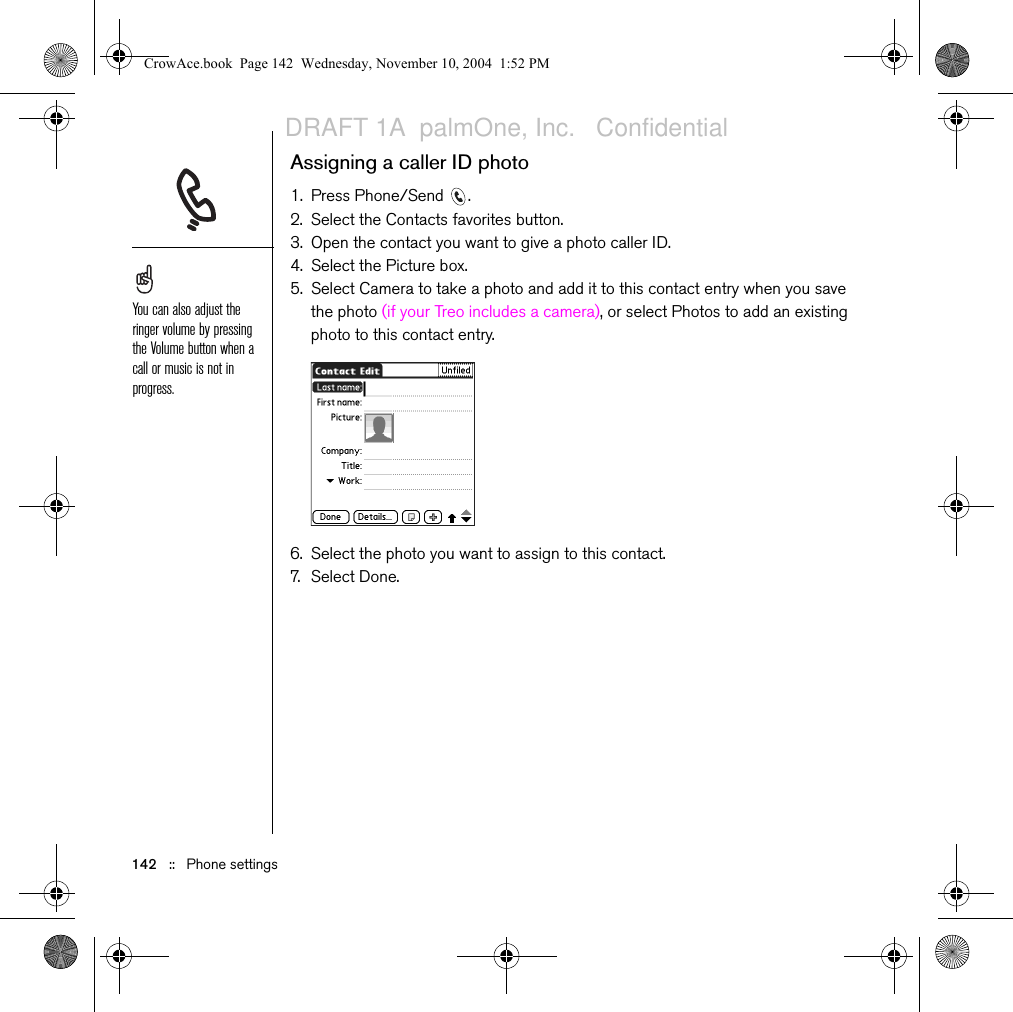
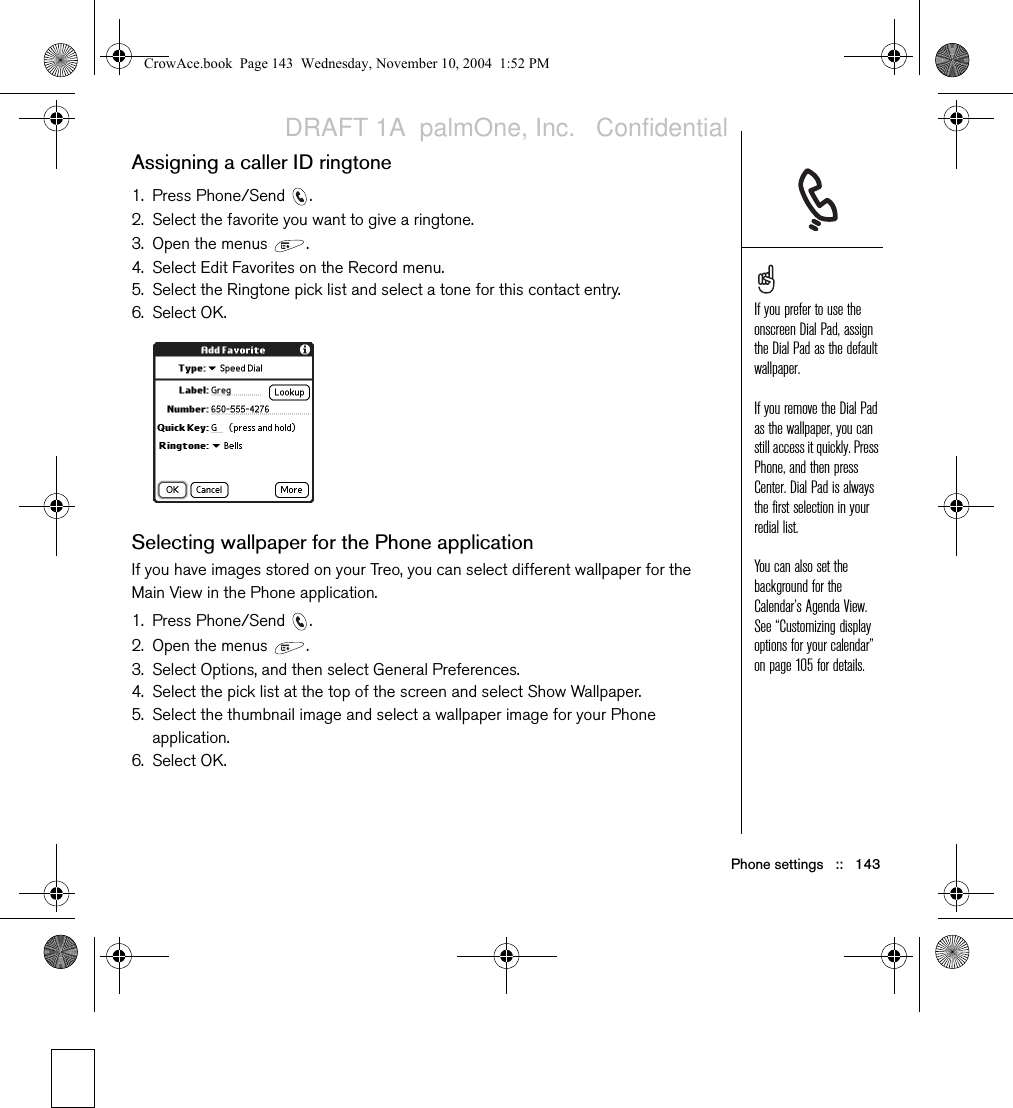
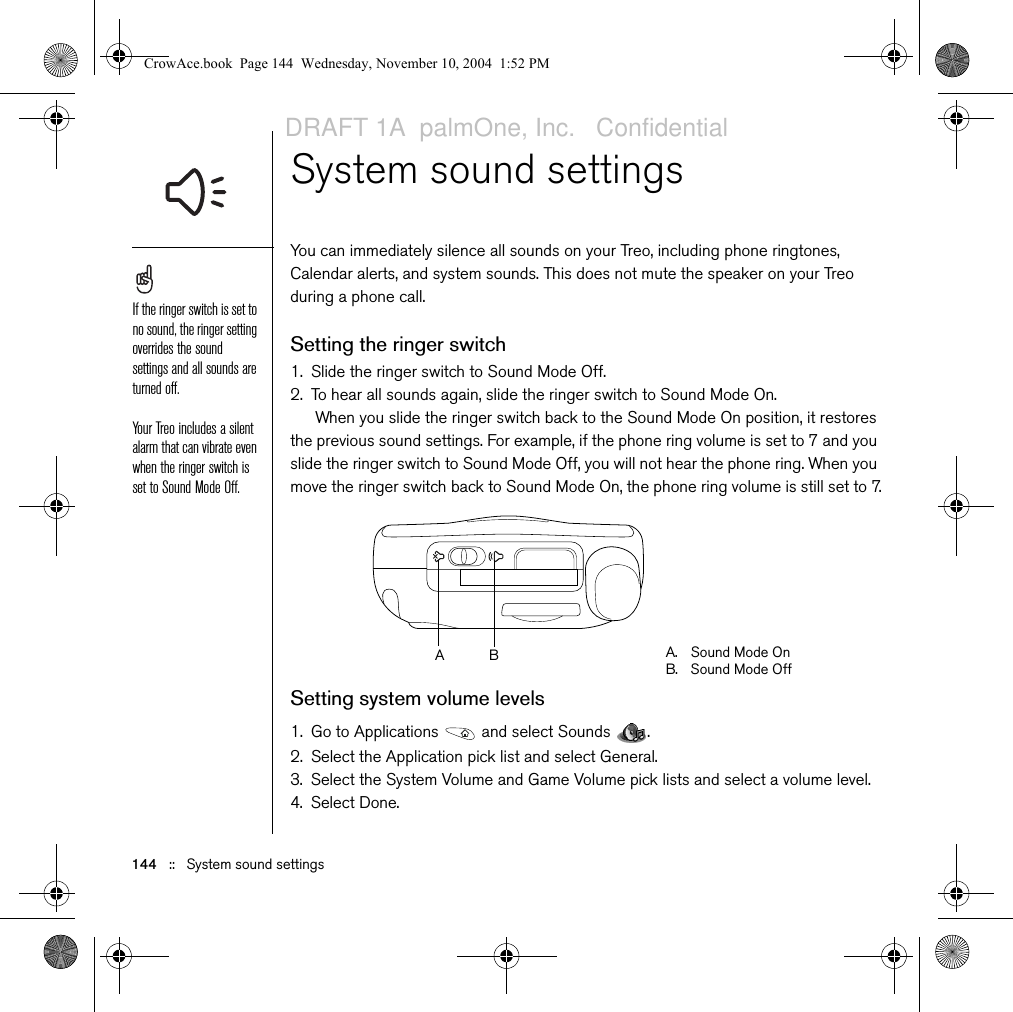
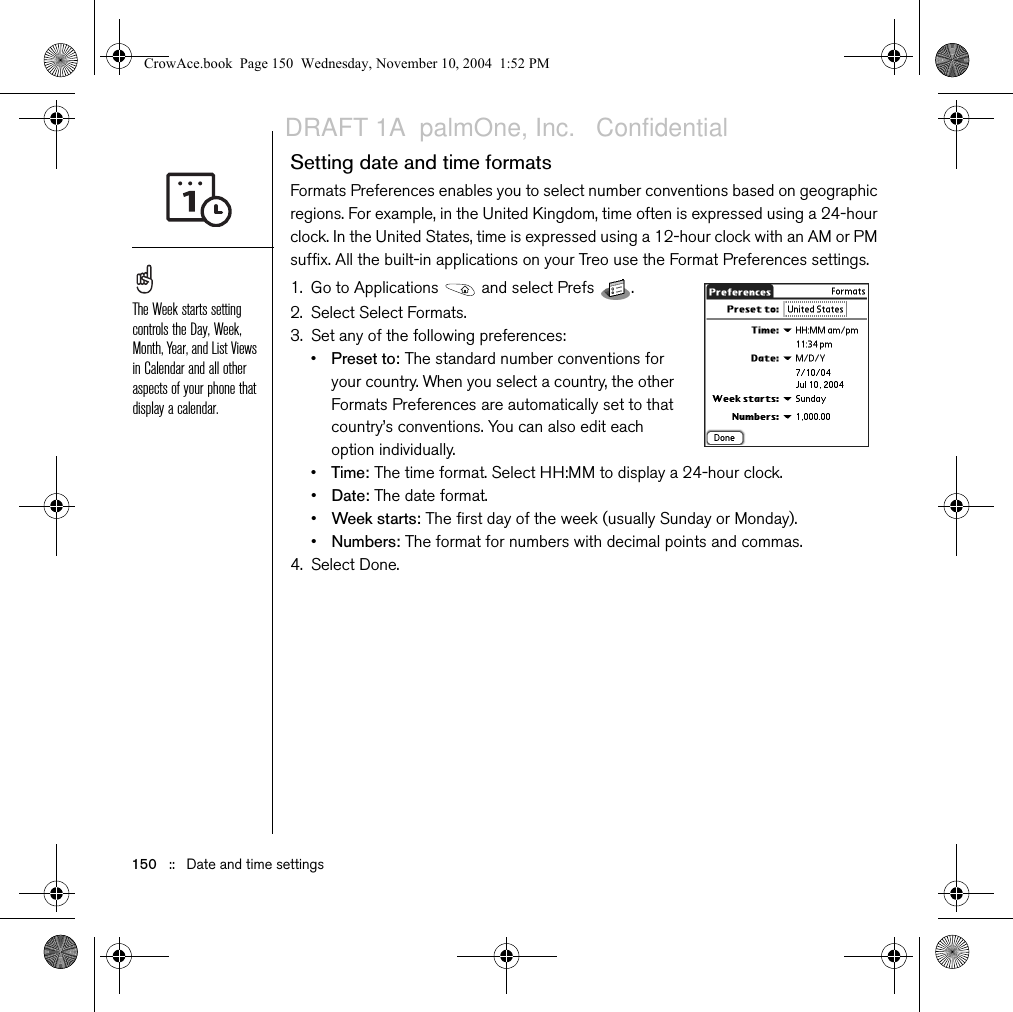
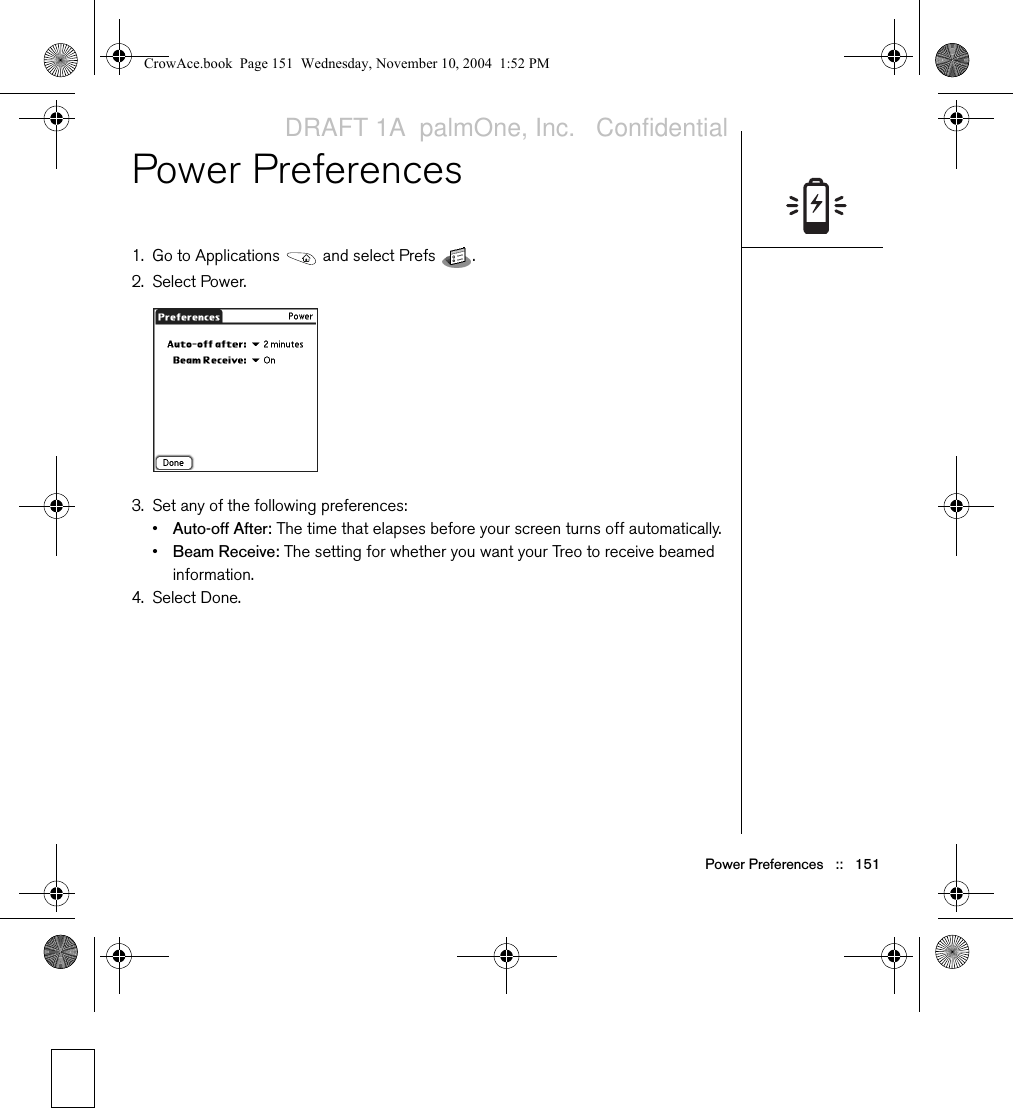
Palm Inc GSM Cellphone with Bluetooth Using Your Treo 650 Smartphone by palmOne
Palm >
Contents
- 1. Users Manual
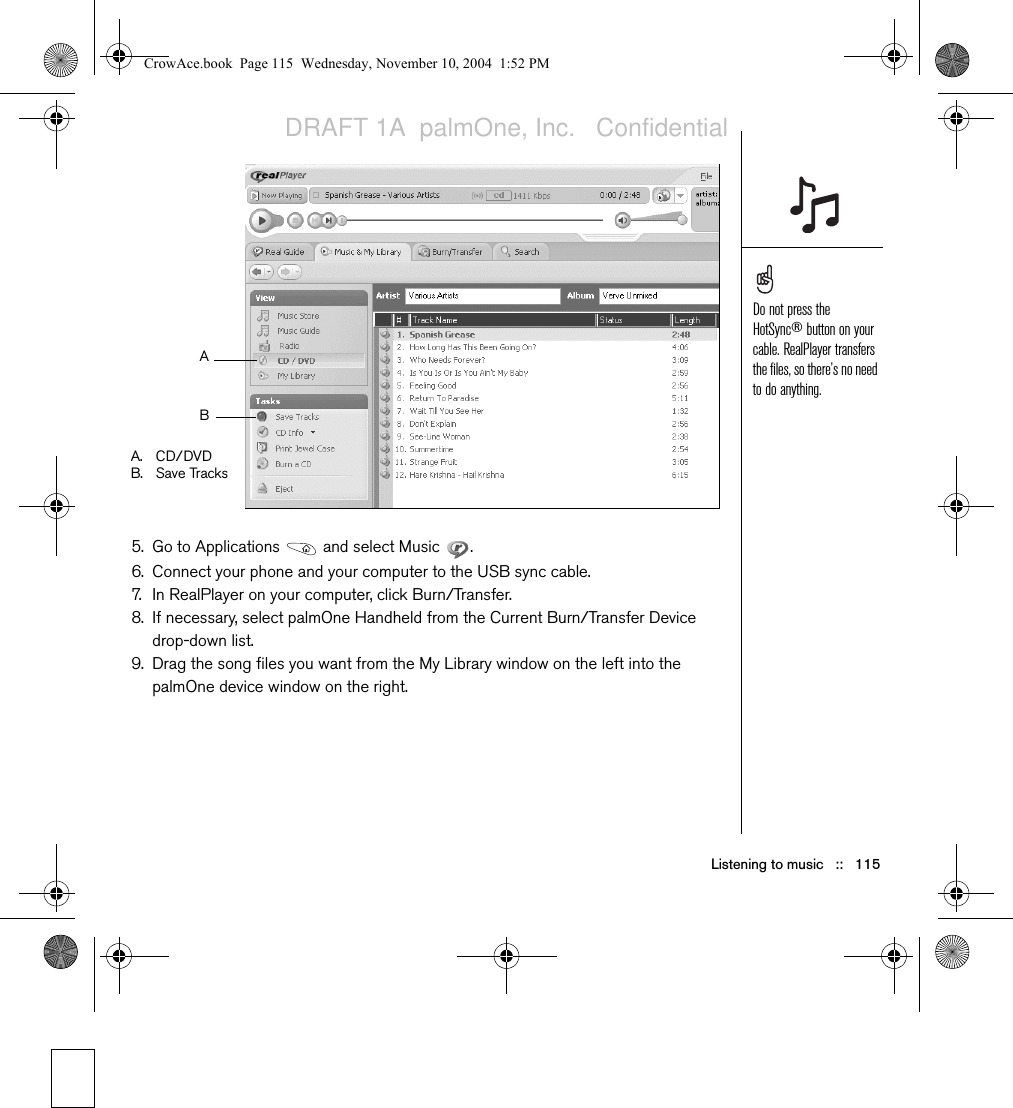
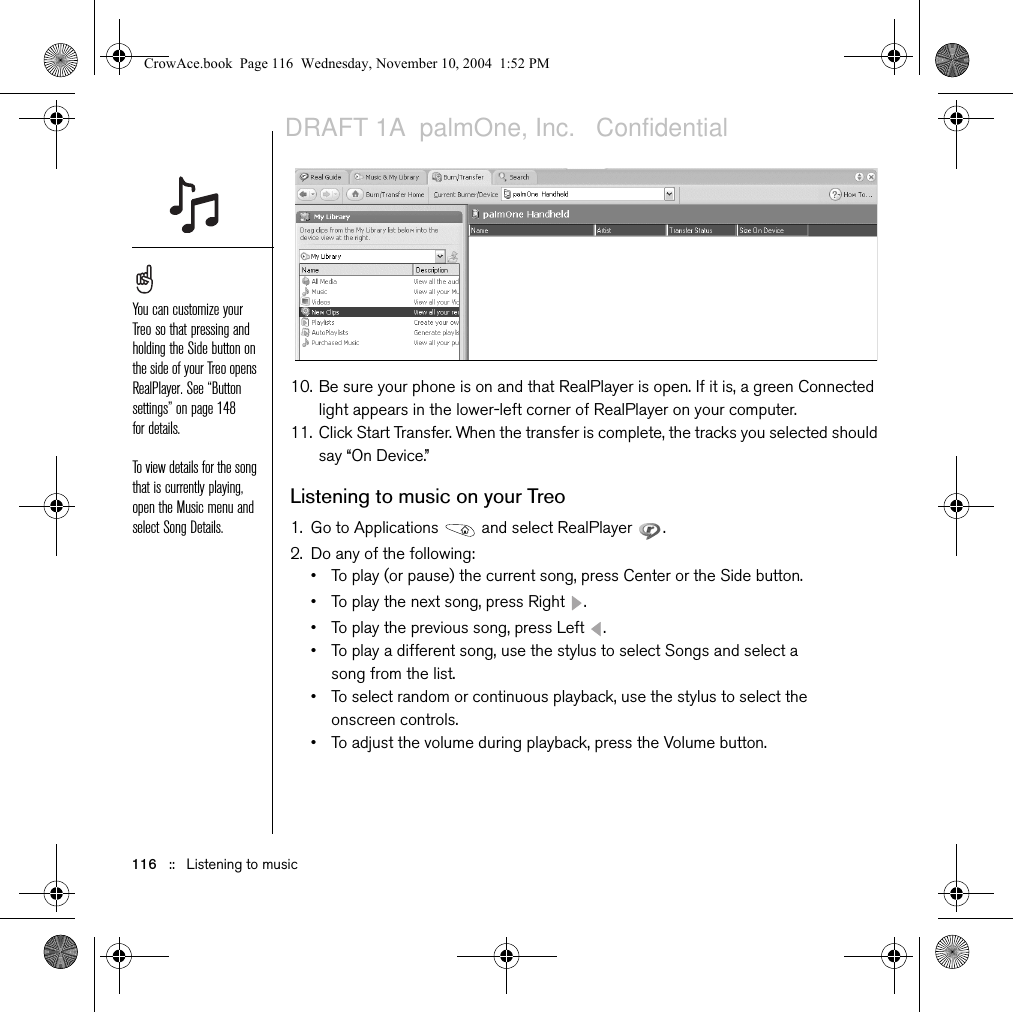
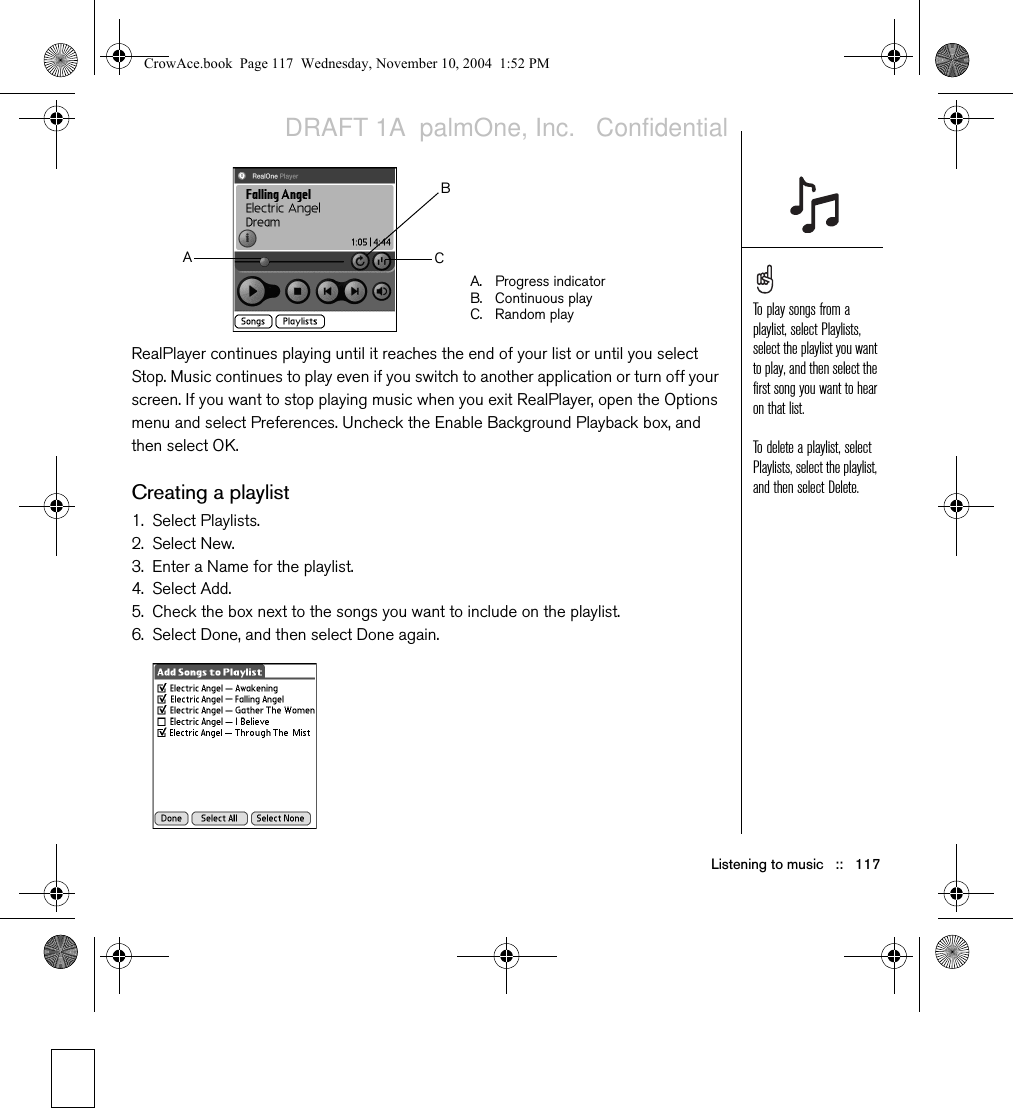
- 2. Users Manual Part 1 Revised 120104
- 3. Users Manual Part 2 Revised 120104
Users Manual Part 2 Revised 120104

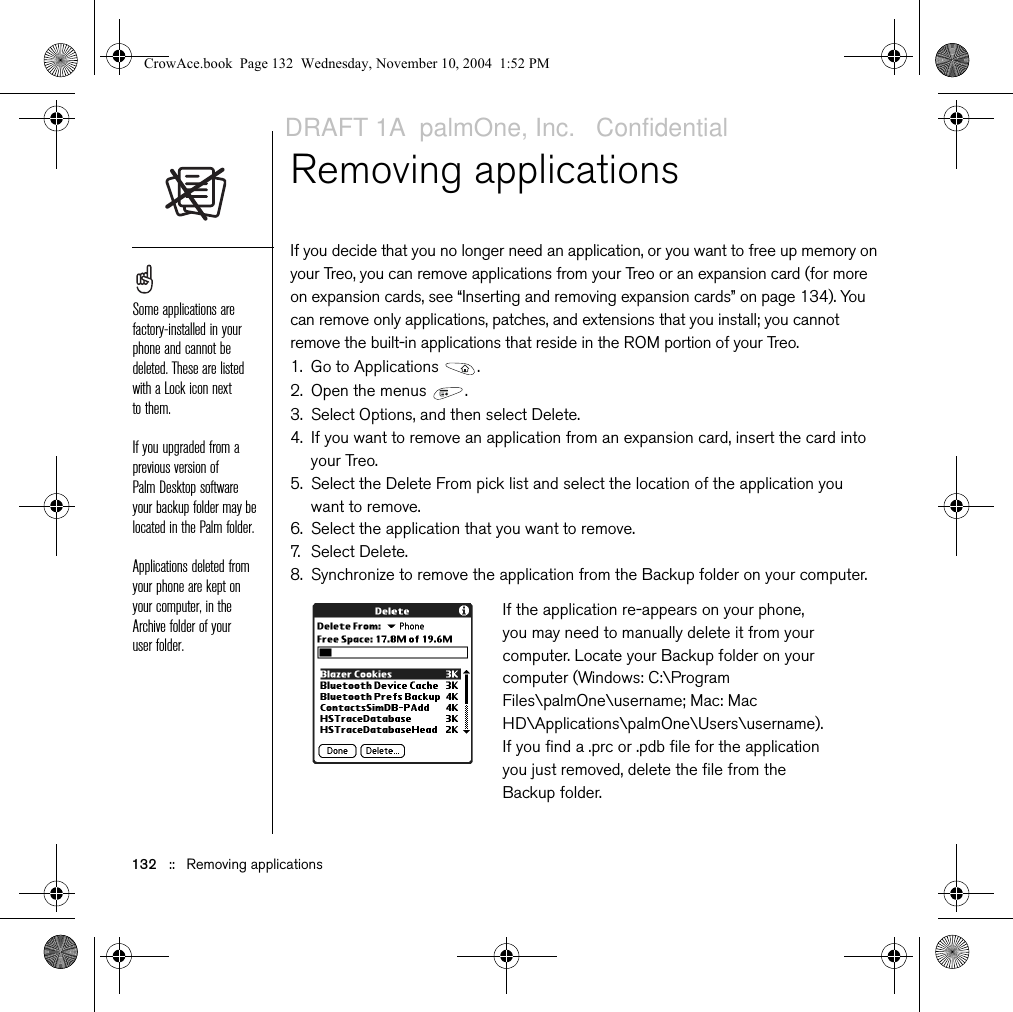
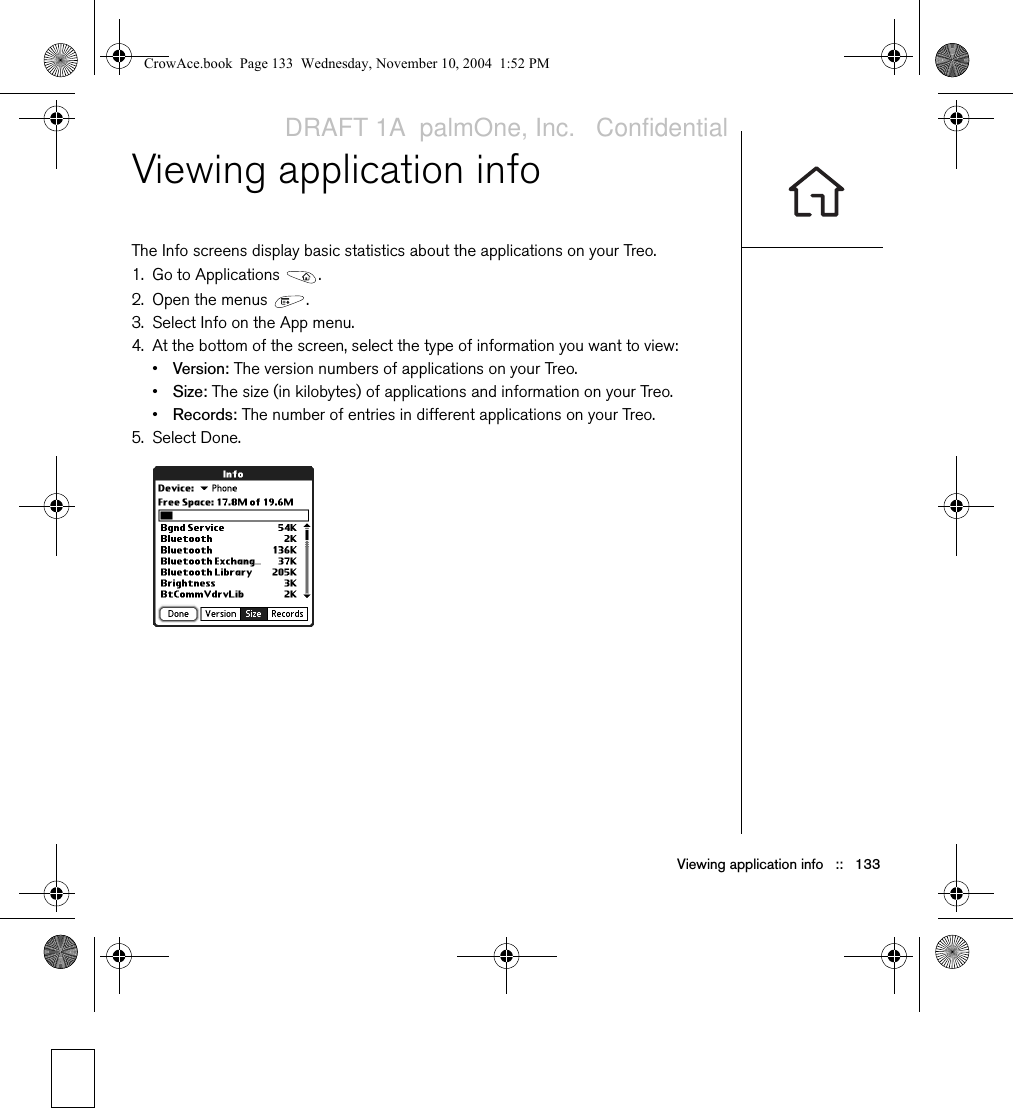

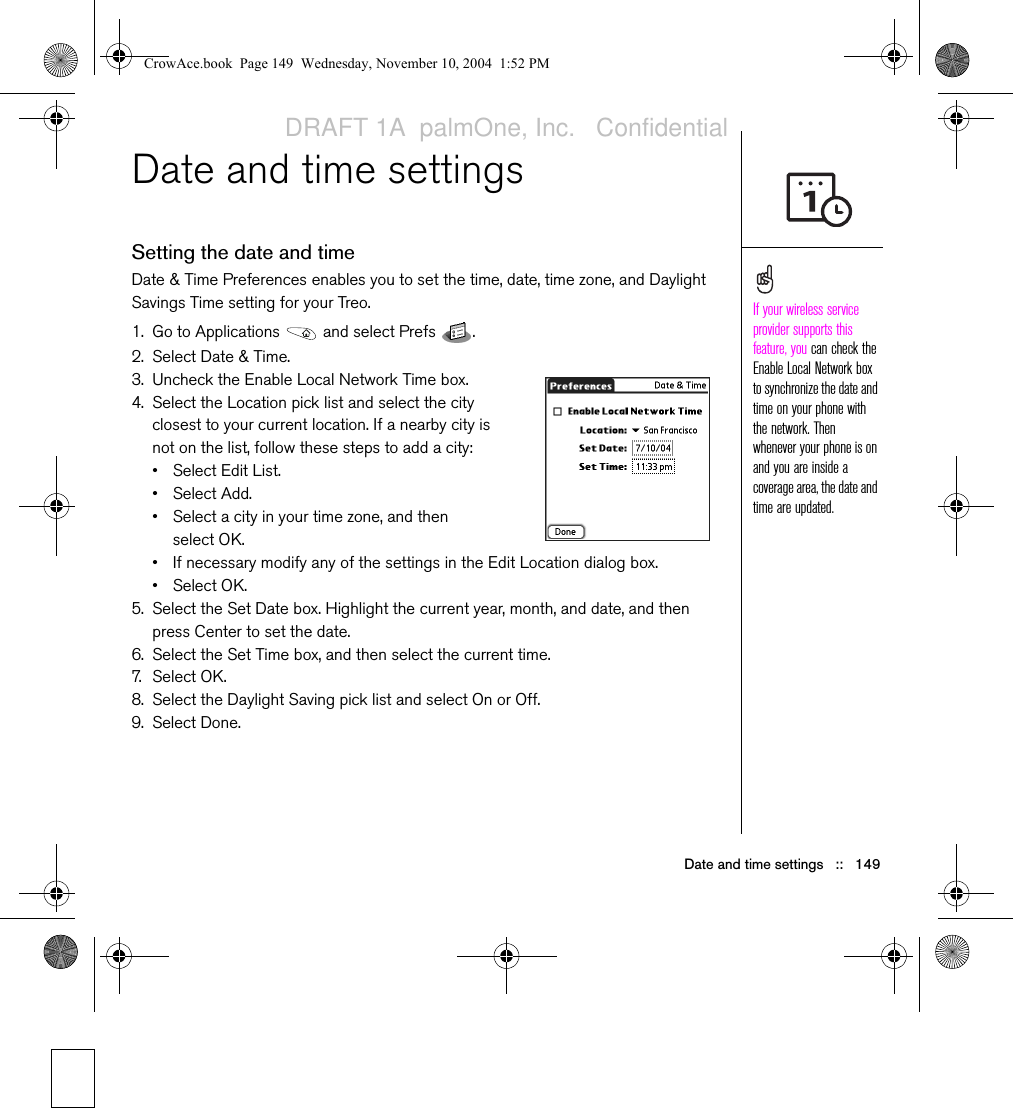
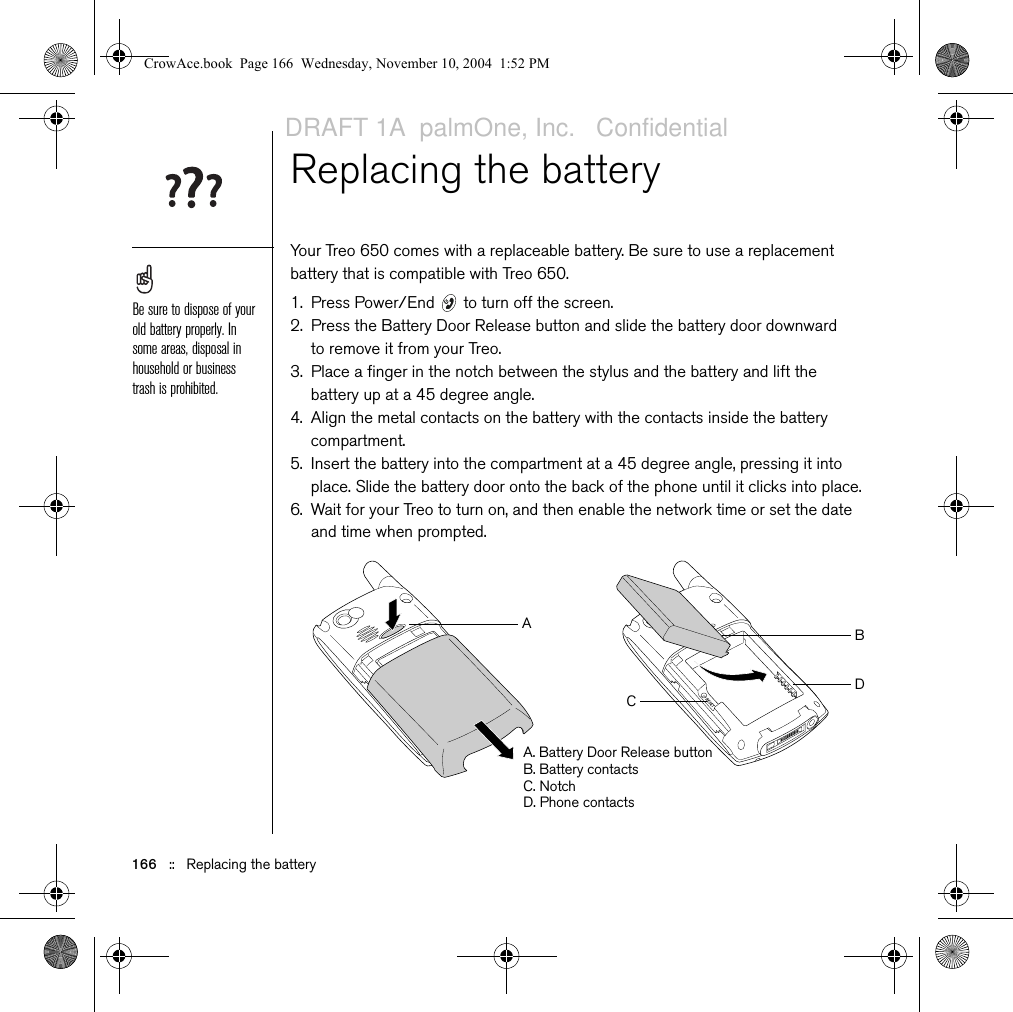


![192 :: FCCserious emergency where lives are in danger, call 9-1-1, as you would want others to do for you.10. Call roadside assistance or a special wireless non-emergency assistance number when necessary. Certain situations you encounter while driving may require attention, but are not urgent enough to merit a call to 9-1-1. But you can still use your smartphone to lend a hand. If you see a broken-down vehicle posing no serious hazard, a broken traffic signal, a minor traffic accident where no one appears injured, or a vehicle you know to be stolen, call roadside assistance or other special non-emergency wireless number.NOTICE FOR CONSUMERS WITH HEARING DISABILITIESDigital Wireless Phones to be Compatible with Hearing AidsOn July 10, 2003, the Federal Communications Commission (FCC) modified the exemption for wireless phones under the Hearing Aid Compatibility Act of 1988. This means that wireless phone manufacturers and service providers must make digital wireless phones accessible to individuals who use hearing aids.For more information, please go to the FCC’s Consumer Alert on accessibility of digital wireless phones at http://www.fcc.gov/cgb/consumerfacts/accessiblewireless.html.Wireless telephones are hand-held phones with built-in antennas, often called cell, mobile, or PCS phones. These phones are popular with callers because they can be carried easily from place to place.Wireless telephones are two-way radios. When you talk into a wireless telephone, it picks up your voice and converts the sound to radio frequency energy (or radio waves). The radio waves travel through the air until they reach a receiver at a nearby base station. The base station then sends your call through the telephone network until it reaches the person you are calling.When you receive a call on your wireless telephone, the message travels through the telephone network until it reaches a base station close to your wireless phone. Then the base station sends out radio waves that are detected by a receiver in your telephone, where the signals are changed back into the sound of a voice.The Federal Communications Commission (FCC) and the Food and Drug Administration (FDA) each regulate wireless telephones. FCC ensures that all wireless phones sold in the United States follow safety guidelines that limit radio frequency (RF) energy. FDA monitors the health effects of wireless telephones. Each agency has the authority to take action if a wireless phone produces hazardous levels of RF energy.FDA derives its authority to regulate wireless telephones from the Radiation Control provisions of the Federal Food, Drug, and Cosmetic Act (originally enacted as the Radiation Control for Health and Safety Act of 1968). [http://www.fda.gov/cdrh/comp/eprc.html].FCC derives its authority to regulate wireless telephones from the National Environmental Policy Act of 1969 (NEPA) and the Telecommunications Act of 1996 [http://www.fcc.gov/telecom.html]. Updated 7/16/2003Hands-Free CapabilityAll CTIA Certified portable products provide the consumer with a toll-free number for the purchase of a compatible hands-free device. CrowAce.book Page 192 Wednesday, November 10, 2004 1:52 PMDRAFT 1A palmOne, Inc. Confidential](https://usermanual.wiki/Palm/CAGEMS.Users-Manual-Part-2-Revised-120104/User-Guide-493229-Page-94.png)