Palm SKYC Smart Phone User Manual Treo Pro Smartphone by Palm User Guide
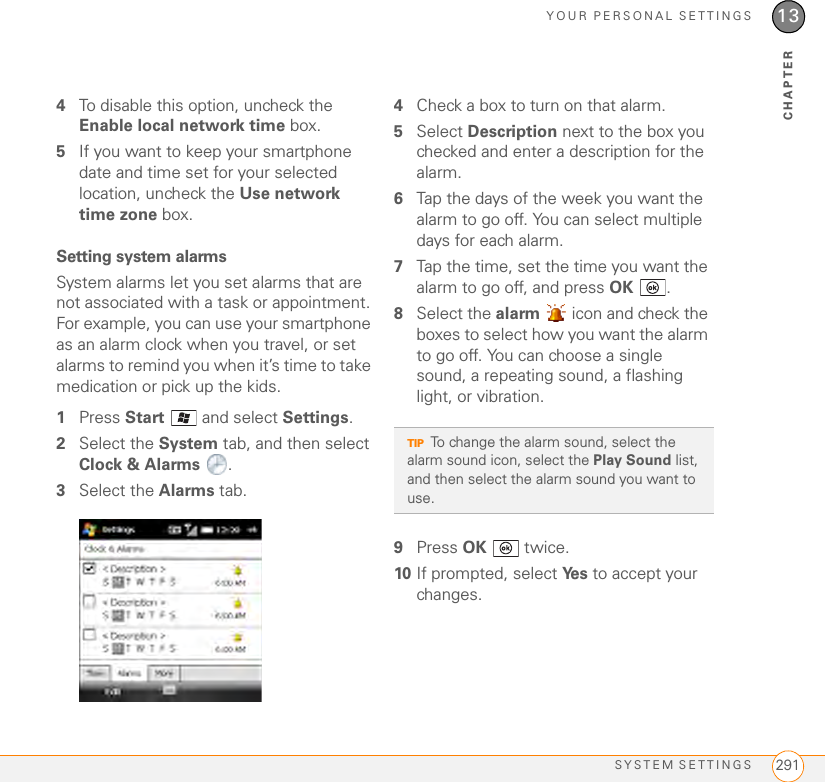
Palm Inc Smart Phone Treo Pro Smartphone by Palm User Guide
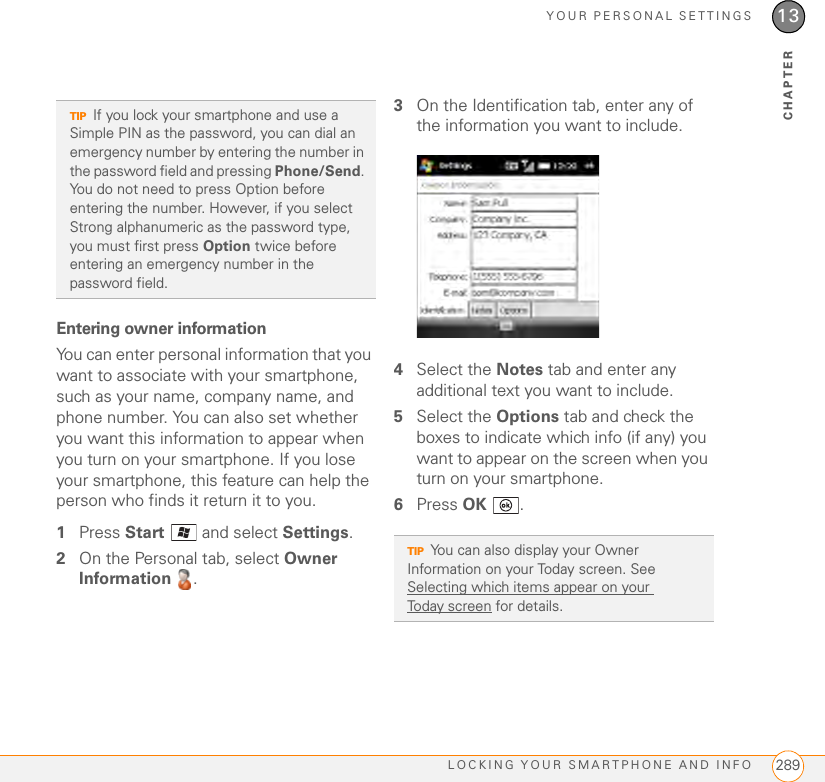
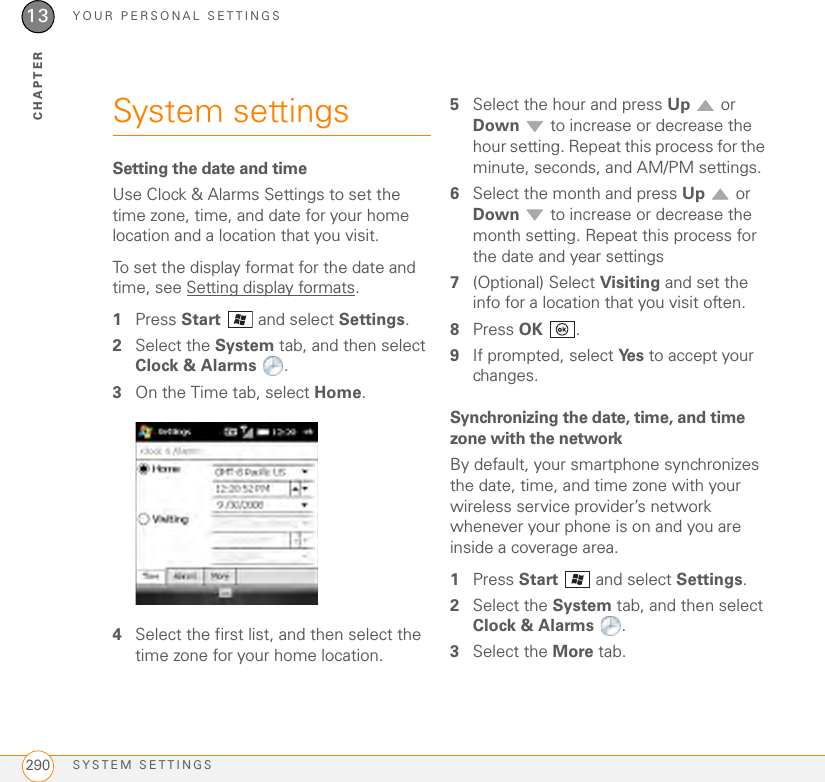
Palm >
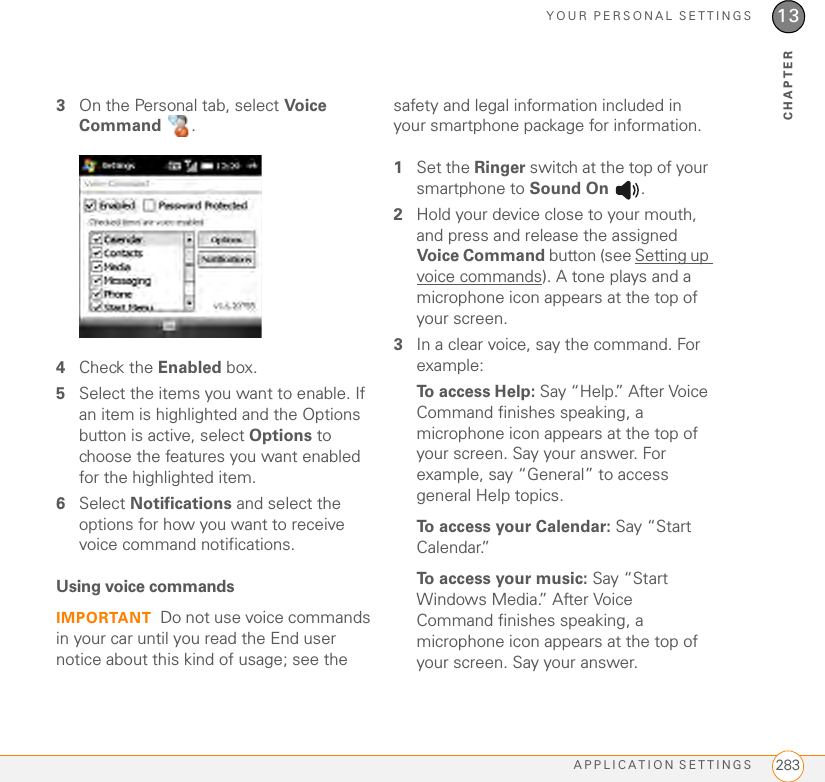
Contents
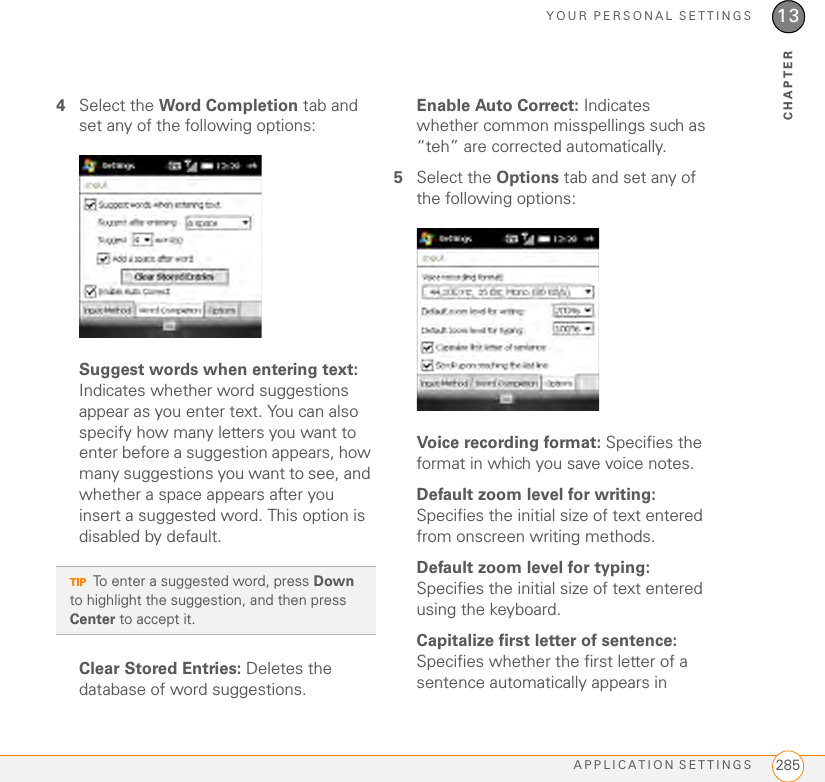
- 1. User manual revised 1 of 2
- 2. User manual revised 2 of 2
User manual revised 2 of 2


![TROUBLESHOOTINGNETWORK CONNECTION 31114CHAPTERI can’t tell if data services are available The following icons appear in the title bar to indicate whether data services are available:You are in an area that supports mobile broadband (EVDO) data services. EVDO (Evolution Data Optimized) is a wireless broadband technology that is designed for very high-speed data transfer, with average download speeds of 400 to 600Kbps. It is capable of reaching download speeds up to 3.1Mbps and upload speeds up to 1.8Mbps.Your phone is on, and a mobile broadband data connection is active. You can still make or answer calls. When you make or answer a call, the data transmission is automatically interrupted.Your phone is on and is connected to a mobile broadband network, but you are not actively transmitting data. You can still make and answer calls.You are in an area that supports 1xRTT data services. The 1xRTT (single-carrier [1x] radio transmission technology) wireless technology can provide fast data transfer and Internet access with average speeds of 60 to 80Kbps and bursts up to 144Kbps.Your phone is on, and a 1xRTT data connection is active. When you make or receive a call, the data transmission is automatically interrupted.Your phone is on and is connected to a 1xRTT network, but you are not actively transmitting data. You can still make and answer calls.](https://usermanual.wiki/Palm/SKYC.User-manual-revised-2-of-2/User-Guide-1036631-Page-109.png)

![TROUBLESHOOTINGSYNCHRONIZATION32014CHAPTERAn alert tells me that ActiveSync encountered a problem on the serverThere is a temporary problem with the server or the server may be temporarily overloaded. Try again later. If the problem persists, contact your system administrator.An alert tells me that there is not enough free memory to sync my infoThe ActiveSync application on your smartphone ran out of storage space. Try the following:1Go to Memory Settings and close all running programs (see Closing applications).2If the problem persists, see Making room on your smartphone for suggestions on other ways to free up space on your smartphone.An alert tells me that ActiveSync encountered a problem with [item type] [item name]An error occurred during the sync of a single item. This error can usually be corrected only by removing the item that caused the error. If you sync again to see if the error persists, be aware that items causing this type of error are skipped and do not show up again.My Today screen settings are not restored after a hard resetSettings such as the background image and plug-in choices are not backed up during synchronization, so they can’t be restored after a hard reset. If you use a backup utility, you may be able to restore a backup to recover your Today screen settings and other additional info.Exchange ActiveSync (wireless synchronization)For issues with direct wireless synchronization with an Exchange server, see Desktop sync software.TIPIf you are synchronizing with an Exchange server and you’re unable to change your lock settings, check with your system administrator to find out if a systemwide locking policy is in place.](https://usermanual.wiki/Palm/SKYC.User-manual-revised-2-of-2/User-Guide-1036631-Page-118.png)

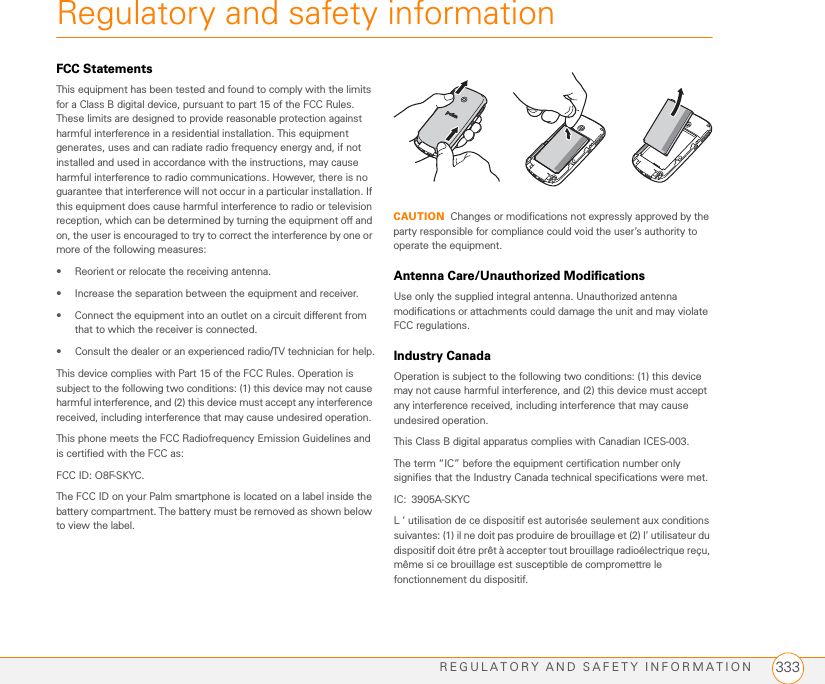
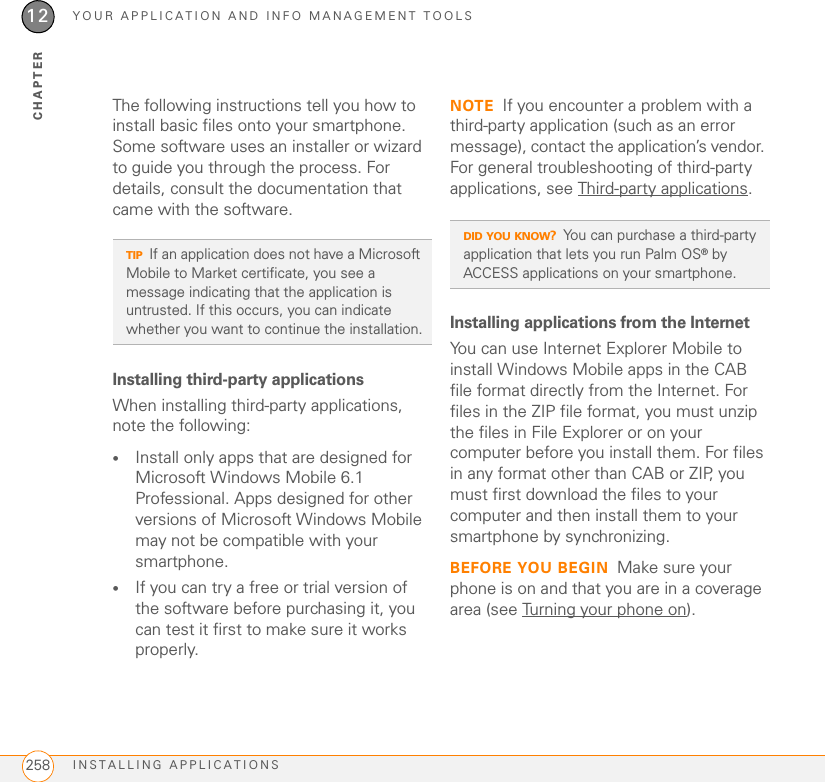
![REGULATORY AND SAFETY INFORMATION334Cet appareil numérique de la classe [*] est conforme à la norme NMB-003 du Canada.RF Safety ExposureGeneral statement on RF energy: Your smartphone contains a transmitter and a receiver. When it is ON, it receives and transmits RF energy. When you communicate with your smartphone, the system handling your call controls the power level at which your smartphone transmits.Specific Absorption Rate (SAR): Your mobile device is a radio transmitter and receiver. It is designed not to exceed the limits for exposure to radio waves recommended by international guidelines. These guidelines were developed by the independent scientific organization ICNIRP and include safety margins designed to assure the protection of all persons, regardless of age and health.In order to certify this unit for sale to the public, this unit has been tested for RF exposure compliance at a qualified test laboratory and found to comply with the regulations regarding exposure to RF Energy under the recommendations of the International Commission on Non-Ionizing Radiation Protection (ICNIRP). The tests are performed in positions and locations as required by the FCC and IC for each model. As SAR is measured utilizing the device’s highest transmitting power, the actual SAR of this device while operating is typically below that indicated below. This is due to automatic changes to the power level of the device to ensure it only uses the minimum power required to communicate with the network.The SAR limit for mobile devices set by FCC/IC is 1.6 W/kg averaged over 1 gram of tissue for the body or head (4.0 W/kg averaged over 10 grams of tissue for the extremities—hands, wrists, ankles, and feet). The highest reported SAR values of the Palm smartphone are:In order to comply with FCC and IC RF exposure safety guidelines, users MUST use one of the following types of body worn accessories:1A Palm® brand body-worn accessory that has been tested for (specific absorption rate) SAR compliance and is intended for use with this product.2An accessory that contains NO metal (snaps, clips, etc.) and provides AT LEAST 1.5 cm (0.6 in.) of separation between the user’s body and the unit.Do NOT use the device in a manner such that it is in direct contact with the body (i. e. on the lap or in a breast pocket). Such use will likely exceed the FCC RF safety exposure limits. See www.fcc.gov/oet/rfsafety for more information on RF exposure safety.To view the most recent SAR values of the Treo Pro smartphone, visit palm.com/55058.Body worn operation: Important safety information regarding radio frequency radiation (RF) exposure: To ensure compliance with RF exposure guidelines the smartphone must be used with a minimum of 1.5 cm (0.6 in.) separation from the body. Failure to observe these instructions could result in your RF exposure exceeding the relevant guideline limits.Limiting exposure to radio frequency (RF) fields: For individuals concerned about limiting their exposure to RF fields, the World Health Organization (WHO) provides the following advice:Precautionary measures: Present scientific information does not indicate the need for any special precautions for the use of mobile phones. If individuals are concerned, they might choose to limit their own or their children’s RF exposure by limiting the length of calls, or using ‘hands-free’ devices to keep mobile phones away from the head and body.Further information on this subject can be obtained from the WHO home page http://www.who.int/mediacentre/factsheets/fs193/en/index.html WHO Fact sheet 193: June 2000.Maximum scaled SAR values (FCC)Head 1.4 W/kgBody 1.29 W/kg](https://usermanual.wiki/Palm/SKYC.User-manual-revised-2-of-2/User-Guide-1036631-Page-132.png)