Palm SKYG Smartphone User Manual Skywriter UMTS Generic User Guide
Palm Inc Smartphone Skywriter UMTS Generic User Guide
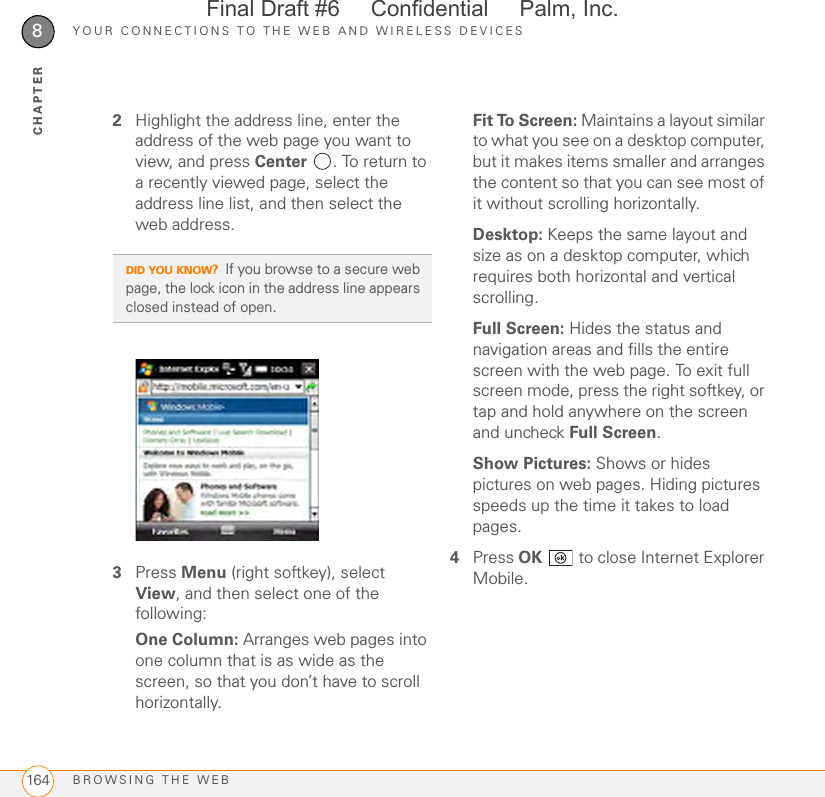
UserManual.wiki
>
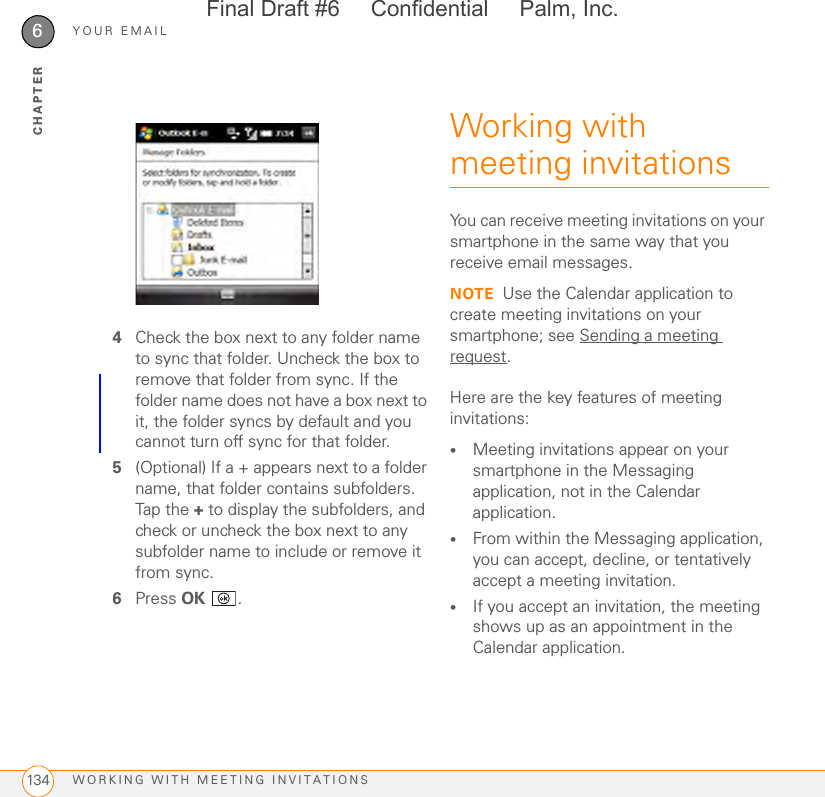
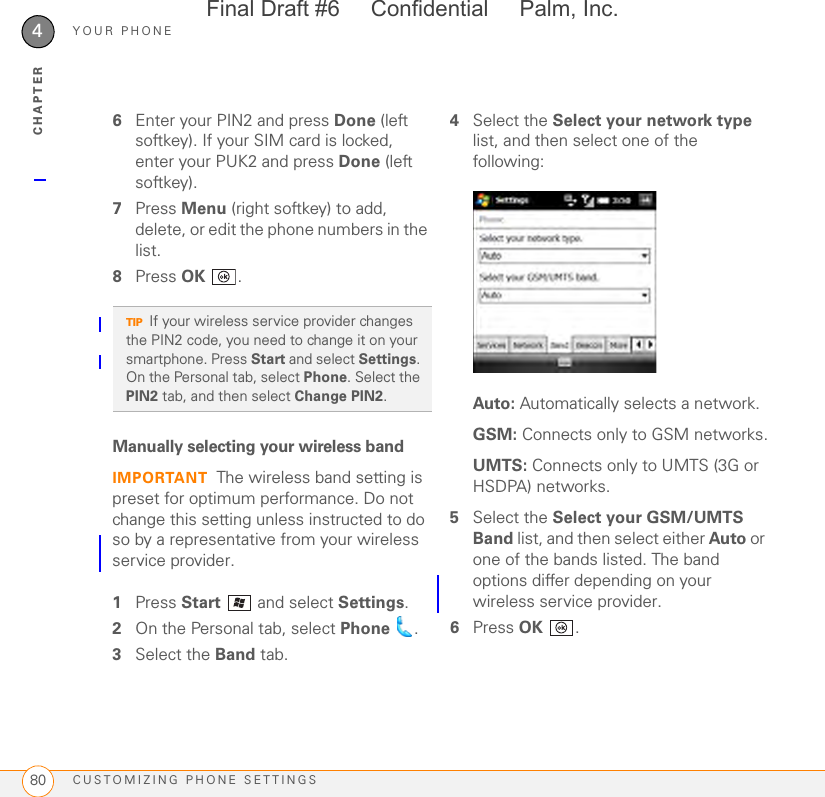
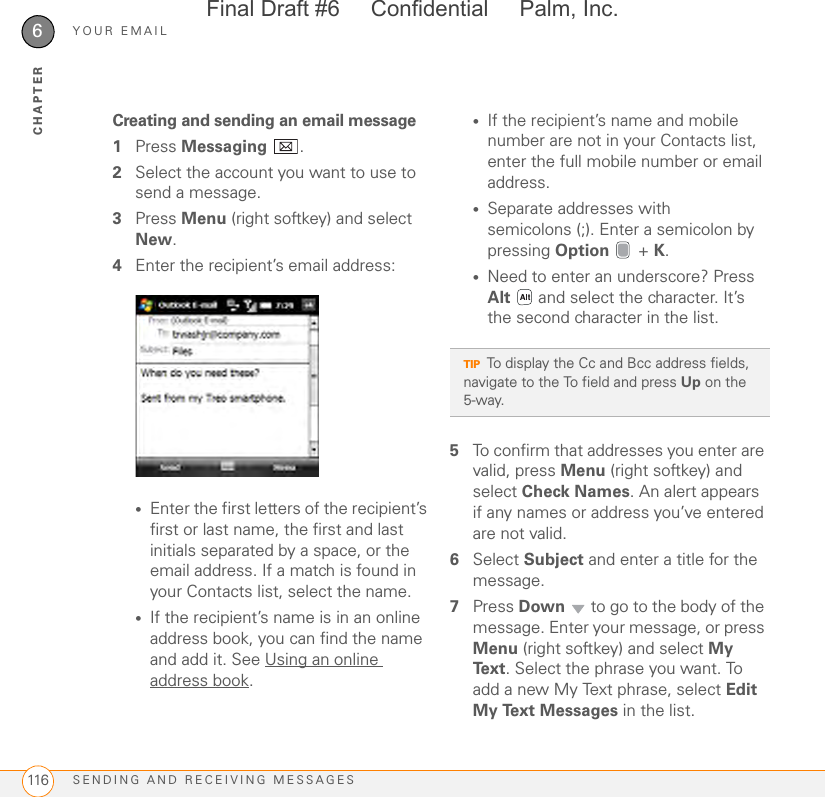
Palm
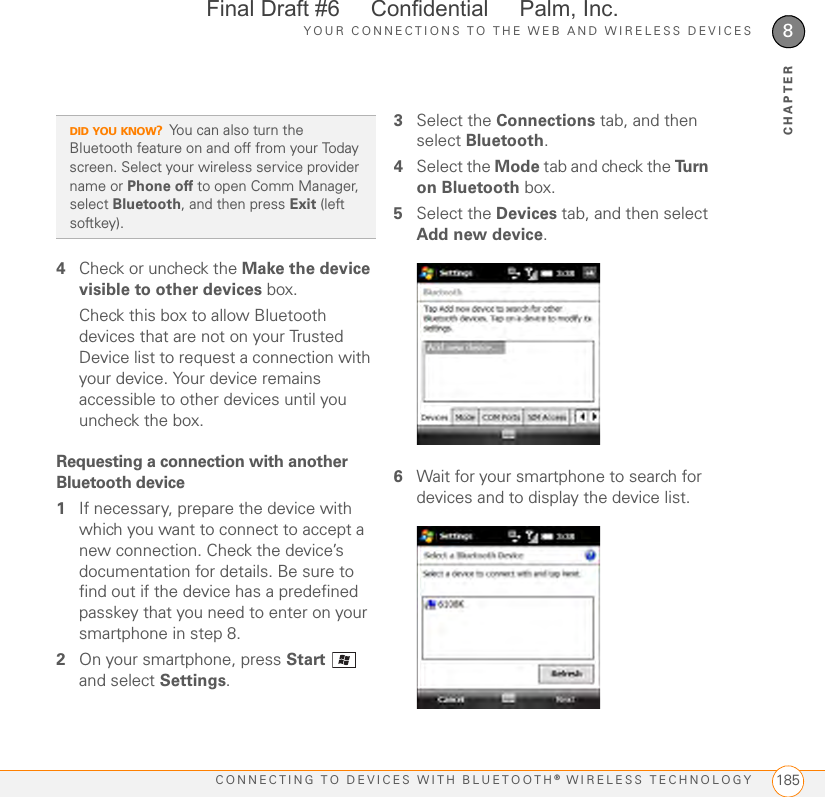
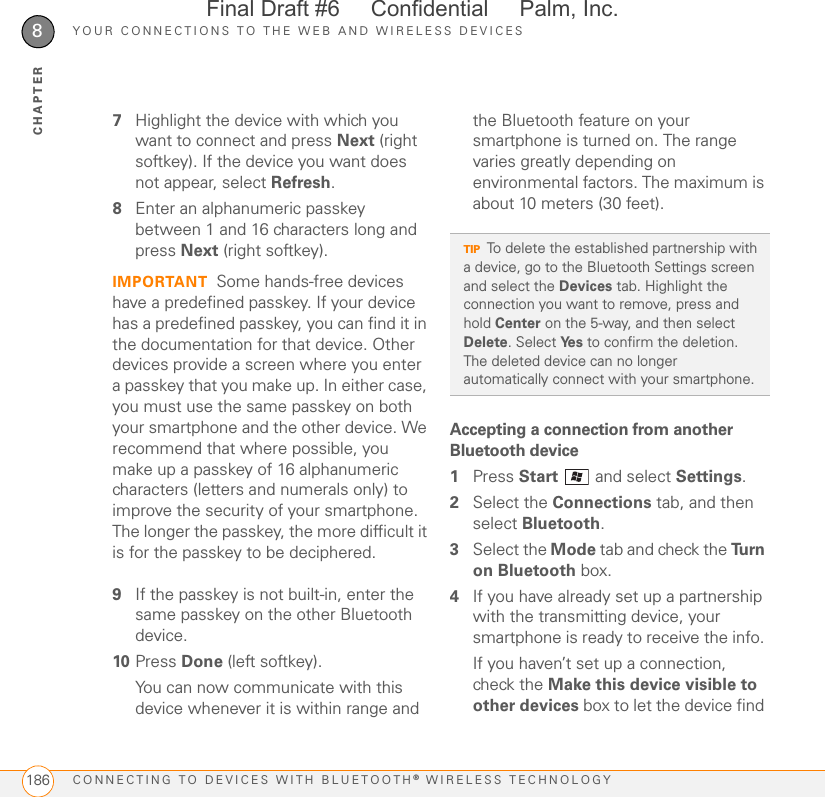
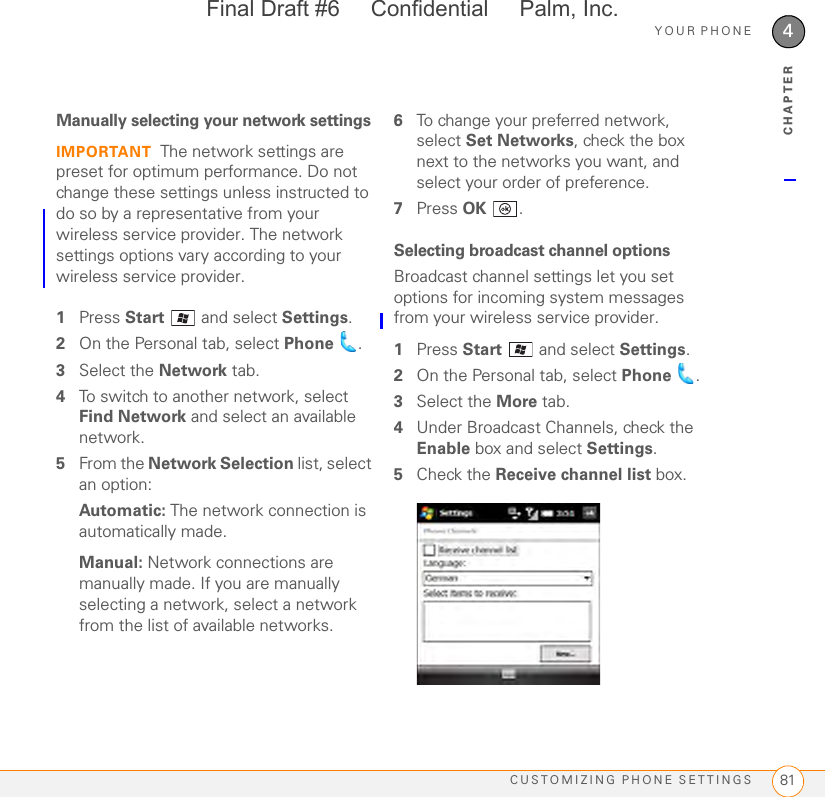
>
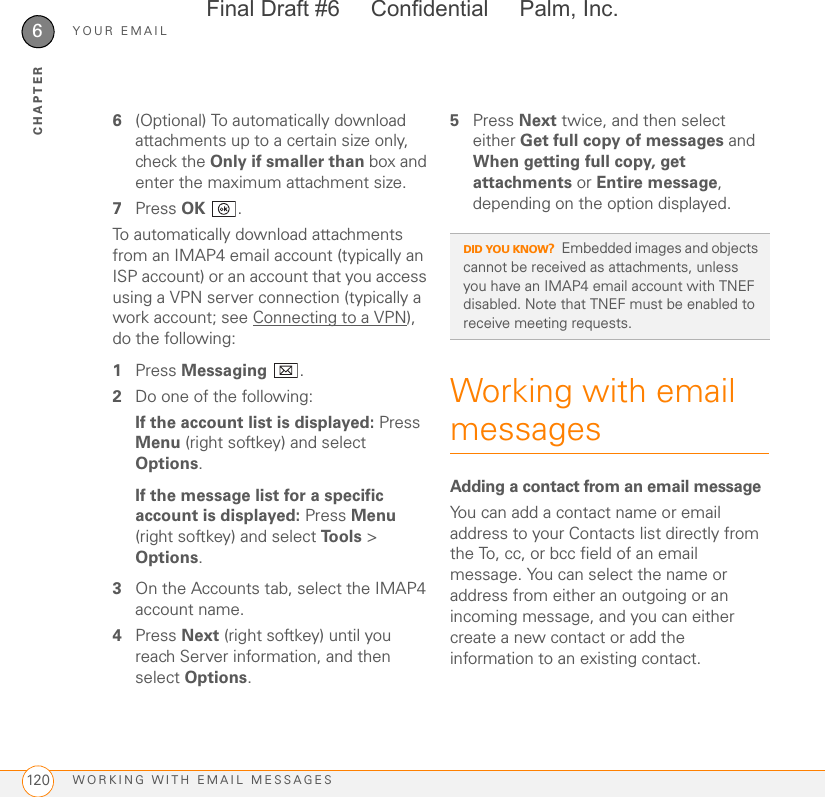
SKYG User Manual
>
User Manual 1
Contents
1.
User Manual 1
2.
User Manual 2
User Manual 1
Navigation menu
Upload a User Manual
Namespaces
Wiki Guide
HTML
PDF
Info
Views
User Manual
Discussion / Help
Navigation
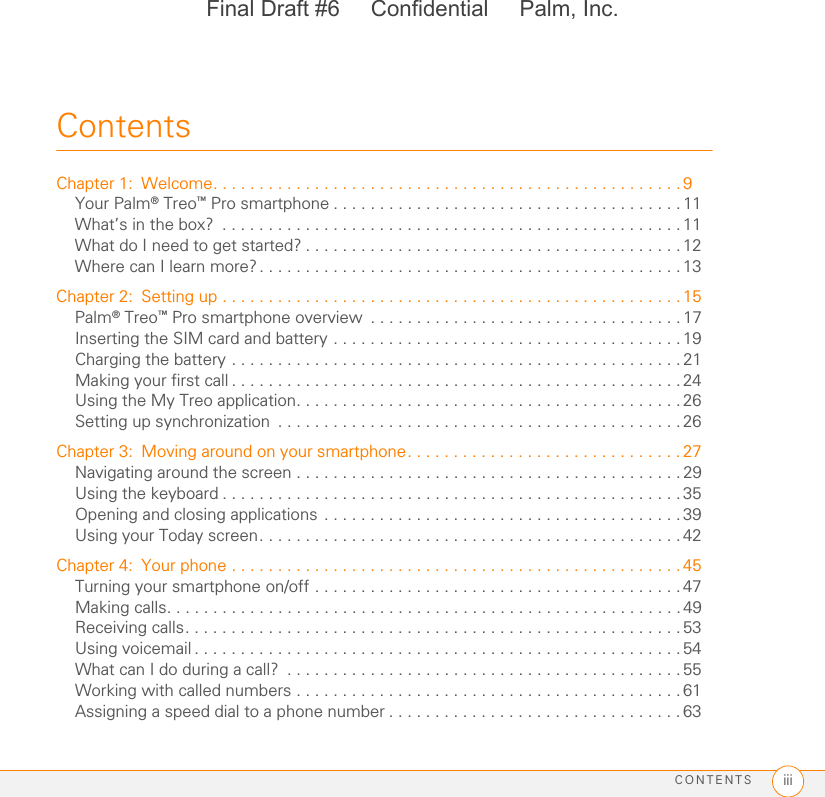
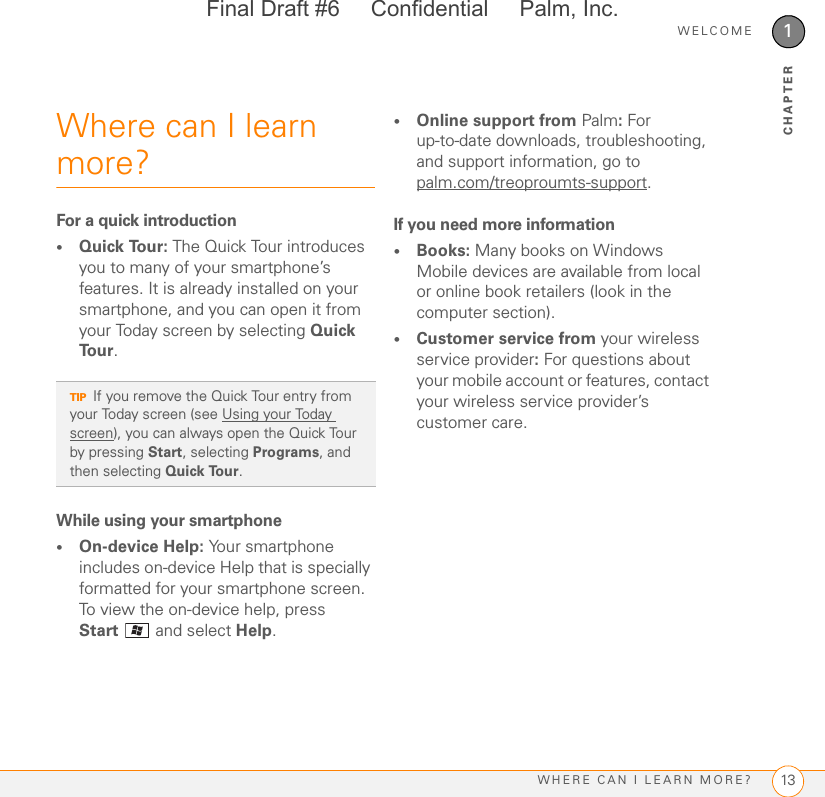
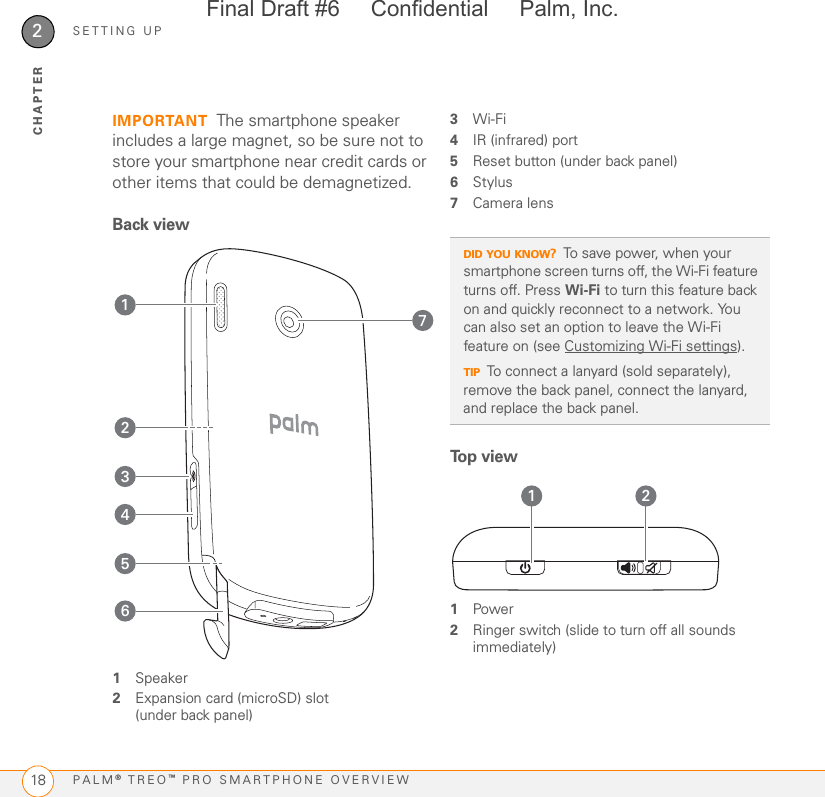
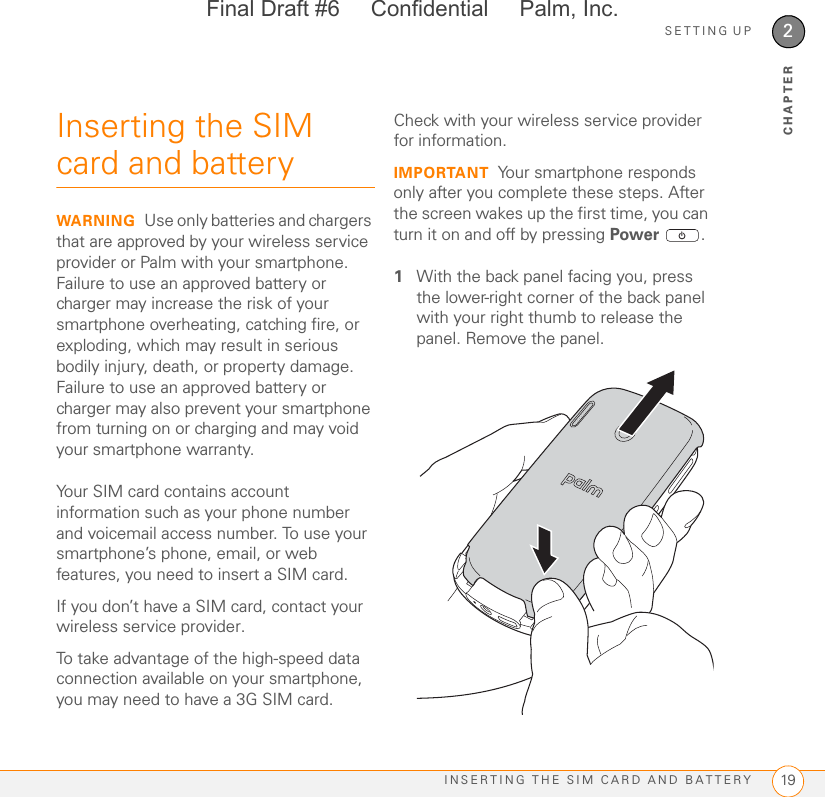
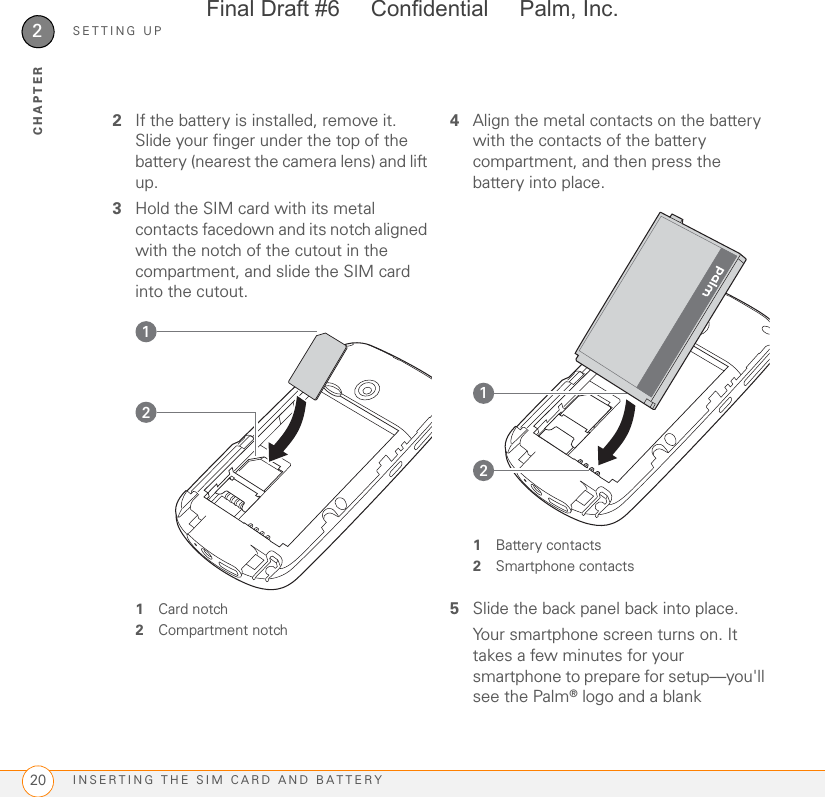

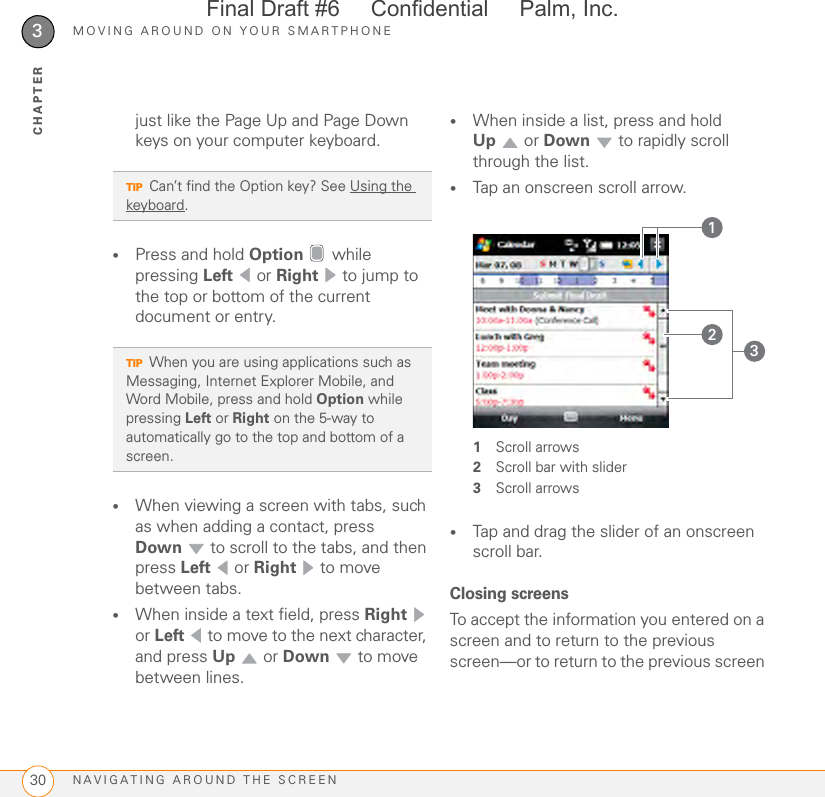

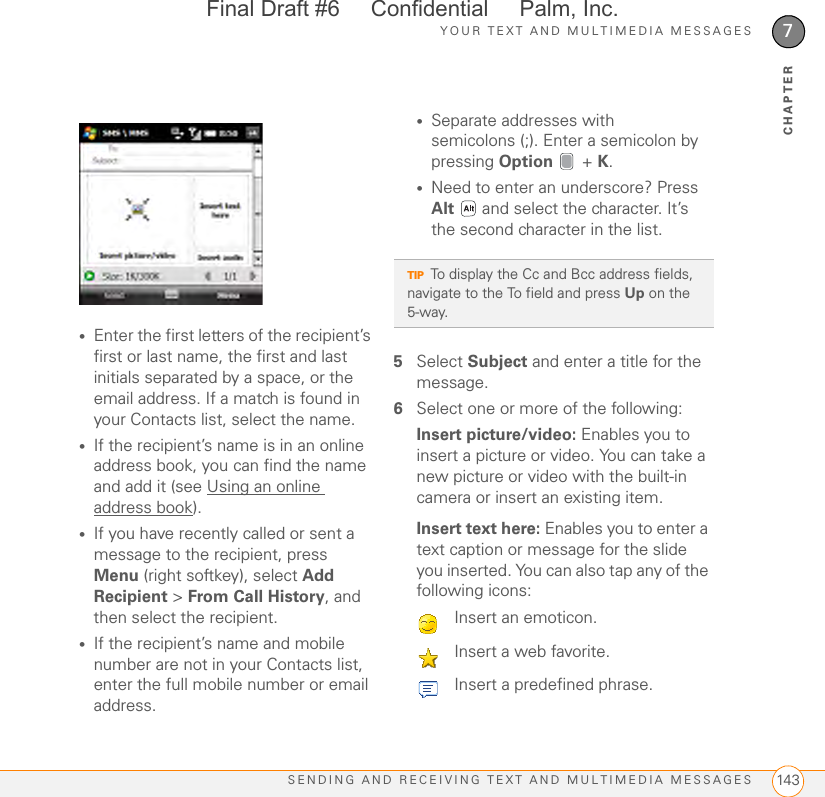
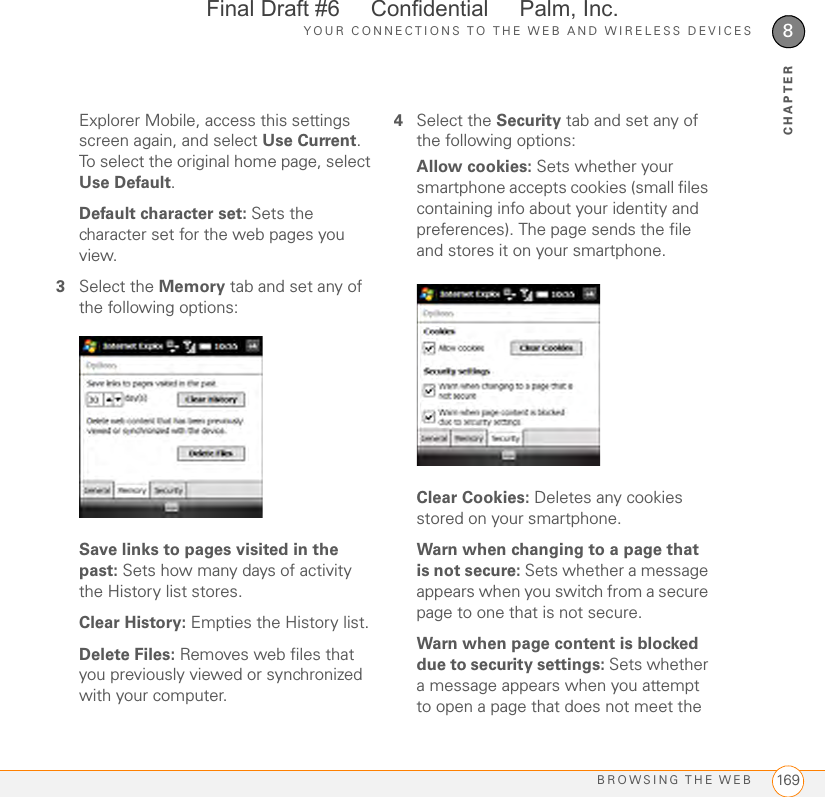
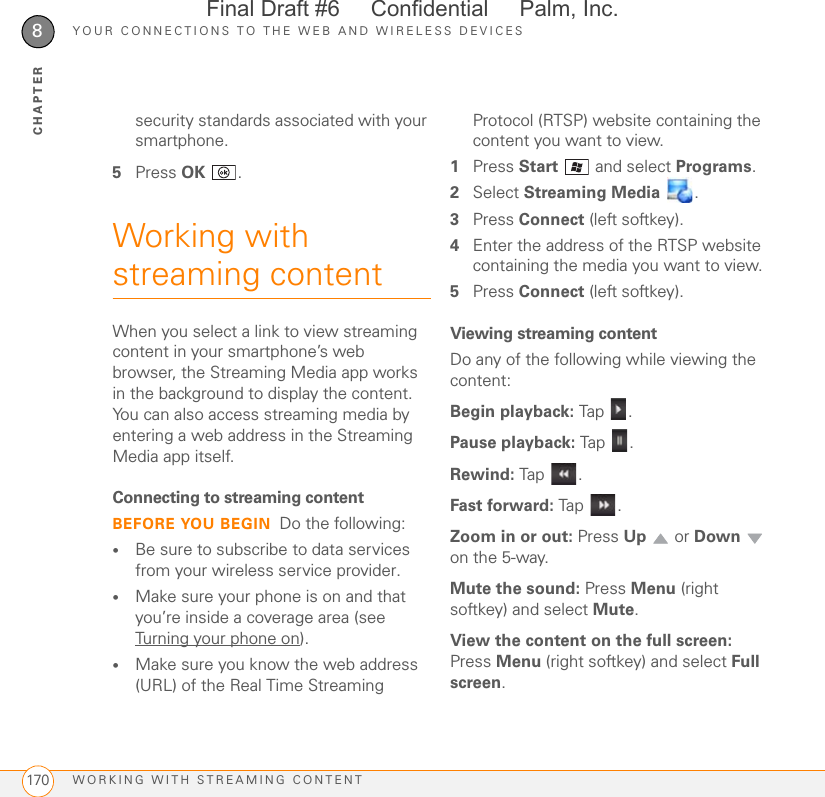
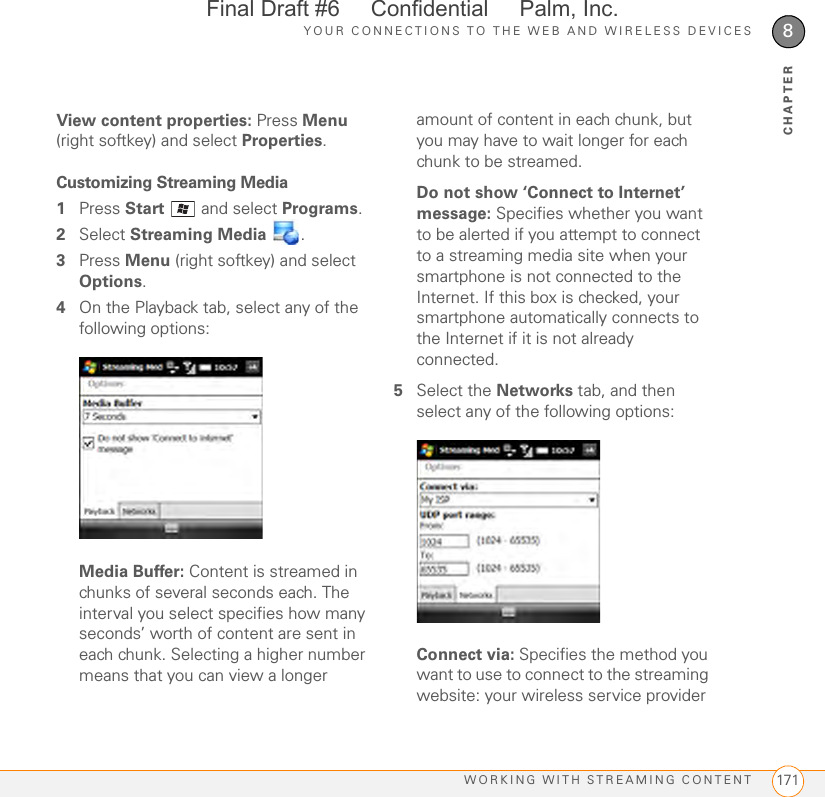
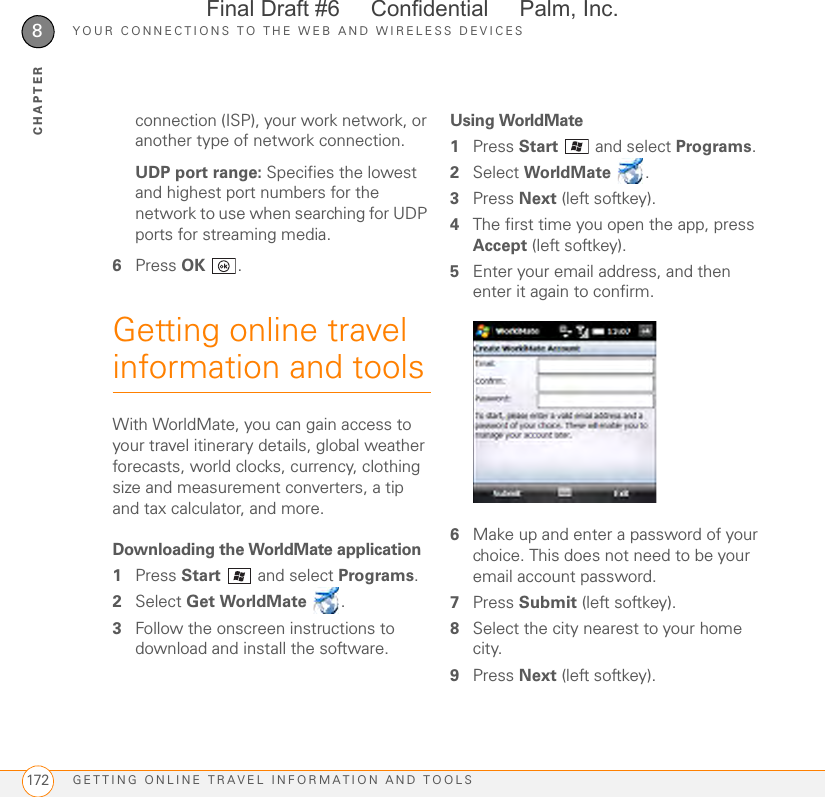
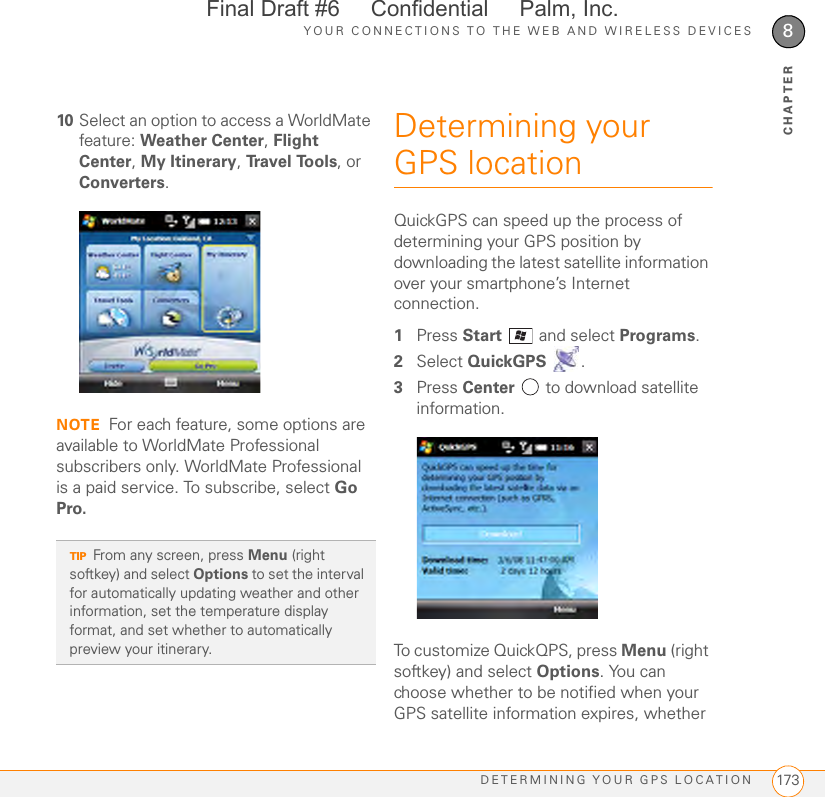
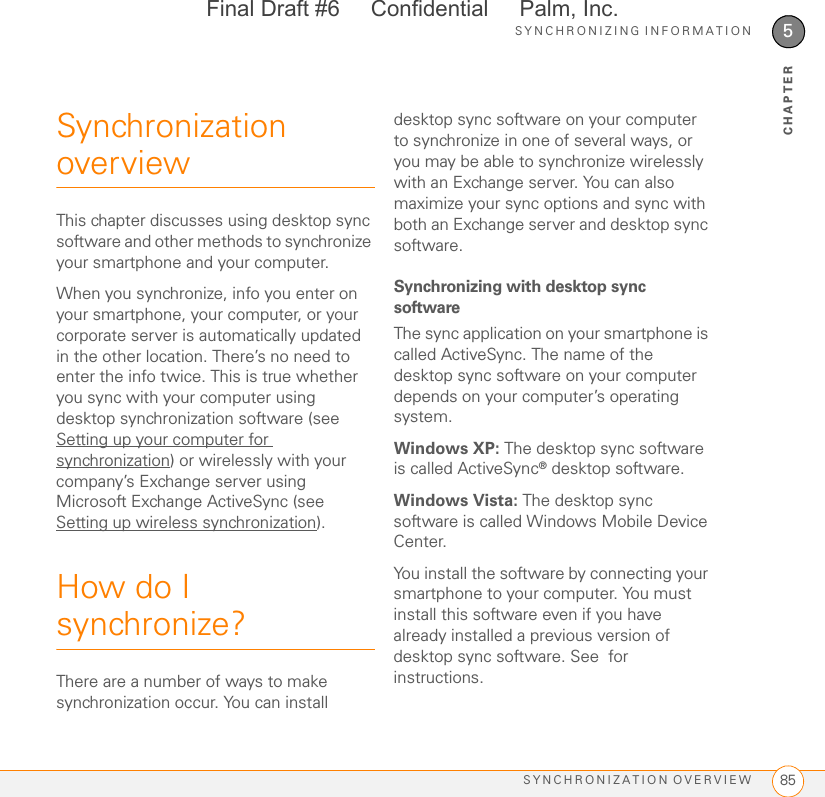
![MOVING AROUND ON YOUR SMARTPHONEUSING THE KEYBOARD383CHAPTERPress Alt by itself to select these characters:: _ • % = ÷ ^ $ £ ¥ ¢ $ [ ] { } < > « » © ® ° ~ \ Ø µ |EÉ È Ë Êf or F ƒi í ì ï î I Í Ì Ï Îl or L £nñNÑo ó ò ö ô œ õO Ó Ò Ö Ô Œ Õp or P ¶ r or R ®sß š Sß Š t or T ™u ú ù ü ûU Ú Ù Ü Ûx or X x ¤y ý ÿ Y Ý ŸPress Alt and press… to select…0°1 ( + E) 1 ¼ ½2 ( + R) 23 ( + T) 3 ¾! ( + J) ¡$ ( + H) £ ¥ ¢; ( + K) : :-) :-( ;-)? ( + N) ¿Press Alt and press… to select…Final Draft #6 Confidential Palm, Inc.](https://usermanual.wiki/Palm/SKYG.User-Manual-1/User-Guide-964109-Page-38.png)


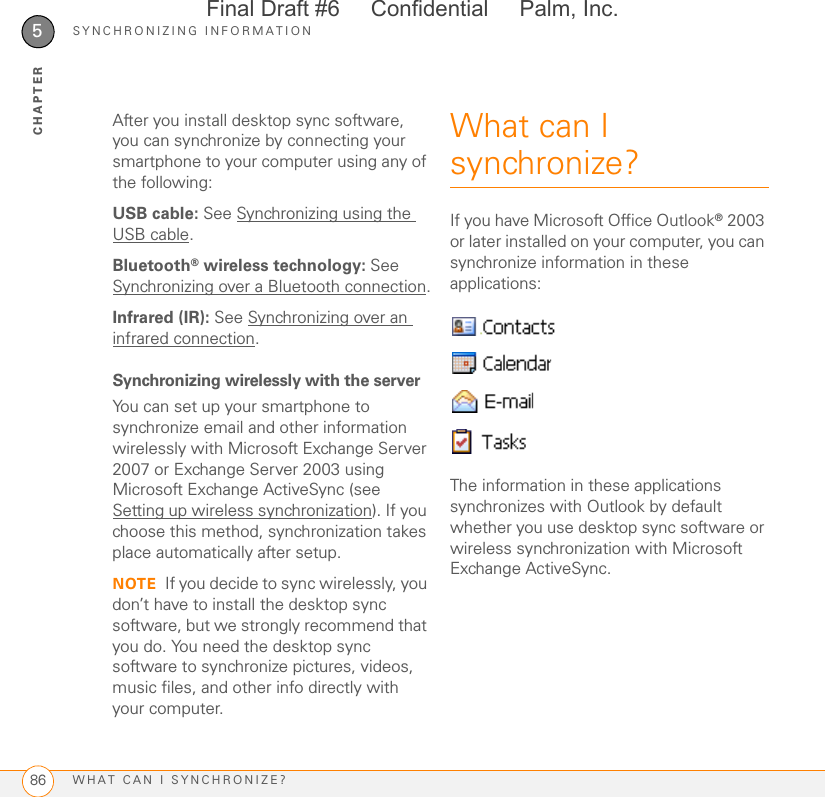
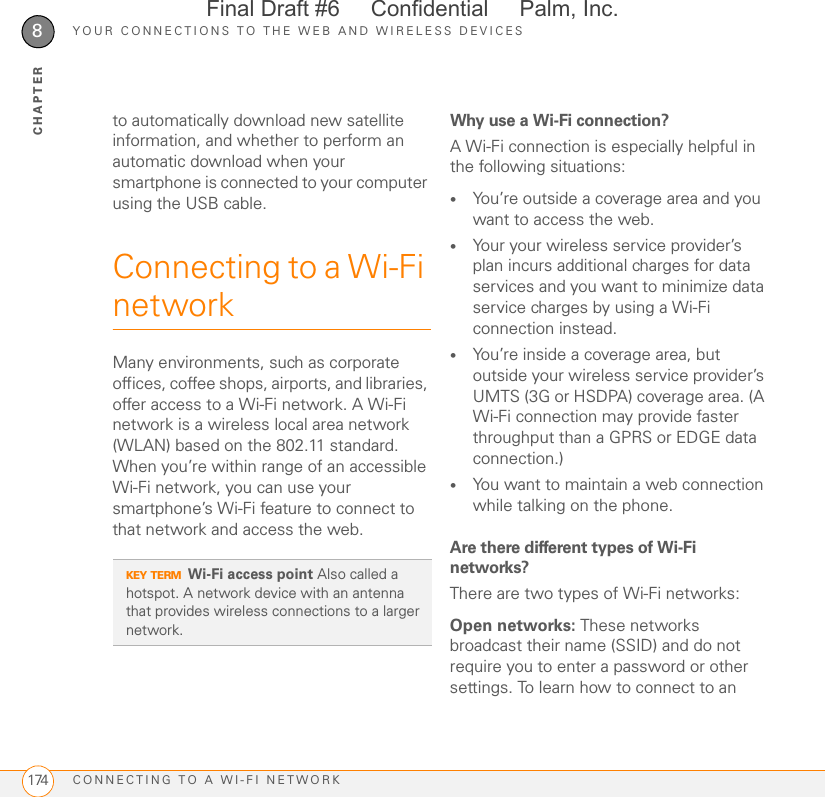
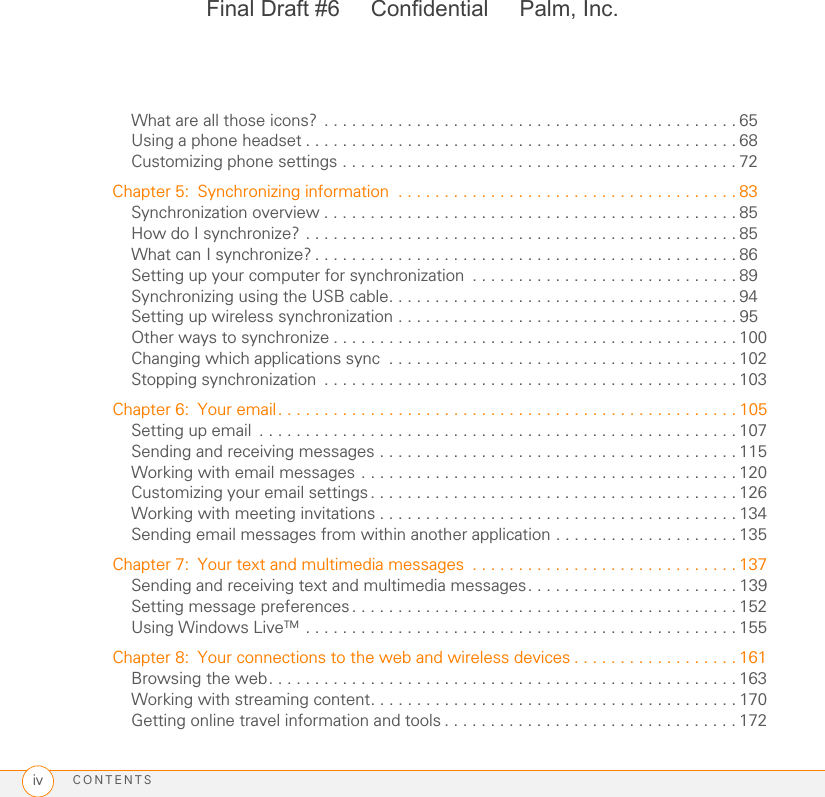
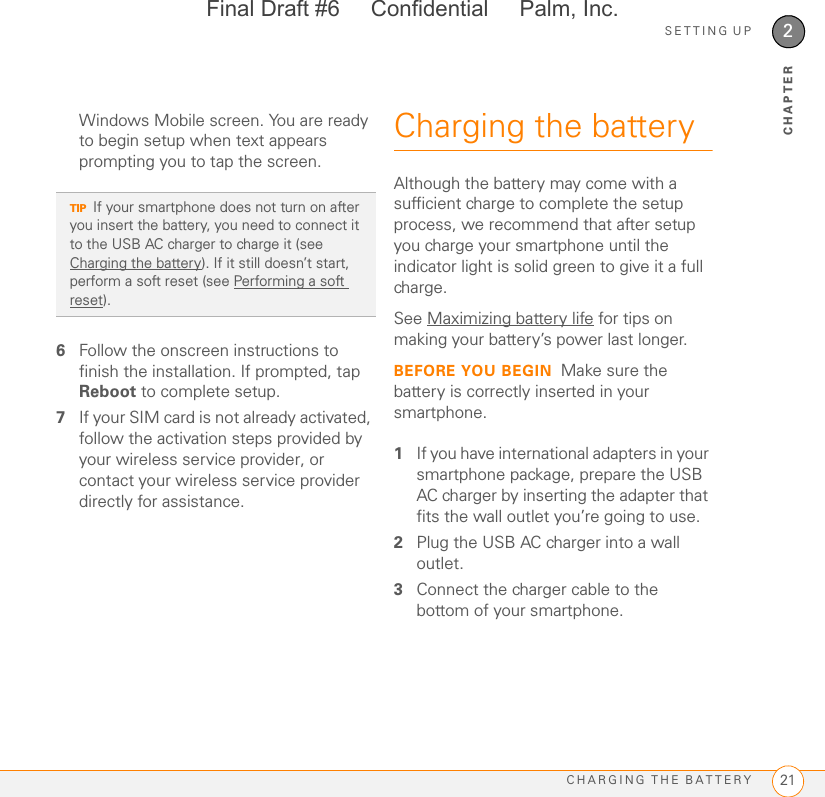
![YOUR EMAILWORKING WITH EMAIL MESSAGES1246CHAPTER5Press Send (left softkey).Forwarding a message1Open the message you want to forward.2Press Menu (right softkey) and select Reply > Forward.3Address the message and enter any text you want to add.4(Optional) Select Edit sender’s message to edit the original sender’s message text that you include in your reply.5Press Send (left softkey).Deleting messagesYou can delete a message you are reading, or you can delete one or more messages from the message list.To delete a message you are reading:•Press Menu (right softkey) and select Delete.To delete messages from the message list:1Highlight the message(s) you want to delete. To highlight multiple consecutive messages, tap and drag the stylus across the messages in the list.2Press Delete (left softkey).3Select Ye s to confirm the deletion.To delete all messages at once:1Press Menu (left softkey) and select To o l s > Clear “[account name].”2Select Ye s to confirm the deletion.Messages you delete are moved to the Deleted Items folder. To remove these items from your smartphone completely, press Menu (right softkey) and select To o l s > Empty Deleted Items.Sorting your messagesYou can sort the messages in any folder. 1Go to the Inbox or other folder you want to sort.DID YOU KNOW?If you reply to a message sent as HTML, the reply is sent in HTML also.TIPTo reply to both the sender and all other addressees, open the message, press Menu (right softkey), and select Reply > Reply All.Final Draft #6 Confidential Palm, Inc.](https://usermanual.wiki/Palm/SKYG.User-Manual-1/User-Guide-964109-Page-124.png)