Palm SKYG Smartphone User Manual Skywriter UMTS Generic User Guide
Palm Inc Smartphone Skywriter UMTS Generic User Guide
UserManual.wiki
>
Palm
>
SKYG User Manual
>
User Manual 2
Contents
1.
User Manual 1
2.
User Manual 2
User Manual 2
Navigation menu
Upload a User Manual
Namespaces
Wiki Guide
HTML
PDF
Info
Views
User Manual
Discussion / Help
Navigation


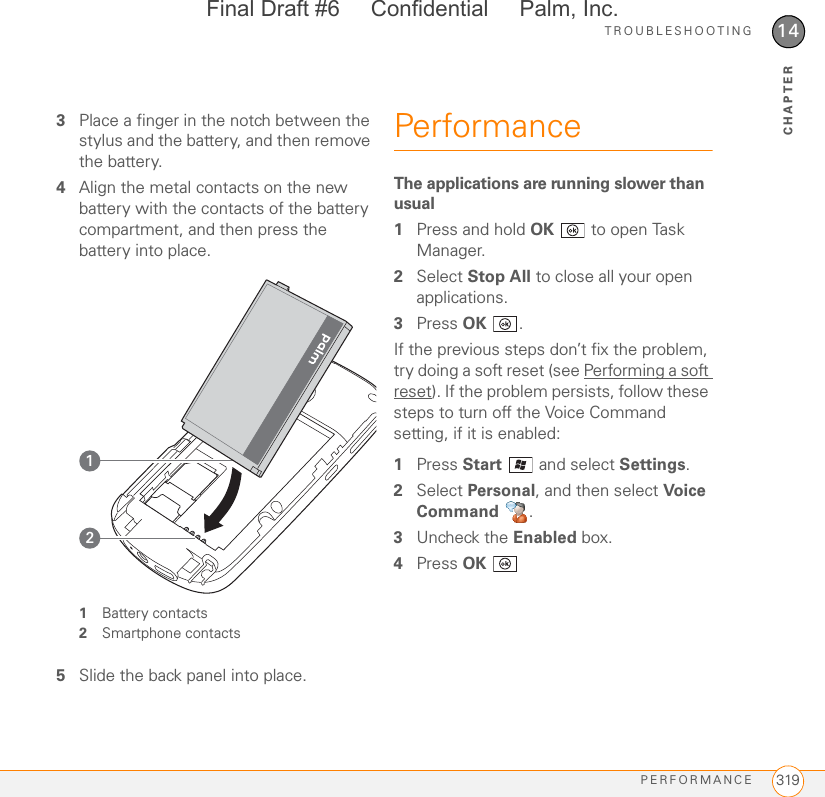

![TROUBLESHOOTINGSYNCHRONIZATION 33114CHAPTER2Select ActiveSync .3Press Menu (right softkey) and select Schedule.4Check the Use above setting when roaming box.5Press OK .An alert tells me that ActiveSync encountered a problem on the serverThere is a temporary problem with the server or the server may be temporarily overloaded. Try again later. If the problem persists, contact your system administrator.An alert tells me that there is not enough free memory to sync my infoThe ActiveSync application on your smartphone ran out of storage space. Try the following:1Go to Memory Settings and close all running programs (see Closing applications).2If the problem persists, see Making room on your smartphone for suggestions on other ways to free up space on your smartphone.An alert tells me that ActiveSync encountered a problem with [item type] [item name]An error occurred during the sync of a single item. This error can usually be corrected only by removing the item that caused the error. If you sync again to see if the error persists, be aware that items causing this type of error are skipped and do not show up again.My Today screen settings are not restored after a hard resetSettings such as the background image and plug-in choices are not backed up during synchronization, so they can’t be restored after a hard reset. If you use a backup utility, you may be able to restore a backup to recover your Today screen settings and other additional info.Exchange ActiveSync (wireless synchronization)This section covers issues with direct wireless synchronization with an Exchange server. See Desktop sync software for help with synchronizing using your desktop sync software.Final Draft #6 Confidential Palm, Inc.](https://usermanual.wiki/Palm/SKYG.User-Manual-2/User-Guide-964110-Page-131.png)