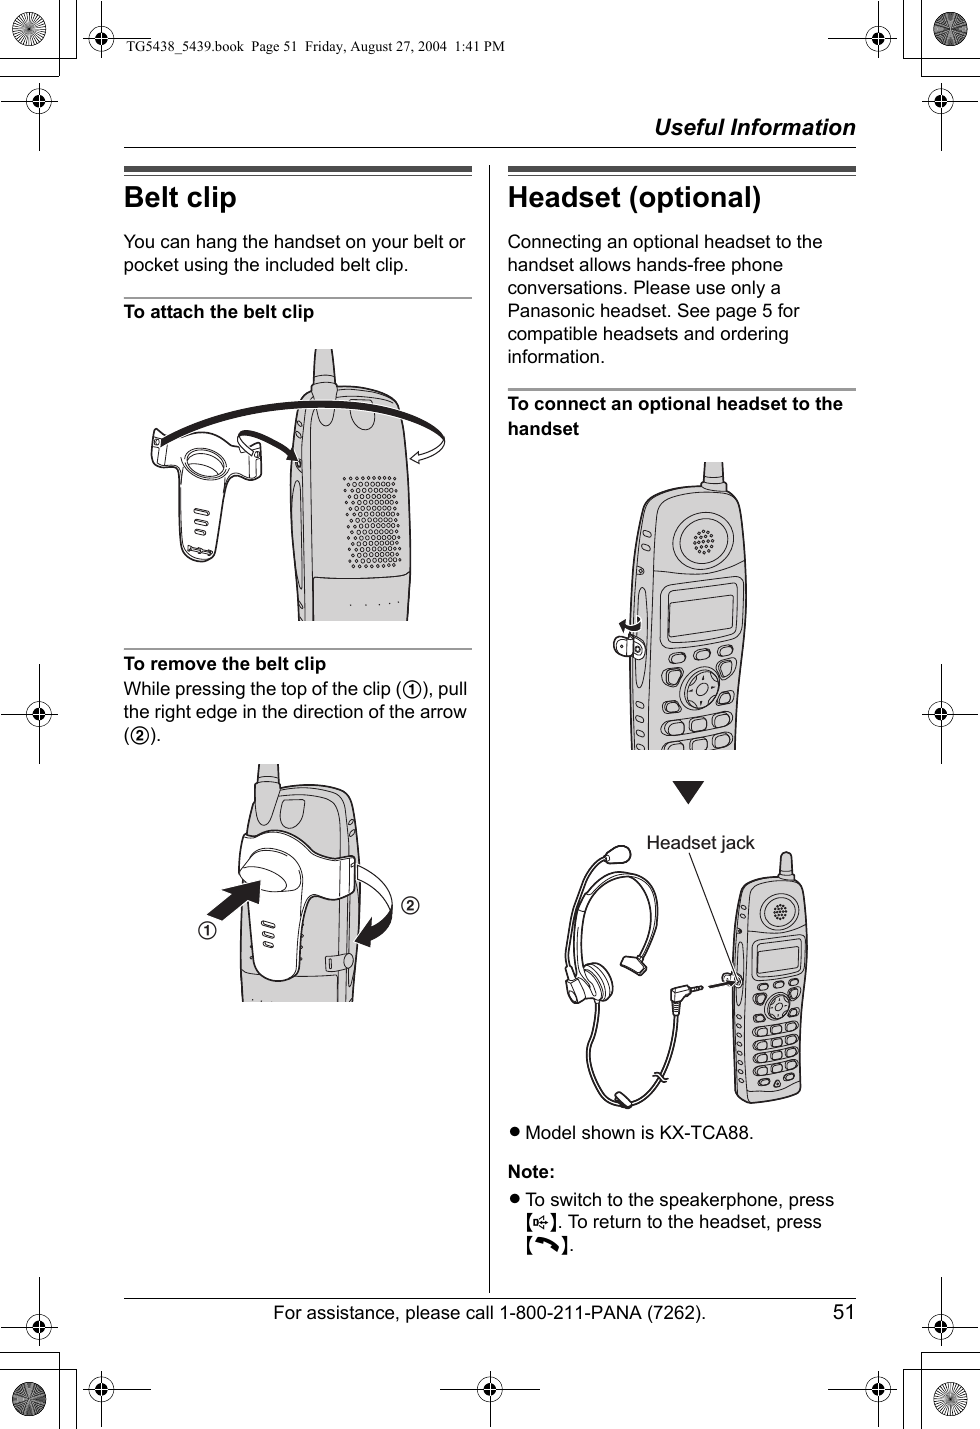
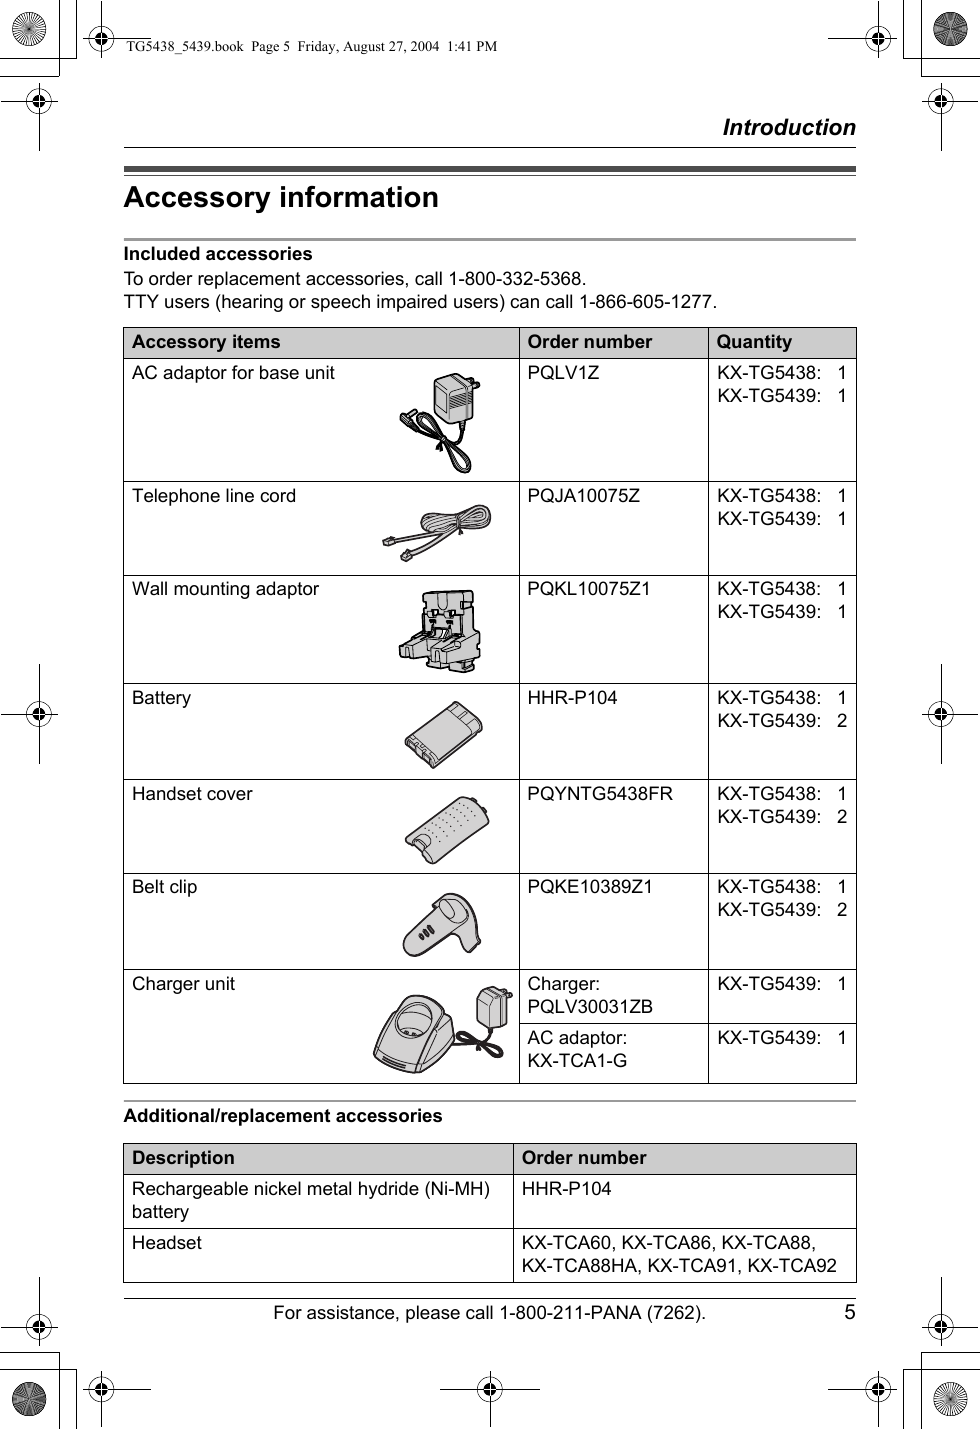
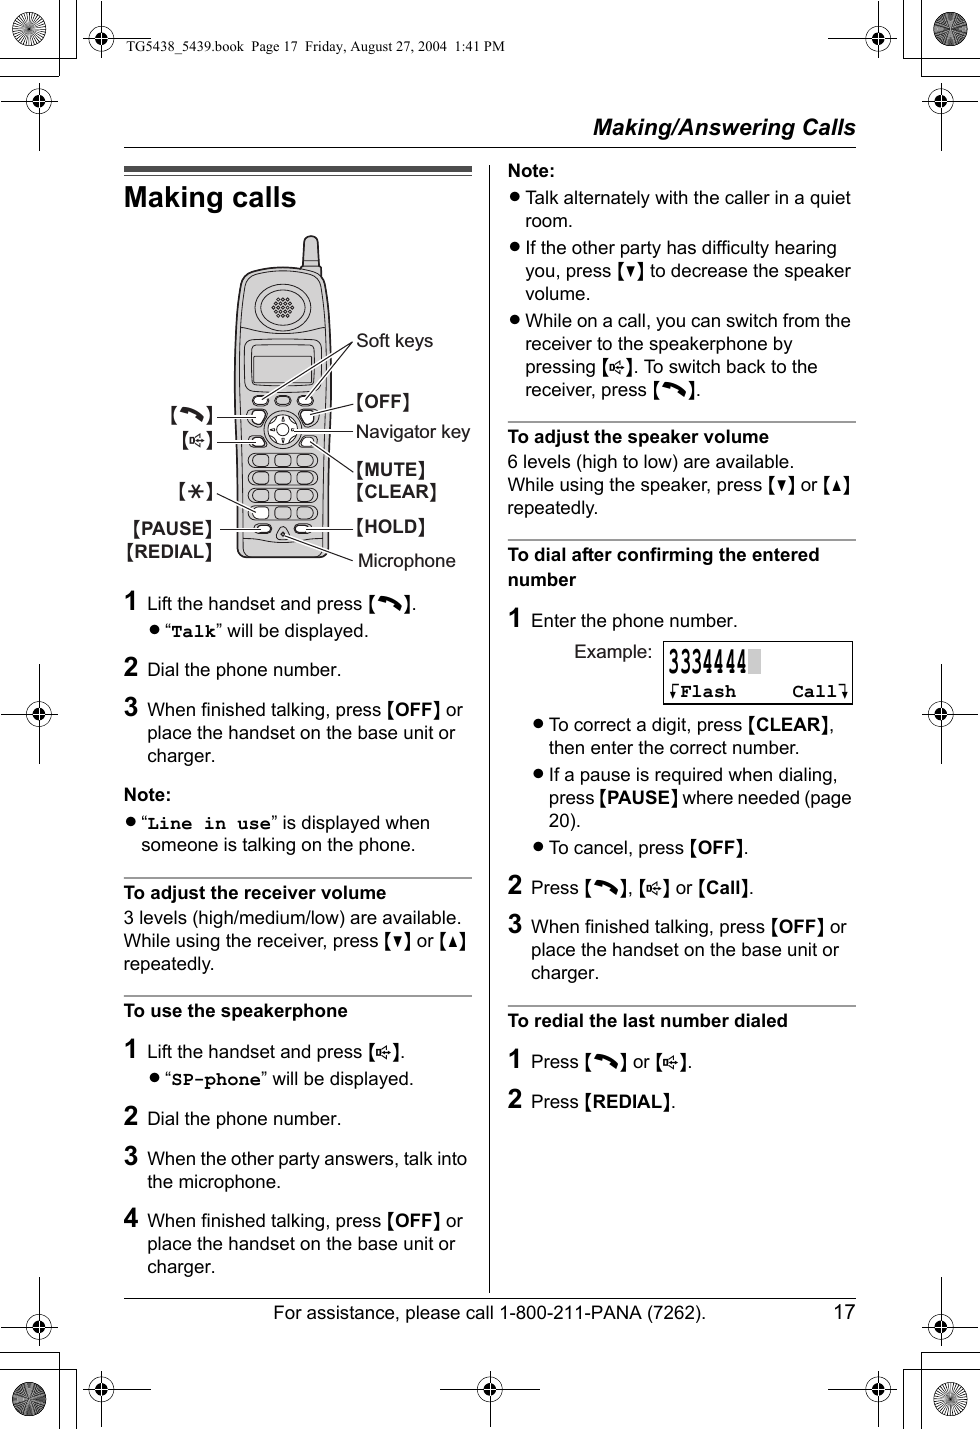
Panasonic of North America 96NKX-TG5438 5.8 GHz FHSS Cordless Telephone System User Manual TG5438 5439
Panasonic Corporation of North America 5.8 GHz FHSS Cordless Telephone System TG5438 5439
UserManual.wiki
>
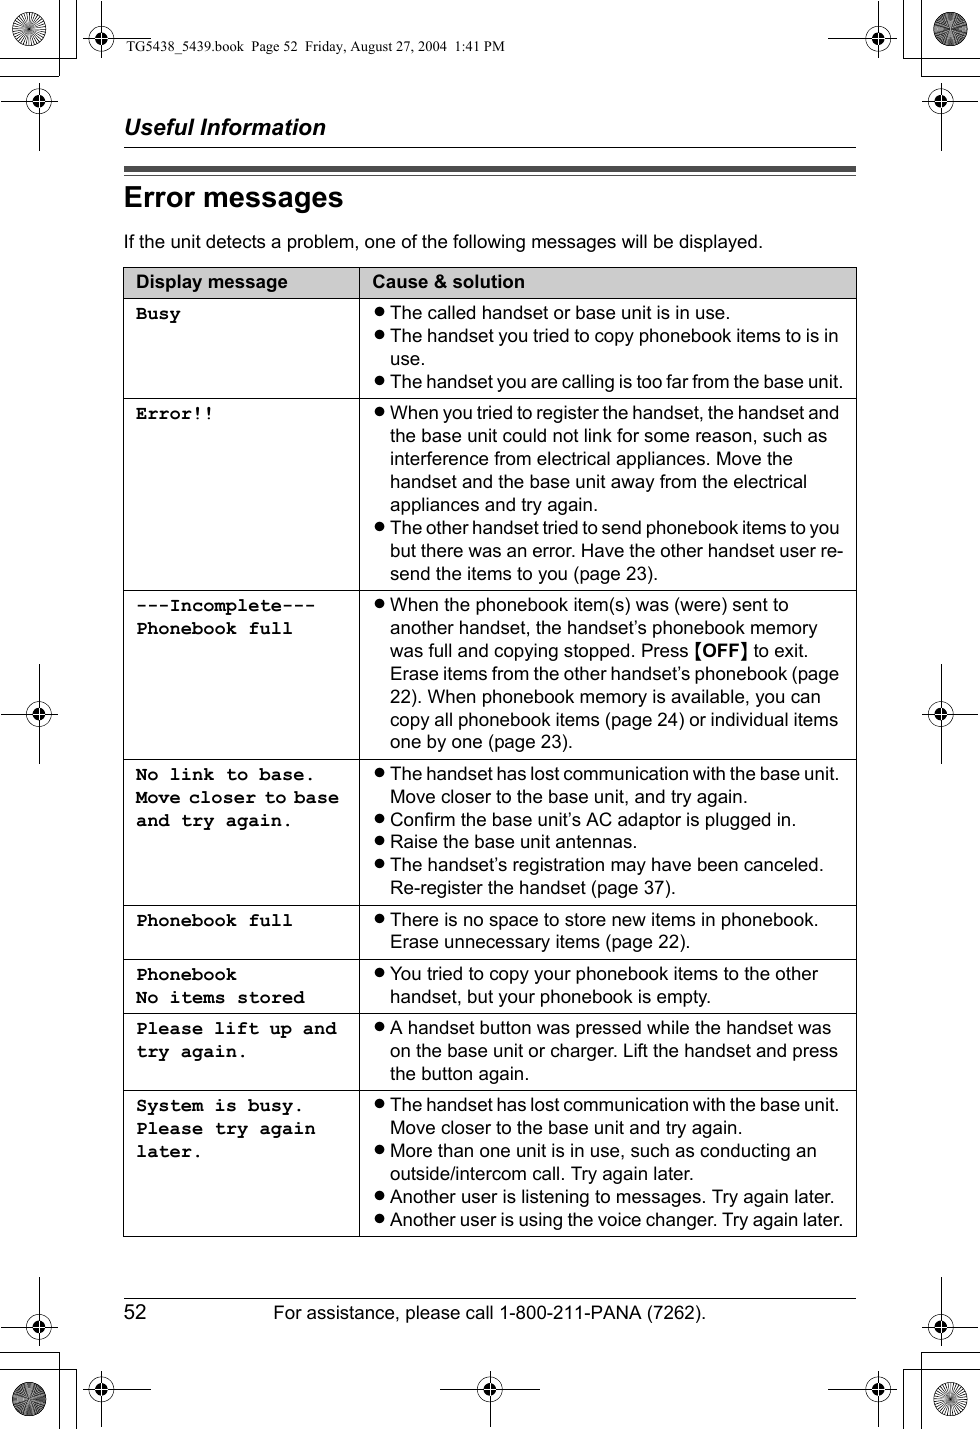
Panasonic of North America
>
96NKX TG5438 User Manual
User Manual
Navigation menu
Upload a User Manual
Namespaces
Wiki Guide
HTML
PDF
Info
Views
User Manual
Discussion / Help
Navigation
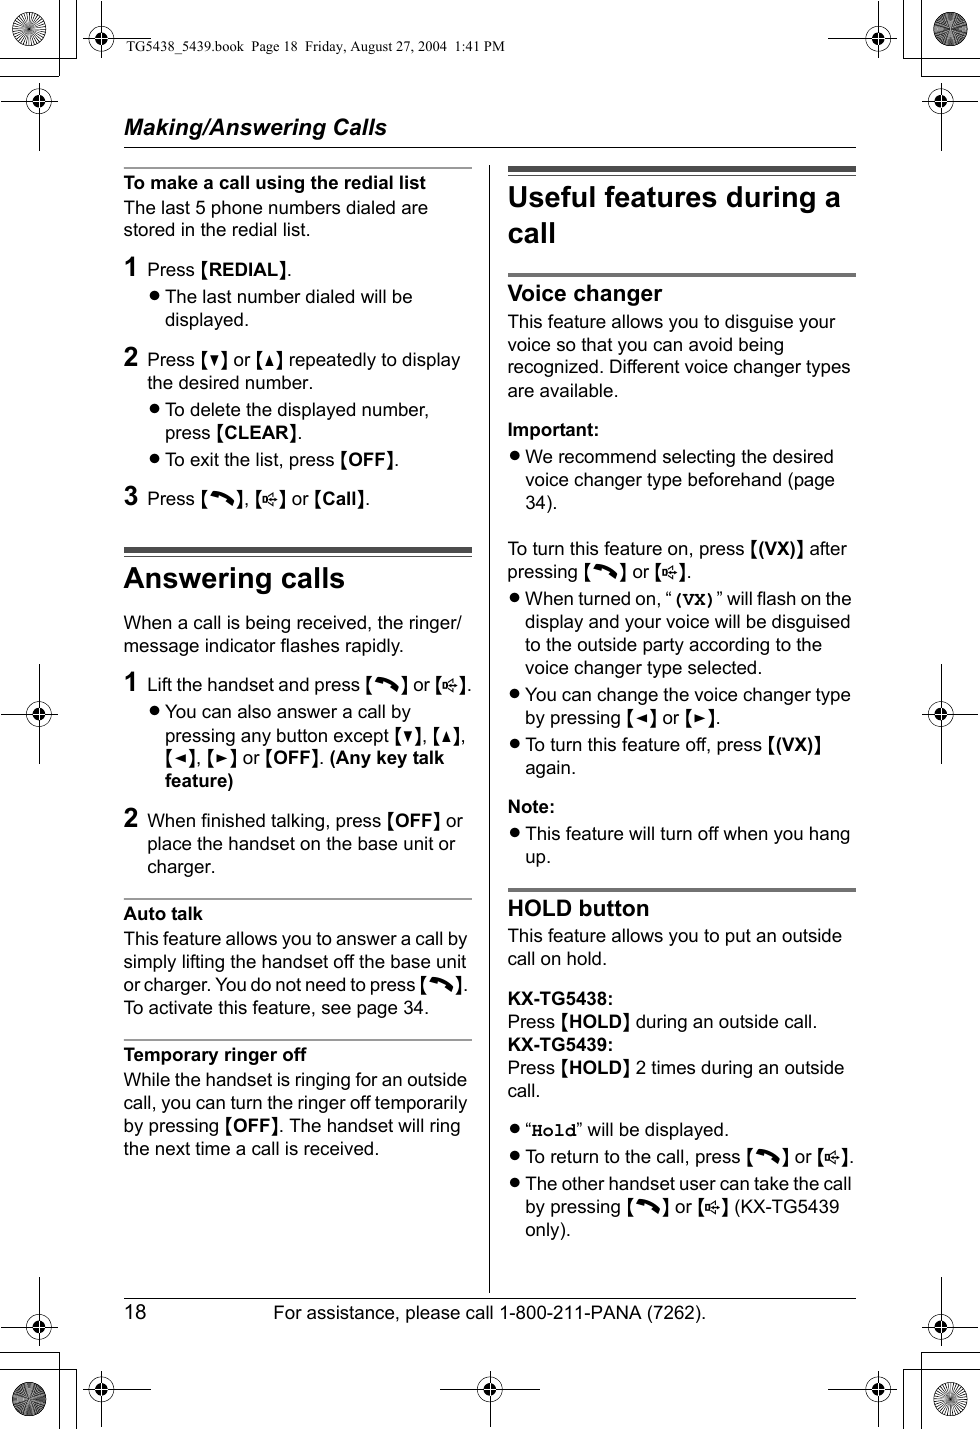


![Intercom FeaturesFor assistance, please call 1-800-211-PANA (7262). 31Transferring a call (KX-TG5439 only)Outside calls can be transferred from one handset to the other.1During an outside call, press {INTERCOM}.LThe call will be put on hold.2To page the other handset, press {HS [1]} or {HS [2]}.3Wait for the paged party to answer.LThe paged handset user can answer by pressing {C}, {s} or {INTERCOM}.LIf there is no answer, press {C} or {s} to return to the outside call.4To complete the transfer, press {OFF}.Transferring a call without speaking to the paged party1During an outside call, press {INTERCOM}, then press {HS [1]} or {HS [2]}.2Press {OFF}.LThe outside call rings at the other handset.Note:LIf the paged party does not answer the call, press {C} or {s} to return to the call. If not answered within 1 minute, the call will ring at your handset again. If you still do not answer the call within 4 minutes, the call will be disconnected.Conference calls (KX-TG5439 only)A conference call allows 2 handsets to speak together with an outside party.1During an outside call, press {INTERCOM}.LThe call will be put on hold.2To page the other handset, press {HS [1]} or {HS [2]}.3When the paged party answers, press {Conf} on your handset to establish a conference call.L“Conference” will be displayed.LTo leave the conference, press {OFF}. The other 2 parties can continue the conversation.Note:LThe outside call can be put on hold by pressing {INTERCOM} during a conference call. Communications between extensions are not suspended. Only the person who placed the call on hold can resume the conference by pressing {Conf}.TG5438_5439.book Page 31 Friday, August 27, 2004 1:41 PM](https://usermanual.wiki/Panasonic-of-North-America/96NKX-TG5438/User-Guide-474042-Page-31.png)
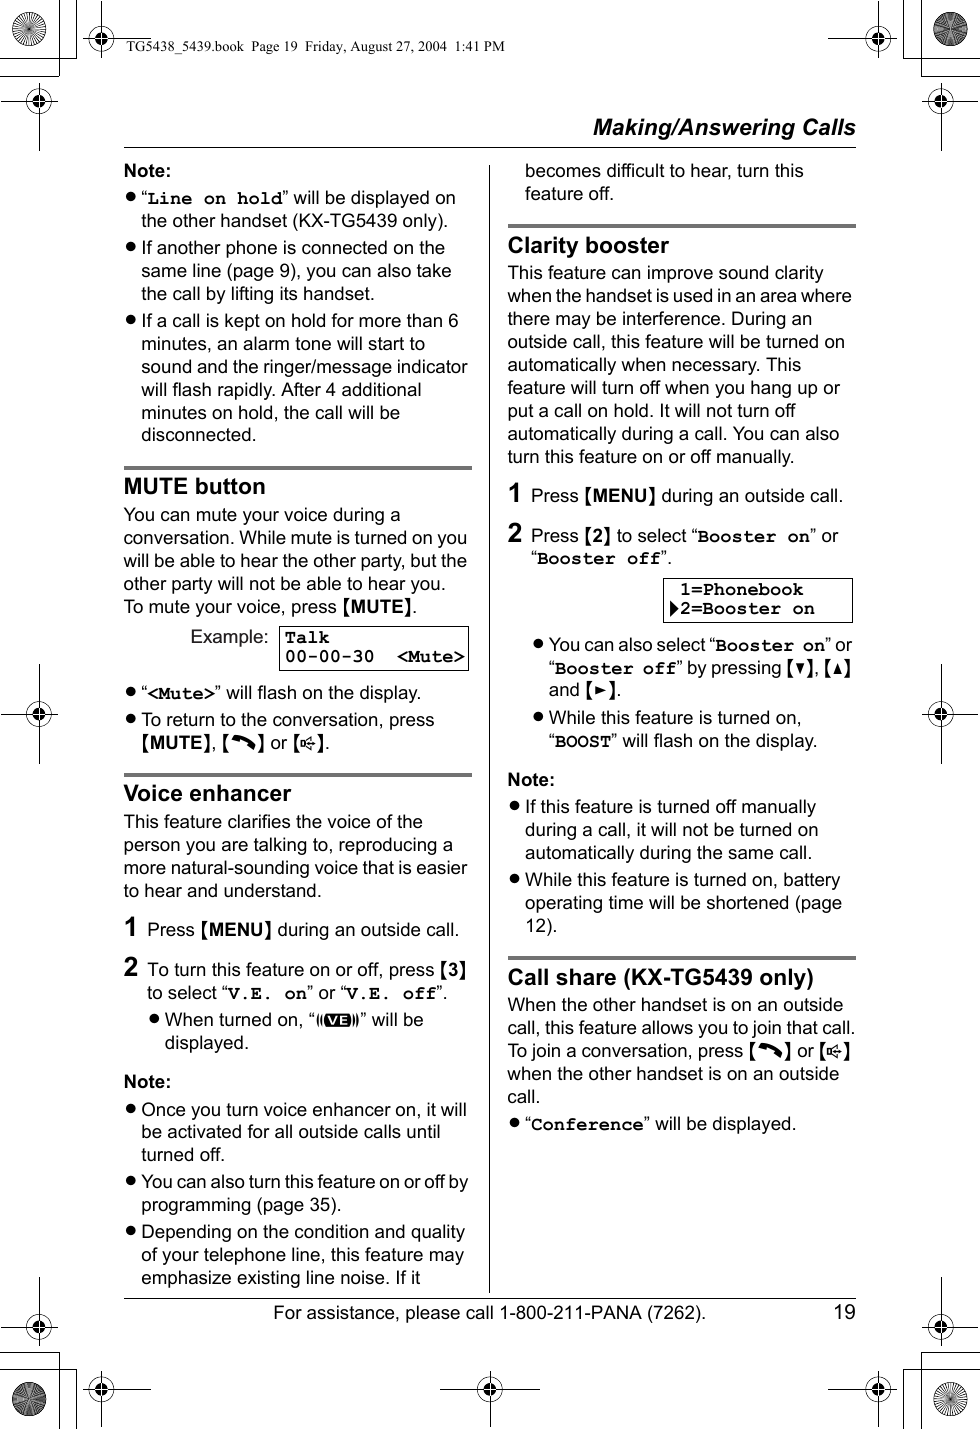
![Programmable Settings32 For assistance, please call 1-800-211-PANA (7262).Guide to handset programmingFor your reference, a chart of all programmable functions is printed below. Details for each item can be found on the corresponding pages. To program, press {MENU}, press {V} or {^} to scroll through the menu, and press to {Select} or {>} when the desired menu item or setting is displayed.Important:LBefore programming, make sure the handset and base unit are not being used. The handset must be operated near the base unit and while off the base unit or charger.Main menu Sub-menu 1 Sub-menu 2 PageMessage play – – page 43Ringer setting Ringer volume – page 33Ringer tone – page 33Interrupt tone – page 34Date and time*3 – – page 16VoiceChanger[VX] – – page 34Voice enhancer – – page 35Caller IQ*1 View Info.?*2 ––Get new Info.? ––Turn CIQ off? ––Copy phonebook Copy 1 item – page 23Copy all items – page 24Customer support – – page 37Initial setting Set answering Ring count*3 page 46Recording time*3 page 47Remote code*3 page 46Message alert – page 47LCD contrast – page 35Key tone – page 36Auto talk – page 34Caller ID edit – page 35Time adjustment*3 – page 37Set tel line Set dial mode*3 page 36Set flash time*3 page 36Set line mode*3 page 36Registration – page 37Change language – page 35TG5438_5439.book Page 32 Friday, August 27, 2004 1:41 PM](https://usermanual.wiki/Panasonic-of-North-America/96NKX-TG5438/User-Guide-474042-Page-32.png)
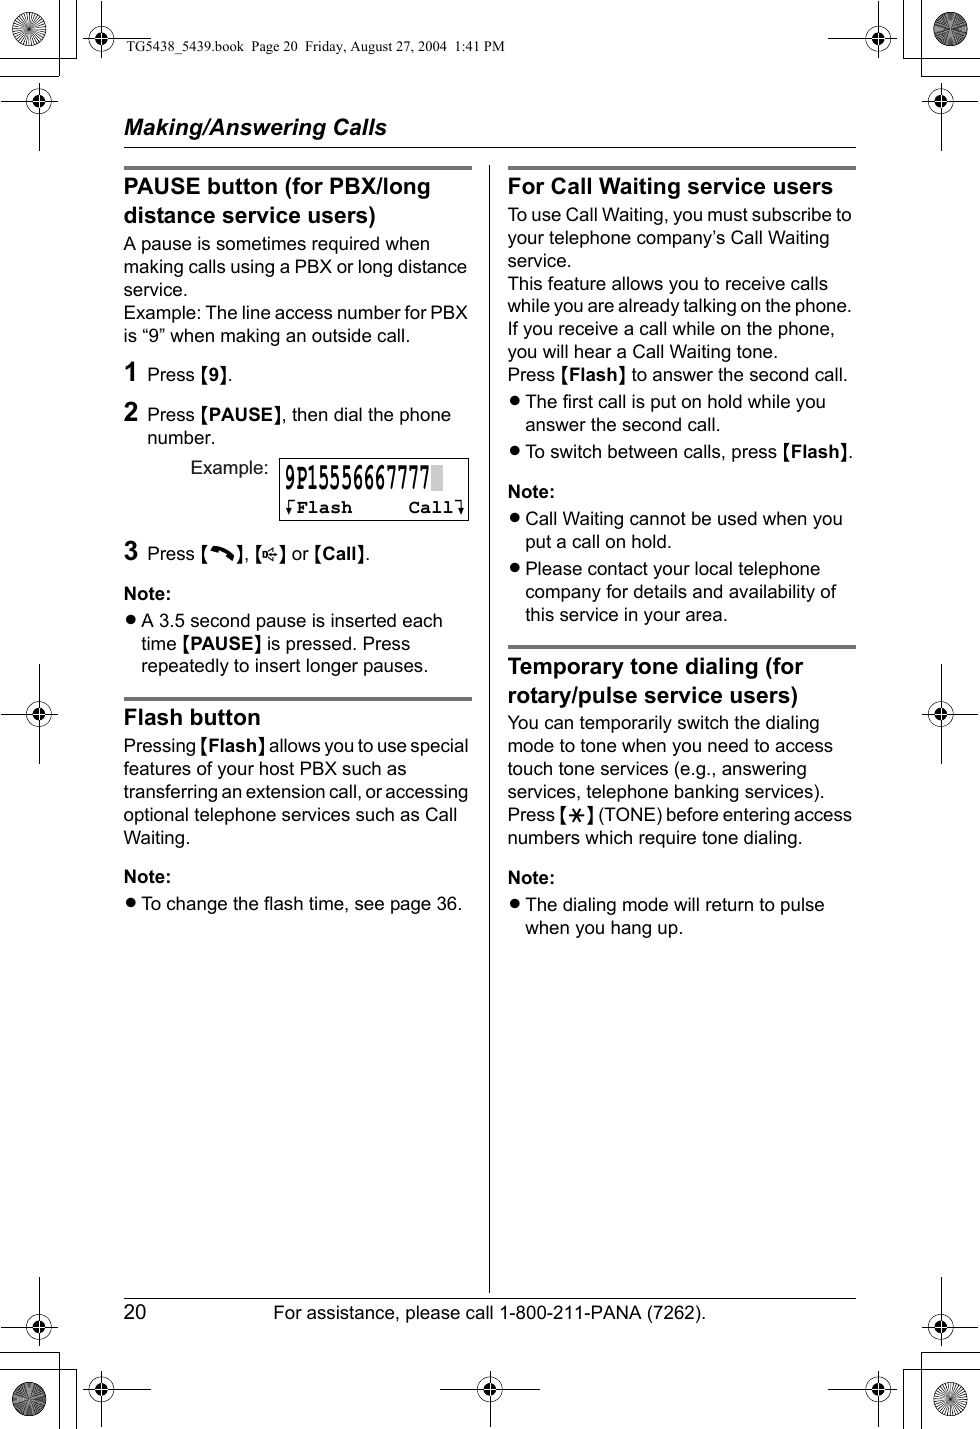
![Programmable SettingsFor assistance, please call 1-800-211-PANA (7262). 352Scroll to “VoiceChanger[VX]” by pressing {V} or {^}, then press {>}.3To select “Talk”, press {1}.Press {V} or {^} repeatedly to select the desired setting.LYou can sample the selected voice changer type by speaking into the handset. Your voice will be heard through the base unit speaker.ORTo select “Greeting”, press {2}. Press {V} or {^} repeatedly to select the desired setting.LYour greeting will be heard through the base unit speaker.LTo turn this feature off, press {0}.4Press {Save}, then press {OFF}.Note:LTo turn the voice changer on during a call, see page 18.LIn step 3, you can also select the voice type by pressing {1} to {3}.Voice enhancerYou can turn the voice enhancer feature on or off. The default setting is OFF.1Press {MENU}.2Scroll to “Voice enhancer” by pressing {V} or {^}, then press {>}.3Press {V} or {^} to select “On” or “Off”.4Press {Save}, then press {OFF}.Caller ID editYou can turn the Caller ID number auto edit feature (page 27) on or off. The default setting is ON.1Press {MENU}.2Scroll to “Initial setting” by pressing {V} or {^}, then press {>}.3Scroll to “Caller ID edit” by pressing {V} or {^}, then press {>}.4Press {V} or {^} to select “On” or “Off”.5Press {Save}, then press {OFF}.Display optionsHandset LCD contrastYou can adjust the handset display contrast. There are 6 levels. The default setting is level 3.1Press {MENU}.2Scroll to “Initial setting” by pressing {V} or {^}, then press {>}.3Scroll to “LCD contrast” by pressing {V} or {^}, then press {>}.4Press {V} or {^} repeatedly to select the desired setting.5Press {Save}, then press {OFF}.Display languageYou can select either “English” (default) or “Español” (Spanish) for the display language.1Press {MENU}.2Scroll to “Initial setting” by pressing {V} or {^}, then press {>}.3Scroll to “Change language” by pressing {V} or {^}, then press {>}.4Press {V} or {^} repeatedly to select the desired language.LYou can also select by pressing {English} or {Español}.5Press {Save} or {Salvar}, then press {OFF}.TG5438_5439.book Page 35 Friday, August 27, 2004 1:41 PM](https://usermanual.wiki/Panasonic-of-North-America/96NKX-TG5438/User-Guide-474042-Page-35.png)
![Programmable SettingsFor assistance, please call 1-800-211-PANA (7262). 375Press {Save}, then press {OFF}.Re-registering the handsetIf “No link to base. Move closer to base, try again.” is displayed even when the handset is near the base unit, you may need to re-register the handset to the base unit.Important:LMake sure the base unit is not being used.LHave the handset and base unit near each other when re-registering the handset.LConfirm the extension number of the handset which has lost the communication by placing the handset on the base unit or charger. If you re-register the handset using the other handset’s extension number [1] or [2], the other handset will not function.1KX-TG5438 base unit:Press and hold {LOCATOR/INTERCOM}, until the CHARGE indicator flashes.KX-TG5439 base unit:Press and hold the locator/handset button that corresponds to the handset you want to re-register ({LOCATOR/INTERCOM 1} or {LOCATOR/INTERCOM 2}), until a beep sounds.LAfter the CHARGE indicator starts flashing, the rest of the procedure must be completed within 1 minute.2Handset:Press {MENU}.3Scroll to “Initial setting” by pressing {V} or {^}, then press {>}.4Scroll to “Registration” by pressing {V} or {^}, then press {>}.5Press {OK}, then wait until the handset beeps.LRegistration is complete.Time adjustment (Caller ID subscribers only)When this feature is turned on (default), the unit’s date and time setting will automatically be adjusted when caller information is received.1Press {MENU}.2Scroll to “Initial setting” by pressing {V} or {^}, then press {>}.3Scroll to “Time adjustment” by pressing {V} or {^}, then press {>}.4Press {V} or {^} to select “Manual” or “Caller ID[auto]”.5Press {Save}, then press {OFF}.Note:LTo use this feature, set the date and time manually first (page 16).Customer supportThe handset can display the Internet address where you can download operating instructions for this product using your computer.1Press {MENU}.2Scroll to “Customer support” by pressing {V} or {^}, then press {>}.L“www.panasonic.com” will be displayed.3Press {OFF}.TG5438_5439.book Page 37 Friday, August 27, 2004 1:41 PM](https://usermanual.wiki/Panasonic-of-North-America/96NKX-TG5438/User-Guide-474042-Page-37.png)