Panasonic of North America 96NKX-TG7741 Bluetooth User Manual Operating Instructions English
Panasonic Corporation of North America Bluetooth Operating Instructions English
UserManual.wiki
>
Panasonic of North America
>
96NKX-TG7741 User Manual
>
user manual p44-88
Contents
1.
user manual p1-43
2.
user manual p44-88
user manual p44-88
Navigation menu
Upload a User Manual
Namespaces
Wiki Guide
HTML
PDF
Info
Views
User Manual
Discussion / Help
Navigation


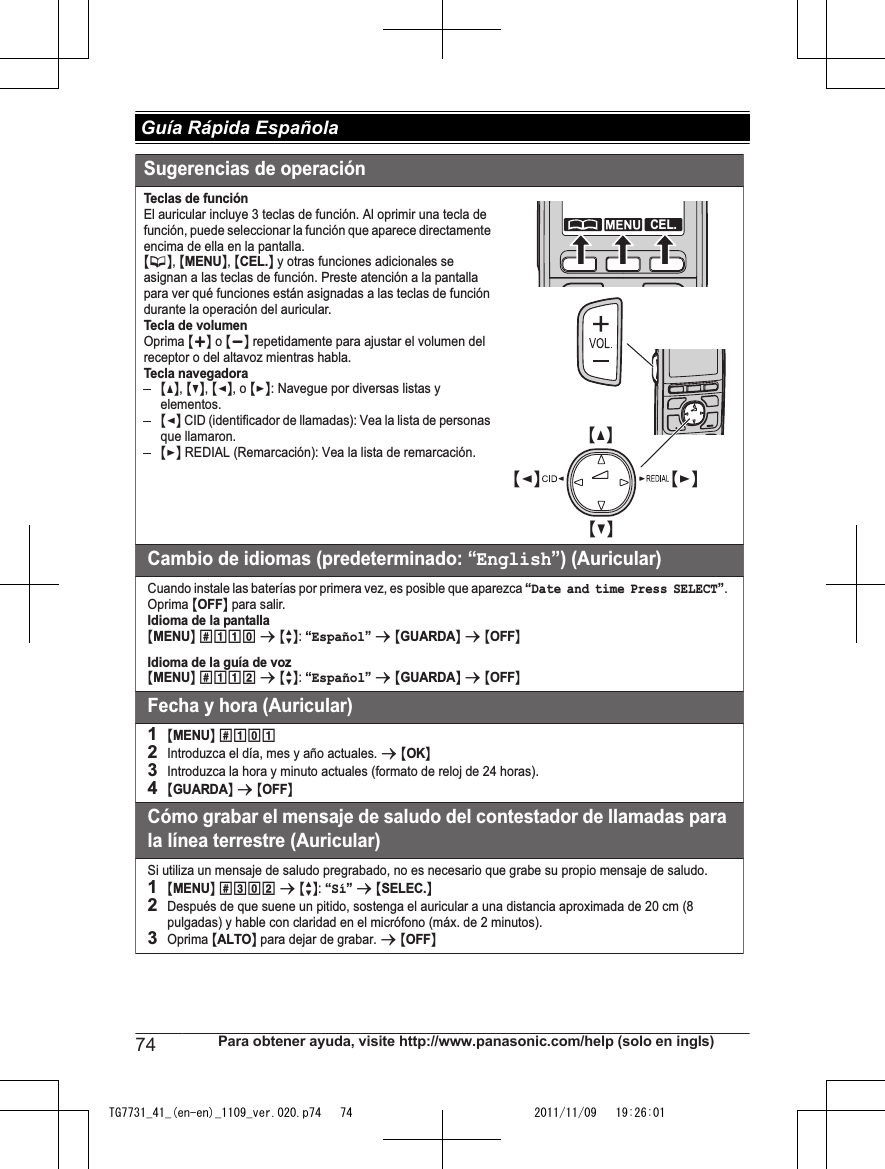
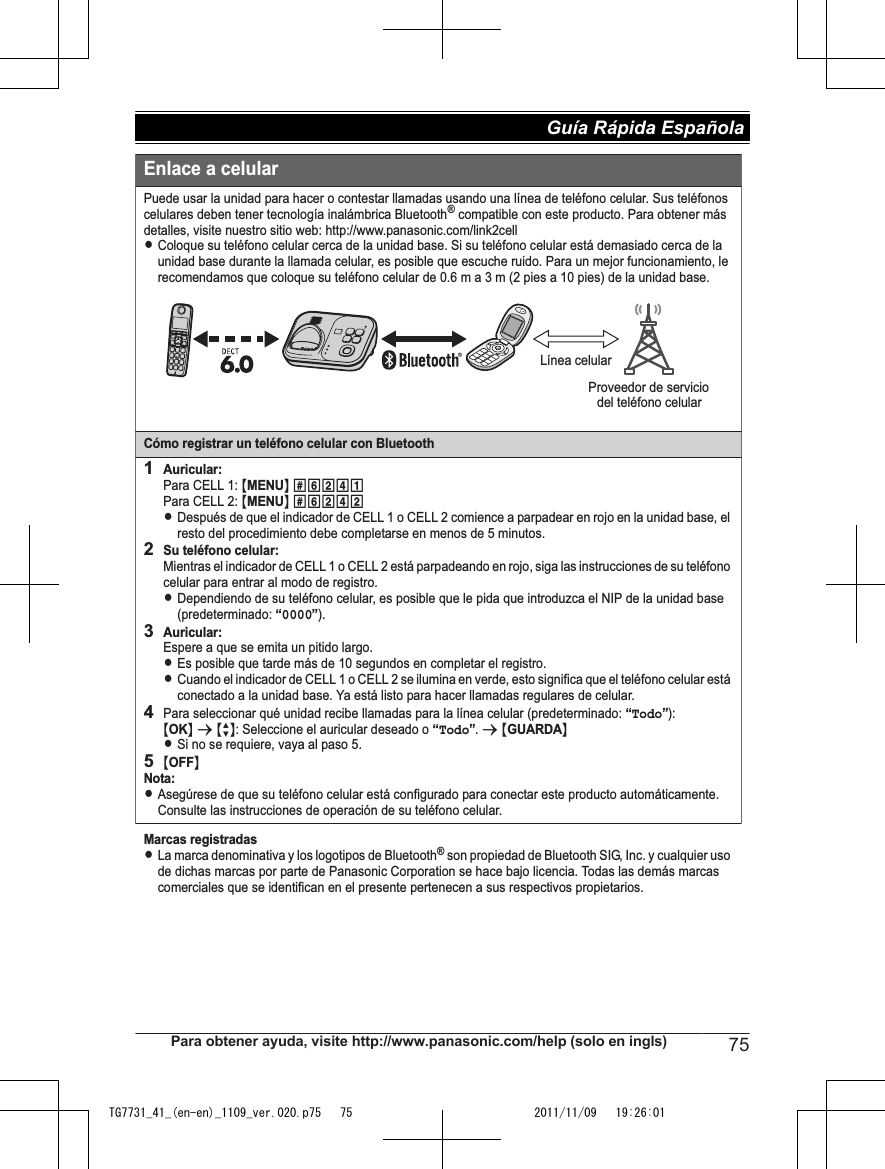
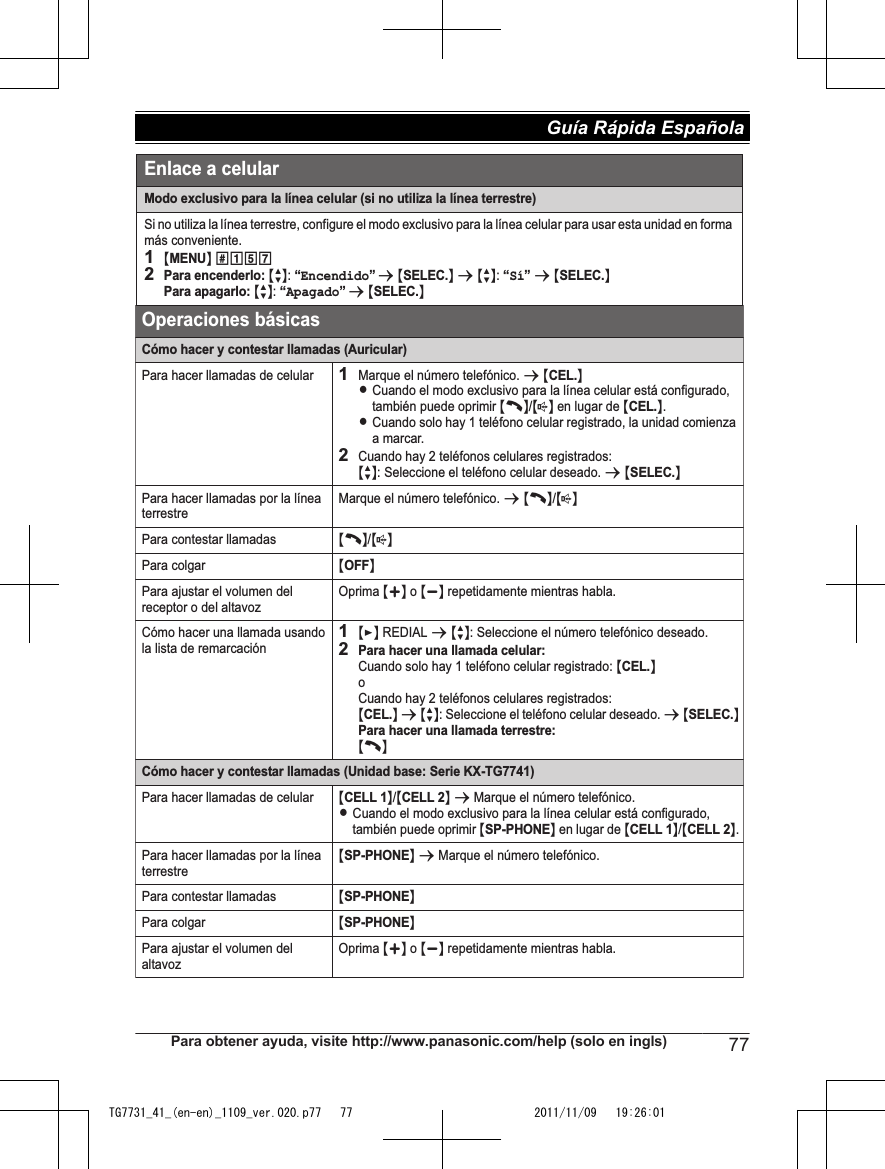
![Unidad base: Indicadores CELL 1/CELL 2Estado SignificadoVerde (encendido) Un teléfono celular está conectado. Listo para hacer o recibir llamadas celulares.Verde (parpadea) La línea del celular se está usando.Las entradas del directorio telefónico se están copiando desde un teléfono celular.Verde (parpadea rápidamente)Se está recibiendo una llamada de celular.Ámbar (encendido) No hay un teléfono celular conectado a la unidad base.Ámbar (parpadea rápidamente)La unidad base está buscando el teléfono celular registrado.Rojo (parpadea) Una llamada de celular se pone en espera.Luz apagada No hay un teléfono celular registrado en la unidad base.Auricular: enlace a elementos de la pantalla del celulartSe está usando una línea de celular.LCuando parpadea: La llamada de celular se pone en espera.LCuando parpadea rápidamente: Se está recibiendo una llamada de celular.Un teléfono celular está conectado.*1 Listo para hacer o recibir llamadas celulares.LCuando está apagado: No hay un teléfono celular conectado a la unidad base.*1 La línea o líneas celulares correspondientes se indican enseguida del elemento.uvEstá recibiendo una llamada de celular en esa línea.Cómo conectar o desconectar el teléfono celularConexión automática al teléfono celularLa unidad se conecta al teléfono celular a intervalos regulares si se pierde la conexión. Consulte las instrucciones de operación para cambiar el intervalo (predeterminado: “1 min”).LCuando está usando una línea celular o un audífono con Bluetooth, la unidad base pierde la conexión de otros dispositivos con Bluetooth (teléfono celular o audífono). Para restablecer la conexión a los teléfonos celulares automáticamente, deje encendida la conexión automática.Cómo conectar o desconectar manualmente el teléfono celularCuando haga o conteste llamadas con su teléfono celular, le recomendamos que lo desconecte de la unidad base; de lo contrario, es posible que no escuche el audio que reciba en su teléfono celular. También puede reconectar manualmente el teléfono celular a la unidad base sin esperar a que la función de conexión automática reanude la conexión.1Para conectarlo o desconectarlo:Para CELL 1: {MENU} (6251 (suena un pitido largo.)Para CELL 2: {MENU} (6252 (suena un pitido largo.)2{OFF}Enlace a celular]1276 Para obtener ayuda, visite http://www.panasonic.com/help (solo en ingls) Guía Rápida EspañolaTG7731_41_(en-en)_1109_ver.020.p76 76 2011/11/09 19:26:01](https://usermanual.wiki/Panasonic-of-North-America/96NKX-TG7741.user-manual-p44-88/User-Guide-1593847-Page-33.png)