Panasonic of North America PCCUKKX-TG4500 4 line 5.8 GHz cordless telephone system User Manual TG4500
Panasonic Corporation of North America 4 line 5.8 GHz cordless telephone system TG4500
UserManual.wiki
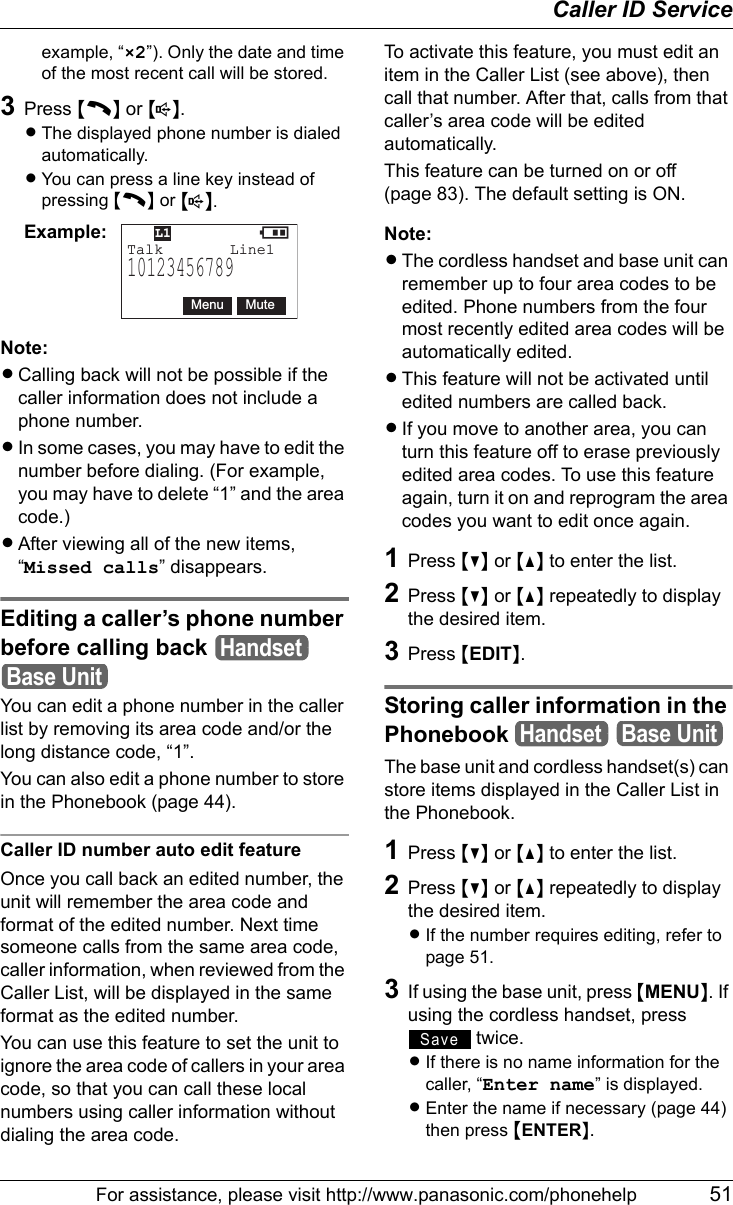
>
Panasonic of North America
>
PCCUKKX TG4500 User Manual
Installation Guide
Navigation menu
Upload a User Manual
Namespaces
Wiki Guide
HTML
PDF
Info
Views
User Manual
Discussion / Help
Navigation

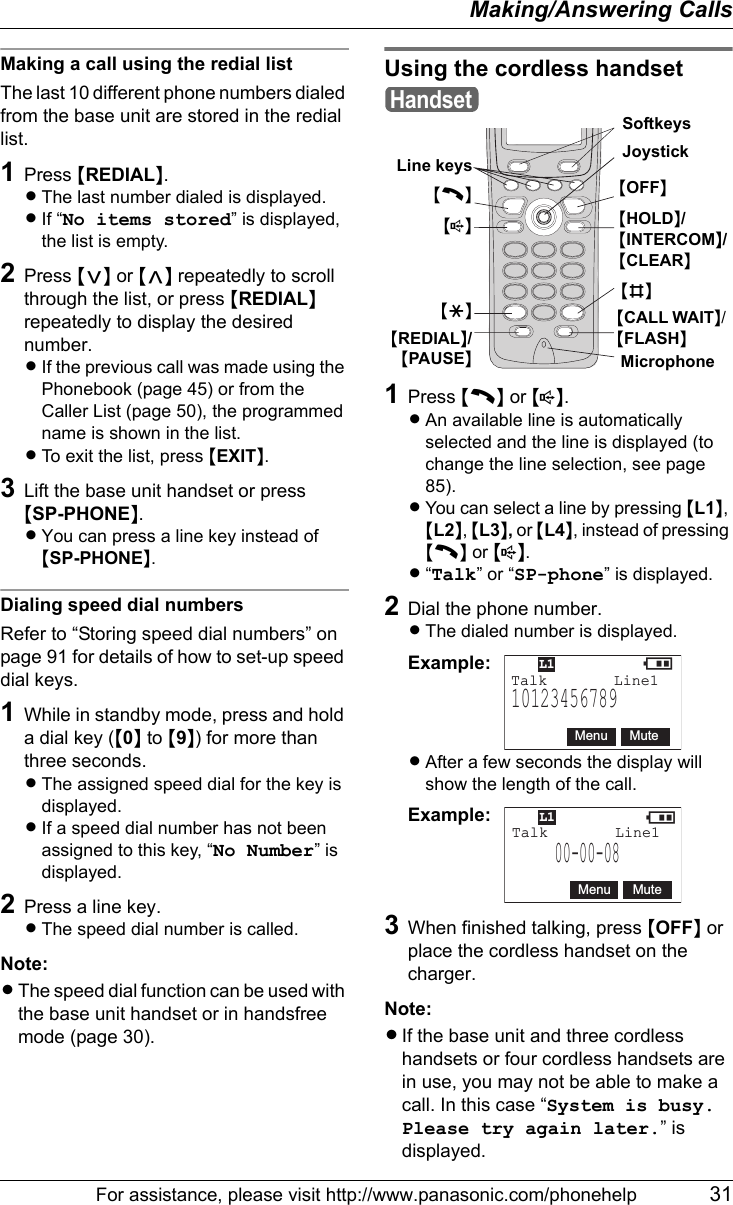
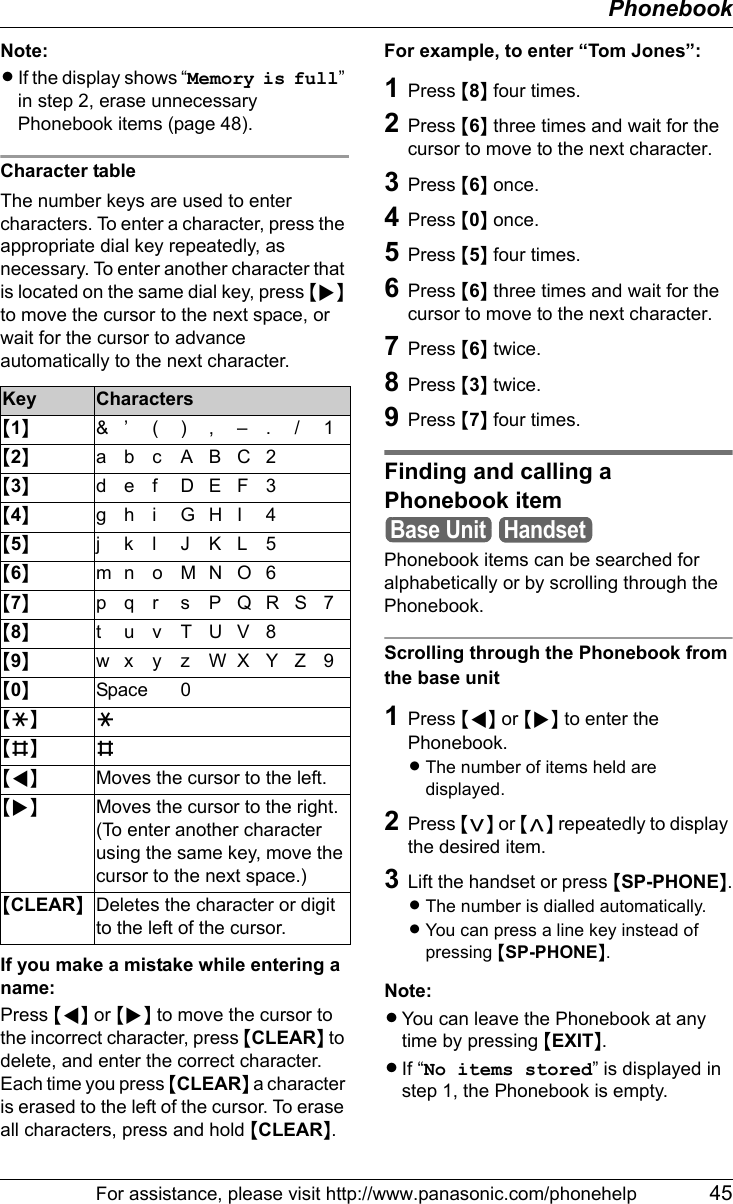

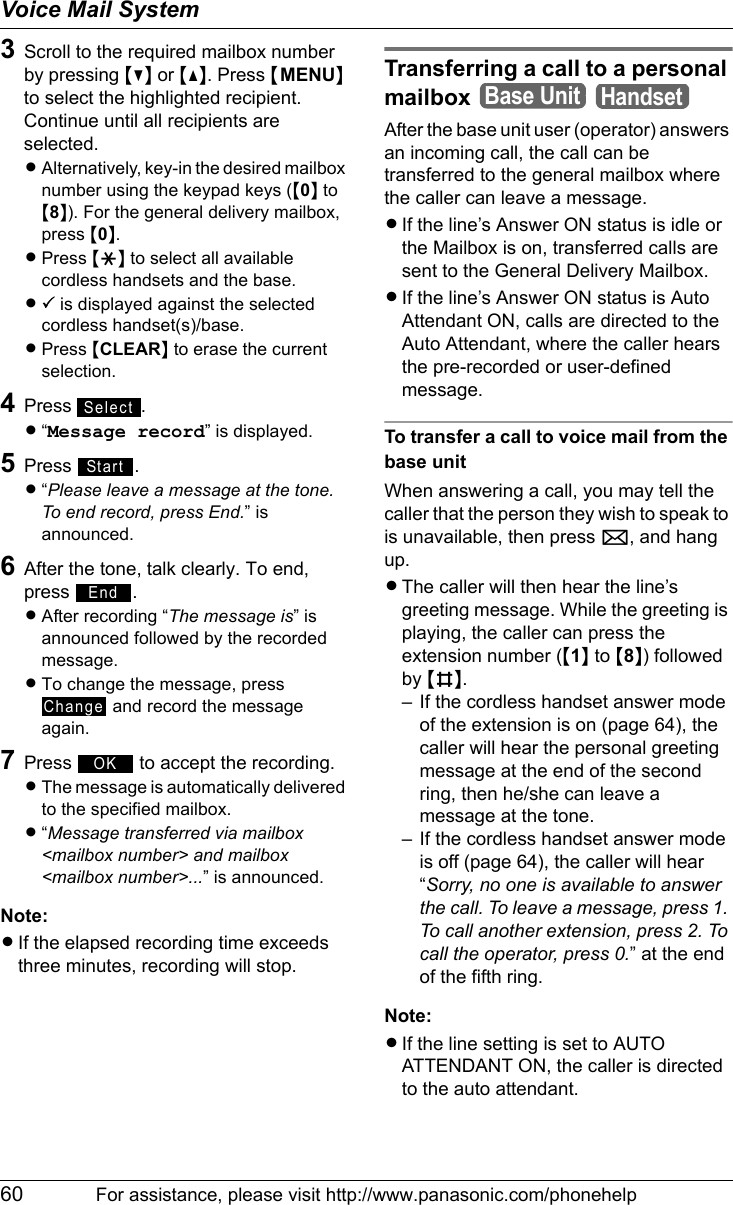

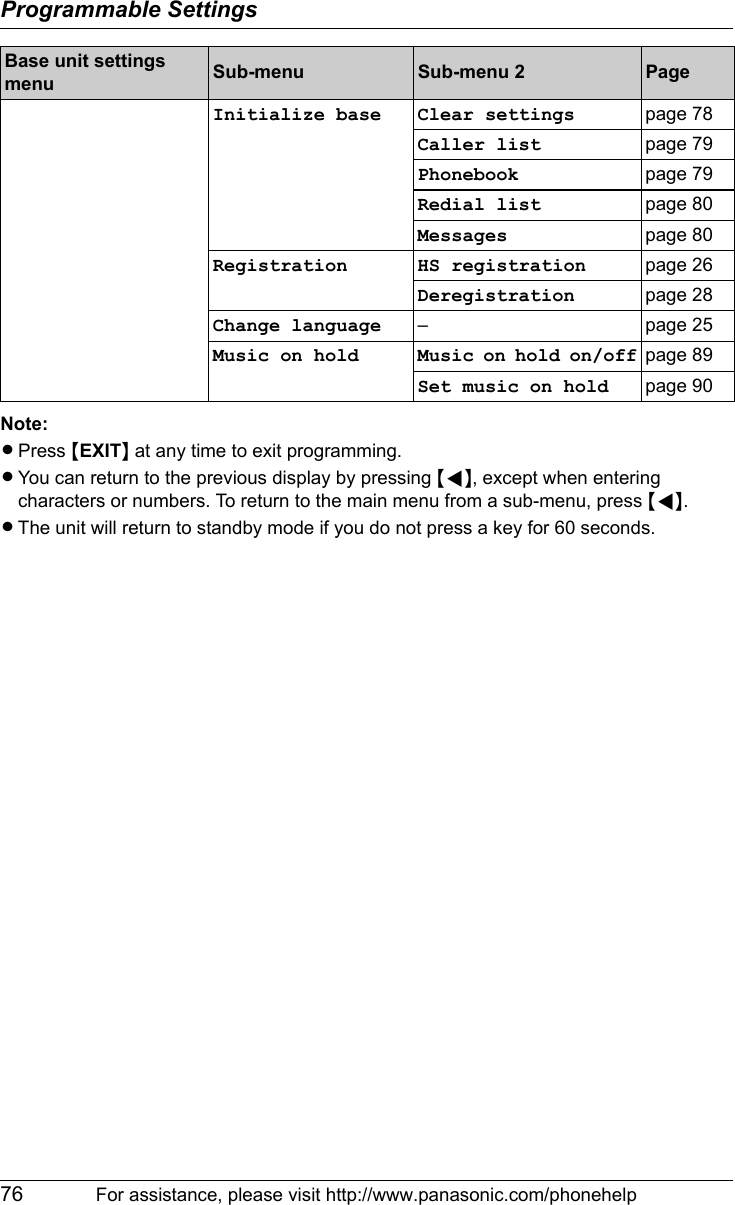
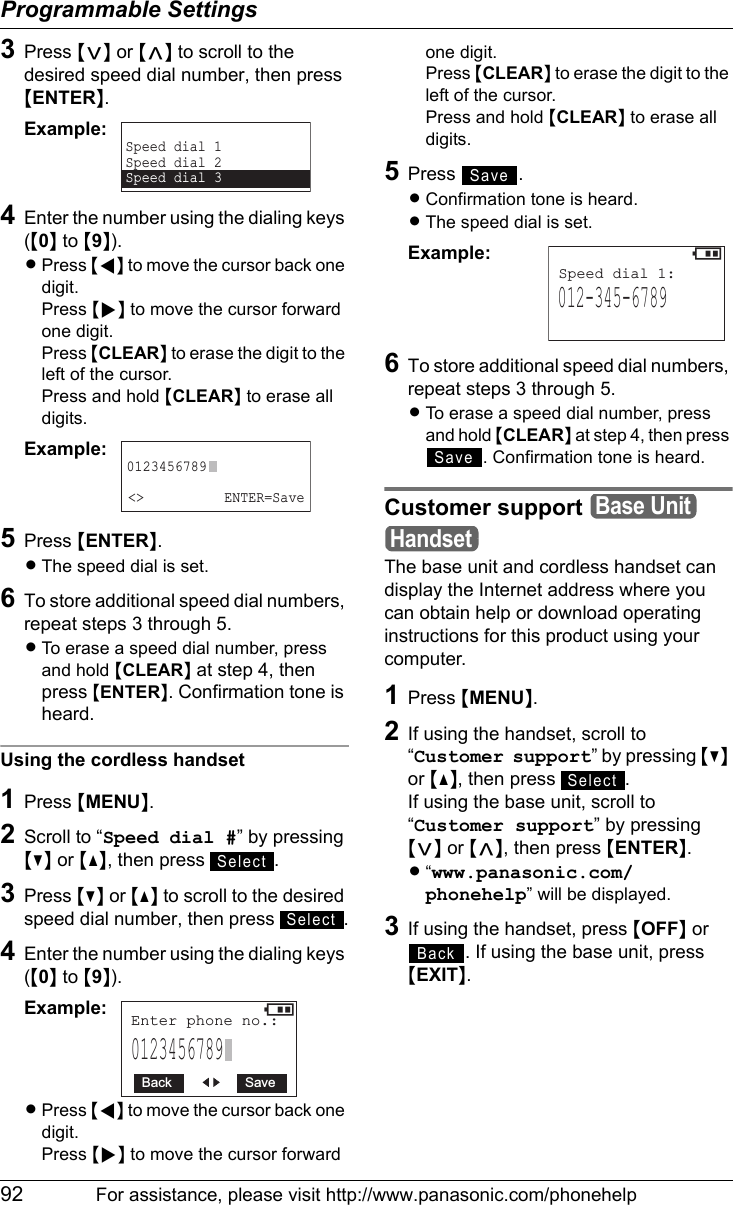
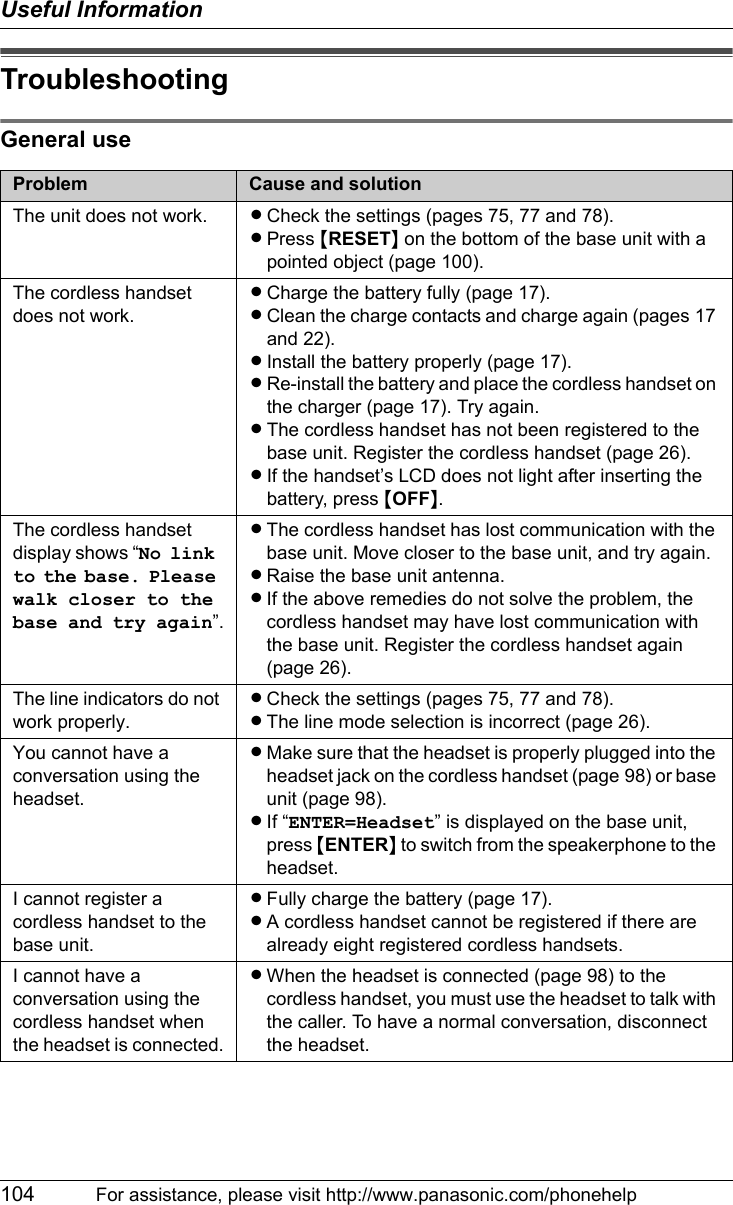
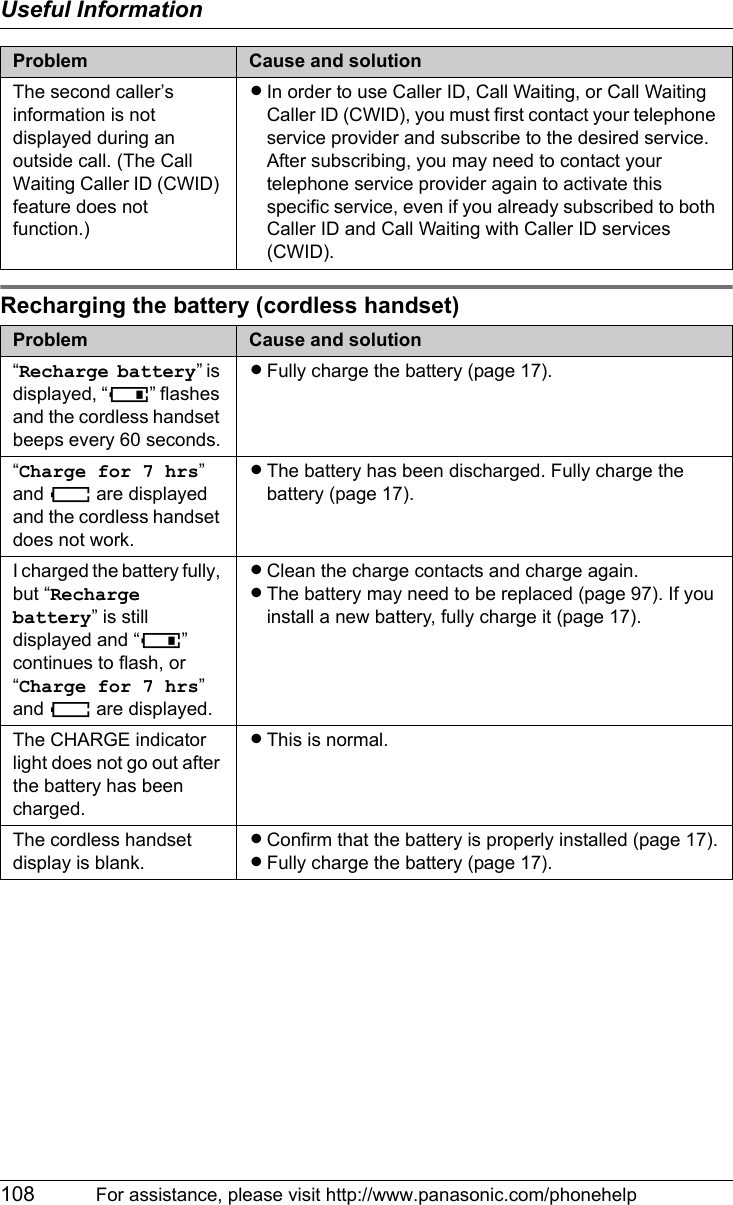
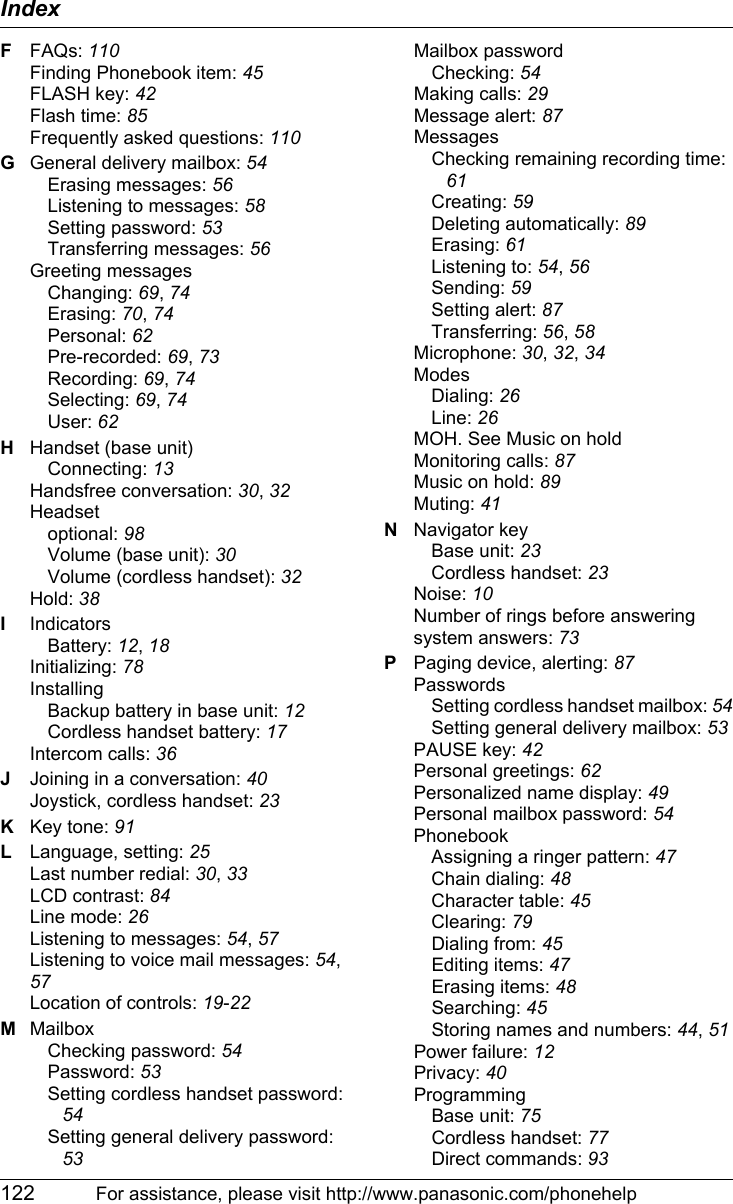
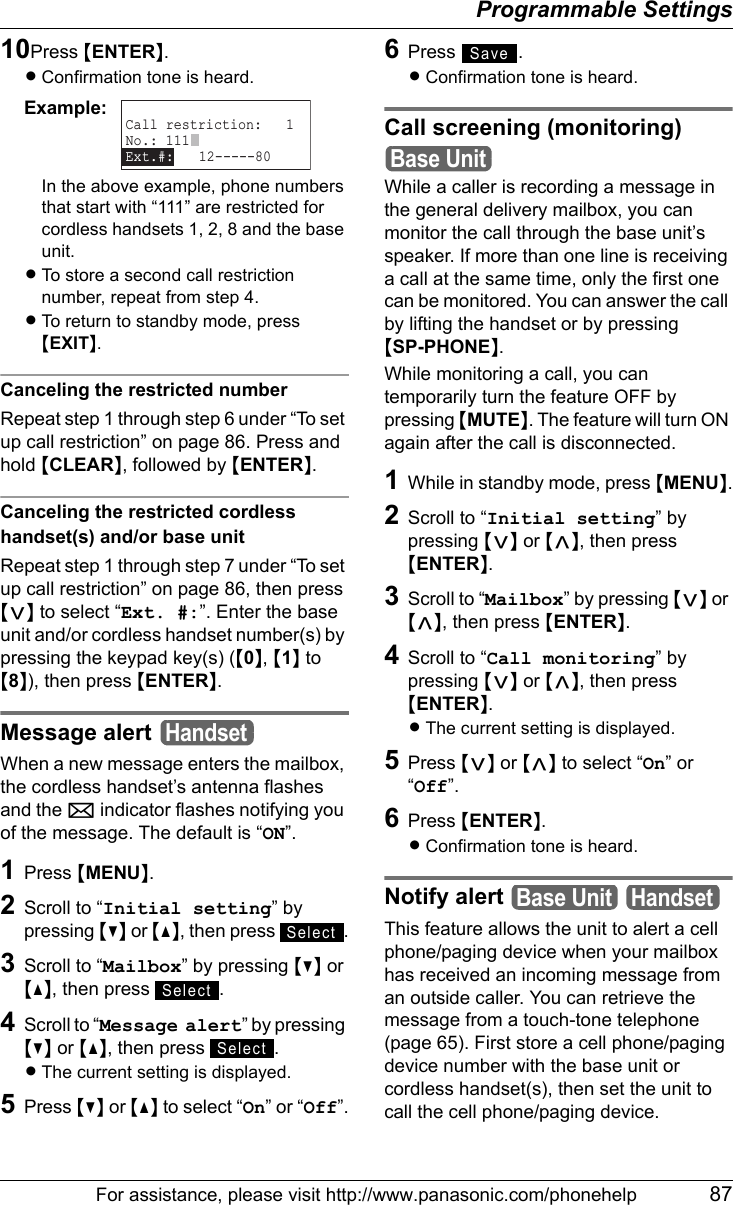
![Programmable Settings78 For assistance, please visit http://www.panasonic.com/phonehelpInitializing base unit and cordless handset(s)The following features enable you to initialize the base unit and cordless handset(s).Clearing settingsThis feature enables you to remove the user-defined settings, and return to the default settings.Clearing the base unit’s settingsThe following table lists the default settings for the base unit.1Press {MENU}.2Scroll to “Initial setting” by pressing {<} or {>}, then press {ENTER}.3Scroll to “Initialize base” by pressing {<} or {>}, then press {ENTER}.4Scroll to “Clear settings” by pressing {<} or {>}, then press {ENTER}.LThe “Clear settings?” screen is displayed.5Press {CLEAR}.LConfirmation tone is heard. Clearing the cordless handset’s settingsThe following table lists the default settings for the cordless handset.Function Default settingAlert number (Clear)Alert on/off OFFAnswering system OFFAuto attendant systemOFFAuto message deleteOFFCall monitoring ONCall restrictions OFFCaller ID Edit ONDialing mode Tone (all lines)Flash Time 700ms (all lines)General delivery mailbox password0000Language EnglishLCD Contrast Step 3 of 6Line 1 to 4 greetingsPre-recorded greetingLine mode B mode (all lines)Line selection AUTONumber of rings Toll saverRing group All extensions ringRinger pattern 1Base UnitHandsetRinger volume HIGHSpeed Dial (Clear) All NumbersTime adjustment CallerID [auto]Function Default settingsAlert number ClearAlert on/off OFFAnswer on/off OFFAuto talk ONCaller ID Edit ONDirect handset accessONKey tone ONLanguage EnglishLCD Contrast Step 3 of 6Line selection AUTOMessage alert ONPersonal mailbox password1111 to 8888Ringer pattern 1Ringer volume HIGHSpeed Dial All Number ClearFunction Default setting](https://usermanual.wiki/Panasonic-of-North-America/PCCUKKX-TG4500/User-Guide-682823-Page-78.png)

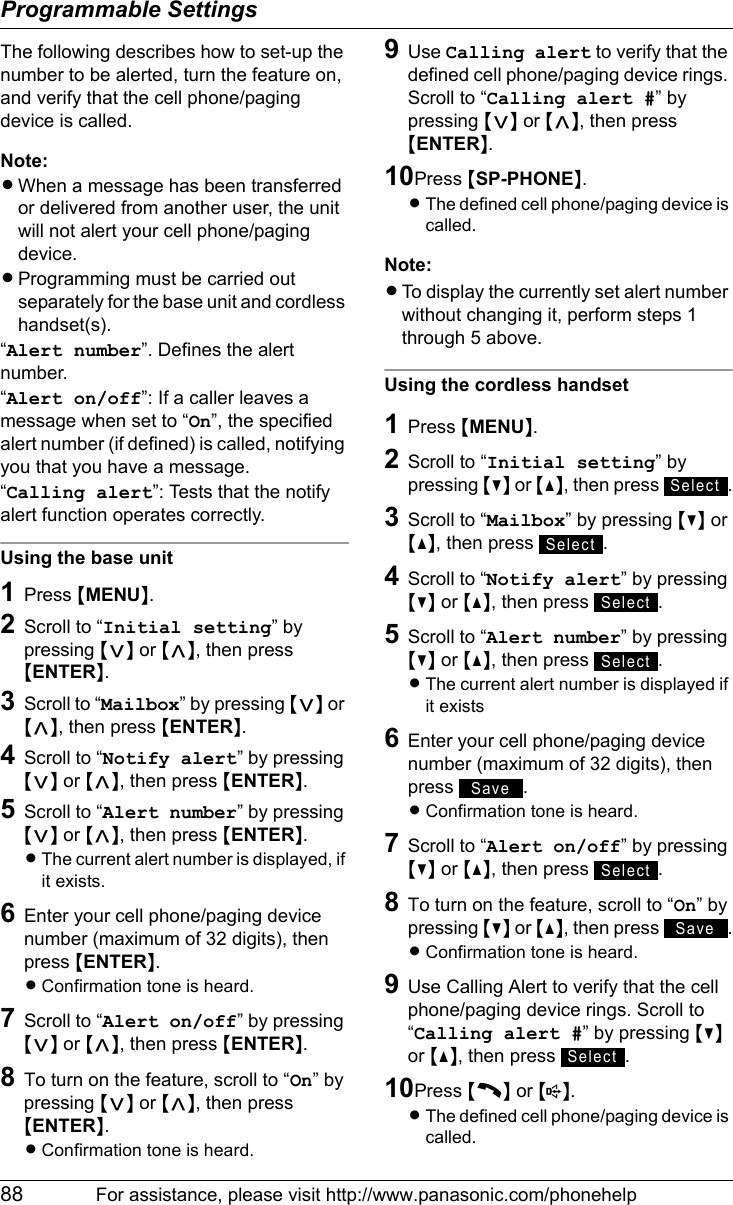
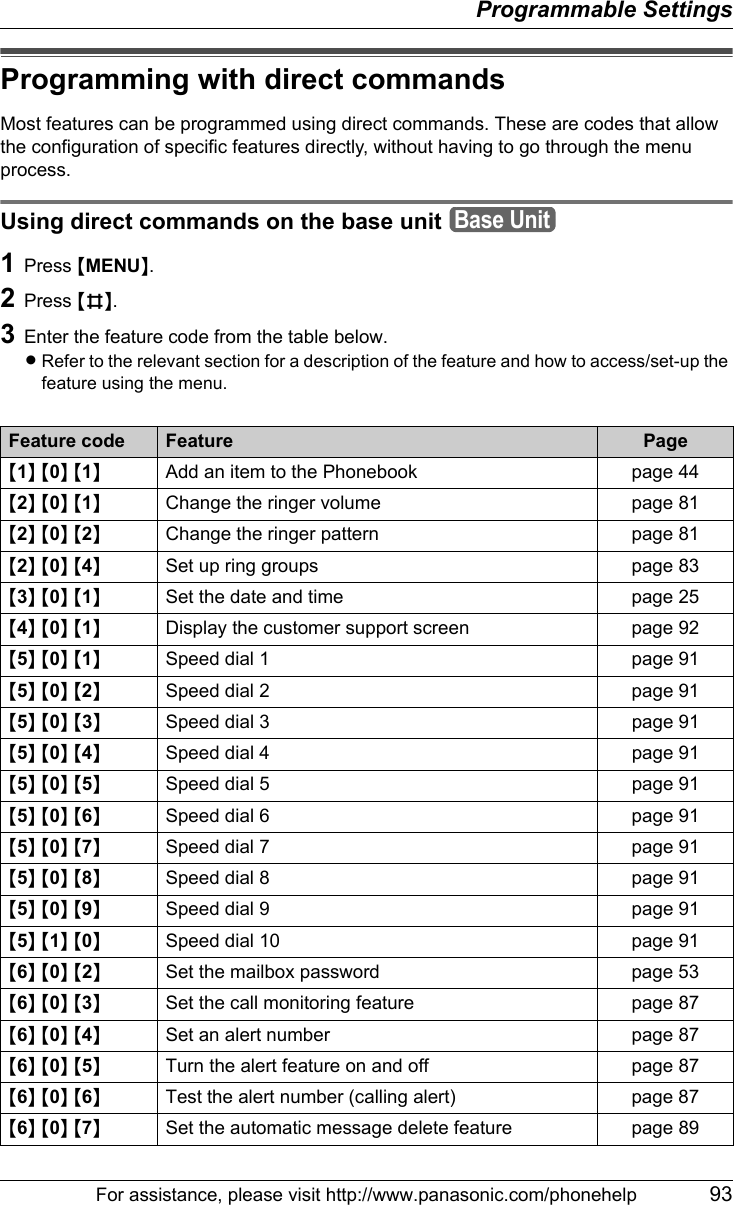
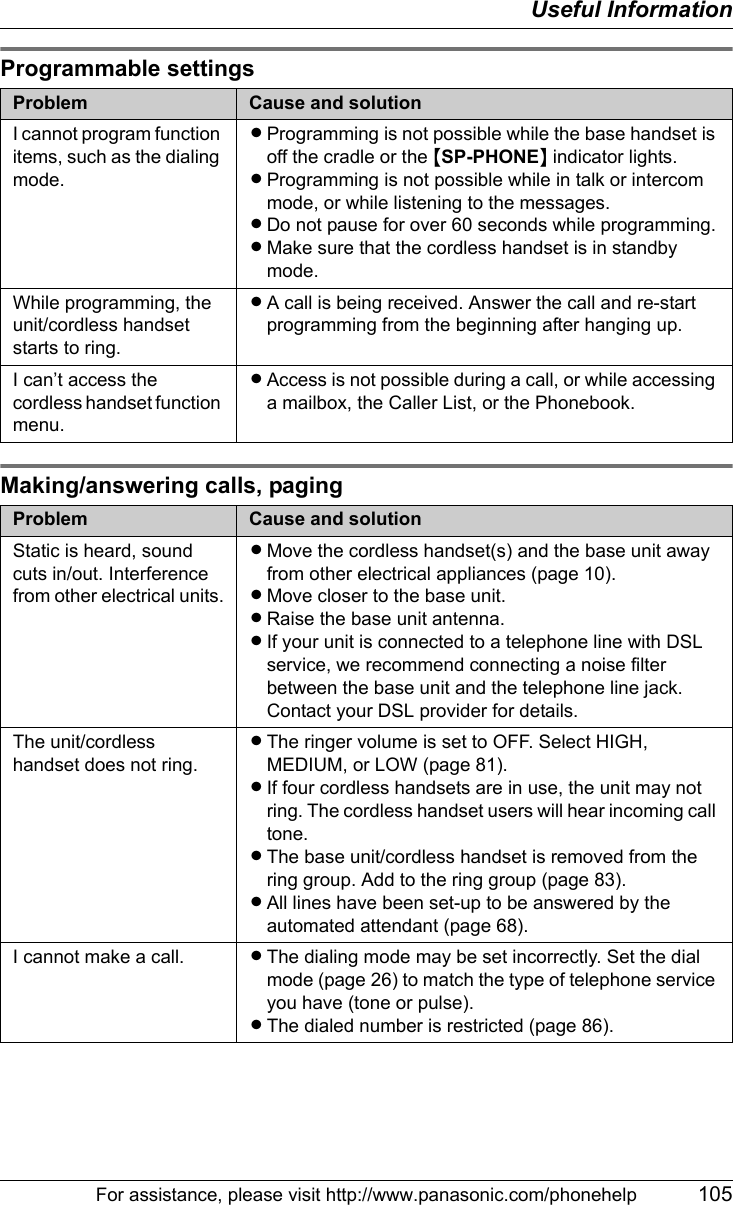
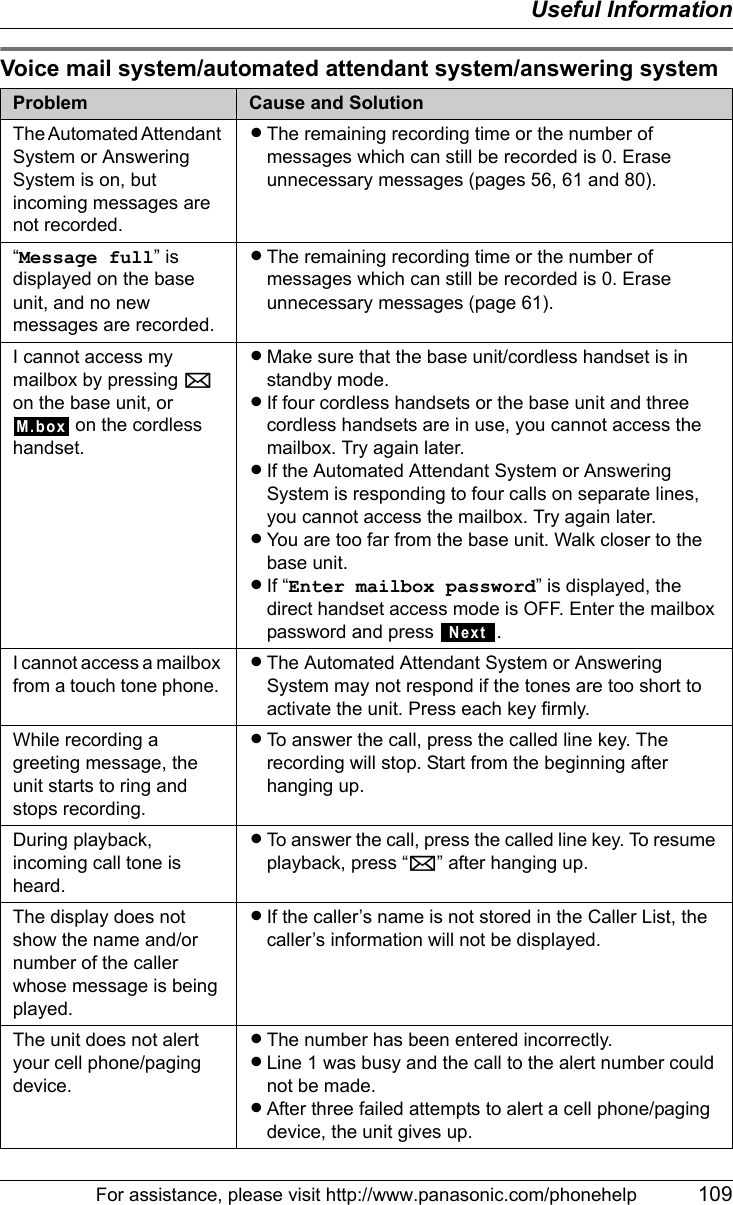
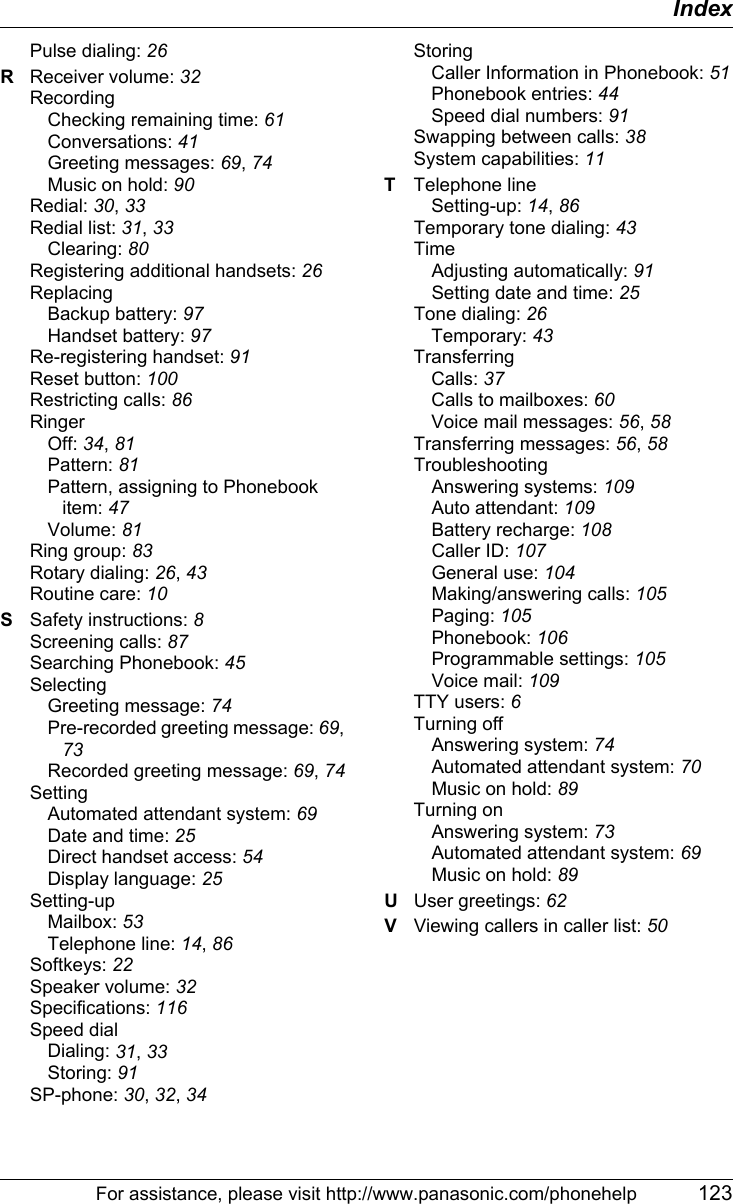
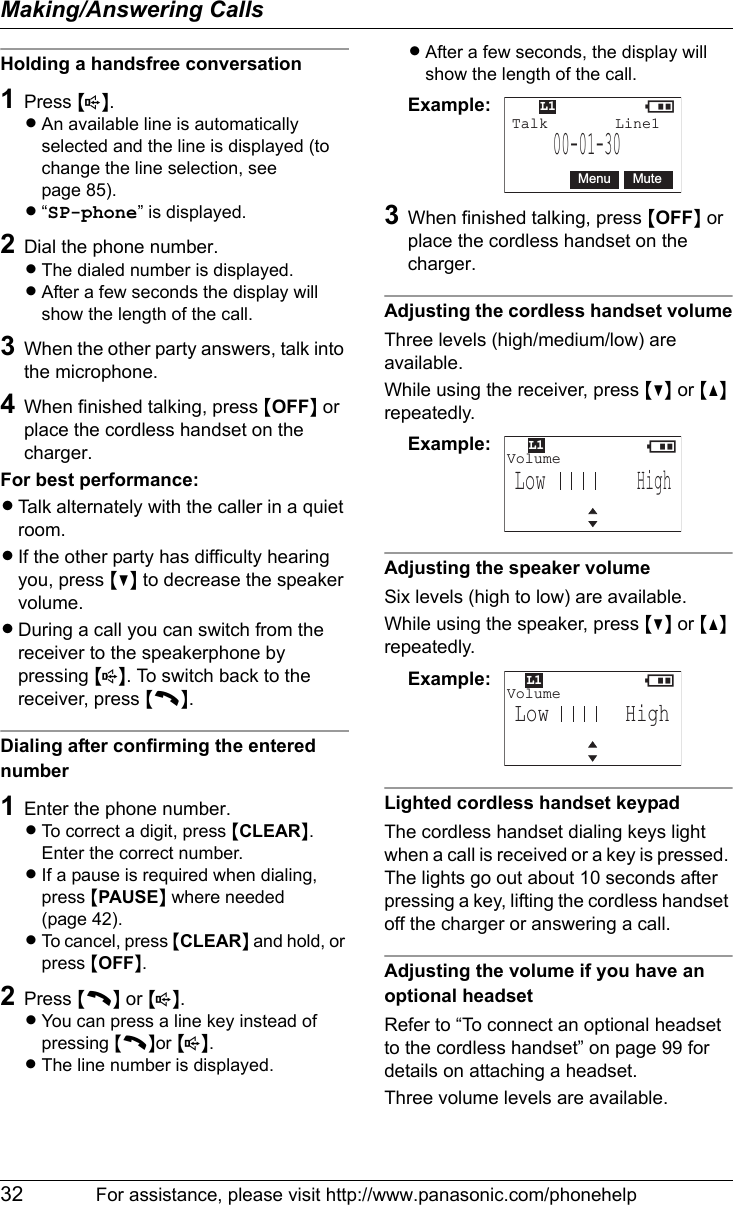
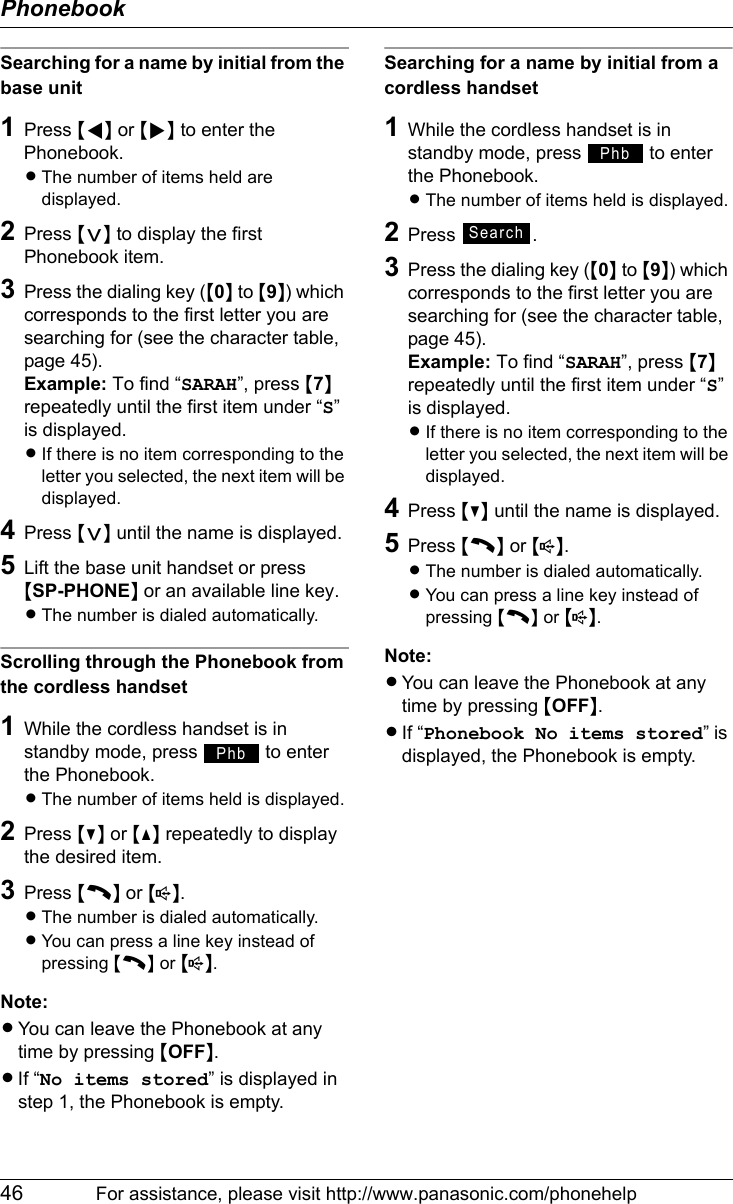
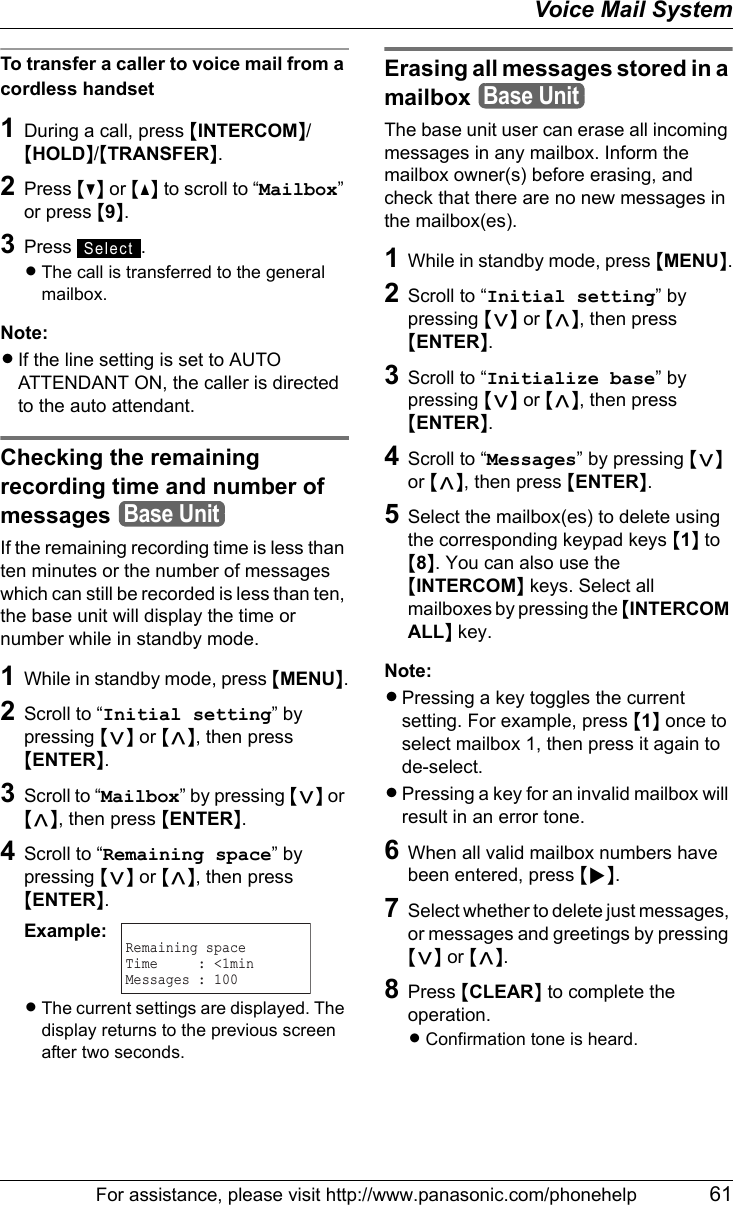
![Programmable SettingsFor assistance, please visit http://www.panasonic.com/phonehelp 91Other optionsSelecting key toneYou can select whether key tones are heard when keys are pressed. Includes confirmation and error tones. The default setting is “ON”.1Press {MENU}.2Scroll to “Initial setting” by pressing {V} or {^}, then press .3Scroll to “Key tone” by pressing {V} or {^}, then press .4Press {V} or {^} to select “On” or “Off”.5Press .LConfirmation tone is heard. Adjusting the time automatically This feature specifies whether the system’s time and date are adjusted automatically using Caller ID information, or manually when updated by the user. Note:LEnsure that the base unit is in standby mode before attempting to set up this feature.1Press {MENU}.2Scroll to “Initial setting” by pressing {<} or {>}, then press {ENTER}.3 Scroll to “Time adjustment” by pressing {<} or {>}, then press {ENTER}. LThe current setting is displayed.4Press {<} or {>} to select either “CallerID [auto]” (default) or “Manual”.5Press {ENTER}.LConfirmation tone is heard.Re-registering a cordless handset with the base unitIf “No link to the base. Please walk closer to the base and try again.” is displayed, even when the cordless handset is near the base unit, you may need to re-register the cordless handset to the base unit.Important:LEnsure that the base unit and cordless handset are in standby mode.LRegistration must be completed within one minute.LThe cordless handset cannot be registered if the base unit is not in registration mode.The procedure for re-registering the cordless handset is the same as the procedure for registration. See page 26.Storing speed dial numbers You can store up to 10 speed dial numbers. The base unit and cordless handset(s) speed dial numbers can be set independently of one another. Use the dialing keys ({0} to {9}) to dial the stored numbers.Note:LIf required, you can include {*}, {#}, {PAUSE} (page 42) or {FLASH} (page 42) in the speed dial number.Using the base unit1Press {MENU}.2Scroll to “Speed dial #” by pressing {<} or {>}, then press {ENTER}.HandsetSelectSelectSaveBase UnitHandsetBase Unit Handset](https://usermanual.wiki/Panasonic-of-North-America/PCCUKKX-TG4500/User-Guide-682823-Page-91.png)