Quanzhou Wouxun Electronics WOUXUN03 Two-way Radio User Manual
Quanzhou Wouxun Electronics Co., Ltd. Two-way Radio Users Manual
UserManual.wiki
>
Quanzhou Wouxun Electronics
>
WOUXUN03 User Manual
Users Manual
Navigation menu
Upload a User Manual
Namespaces
Wiki Guide
HTML
PDF
Info
Views
User Manual
Discussion / Help
Navigation


![How to operate2930Professional FM Transceiver3. Setting mutemode must be set as AND,the details see to the MENU (24)4. Press PTT: Setting time according your need, the details see to the MENU (25)5. Turn on ringtime alarm and set ringtime (Set when needed); The details see to the MENU (30) and MENU (31)6. Setting PTT-LT In fact, you can choose the time of signal delay before transmit. The details see to the MENU (26)NOTE !Every transceiver in the group needs a unique ANI ID CODE.Edit method: see to the MENU 48.2. Setting all calls, group calls and selective calls.NOTE !Using any transceiver of group must be set turning on WDTS optional signal.Setting WDTS optional signal, the details see to the MENU 23.X XXXXGrouplist A unique ANI ID CODE1 to 9 groups From 0000 to 9999 maximumThis is how to build up ANI.NOTE !Every transceiver using in the group must be set the same frequency, channel and parameter.NOTE !This transceiver has ID memory function, after you used all calls, group calls or selective calls, then you want to transmit again, the ID code is the same as last time you transmitted. If you want to transmit new ID code,please press before transmitting.This transceiver has difference of 3,4,5 bit. so all the ANI ID CODE in the group have better set the same bit.When the bit of transmitter is lower than receive's, you can use the to make up, then you can go onall calls, group calls or selective calls.a. Using All callsPress PTT to transmitting, after transmitting ANI ID CODE, input + directly by keyboard.b. Using group callsPress PTT to transmitting, after transmitting ANI ID CODE, input [group number] + + directly by keyboard (Using three ID codes as an example).c. Using selective callsPress PTT to transmitting, after transmitting ANI ID CODE, input the ANI ID CODE you want to call bykeyboard.##](https://usermanual.wiki/Quanzhou-Wouxun-Electronics/WOUXUN03/User-Guide-1036181-Page-21.png)
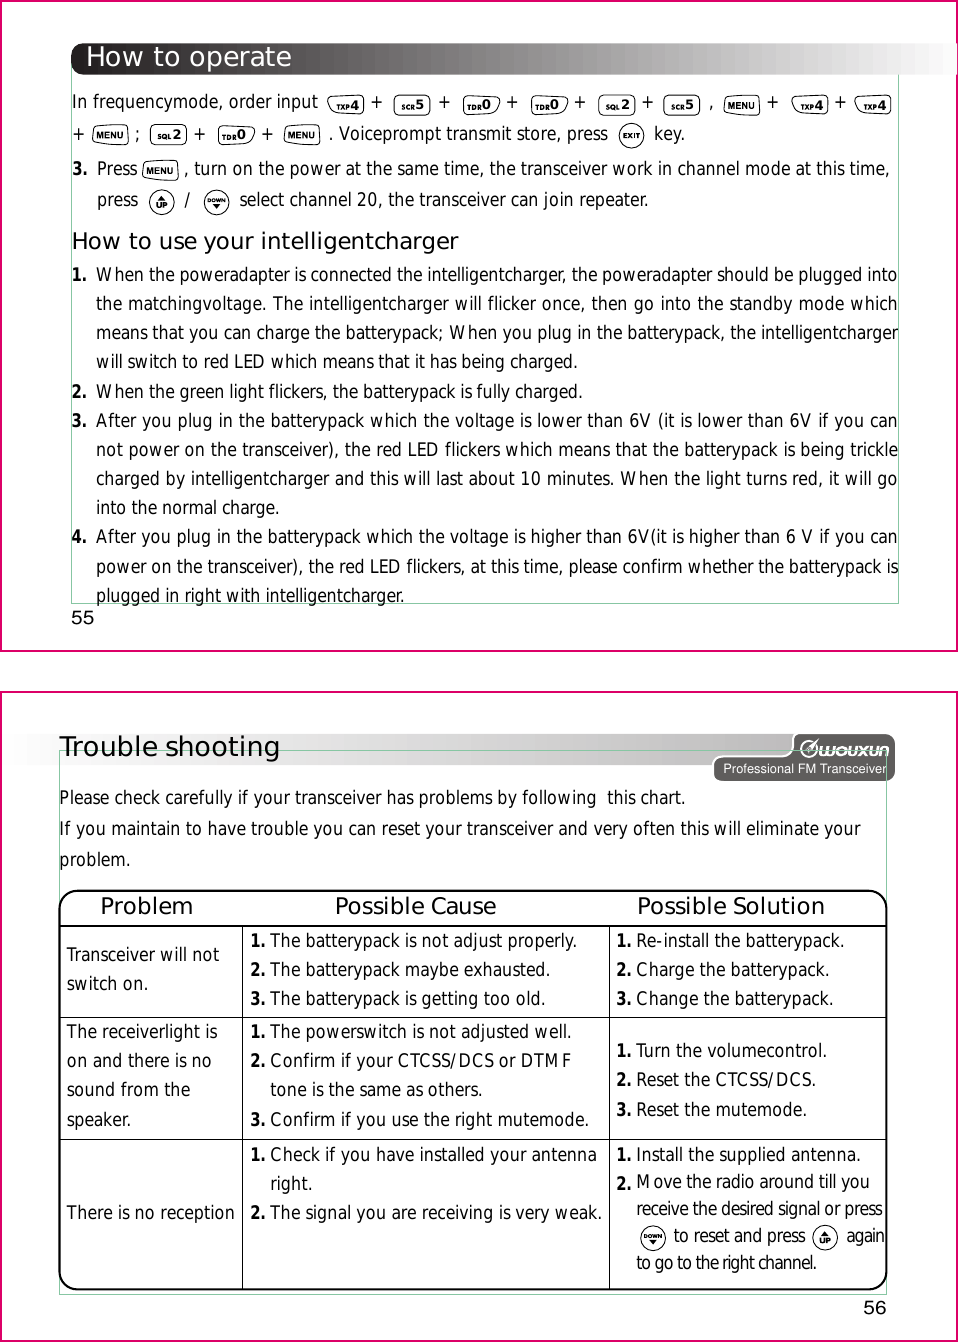
![53How to operateSetting transmit overtime promptWhen transmitter works longer than preset time, the transceiver will announce "transmit overtime" byvoice and stops transmitting. If you want to transmit again, please press PTT. (Setting overtime prompt please see MENU 6)Adding channelscanEdit method: Strictly via KG-699E programming software. Only scan according programming list which have added channel scan on programming software.Using wirecloneSwitch sourceradio on,after you have connected the targetradio to the sourceradio via the cloningcable,push the [MONI] key and the sourceradio starts cloning.TargetradioLED is flashing red during cloning.LED goes out in case of successful cloning.LED glows continuous red in case of cloning failure.LED is flashing green during cloning.LED will switch OFF when cloning complete.Wireclone functionLowvoltage batterypack voicepromptWhen the batterypack has lowvoltage, the transceiver will sound "low batterypack"voice prompt.Professional FM Transceiver54Programming repeater functionMost repeaters use standard or different splits and/or matching CTCSS/DCS or DTMF signals.When you need to join a repeater, you need to set different parameters on receive and transmit.Example: The repeater transmit frequency is 450.025MHz, CTCSS value is 67Hz, the receive frequencyis 460.025MHz, CTCSS value is 254.1Hz.When the transceiver needs to join the repeater, you need to follow the following steps:Set receive frequency, CTCSS value and transmitting CTCSS value and store this on appointed channel, example channel 20. The transceiver in frequencymode, setting receive frequency is460.025MHz, receiving CTCSS value is 254.1 Hz, transmitting CTCSS vallue is 67Hz, and store to channel 20. The operation is as follows:In frequencymode, order input + + + + + , + ++ , press / and select CTCSS value 254.1 + + ; + + + , press / and select CTCSS value 67Hz + + , + + + + + + voice prompt receive store, press key.1.2. Setting transmitfrequency and store in appoint channel 20. The transceiver in frequencymode, setting transmitfrequency as 450.025MHz, and store in channel 20.402056022404](https://usermanual.wiki/Quanzhou-Wouxun-Electronics/WOUXUN03/User-Guide-1036181-Page-33.png)