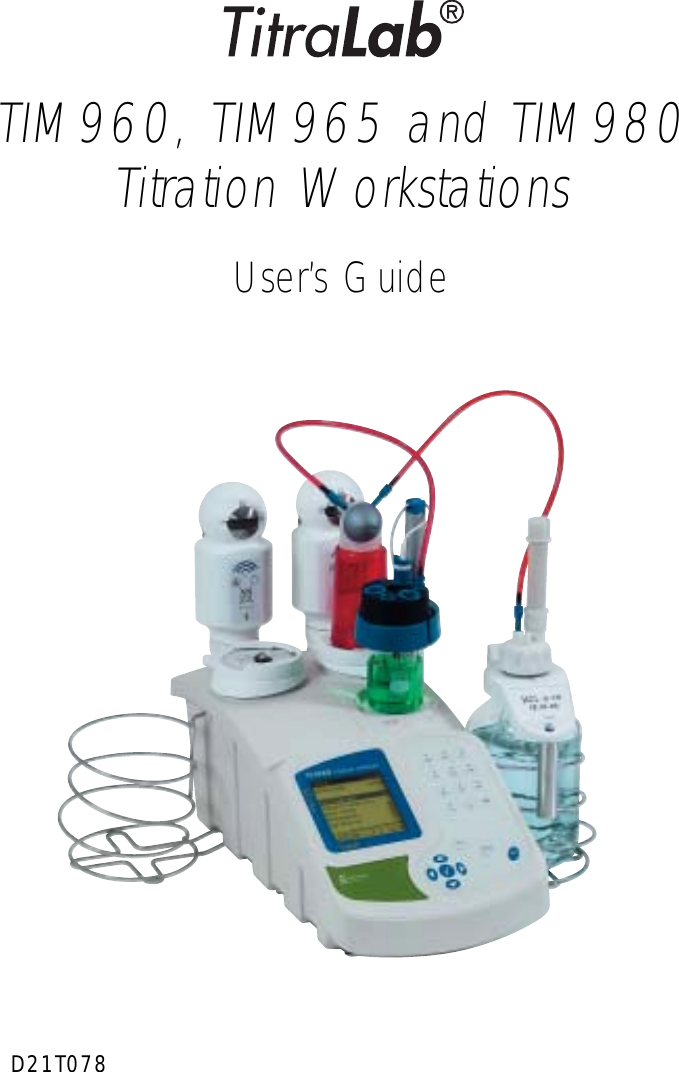
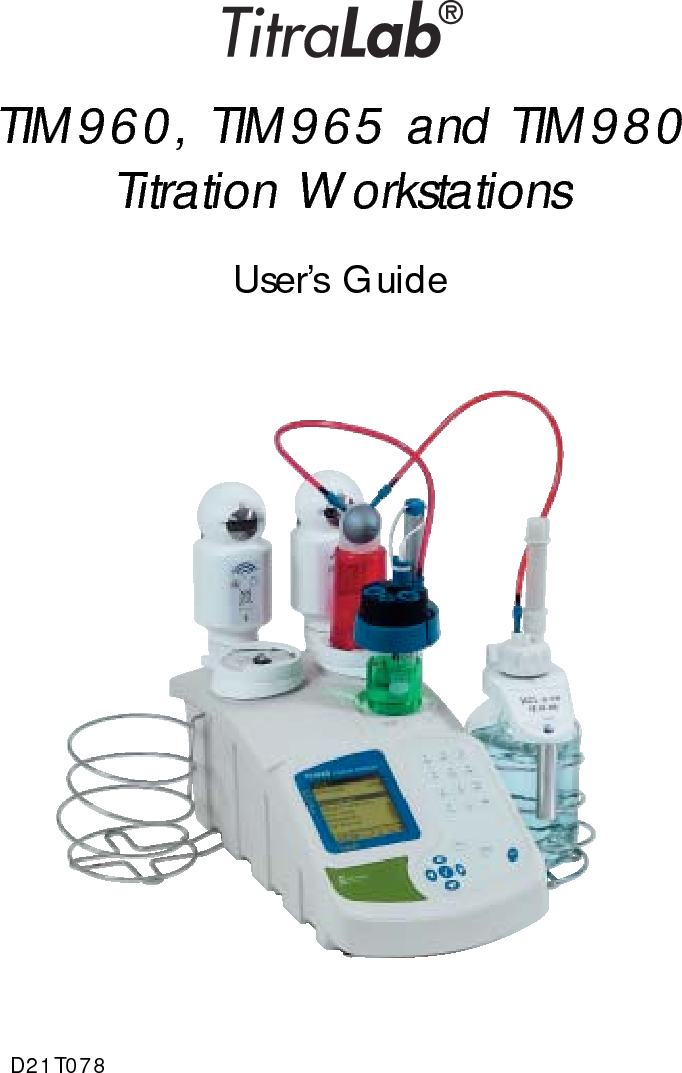
Radiometer analytical TTL090 Titration Workstation User Manual Usersguide gb
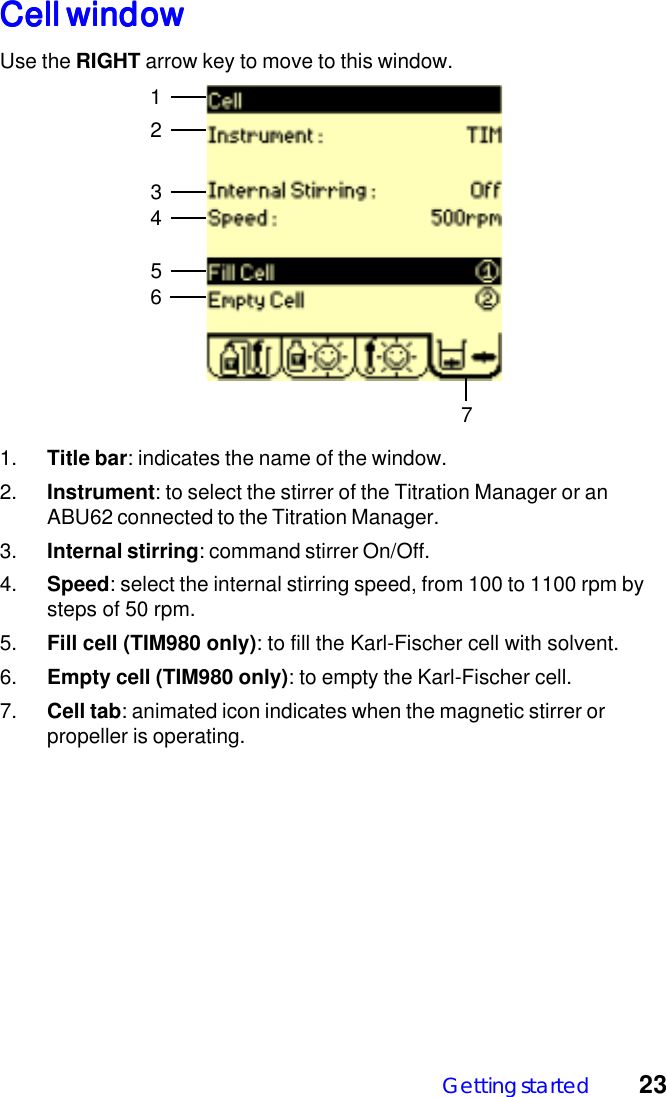
Radiometer analytical S.A.S. Titration Workstation Usersguide gb
UserManual.wiki
>
Radiometer analytical
>
TTL090 User Manual
>
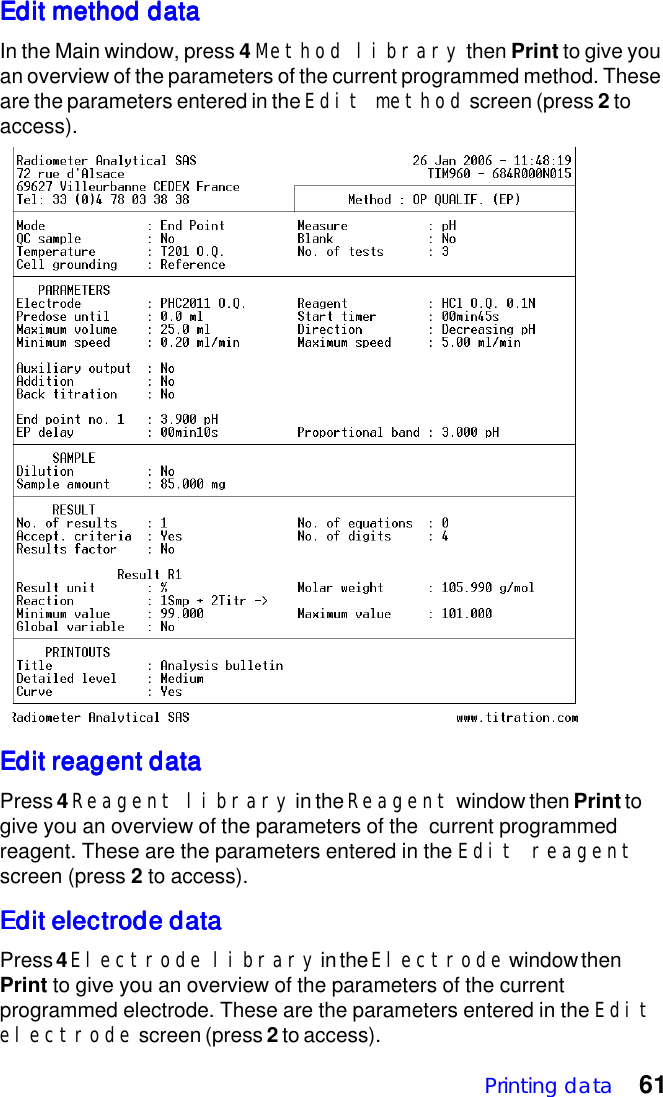
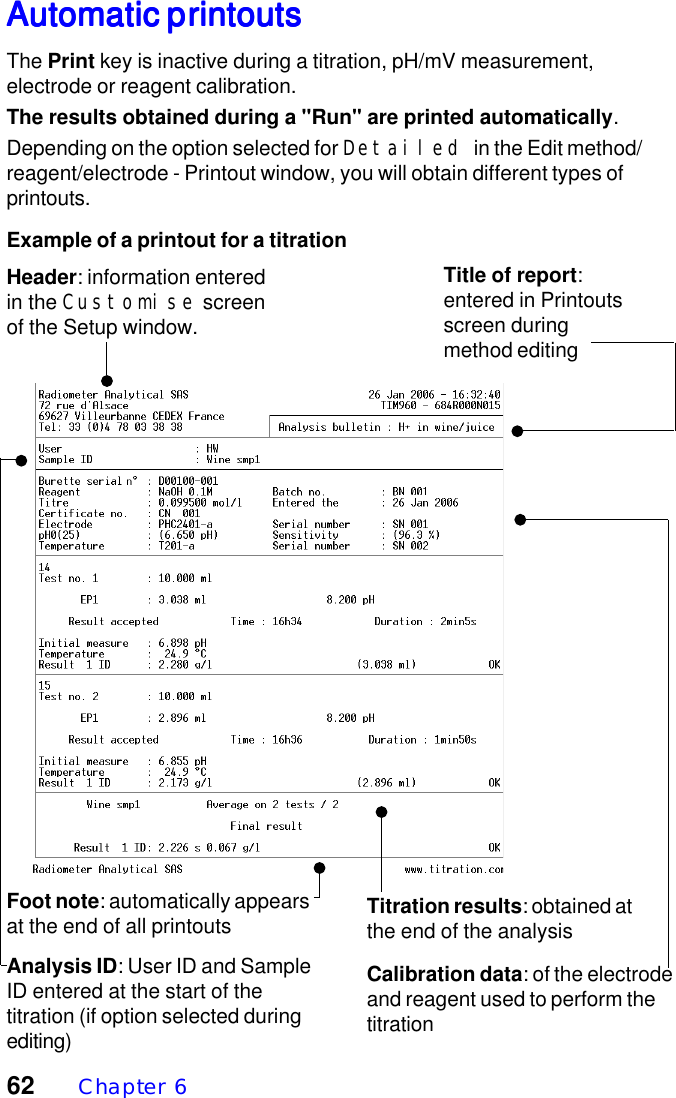
Manual TIM9xx
Contents
1.
Manual ABU62
2.
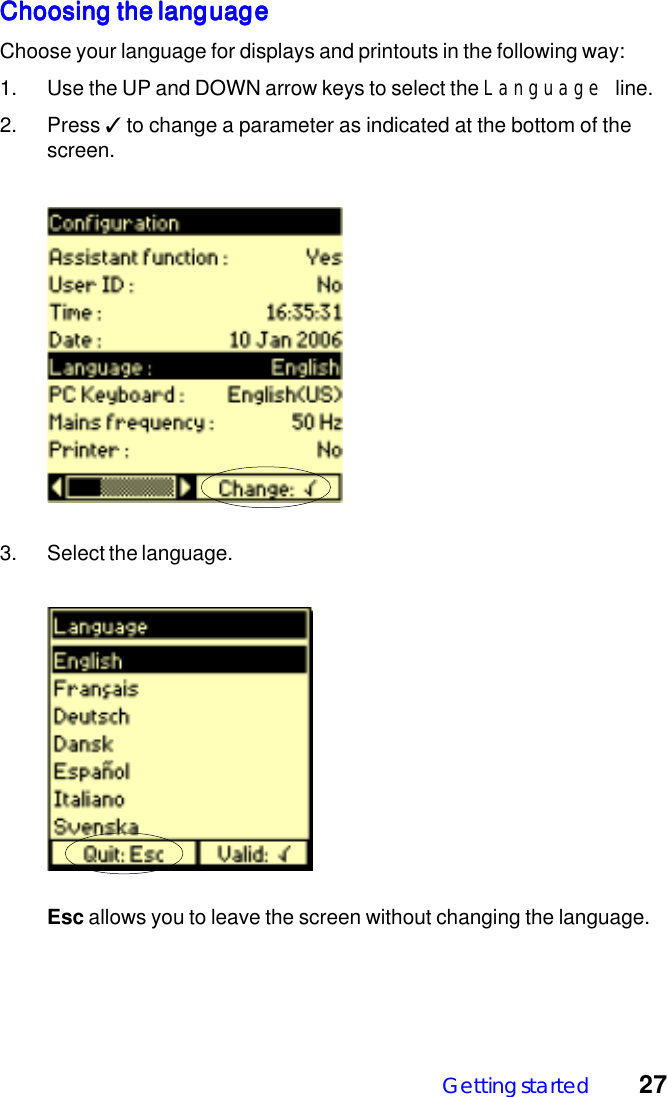
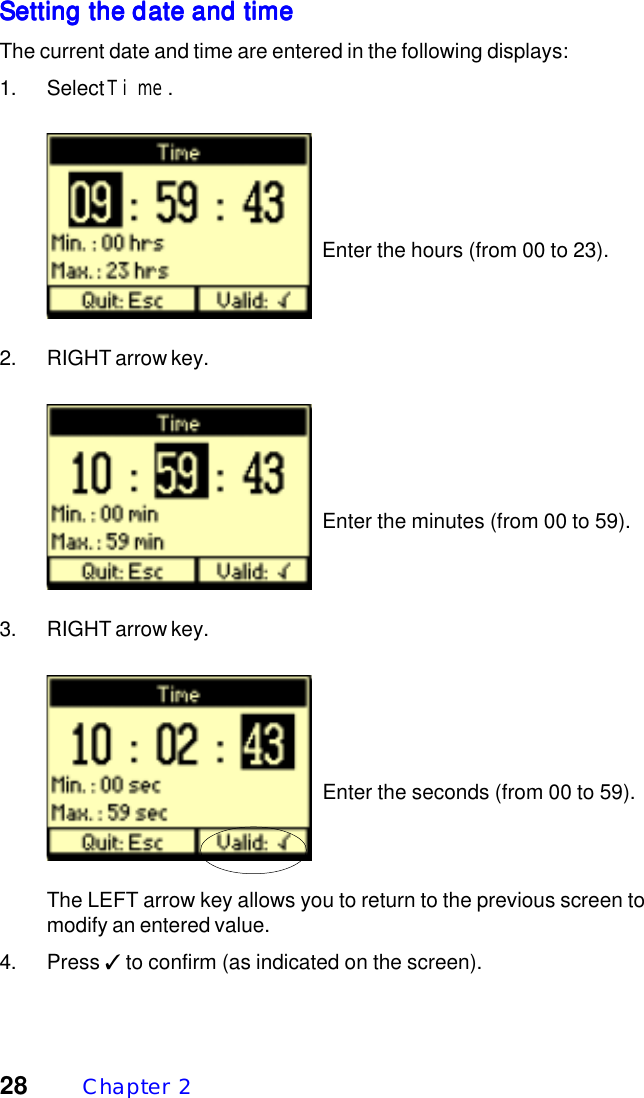
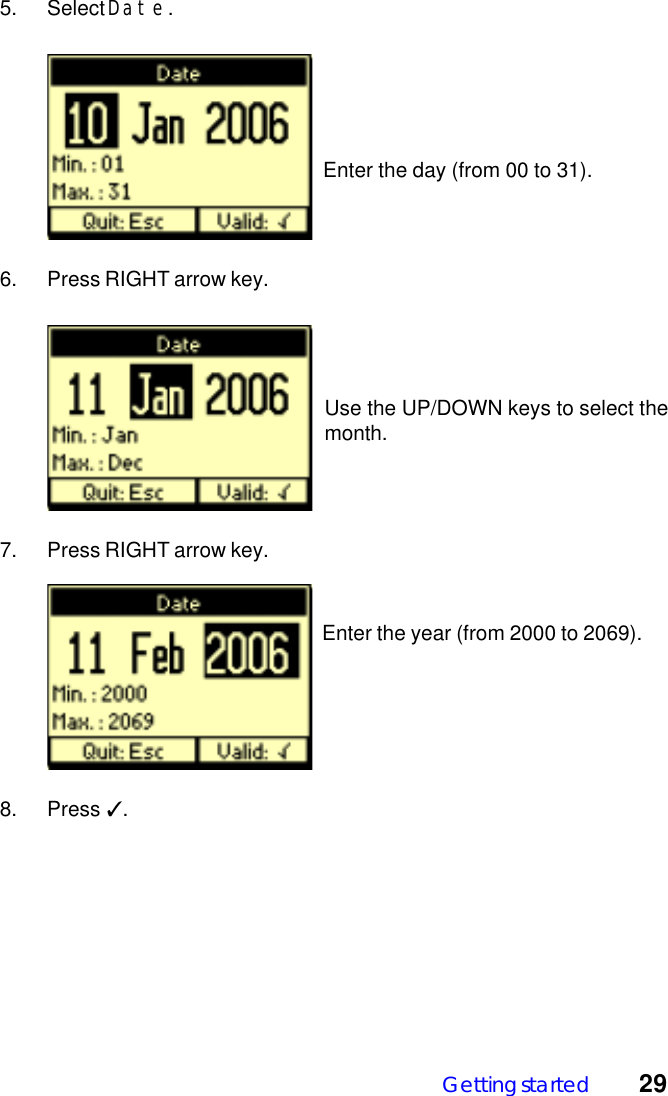
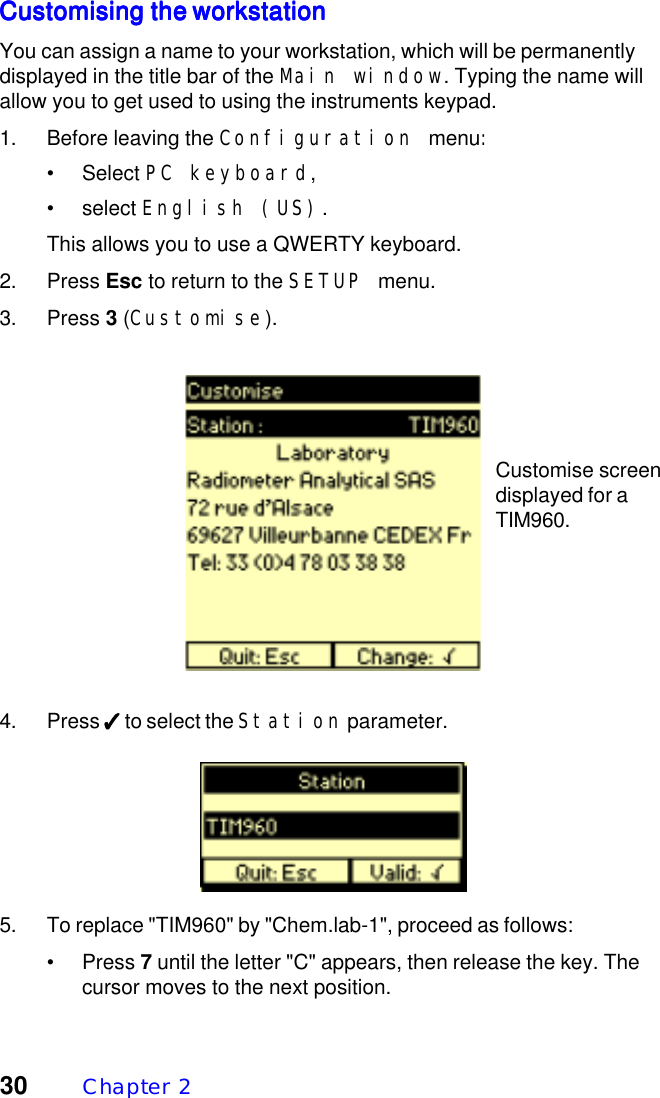
Manual TIM9xx
Manual TIM9xx
Navigation menu
Upload a User Manual
Namespaces
Wiki Guide
HTML
PDF
Info
Views
User Manual
Discussion / Help
Navigation