Realtek Semiconductor RTL8192EEBT 802.11b/g/n RTL8192EE Combo module User Manual
Realtek Semiconductor Corp. 802.11b/g/n RTL8192EE Combo module
UserManual.wiki
>
Realtek Semiconductor
>
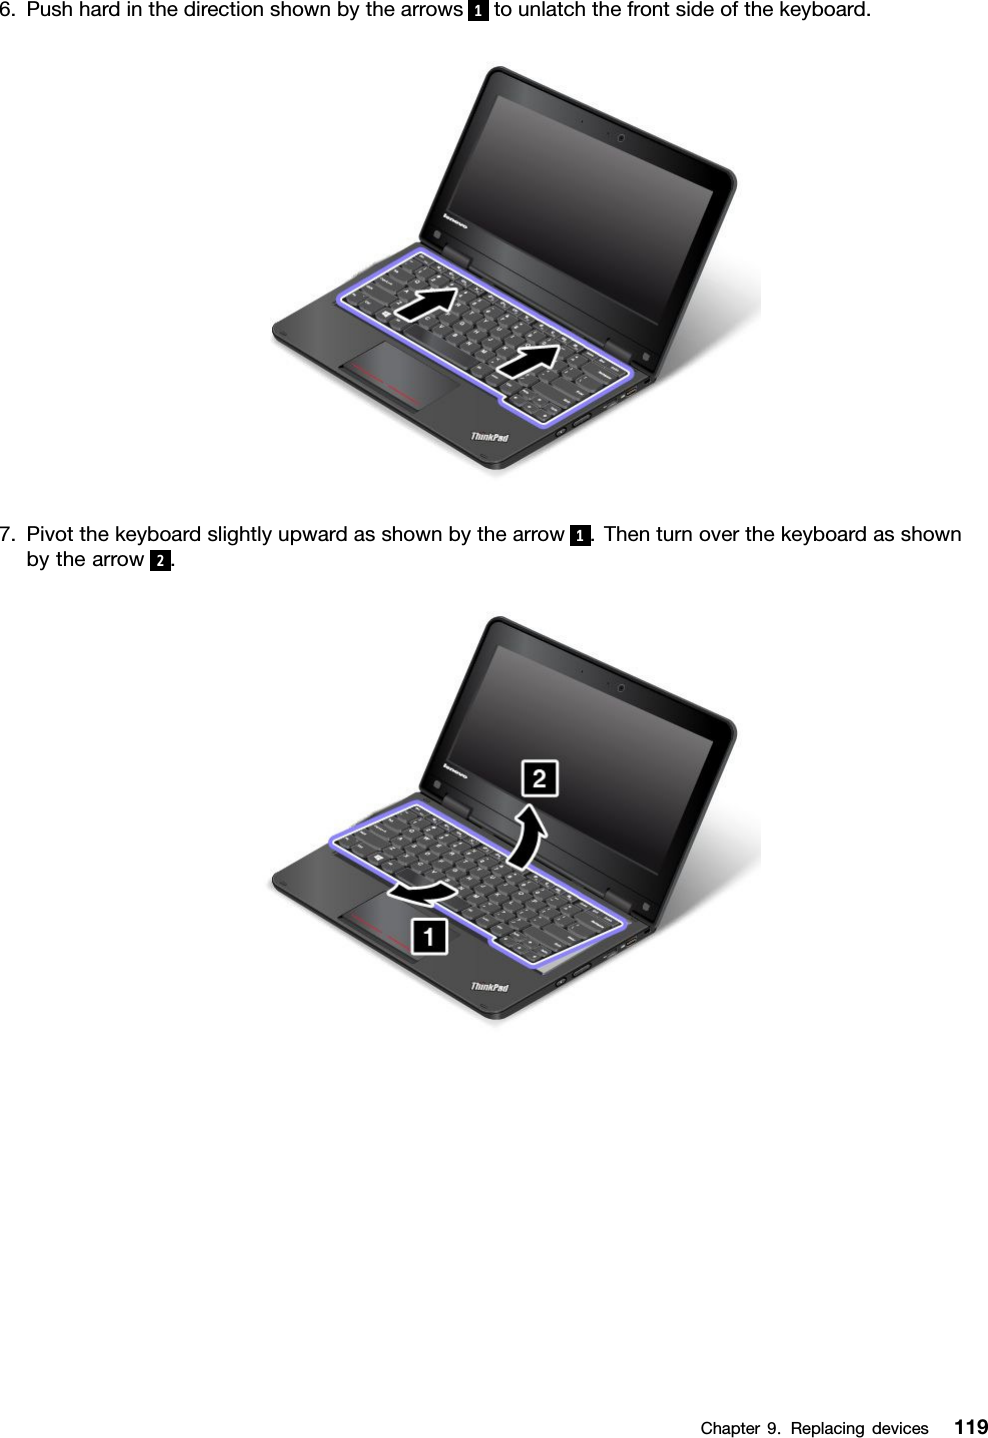
RTL8192EEBT User Manual
>
User Manual
Contents
1.
User manual
2.
User manual Installation
3.
Regular notice
4.
Regulatory Notice
5.
user manual
6.
User Manual
7.
Users Manual
8.
(RTL8192EEBT) UserMan_20151231
9.
(RTL8192EEBT) UserMan-part1
10.
(RTL8192EEBT) UserMan-part2
User Manual
Navigation menu
Upload a User Manual
Namespaces
Wiki Guide
HTML
PDF
Info
Views
User Manual
Discussion / Help
Navigation
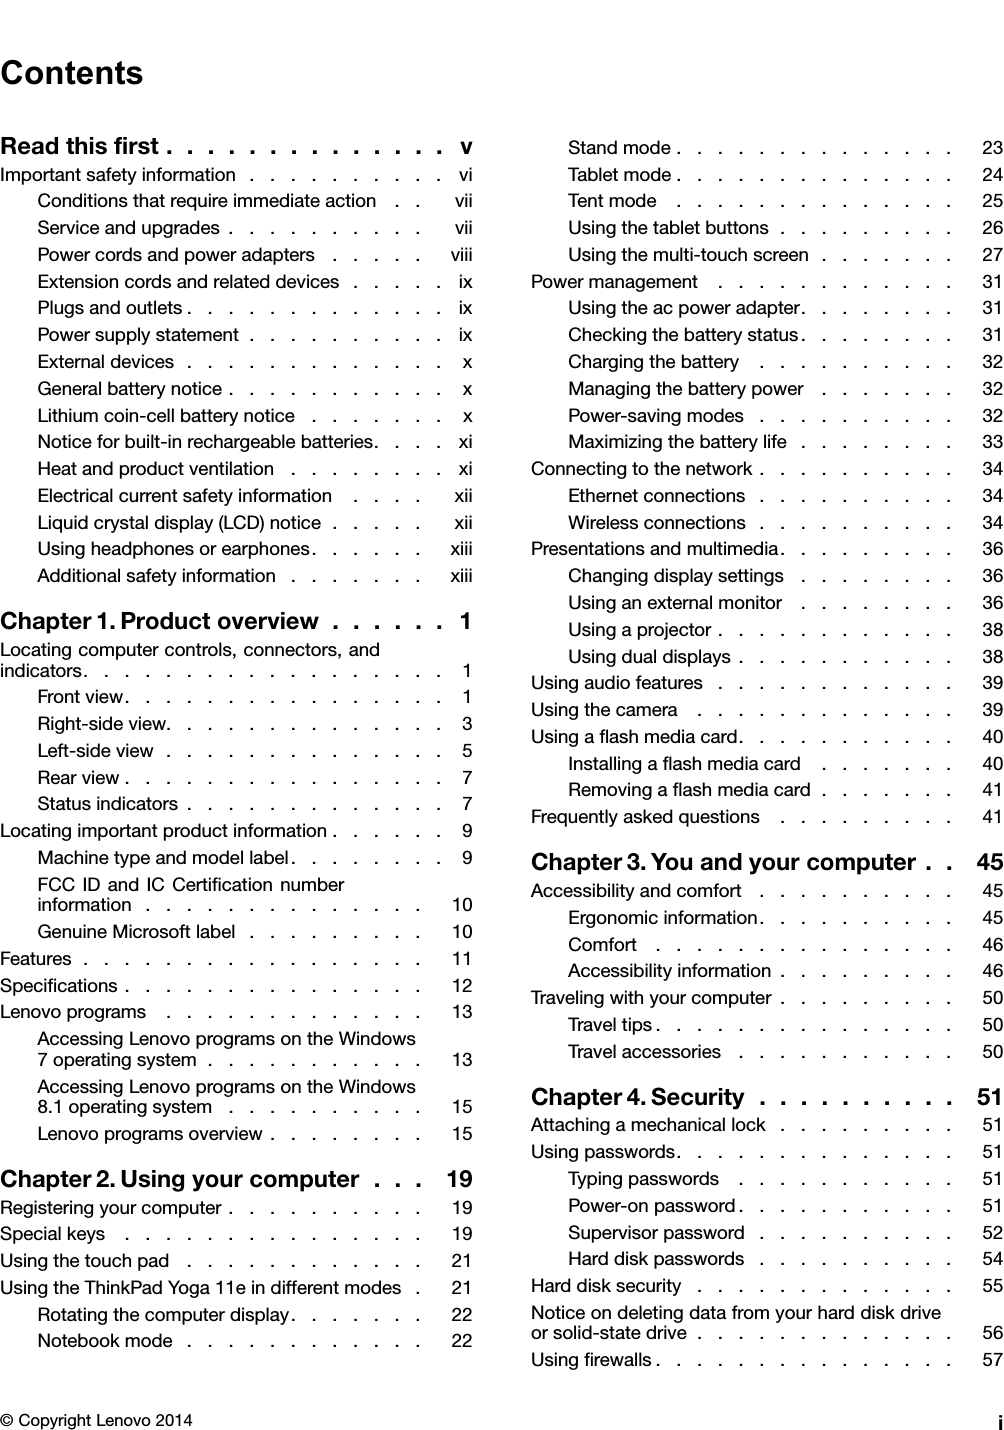
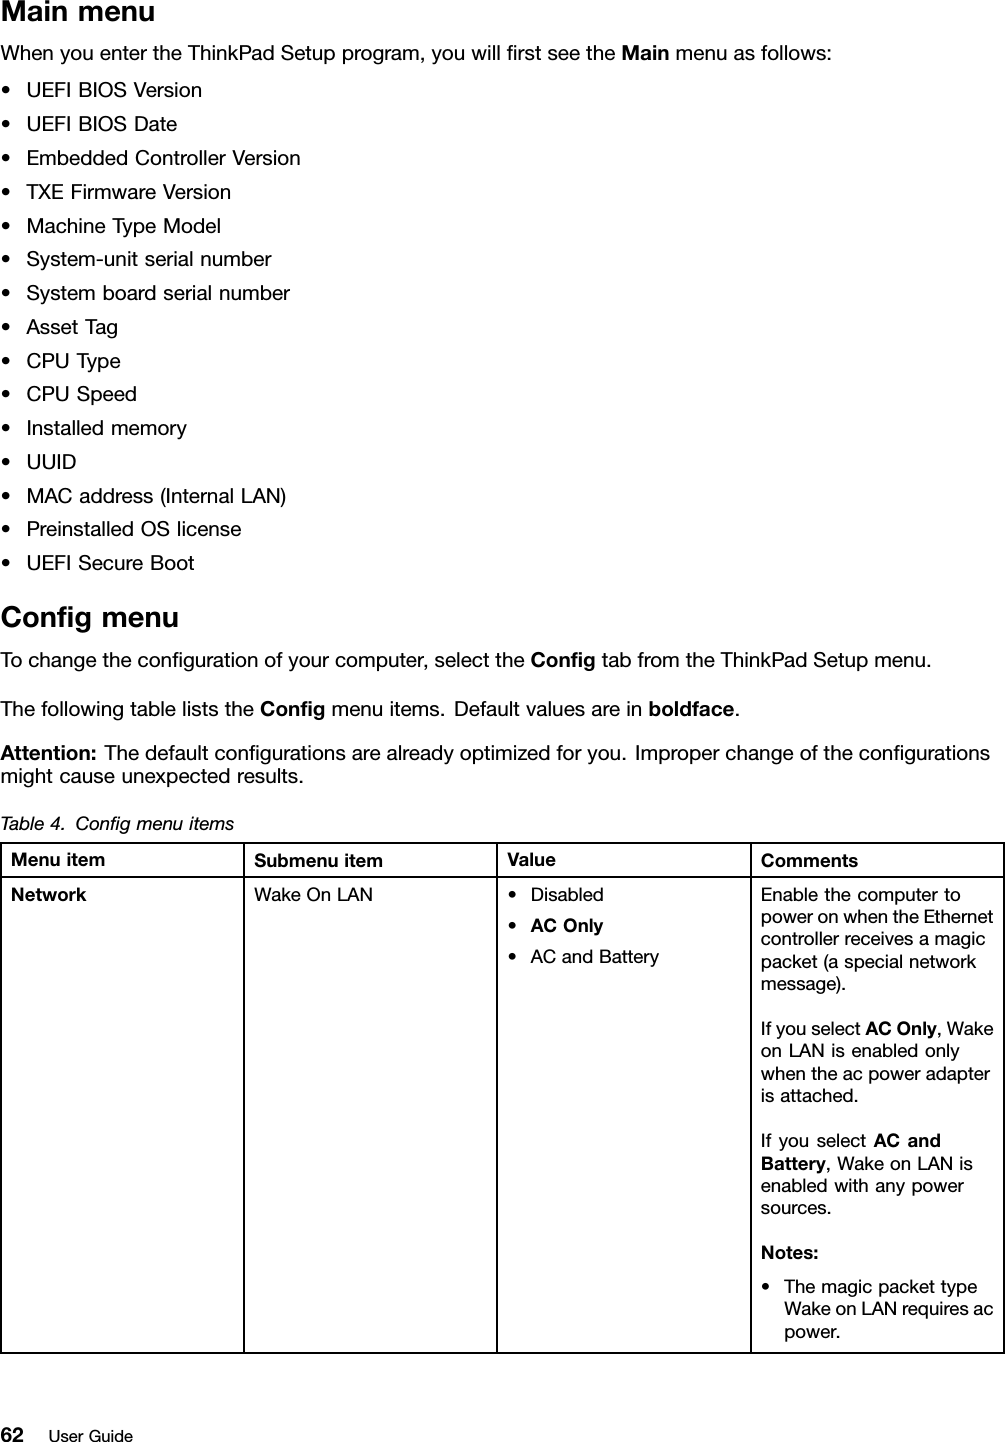
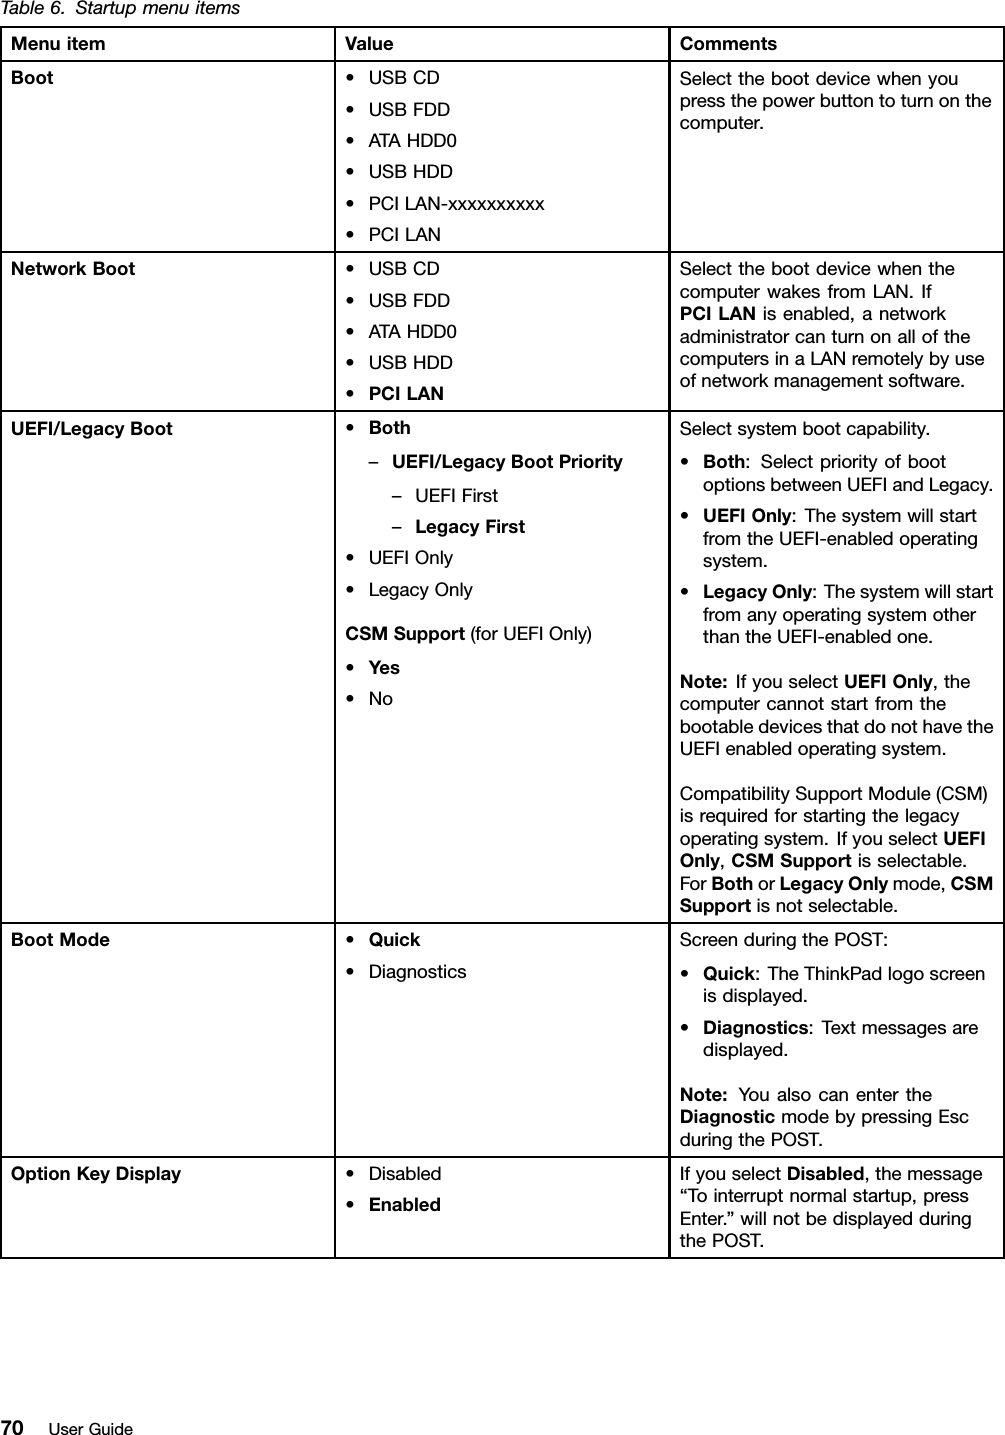
![i)UserinstallablewirelessLANandBluetoothcombocardIC:1000M-7260NG(Model:7260NGWAN)IC:6317A-RTL8192EEBT(Model:RTL8192EENF[NGFF])Notes:•Either7260NGWANorRTL8192EEBTisinstalledintothecomputer.•ThewirelessLANcardmarketedintheUSAandCanadadoesnotsupportorfunctionintheextendedchannels(12ch,13ch).II.UserinstallablewirelessLANandBluetoothcombocardThereisnocertificationnumberofIndustryCanadaforthewirelesscommunicationcardshownontheenclosureofyourcomputer.InsteadyouwillfindanindicatorpointingtothelocationoftheICCertificationnumberonthebottomofyourcomputer.TheICcertificationnumberisaffixedontheapprovedcardinstalledinthecorrespondingslot,andtheICCertificationnumberisvisiblepriortoinstallation.ForthelocationoftheICCertificationnumberindicatorandtheslot,see“FCCIDandICCertificationnumberinformation”inUserGuide.Attention:Thecomputercontainsanauthenticationmechanism.Youcaninstallorremoveeachwirelesscardbyyourself.Ifyouinstallanunauthorizedwirelesscardthatisnotapprovedforuseinthecomputer,thecomputerwillnotstart,butonlydisplaysanerrormessageandemitsaudiblebeeps.V.Lowpowerlicense-exemptradiocommunicationdevices(RSS-210)Operationissubjecttothefollowingtwoconditions:1.Thisdevicemaynotcauseinterference,and2.Thisdevicemustacceptanyinterference,includinginterferencethatmaycauseundesiredoperationofthedevice.Thetransmitterdeviceshavebeendesignedtooperatewiththeantennasintegratedinthecomputer,andhavingamaximumgainofwithin3dBi.Themaximumantennagainpermittedfordevicesinthe5250-5350MHz,5470-5725MHz,and5725-5825MHzbandscomplieswiththee.i.r.p.limitinsectionA9.2ofRSS-210.WhenyouuseawirelessLANcardinthe802.11a/ntransmissionmode:•Thedevicesfortheband5150–5250MHzareonlyforindoorusagetoreducepotentialforharmfulinterferencetoco-channelMobileSatellitesystems.•Highpowerradarsareallocatedasprimaryusers(meaningtheyhavepriority)of5250–5350MHzand5650–5850MHzandtheseradarscouldcause4](https://usermanual.wiki/Realtek-Semiconductor/RTL8192EEBT.User-Manual/User-Guide-2269419-Page-6.png)
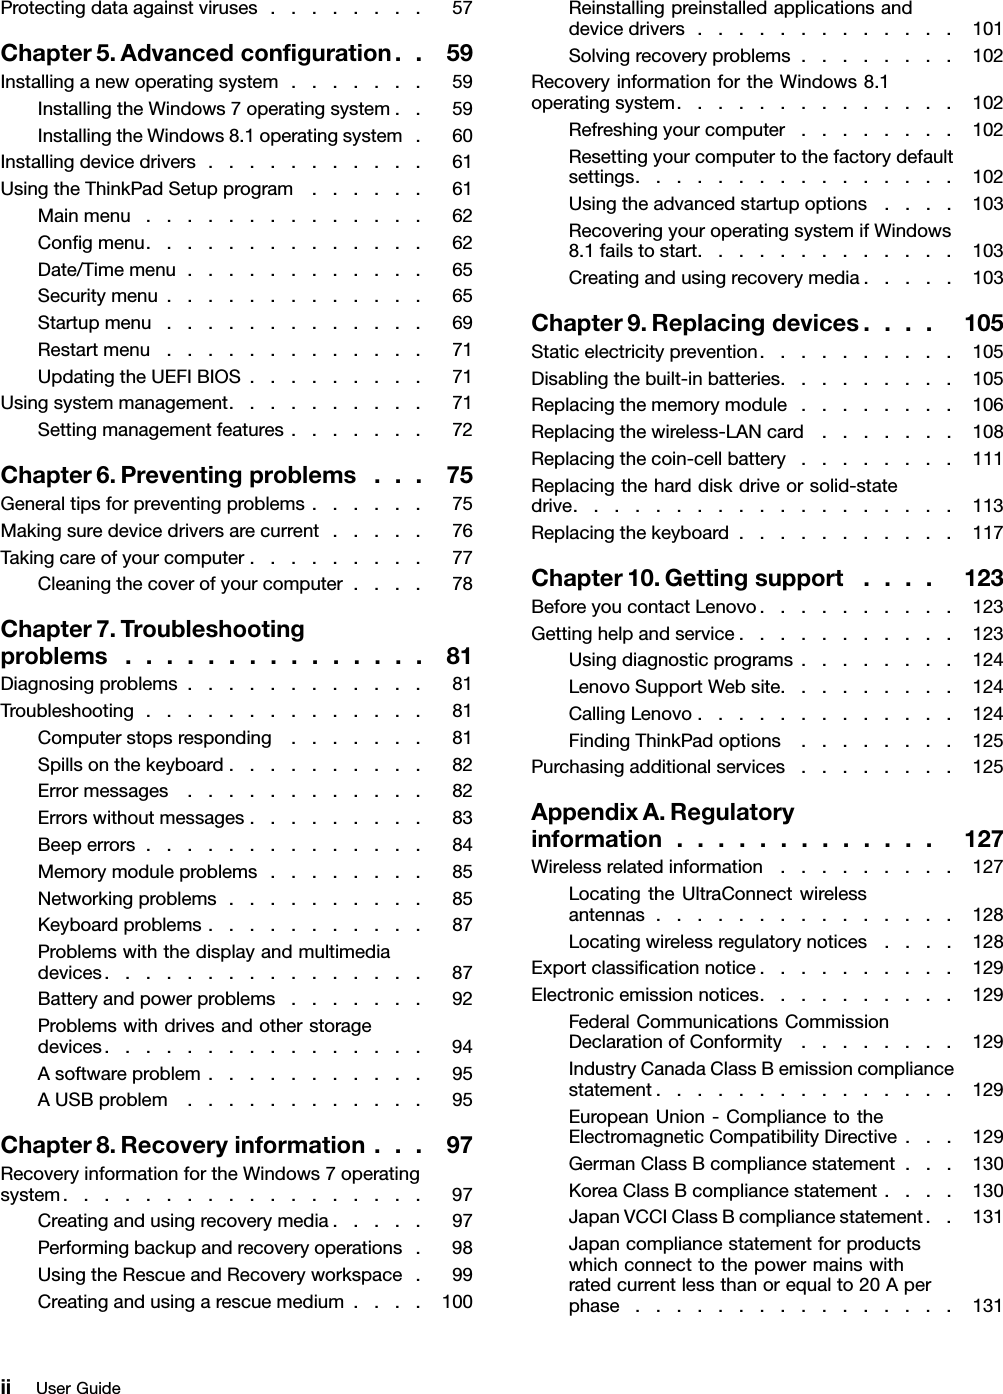
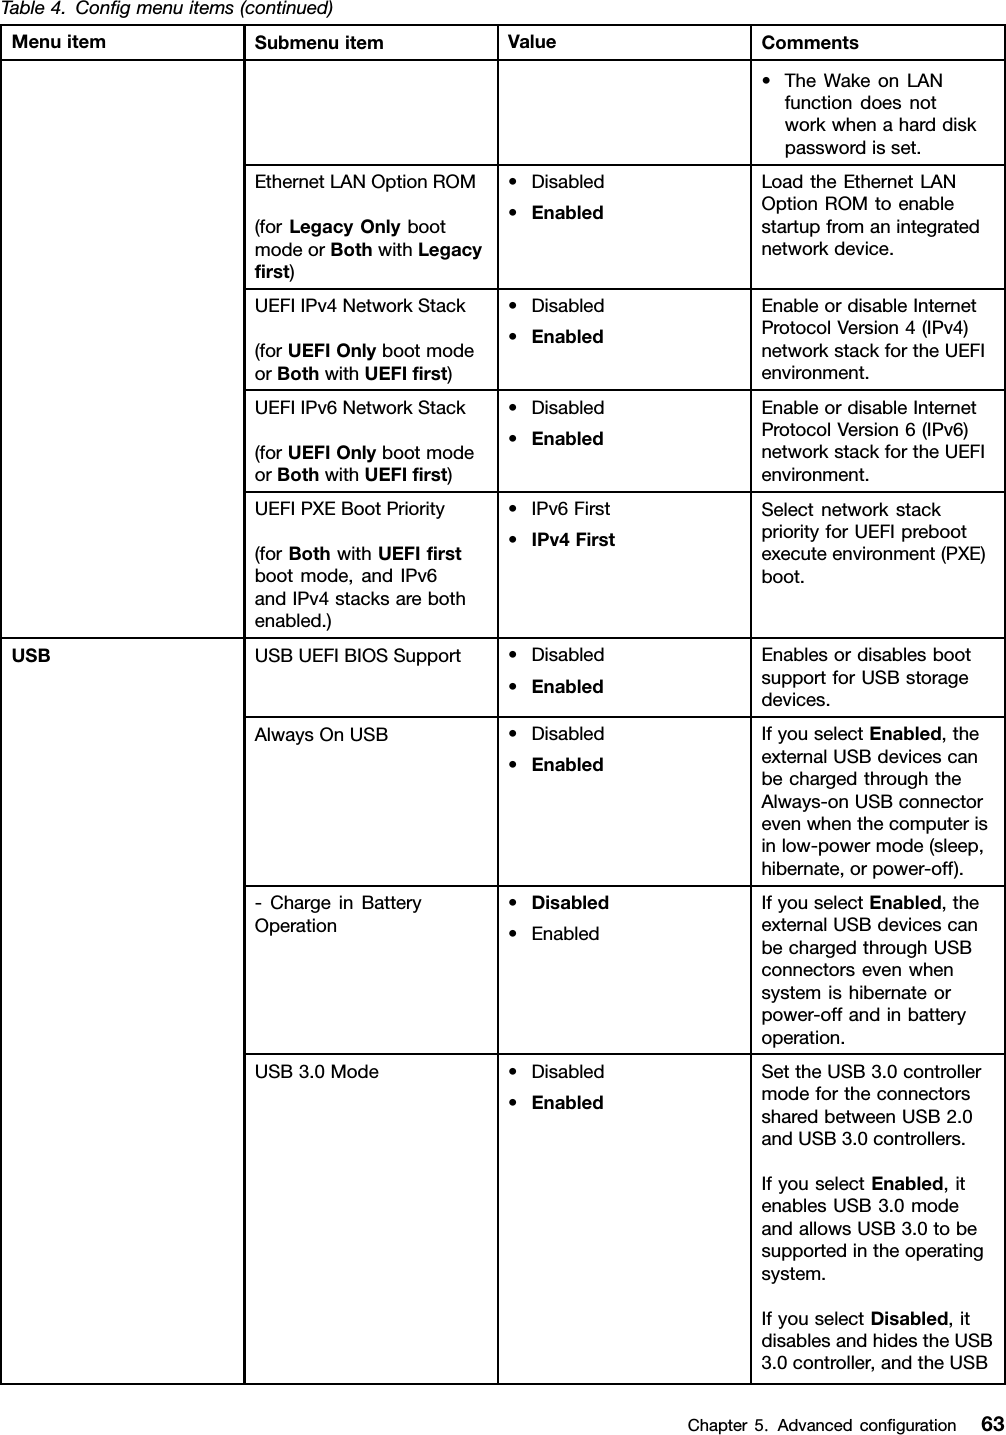
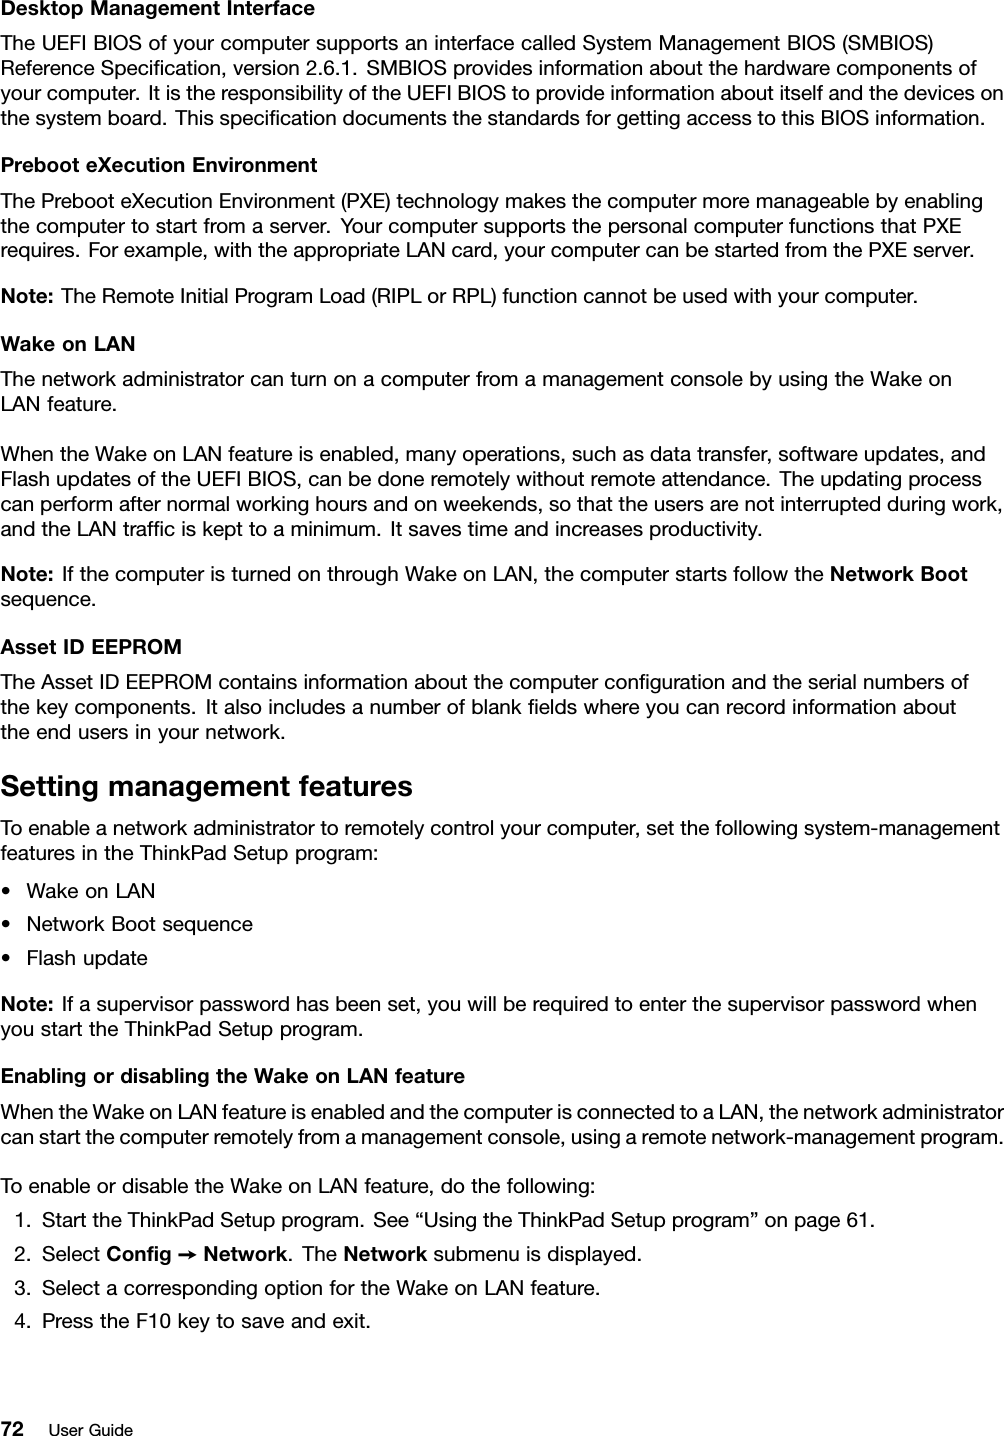
![interferenceand/ordamagetoLELAN(Licence-ExemptLocalAreaNetwork)devices.VI.ExposureofhumanstoRFfields(RSS-102)ThecomputersemploylowgainintegralantennasthatdonotemitRFfieldinexcessofHealthCanadalimitsforthegeneralpopulation;consultSafetyCode6,obtainablefromHealthCanada’sWebsiteathttp://www.hc-sc.gc.ca/.TheradiatedenergyfromtheantennasconnectedtothewirelesscardsconformstotheIClimitoftheRFexposurerequirementregardingICRSS-102,Issue2clause4.2.Numérod’homologationICI.PériphériquessansfilhomologuésCettesectionprésentelenumérod’homologationICetlenumérodemodèledechaquepériphériquesansfil.i)Cartesansfilinstallableparl’utilisateurIC:1000M-7260NG(Model:7260NGWAN)IC:6317A-RTL8192EEBT(Model:RTL8192EENF[NGFF])Remarques:•LesfonctionsderéseaulocalsansfiletBluetoothsontopérationnellesàdesfréquencesdifférentesexclusivementetémettentdesfréquencesradiosimultanément.•LescartesderéseaulocalsansfilcommercialiséesauxEtats-UnisetauCanadaneprennentpasenchargelescanauxétendus(12ch,13ch)etnefonctionnentdoncpassurdetelscanaux.II.Cartesansfilinstallableparl’utilisateurLenumérodecertificationIC(IndustrieCanada)pourlacartedecommunicationsansfilnefigurepassurleboîtierdevotreordinateur.Enrevanche,sousvotreordinateur,voustrouverezuneindicationvousprécisantl'emplacementdunumérodecertificationIC.LenumérodecertificationICfiguresurlacartehomologuéeinstalléedanslelogementcorrespondantetestvisibleavantl’installation.Pourconnaîtrel’emplacementdunumérodecertificationICetdulogement,reportez-vousàlasection«Etiquetted’identificationFCCetdunumérodecertificationIC»duGuided’utilisation.5](https://usermanual.wiki/Realtek-Semiconductor/RTL8192EEBT.User-Manual/User-Guide-2269419-Page-7.png)