SZ DJI TECHNOLOGY HG800TX15 RONIN-M TX User Manual 3
SZ DJI TECHNOLOGY CO., LTD RONIN-M TX 3
Contents
User Manual 3
Ronin-M User Manual
16
© 2015 DJI. All Rights Reserved.
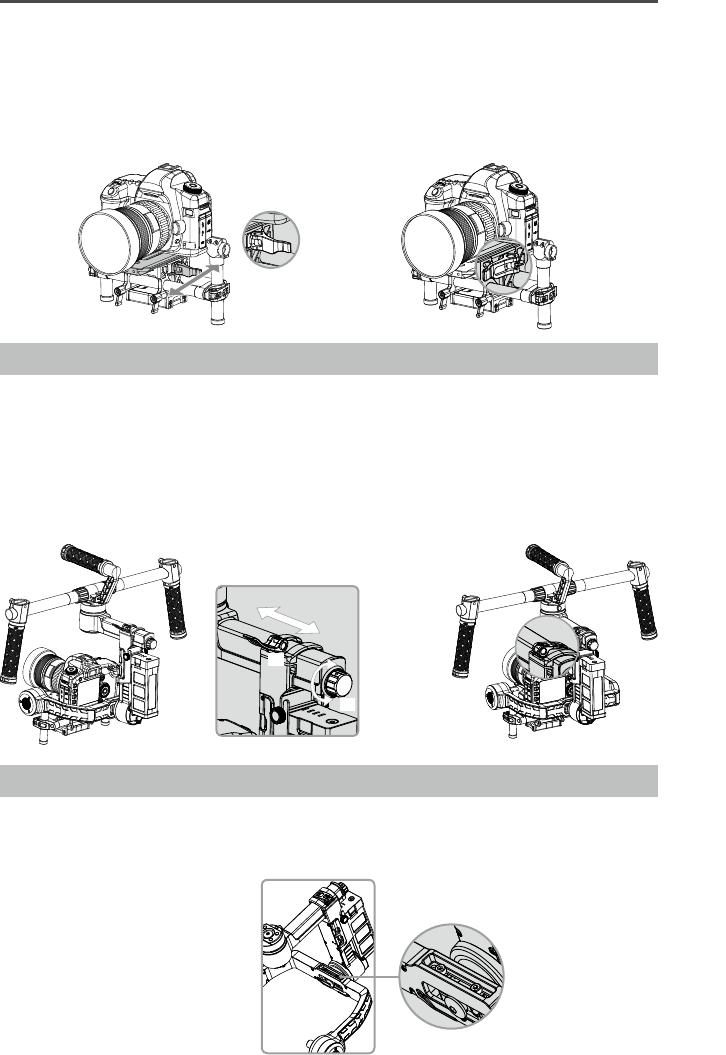
Step 4: Balancing the Pan Axis
The entire mass below the pan motor must be balanced on the central axis line of the pan motor. To
achieve this balance, you must slide the pan axis slider.
1. Open the clamp [1] on the pan axis and turn the knob [2] to slide the assembly. Identify if the
Ronin-M is front heavy or rear heavy.
2. While the Ronin-M is resting on the tuning stand, try rotating the Ronin-M along the pan axis by
lifting one side of the handle bar. If the camera does not swing, the pan axis is properly balanced.
Tighten the clamp after balancing is completed.
Advanced Roll Adjustment
If additional roll adjustment is needed in cases where the camera itself is too light in comparison to the
tilt motor assembly, advanced roll adjustment can be achieved by loosening the indicated screws and
pushing the assembly to the right or left.
[1]
[2]
1. Loosen the camera base's side clamp to allow the camera and mounting plate to slide forwards
and backwards. Slide the camera forwards or backwards until the Tilt Axis remains level. It takes
very small adjustments to get the balance right.
2. Tighten the side clamp to lock the camera and mounting plate in position. If properly balanced, the
camera should be able to remain steady in any given tilt angle.
© 2015 DJI. All Rights Reserved.
17
DJI Ronin-M Assistant App Tuning
After nishing the balancing, you can adjust software parameters through the DJI Assistant App.
Download and Install
1. Download the DJI Assistant App:
Search “DJI Assistant” on the App Store then follow instructions for the iOS version.
Search “DJI Ronin” on the Google Play then follow instructions for the Android version.
2. Be sure Bluetooth is switched to the on position on your mobile device. Position the camera in
the standard operating position. Power on your Ronin-M and then open the app to connect to the
Ronin-M via Bluetooth.
3. Register your e-mail address when you use the app for the rst time.
4. Connect to your Ronin-M according to the tips in the app. After connecting to the main controller of
the gimbal, you will see the Wizard menu. When the green light at the top in the app is steady and the
blue light is blinking, the connection is complete. The green LED light on the Ronin-M will light up.
After switching on Bluetooth on your mobile device, go back to the Assistant App to connect
to the Ronin-M. The Ronin-M will not show up in the settings menu of your mobile device. It
can only be connected to via the app.
There are two device types, choose " Ronin" to enter the gimbal assistant page. Choosing
"A2" will enter the DJI ight controller assistant page.
The function of the iOS and Android app are the same, below is taking the iOS version for example.
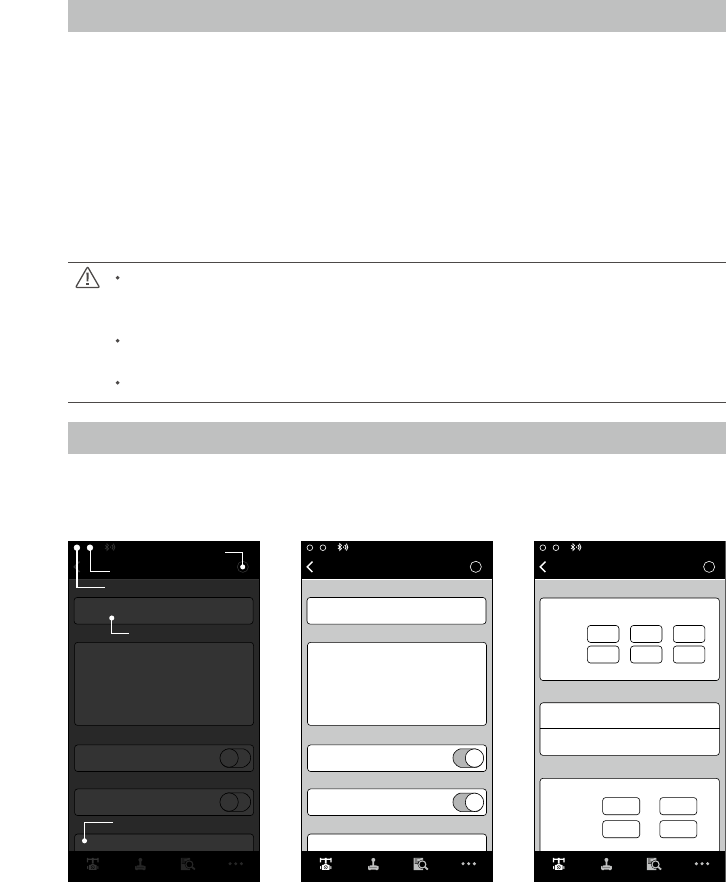
Basic Settings
The functionality in the Wizard are the most basic functions you may want to adjust upon receiving your
Ronin-M. These options are also the most used functions during standard operation of the Ronin-M.
You can complete all these settings in the Wizard menu.
N/A
?
Gimbal
Mode:
Wizard
Auto Tune Stability
Briefcase Mode
SmoothTrack Mode
Live Data
Calibrate
Briefcase Mode
SmoothTrack Mode
SmoothTrack Adjustments
0
0
0
0
0
0
Power
Pan
Speed
Tilt
Deadband
Roll
Angle
Gimbal Control Viewer More
Accel
N/A
?
Gimbal
Mode:
Gimbal Control Viewer More
Wizard
Auto Tune Stability
Briefcase Mode
SmoothTrack Mode
Live Data
Calibrate
Briefcase Mode
SmoothTrack Mode
Control Speed Adjustment
0
0
0
0
0
0
Power
Pan
Pan
Tilt
Tilt
Roll
Angle
Select between customizable options
Tap this after setting
up camera balance
Recognized by Bluetooth connection
Ronin is providing feedback
In App help
?
Gimbal Wizard
Gimbal Control Viewer More
Speed
Pan Axis
Pan
Onboard
Controller
Remote
Operator
Tilt Axis
Tilt
Test Pan Speed
Deadband Accel
SmoothTrack Adjustments
SmoothTrack Test
Control Speed Adjustment
50
15 15
15
1515
40
00
0
Test Tilt Speed
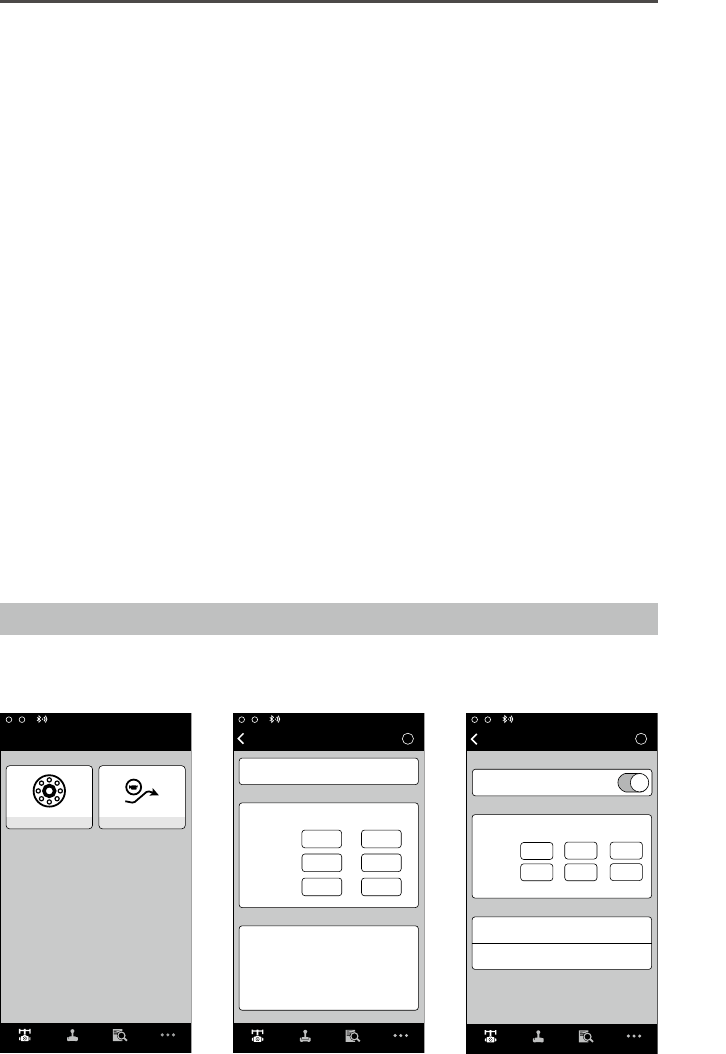
1. Calibrate
Auto Tune Stability provides an easy one-touch button for automatic conguration of each axis. Trajectory,
speed, power and stiffness of motors are automatically tuned for the camera conguration that’s mounted.
Ronin-M User Manual
18
© 2015 DJI. All Rights Reserved.
Auto Tune Stability should be tapped whenever there is a new camera conguration mounted such as a
lens change or accessories change. This will offer the best stability and the most optimal settings.
2. Live Data
This monitors the feedback from each motor axis. If a particular motor axis indicates a power greater than
10, this often means the mechanical balancing of the camera hasn’t been properly adjusted. A properly
balanced camera rig will have each axis indicating close to 0 power. Don’t worry if these settings are not
always 0. The Angle indicates the current angle at which each axis is in relation to center.
3.BriefcaseMode
When Briefcase Mode is switched on, the Ronin will be able to seamlessly transform into this operation
mode. With Briefcase Mode turned off, the Ronin will allow the Roll axis to follow if the Ronin is tilted
past the standard roll axis travel.
4. SmoothTrack Mode
When SmoothTrack Mode is enabled, the Ronin will can be "steered" by the camera operator’s movements
in the Pan and Tilt axis. This steering/translation speed can be adjusted for each axis independently. When
the Ronin's top bar is rotated left or right, the camera will smoothly pan and slow down to a stop. Under the
SmoothTrack options, the Pan Axis and the Tilt Axis can be independently adjusted.
Pan Axis speed will determine how fast the camera will travel while translating a pan movement. Pan
deadband will determine how much movement the gimbal will tolerate prior to translating the camera’s pan.
Tilt Axis speed will determine how fast the camera will travel while translating a tilt movement. Tilt deadband
will determine how much movement the gimbal will tolerate prior to translating the camera’s tilt.
The Pan and Tilt SmoothTrack speed can be tested. Ensure there is no obstruction of the camera
when tapping these Test buttons.
5.ControlSpeedAdjustment
Remote control speed can be adjusted here. The adjustment represents the maximum speed of
gimbal control in the Pan and Tilt axis when the control sticks are pushed to their endpoints.
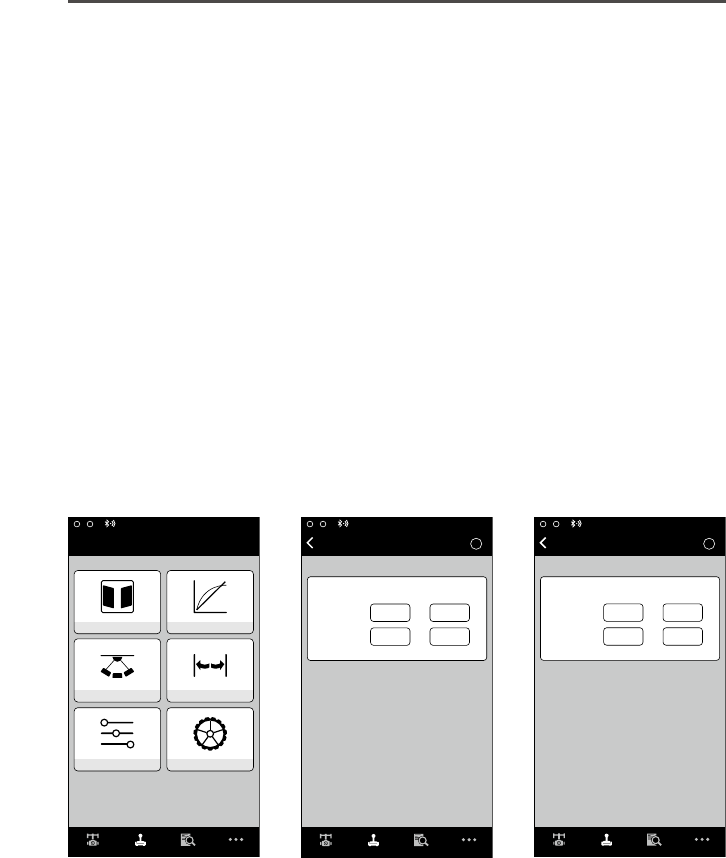
Advanced Settings
There are more advanced functions you can adjust through the Assistant to meet your requirement.
Gimbal Menu
Wizard Gimbal
Motor
Mode:N/A
SmoothTrack
Gimbal Control Viewer More
Gimbal Control Viewer More
?
0
0
0
0
0
0 0
0
00
0
0
Mode:N/A
Motor
Gimbal
Pan Axis
Stiffness
Power Angle
Trim
Tilt Axis
Roll Axis
Pan
Tilt
Roll
Auto Tune Stability
Live Data
Configuration
?
Gimbal
SmoothTrack Mode
Test Pan Speed
Test Tilt Speed
SmoothTrack
SmoothTrack Adjustments
Test
Speed Deadband Accel
Pan Axis
Tilt Axis
50
15 15
0 0
0
Gimbal Control Viewer More
Ronin-M User Manual
© 2015 DJI. All Rights Reserved.
19
1. Motor Adjustment
The Auto Tune Stability button allows for automatic adjustment of each motor’s stiffness settings (as relayed
from the sensors and how the Ronin-M sees each axis’s interaction) to accomplish an optimized setting.
Besides tuning stiffness, there are other electronic settings being tuned. It is highly recommended that the
Auto Tune Stability button be tapped whenever there is a new camera conguration mounted, including a
lens change or accessories change. This will offer the best stability and the most optimal settings.
Each axis has its own stiffness and trim adjustment. The motor stiffness adjustment allows ne tuning of the
amount of power applied to the motors as they react to the balancing of weight on each axis. The higher
you can adjust the stiffness settings without having any vibrations or oscillations from the gimbal, the better.
A majority of the time, the Auto Tuned settings will be suitable.
The Trim adjustment controls the preset amount of trim applied to each axis off center. The default setting of
0 degrees represents center.
2. SmoothTrack Mode
Refer to the Basic Settings for the details of SmoothTrack Mode.
Control Menu
1. Deadband
Onboard controller and the remote operator controller can have independent pan and tilt deadbands
of movement. The larger the deadband, the more stick movement required prior to the input being
translated to actual movement of the gimbal.
Gimbal Control Viewer More
N/A
Mode:
Wizard Control
Deadband Maximum Speed
Smoothing Endpoint
Channels Settings
?
Gimbal Control Viewer More
Deadband Adjustment
Onboard
Controller
Remote
Operator
Pan Tilt
Control Deadband
6
6
6
6
?
Gimbal Control Viewer More
Control Speed Adjustment
Onboard
Controller
Remote
Operator
Pan Tilt
Control Maximum Speed
40
15
15
15
2. Maximum Speed
Maximum Speed is a function that allows the controlled stick response from being a linear response
to what is known as an increasing response curve. This means the amount of gimbal travel in the Pan
or Tilt is not directly proportional to control stick travel. Control response can be adjusted to be milder
below the initial rst half of control stick travel and be increased to a higher speed towards the last
half of control stick travel. This preset exponential curve is selected based off the input of maximum
speed. The onboard controller and the remote operator control sticks can have maximum speeds set
independently from each other.
Ronin-M User Manual
20
© 2015 DJI. All Rights Reserved.
?
Gimbal Control Viewer More
N/A
Mode:
Test Pan Endpoints
Test Tilt Endpoints
Endpoint Adjustments
Test
Pan Axis
Left Right
Up Down
Tilt Axis
Control Endpoint
0 0
0 0
?
Gimbal Control Viewer More
Smoothing Adjustment
Onboard
Controller
Remote
Operator
Pan Tilt
Control Smoothing
15
15 15
15
3.Smoothing
When the control stick input is released, the smoothing of the translated movement will come to a
smooth slow down if the smoothing is increased. If the smoothing is 0, the slowdown will appear as an
abrupt stop. The onboard controller and remote operator control sticks can be set independently. Pan
and tilt smoothing can also be set independently.
4. Controller Endpoints Adjustment
Pan Axis endpoints can be adjusted independently for left and right movement when used with a
remote control or the onboard controller. Pan Axis endpoints setting means during controller input, the
maximum point in which the gimbal will rotate left or right.
Tilt Axis endpoints can be adjusted independently for up and down movement when used with a
remote control or the onboard controller. Tilt Axis endpoints settings control the maximum point at
which the gimbal can rotate up or down.
The Pan and Tilt endpoints can be tested. Ensure the camera is unobstructed when tapping the Test
buttons.
If the requirement to rotate 360 degrees on the Pan axis is needed, simply adjust the endpoints for pan to 0.
If endpoints are set to 0 for 360 degree Pan ability, then "Test Pan Endpoint" will not move the pan axis.
5.Channels
This is a channel indicator to provide feedback during remote operator conguration. Pan, Tilt, and
Roll can be re-assigned to either of the remote control sticks. The controlled axis can also be reversed.
6. Settings
Controller Priority: If both input devices send control signals to the gimbal, the selected controller
priority will be the only device to send a signal at that given time.
Pan/Tilt remote speed adjustments can be pre-congured to be selectable on the 2nd operator remote
controller. The control speed settings for pan and tilt can be set independently from each other.
Setting Speed Toggle Presets, you are setting the Function switch (left switch) on the Ronin-M remote
controller. These presets will allow you to change the SmoothTrack speed remotely. If the remote
Ronin-M User Manual
© 2015 DJI. All Rights Reserved.
21
Gimbal Control Viewer More
?
N/A
Mode
:
Control Settings
Controller Priority
Remote Operator Onboard Controller
Pan/Tilt Remote Speed Adjustment
Combined Independent
Speed Toggle Presets
Pan
Fast
Normal
Slow
Tilt
?
CH 0
CH 1
CH 2
CH 3
CH 4
CH 5
CH 6
CH 7
Gimbal Control Viewer More
Control Channels
Channels
Pan
Normal
Normal
Normal
REV
REV
REV
Normal
Normal
Tilt
Roll
controller is turned on, the Speed Toggle Presets for SmoothTrack will take precedence over the App
settings. Once the remote controller is turned off, the SmoothTrack settings in the App will take over.
?
Viewer
Control Viewer More
14.50V
0:01:59
35.40
。
Power
Power
Angle
Angle
Pan Axis
Tilt Axis
Roll Axis
Voltage
Temperature
Time
2
-2
0-0.01
。
-0.45
。
1.89
。
Gimbal
Gimbal Control Viewer More
?
***@
***
.com
N/A
Mode
:
More
Briefcase Mode
Motor Kill
Calibrate Center
Calibrate System
Restore default settings
Accounts
Device List
Information
Viewer Menu
The viewer provides all the essential live data for monitoring the gimbals electronics as well as
feedback from the motors. Power is indicated for each axis. The current angle of each axis is also
indicated. The voltage of the battery, temperature of the main electronics, and also current uptime can
also be monitored via this menu.

Ronin-M User Manual
22
© 2015 DJI. All Rights Reserved.
More Menu
Briefcase Mode
When Briefcase Mode is switched on, the Ronin-M will be able to seamlessly transform into this
operational mode. With Briefcase Mode turned off, the Ronin-M will allow the Roll axis to follow.
Motor Kill Switch
when activated, the Ronin-M is still powered on, but the motors will be powered off. This will allow an
adjustment to the gimbal or camera without having to turn off the gimbal. Prior to turning off the kill
switch, make sure the gimbal is positioned in the standard operating position. The motor kill switch can
also be used in case the gimbal operator runs into an issue, or you need to make a quick mechanical
adjustment to the gimbal or camera setup.
Calibrate Center
If the Ronin-M’s Pan Axis is off center, you can recalibrate the true center of the Ronin-M using this
switch. Using a remote control, position the pan axis at dead center, then tap the Calibrate Center. Tap
“Center” again in the pop-up to conrm. Power cycle after calibrating center.
Calibrate System
Calibrate System is only used if you notice any kind of drift in any of the axes. To calibrate the system,
place the Ronin-M on the tuning stand and make sure it is completely steady. Then tap the Calibrate
System button and let the process nish before picking up the Ronin-M.
Restore Default Settings
This will restore all of the factory settings that are congurable through the app.
Device List
To force the App to nd the Ronin-M, select "Device List" to force the App to search for Bluetooth
devices it recognizes.