Samsung Electronics Co CK40PS 40-inch LCD Monitor User Manual 2
Samsung Electronics Co Ltd 40-inch LCD Monitor Users Manual 2
UserManual.wiki
>
Samsung Electronics Co
>
CK40PS User Manual
>
Users Manual 2
Contents
1.
Users Manual 1
2.
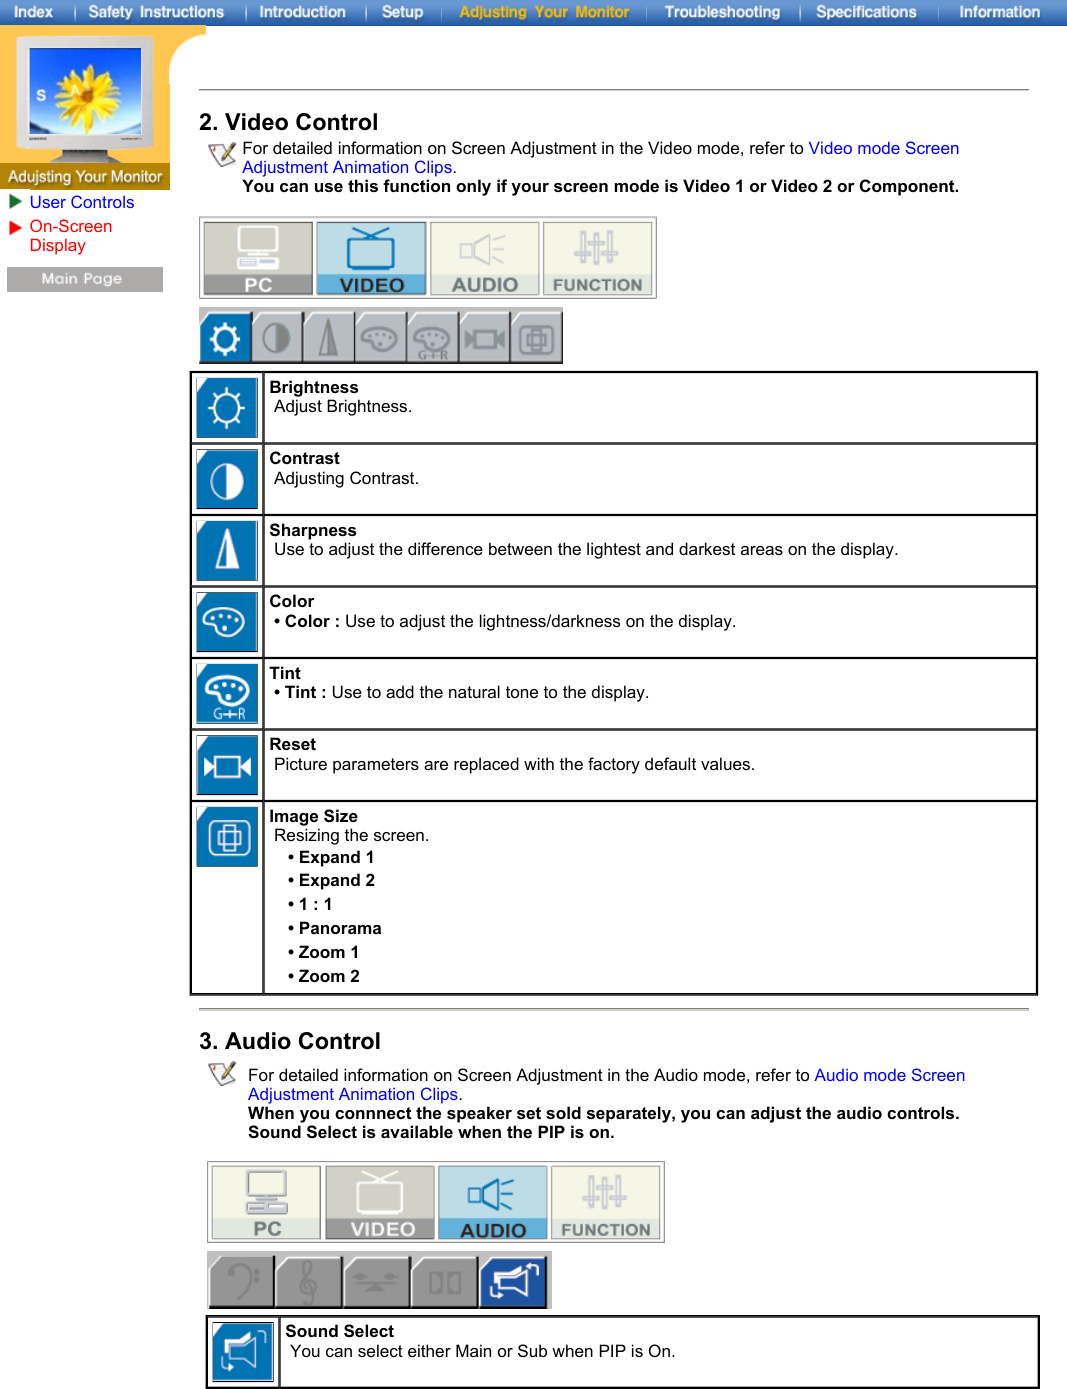
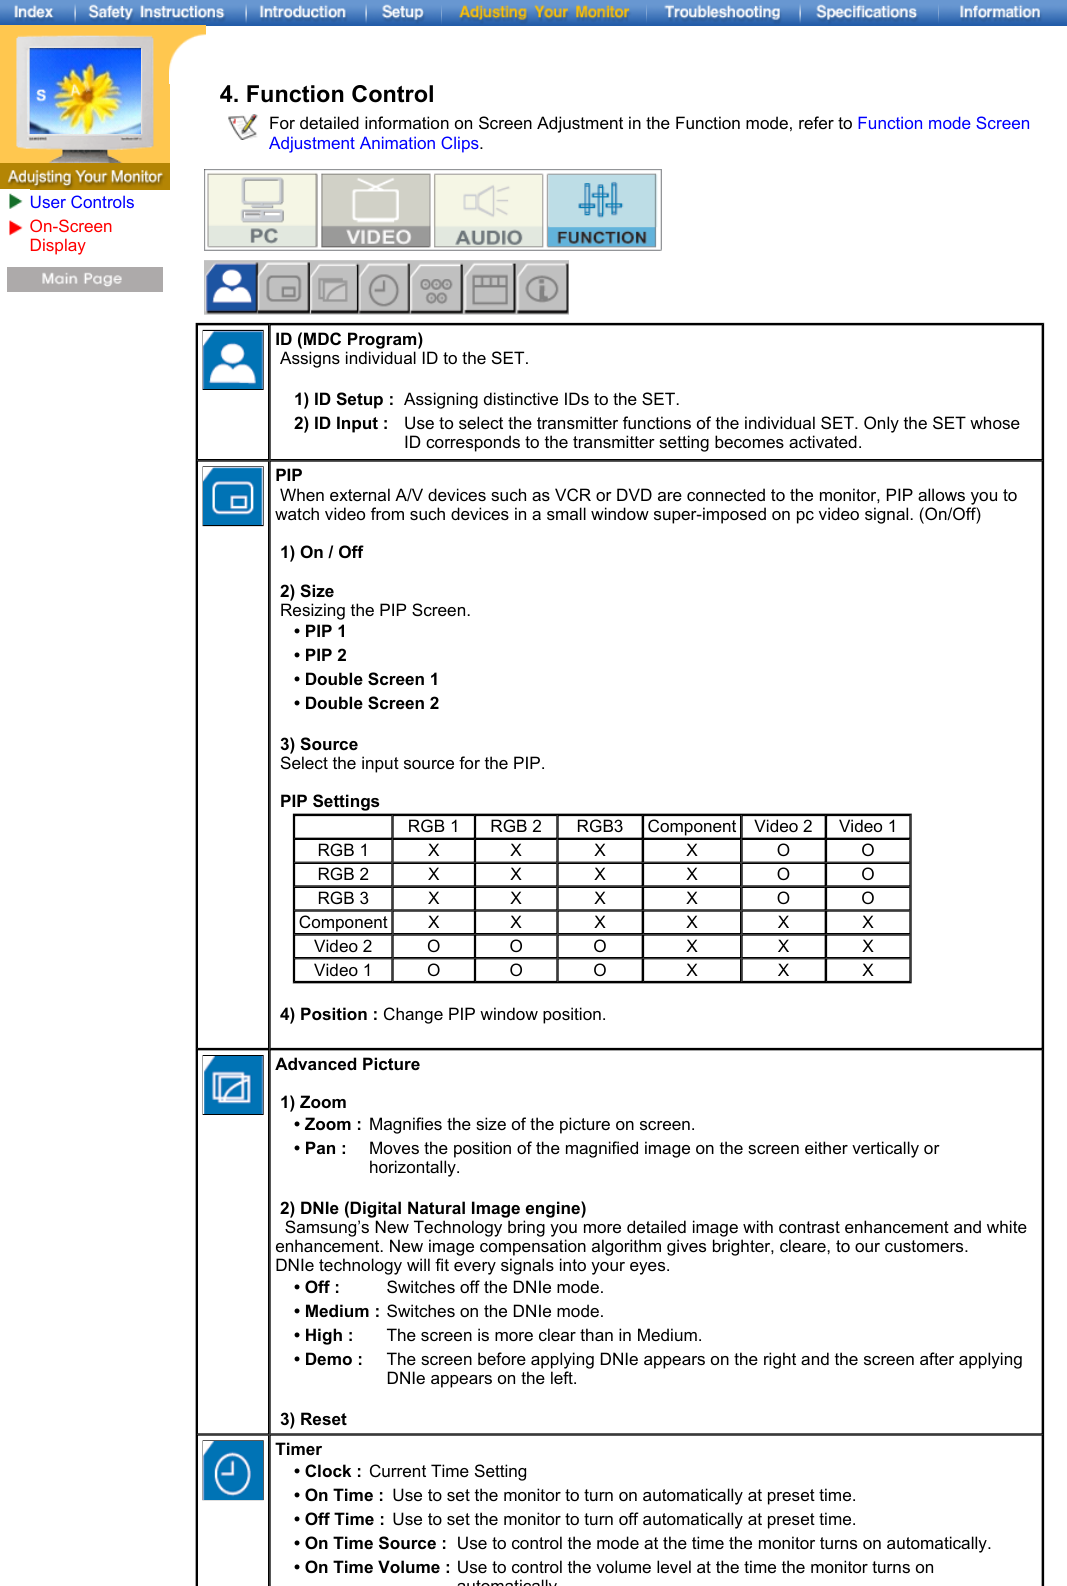
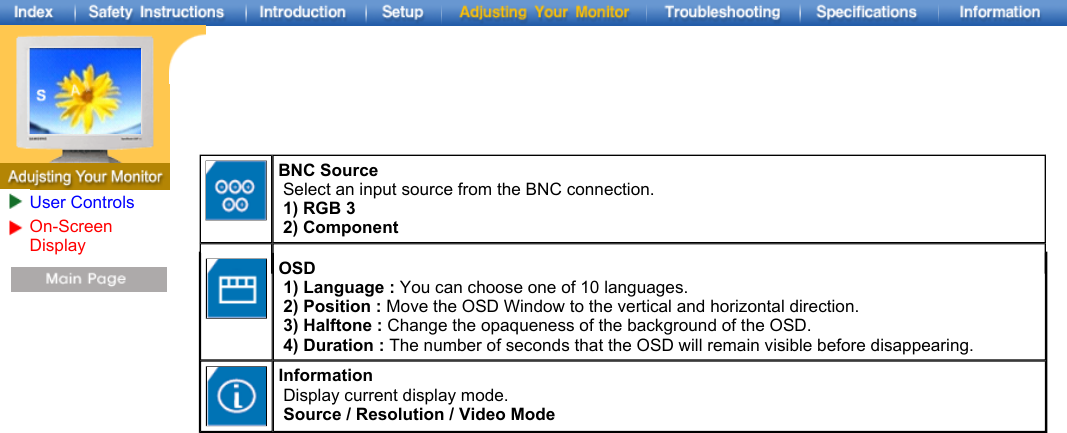
Users Manual 2
Users Manual 2
Navigation menu
Upload a User Manual
Namespaces
Wiki Guide
HTML
PDF
Info
Views
User Manual
Discussion / Help
Navigation
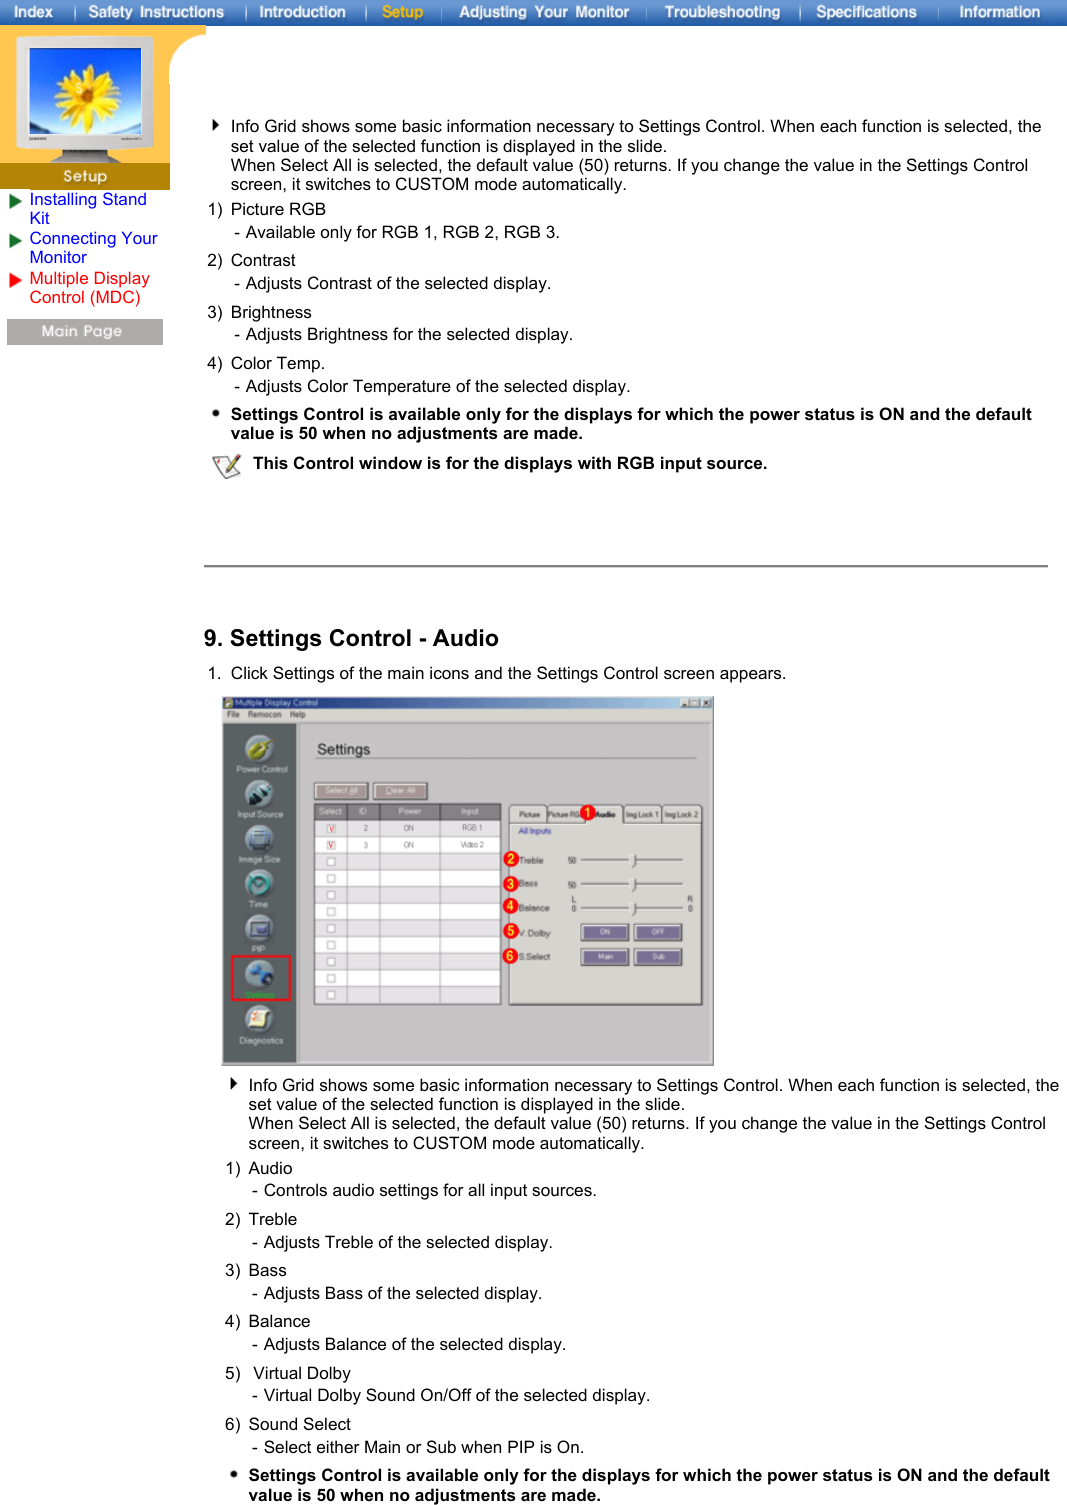
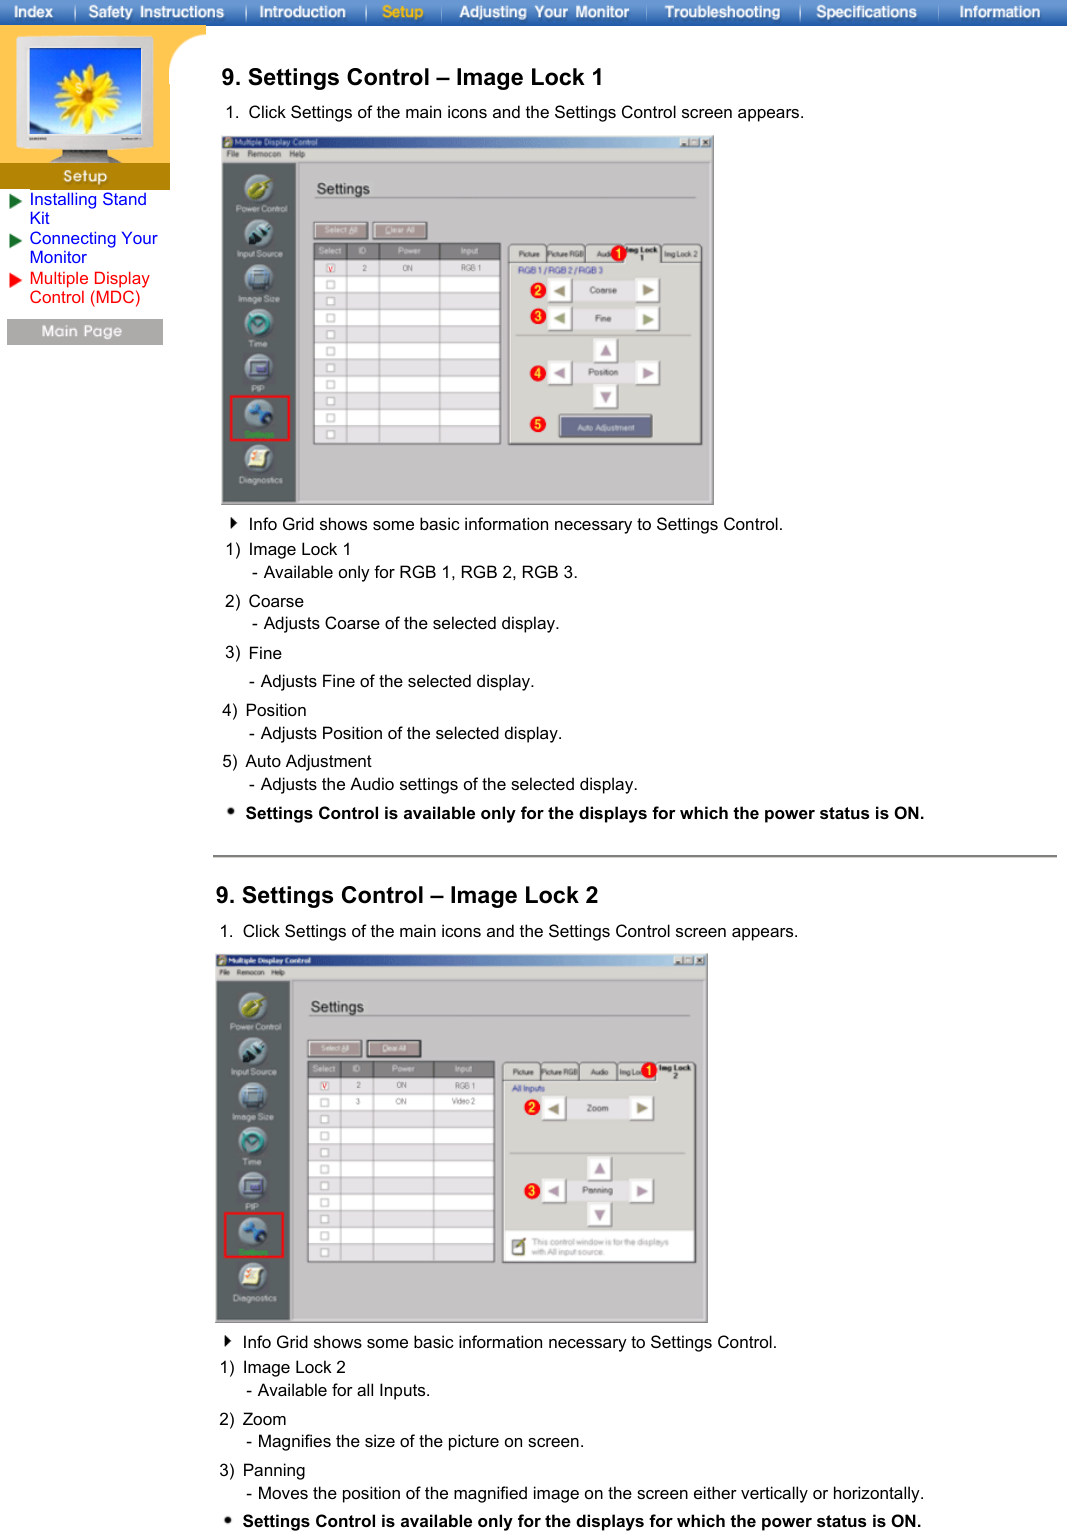
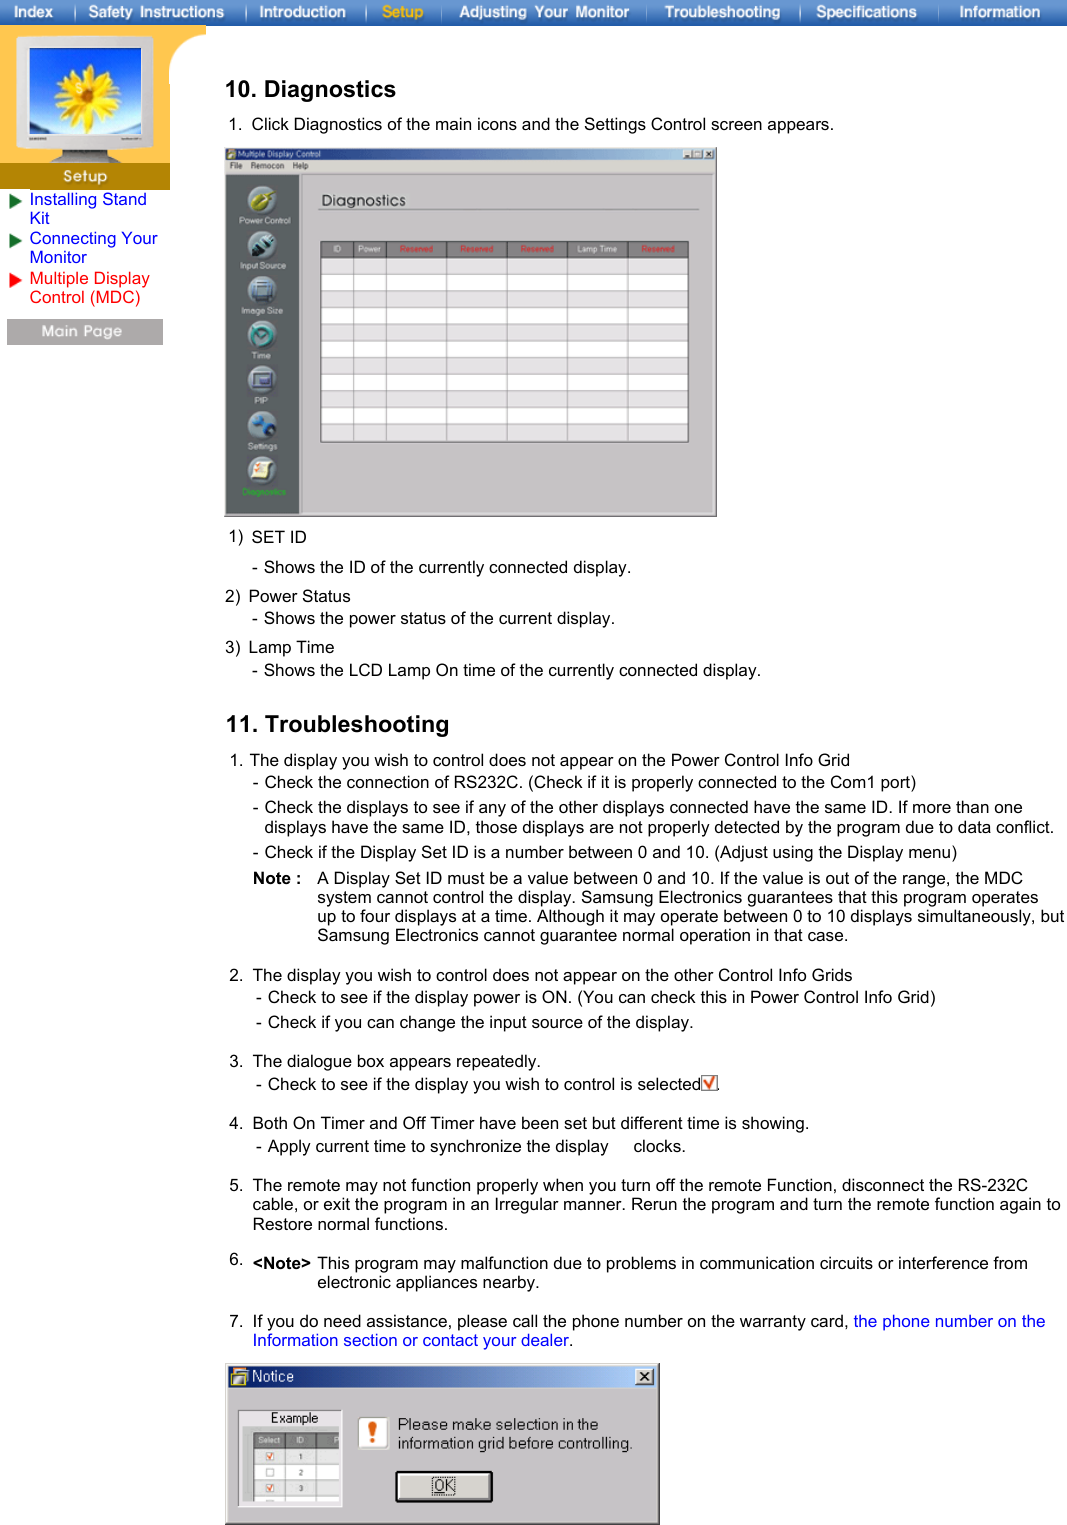
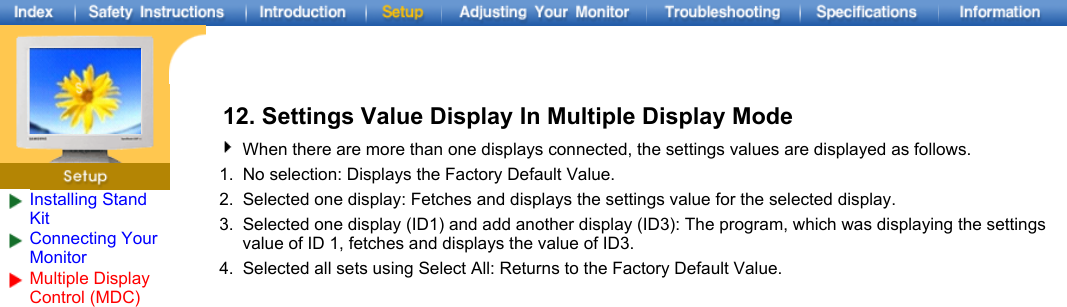


![Service CenterTermsRegulatoryNatural ColorAuthority Natural Color Software Program One of the recent problems in using a computer is that the color of the images printed out by a printer or other images scanned by a scanner or a digital camera are not the same as those shown on the monitor. The Natural Color S/W is the very solution for this problem. It is a color administration system developed by Samsung Electronics in association with Korea Electronics & Telecommunications Research Institute (ETRI). This system is available only for Samsung monitors and makes the color of the images on the monitor the same as the printed or scanned images. For more information, refer to Help (F1) in the software program. How to install the Natural Color software Insert the CD included with the Samsung monitor into the CD-ROM Drive. Then, the initial screen of the program installation will be executed. Click Natural Color on the initial screen to install the Natural Color software. To install the program manually, insert the CD included with the Samsung monitor into the CD-ROM Drive, click the [Start] button of Windows and then select [Execute]. Enter D:\color\eng\setup.exe and then press the <Entrer> key. (If the drive where the CD is inserted is not D:\, enter the applicable drive.) How to delete the Natural Color software program Select [Setting]/[Control Panel] on the [Start] menu and then double-click [Add/Delete a program]. Select Natural Color from the list and then click the [Add/Delete] button.](https://usermanual.wiki/Samsung-Electronics-Co/CK40PS.Users-Manual-2/User-Guide-312817-Page-30.png)