Samsung Electronics Co CLX3305FW Laser Multi-funtion Printer User Manual Violet english
Samsung Electronics Co Ltd Laser Multi-funtion Printer Violet english
UserManual.wiki
>
Samsung Electronics Co
>
CLX3305FW User Manual
>
Users Manual 3
Contents
1.
Users Manual 1
2.
Users Manual 2
3.
Users Manual 3
Users Manual 3
Navigation menu
Upload a User Manual
Namespaces
Wiki Guide
HTML
PDF
Info
Views
User Manual
Discussion / Help
Navigation

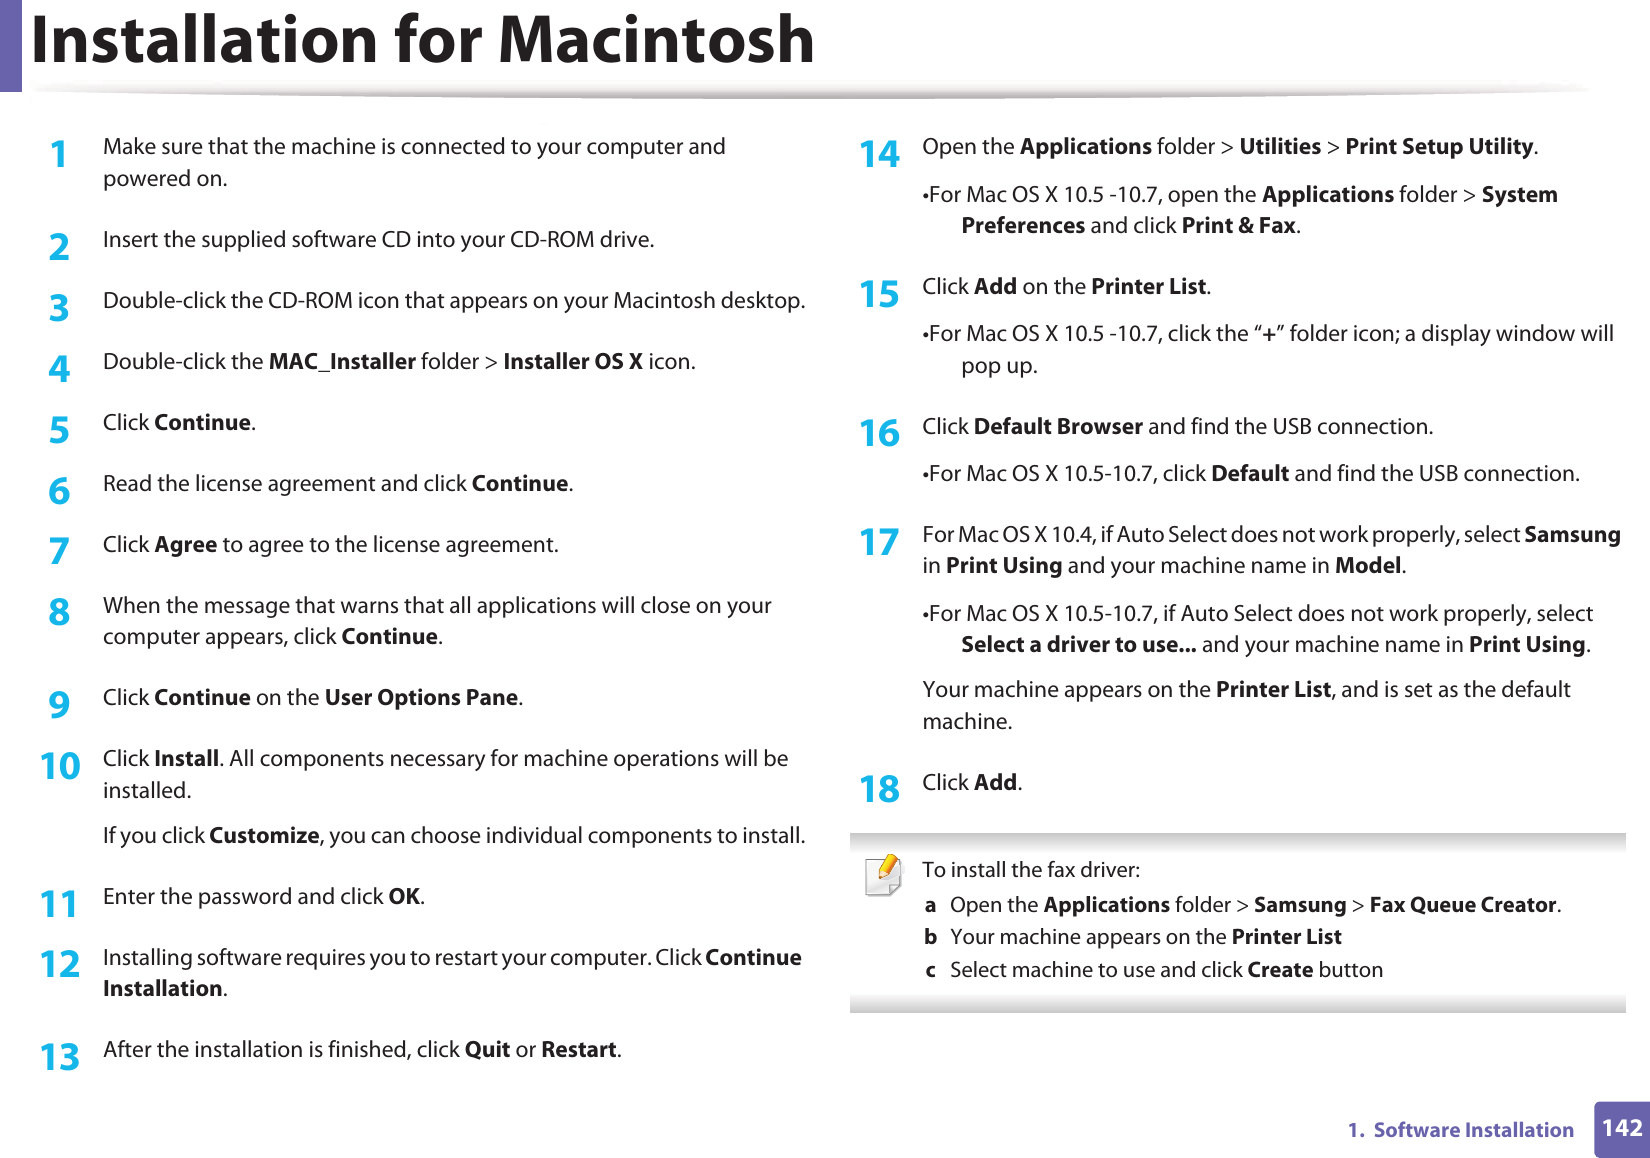

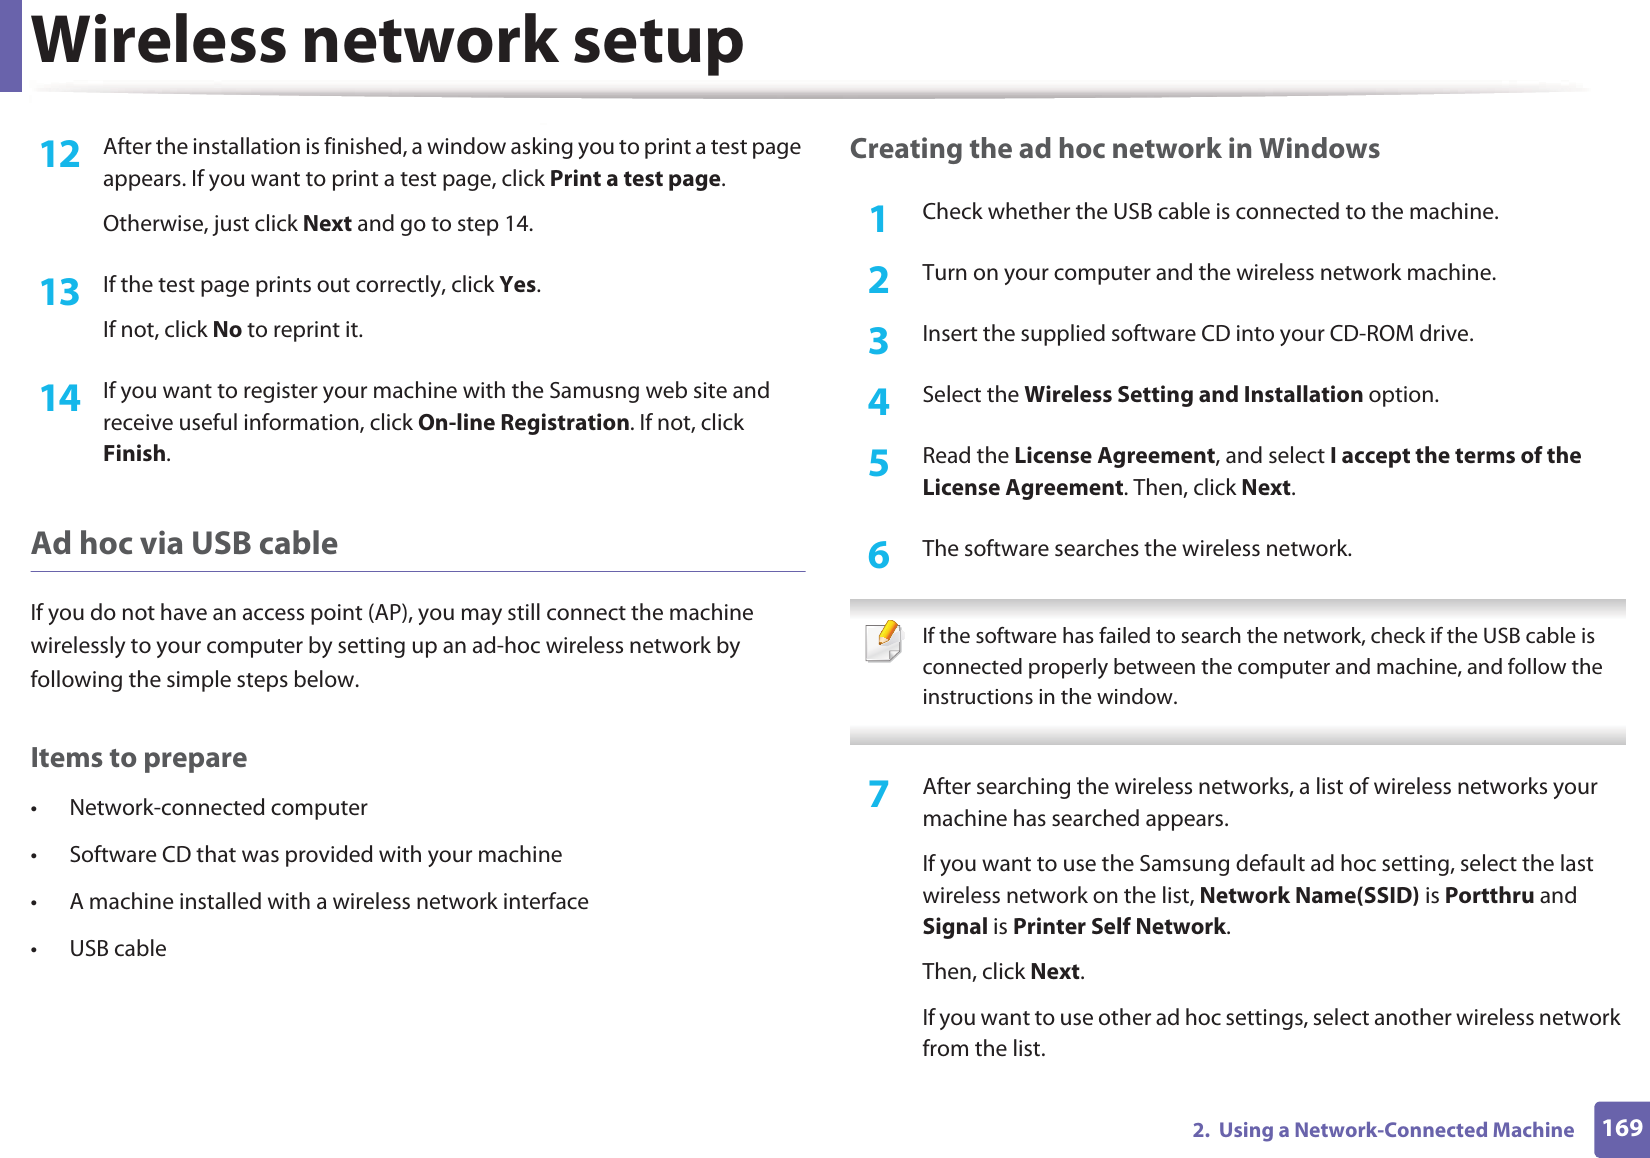
![1451. Software InstallationReinstallation for LinuxIf the printer driver does not work properly, uninstall the driver and reinstall it. 1Make sure that the machine is connected to your computer and powered on.2 When the Administrator Login window appears, type “root” in the Login field and enter the system password.You must log in as a super user (root) to uninstall the printer driver. If you are not a super user, ask your system administrator.3 Open the Terminal program. When the Terminal screen appears, type in the following.[root@localhost root]#cd /opt/Samsung/mfp/uninstall/[root@localhost uninstall]#./uninstall.sh4 Click Next. 5 Click Finish.](https://usermanual.wiki/Samsung-Electronics-Co/CLX3305FW.Users-Manual-3/User-Guide-1690318-Page-8.png)
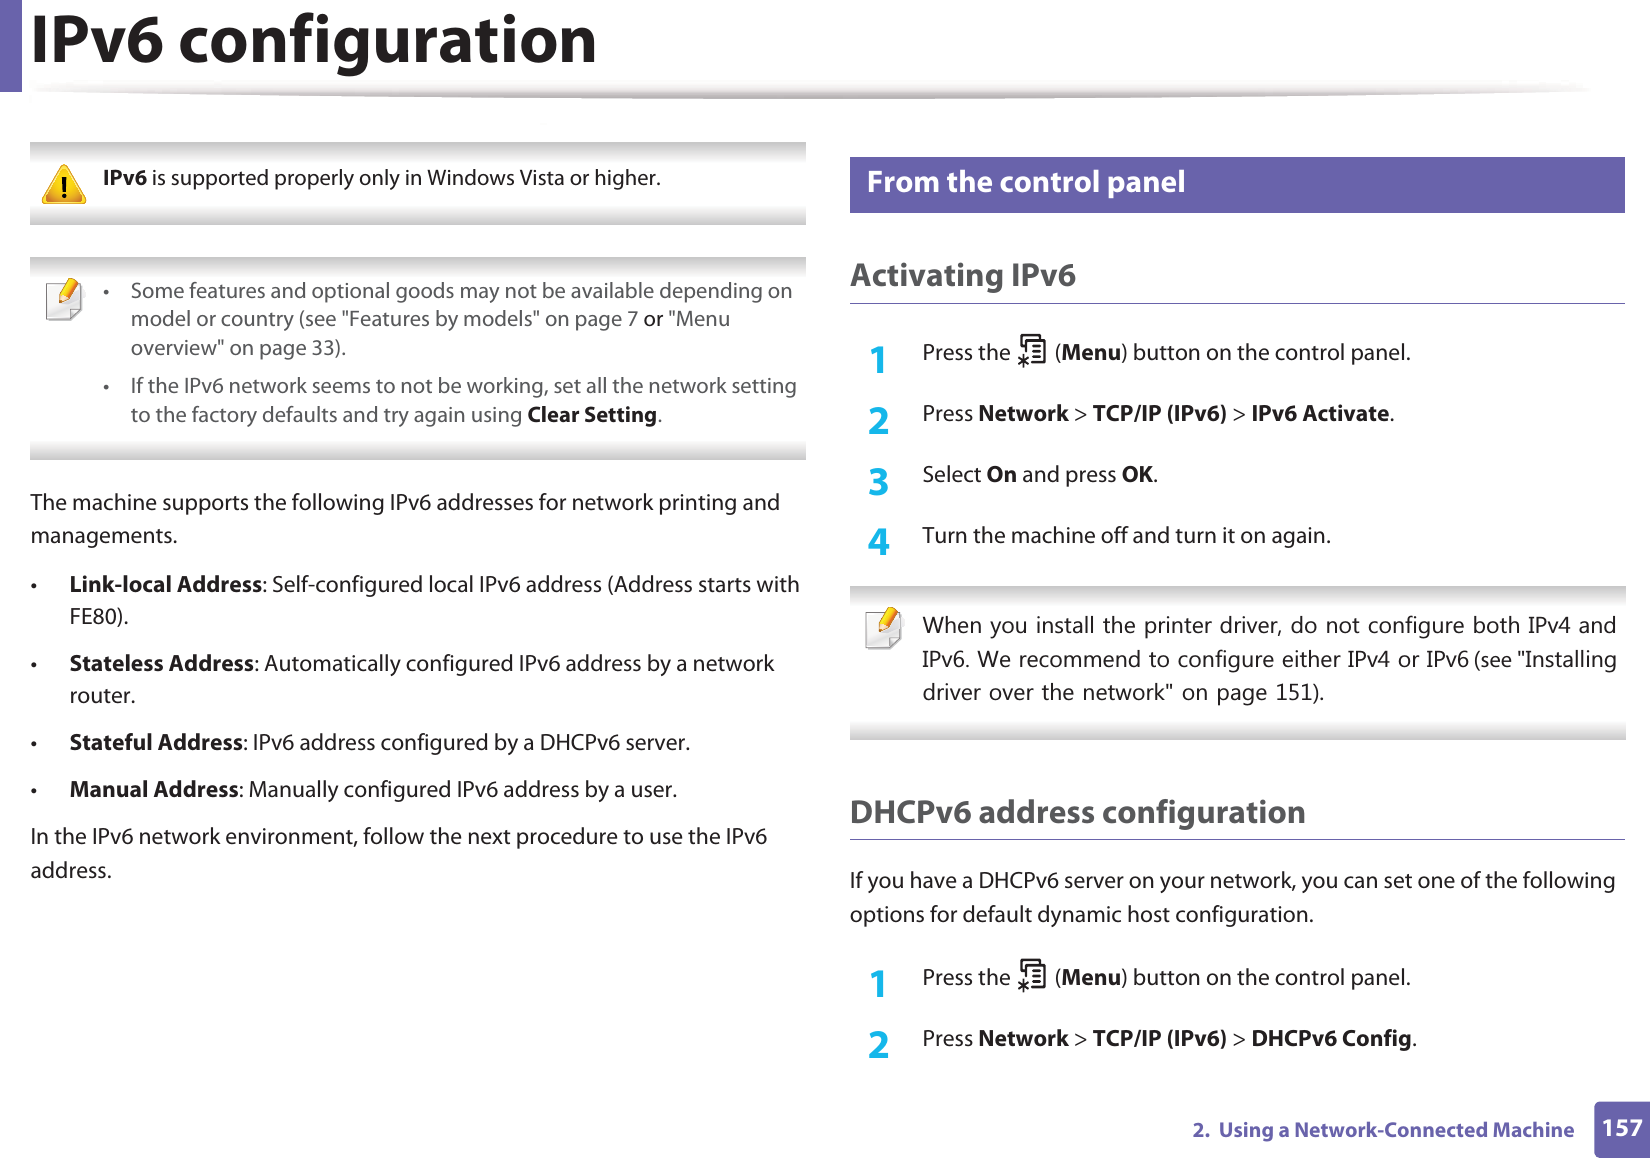
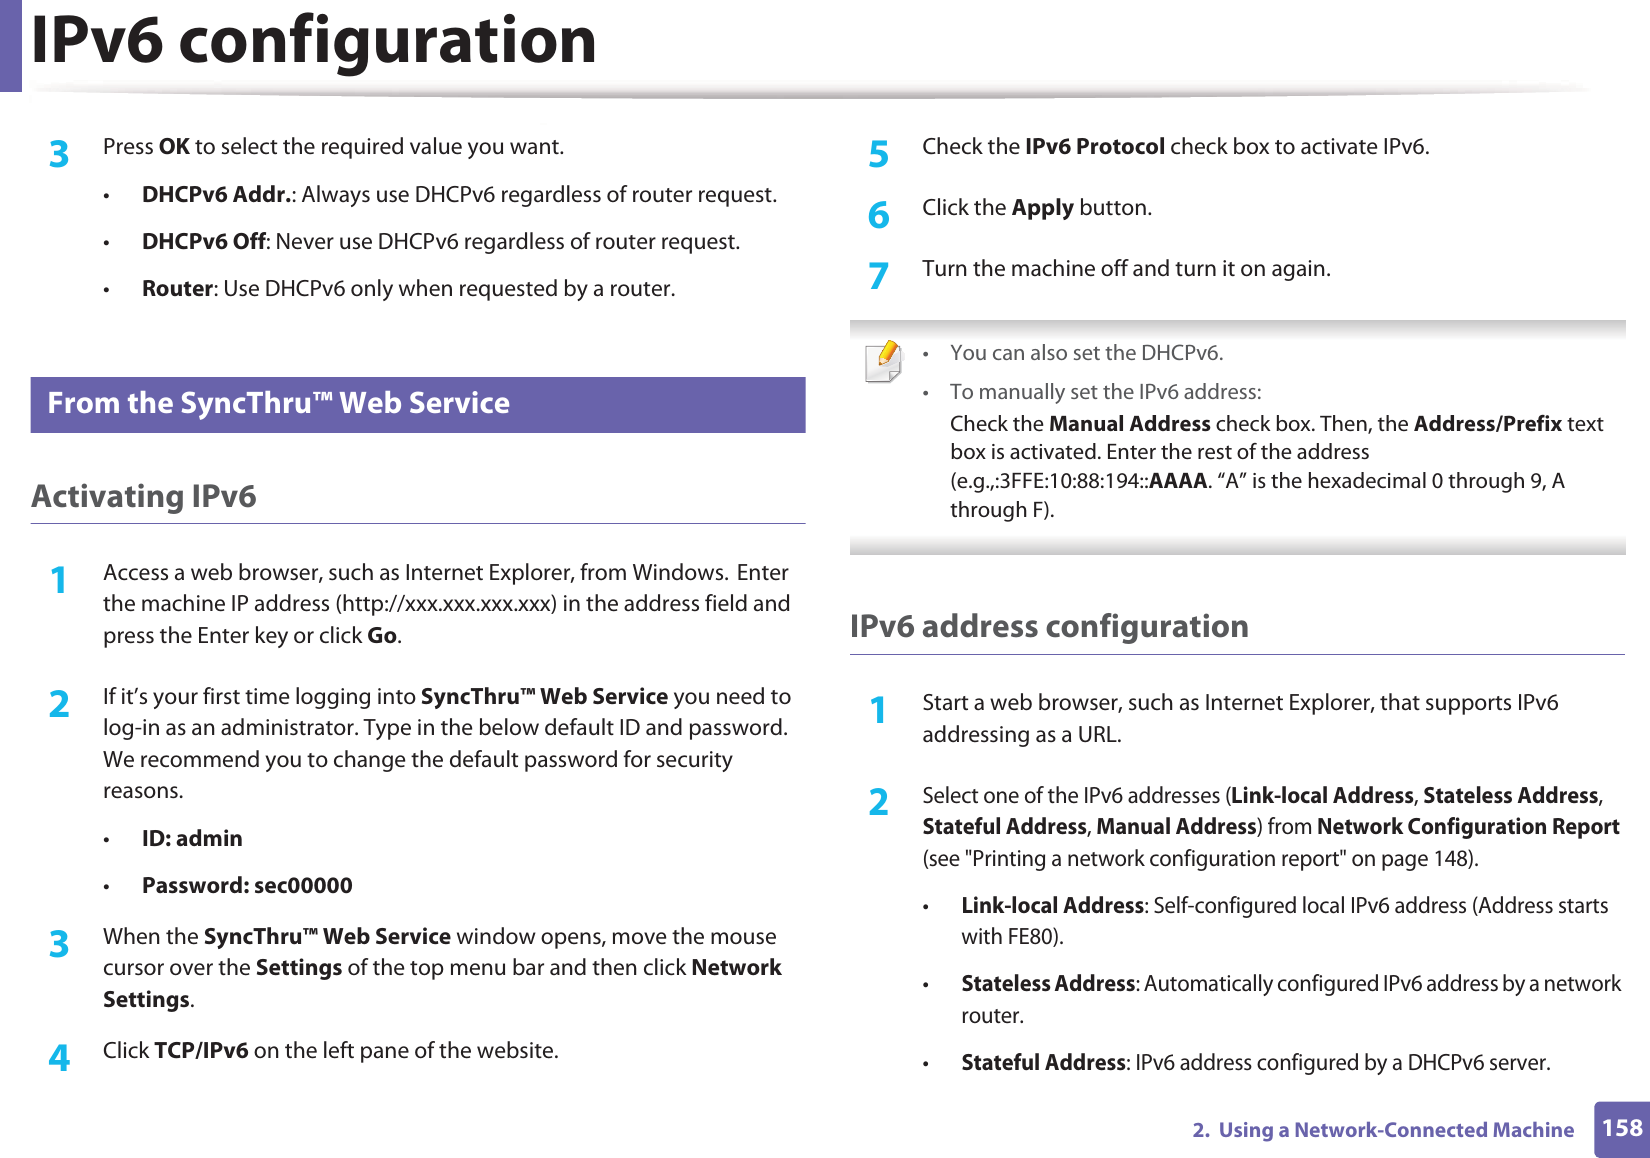
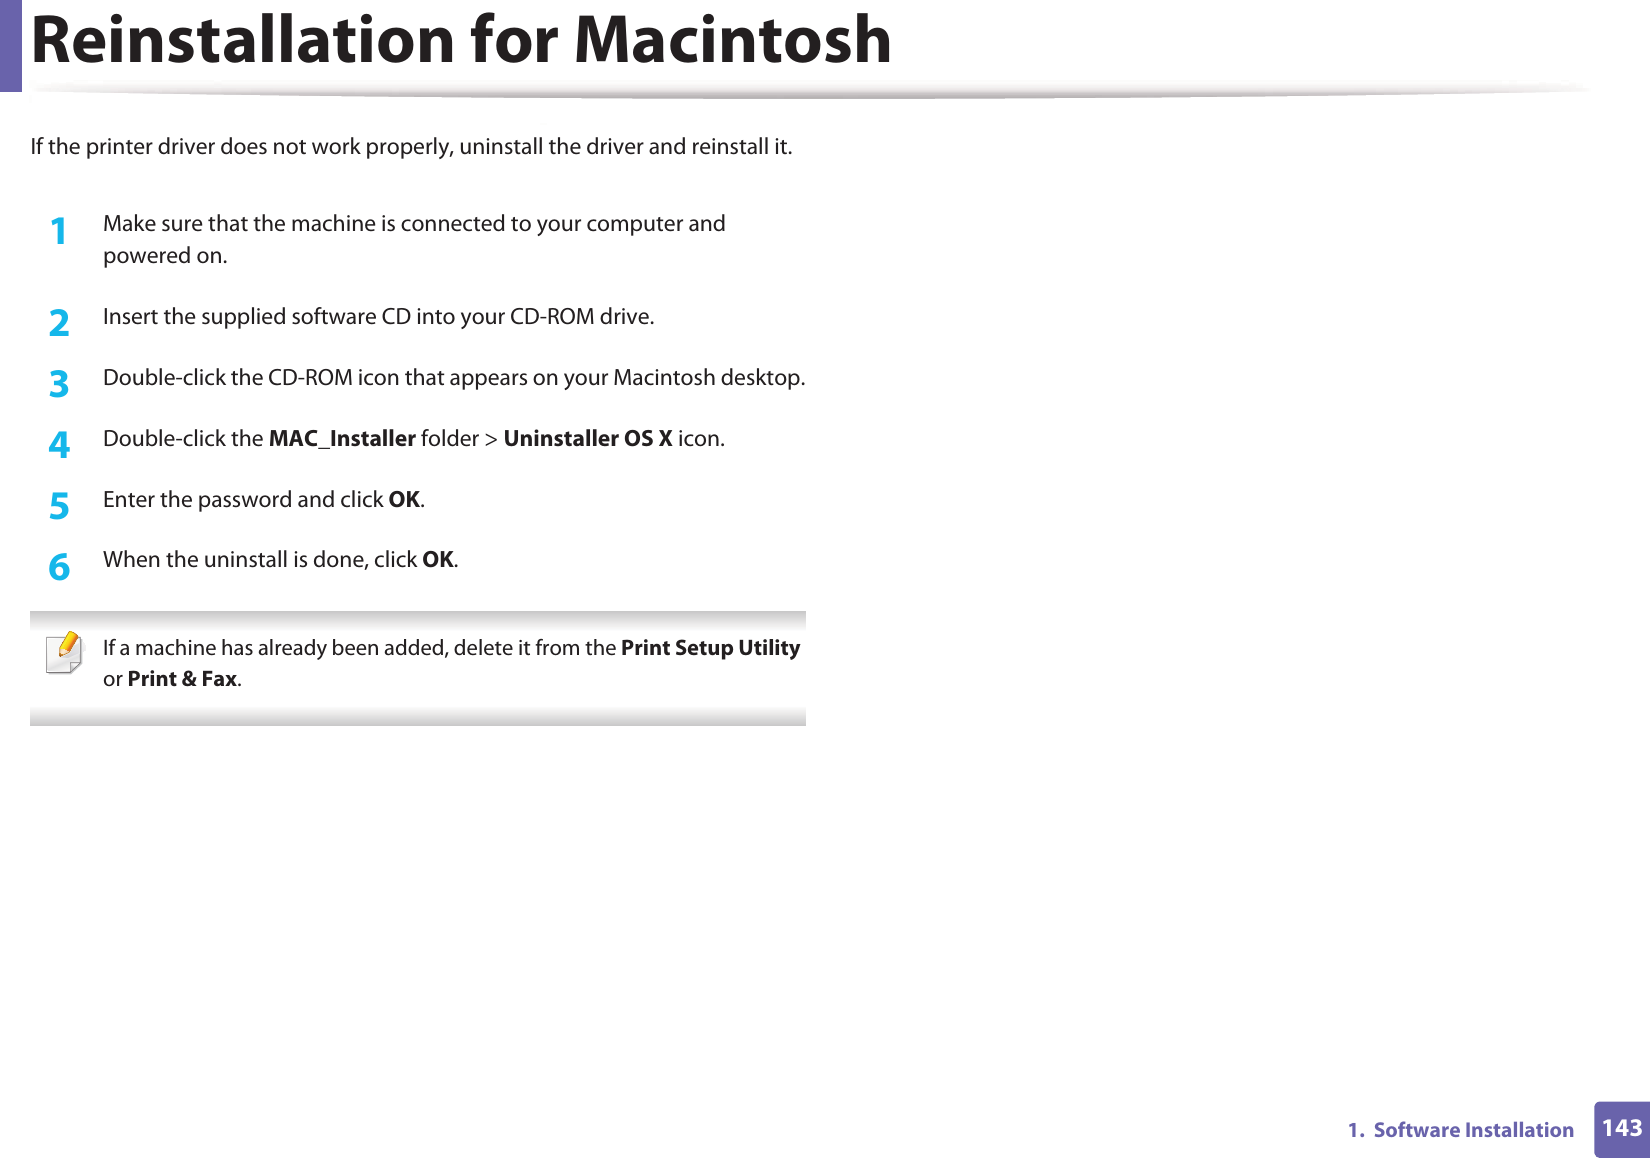
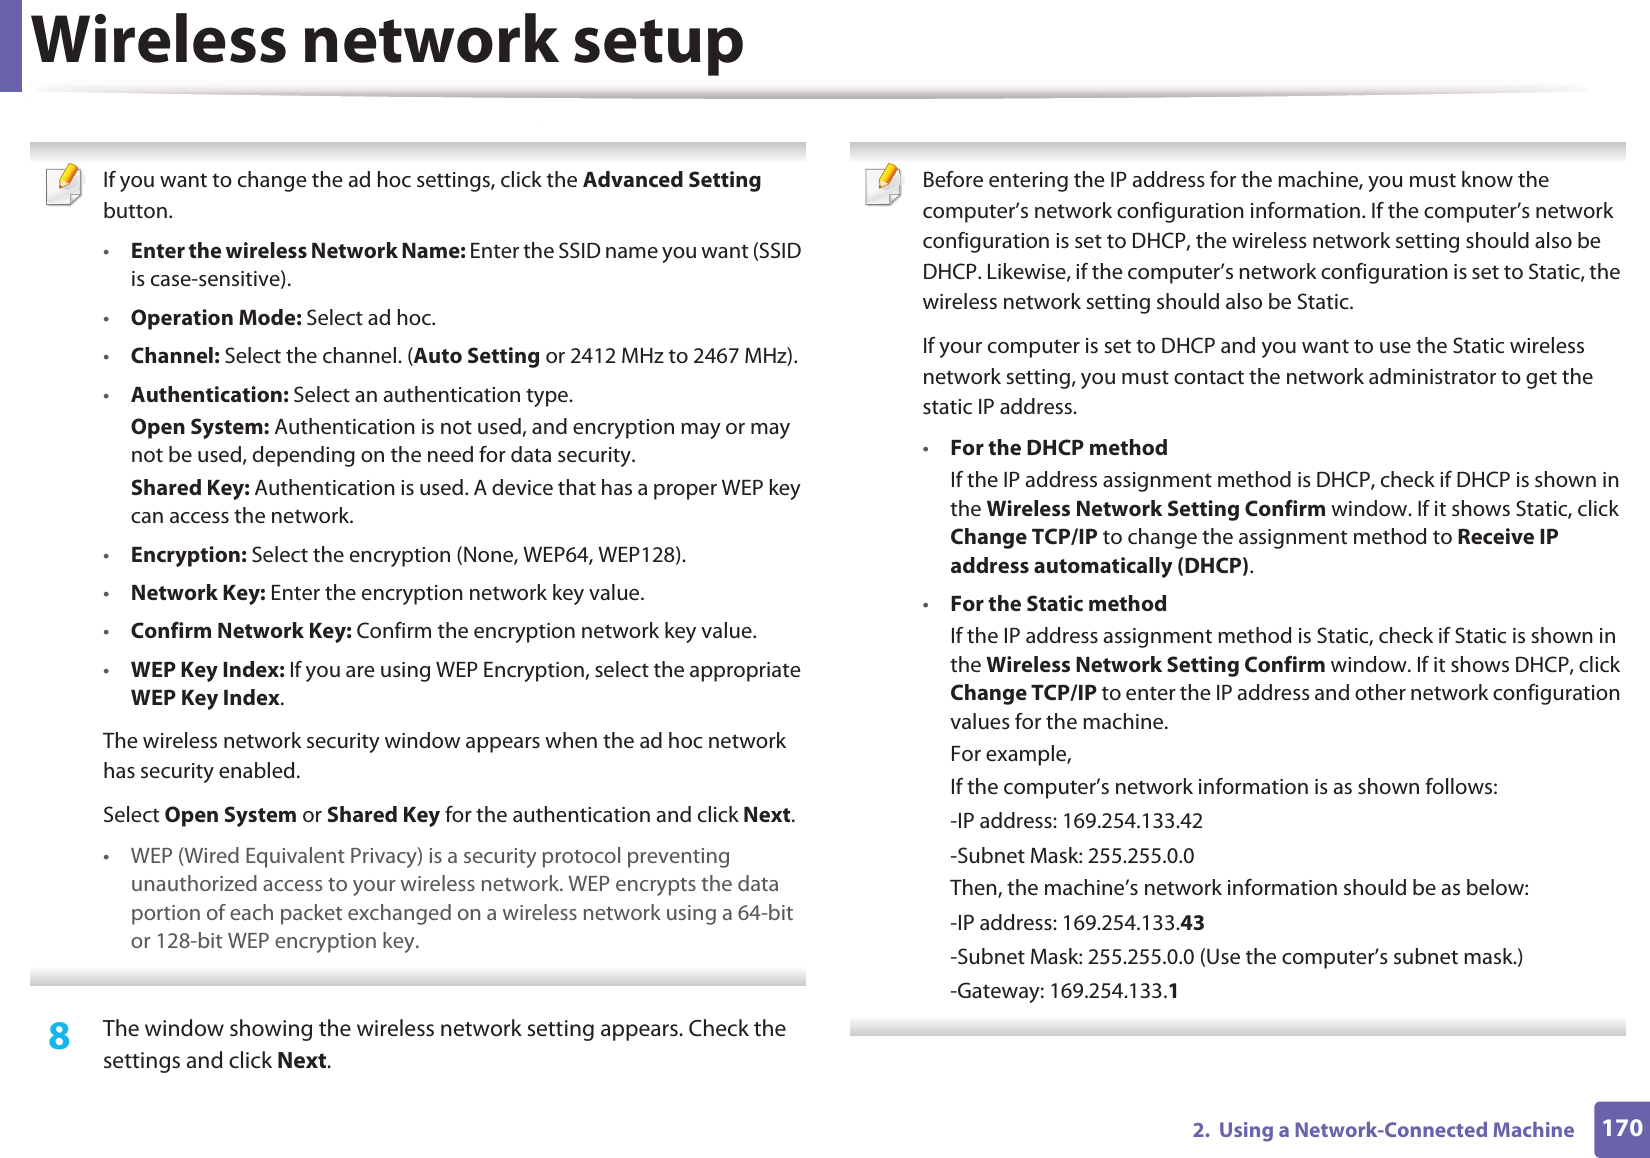
![IPv6 configuration1592. Using a Network-Connected Machine•Manual Address: Manually configured IPv6 address by a user.3 Enter the IPv6 addresses (e.g.,: http://[FE80::215:99FF:FE66:7701]). Address must be enclosed in '[ ]' brackets.](https://usermanual.wiki/Samsung-Electronics-Co/CLX3305FW.Users-Manual-3/User-Guide-1690318-Page-22.png)


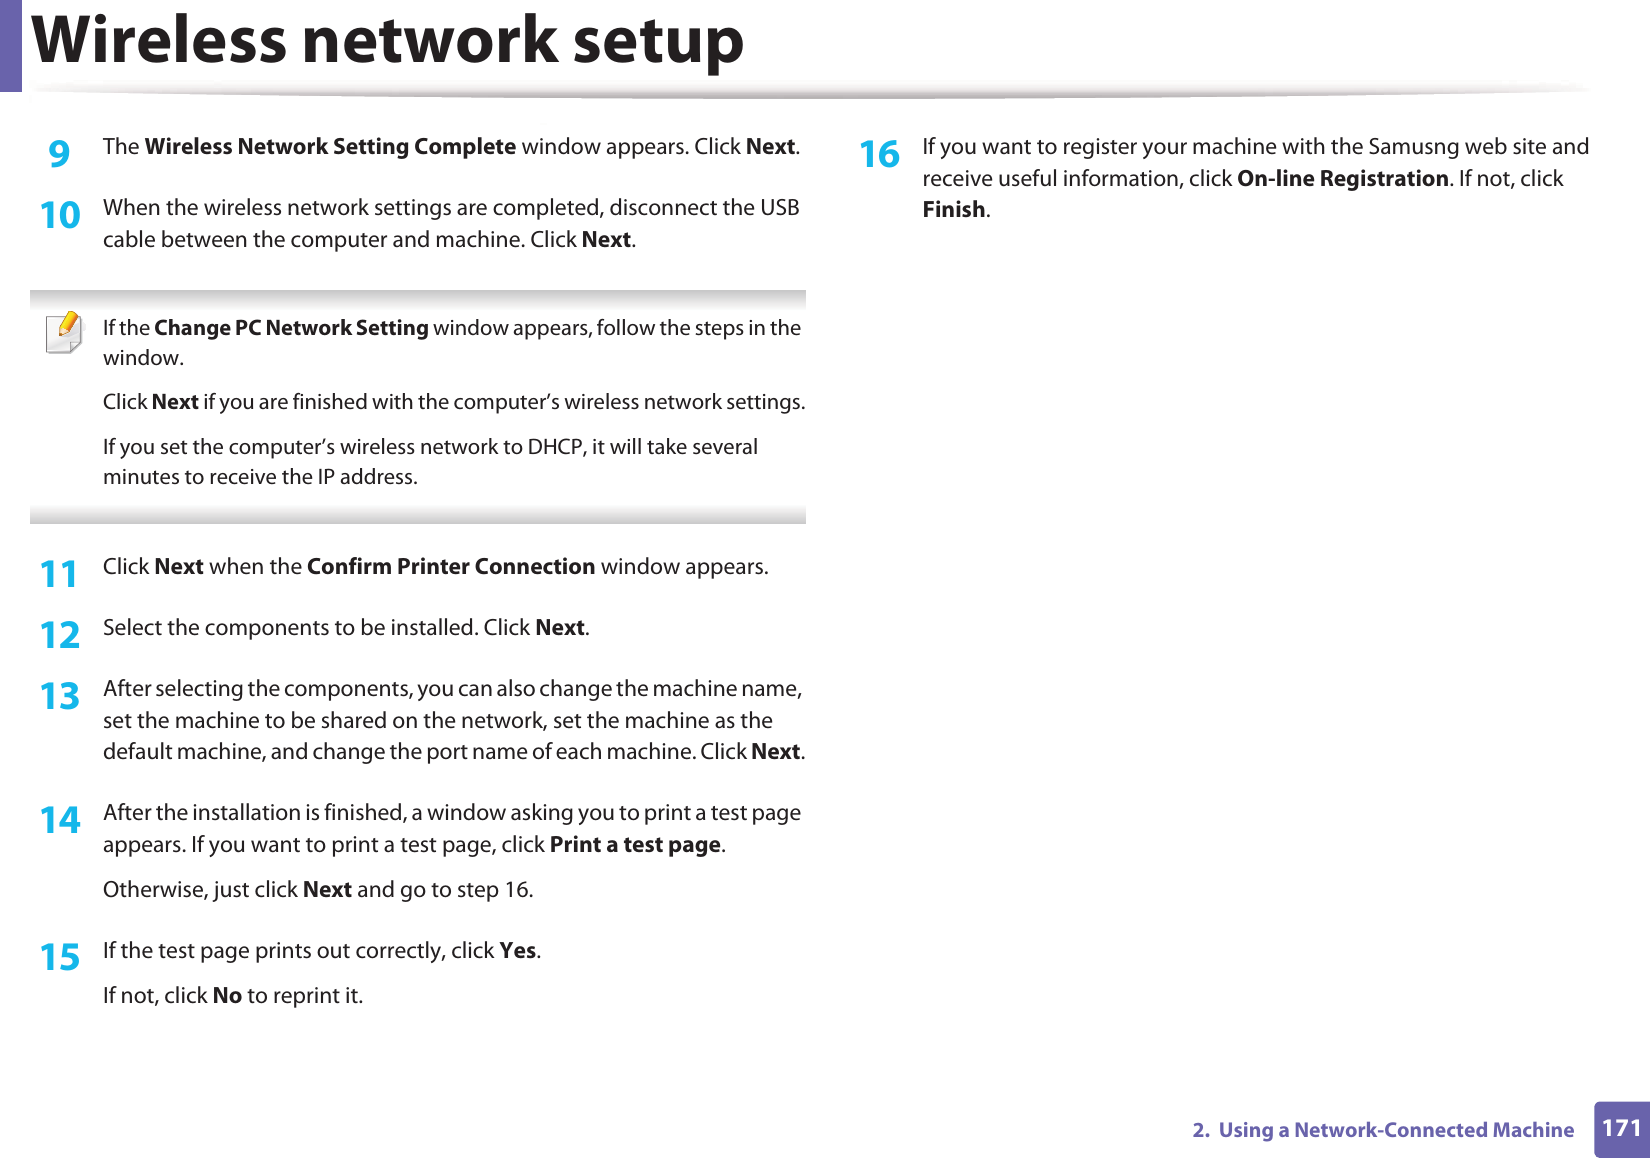


# # = | ? " : { } < > ;(These symbols are available when you type for network authentication.)](https://usermanual.wiki/Samsung-Electronics-Co/CLX3305FW.Users-Manual-3/User-Guide-1690318-Page-83.png)