Samsung Electronics Co CLX4195FW Color Multi-function Printer User Manual azalea scarlet english
Samsung Electronics Co Ltd Color Multi-function Printer azalea scarlet english
Contents
- 1. Users Manual 1
- 2. Users Manual 2
- 3. Users Manual 3
- 4. Users Manual 4
Users Manual 2
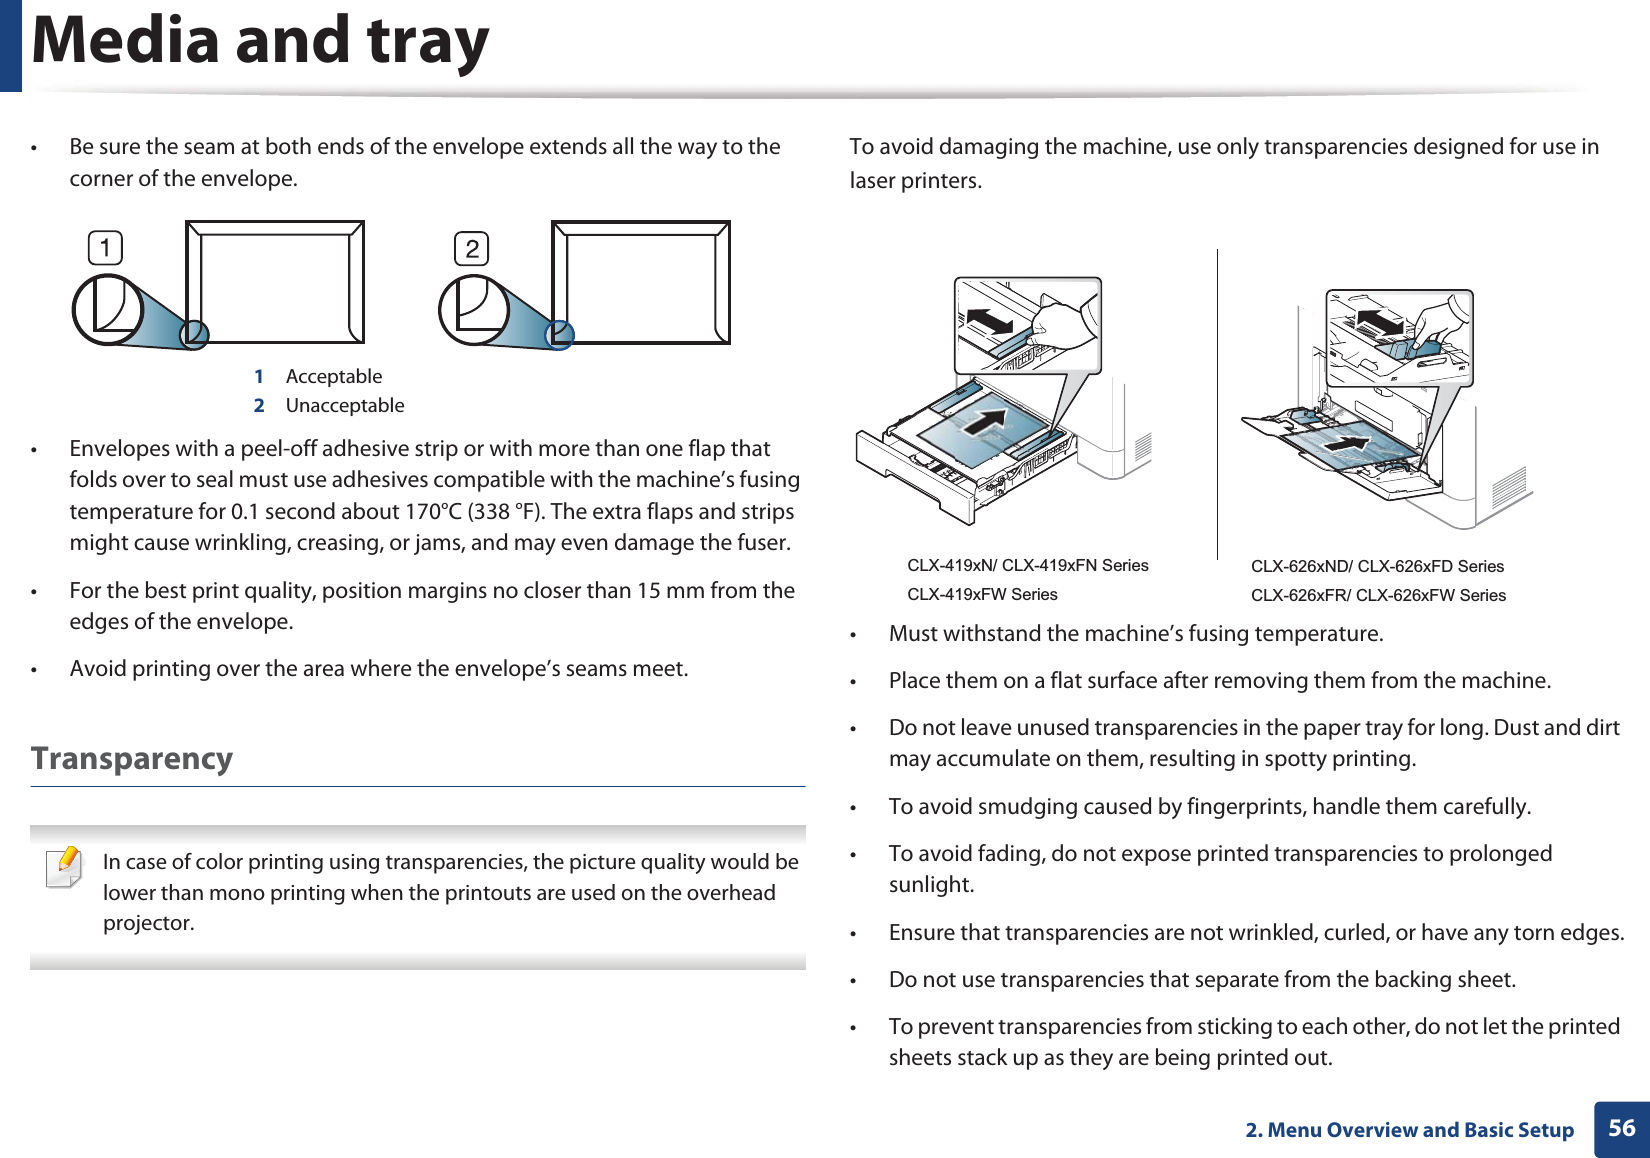
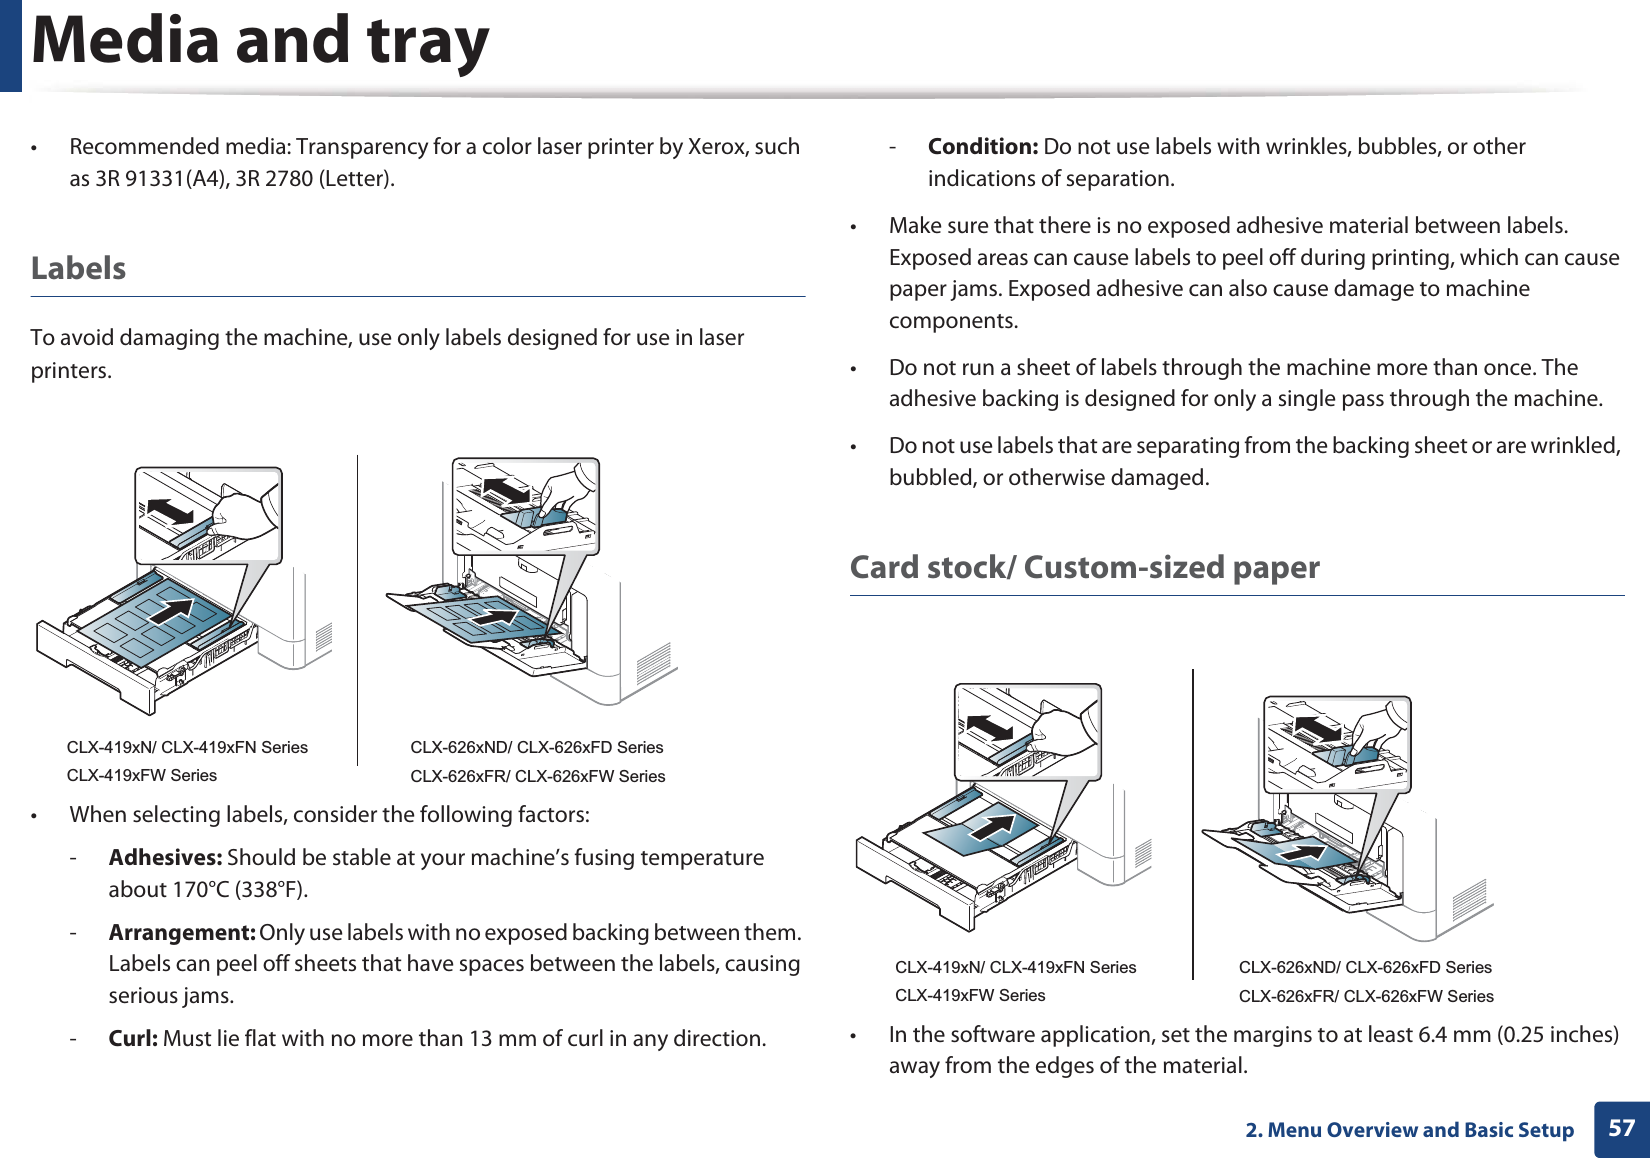
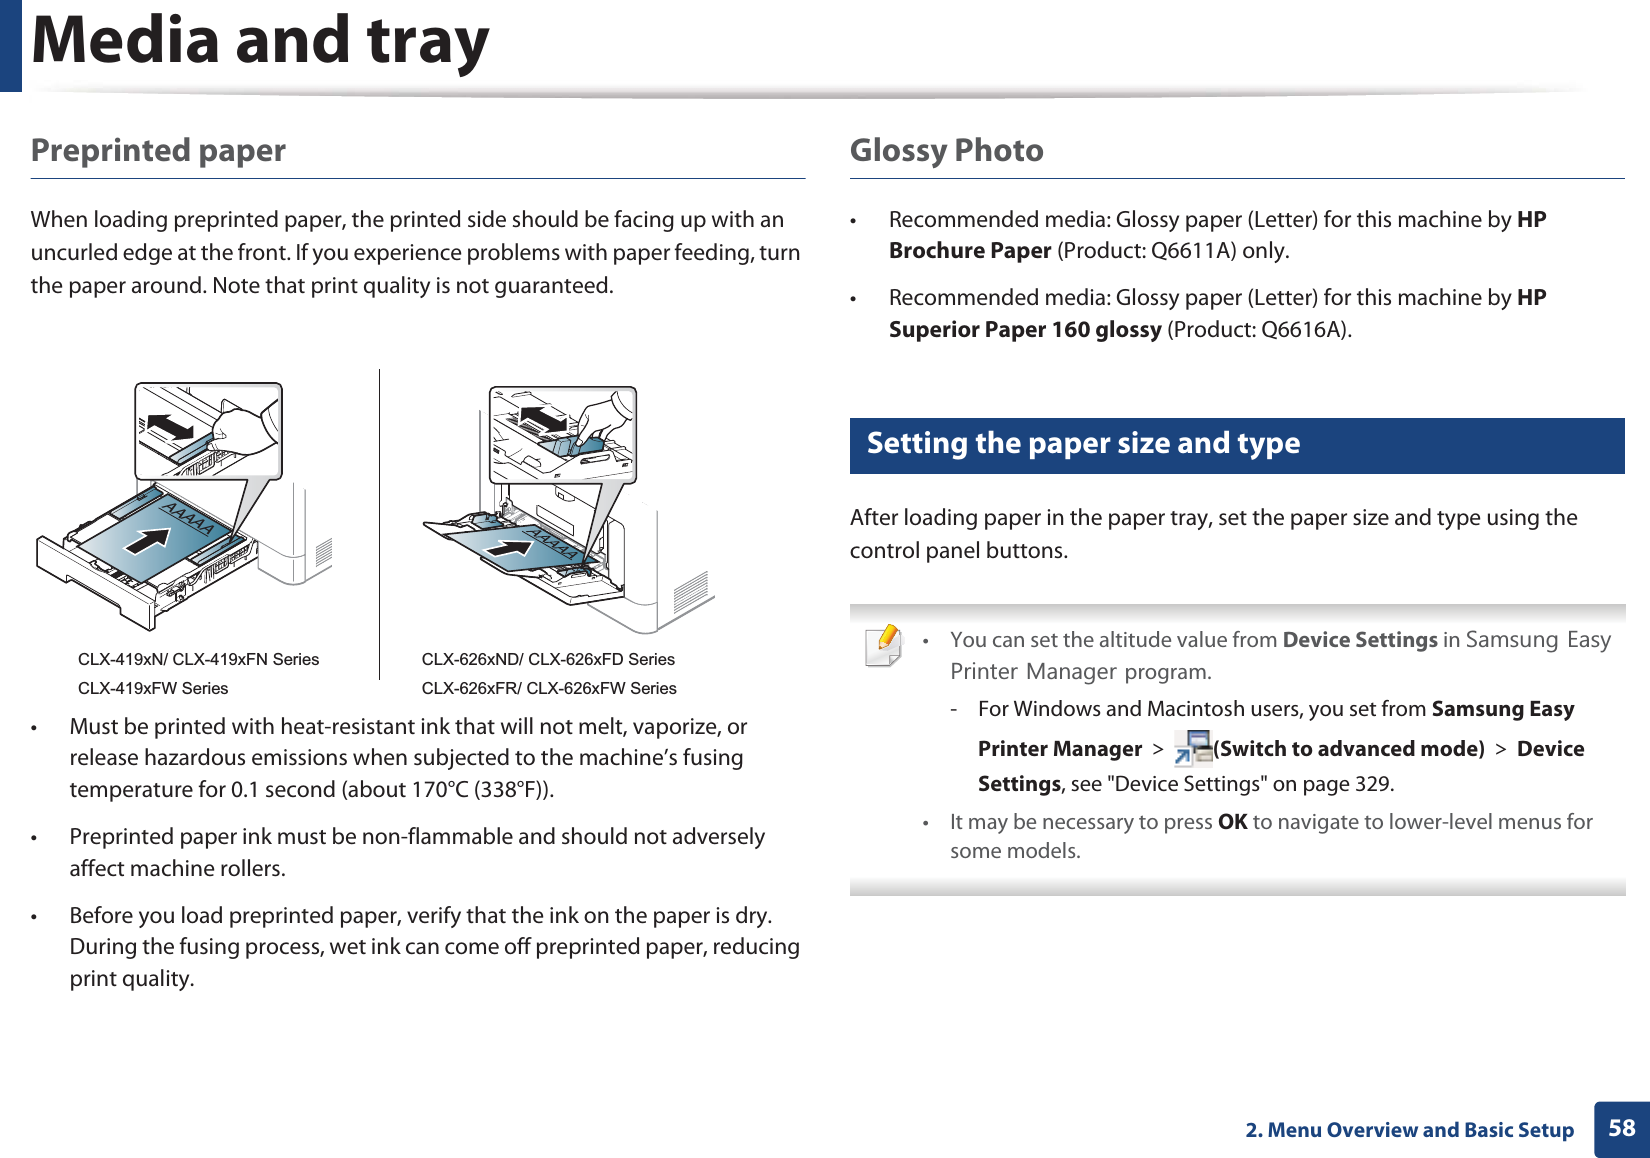
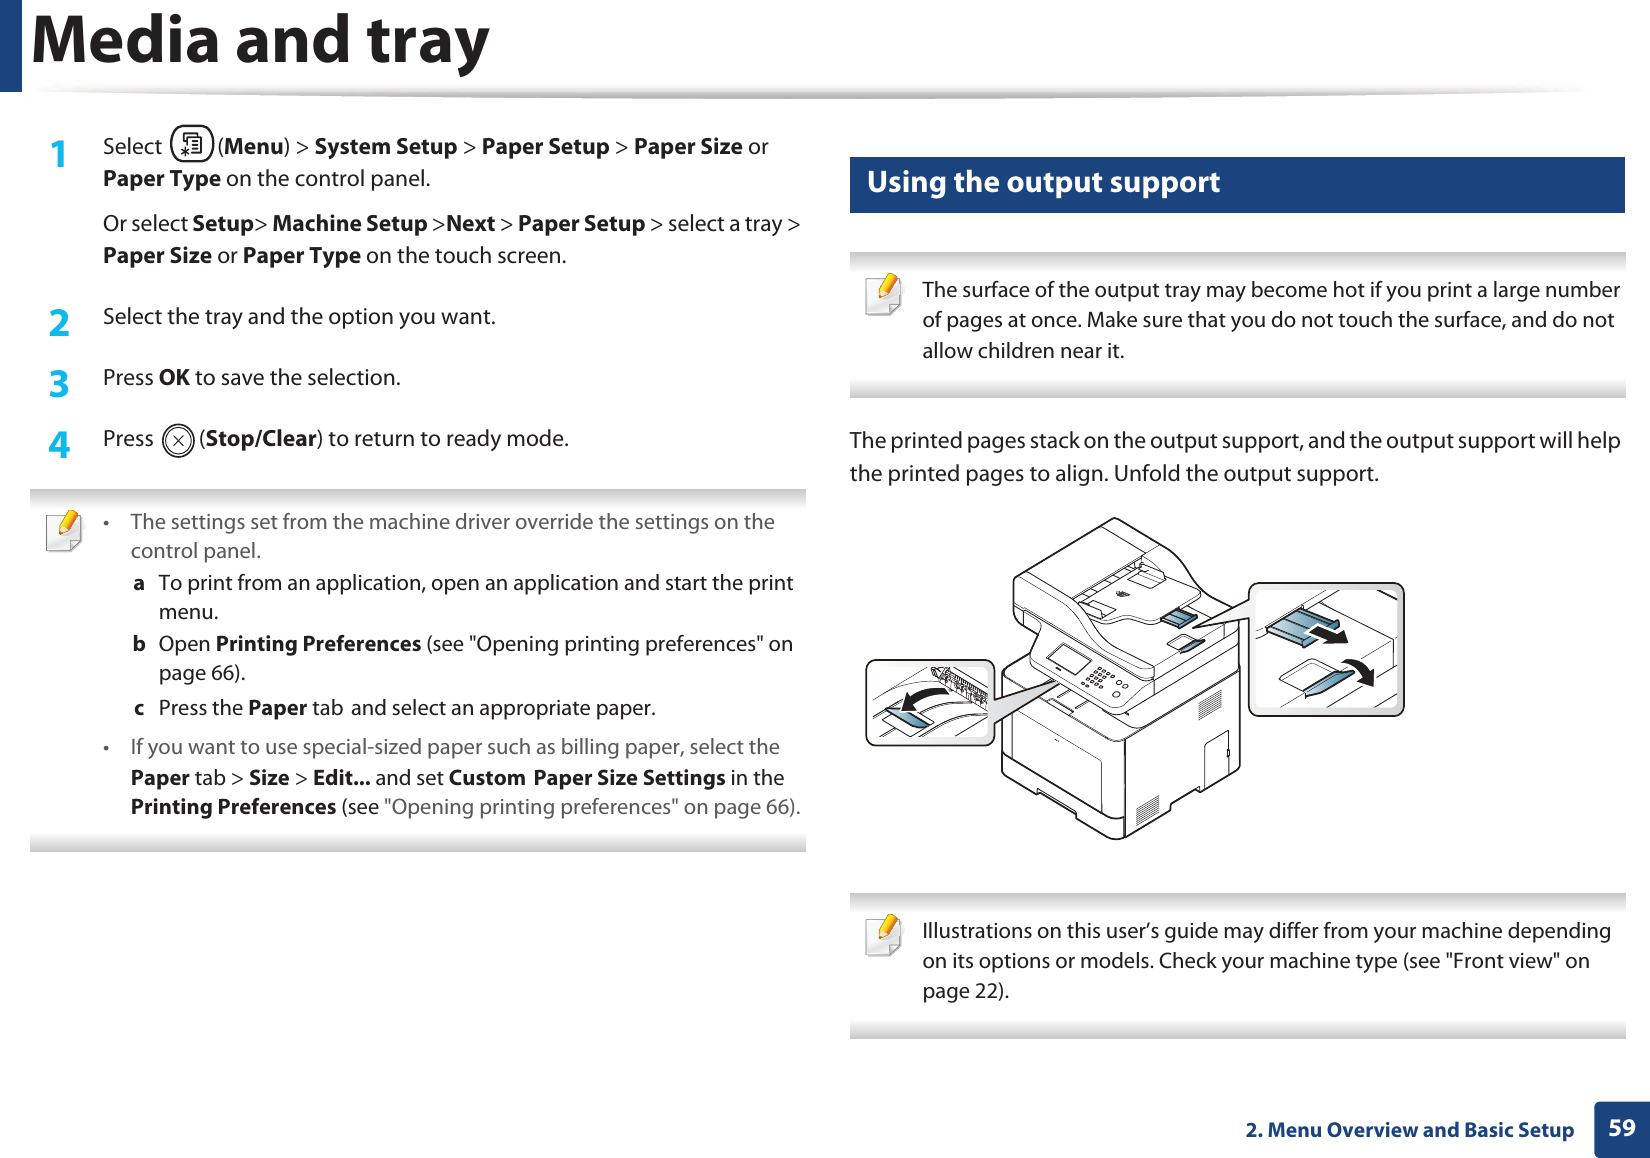
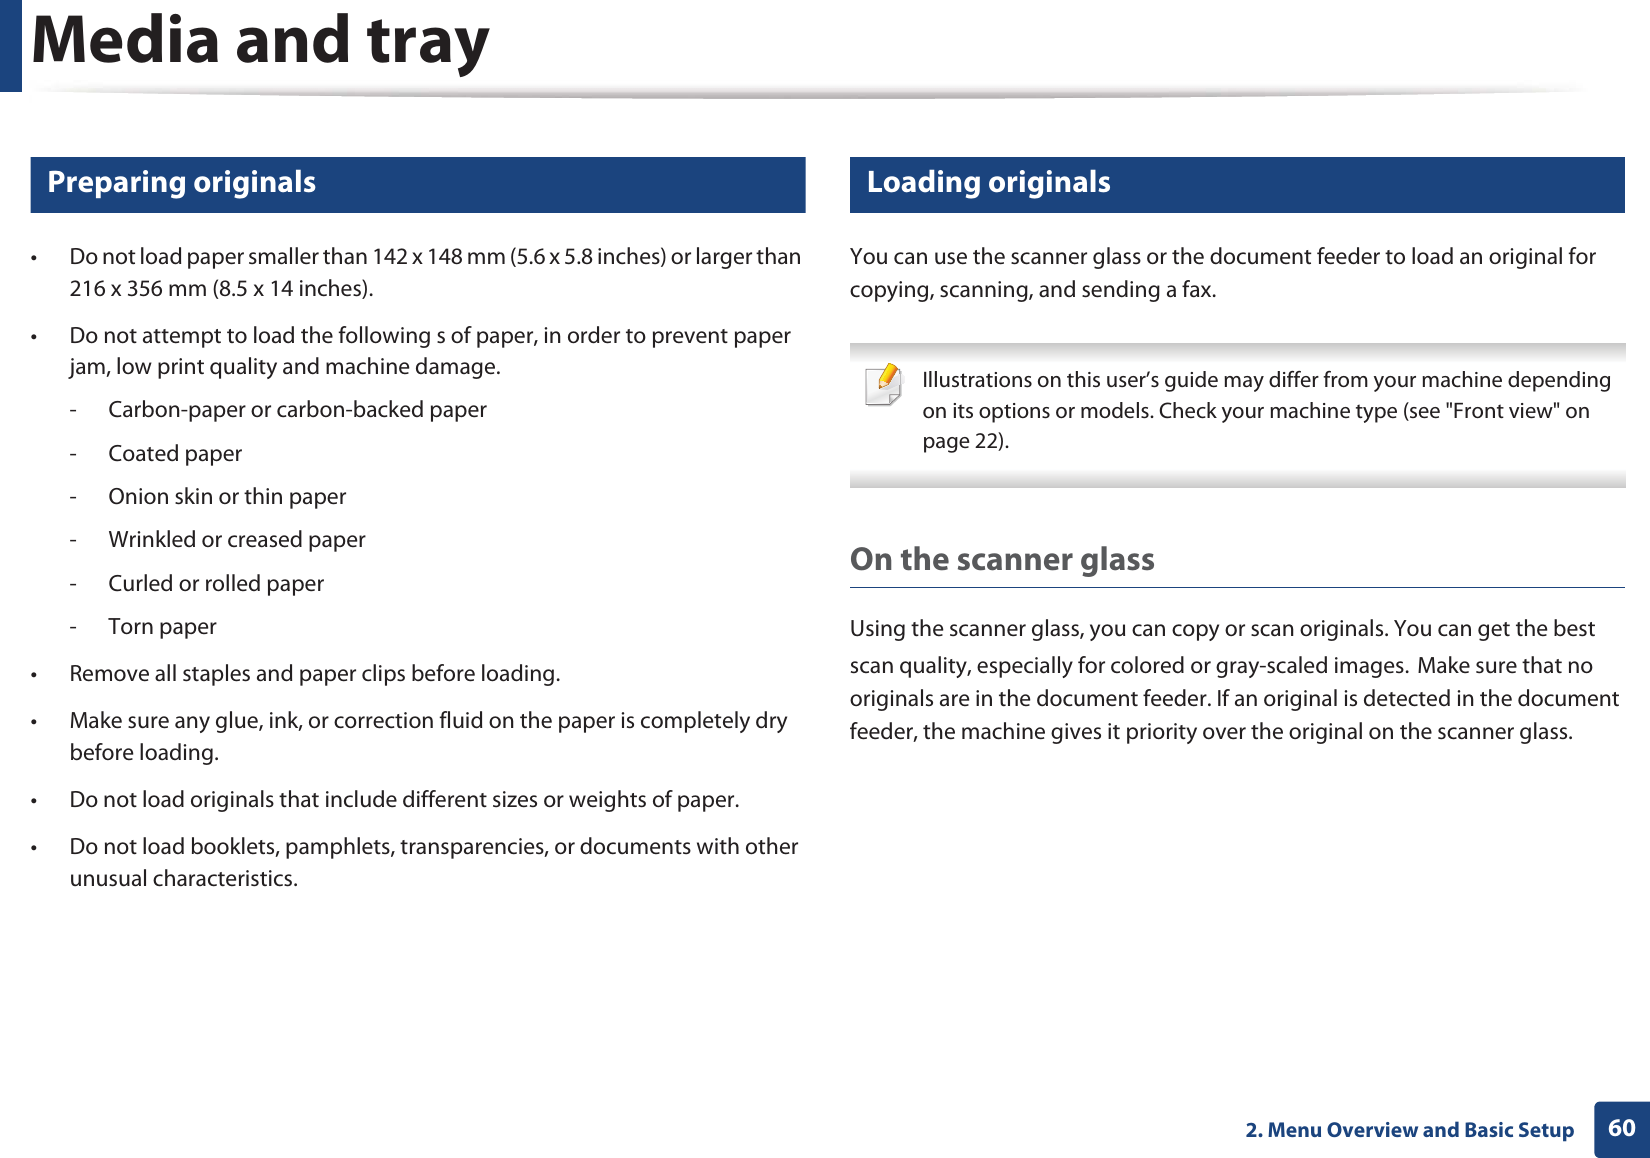
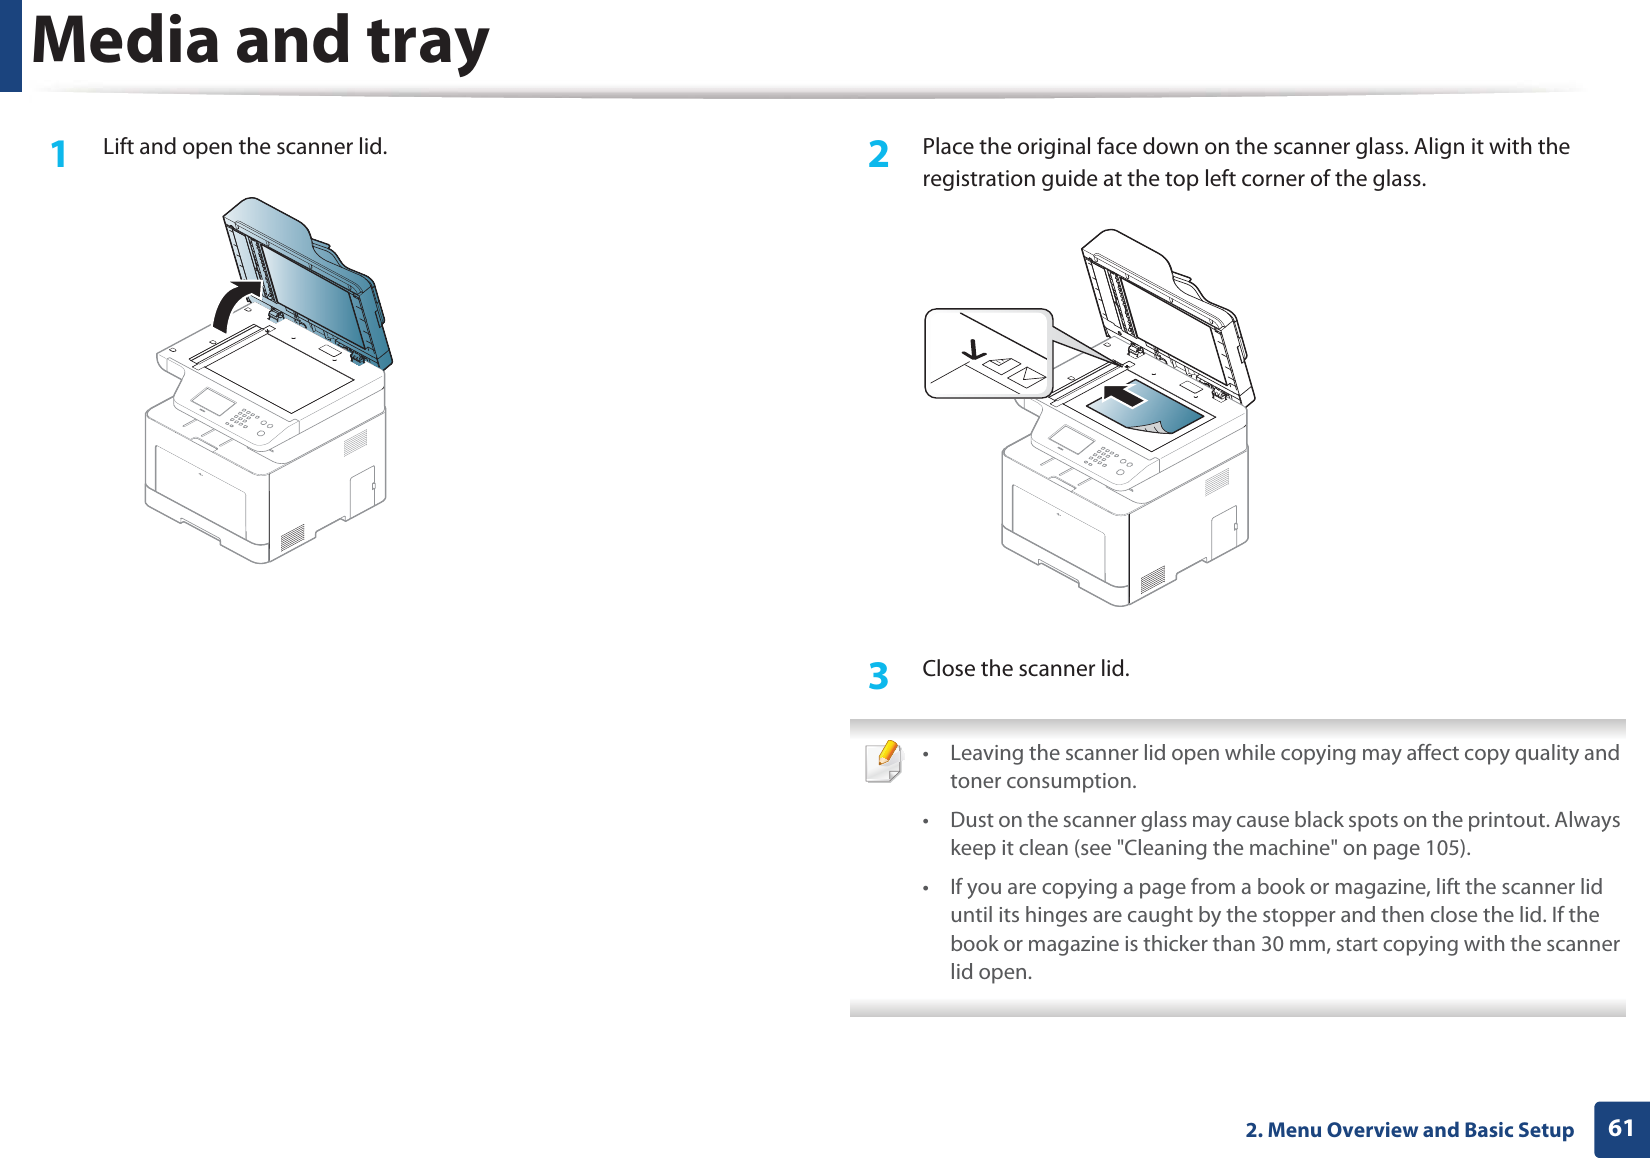
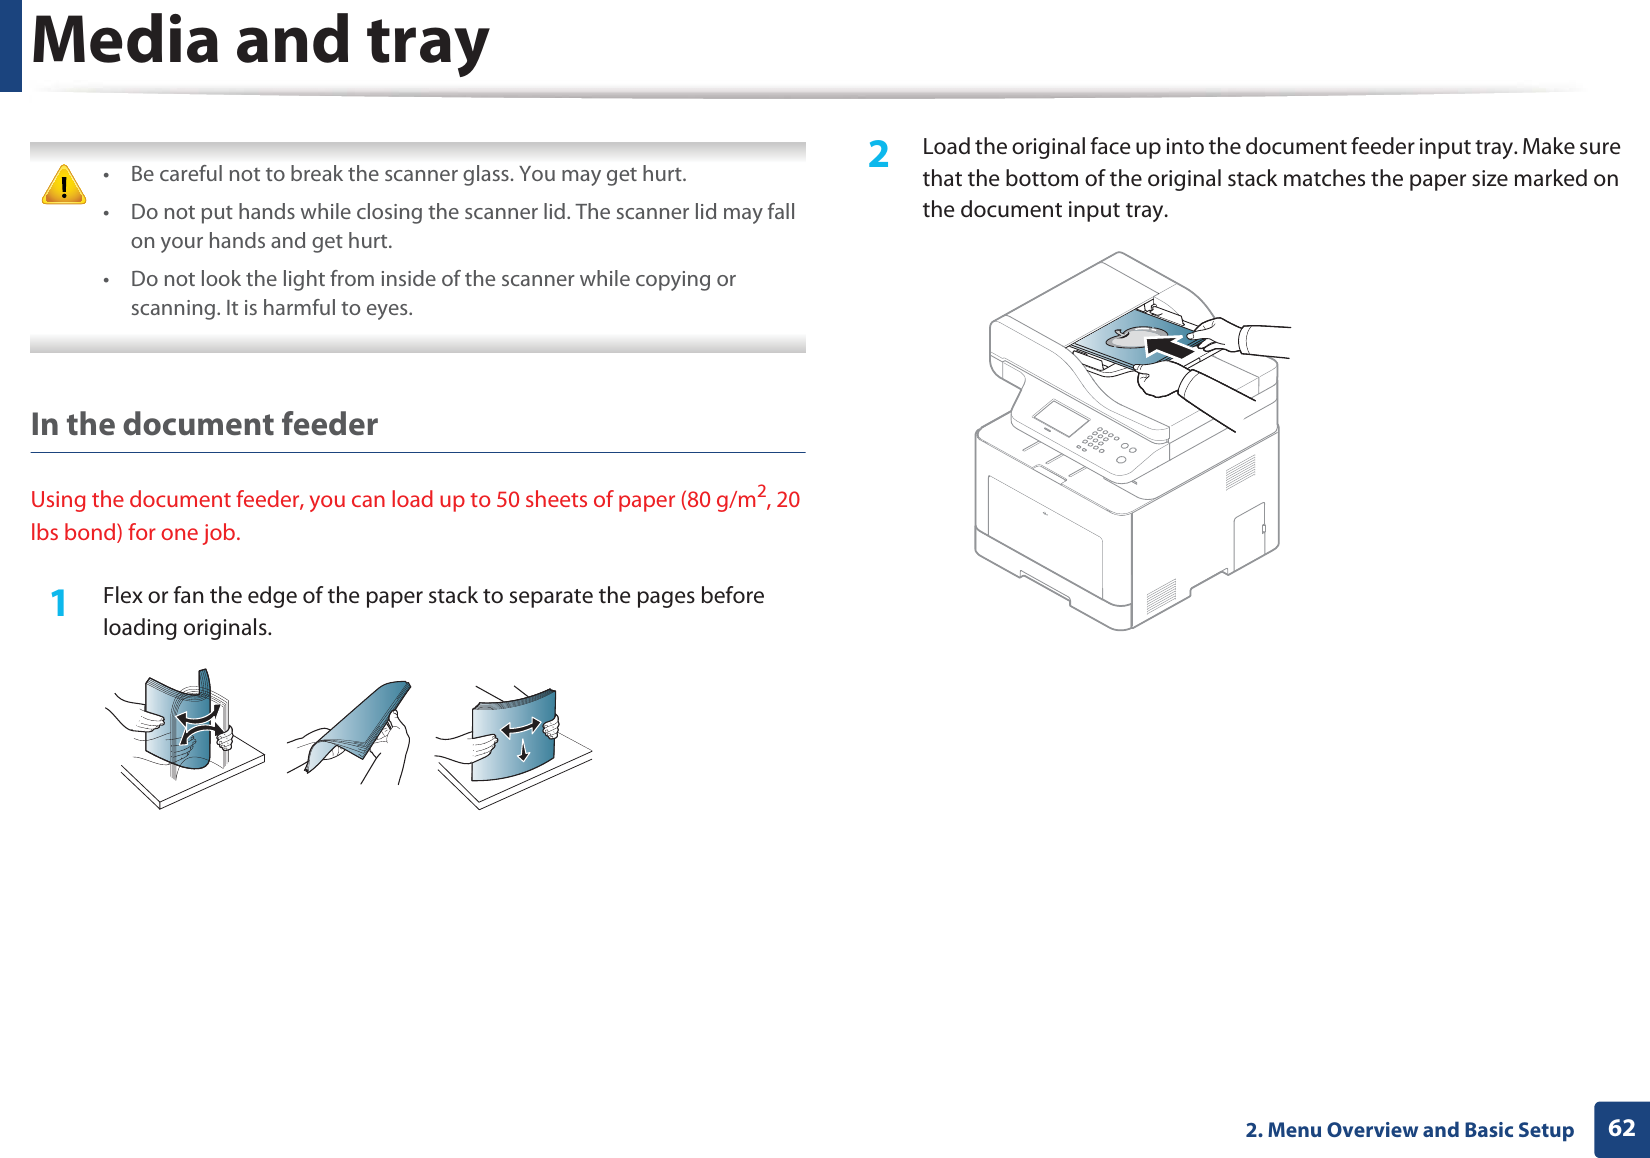
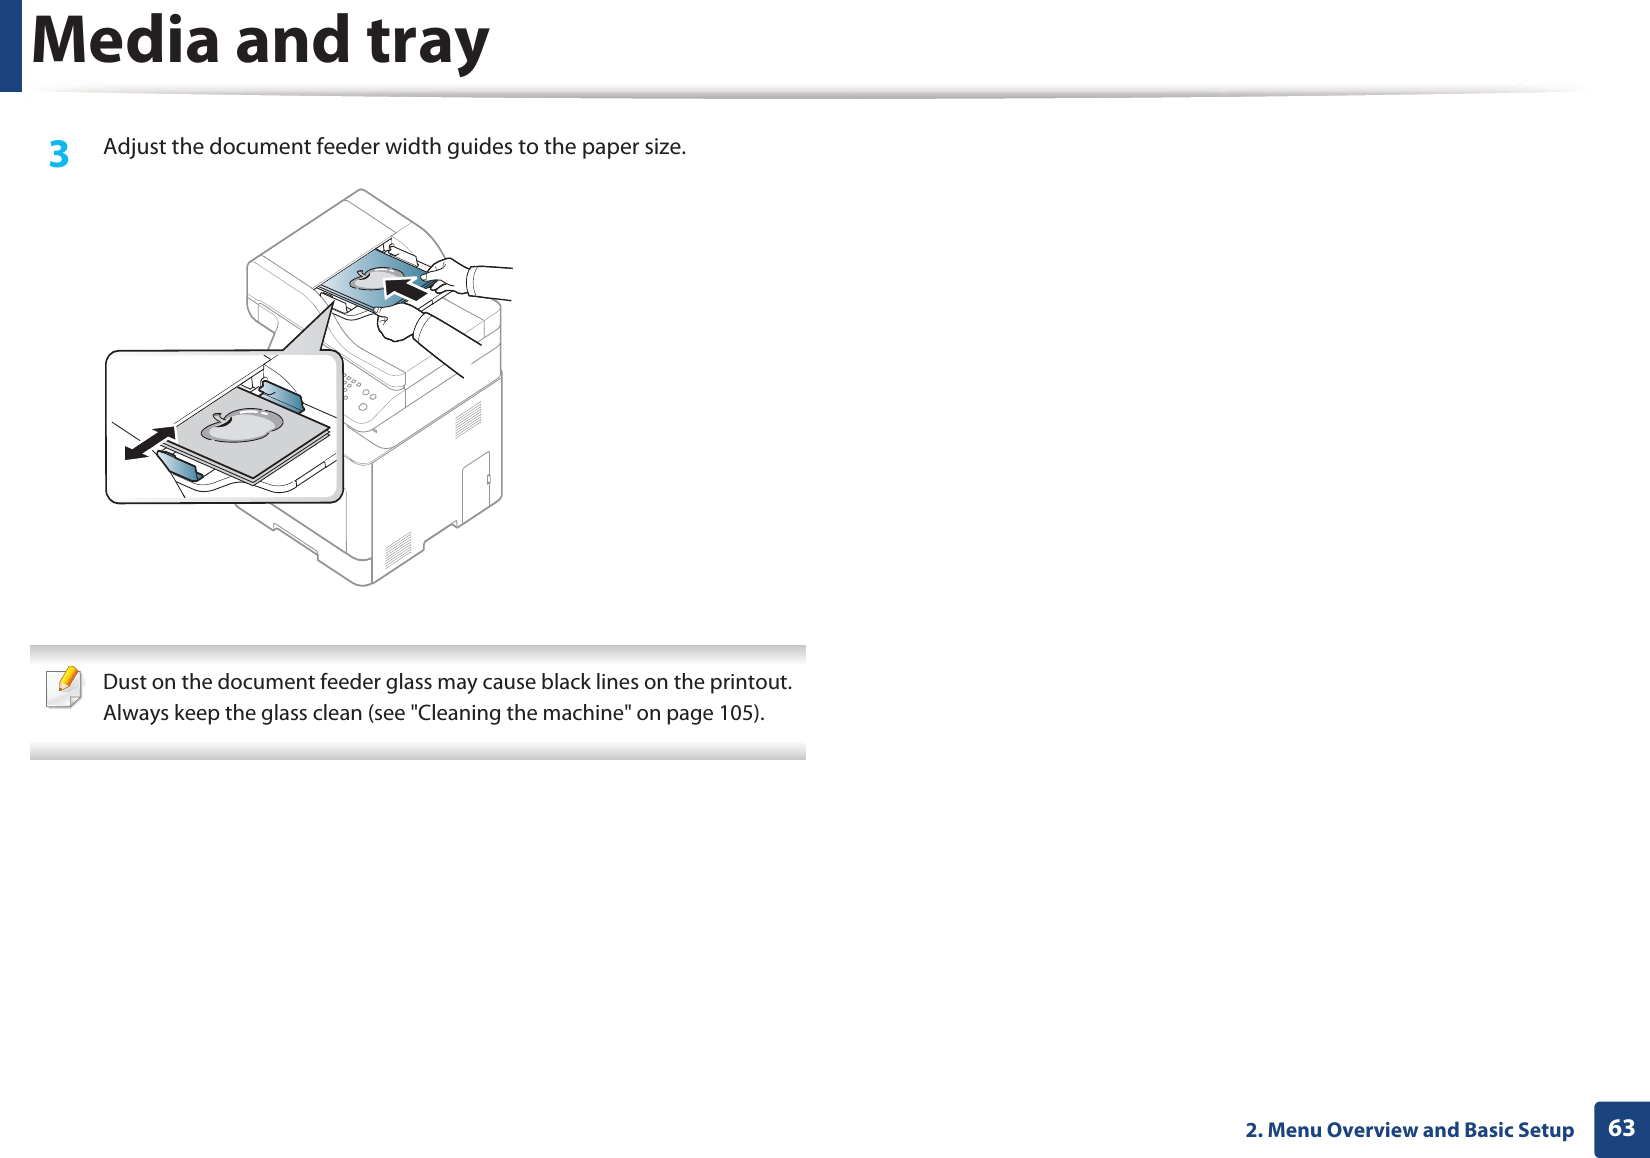
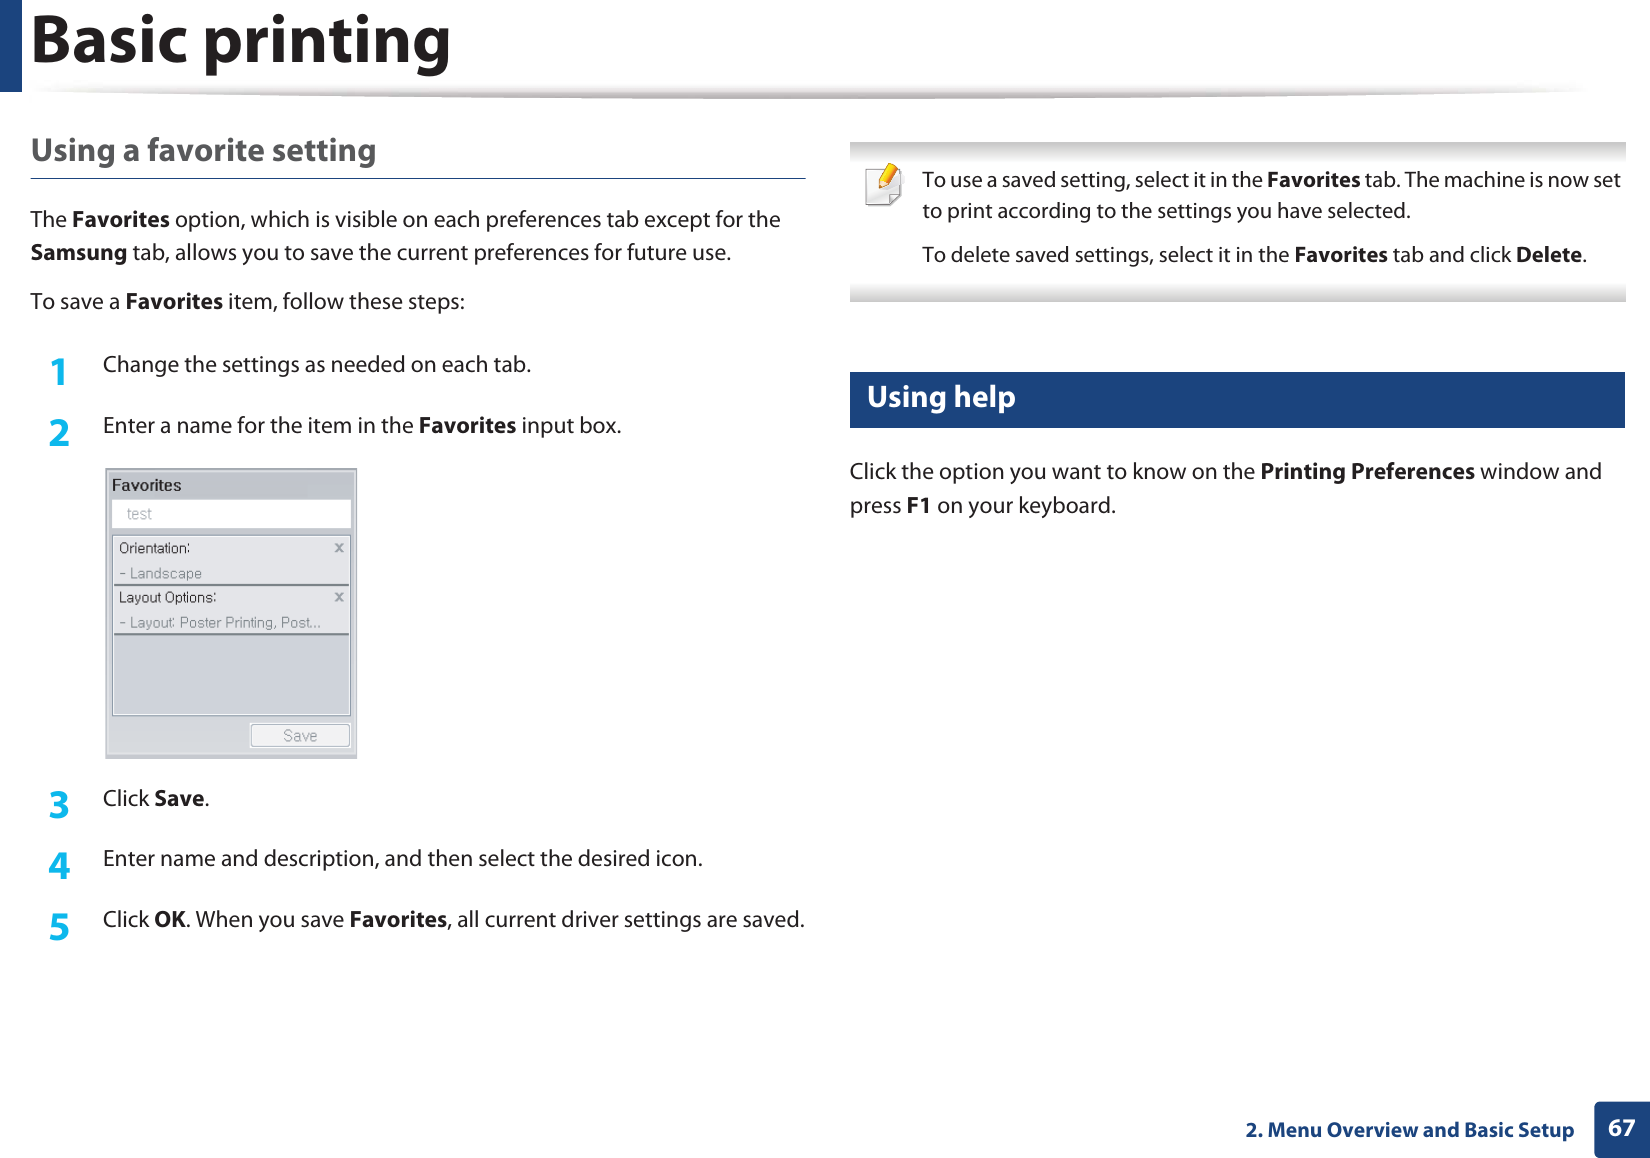
![Basic printing692. Menu Overview and Basic SetupSetting eco mode on the driverOpen the Eco tab to set Eco mode. When you see the eco image ( ), that means the eco mode is currently enabled.Eco options•Printer Default: Follows the settings from the machine's control panel.•None: Disables Eco mode.•Eco Printing: Enables eco mode. Activate the various Eco items you want to use.•Password: If the administrator fixed to enable the Eco mode, you have to enter the password to change the status.Result simulatorResult Simulator shows the results of reduced emission of carbon dioxide, used electricity, and the amount of saved paper in accordance with the settings you selected.• The results are calculated on the basis that the total number of printed paper is one hundred without a blank page when the Eco mode is disabled.• Refers to the calculation coefficient about CO2, energy, and paper from IEA, the index of Ministry of Internal Affairs and Communication of Japan and www.remanufacturing.org.uk. Each model has a different index. • The power consumption in printing mode refers to the average printing power consumption of this machine. • The actual amount displayed is only an estimate as the actual amount may differ depending on the operating system used, computing performance, application software, connection method, media type [thickness], media size, job complexity, etc.15 Secure printingWhen you use a printing device in an office, school or other public place, you can protect your personal documents or confidential information by using the secure printing feature.Starting secure printing on the driverOpen the Printing Preferences window (see "Opening printing preferences" on page 66), and the select Advanced tab > Print Mode > Confidential. Enter the job name, user ID, and password. Even though you have started the secure printing job, the device will not print the document until you enter your password on the printer.](https://usermanual.wiki/Samsung-Electronics-Co/CLX4195FW.Users-Manual-2/User-Guide-1680986-Page-14.png)
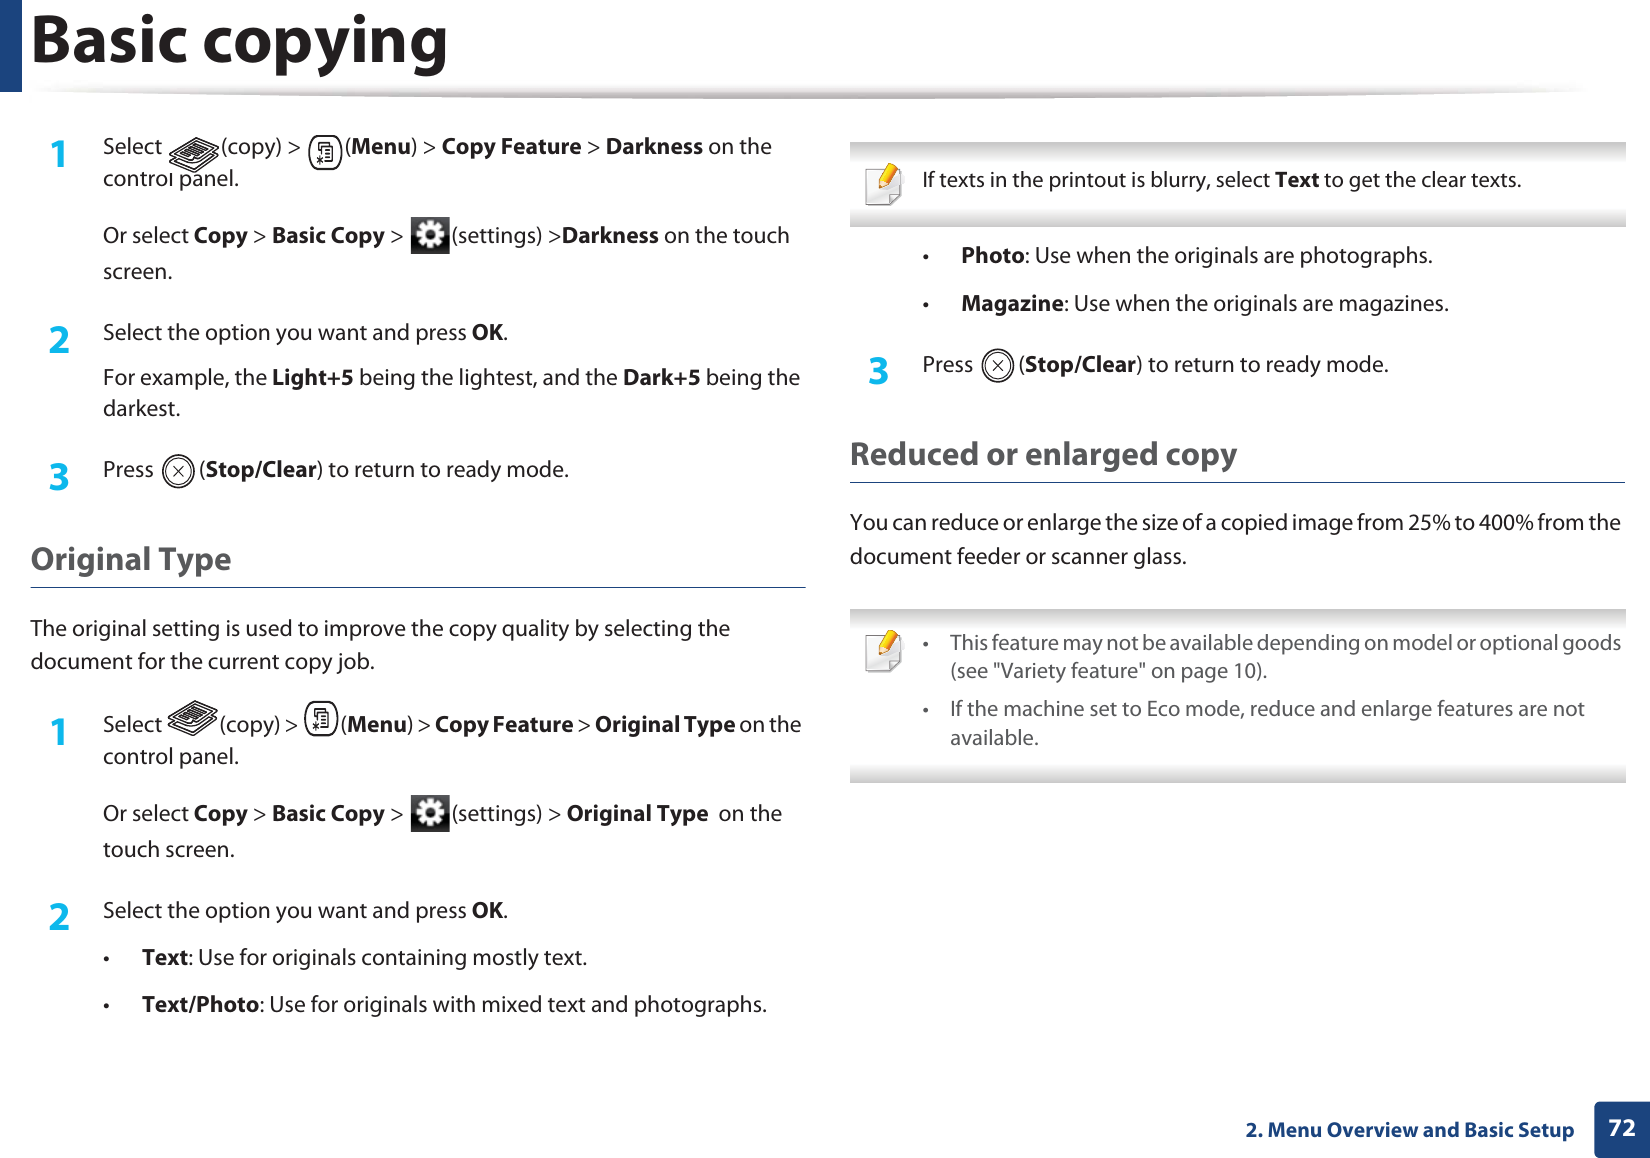
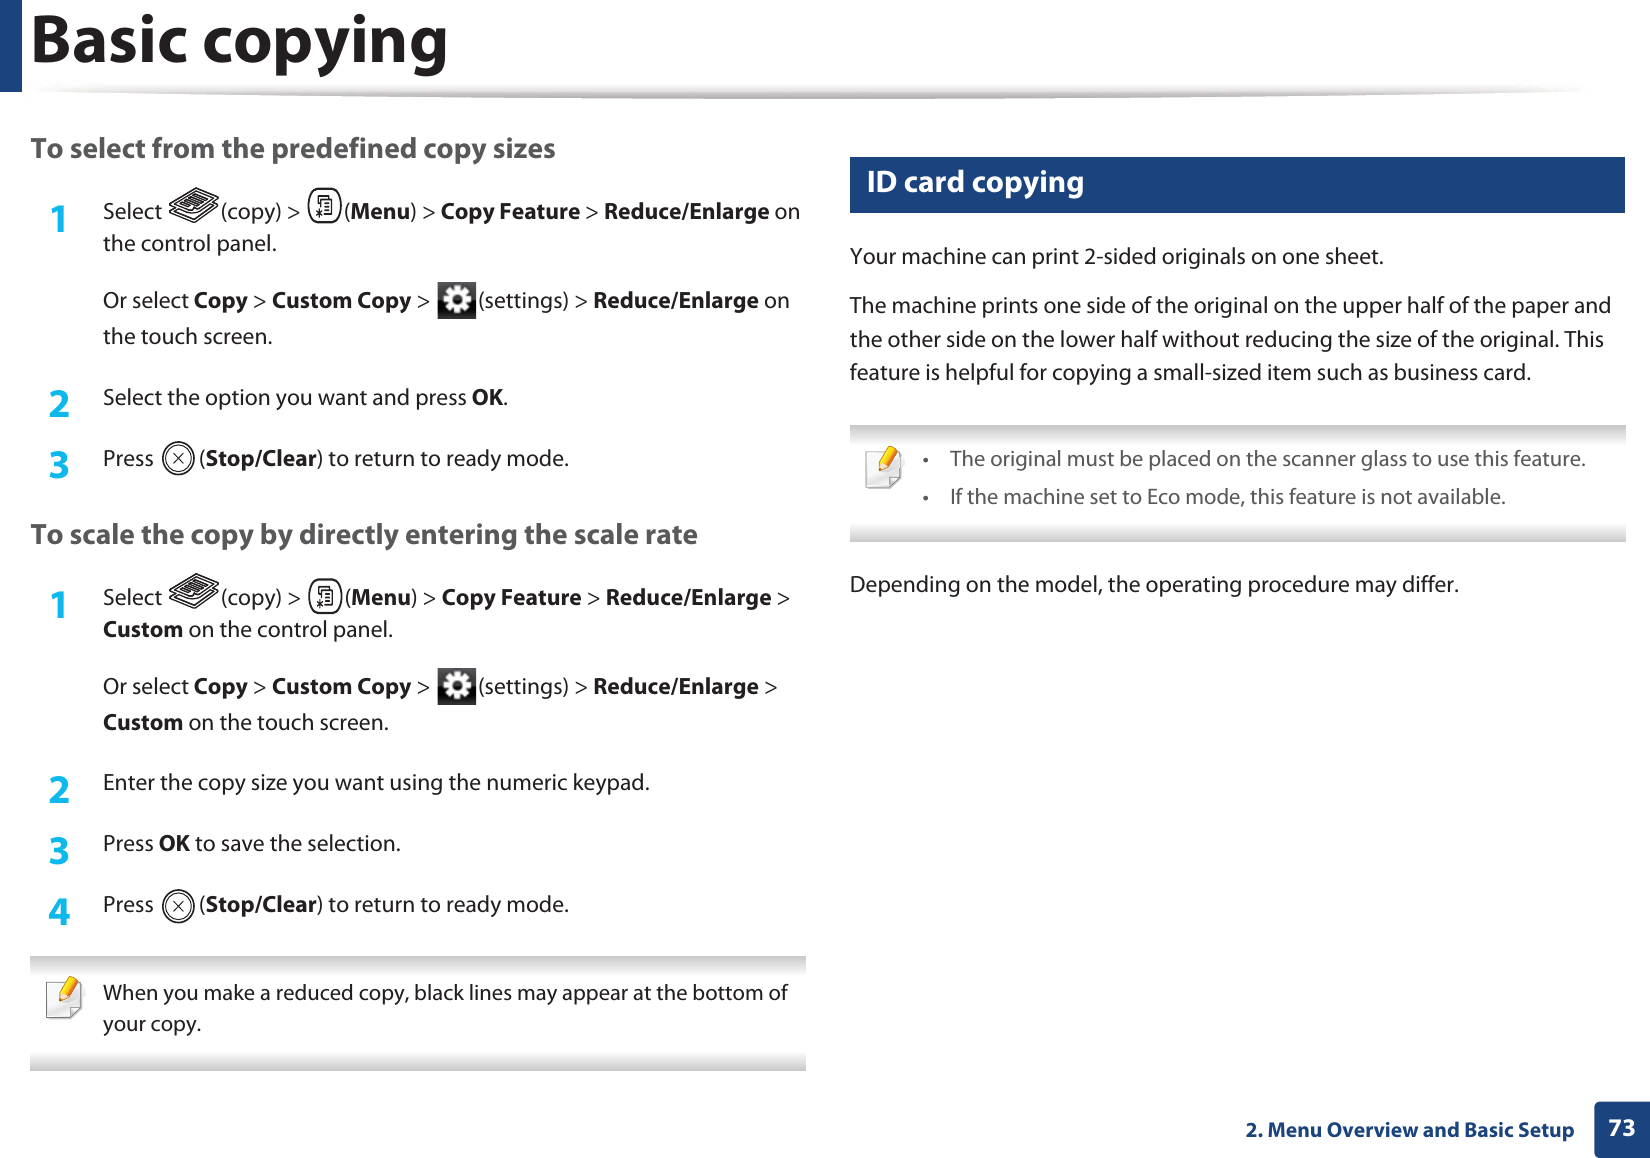
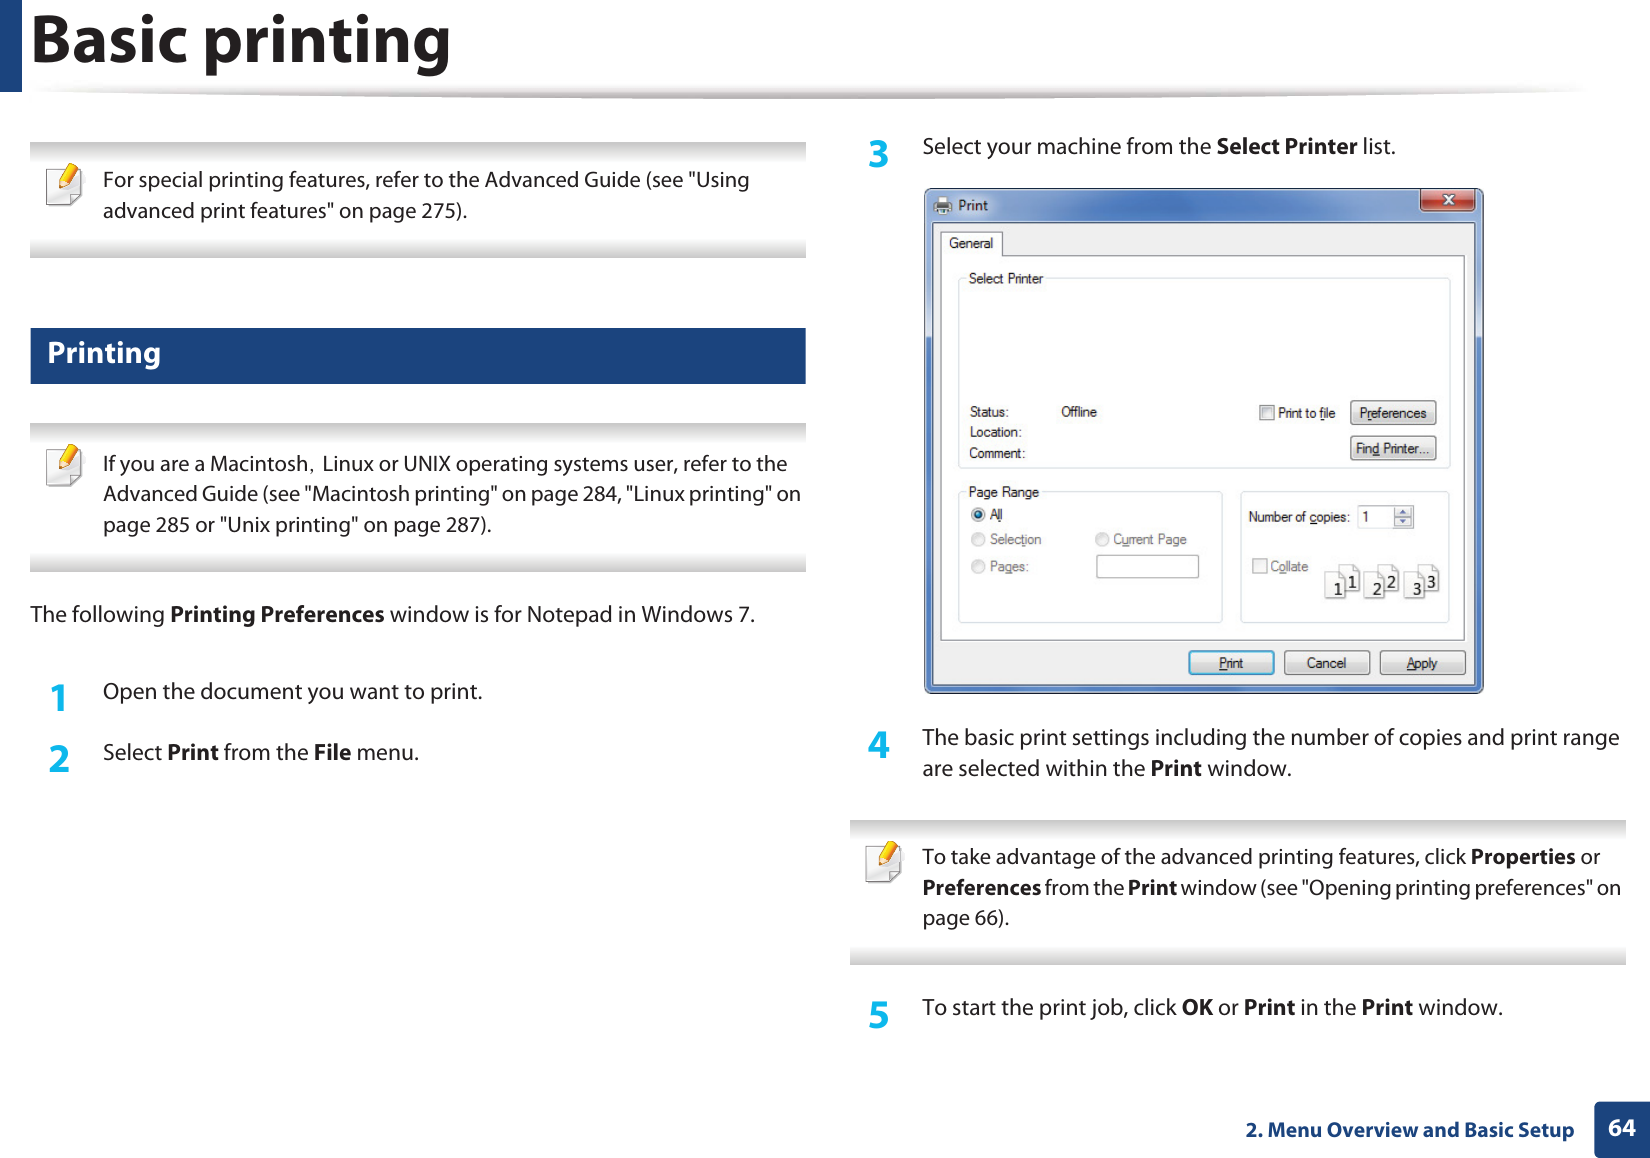
![Basic copying742. Menu Overview and Basic Setup1Press ID Copy on the control panel.Or select Copy > ID Copy on the touch screen.2 Place the front side of an original facing down on the scanner glass where arrows indicate as shown. Then, close the scanner lid.3 Place Front Side and Press [Start] appears on the display.4 Press (Start).Your machine begins scanning the front side and shows Place Back Side and Press [Start].5 Turn the original over and place it on the scanner glass where arrows indicate as shown. Then, close the scanner lid.6 Press (Start) button. • If you do not press the (Start) button, only the front side will be copied.• If the original is larger than the printable area, some portions may not be printed.](https://usermanual.wiki/Samsung-Electronics-Co/CLX4195FW.Users-Manual-2/User-Guide-1680986-Page-19.png)
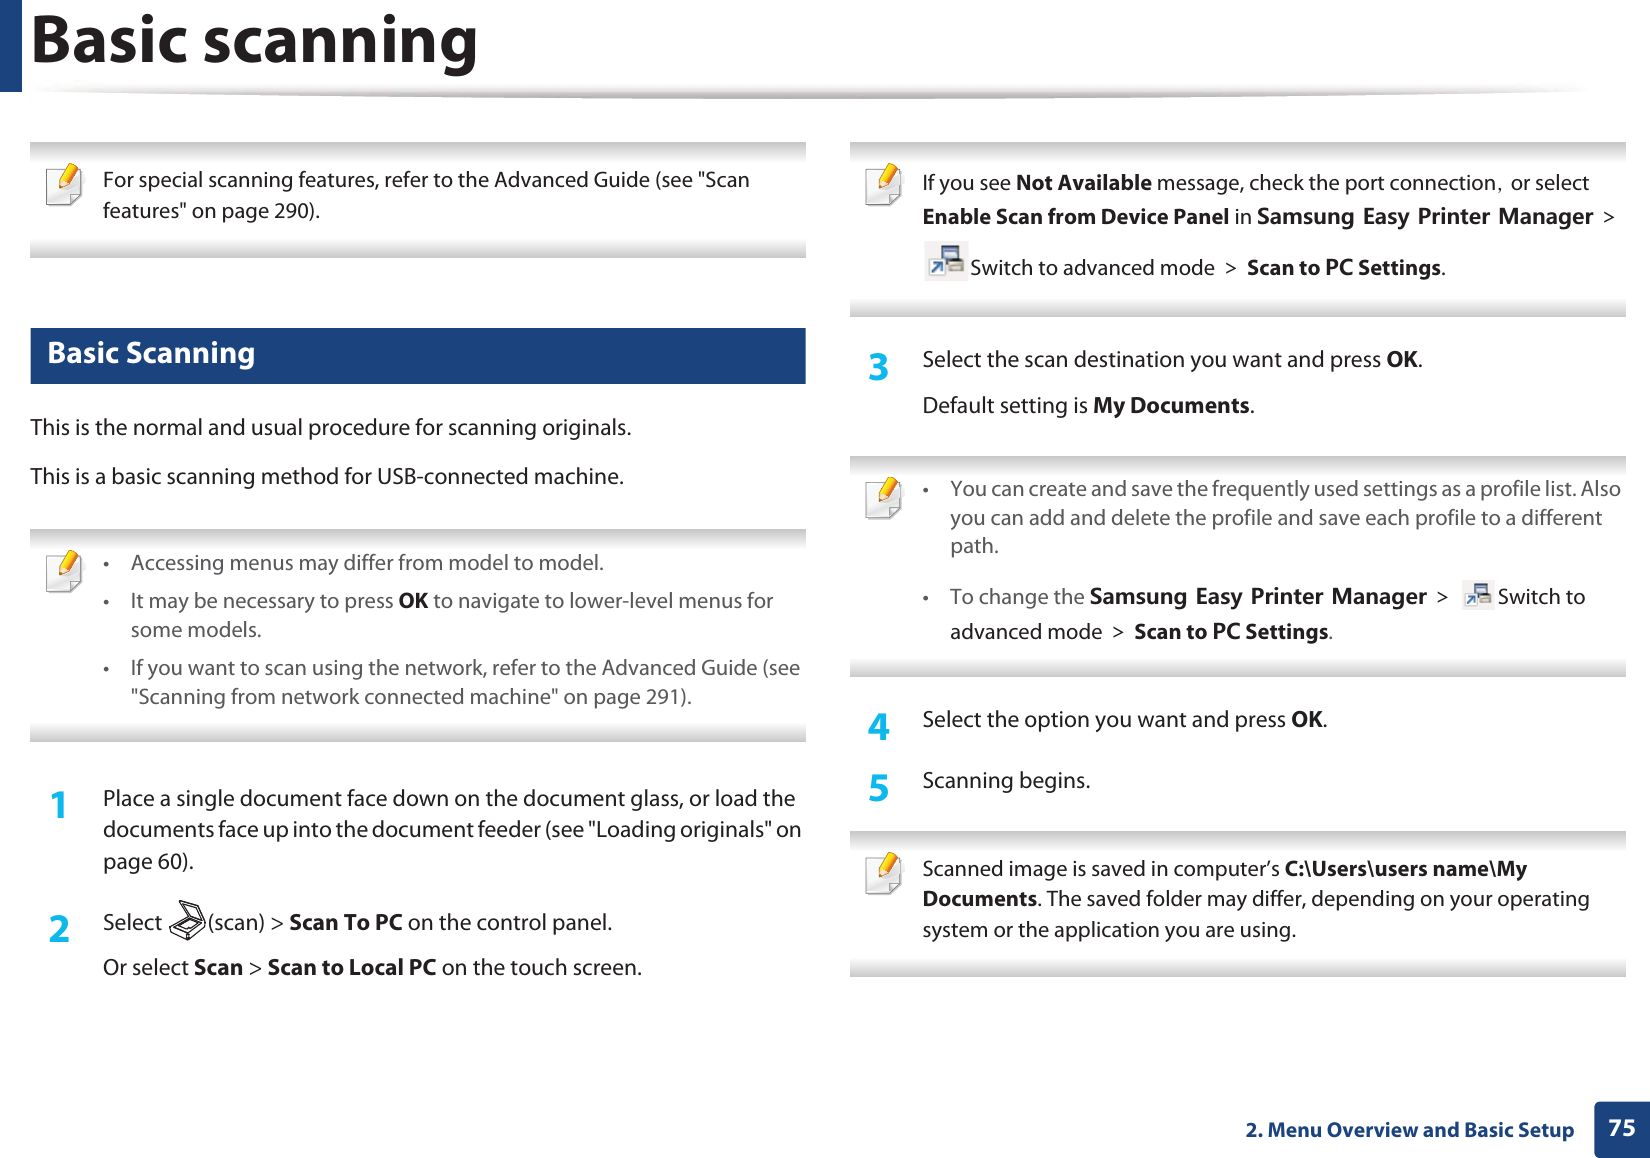
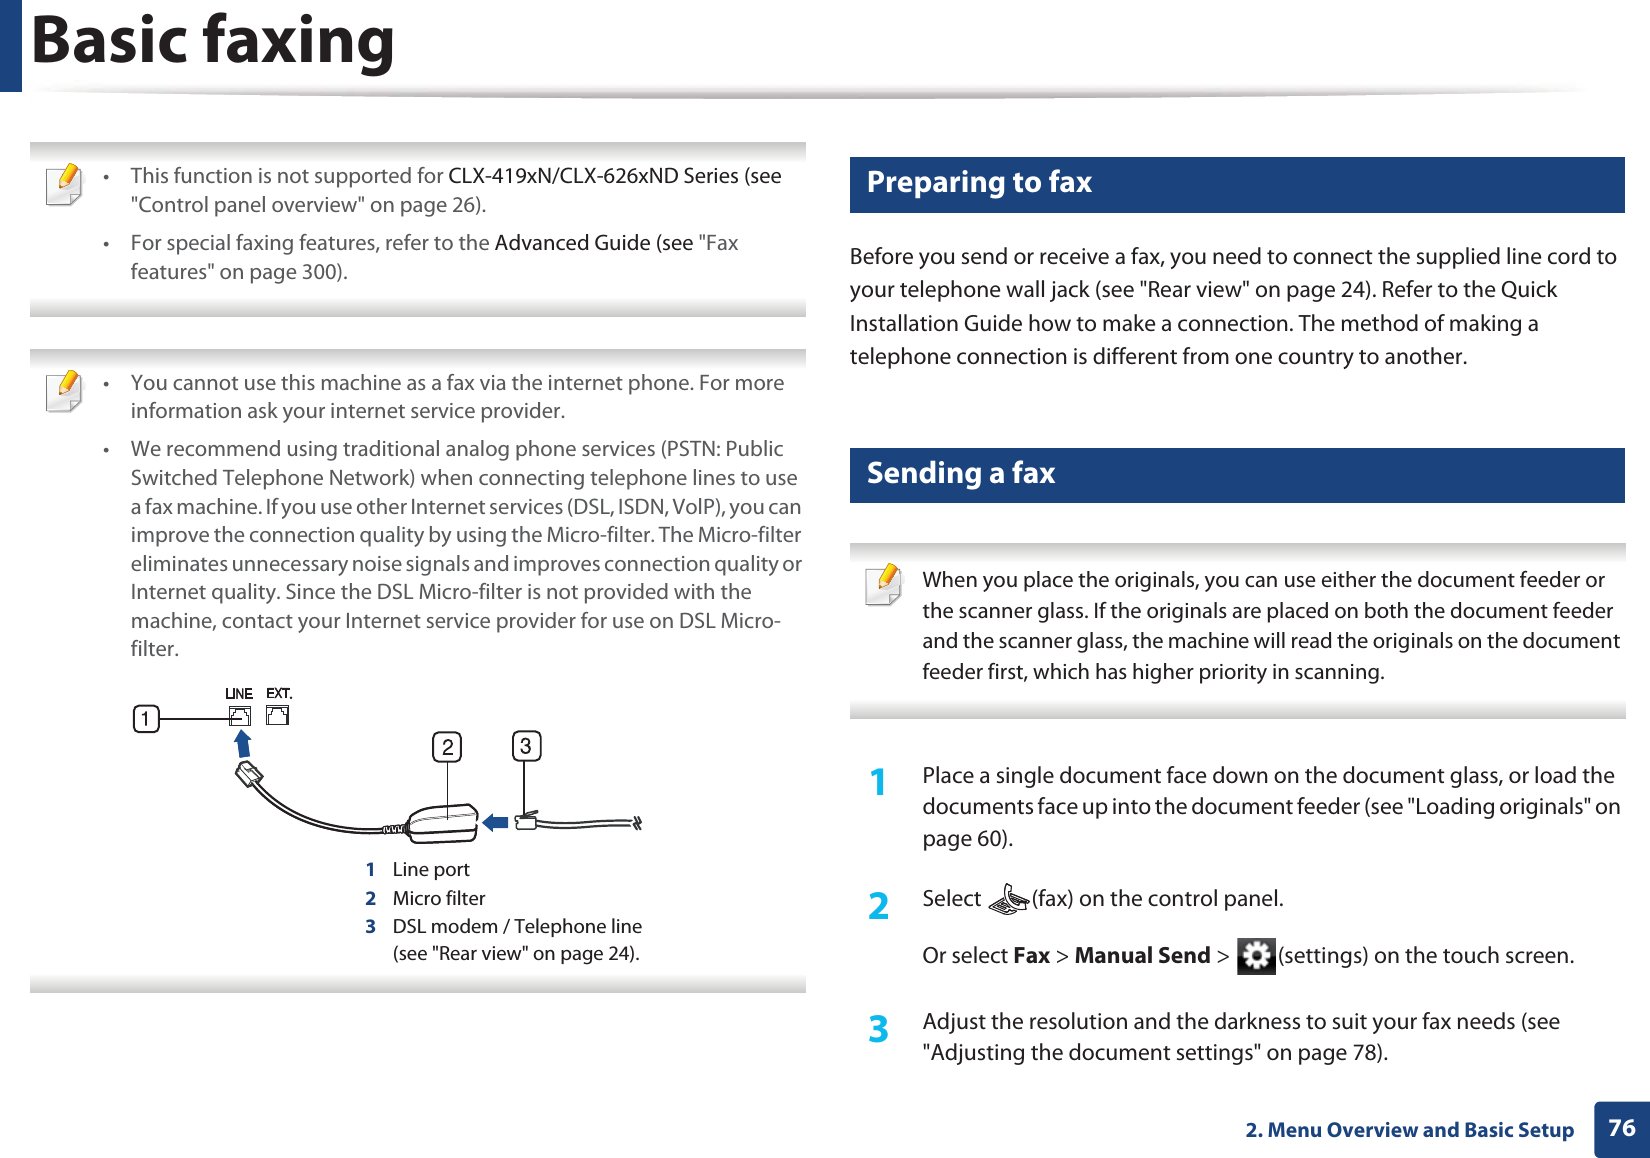
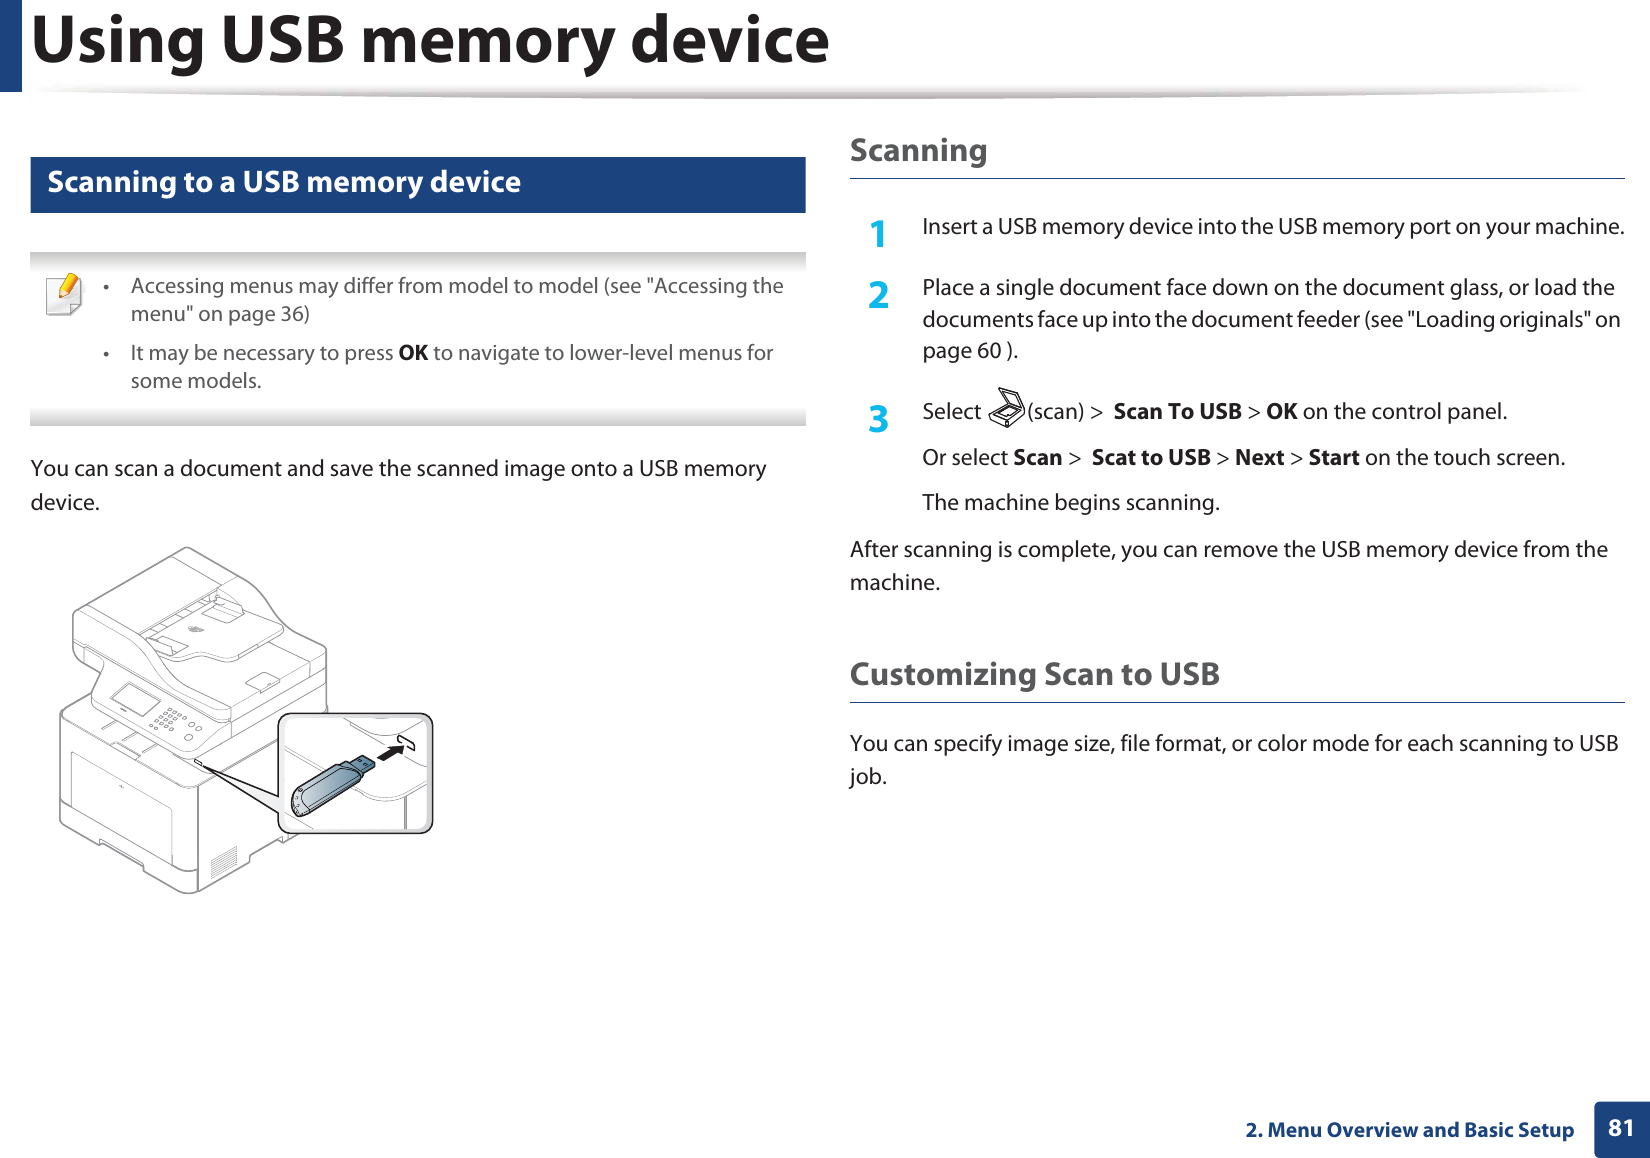
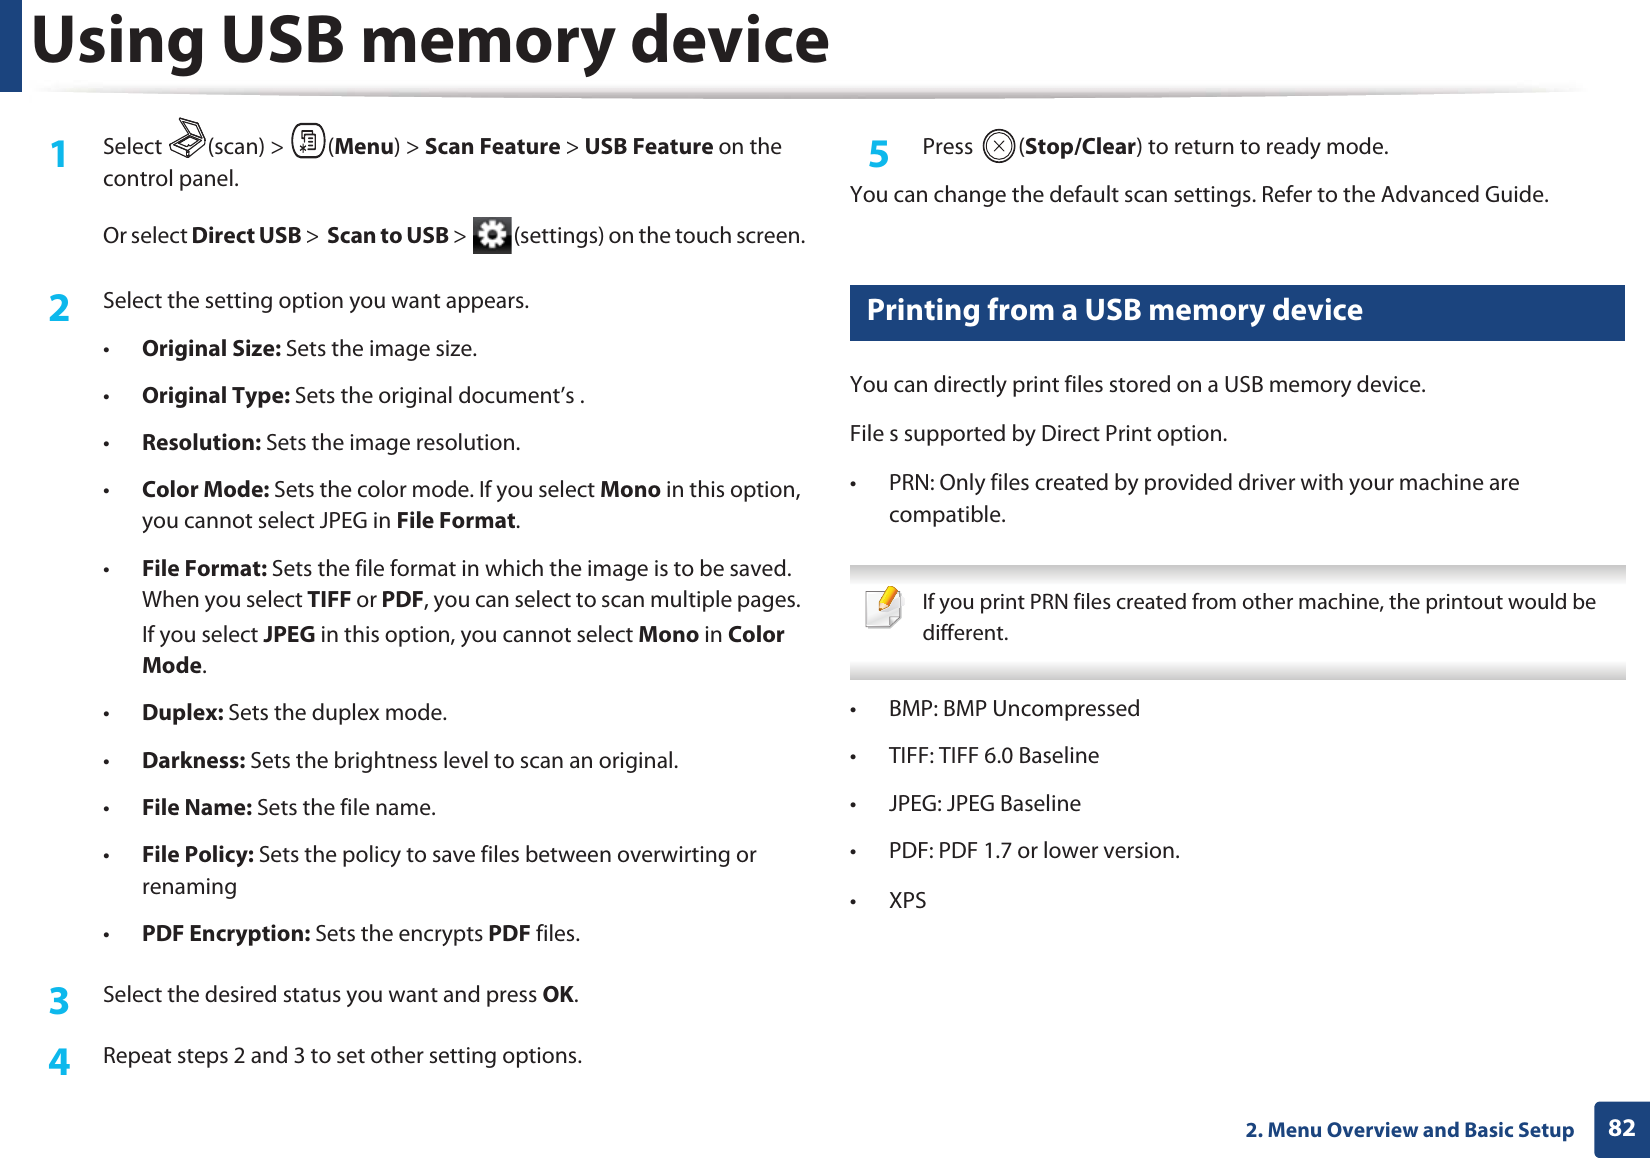
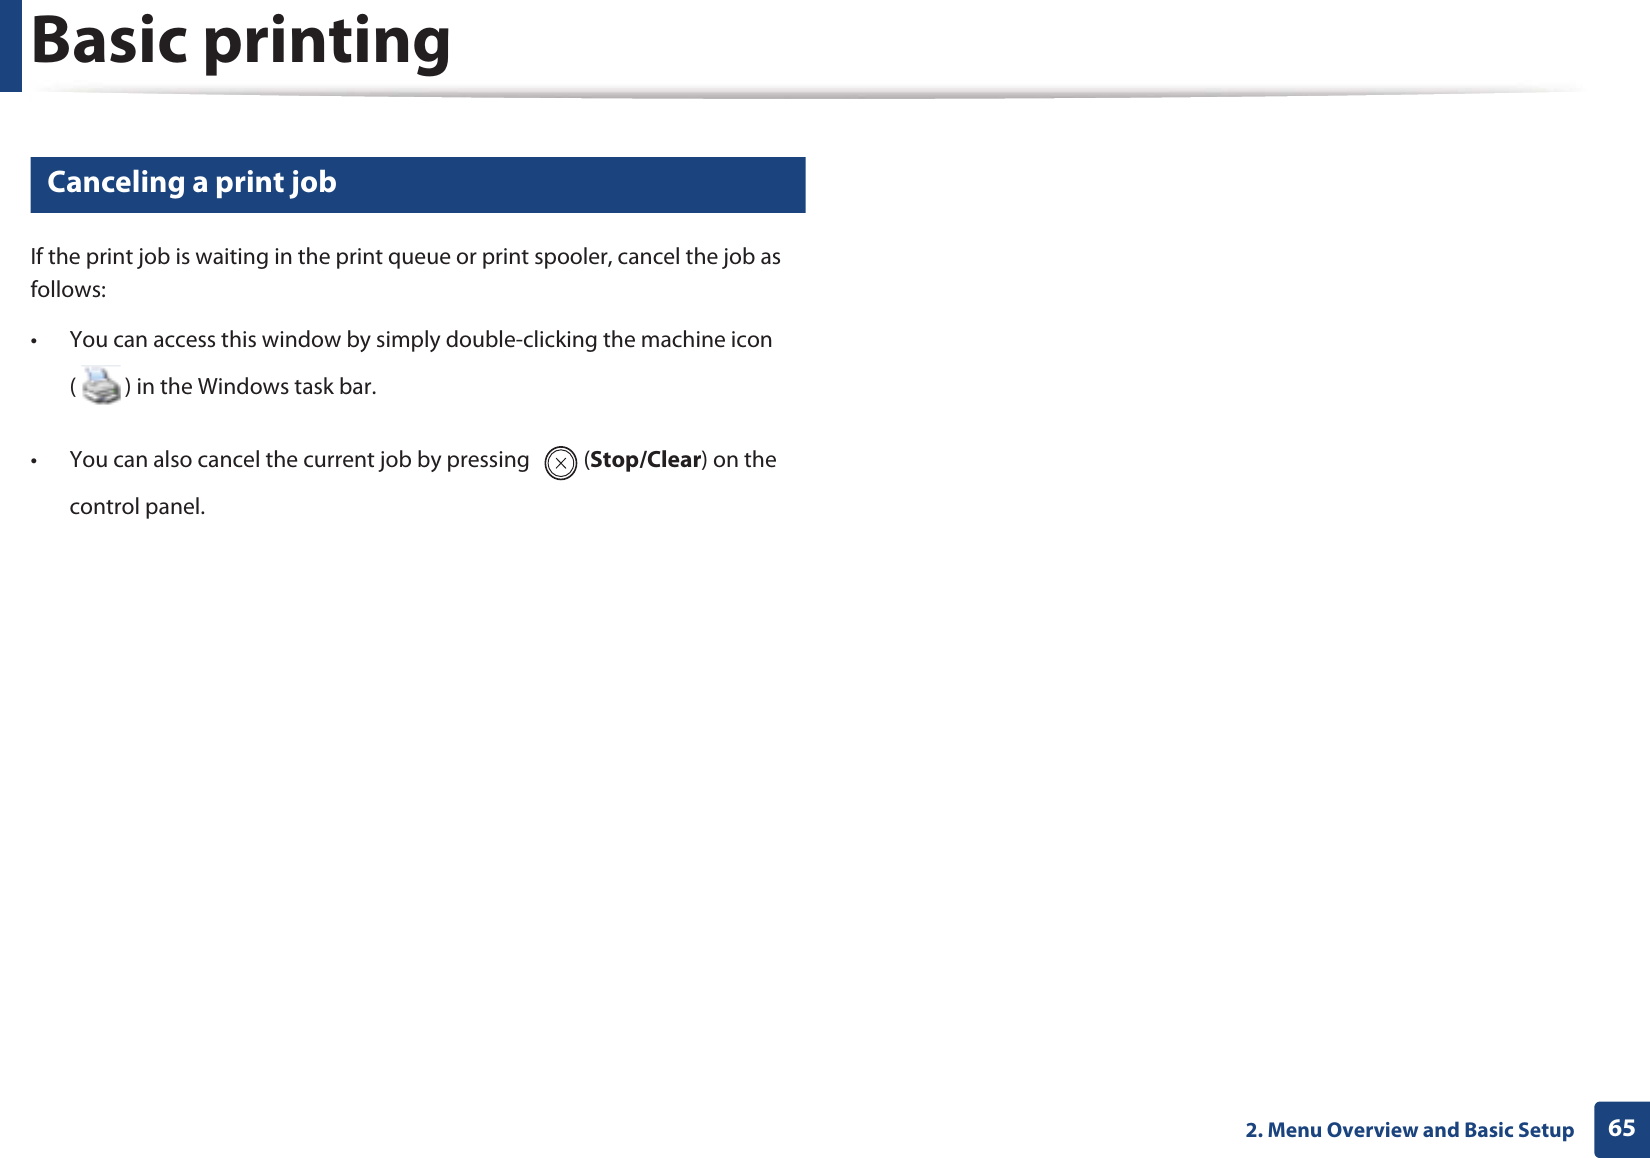
![Using USB memory device832. Menu Overview and Basic SetupTo print a document from a USB memory device1Insert a USB memory device into the USB memory port on your machine, and then press Direct USB.2 Select USB Print.3 Select the folder or file you want and press OK.If you see [+] or [D] in the front of a folder name, there are one or more files or folders in the selected folder.4 Select the number of copies to be printed or enter the number.5 Press OK, Start or Print to start printing the selected file. After printing the file, the display asks if you want to print another job.6 Press OK when Yes appears to print another job, and repeat from step 2. Otherwise, press the left/right arrow to select No and press OK.7 Press (Stop/Clear) to return to ready mode.28 Backing up data Data in the machine’s memory can be accidentally erased due to power failure or storage failure. Backup helps you protect the system settings by storing them as backup files on a USB memory device.Backing up data1Insert the USB memory device into the USB memory port on your machine.2 Select (scan) > (Menu) > System Setup > Machine Setup > Export Setting on the control panel.Or select Setup > Machine Setup > Next > Initial Setup > Export Setting on the touch screen.3 Select Setup Data, Address Book and press OK. The data is backed up to the USB memory.4 Press (Stop/Clear) to return to ready mode.Restoring data1Insert the USB memory device on which the backup data is stored in to the USB memory port.2 Select (scan) > (Menu) > System Setup > Machine Setup > Import Setting on the control panel.Or select Setup > Machine Setup > Next > Initial Setup > Import Setting on the touch screen.3 Select Setup Data, Address Book and press OK.](https://usermanual.wiki/Samsung-Electronics-Co/CLX4195FW.Users-Manual-2/User-Guide-1680986-Page-28.png)
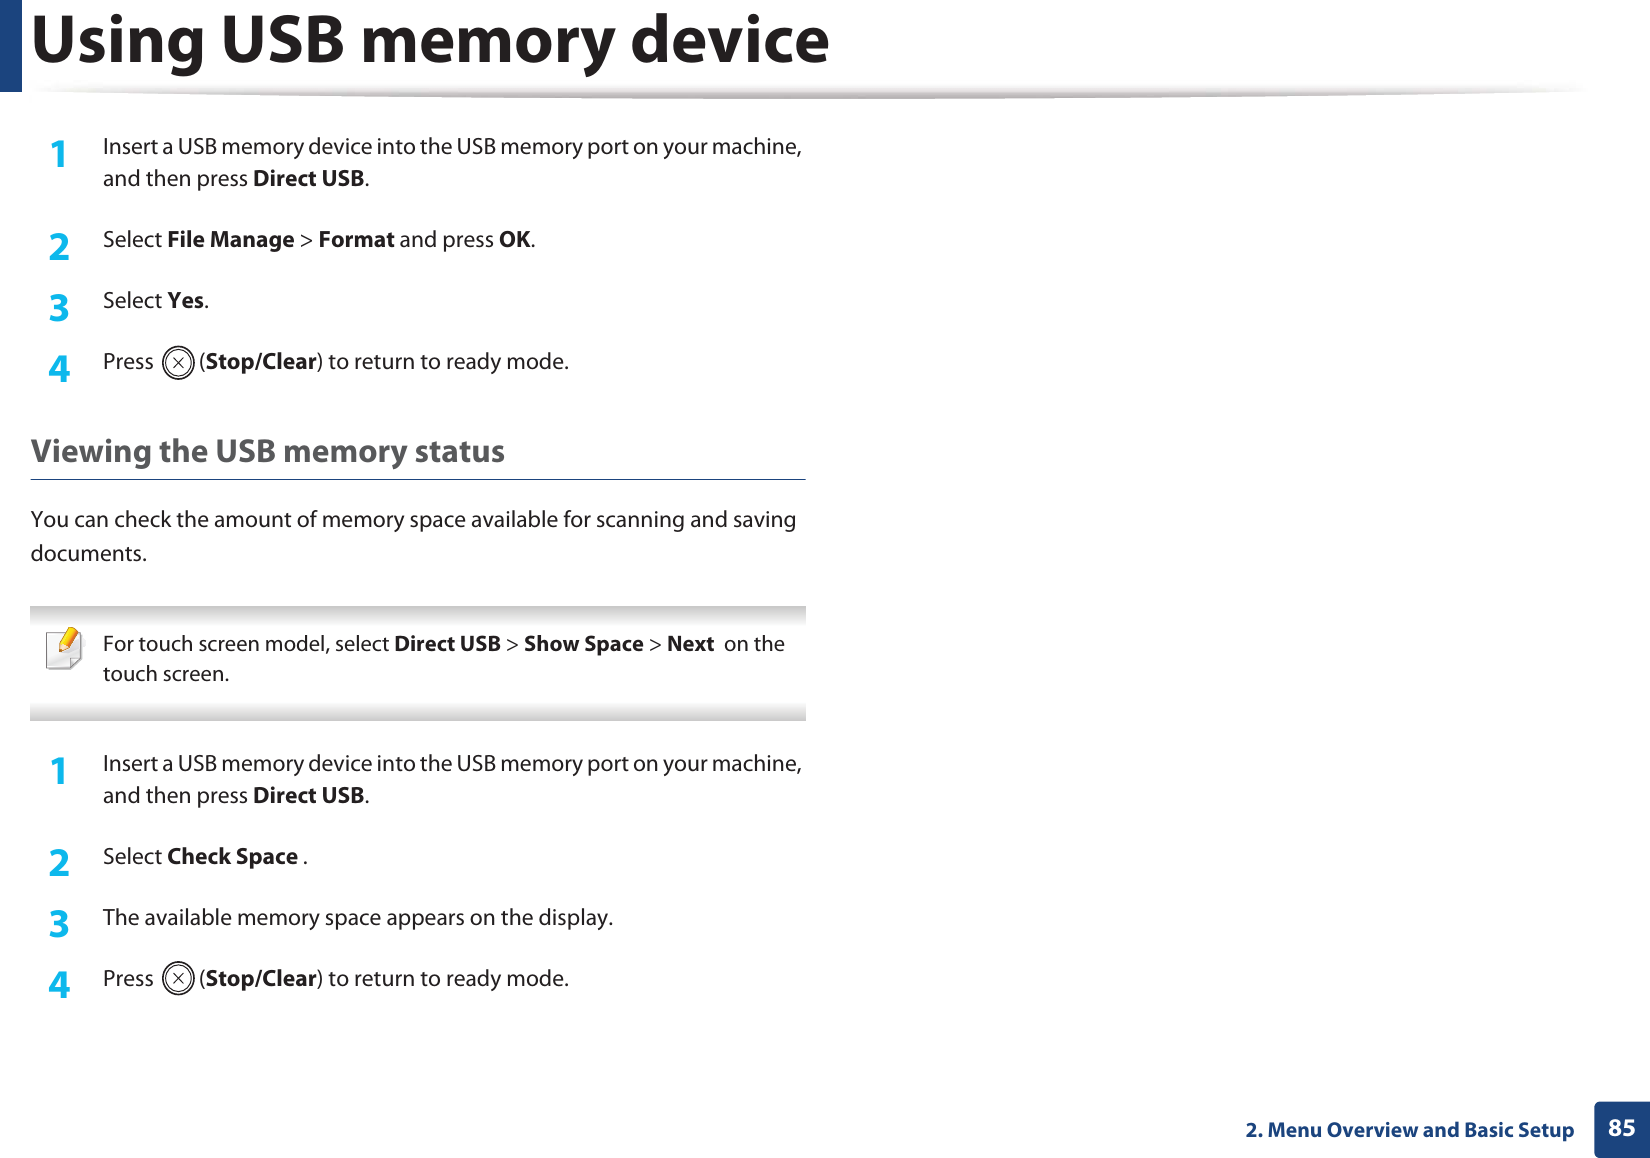
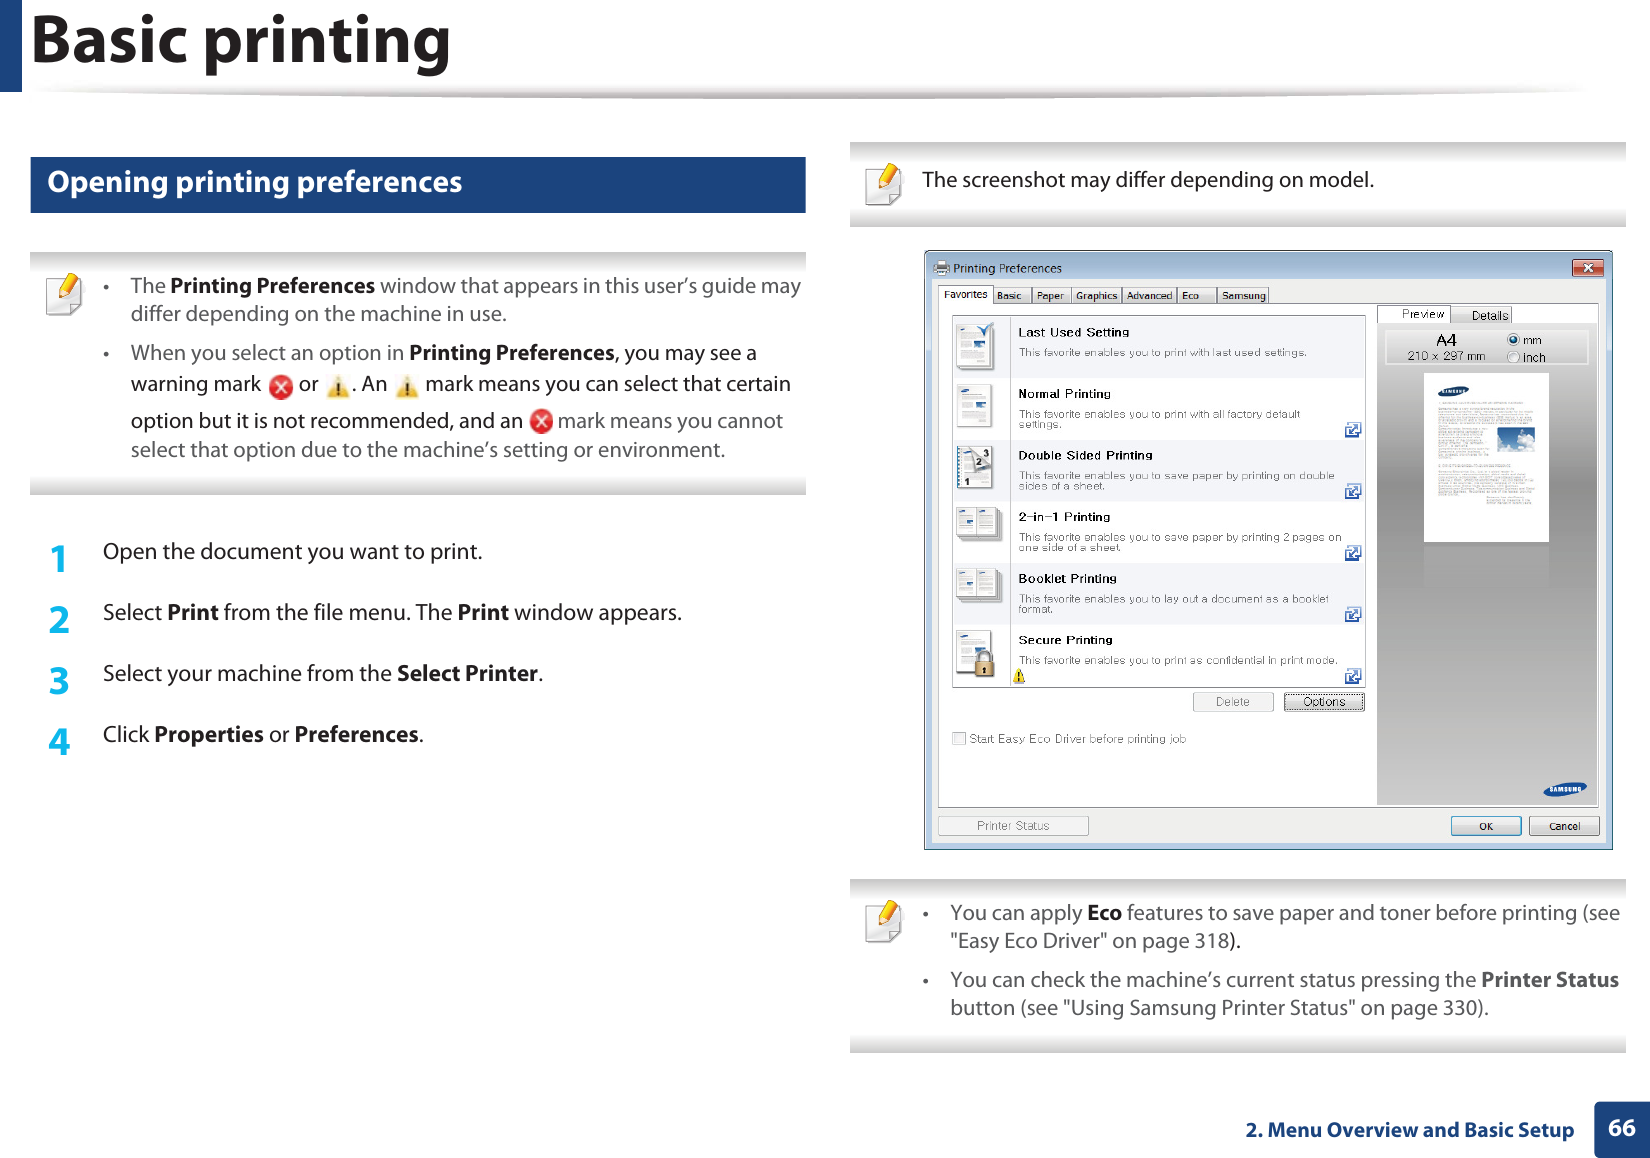
![Using USB memory device842. Menu Overview and Basic Setup4 Select the file you want to restore and press OK.5 Press OK when Yes appears to restore the backup file to the machine.6 Press (Stop/Clear) to return to ready mode.29 Managing USB memoryYou can delete image files stored on a USB memory device one by one or all at once by reformatting the device. If you see [+] or [D] in the front of a folder name, there are one or more files or folders in the selected folder. After deleting files or reformatting a USB memory device, files cannot be restored. Therefore, confirm that you no longer need the data before deleting it. Deleting an image file For touch screen model, select > select a file > (settings) > Delete on the touch screen. 1Insert a USB memory device into the USB memory port on your machine, and then press Direct USB.2 Select File Manage > Delete and press OK.3 Select the file you want to delete and press OK.4 Select Yes.5 Press (Stop/Clear) to return to ready mode.Formatting a USB memory device For touch screen model, select Direct USB > File Manage > Next > select a file > (settings) > Format on the touch screen.](https://usermanual.wiki/Samsung-Electronics-Co/CLX4195FW.Users-Manual-2/User-Guide-1680986-Page-29.png)
