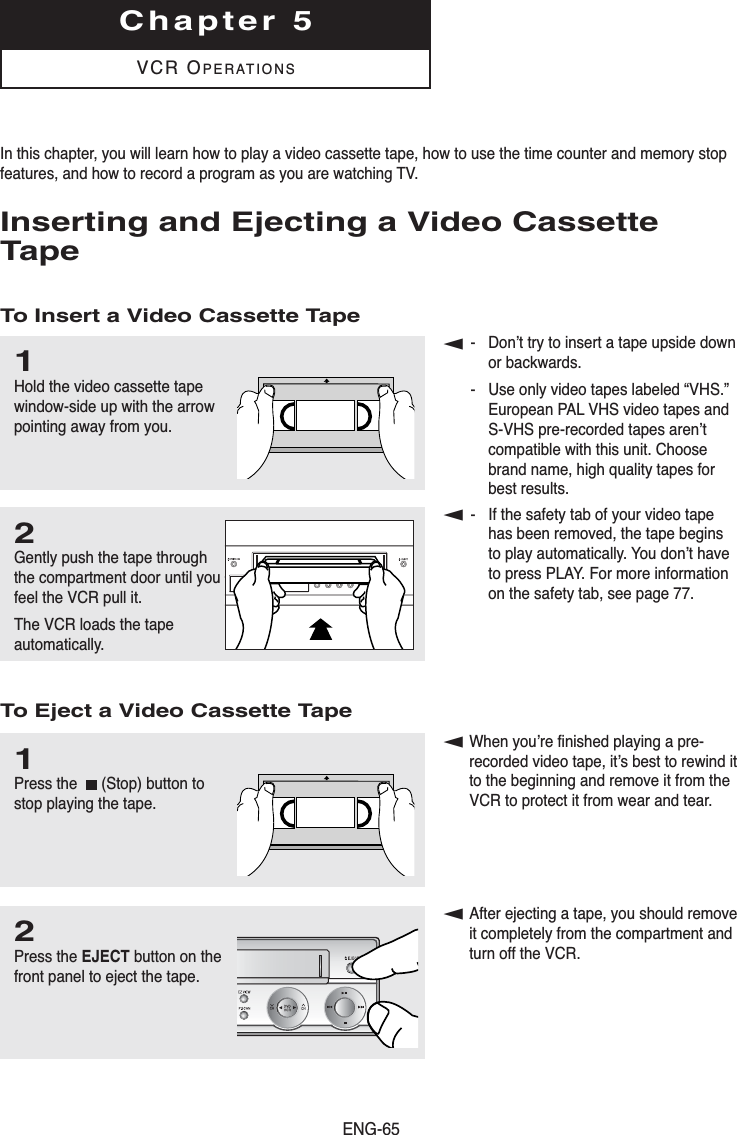
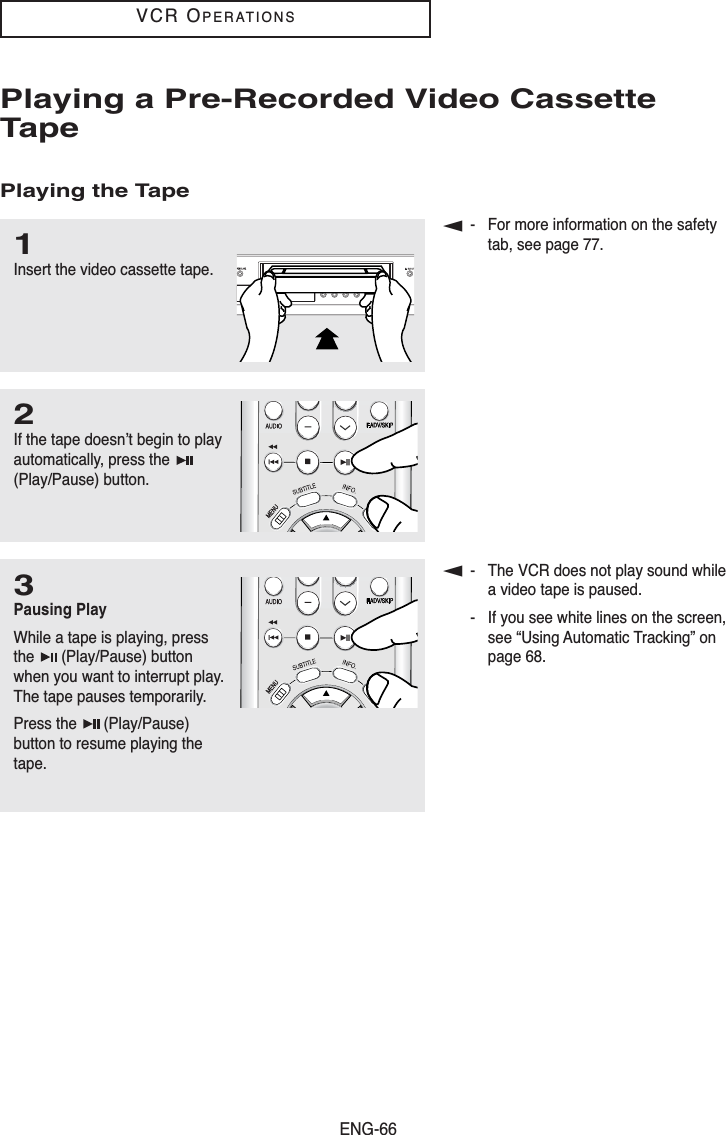
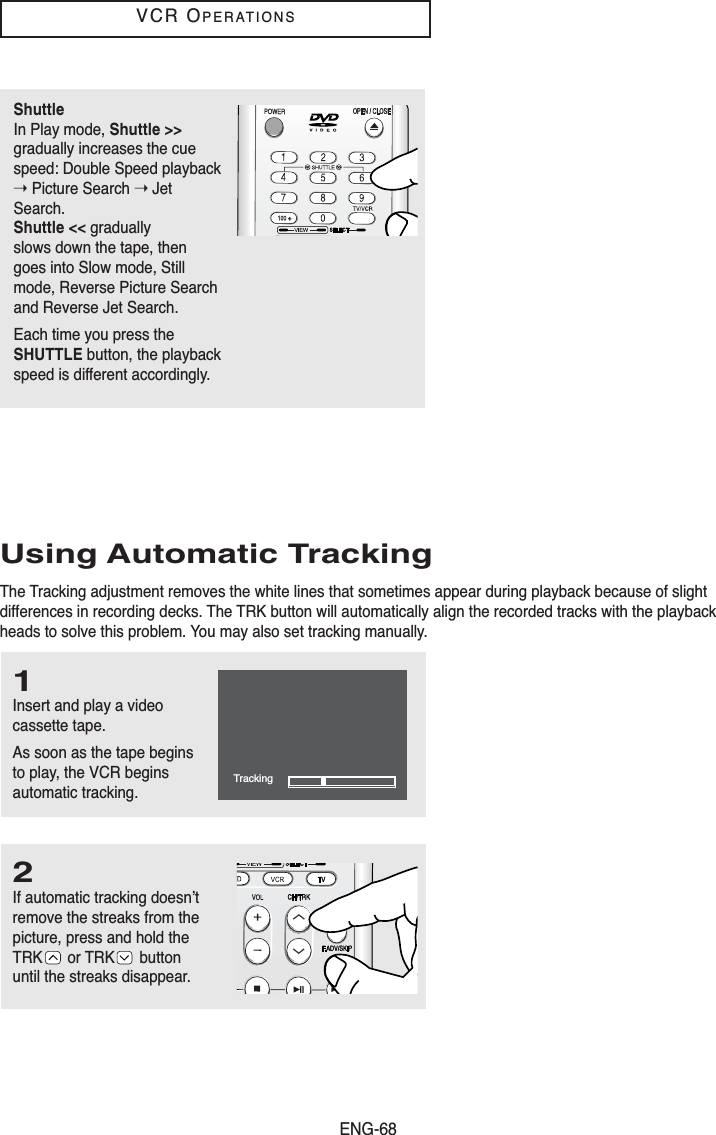
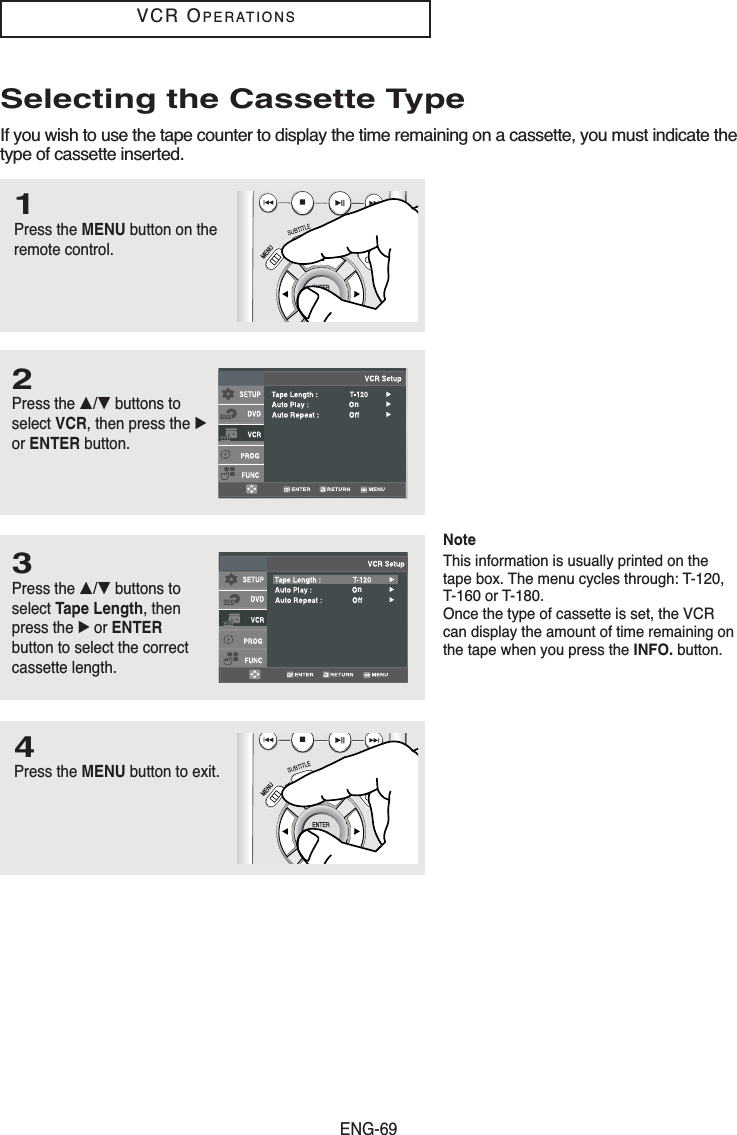
Samsung Electronics Co DVDV9500 DVD Player/ Video Cassette Recorder User Manual 00742A V9500 eng1
Samsung Electronics Co Ltd DVD Player/ Video Cassette Recorder 00742A V9500 eng1
UserManual.wiki
>
Samsung Electronics Co
>
DVDV9500 User Manual
>
Users Manual 2
Contents
1.
Users Manual 1
2.
Users Manual 2
Users Manual 2
Navigation menu
Upload a User Manual
Namespaces
Wiki Guide
HTML
PDF
Info
Views
User Manual
Discussion / Help
Navigation


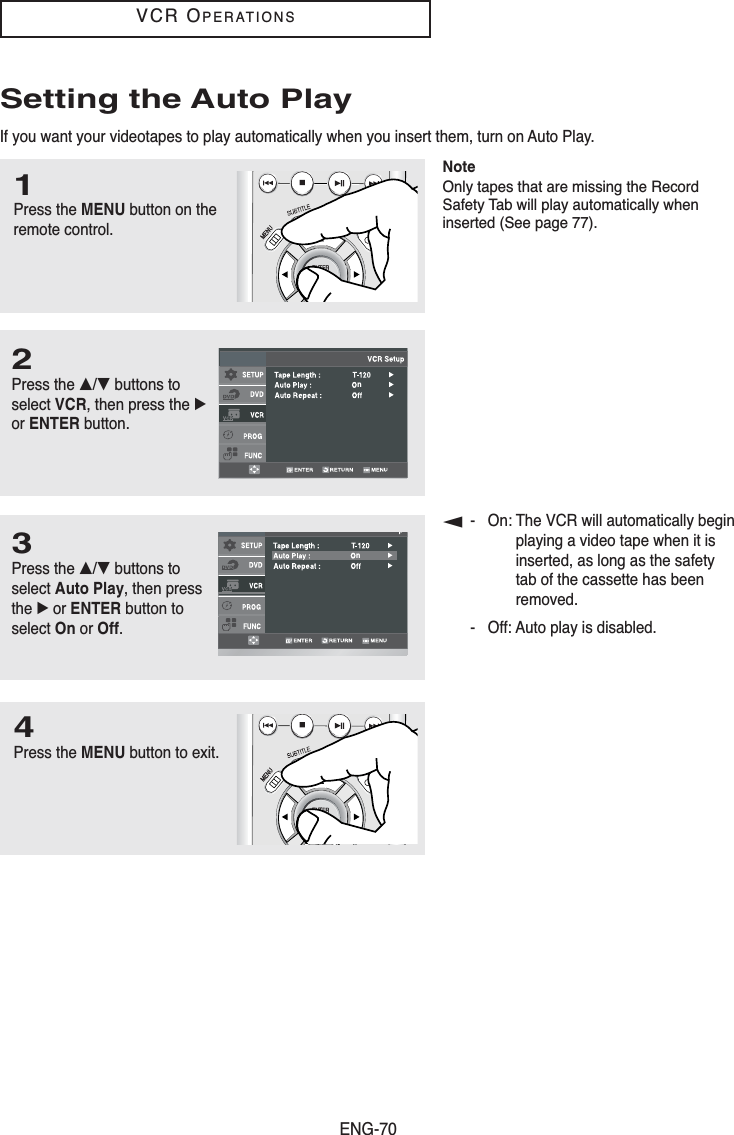
![ENG-71VCR OPERATIONS2Press the …/†buttons toselect VCR, then press the √or ENTER button.n3Press the …/†buttons toselect Auto Repeat, thenpress the √or ENTERbutton to select On or Off.n1Press the MENU button on theremote control. 4Press the MENU button to exit.Setting the Auto RepeatIf you want your videotapes to play repeatedly, turn on Auto Repeat.▼- On: The VCR will play a tape repeatedly [unless a tape control is activated (stop, fast forward or rewind)].- Off: Auto Repeat is disabled.](https://usermanual.wiki/Samsung-Electronics-Co/DVDV9500.Users-Manual-2/User-Guide-544426-Page-27.png)
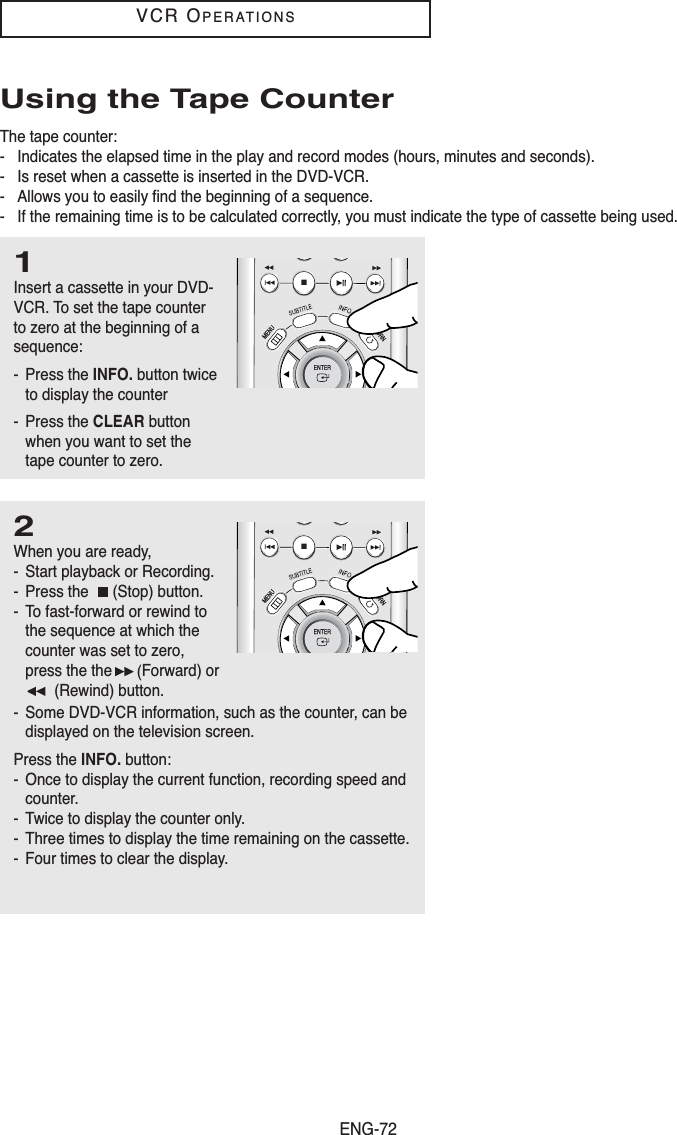
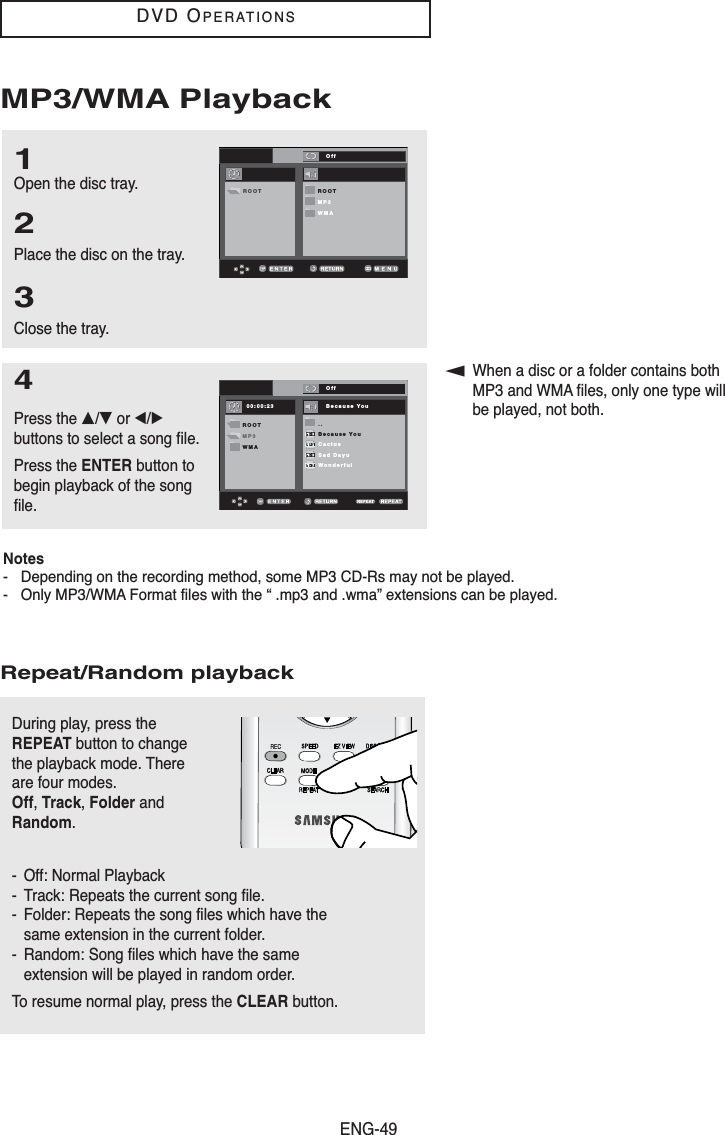
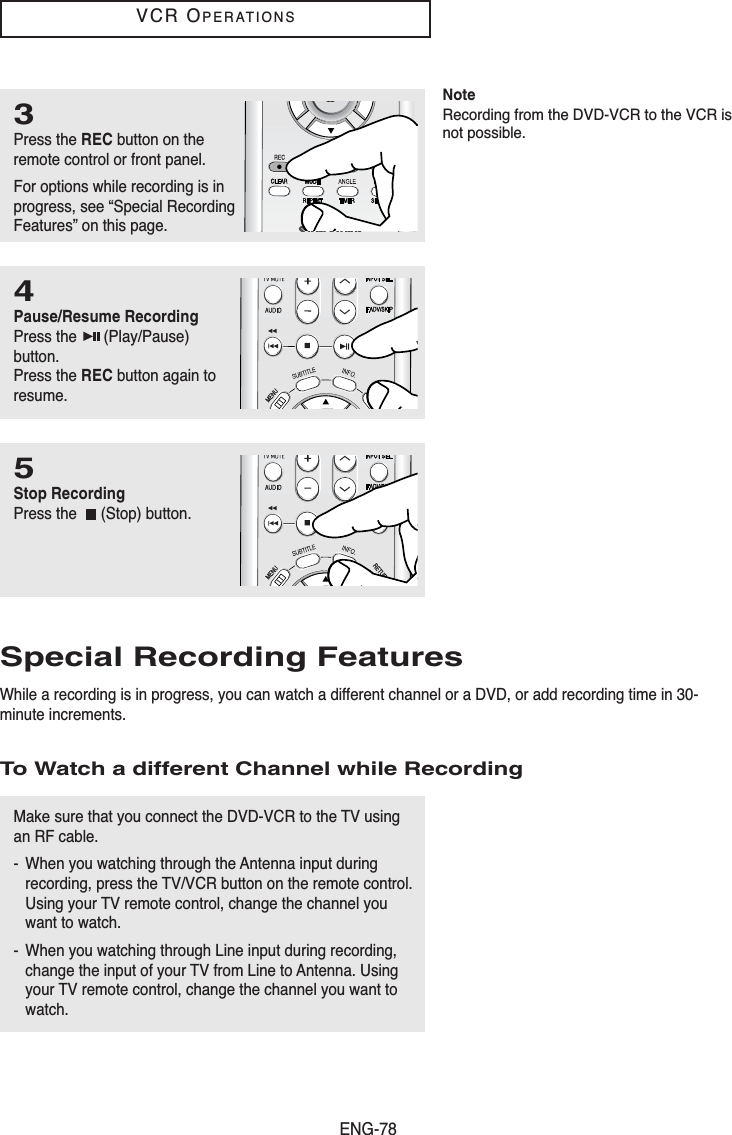
![ENG-75VCR OPERATIONS2Press the …/†buttons toselect Function, then pressthe √or ENTER button.3Press the …/†buttons toselect VCR Function, thenpress the √or ENTERbutton.VCR Function can bedisplayed simply by pressingthe SEARCH button.DVD FunctionVCR Function1Press the MENU button on theremote control. Searching for a Specific SequenceEach time you record a cassette on this DVD-VCR, an “index” is automatically marked on the tape whenrecording starts.The Search function allows you to fast-forward or rewind to a specific index and start playback from that point.Depending on the direction selected, the indexes are numbered as follows:This DVD-VCR uses a standard indexing system (VISS). As a result, it will recognize any indexes marked byother VCRs using the same system and vice versa.etc.21 1 2etc.PrevSeq.Seq. beingplayedNextSeq. ➔4Press the …/†buttons toselect the desired item, thenpress the √or ENTERbutton.Go to [0:00:000]End SearchForward Intro ScanReverse Intro Scan](https://usermanual.wiki/Samsung-Electronics-Co/DVDV9500.Users-Manual-2/User-Guide-544426-Page-31.png)
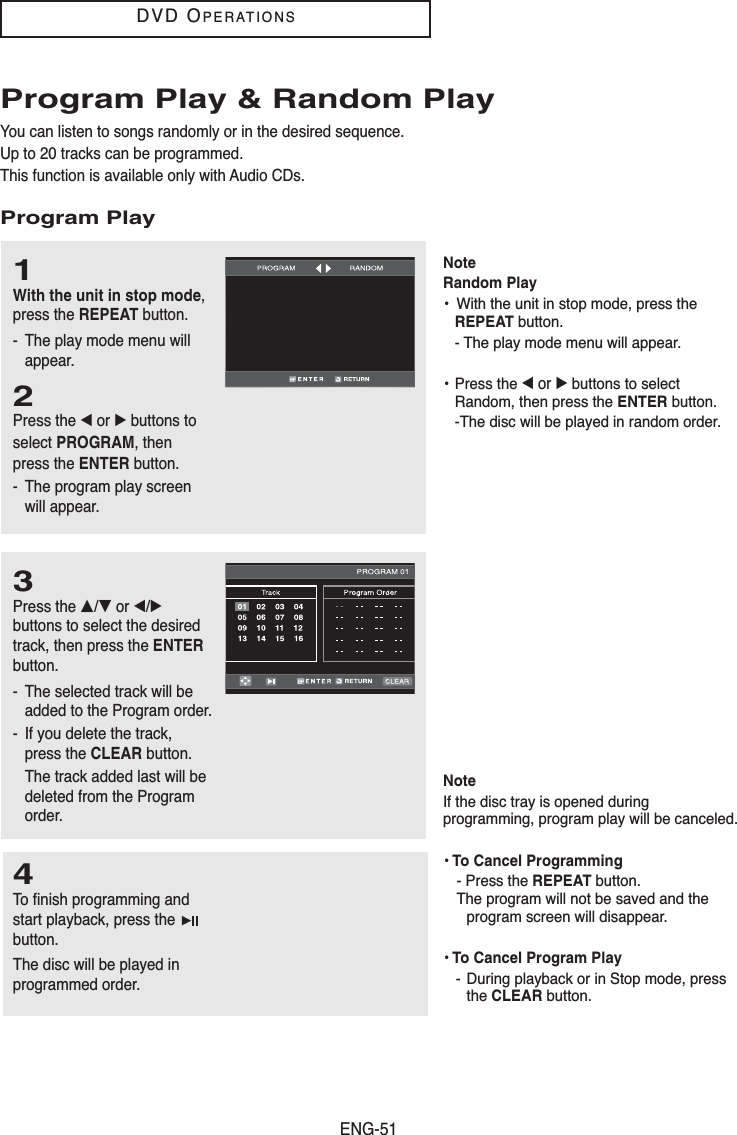
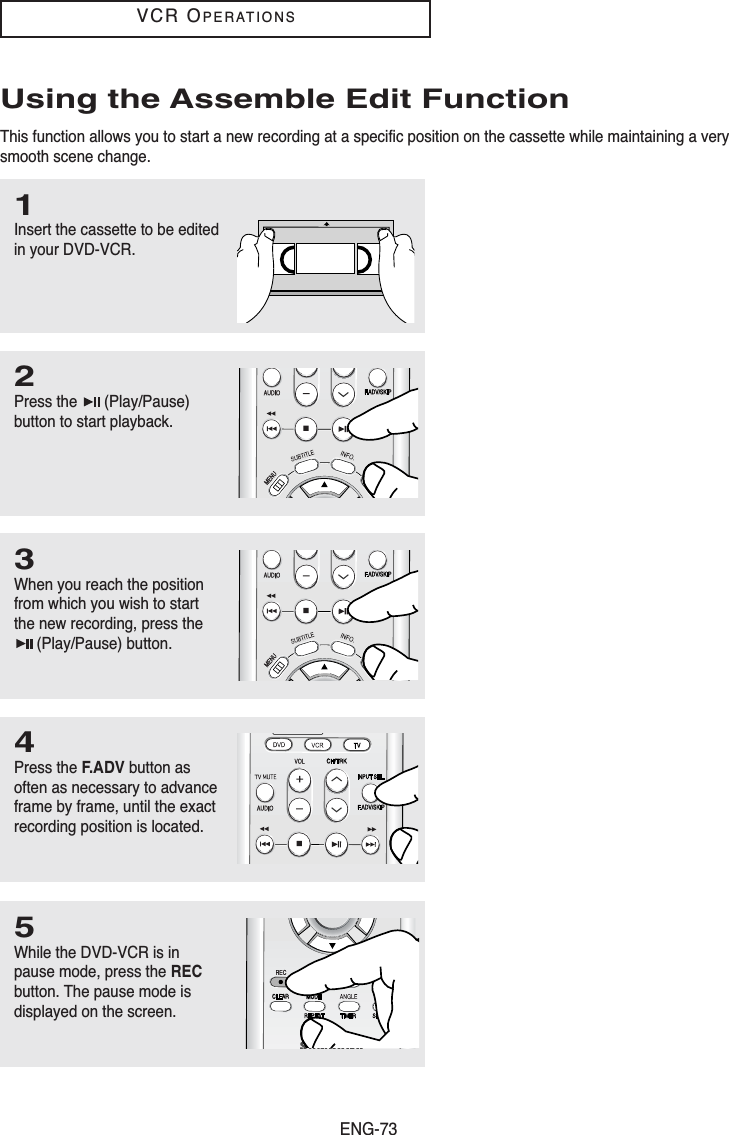
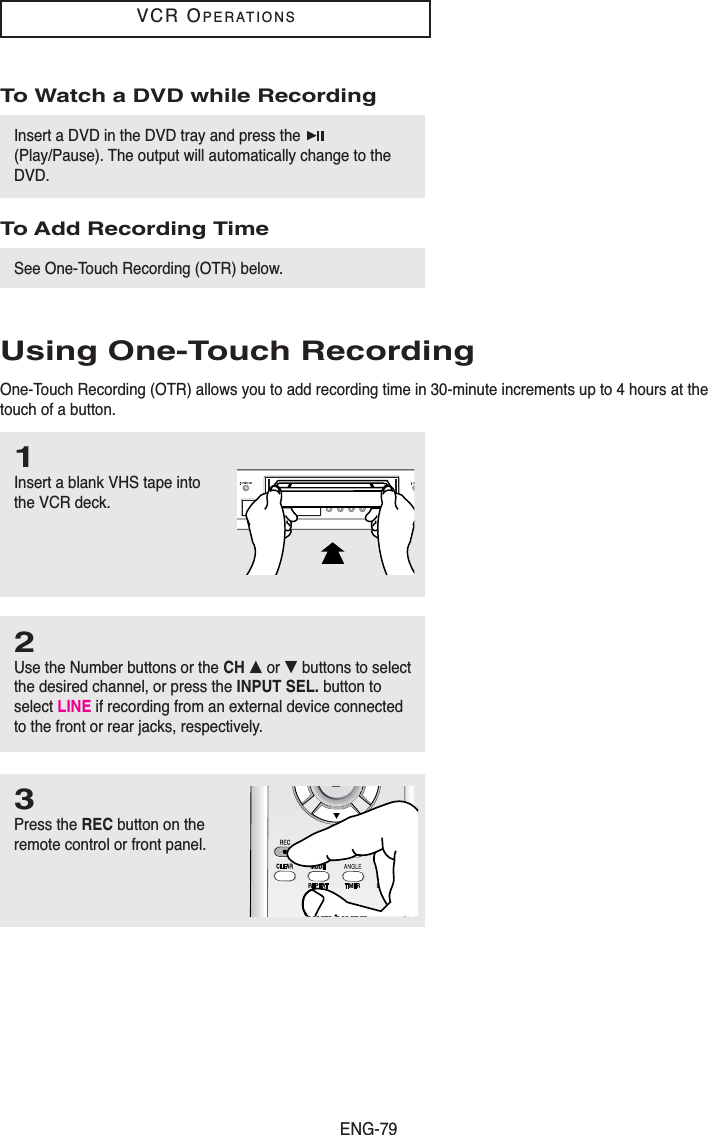
![ENG-76VCR OPERATIONSGo To [0:00:00] StopUse this feature when youwant to search for the 0:00:00counter position on acassette.Press the CLEAR button atthe point on the tape whereyou want to set the counter to [0:00:00].The VCR will rewind or fast forward, searching for the0:00:00 counter position, and then automatically stop at thatposition.Go to [0:00:000]End SearchForward Intro ScanReverse Intro ScanEnd SearchUse this feature when youwant to search for a blankposition to record a programon a cassette.The VCR will fast forward,searching for a blank position,and then automatically stop at that position.If the VCR reaches the end of the tape during end search,the tape will be ejected.Go to [0:00:000]End SearchForward Intro ScanReverse Intro ScanScan and playUse scan and play when youdon’t know exactly where aprogram is located on acassette tape. -Forward Intro ScanSelect “Forward Intro Scan”,then press the ENTER button.-Reverse Intro ScanSelect “Reverse Intro Scan”, then press the ENTER button.Go to [0:00:000]End SearchForward Intro ScanReverse Intro ScanVariable Search System](https://usermanual.wiki/Samsung-Electronics-Co/DVDV9500.Users-Manual-2/User-Guide-544426-Page-32.png)
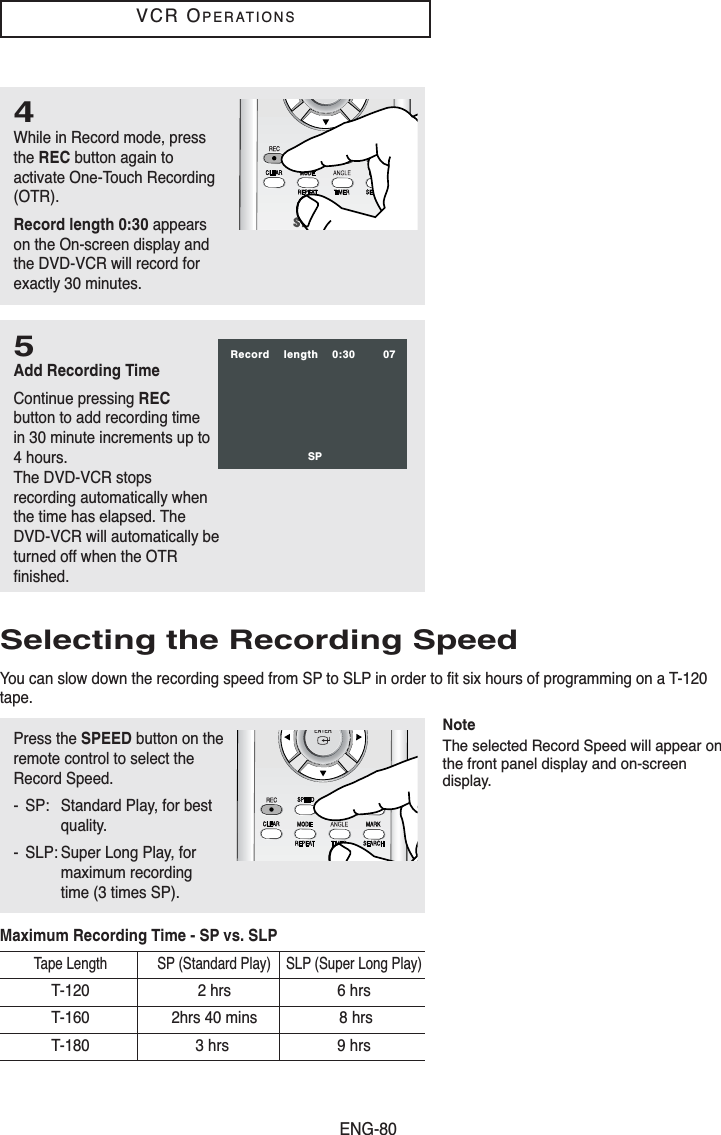
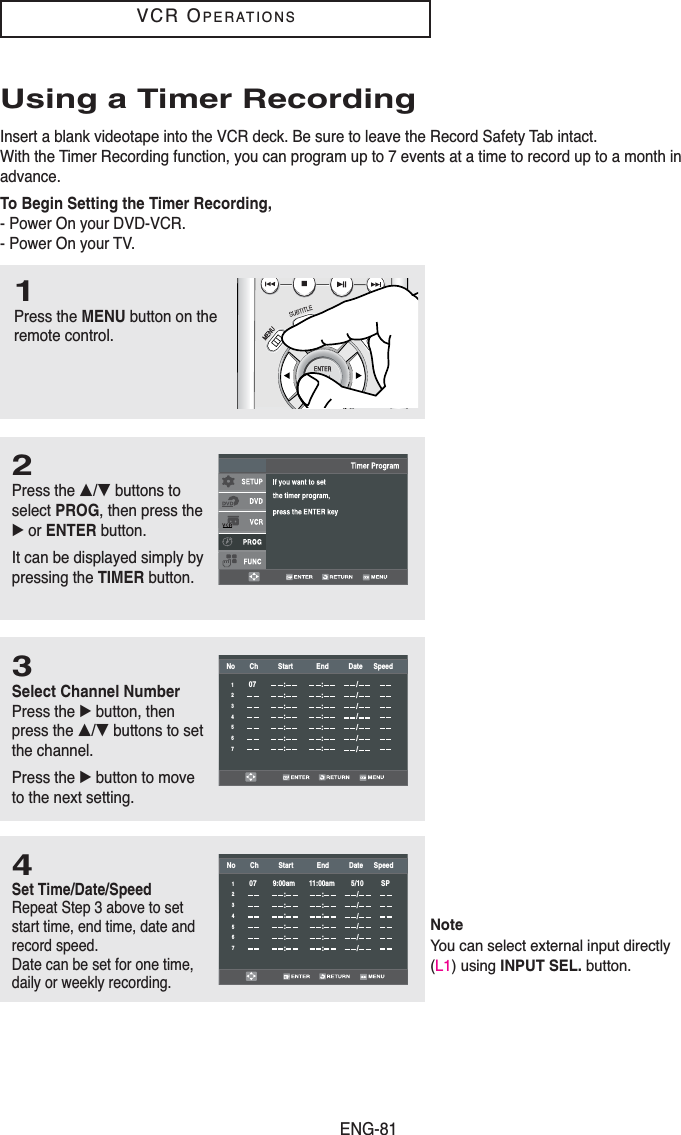
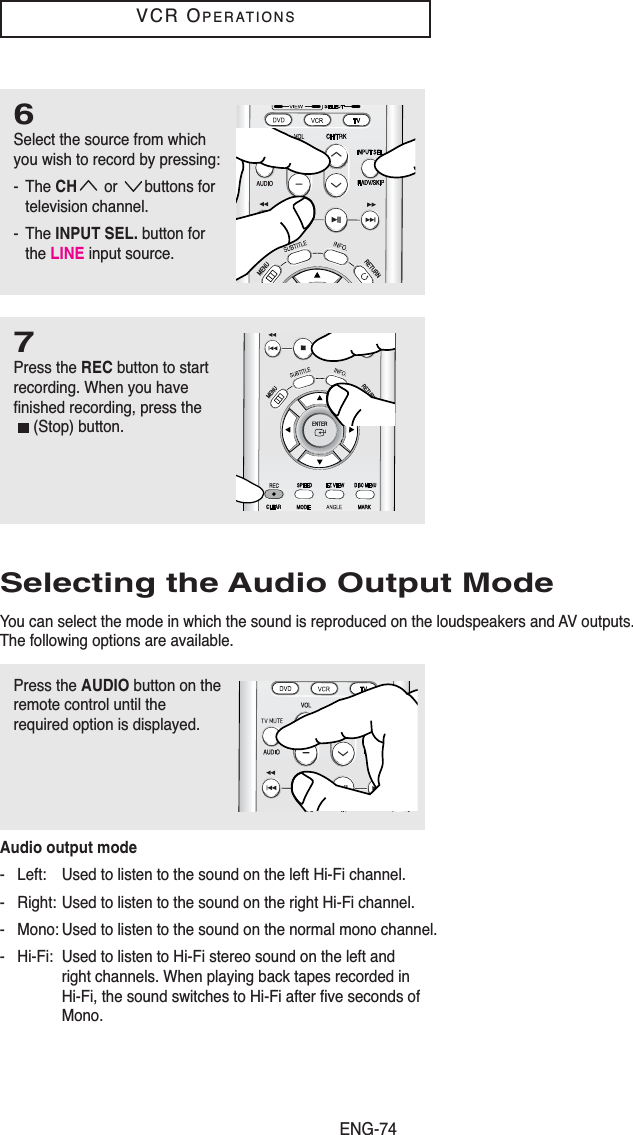
![ENG-82VCR OPERATIONS5Save Timer RecordingPress the RETURN button tofinish setting the timer recording. Stop the DVD-VCR or turn thepower off. Then the DVD-VCRwill automatically turn on andbegin recording at the time youset.To stop the timer recording,press the POWER button orpress the (Stop) buttontwice. Selecting Auto Speed If the length of the videotape is not long enough for a timerrecording in the SP mode, set the recording tape speed to“Auto”. Recording will start in the SP mode. If the length is notlong enough, the tape speed will automatically change from SPmode to SLP mode.Daily/Weekly Date ProgrammingWeekly [sun’s~sat’s]: Use this to record TV programs on thesame channel at the same time every week. Daily [MO - FR] :Use this to record TV programs on the same channel at thesame time every day Monday through Friday.](https://usermanual.wiki/Samsung-Electronics-Co/DVDV9500.Users-Manual-2/User-Guide-544426-Page-38.png)