Samsung Electronics Co SGHD307 Dual-Band GSM Phone w/ BlueTooth User Manual D307
Samsung Electronics Co Ltd Dual-Band GSM Phone w/ BlueTooth D307
Contents
- 1. Users Manual
- 2. Users Manual 1
- 3. Users Manual 2
- 4. Users Manual 3
- 5. Users Manual 4
Users Manual 2


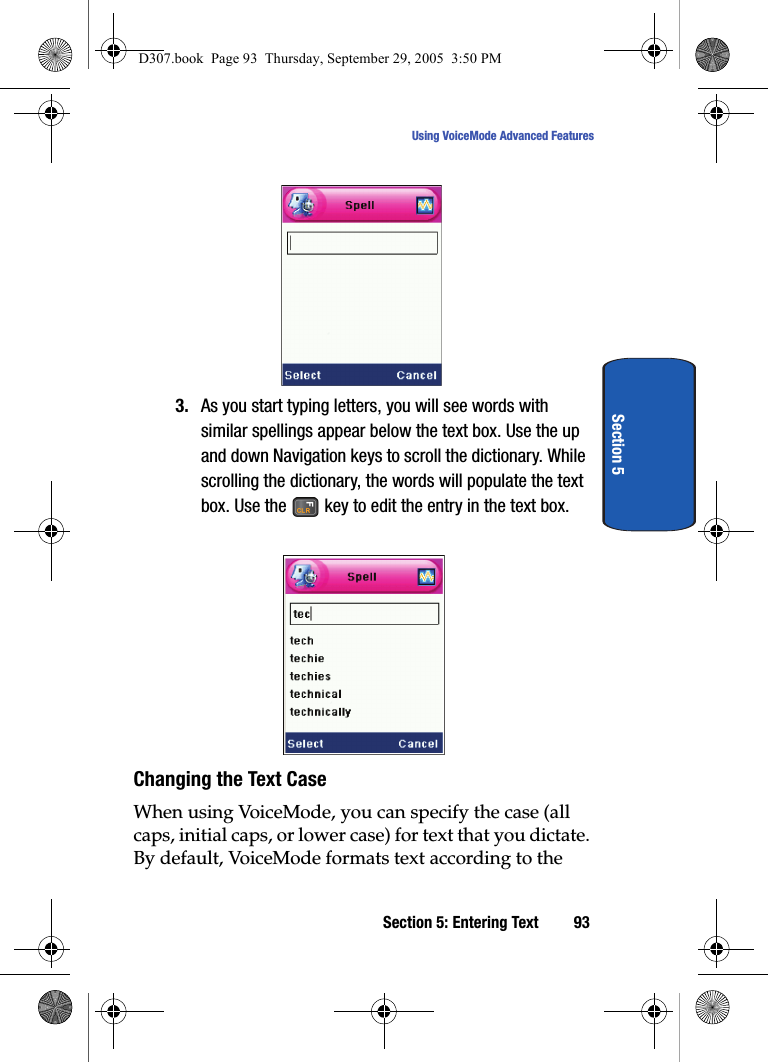
![92Section 52. Use the Up () and Down ( ) Navigation key to highlight a word, then press the Select soft key or the key.Spelling a WordIf a word is not recognized and does not appear in the choice list, it might be because that word is not in the dictation dictionary. In this case, you can spell out the word manually. When you spell a word that is not part of the dictation dictionary, the new word is added to the dictionary. This enables VoiceMode to recognize the new word the next time it is spoken.To Spell a Word1. Display the choice list for the word you want to spell out.2. Select [Spell Word].You will see an empty text box, where you can manually spell the word using the keypad.D307.book Page 92 Thursday, September 29, 2005 3:50 PM](https://usermanual.wiki/Samsung-Electronics-Co/SGHD307.Users-Manual-2/User-Guide-589187-Page-28.png)
![Section 5: Entering Text 95Using VoiceMode Advanced FeaturesSection 5Entering Punctuation CharactersVoiceMode recognizes most punctuation characters by name. The following is a complete list of the names of punctuation characters you can dictate. . period ( open-paren . dot , comma ) close-paren . point? question-mark [ open-bracket / slash! exclamation-point ] close-bracket \ backslash: colon { open-brace :-) happy-face; semicolon { close-brace :-( sad-face- hyphen < open-angle-bracket < less-than-- em dash > close-angle-bracket > greater-than... ellipsis | vertical-bar = equal‘ apostrophe # pound-sign @ at-sign‘s apostrophe-s $ dollar-sign ^ caret“ open-quote % percent _ underscore“ close-quote & ampersand ‘ back-quote‘ open-single-quote * asterisk ~ tilde‘ close-single-quote + plusD307.book Page 95 Thursday, September 29, 2005 3:50 PM](https://usermanual.wiki/Samsung-Electronics-Co/SGHD307.Users-Manual-2/User-Guide-589187-Page-31.png)