Samsung Electronics Co SGHI750 Single-Band PCS GSM/EDGE Phone w/ Bluetooth & WLAN User Manual 2
Samsung Electronics Co Ltd Single-Band PCS GSM/EDGE Phone w/ Bluetooth & WLAN Users Manual 2
UserManual.wiki
>
Samsung Electronics Co
>
SGHI750 User Manual
>
Users Manual 2
Contents
1.
Users Manual 1
2.
Users Manual 2
3.
Users Manual per CRN30330
4.
Users Manual per CRN30328
Users Manual 2
Navigation menu
Upload a User Manual
Namespaces
Wiki Guide
HTML
PDF
Info
Views
User Manual
Discussion / Help
Navigation
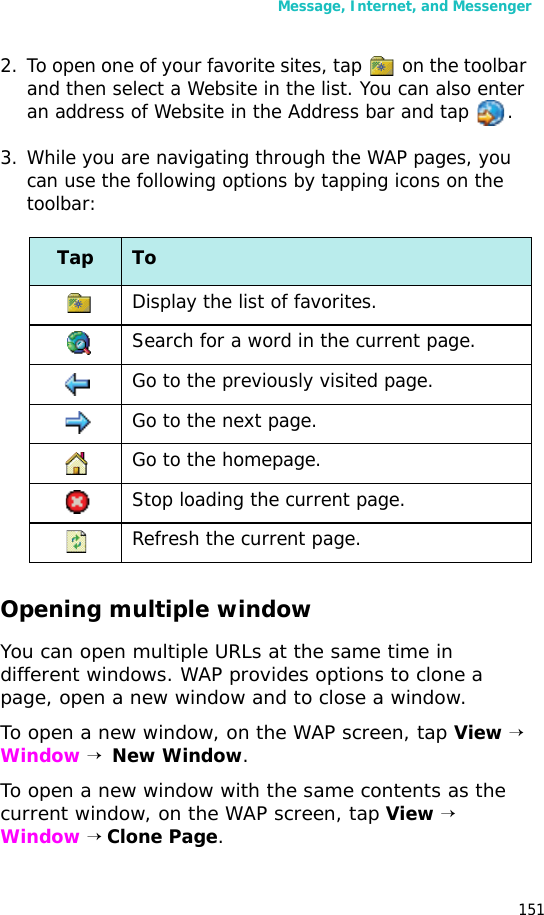
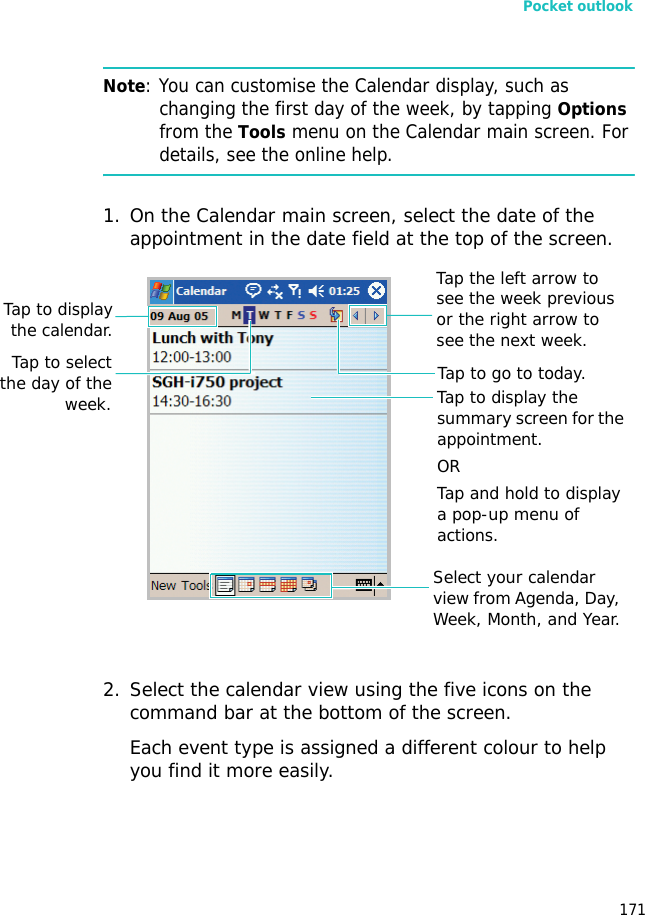
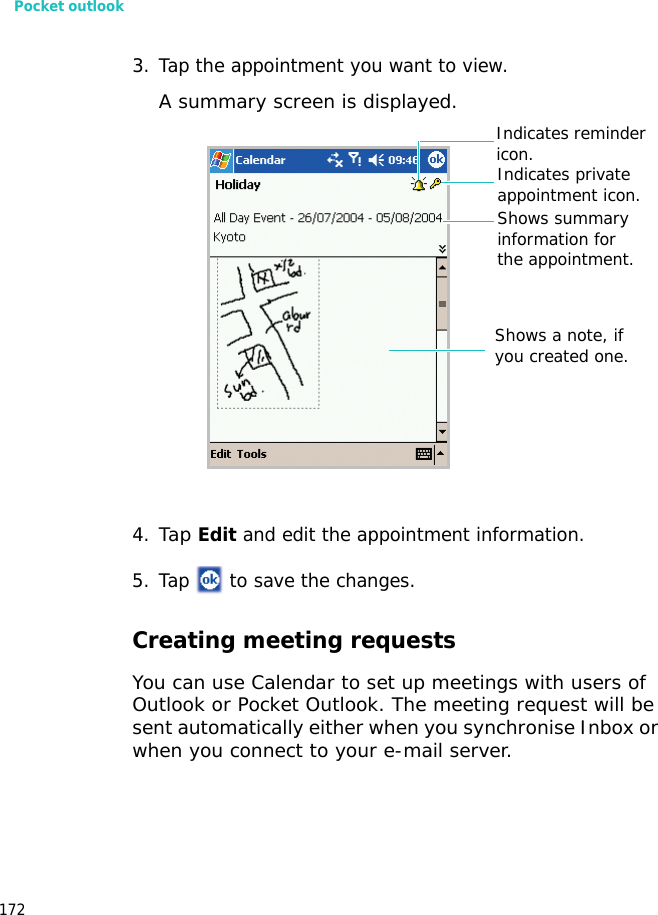
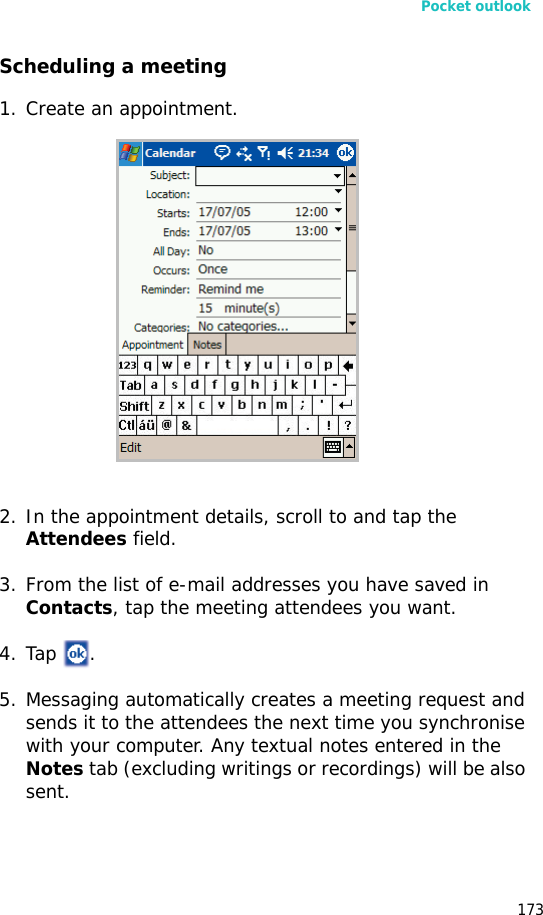
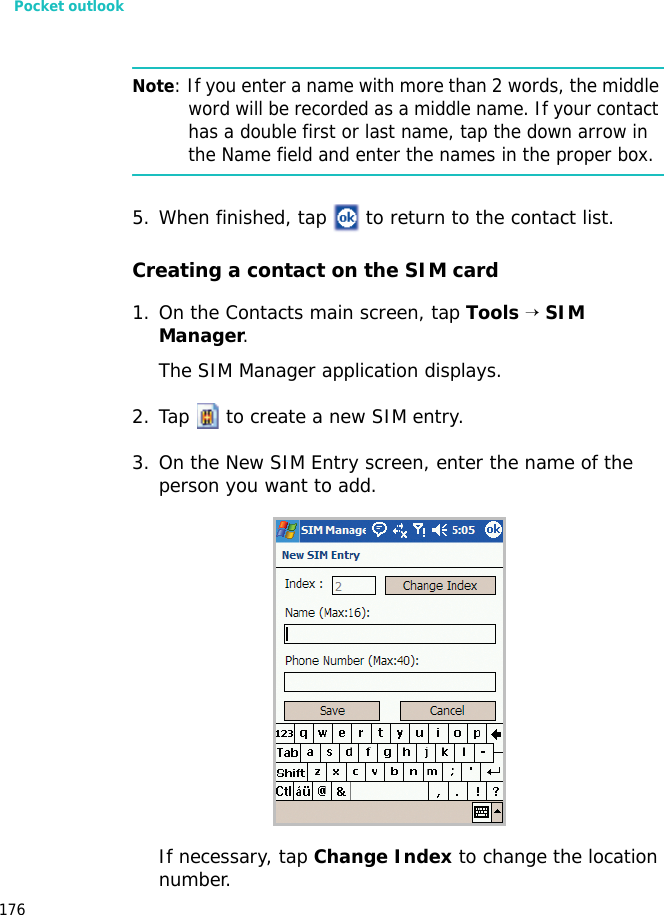
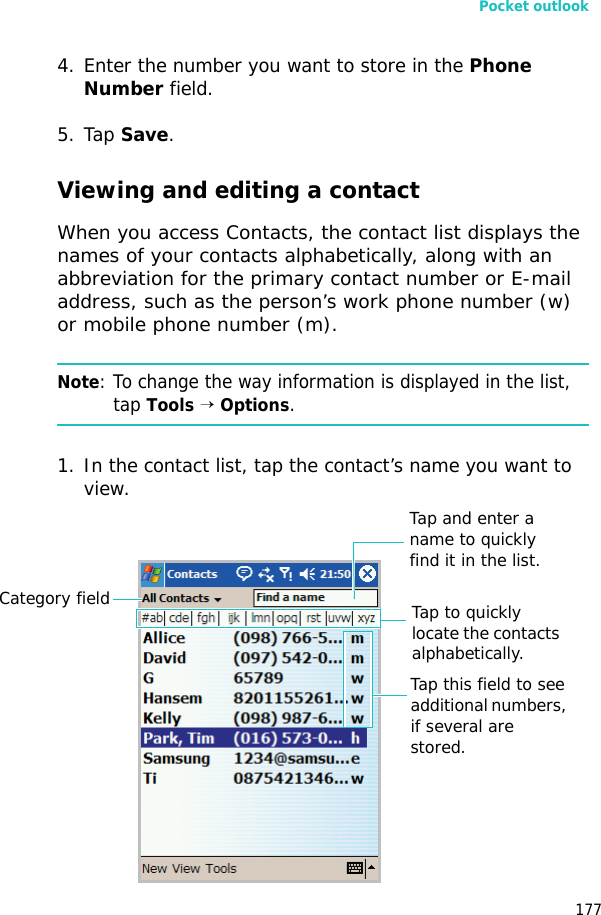
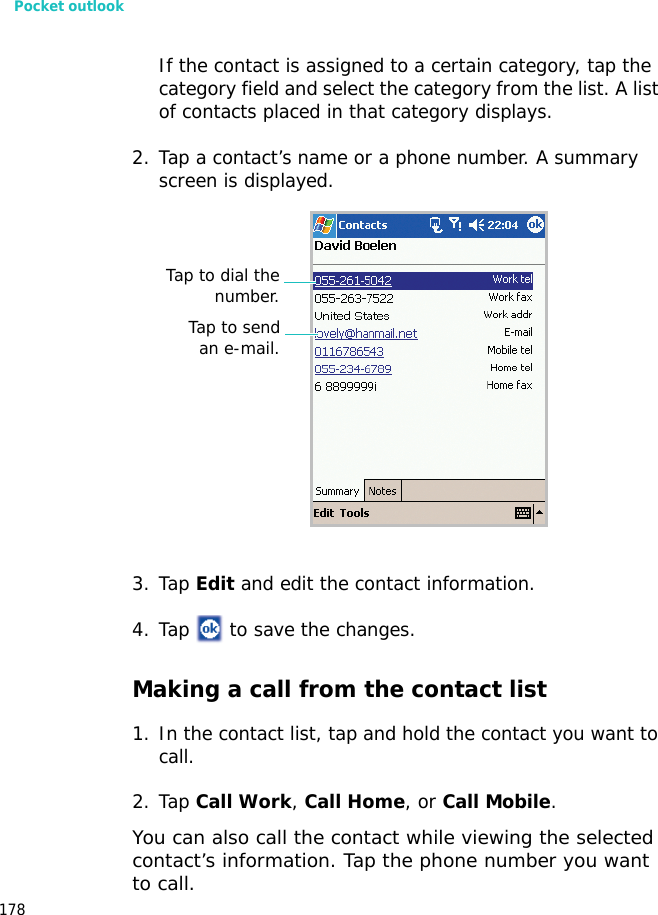
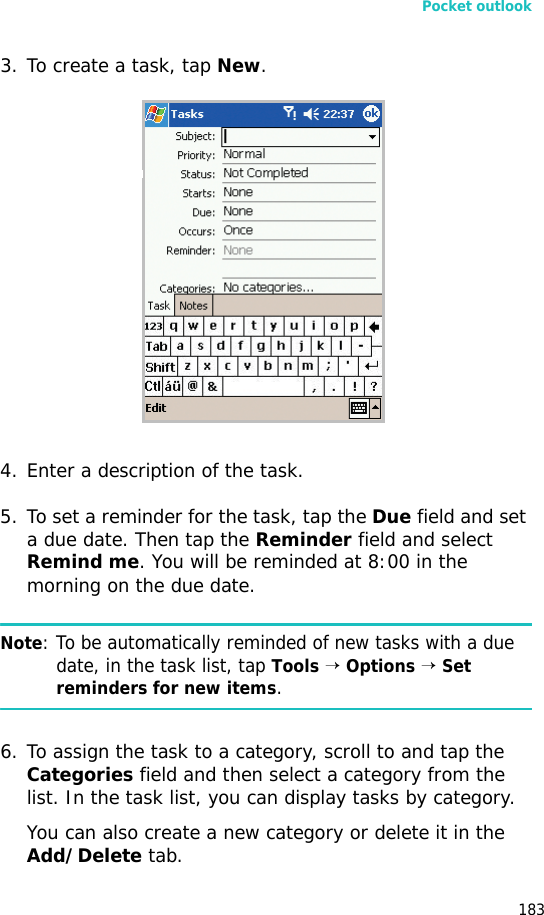
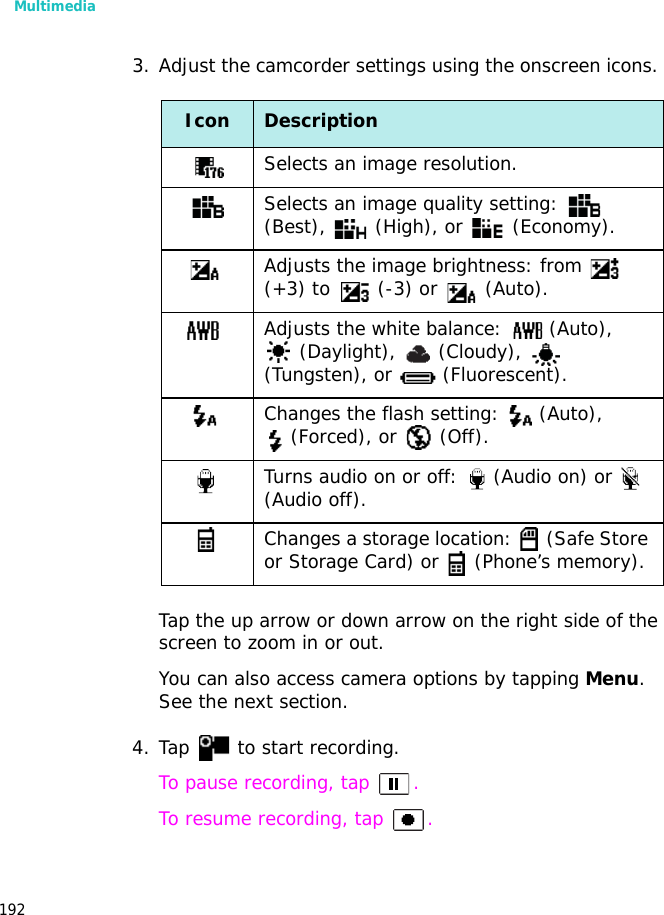
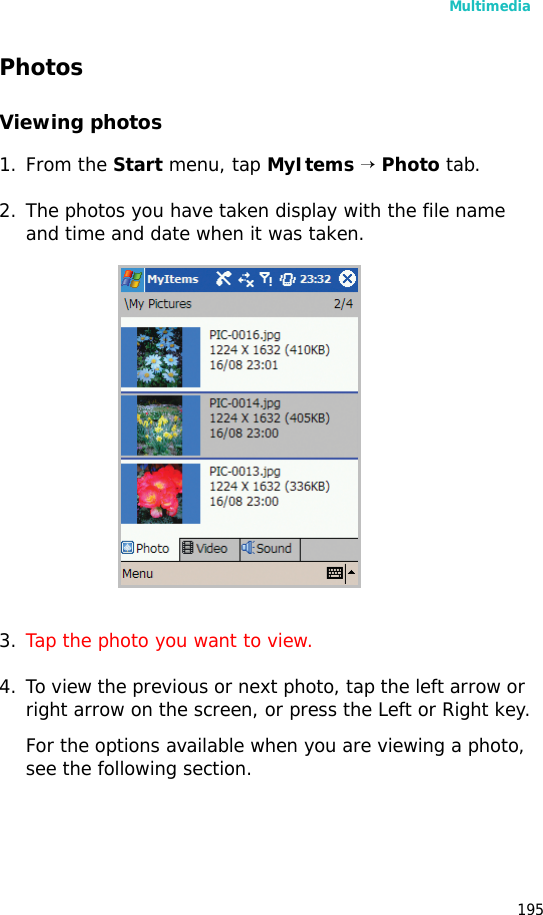
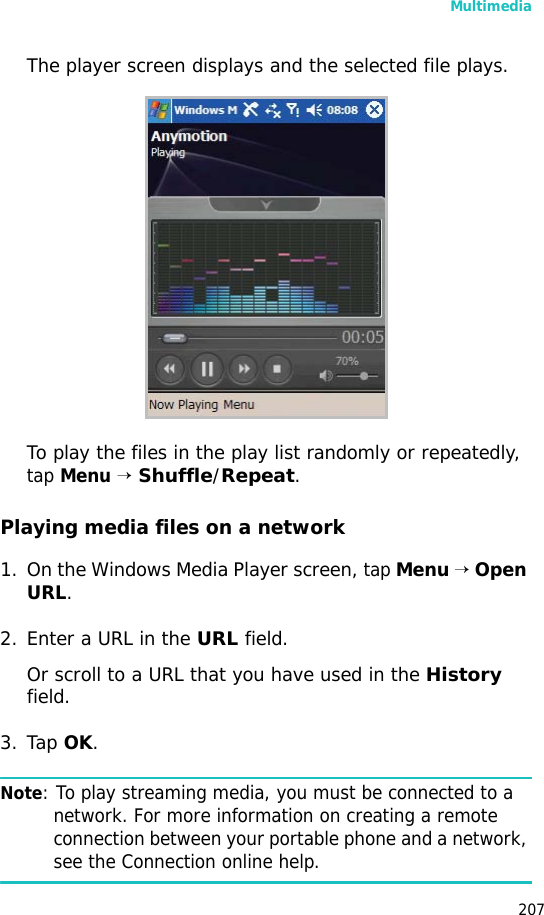
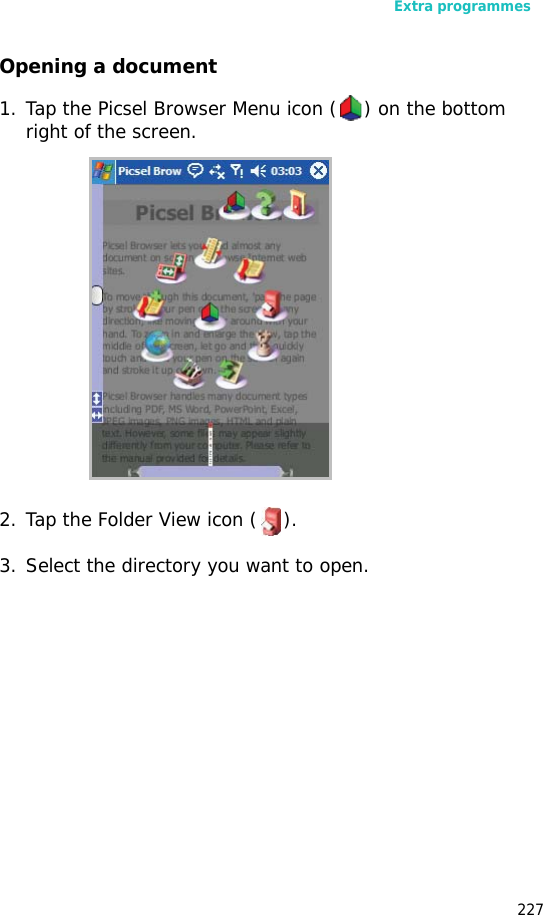
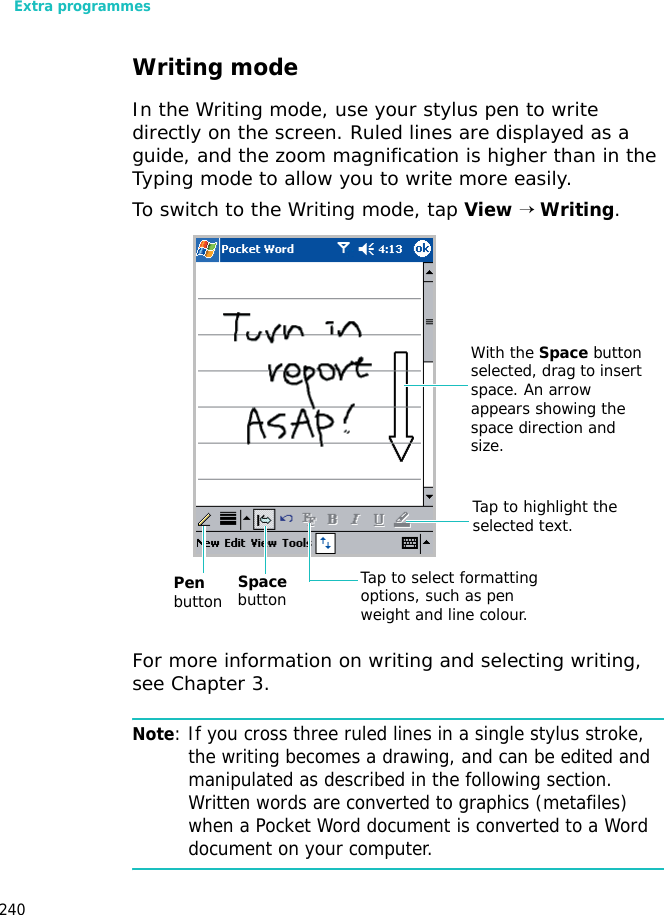
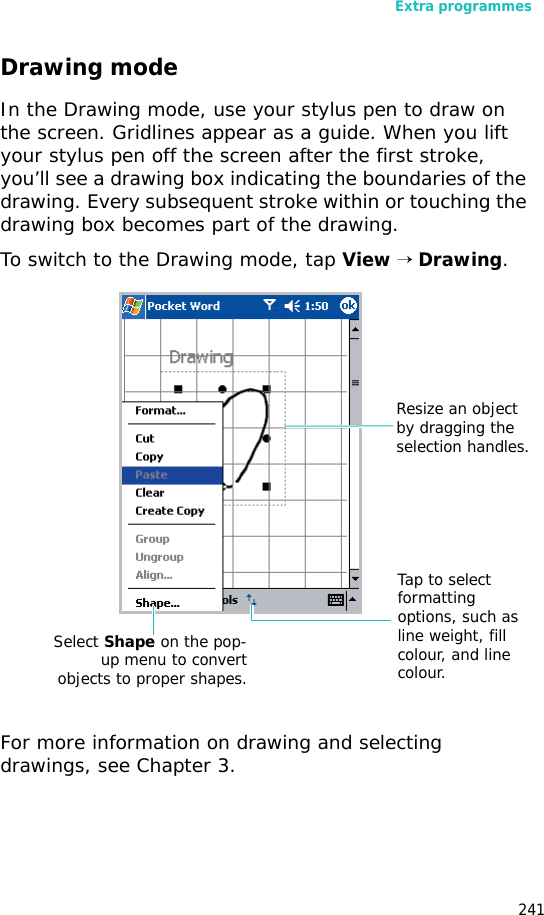
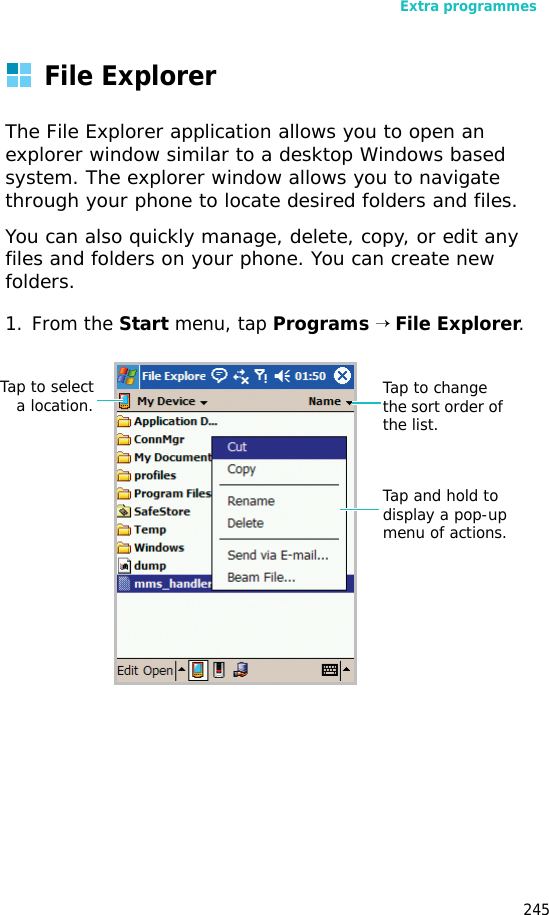
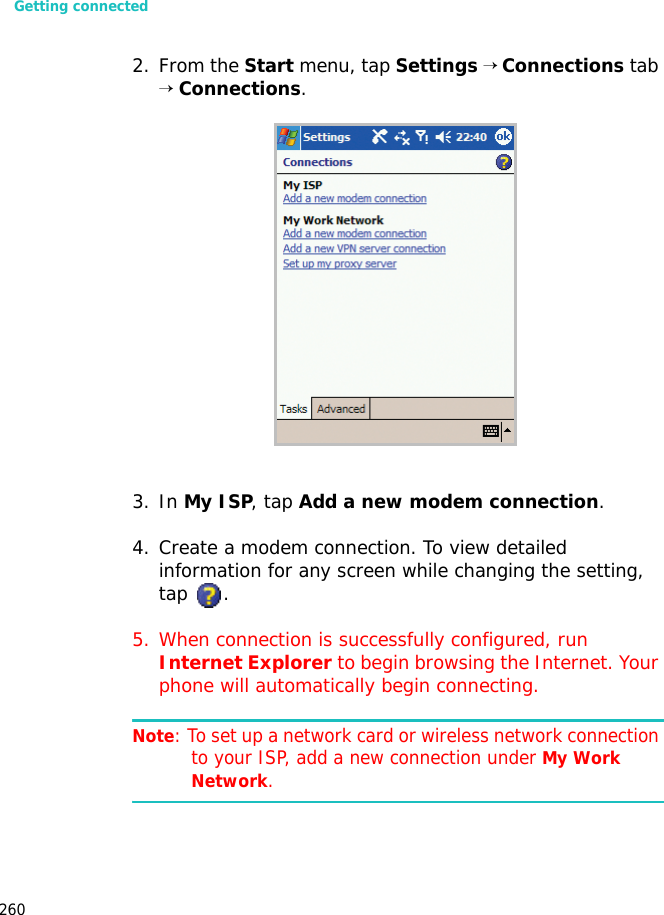
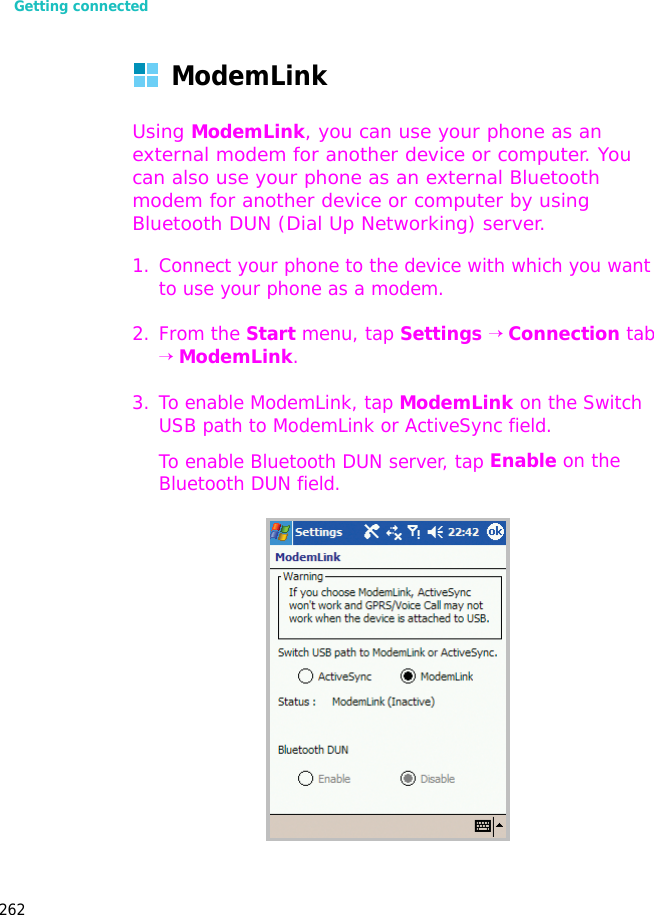
![Extra programmes218Selecting and converting name card photos from the file directoryYou can convert a single name card photo or all of the photos in a folder at one time.1. From the BCR View screen, tap Load image or Load Image Folder.2. Open the image or folder you want from the file directory.3. Tap the image you want or tap OK.VoiceSignalVoiceSingal is a speech recognition application that enables you to launch applications or dial contacts by speaking an associated command or name into the microphone.To open VoiceSignal:From the Start menu, tap Programs → VoiceSignal.When the phone prompts you with displaying “Say a command,” say one of the commands:• Call [person’s name or phone number]• Lookup [person’s name]• Open [application]](https://usermanual.wiki/Samsung-Electronics-Co/SGHI750.Users-Manual-2/User-Guide-607865-Page-69.png)