Samsung Electronics Co SGHM919 Multi-band WCDMA/GSM/EDGE/LTE Phone with WLAN, Bluetooth and RFID User Manual T Mobile SGH M919 Samsung Galaxy S 4
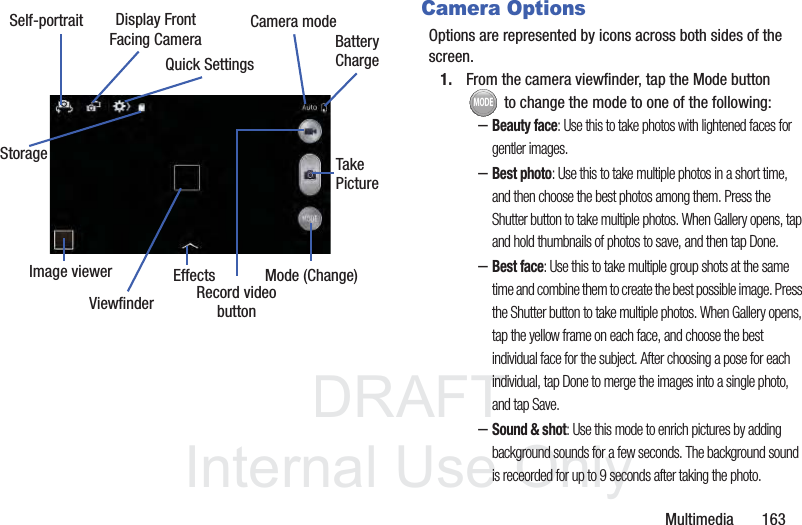
Samsung Electronics Co Ltd Multi-band WCDMA/GSM/EDGE/LTE Phone with WLAN, Bluetooth and RFID T Mobile SGH M919 Samsung Galaxy S 4
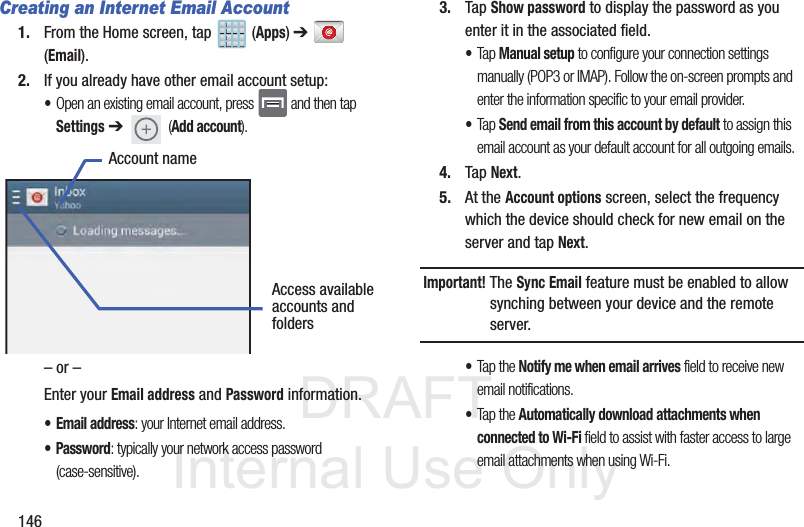
Contents
Users Manual 2


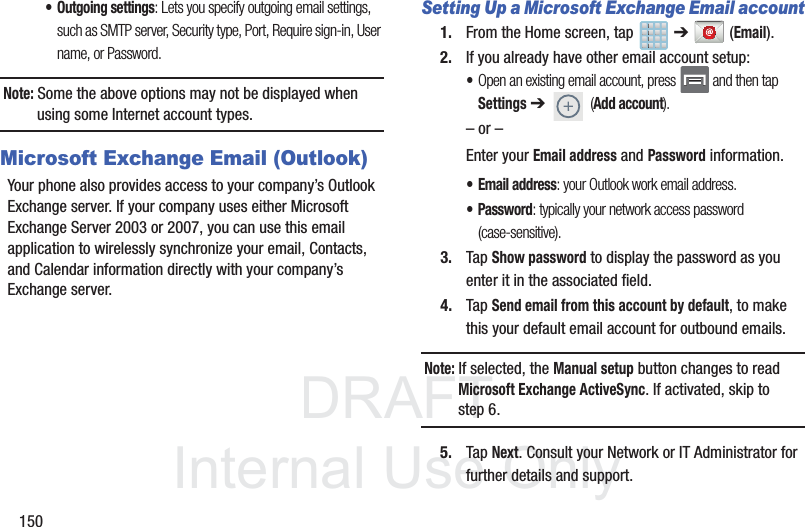
![DRAFTInternal Use OnlyMessages 1516. Tap Microsoft Exchange ActiveSync (from the add new email account screen).Note: If prompted with an on-screen notification that the connection that the “Setup could not finish”, tap Edit details to continue with a manual update of necessary information.7. When prompted to provide additional detailed information within the Exchange server settings screen, enter an updated Domain, and confirm your user name and Password information.Important! Remember to manually place the cursor in the correct spot and enter a Domain name before the “[Domain]\[user name]” entry. Most servers only provide a username.8. Update or re-enter your Exchange server information within the appropriate field. This field can often be populated with incorrect or out of date information provided by your server.• Exchange Server: your exchange server remote email address. Typically starts with mail.XXX.com. Obtain this information from your company network administrator. Important! Do not accept the default entry as this is a guess based on returned information.•If your network requires SSL encryption, tap the Use secure connection (SSL) field to place a check mark in the box and activate this additional level. Most often, this option should be enabled.Important! If your Exchange server requires this feature, leaving this field unchecked can prevent connection.9. Consult your IT Administrator if it is necessary to enable the Use client certification option.10. With the new server information entered, tap Next.11. Read the on-screen Activation disclaimer and, when prompted, tap OK. The device then verifies your incoming server settings.](https://usermanual.wiki/Samsung-Electronics-Co/SGHM919.Users-Manual-2/User-Guide-1933696-Page-43.png)