Samsung Electronics Co SGHT719 Dual-Band GSM/ EDGE Phone with Bluetooth User Manual
Samsung Electronics Co Ltd Dual-Band GSM/ EDGE Phone with Bluetooth Users Manual
UserManual.wiki
>
Samsung Electronics Co
>
SGHT719 User Manual
>
Users Manual 1
Contents
1.
Users Manual 1
2.
Users Manual 2
Users Manual 1
Navigation menu
Upload a User Manual
Namespaces
Wiki Guide
HTML
PDF
Info
Views
User Manual
Discussion / Help
Navigation


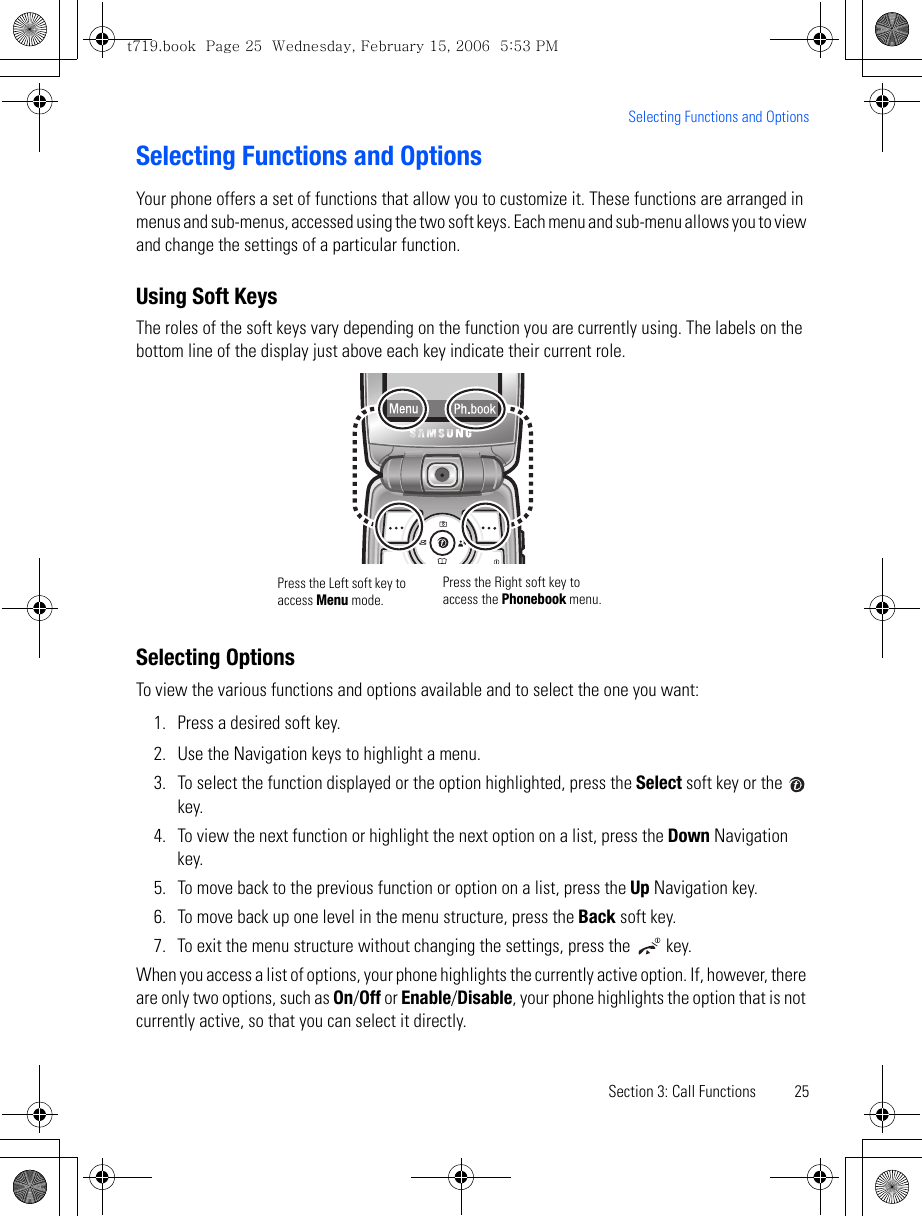

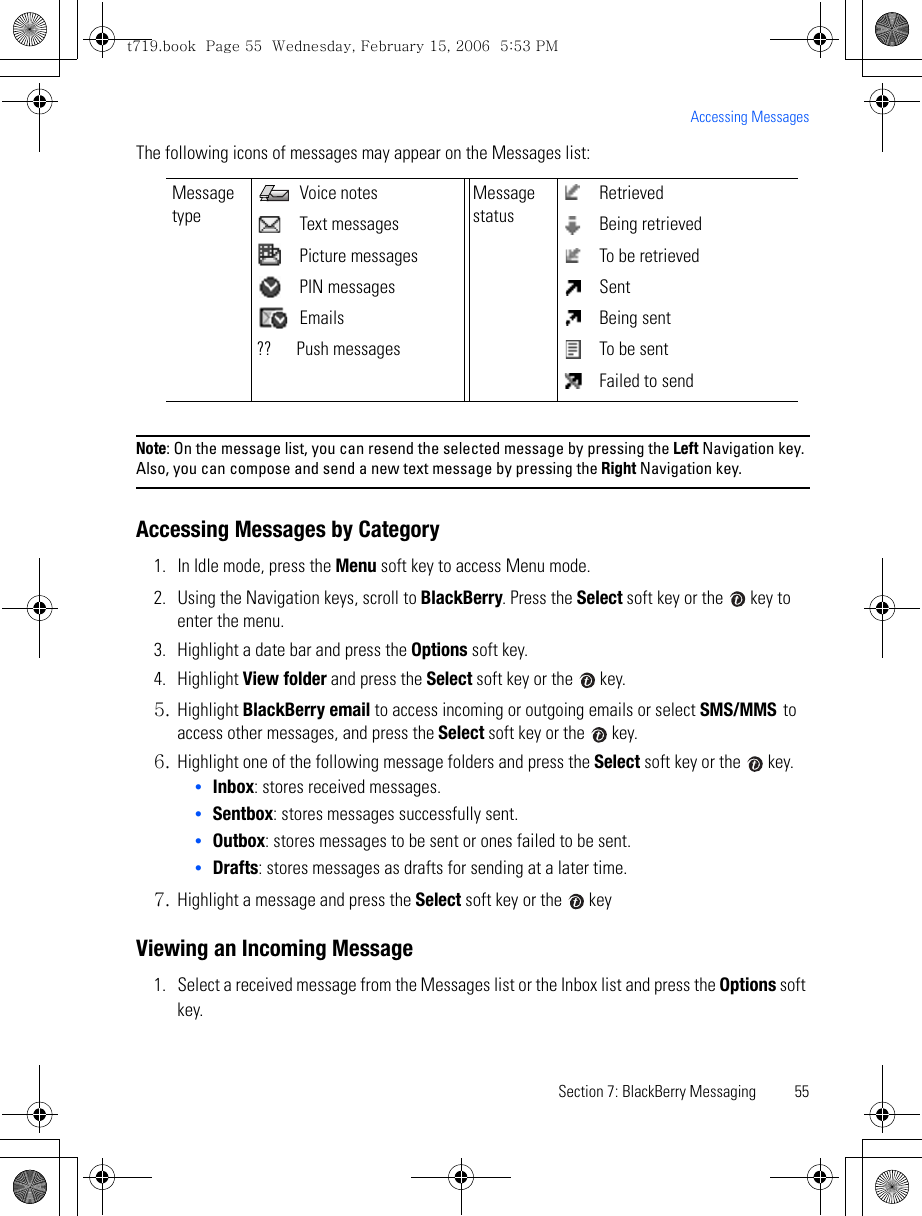
![54Composing and Sending an EmailYou can send an email. 1. In Idle mode, press the Menu soft key to access Menu mode.2. Using the Navigation keys, scroll to BlackBerry. Press the Select soft key or the key to enter the menu.3. Press the Compose soft key.4. Highlight Email and press the Select soft key or the key. 5. Highlight [Email address] or [Phonebook] and press the Select soft key or the key.6. Select the email address to which you want the e-mail to be sent. The selected address is inserted in the To text box.7. To enter additional address, press the Options soft key, select Add address to enter additional to, cc, bcc addresses. 8. Press the Down Navigation key and enter the message subject.9. Press the Down Navigation key and enter the message text.10. When you have finished entering the message text, press the Options soft key.The following options are available:•Send: allows you to send the message.•Add address: allows you to enter additional to, cc, bcc addresses.•Save to drafts: saves the message as a draft for sending at a later time.•Options: allows you to set the importance level and sensitivity level of the message.•Language select: allows you to set the language to English, French, or Spanish. 11. Highlight Send and the Select soft key or the key. Your phone sends the message.Accessing MessagesWhen you access the BlackBerry menu, a list of all types of messages appears in the order of the time and date when they were created or received. You can tell what kind of message it is by the icon displayed. If the icon envelope is open then the message has been read, otherwise it will appear closed. t719.book Page 54 Wednesday, February 15, 2006 5:53 PM](https://usermanual.wiki/Samsung-Electronics-Co/SGHT719.Users-Manual-1/User-Guide-648229-Page-54.png)