Samsung Electronics Co SLM3015DW Printer User Manual Part 5
Samsung Electronics Co Ltd Printer Users Manual Part 5
UserManual.wiki
>
Samsung Electronics Co
>
SLM3015DW User Manual
>
Users Manual Part 5
Contents
1.
Users Manual Part 1
2.
Users Manual Part 2
3.
Users Manual Part 3
4.
Users Manual Part 4
5.
Users Manual Part 5
6.
Users Manual Part 6
7.
Users Manual Part 7
8.
Users Manual Part 8
Users Manual Part 5
Navigation menu
Upload a User Manual
Namespaces
Wiki Guide
HTML
PDF
Info
Views
User Manual
Discussion / Help
Navigation
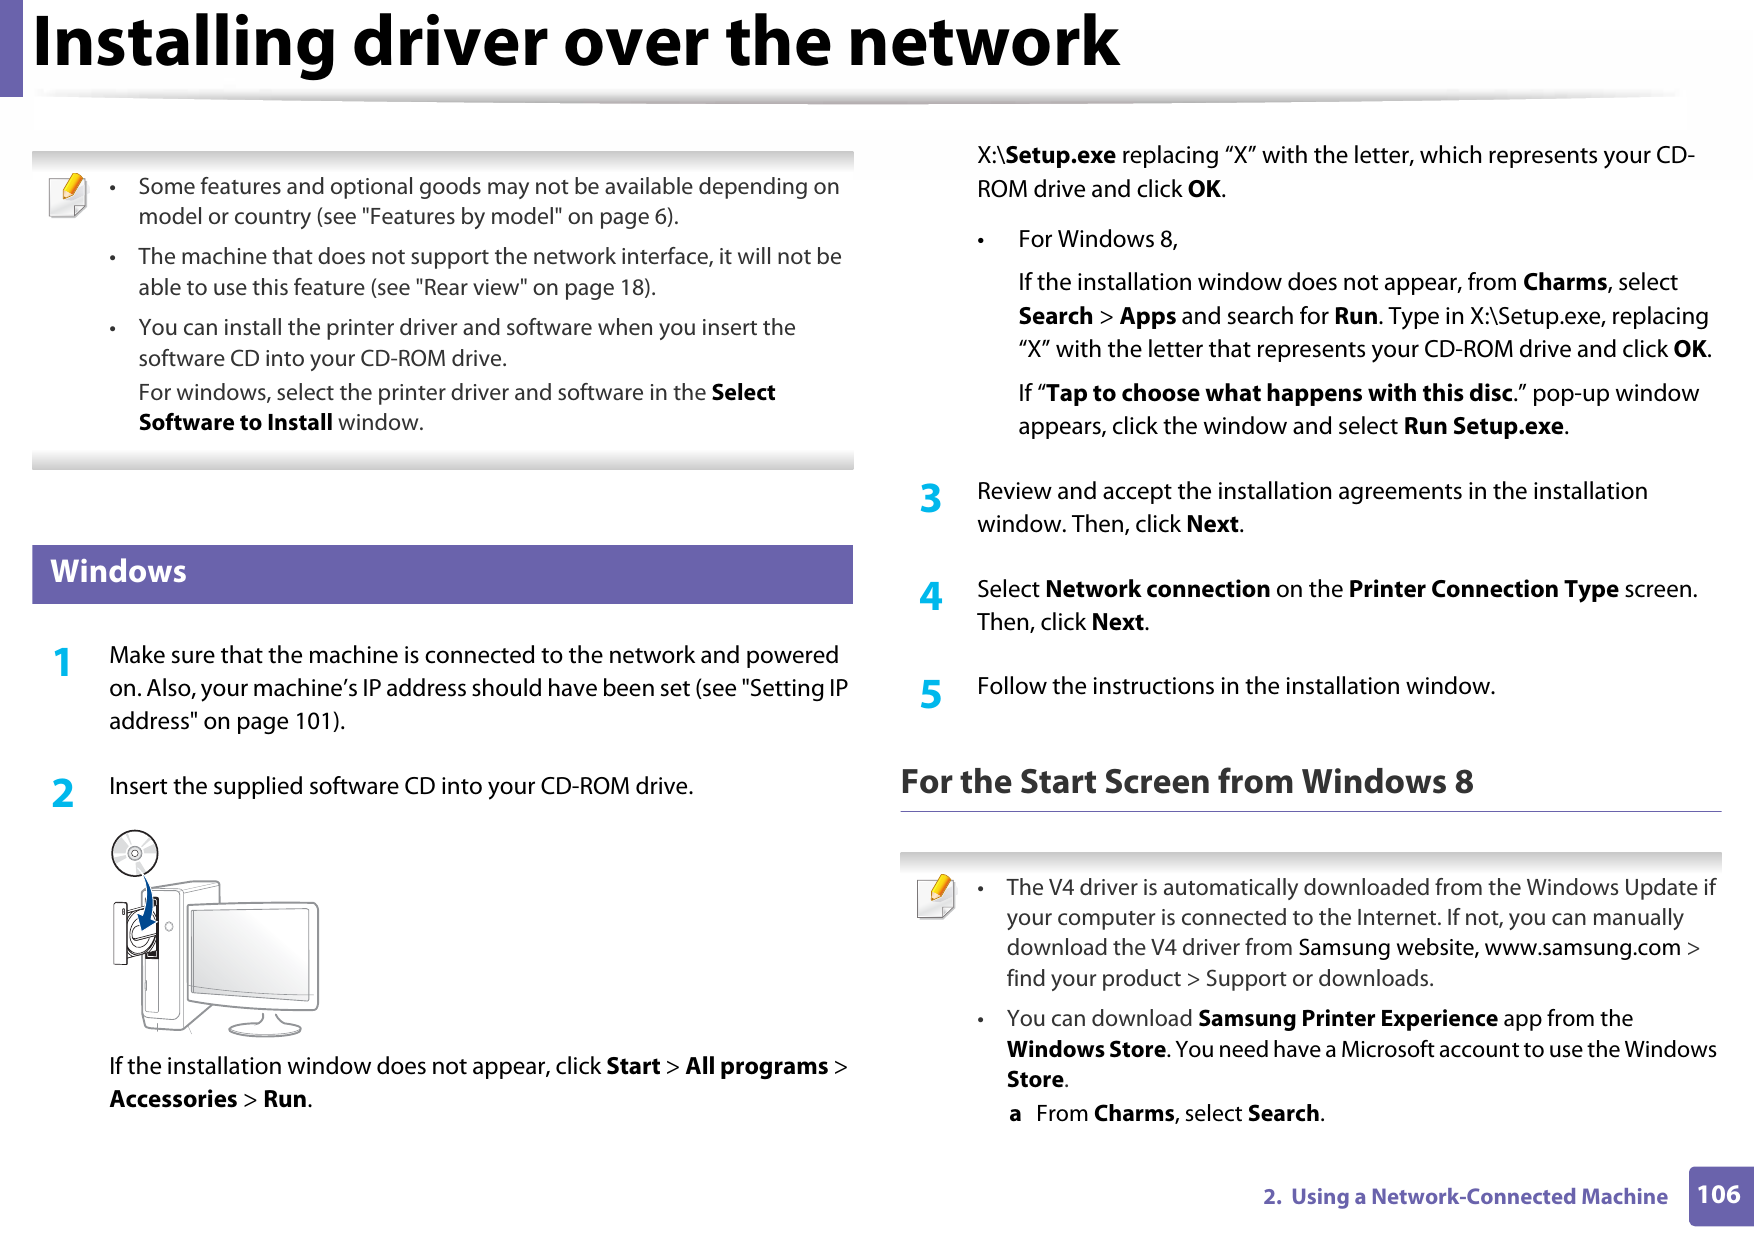
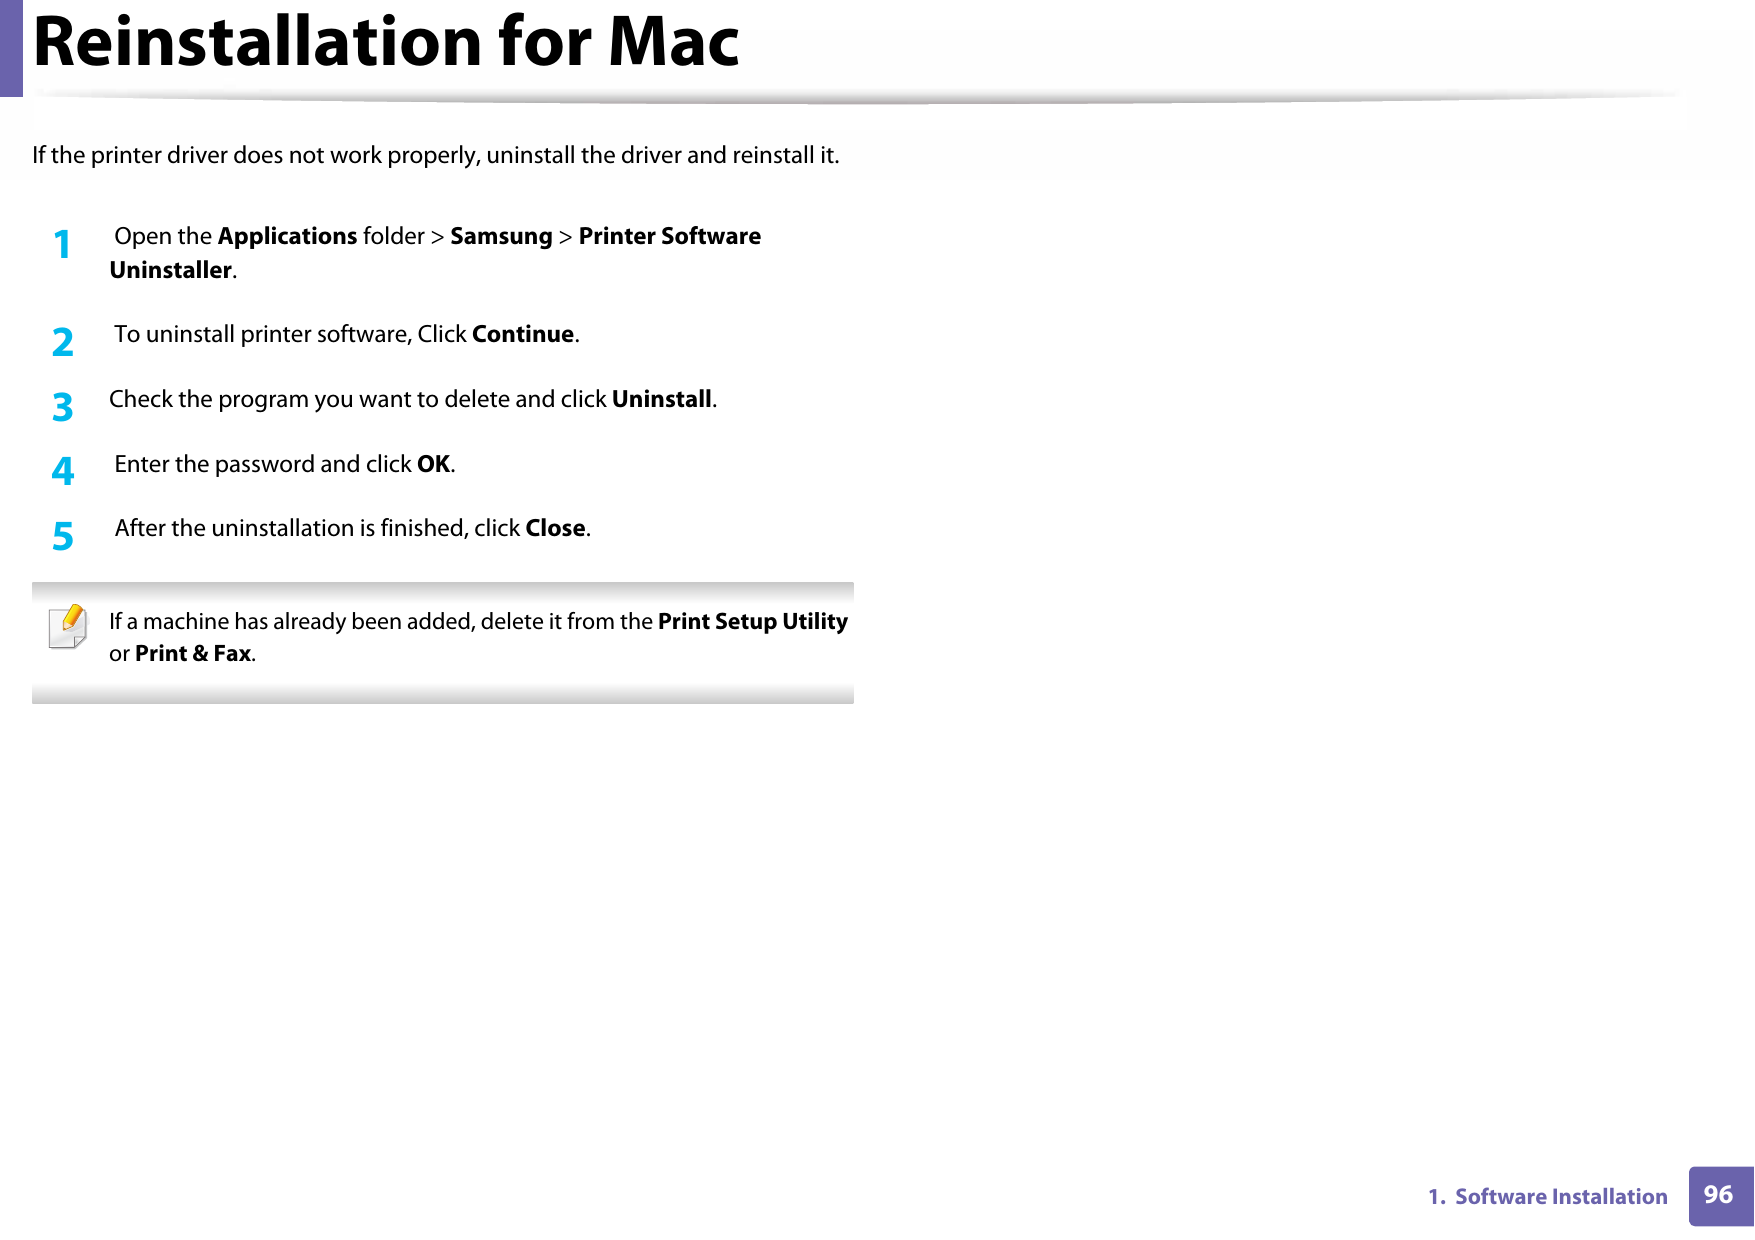
![Regulatory information855. AppendixImportant warning: If the wires in the mains lead do not match the colors marked in your plug, do the following:You must connect the green and yellow wire to the pin marked by the letter “E” or by the safety ‘Earth symbol’ or colored green and yellow or green.You must connect the blue wire to the pin which is marked with the letter “N” or colored black.You must connect the brown wire to the pin which is marked with the letter “L” or colored red.You must have a 13 amp fuse in the plug, adaptor, or at the distribution board.18 Declaration of conformity (European countries)Approvals and CertificationsJanuary 1, 1995: Council Directive 2006/95/EC Approximation of the laws of the member states related to low voltage equipment.January 1, 1996: Council Directive 2004/108/EC, approximation of the laws of the Member States related to electromagnetic compatibility.March 9, 1999: Council Directive 1999/5/EC on radio equipment and telecommunications terminal equipment and the mutual recognition of their conformity. A full declaration, defining the relevant Directives and referenced standards can be obtained from your Samsung Electronics Co., Ltd. representative.You must earth this machine.The wires in the mains lead have the following color code:•Green and Yellow: Earth•Blue: Neutral•Brown: LiveHereby, Samsung Electronics, declares that this [M301x series] is in compliance with the essential requirements and other relevant provisions of Low Voltage Directive (2006/95/EC), EMC Directive (2004/108/EC).The declaration of conformity may be consulted at www.samsung.com, go to Support > Download center and enter your printer (MFP) name to browse the EuDoC.](https://usermanual.wiki/Samsung-Electronics-Co/SLM3015DW.Users-Manual-Part-5/User-Guide-2775421-Page-5.png)
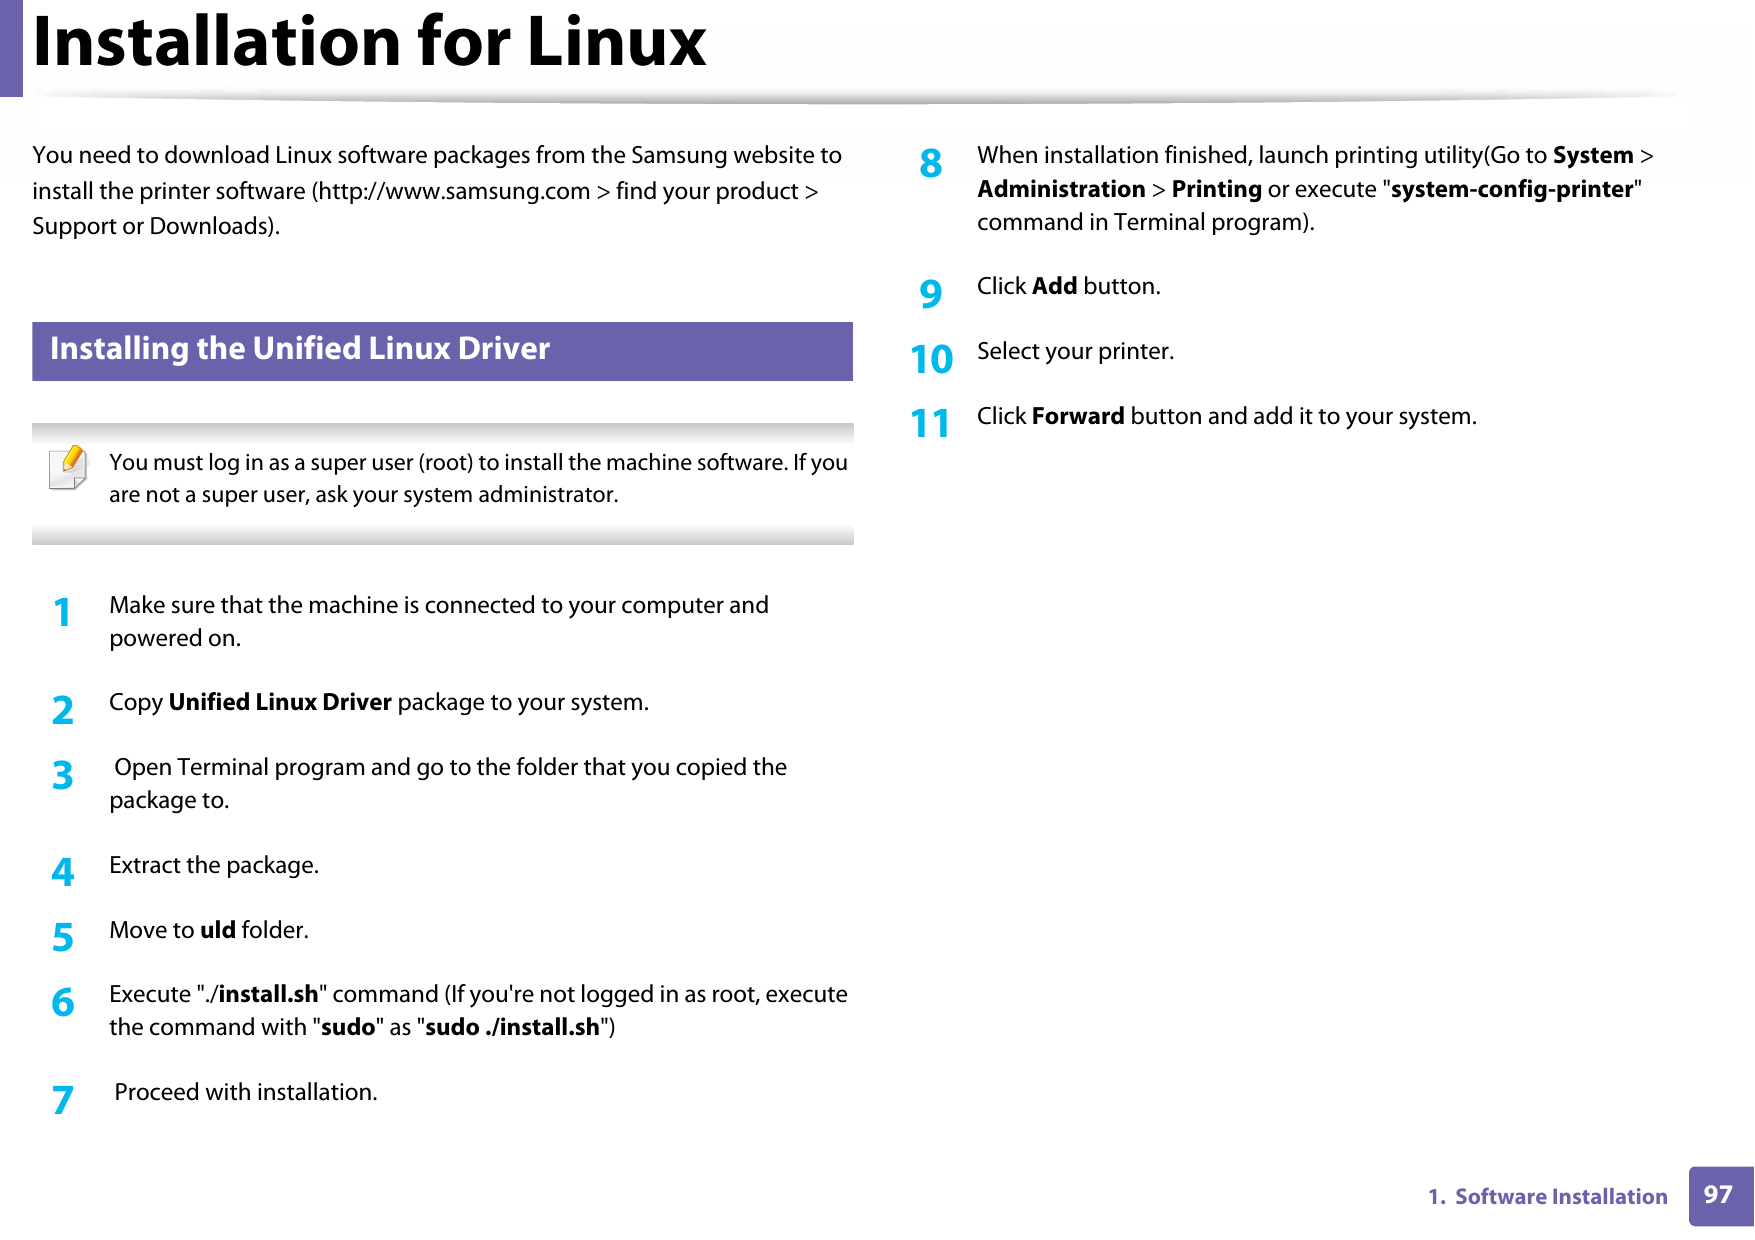

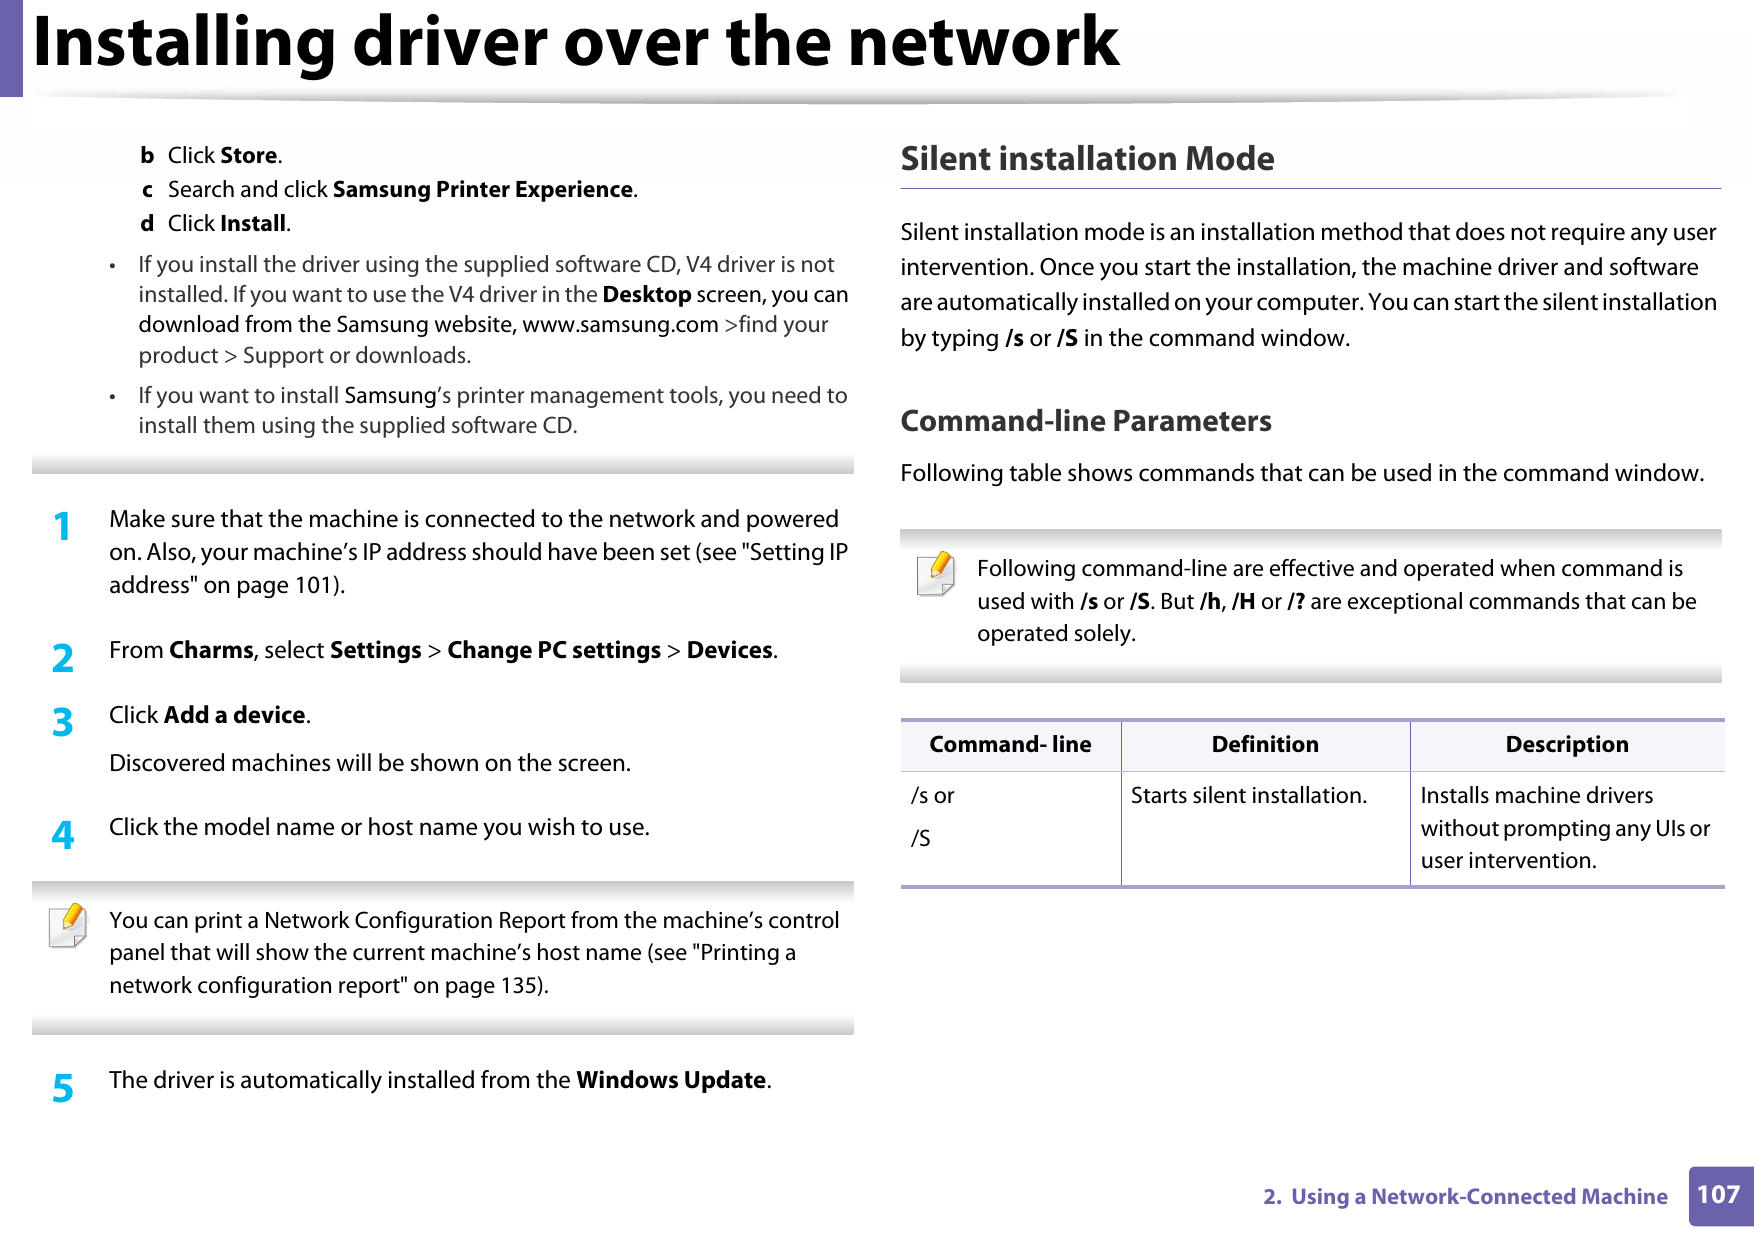
![Wired network setup1052. Using a Network-Connected Machine • You can also set the DHCPv6.• To manually set the IPv6 address:Check the Manual Address check box. Then, the Address/Prefix text box is activated. Enter the rest of the address (e.g.,:3FFE:10:88:194::AAAA. “A” is the hexadecimal 0 through 9, A through F). IPv6 address configuration1Start a web browser, such as Internet Explorer, that supports IPv6 addressing as a URL.2 Select one of the IPv6 addresses (Link-local Address, Stateless Address, Stateful Address, Manual Address) from Network Configuration Report (see "Printing a network configuration report" on page 101).•Link-local Address: Self-configured local IPv6 address (Address starts with FE80).•Stateless Address: Automatically configured IPv6 address by a network router.•Stateful Address: IPv6 address configured by a DHCPv6 server.•Manual Address: Manually configured IPv6 address by a user.3 Enter the IPv6 addresses (e.g.,: http://[FE80::215:99FF:FE66:7701]). Address must be enclosed in '[ ]' brackets.](https://usermanual.wiki/Samsung-Electronics-Co/SLM3015DW.Users-Manual-Part-5/User-Guide-2775421-Page-25.png)