Samsung Electronics Co SLM4025DW Mono Laser Printer User Manual MagpieN english
Samsung Electronics Co Ltd Mono Laser Printer MagpieN english
UserManual.wiki
>
Samsung Electronics Co
>
SLM4025DW User Manual
>
Users Manual 3
Contents
1.
Users Manual 1
2.
Users Manual 2
3.
Users Manual 3
Users Manual 3
Navigation menu
Upload a User Manual
Namespaces
Wiki Guide
HTML
PDF
Info
Views
User Manual
Discussion / Help
Navigation
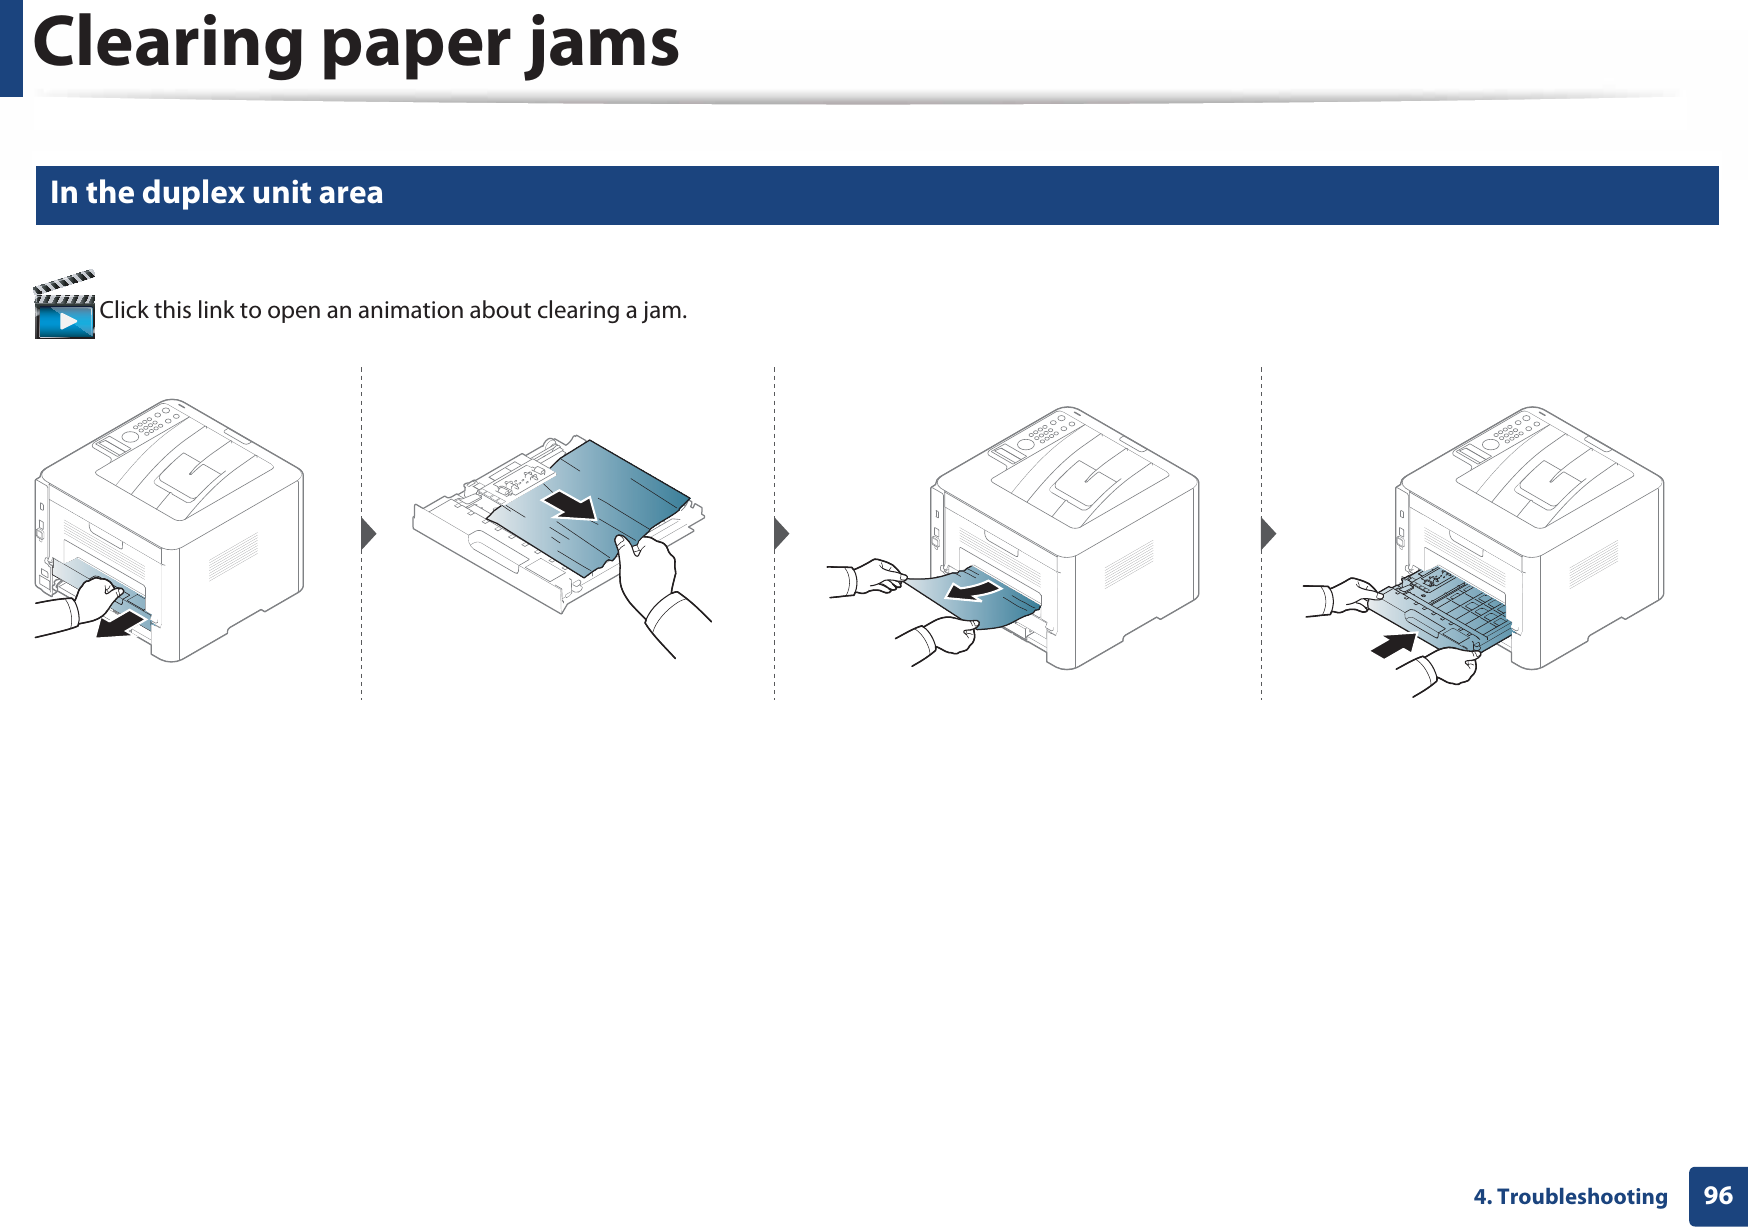
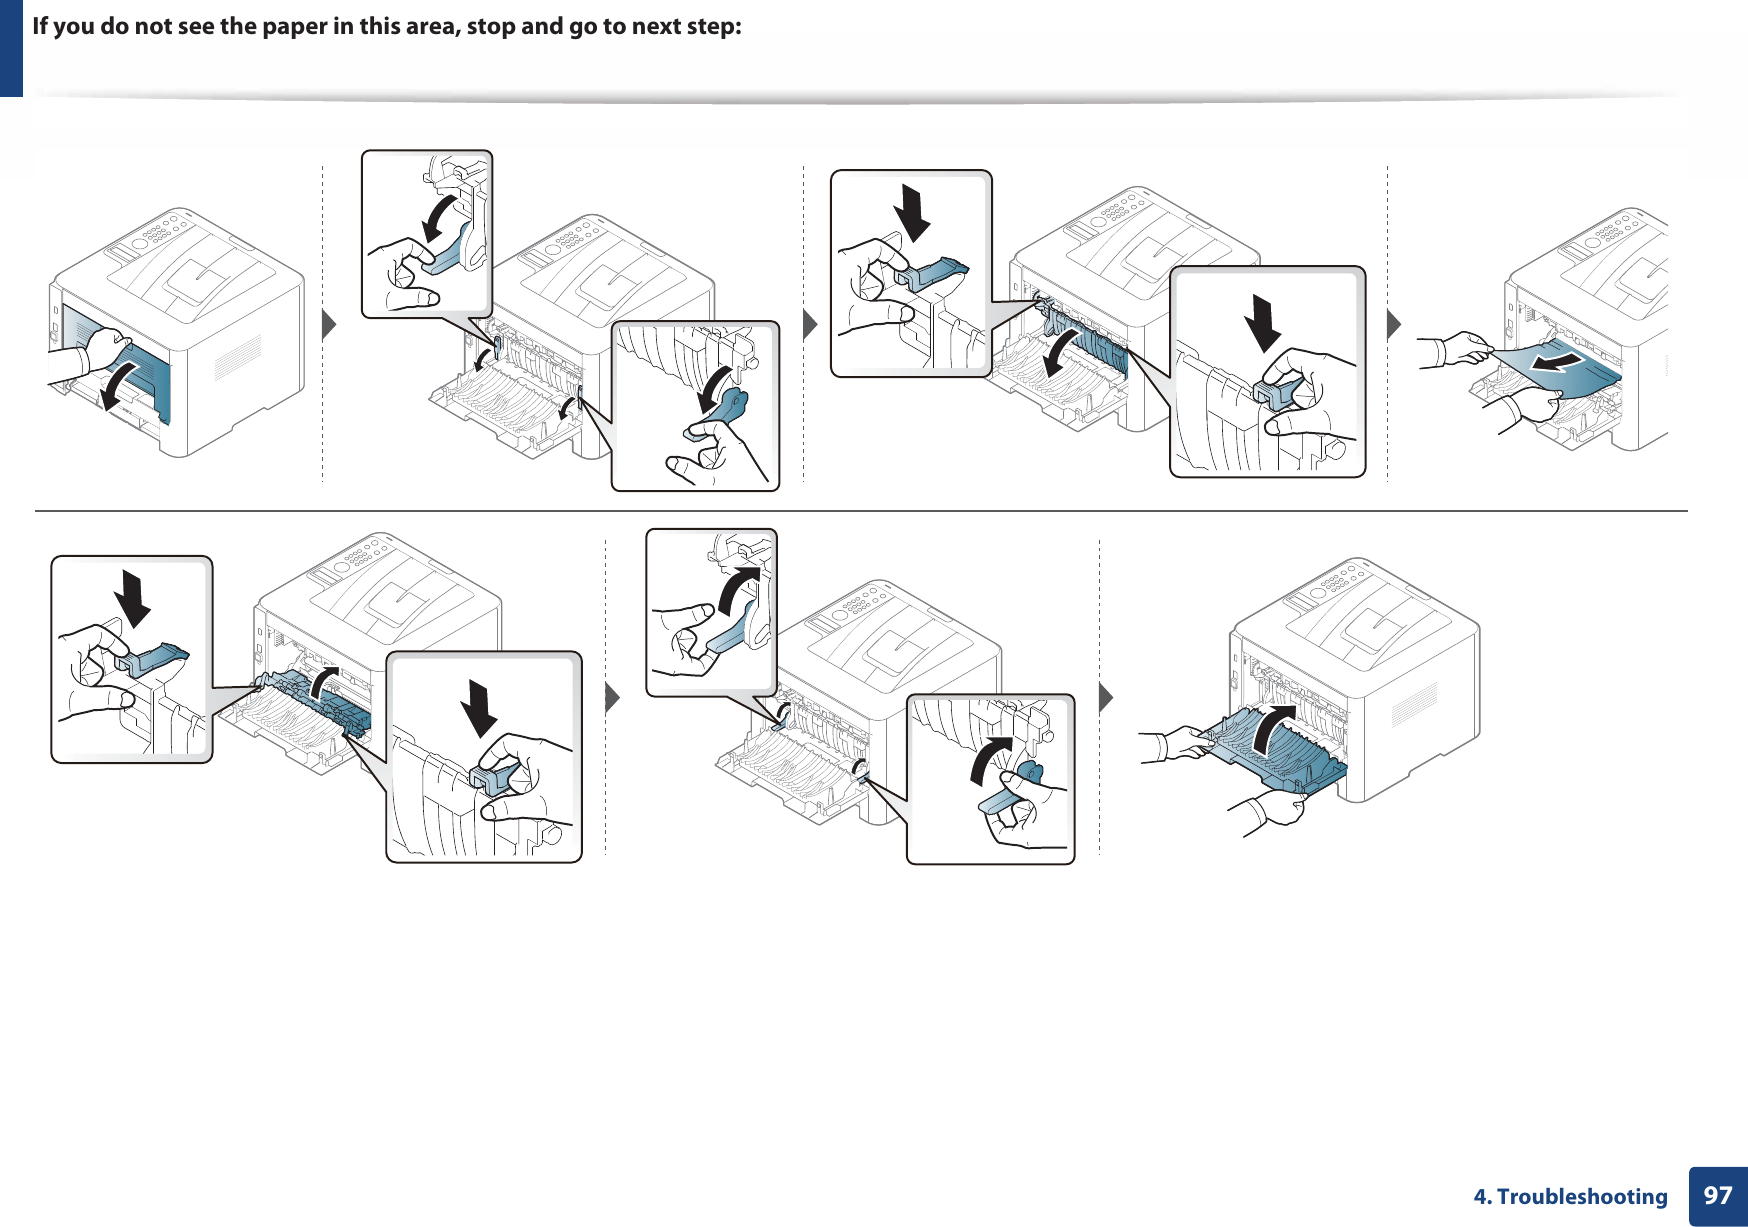
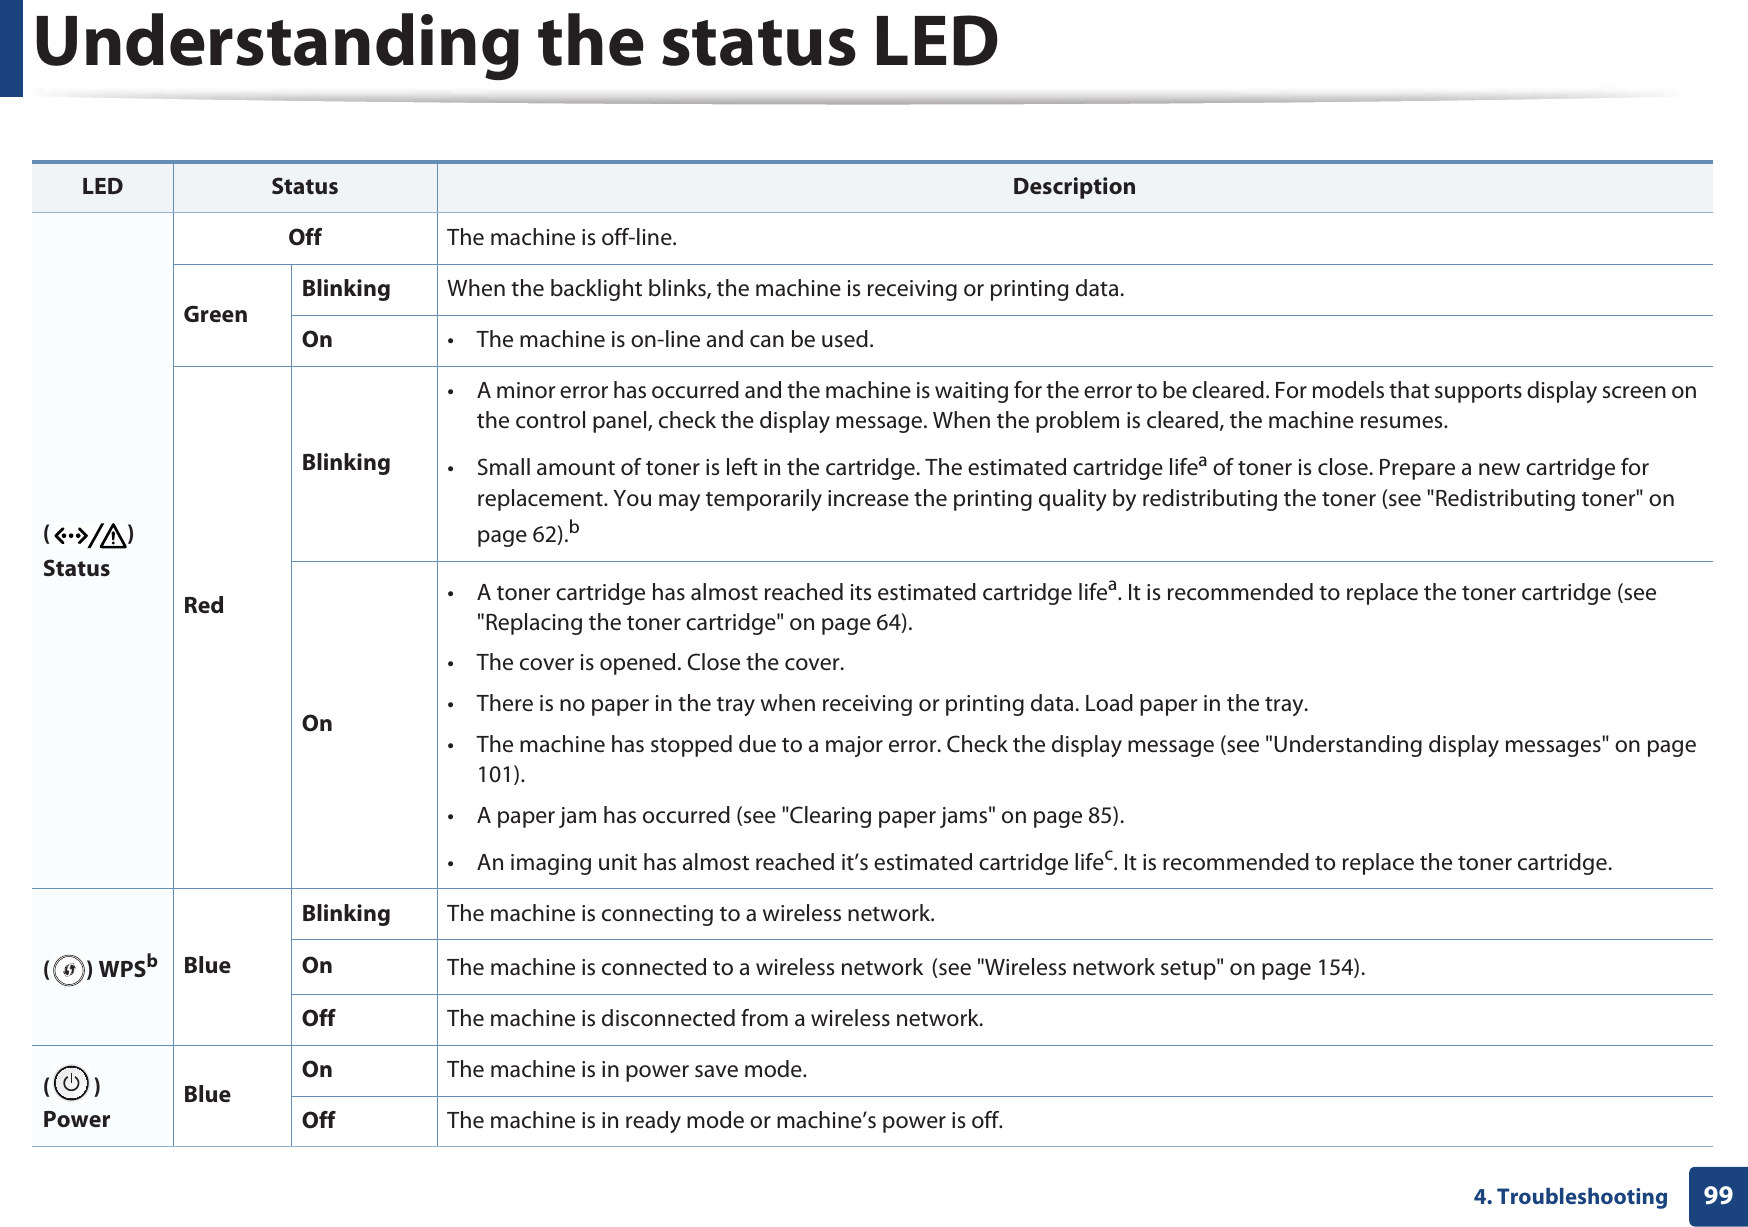
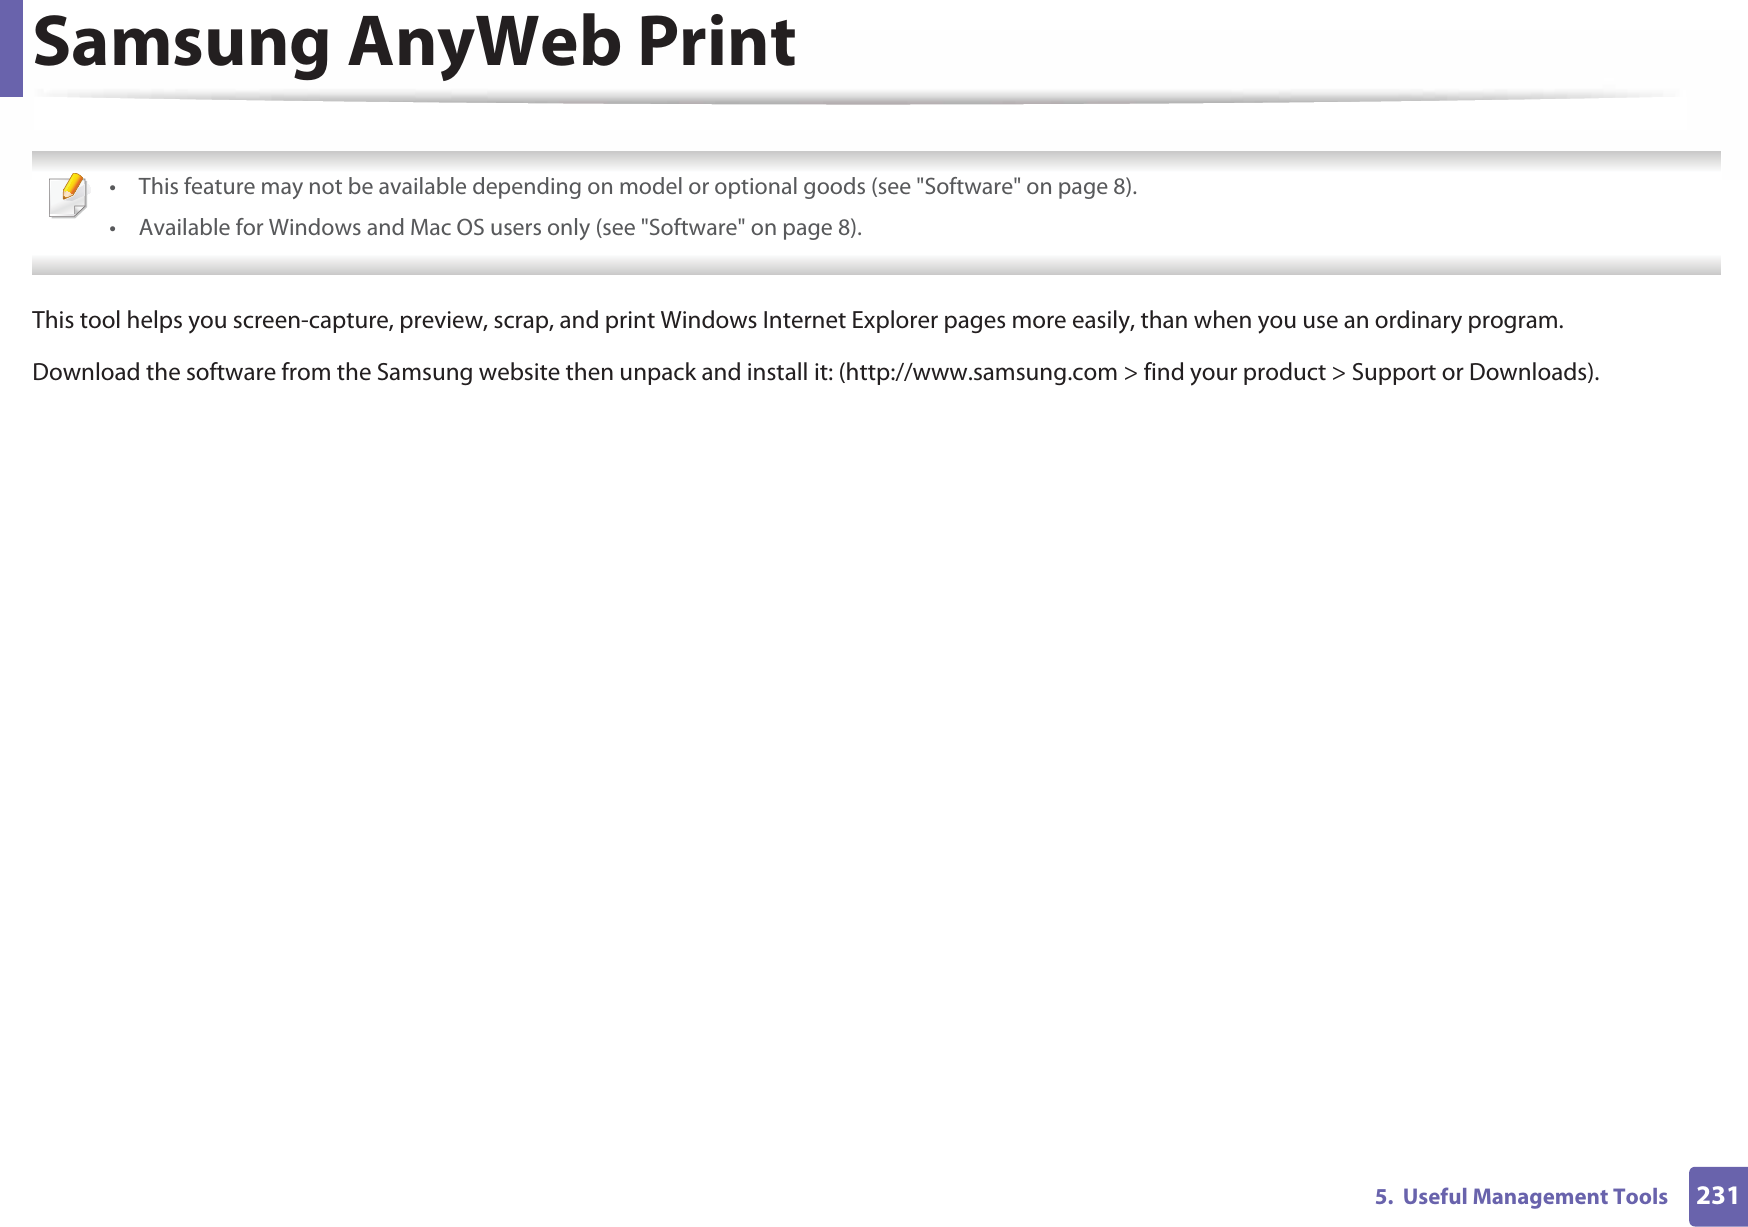
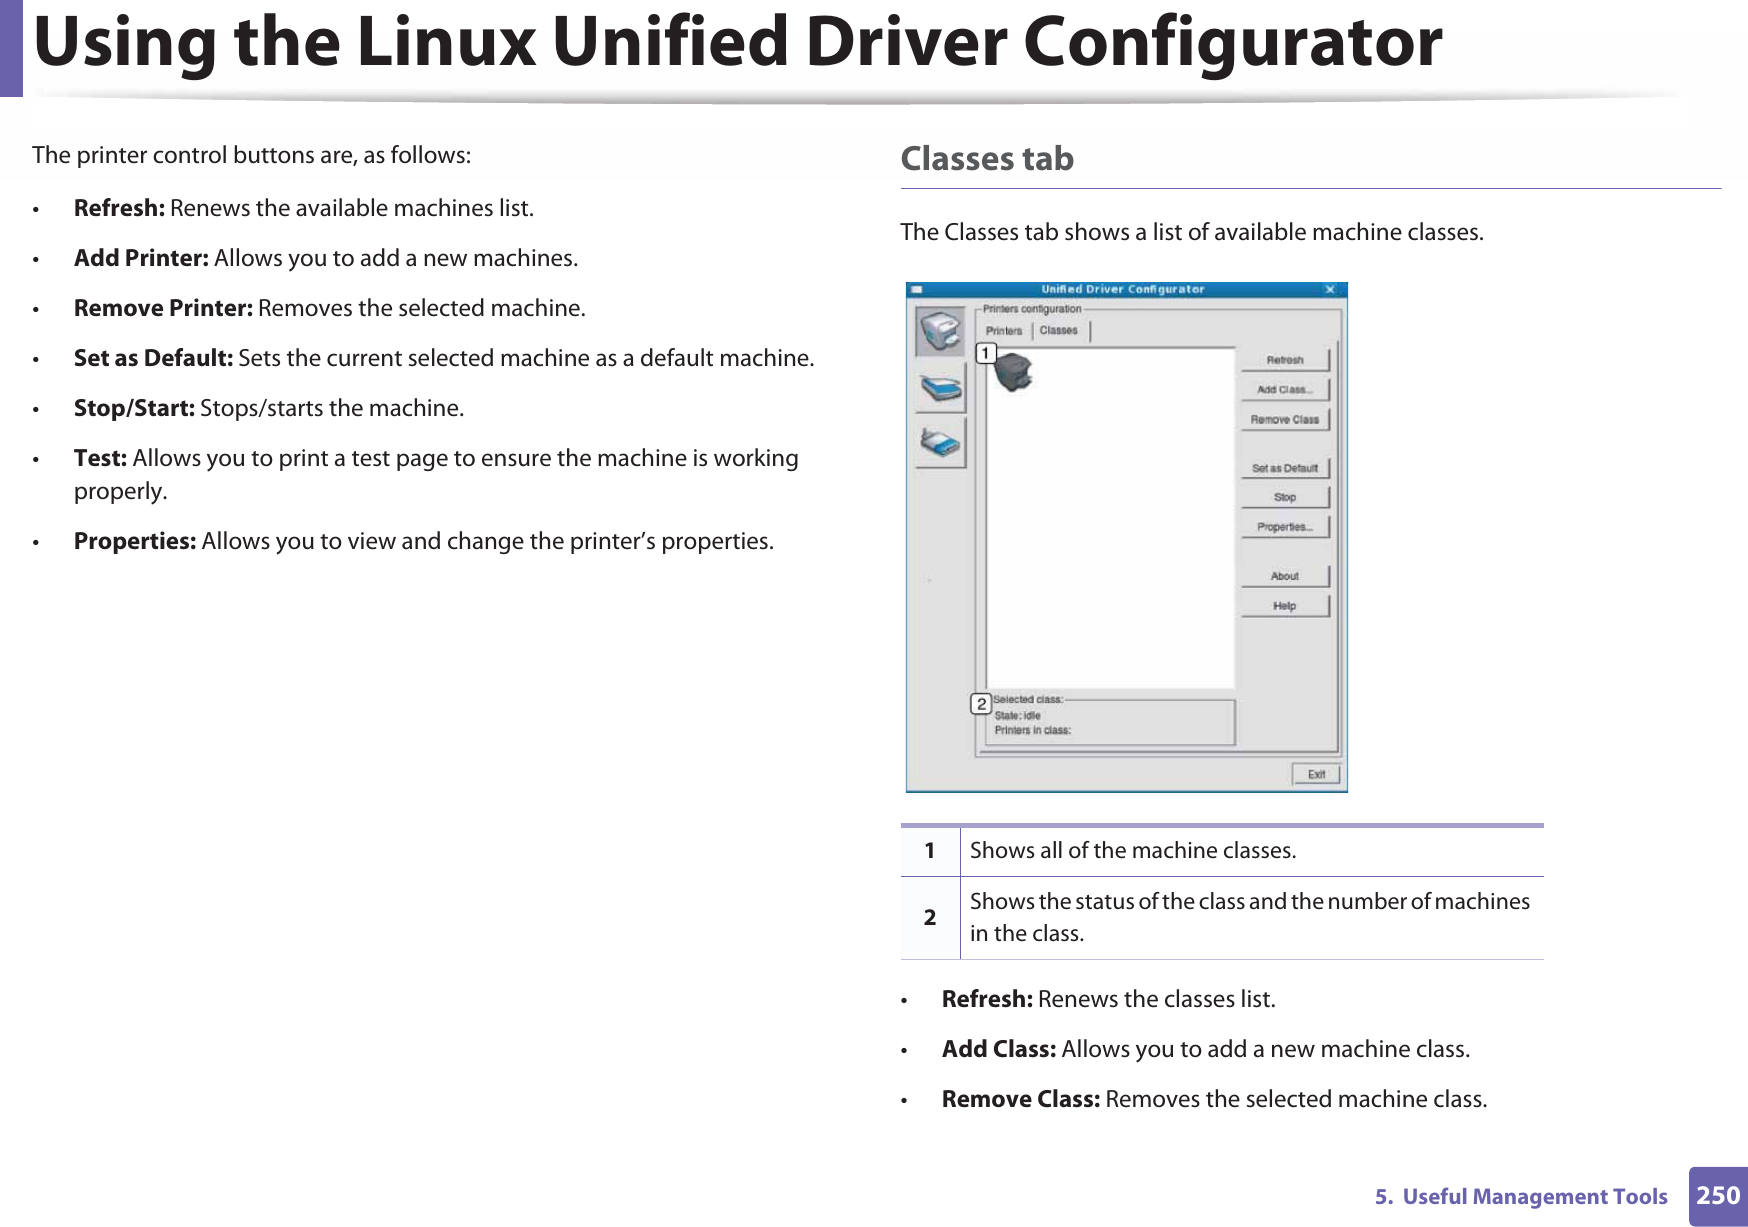
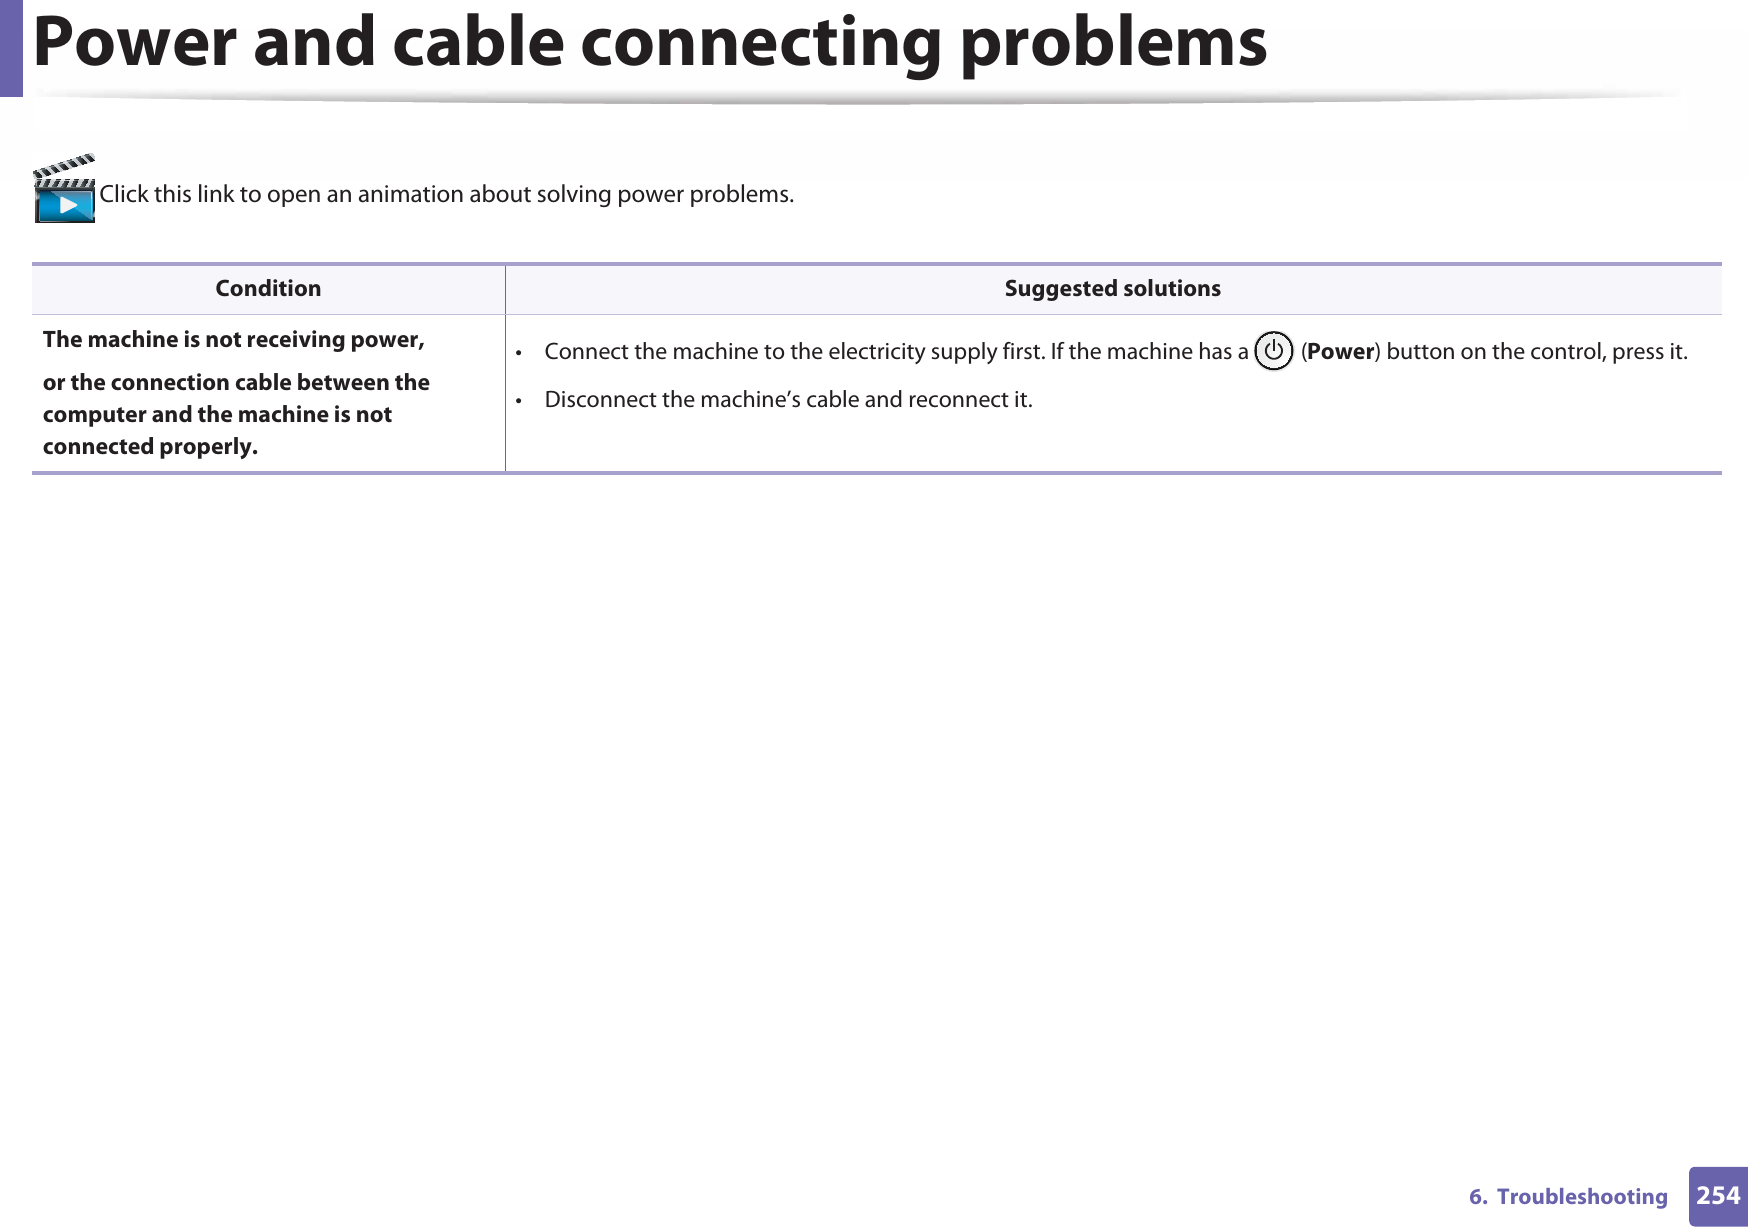
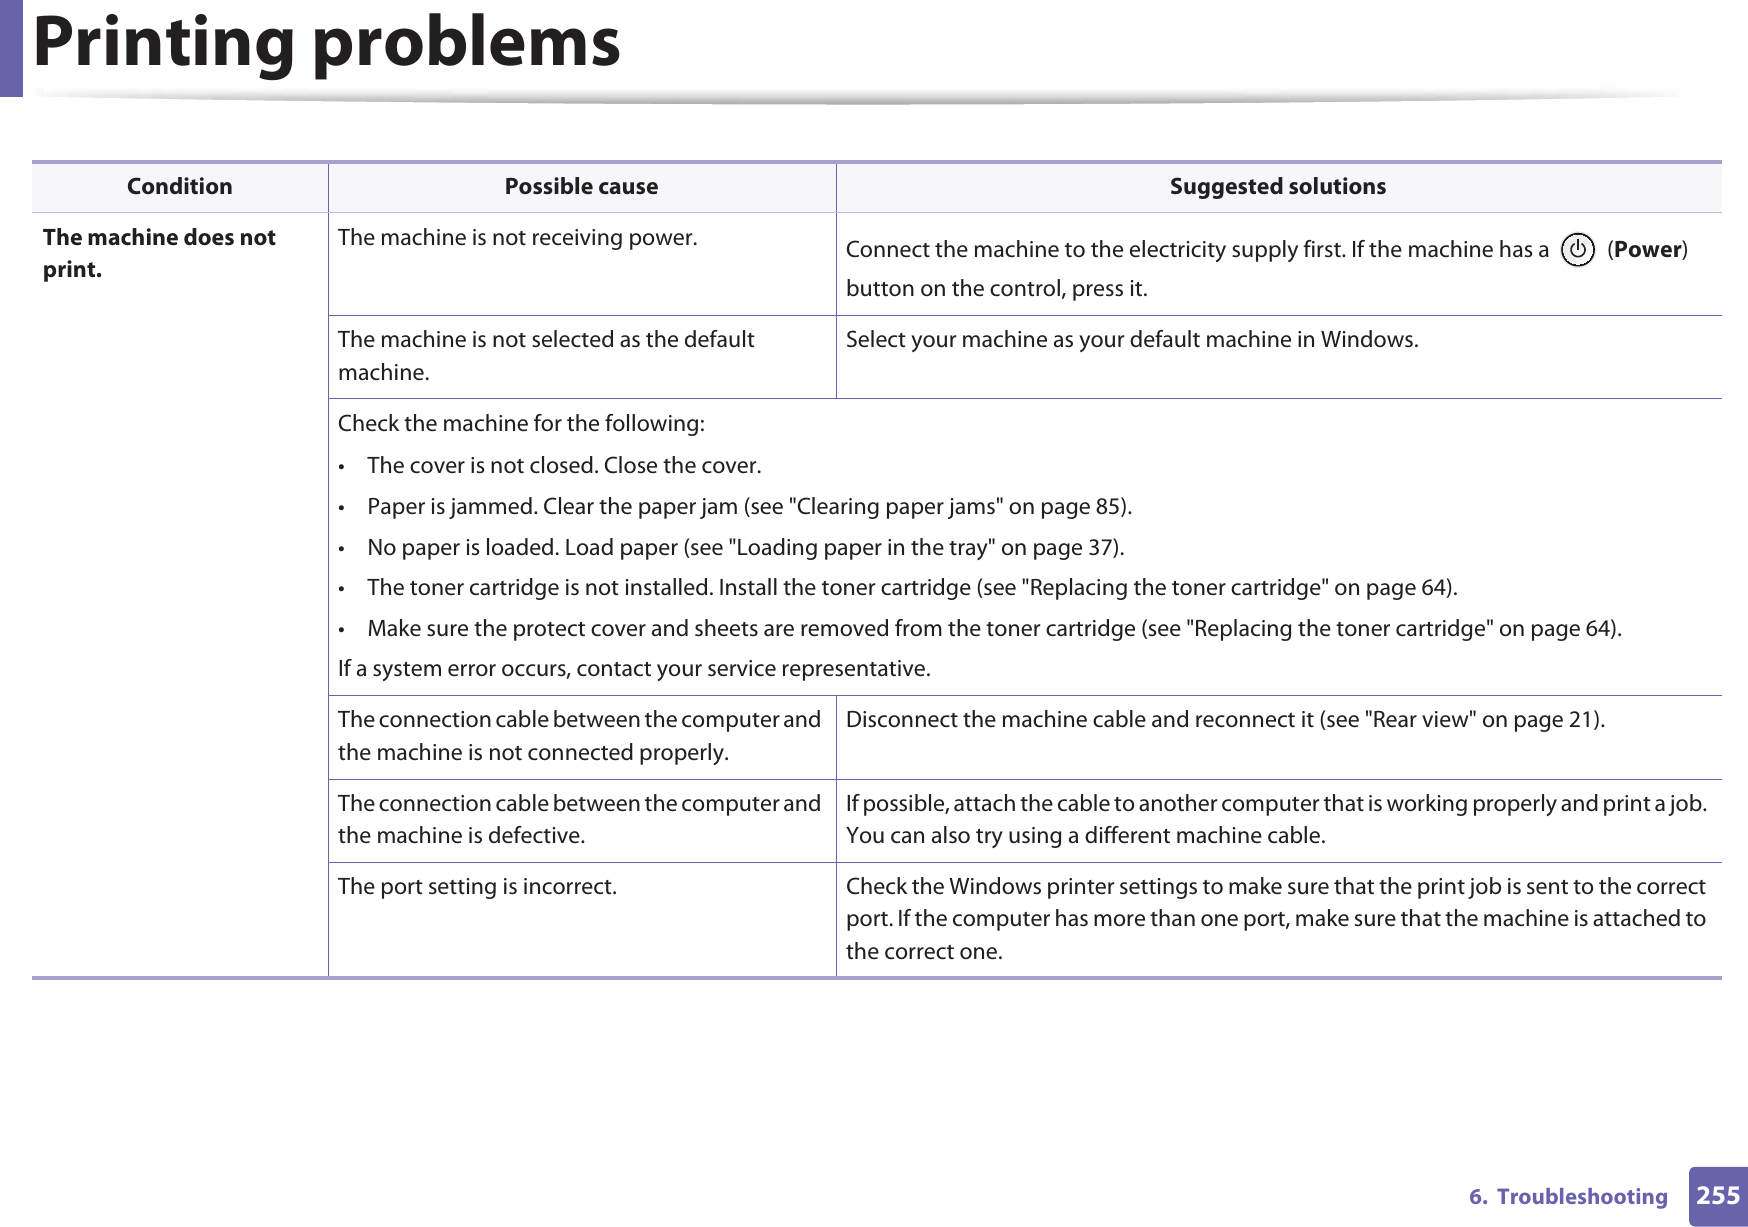
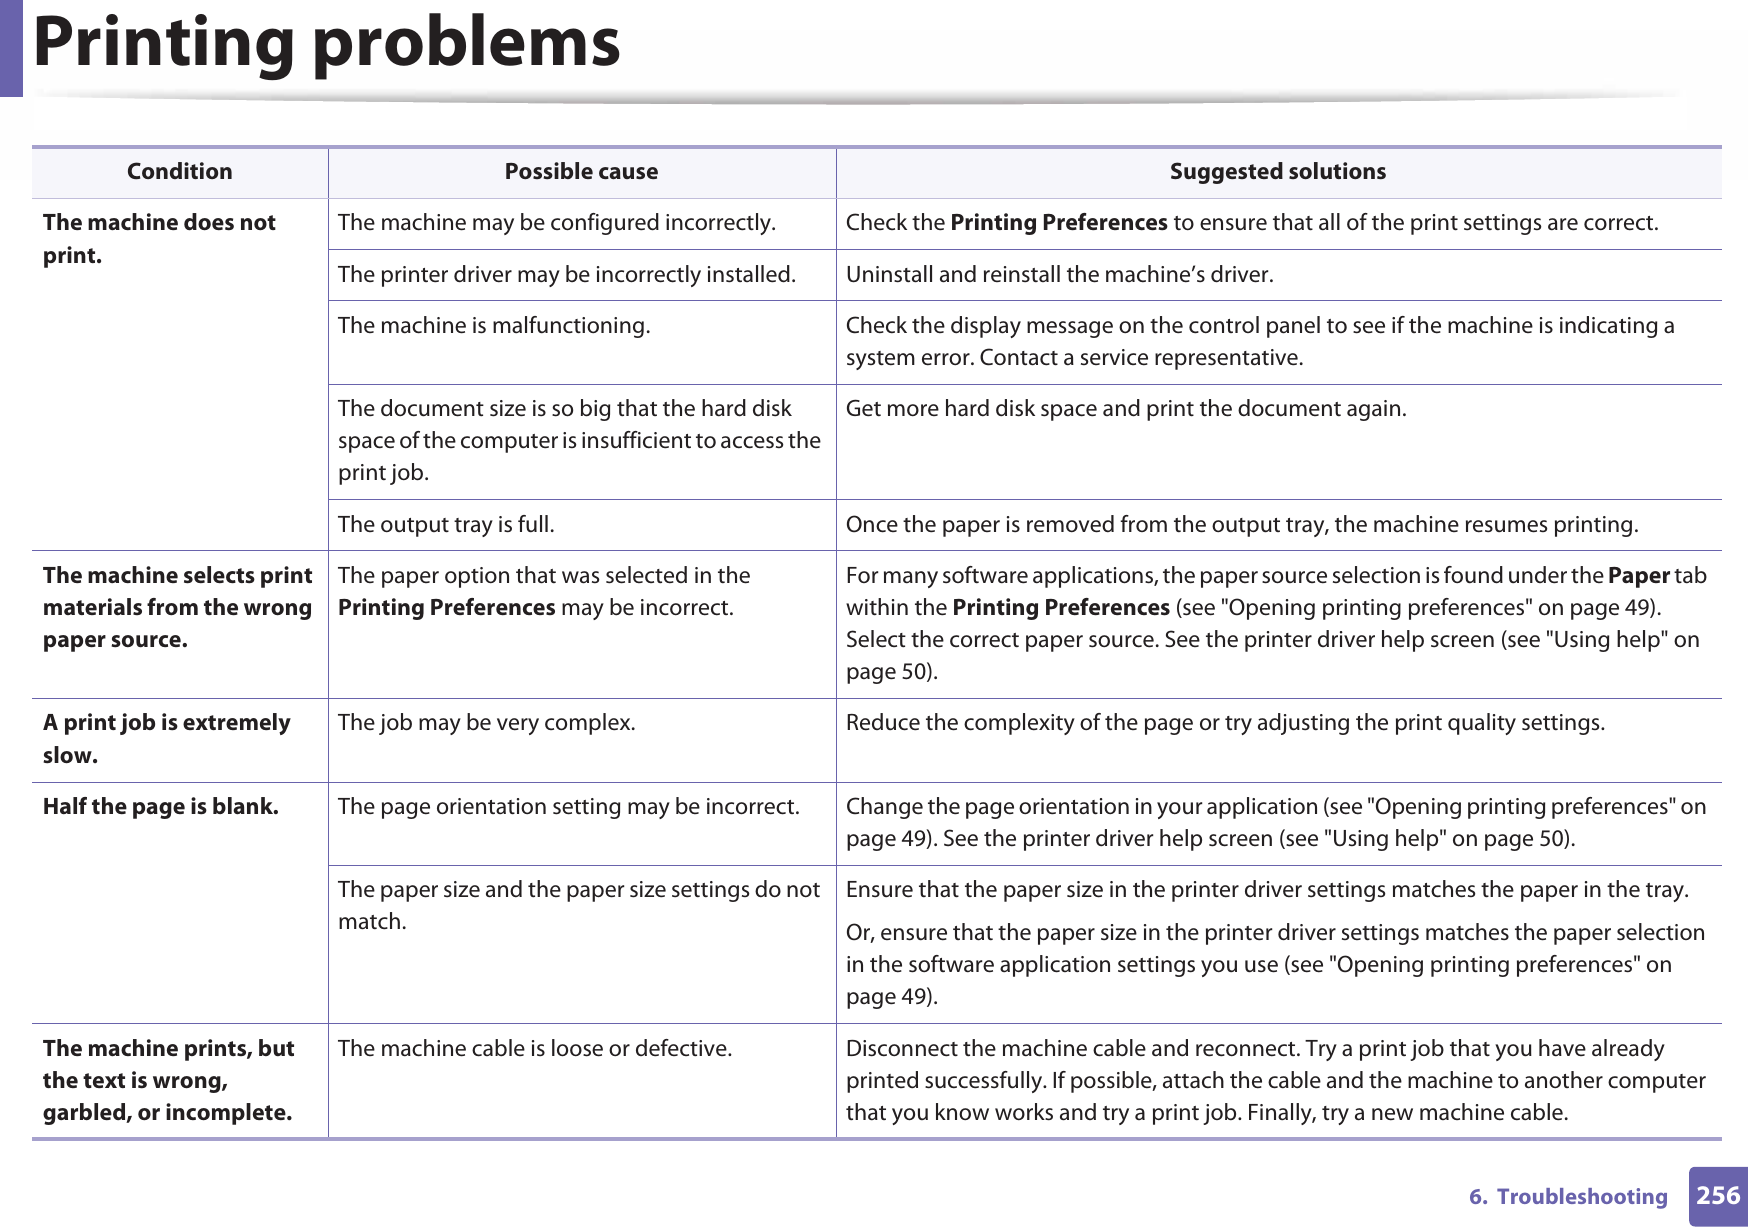
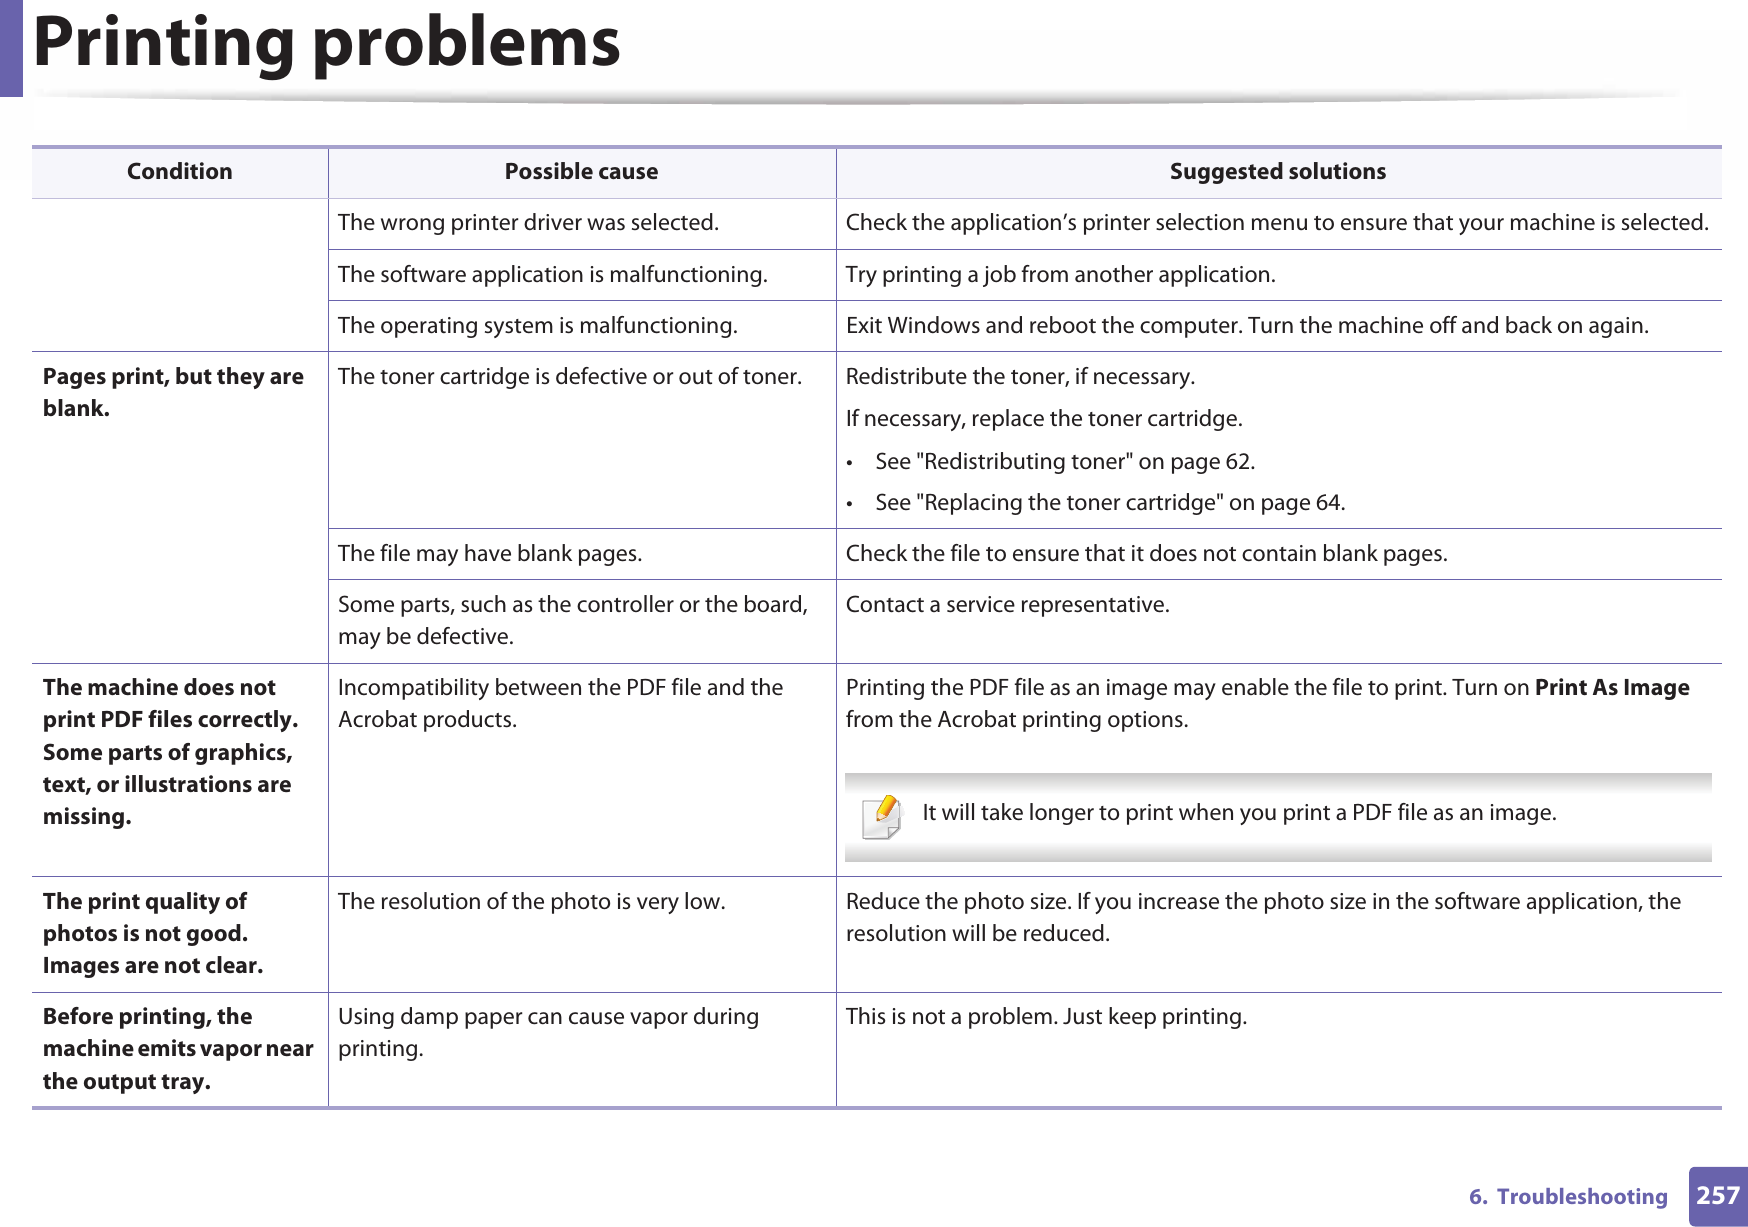
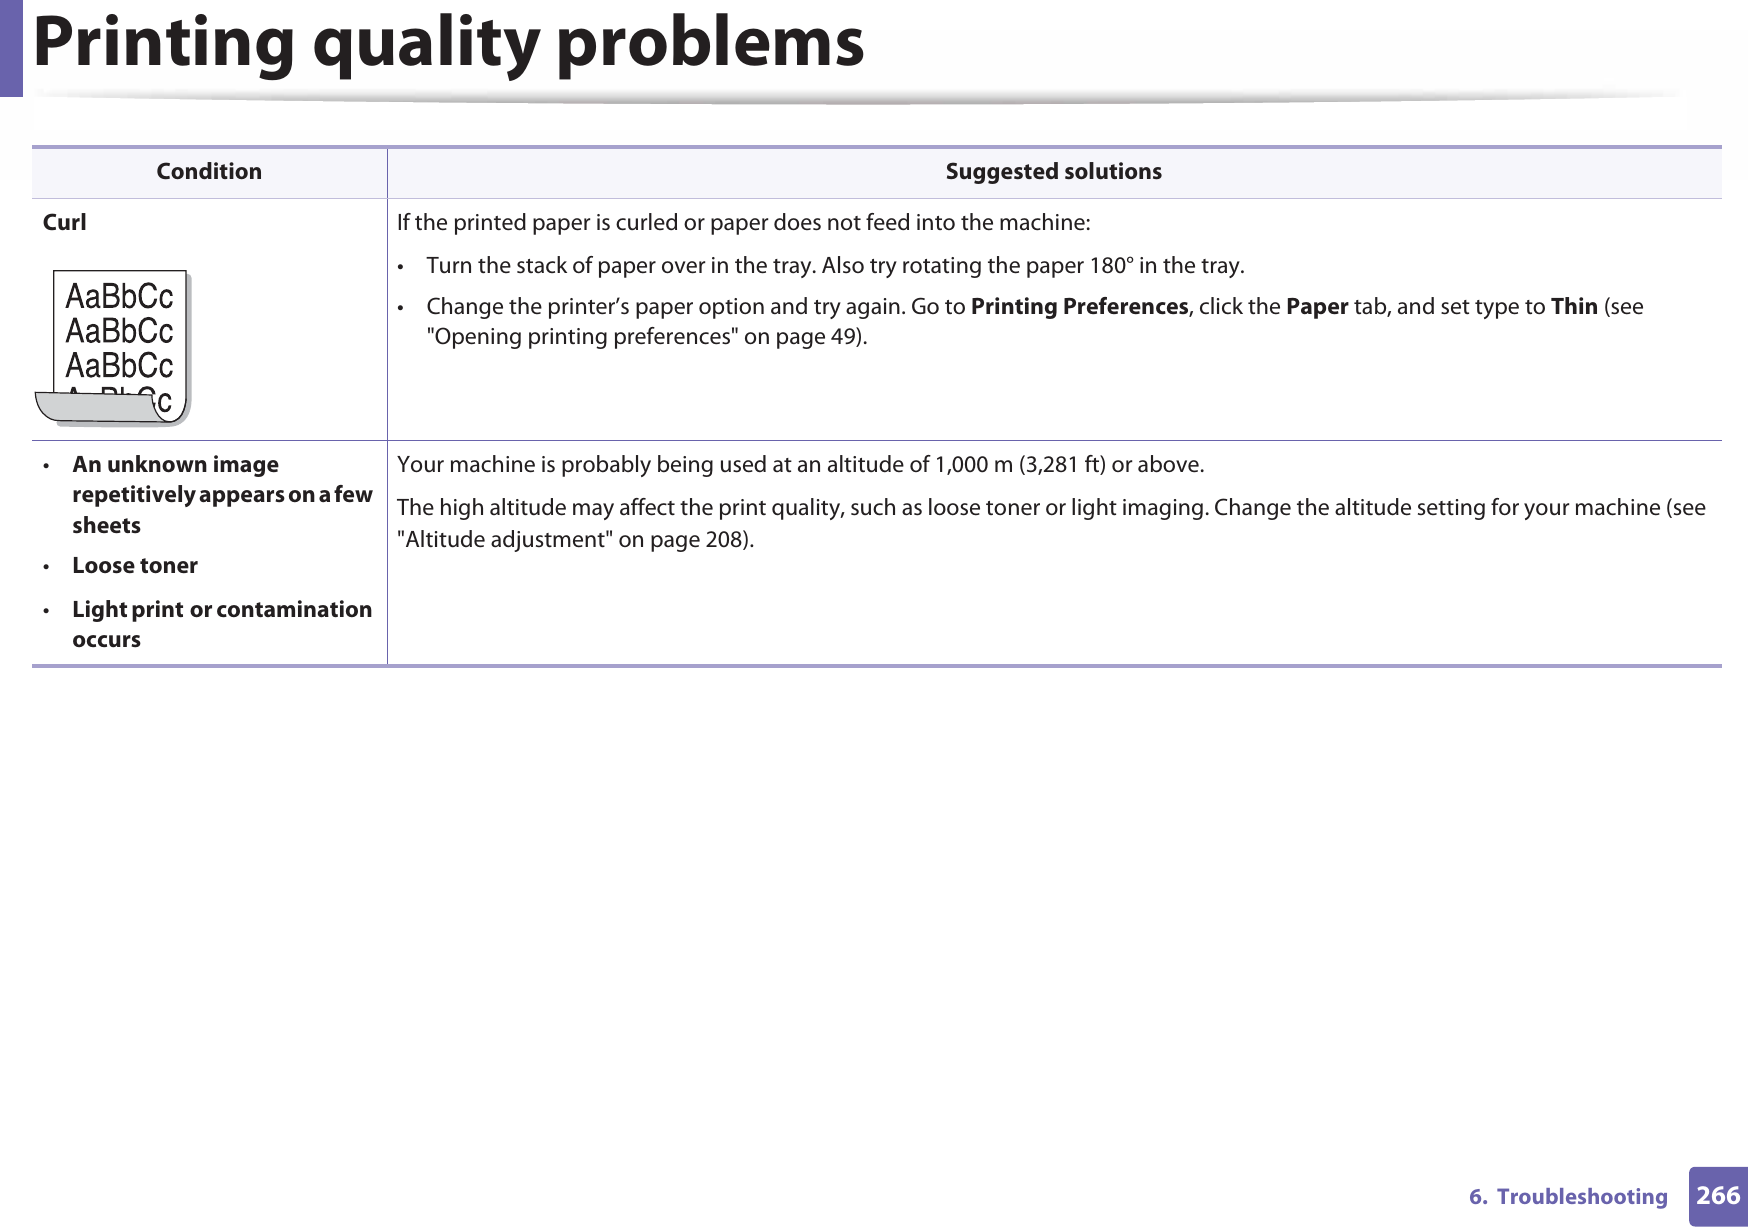
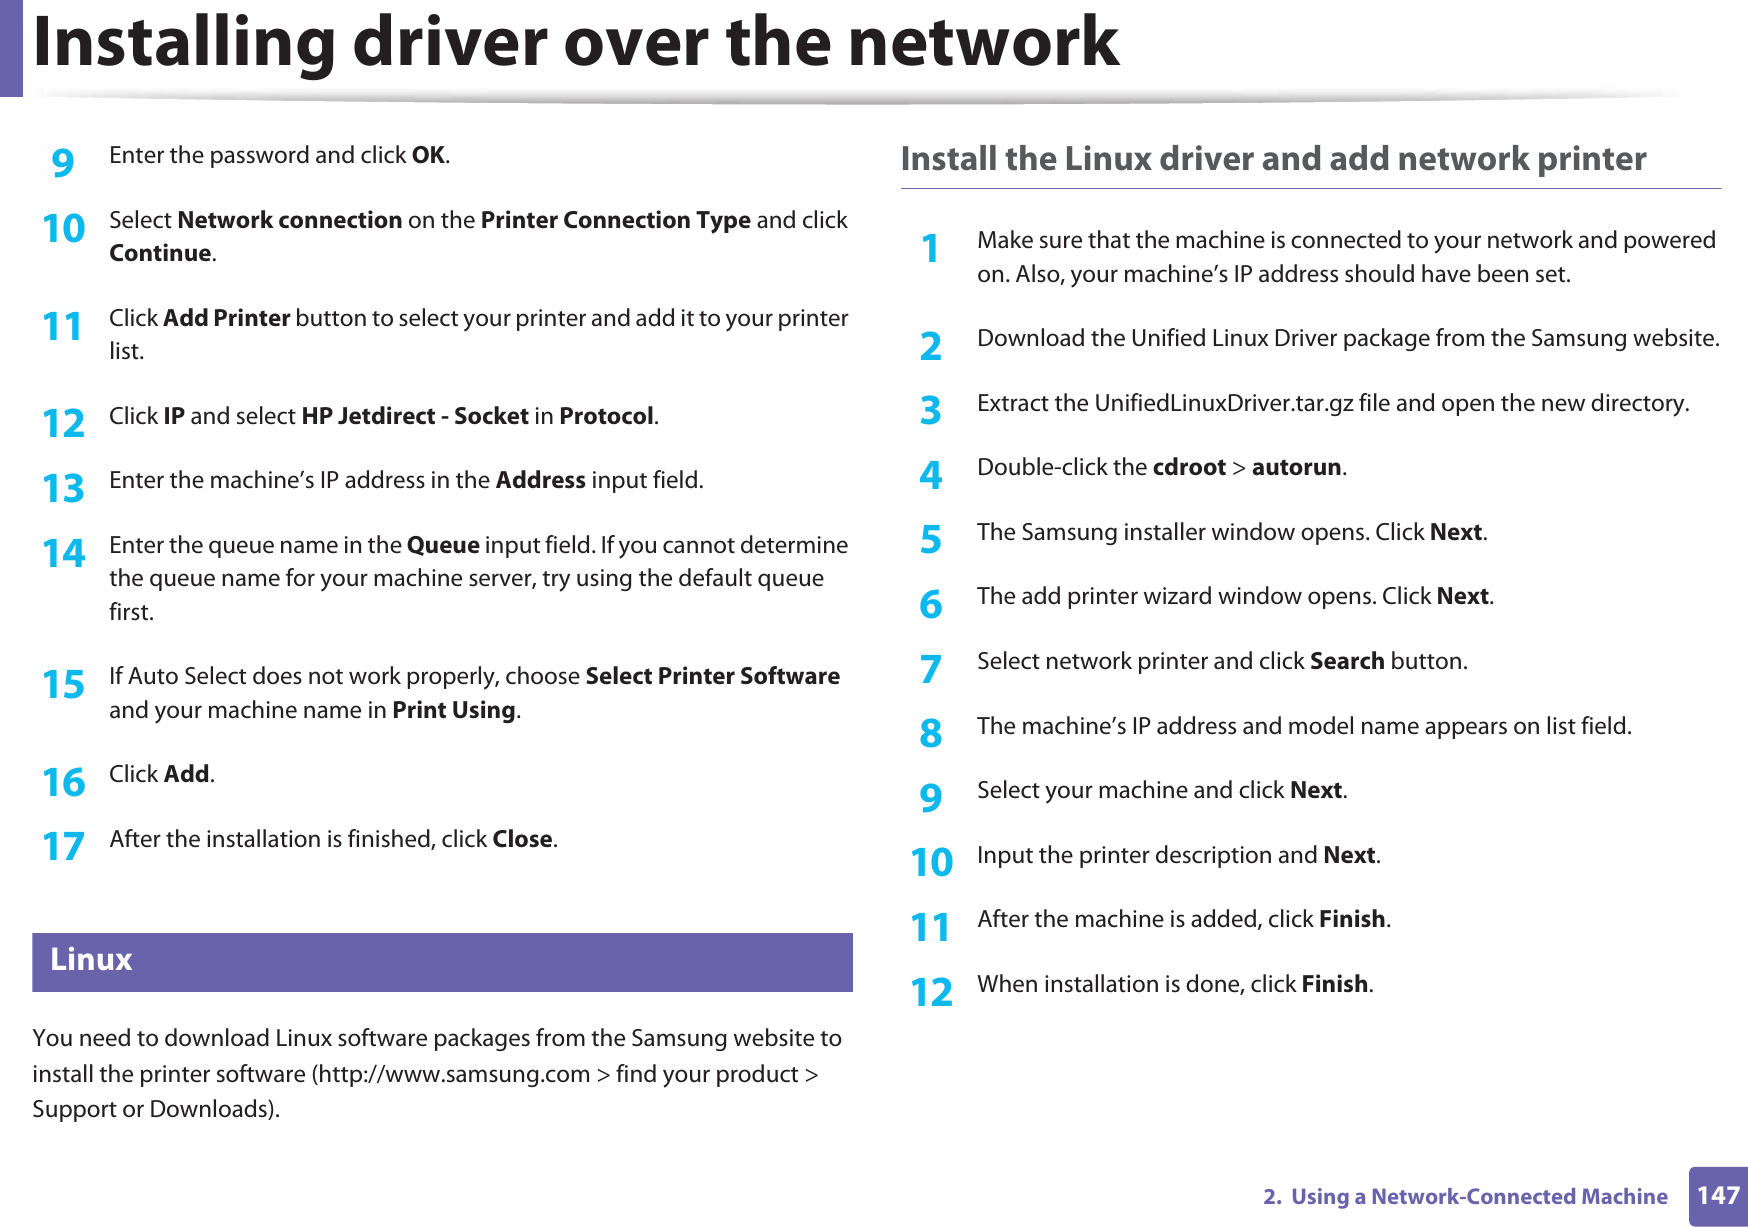
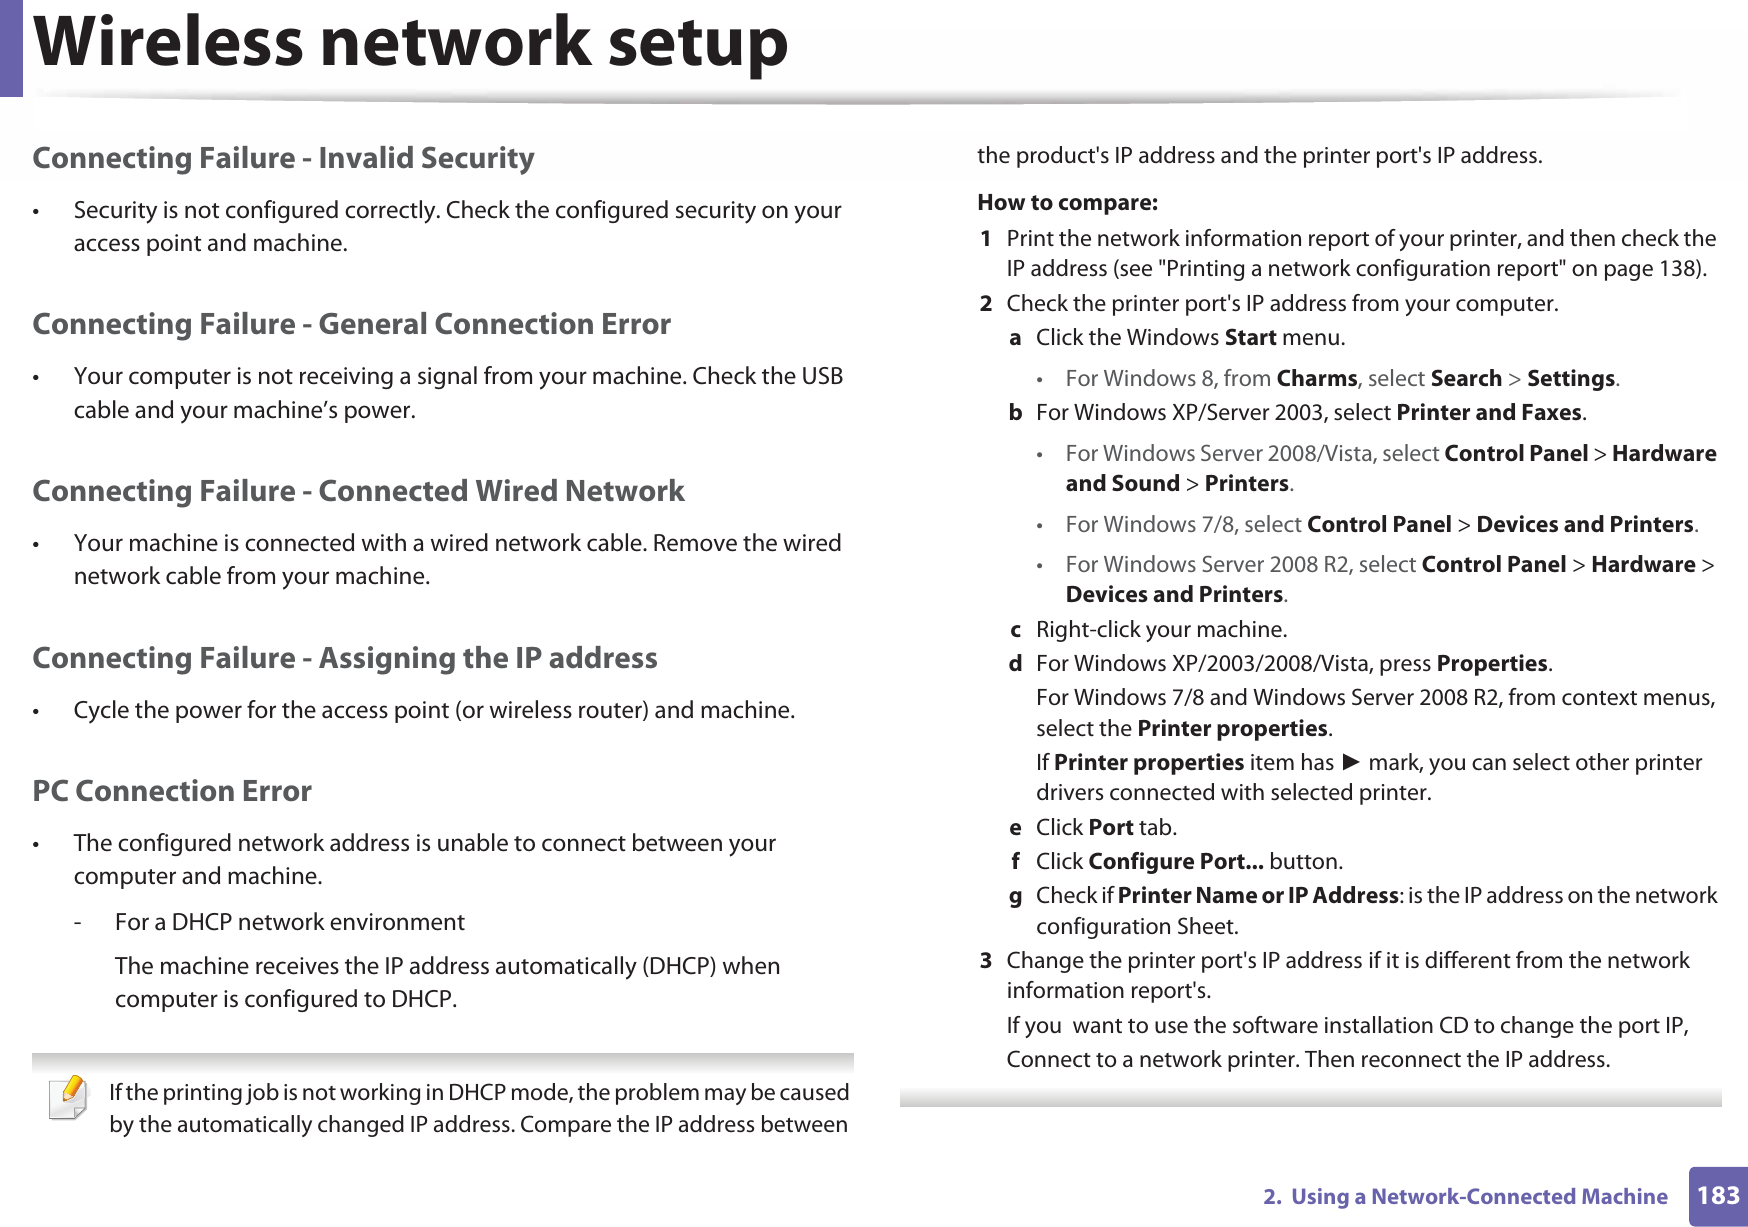
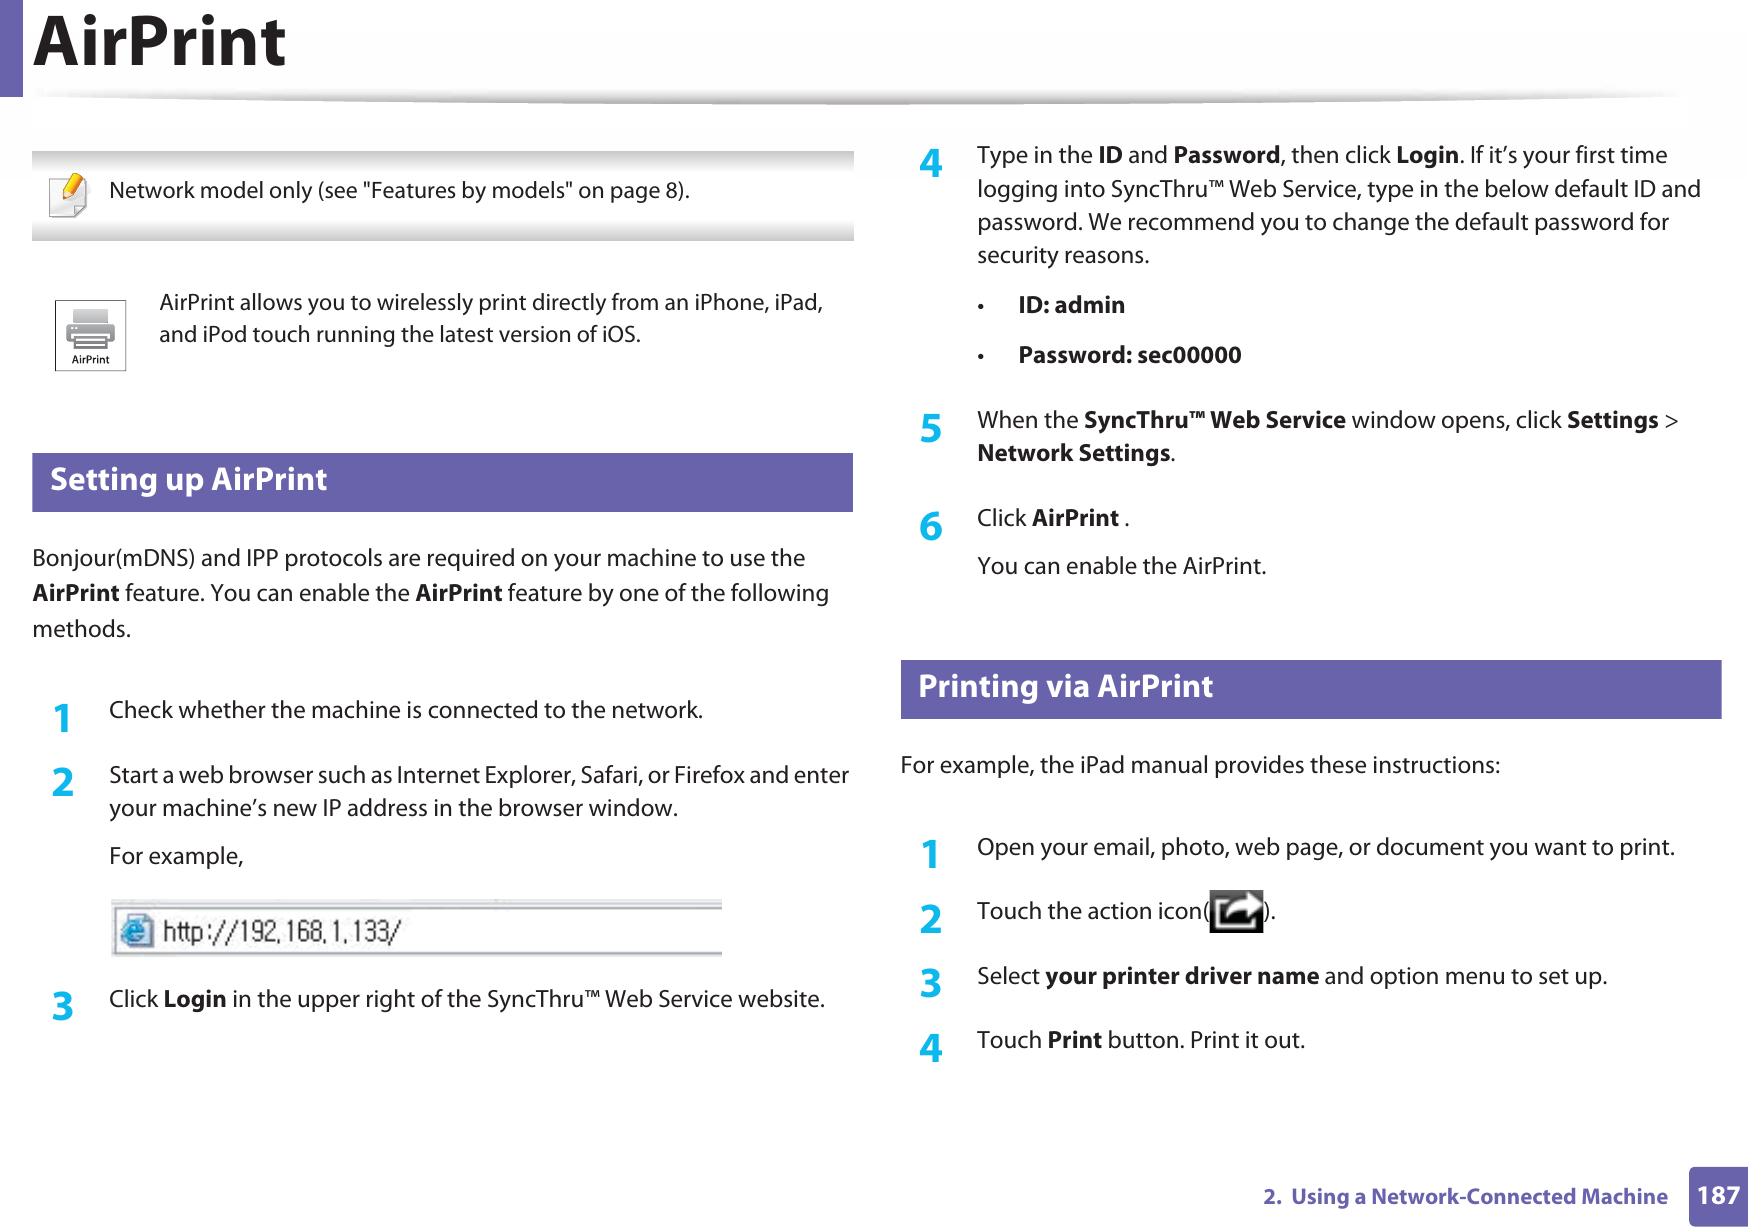
![Understanding display messages1014. TroubleshootingUnderstanding display messagesMessages appear on the control panel display to indicate the machine’s status or errors. Refer to the tables below to understand the messages’ and their meaning, and correct the problem, if necessary. • You can resolve the error with the guideline from the computers’s Printing Status program window (see "Using Samsung Printer Status" on page 240).• If a message is not in the table, reboot the power and try the printing job again. If the problem persists, call a service representative.• When you call for service, provide the service representative with the contents of display message.• Some messages may not appear on the display depending on the options or models.• [error number] indicates the error number. • [tray type] indicates the tray number. • [media type] indicates the media type.• [media size] indicates the media size.• [color] indicates the color of toner. 7 Paper Jam-related messagesMessage Meaning Suggested solutionsPaper jam in exit areaPaper has jammed in the exit area.Clear the jam (see "In exit area" on page 94).Paper jam inside of duplexPaper has jammed during duplex printing. This is applicable only to machines with this feature. Clear the jam (see "In the duplex unit area" on page 96).Paper jaminside machinePaper has jammed in inside the machine.Clear the jam (see "Inside the machine" on page 90).Paper jam in tray1 Paper has jammed in the tray.Clear the jam (see "In tray 1" on page 85).Paper jam in tray 2 Paper has jammed in the optional tray.Clear the jam (see "In optional tray" on page 86).Paper jam in MP tray Paper has jammed in the multi-purpose tray.Clear the jam (see "In the manual feeder/multi-purpose tray" on page 88).](https://usermanual.wiki/Samsung-Electronics-Co/SLM4025DW.Users-Manual-3/User-Guide-1908522-Page-6.png)
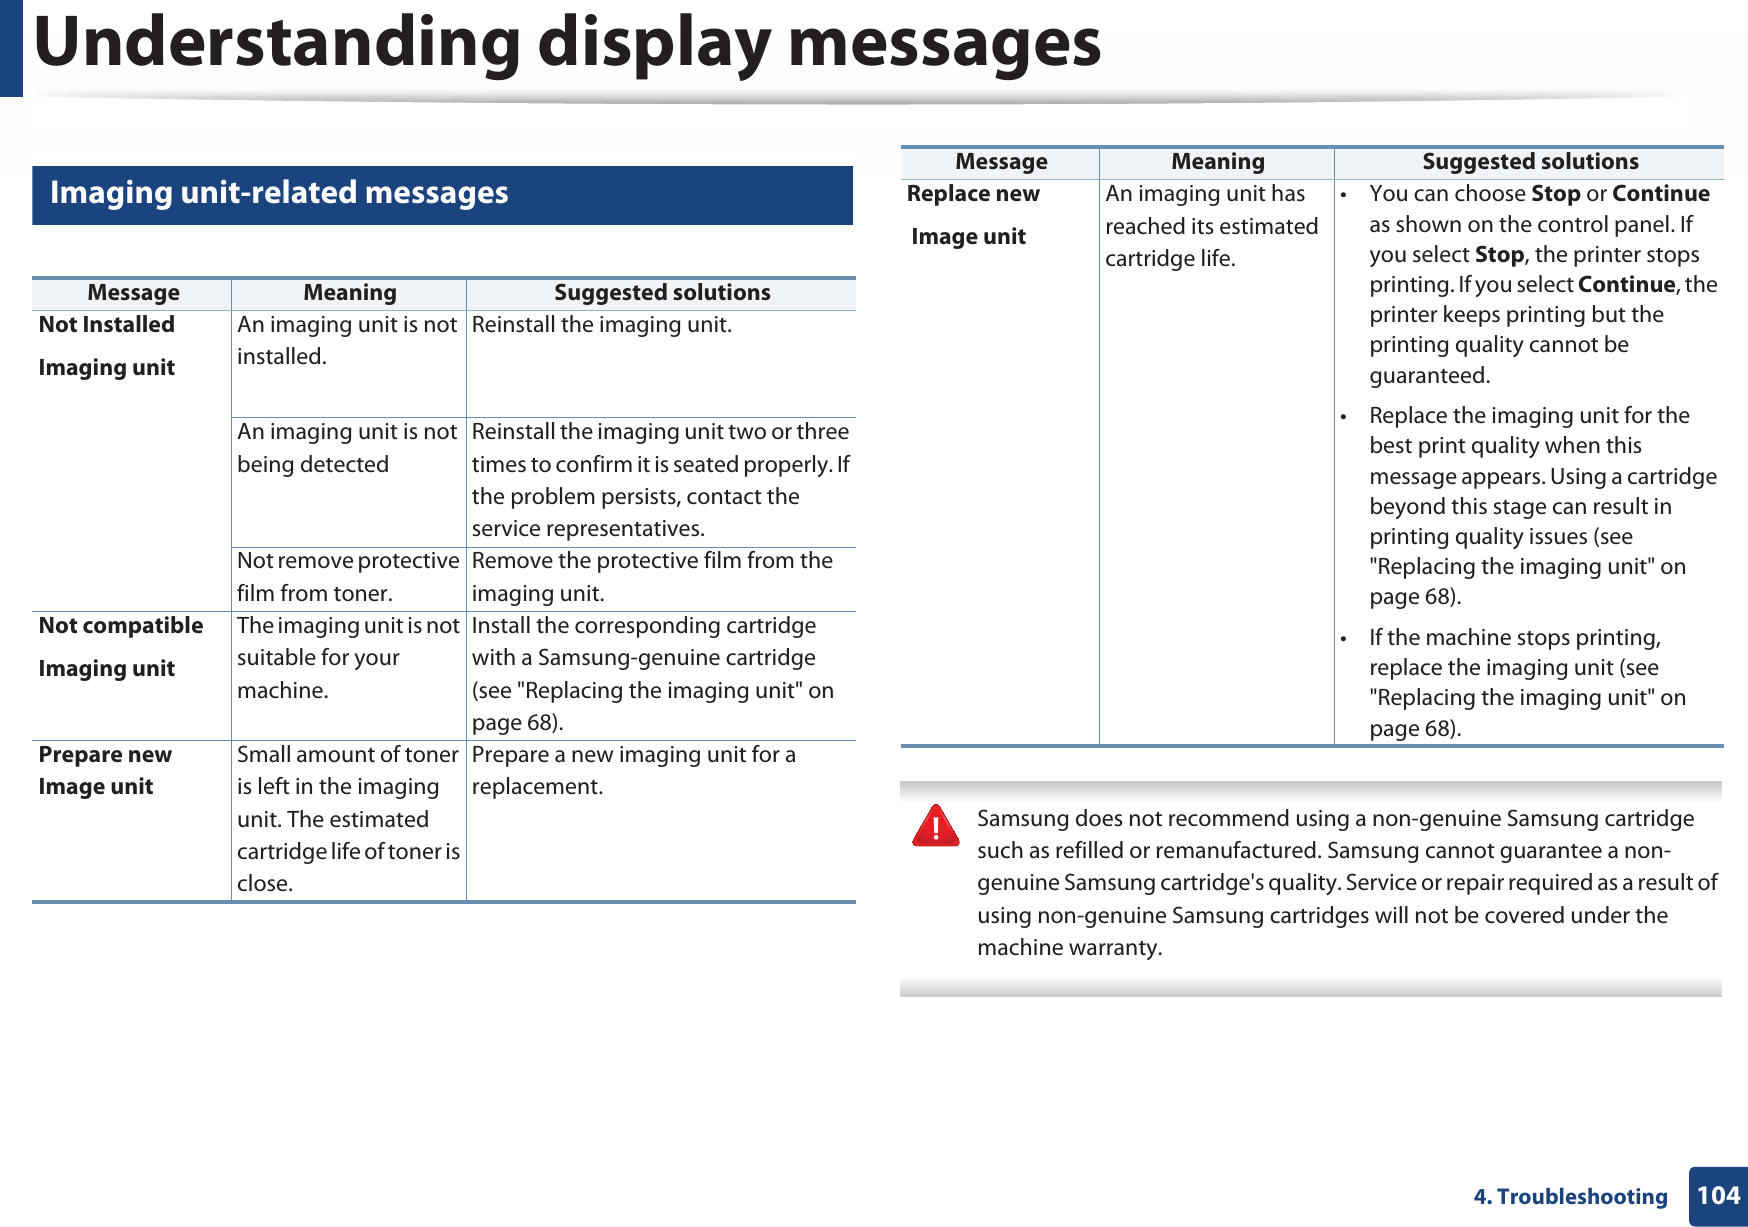
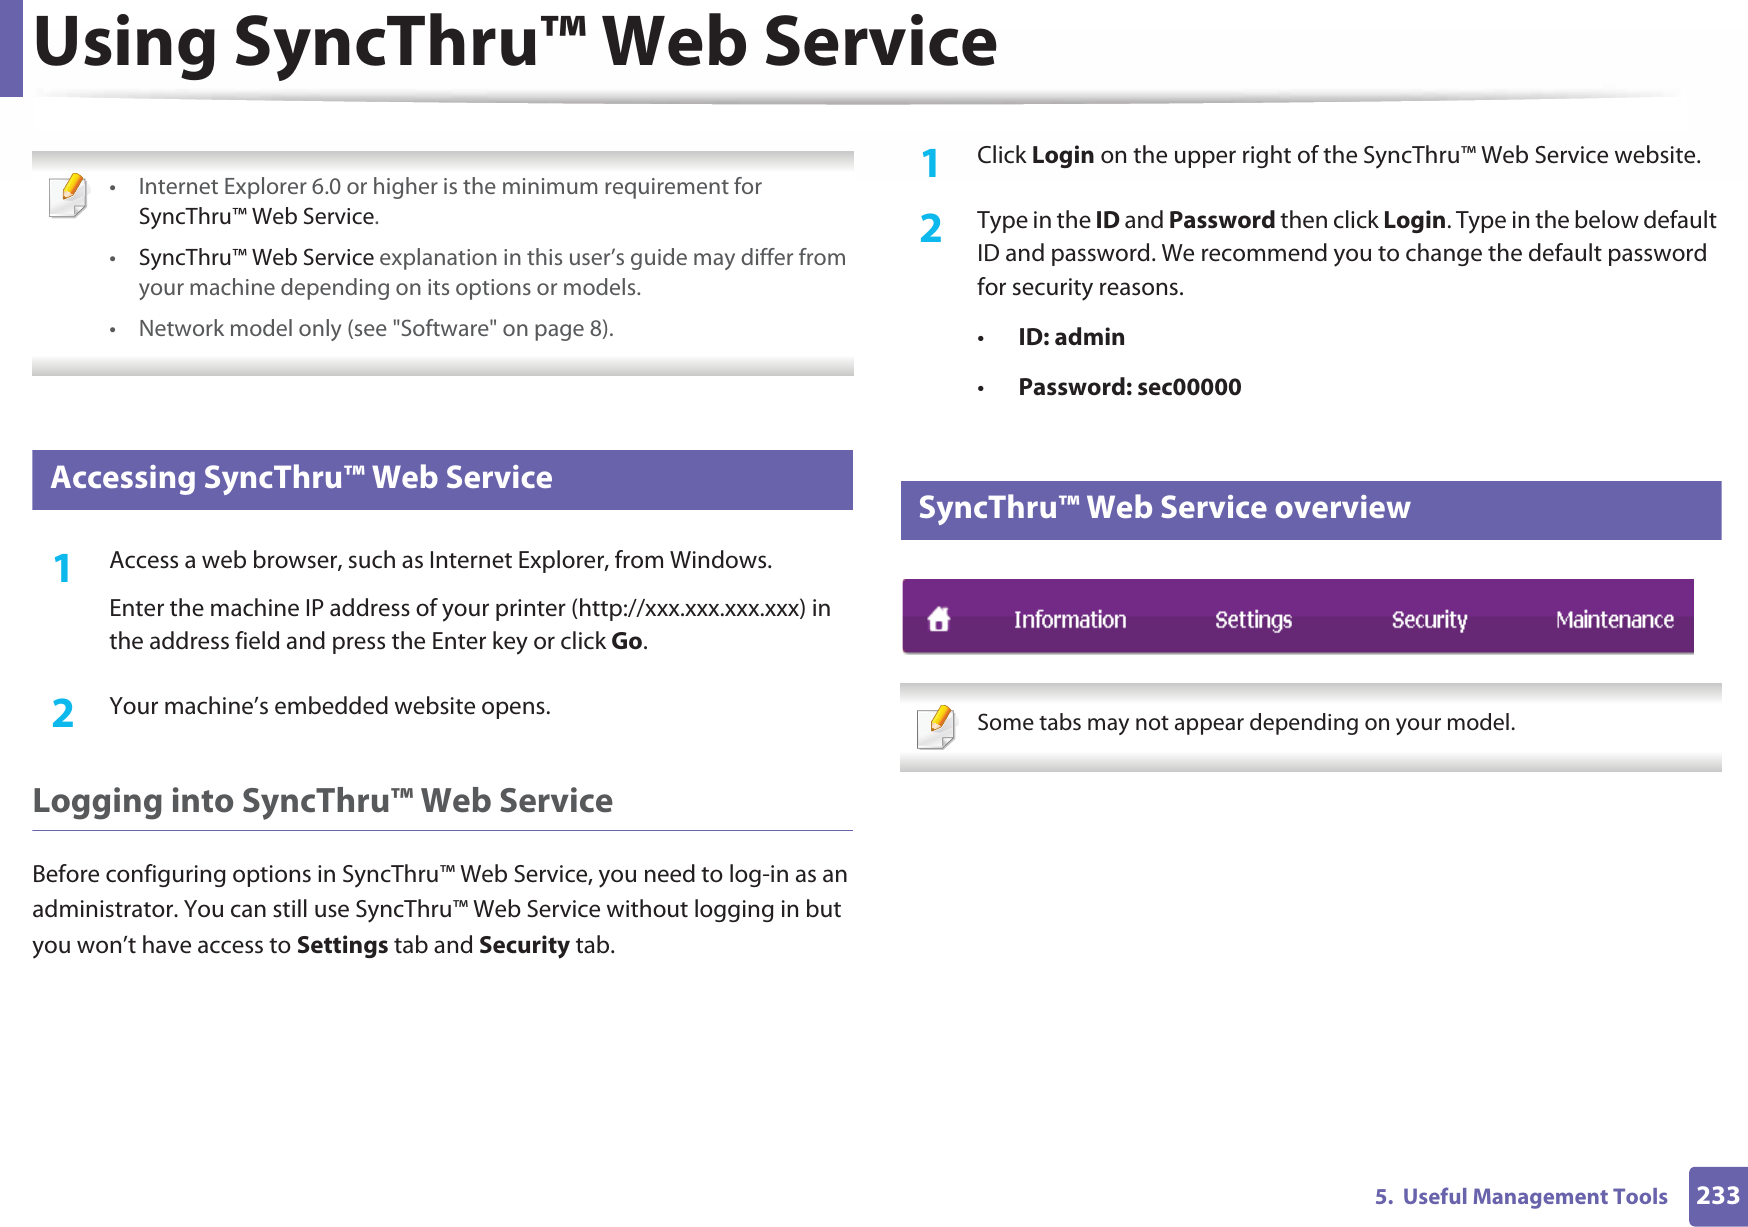
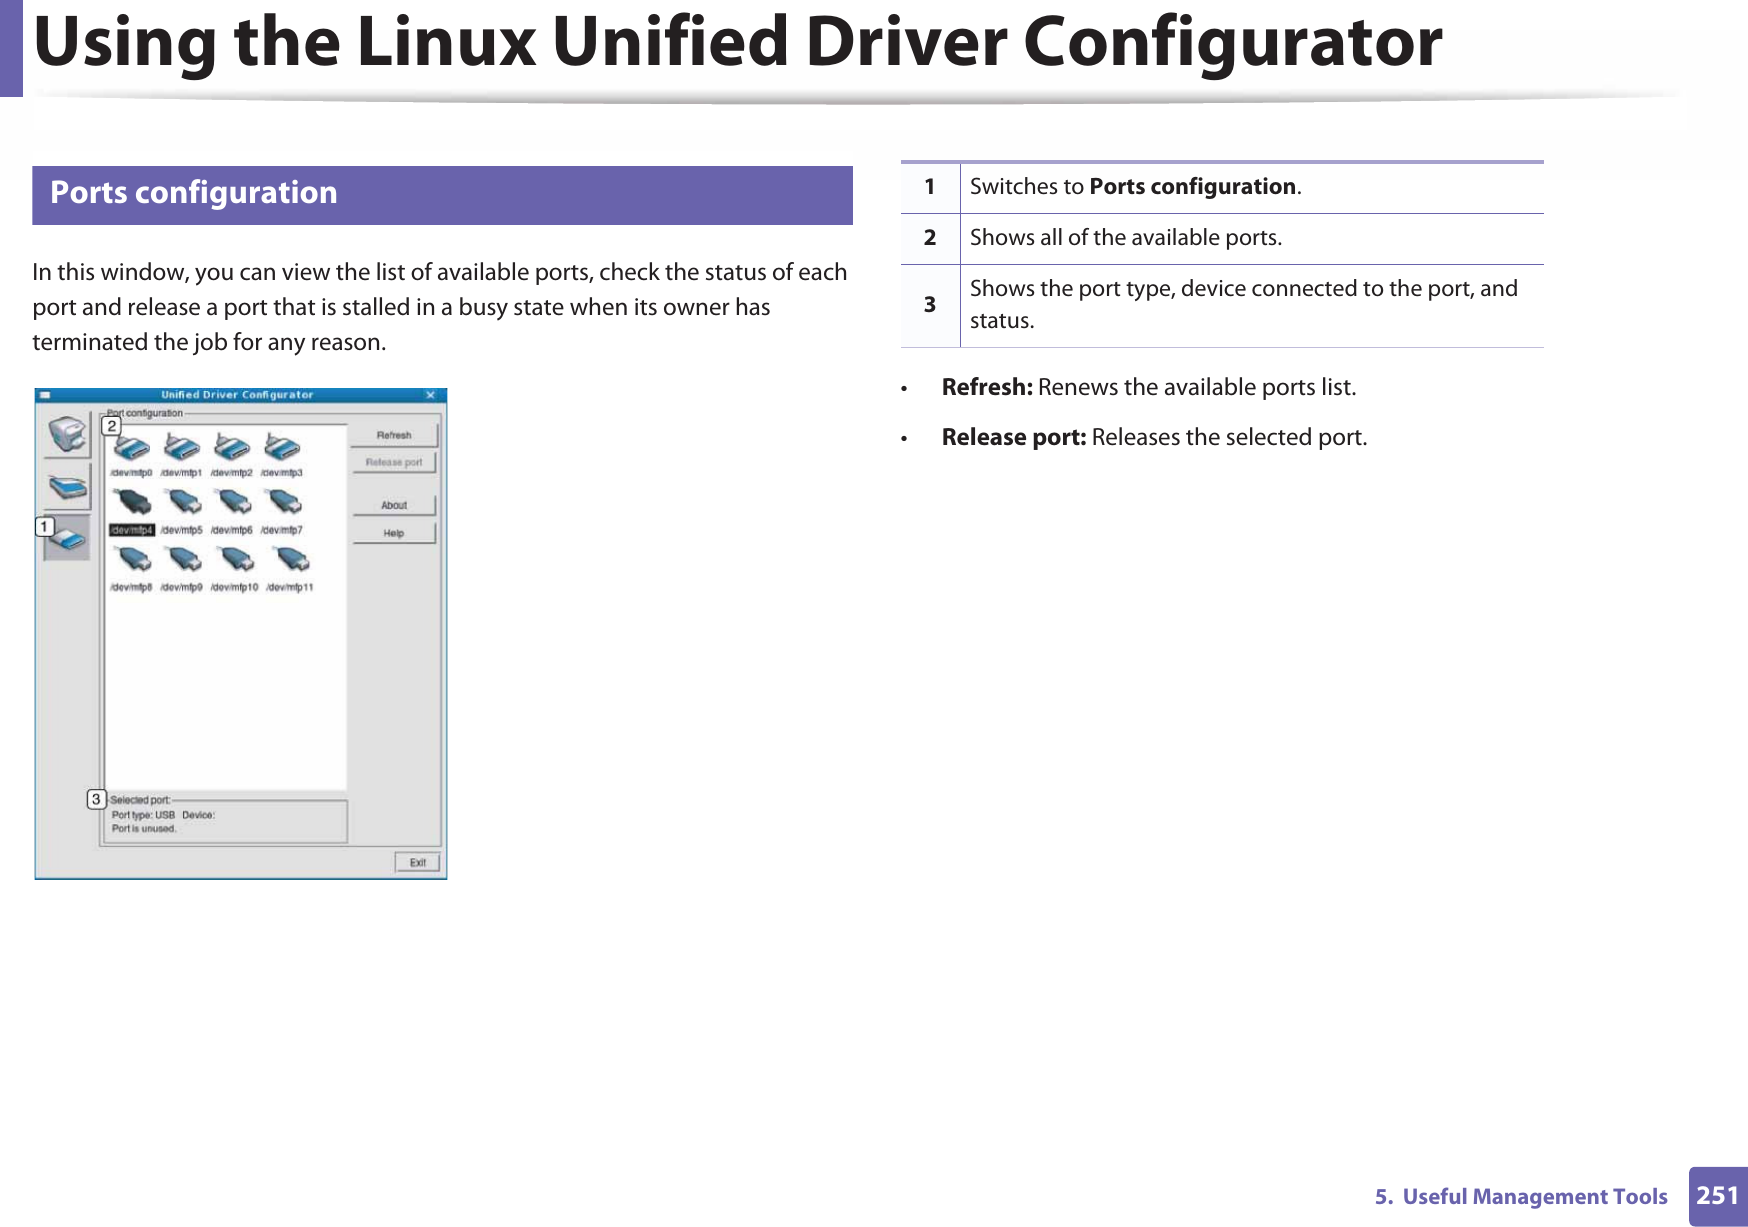
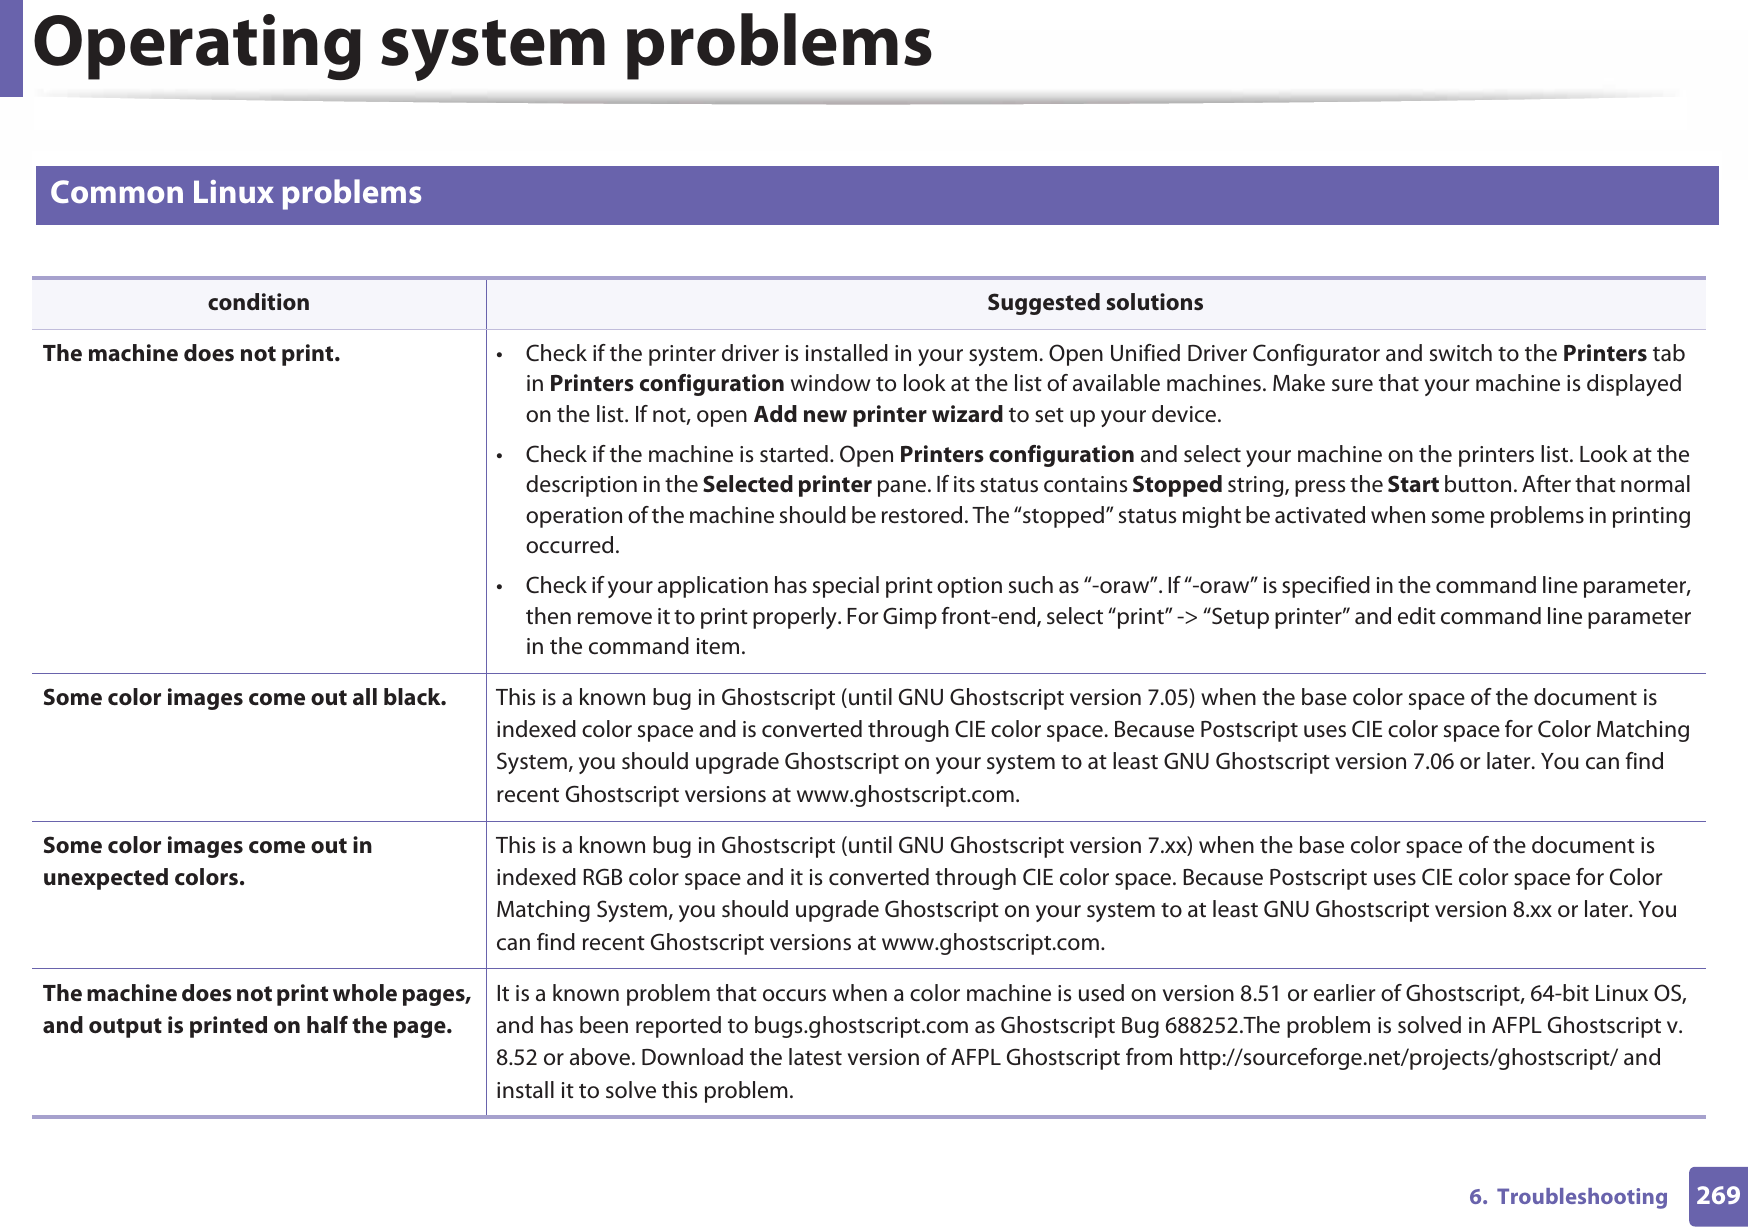
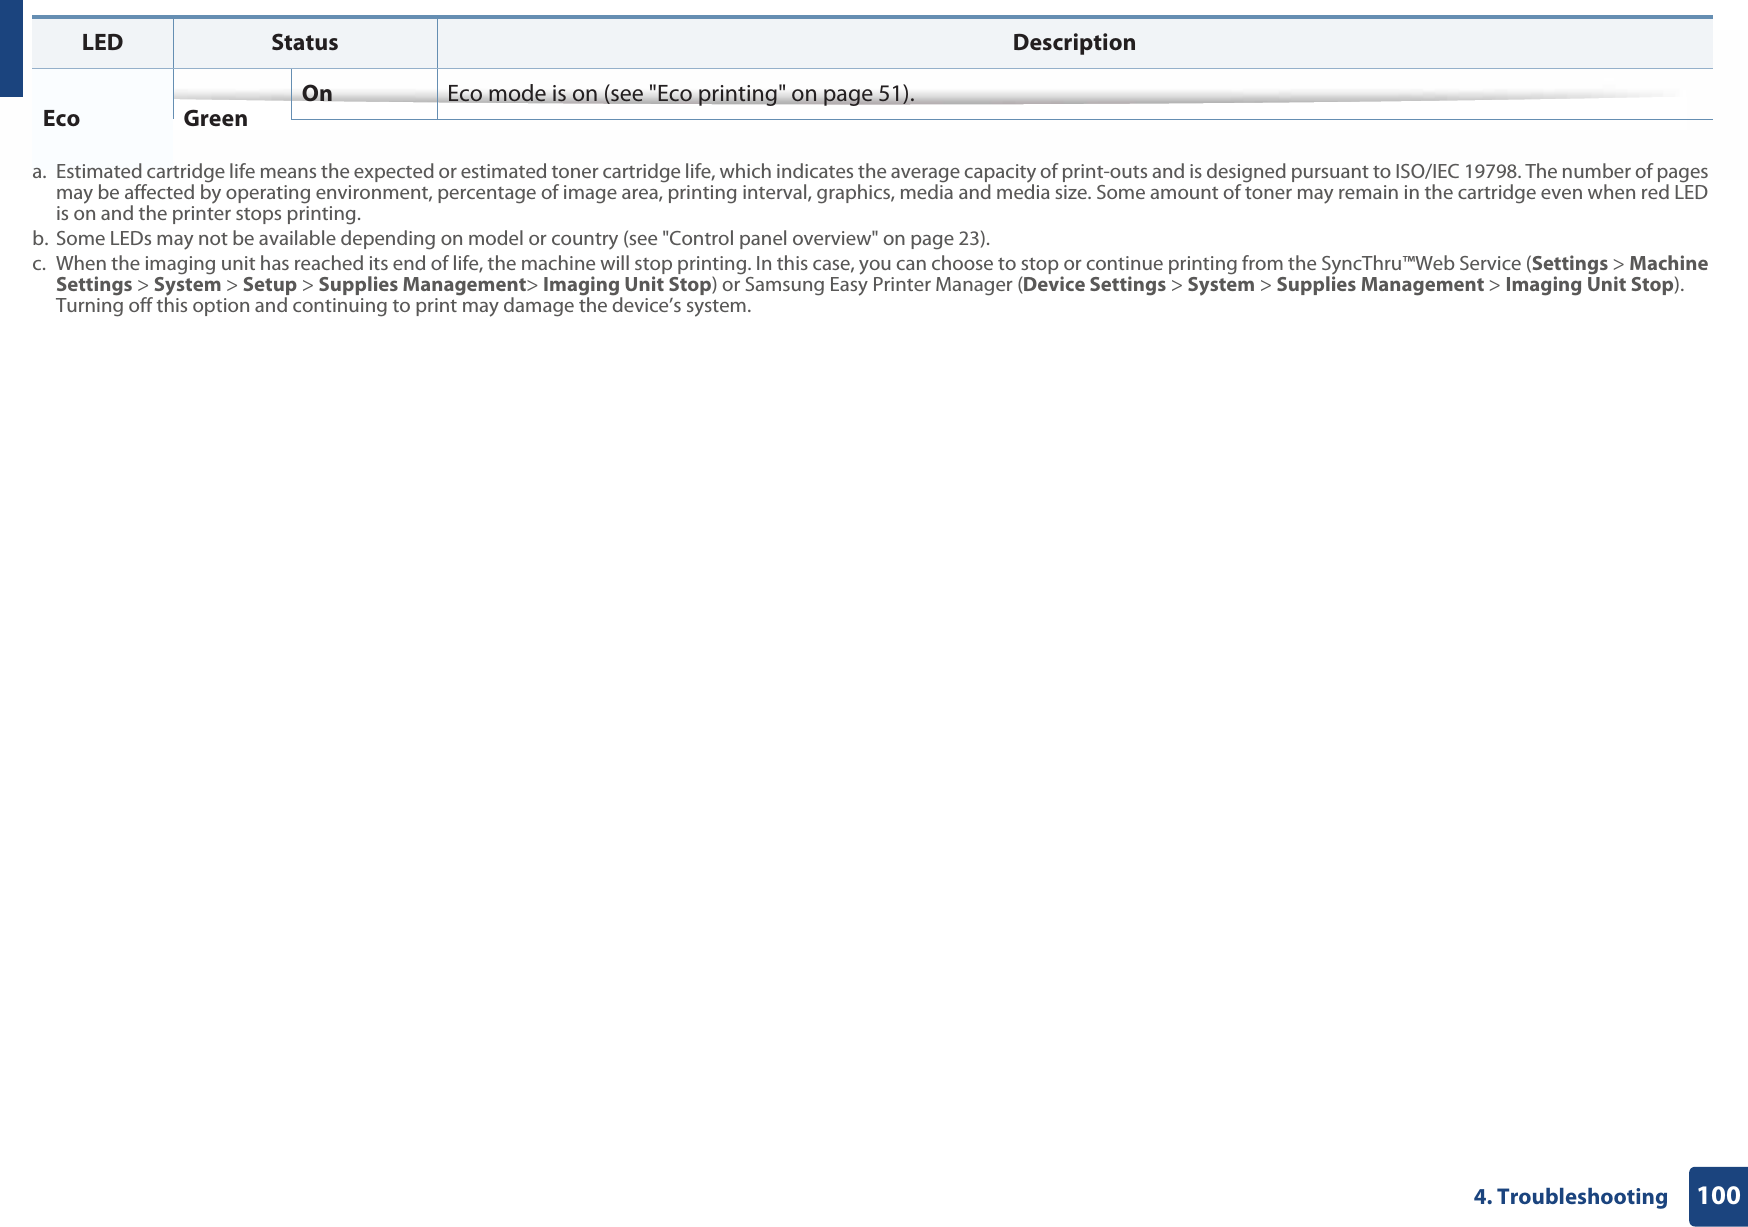
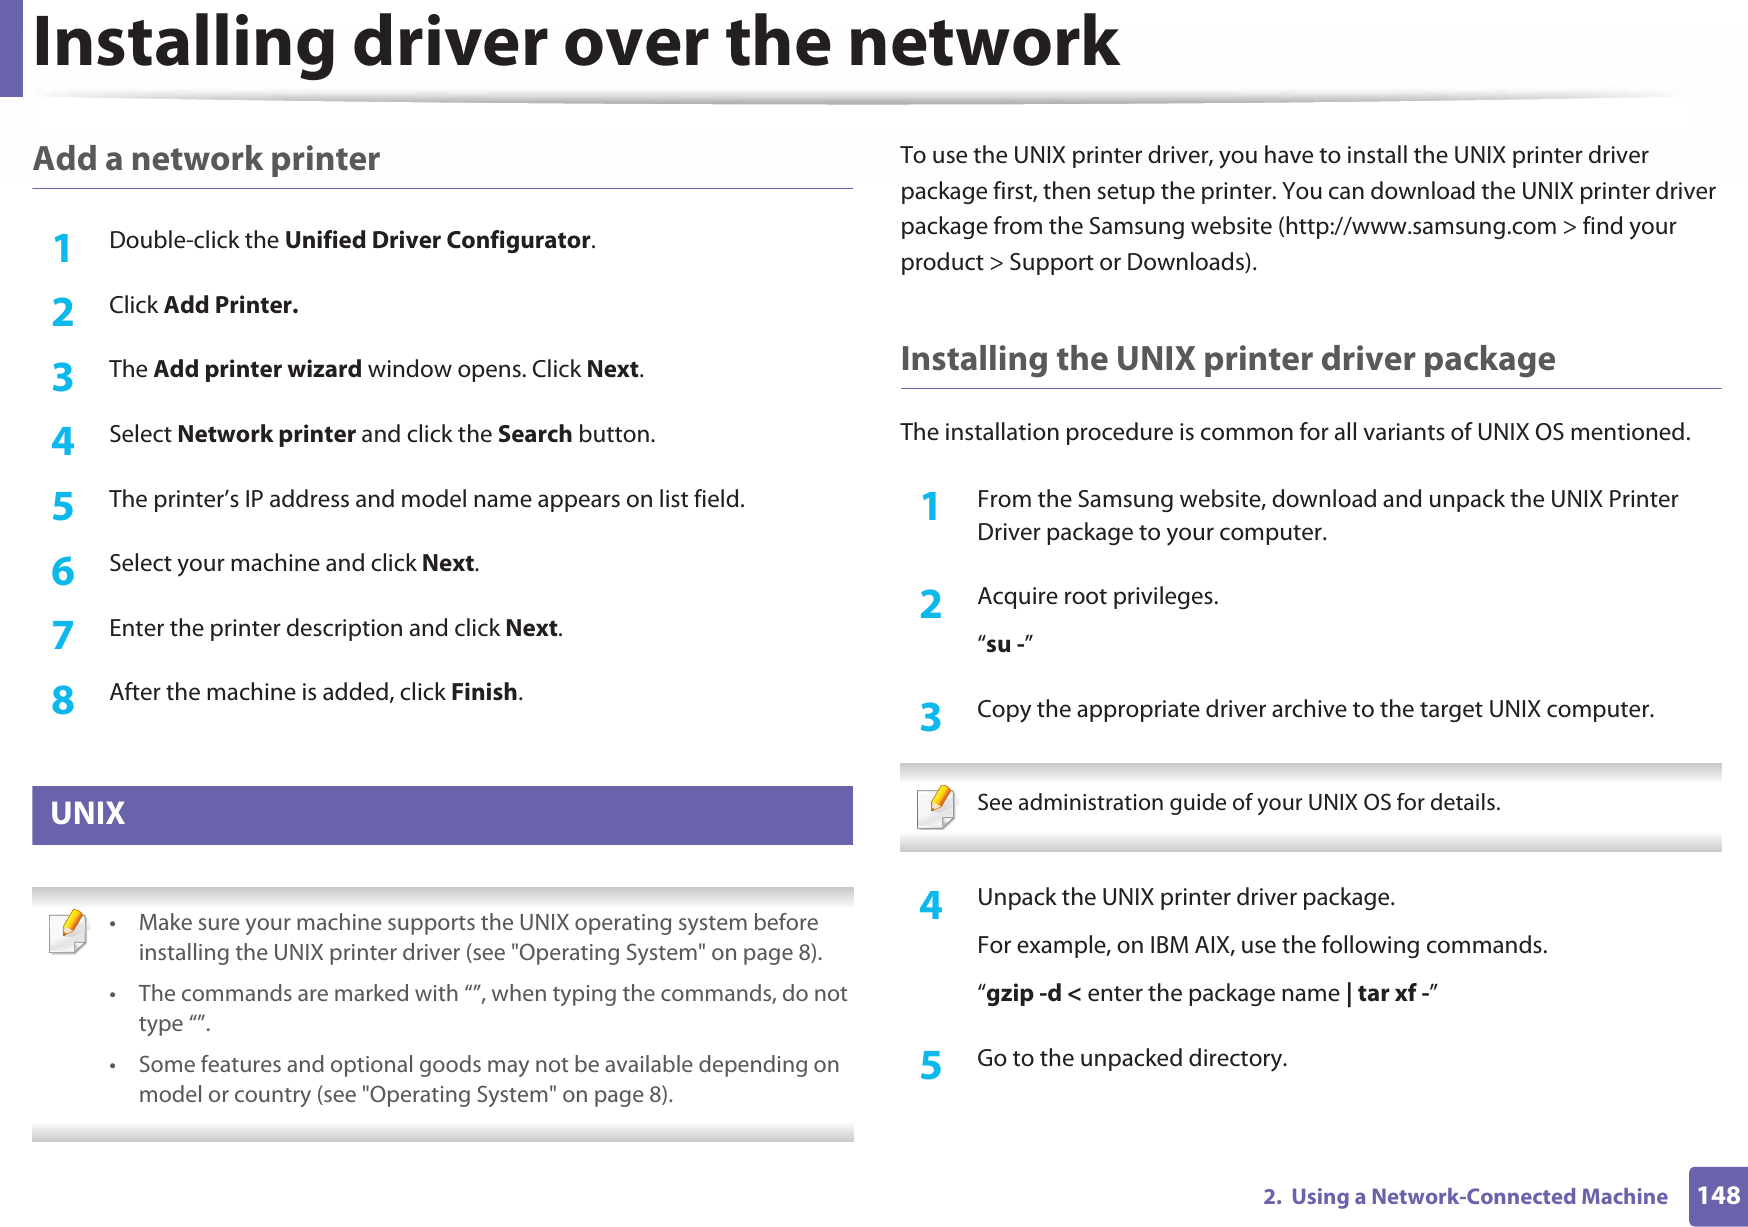
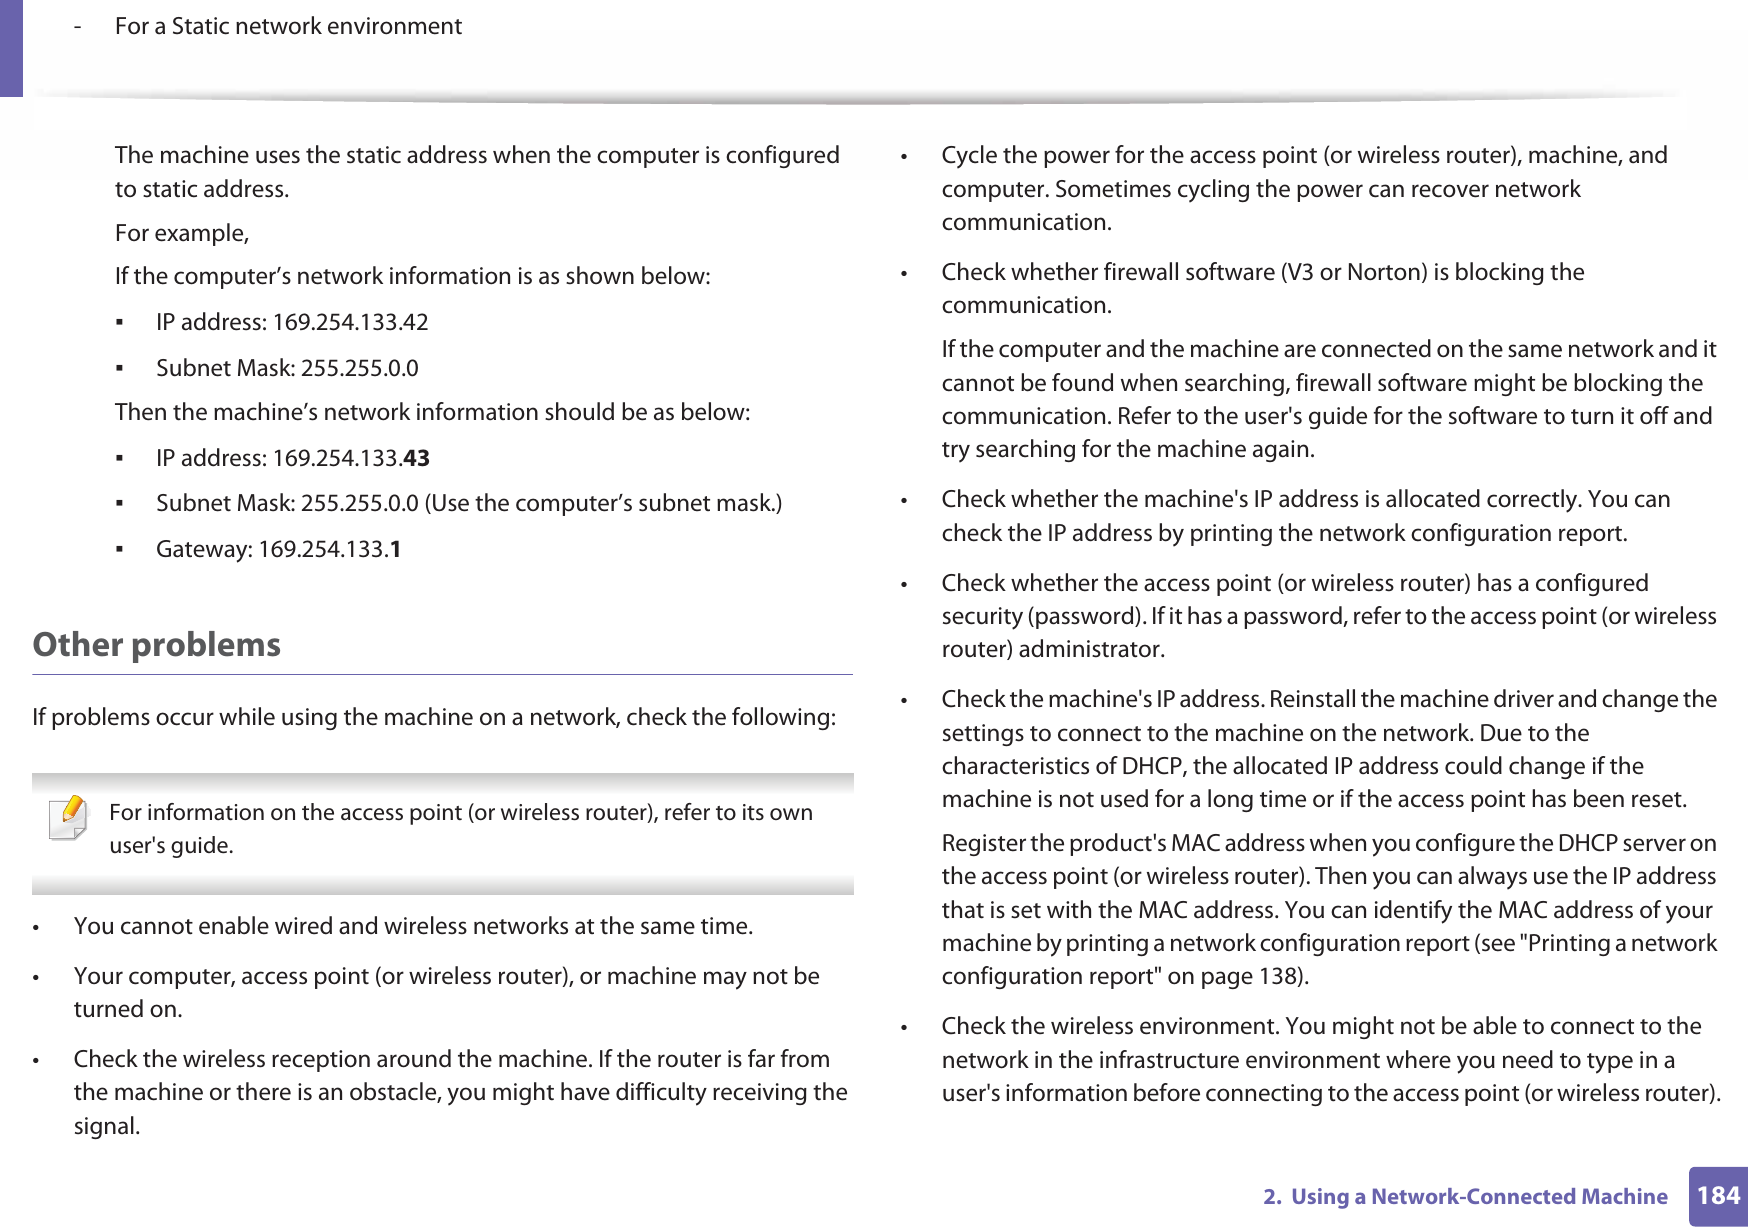
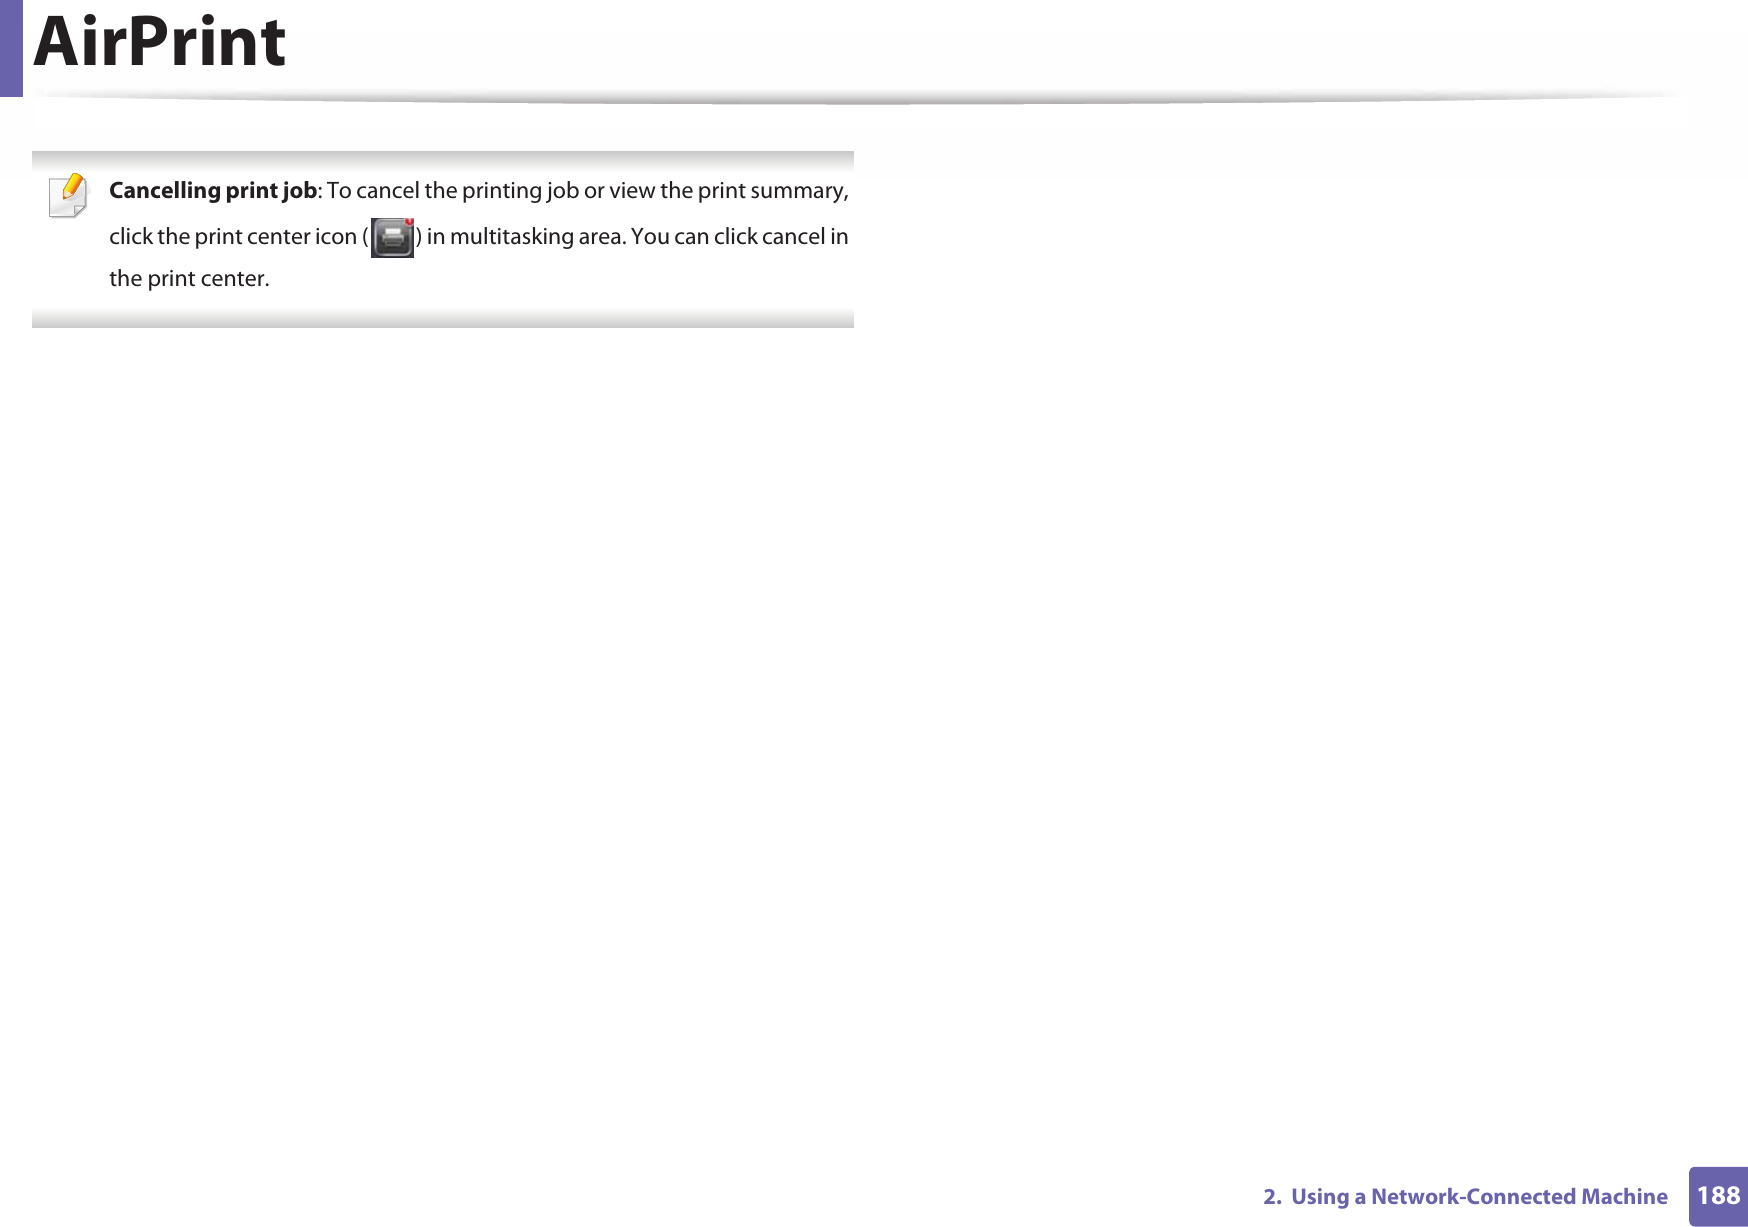
![Understanding display messages1054. Troubleshooting10 Tray-related messages11 Network-related messages12 Misc. messagesMessage Meaning Suggested solutionsPaper Emptyin [tray number] There is no paper in the indicated tray.Load paper in the tray (see "Loading paper in the tray" on page 37).Message Meaning Suggested solutionsNetwork Problem:IP ConflictThe IP address is used elsewhere. Check the IP address or obtain a new IP address.802.1x Network ErrorFail to authenticate. Check the network authentication protocol. If the problem persists, contact your network administrator.Message Meaning Suggested solutionsDoor OpenClose itThe cover is not securely latched.Close the cover until it locks into place. Error [error number]Install [color] tonerThe indicated toner cartridge is installed improperly, or the connector is polluted.Reinstall the Samsung-genuine toner cartridge two or three times to confirm it is seated properly. If the problem persists, please call for service. Error [error number]Turn off then onThe machine unit cannot be controlled.Reboot the power and try the printing job again. If the problem persists, please call for service. Error [error number]Call for serviceInstall TR.belt unit.The transfer belt is not installed.Install a Samsung-genuine transfer belt.Not compatibletransfer beltThe transfer belt of the machine is not for your machine.Install the a Samsung-genuine part designed for your machine.](https://usermanual.wiki/Samsung-Electronics-Co/SLM4025DW.Users-Manual-3/User-Guide-1908522-Page-10.png)


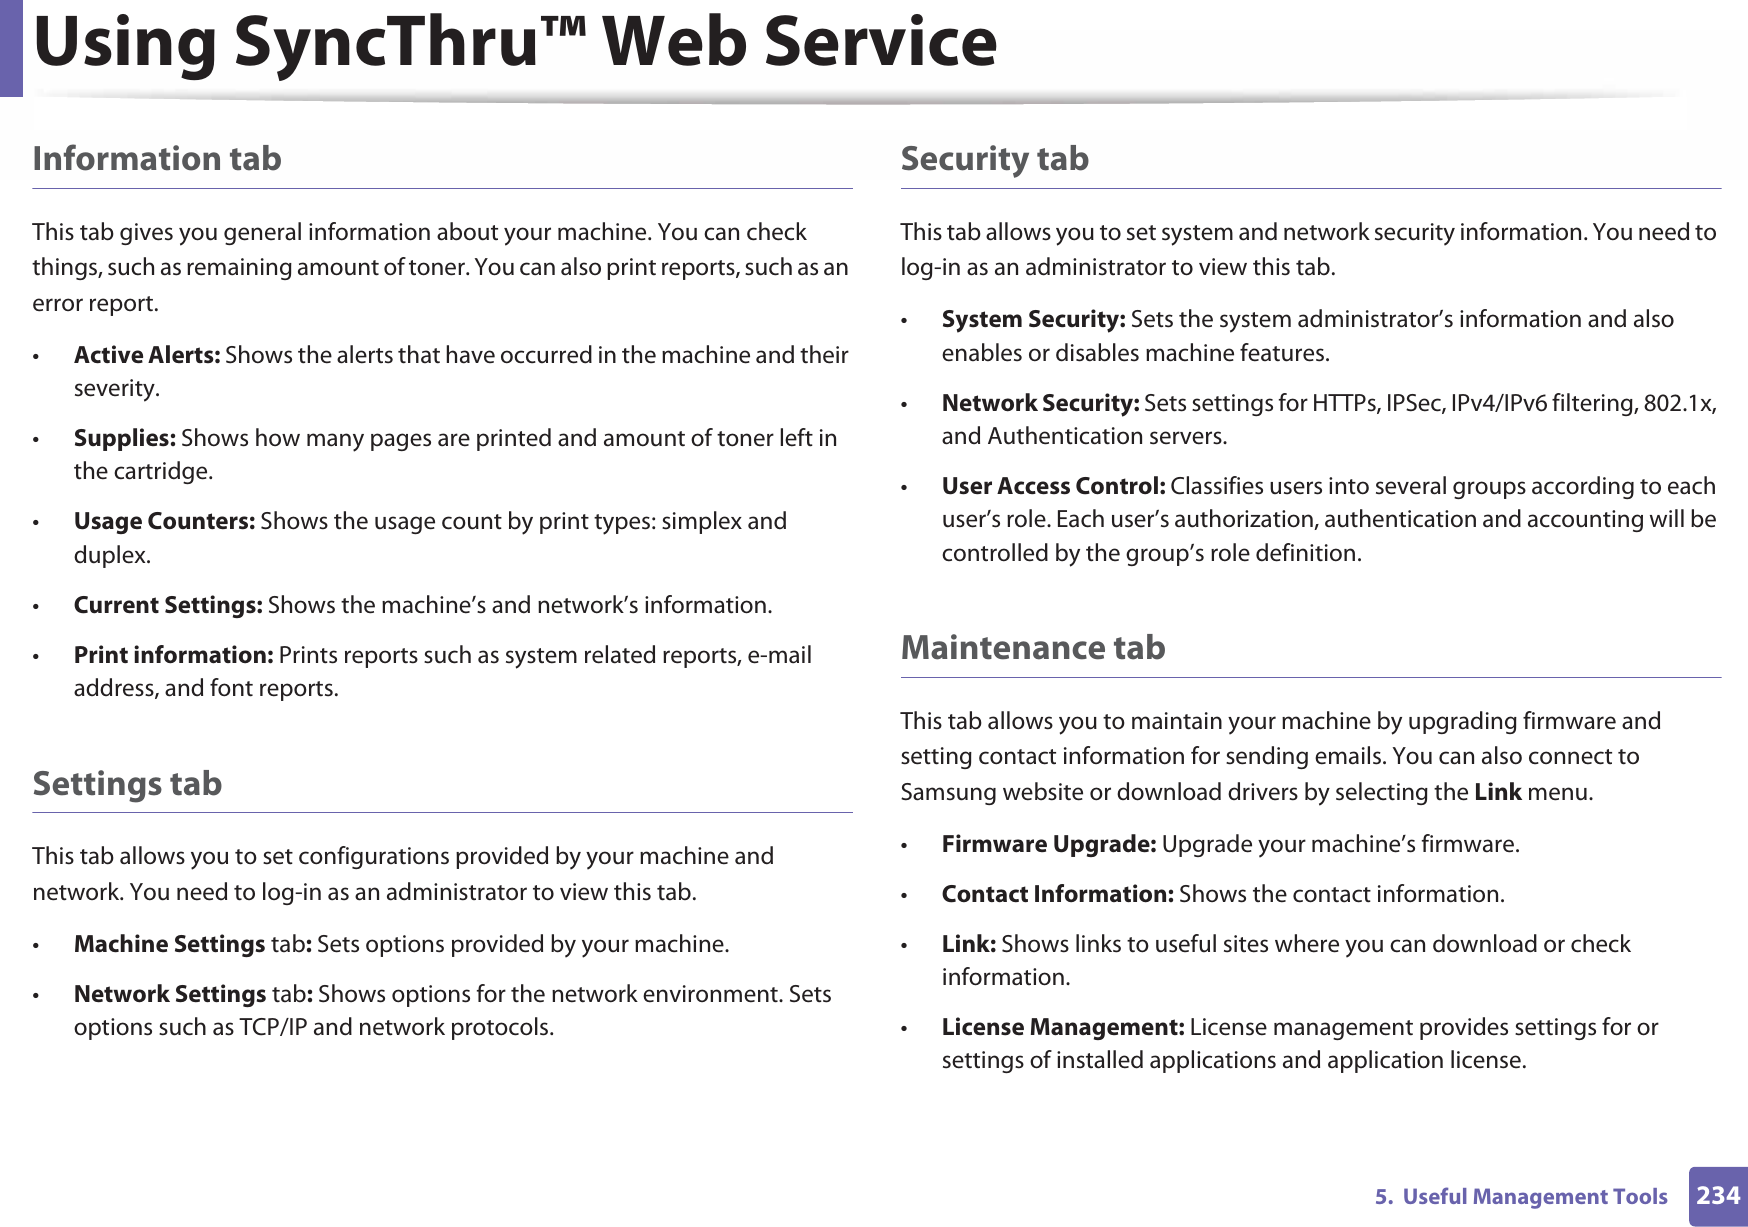
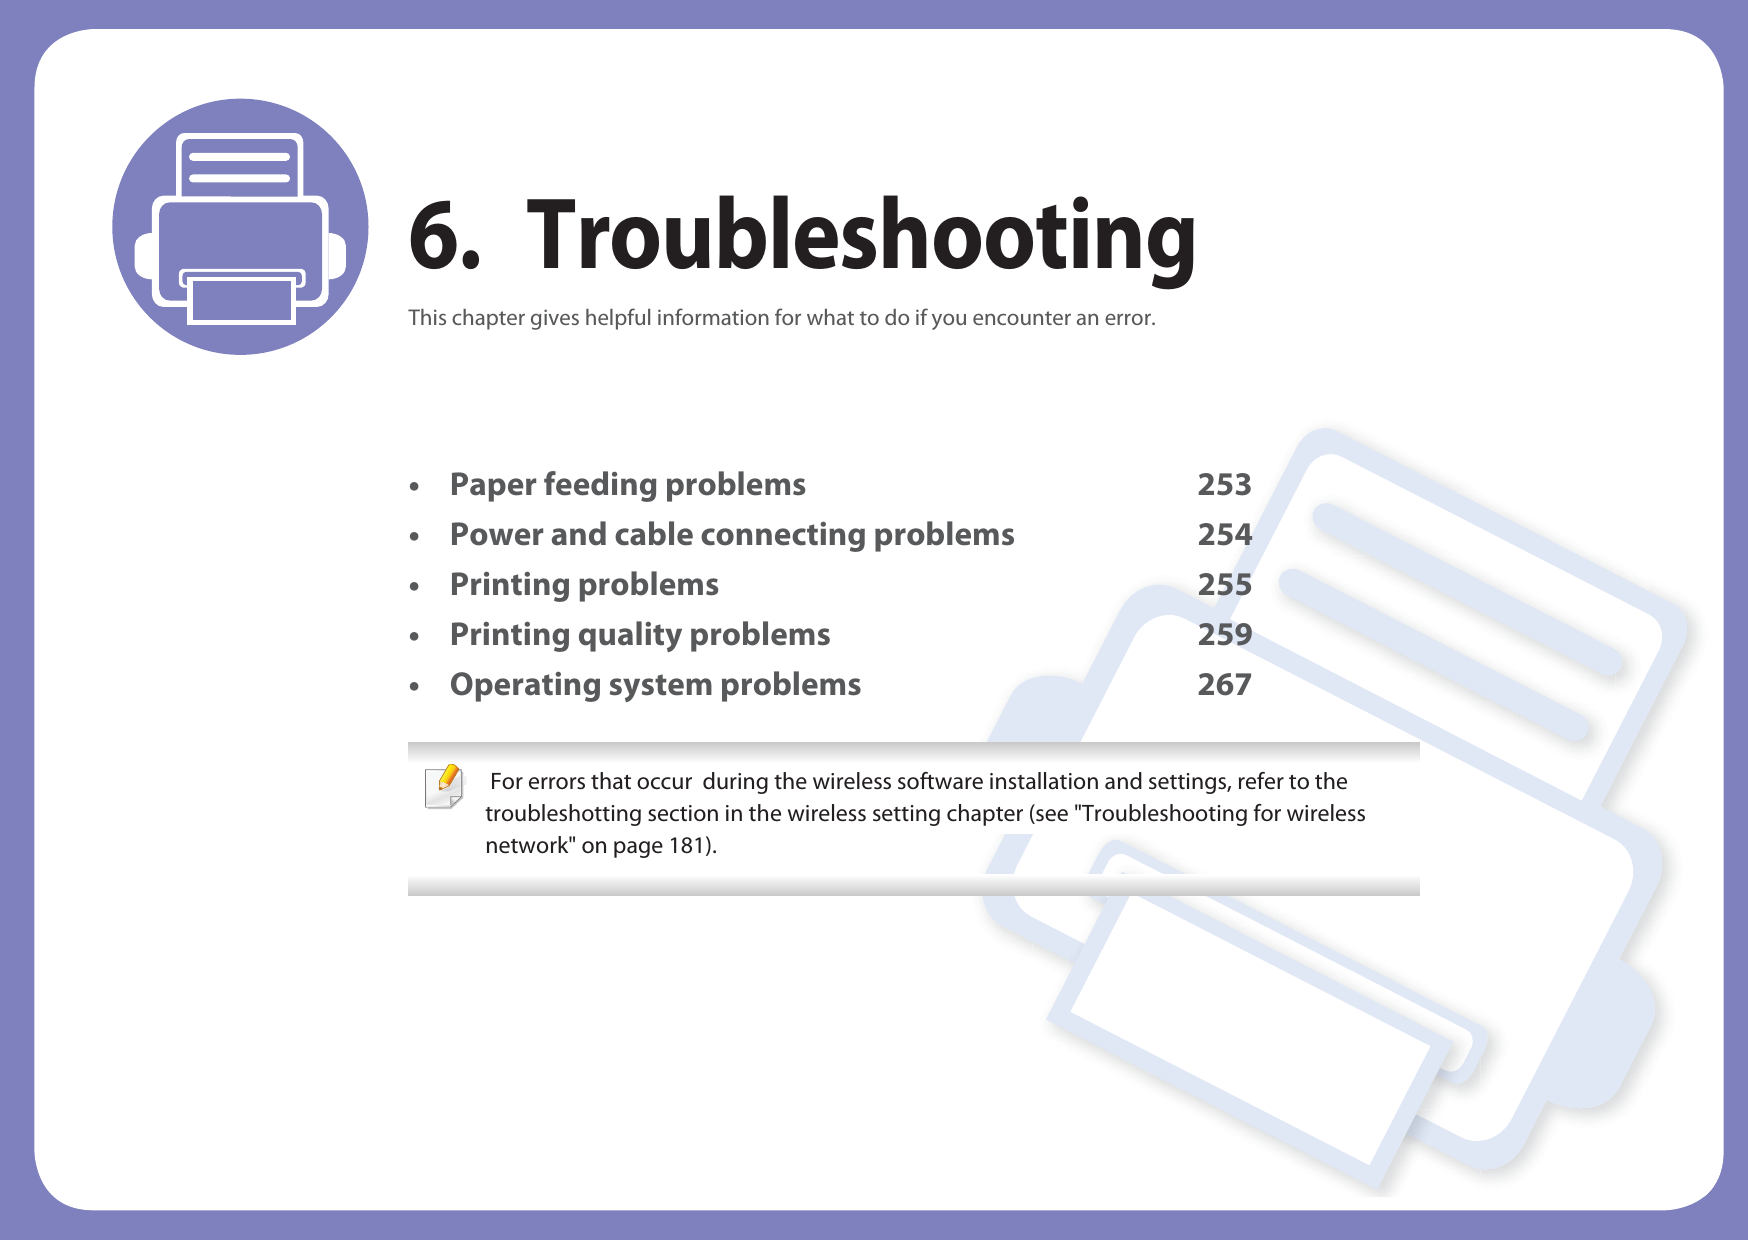
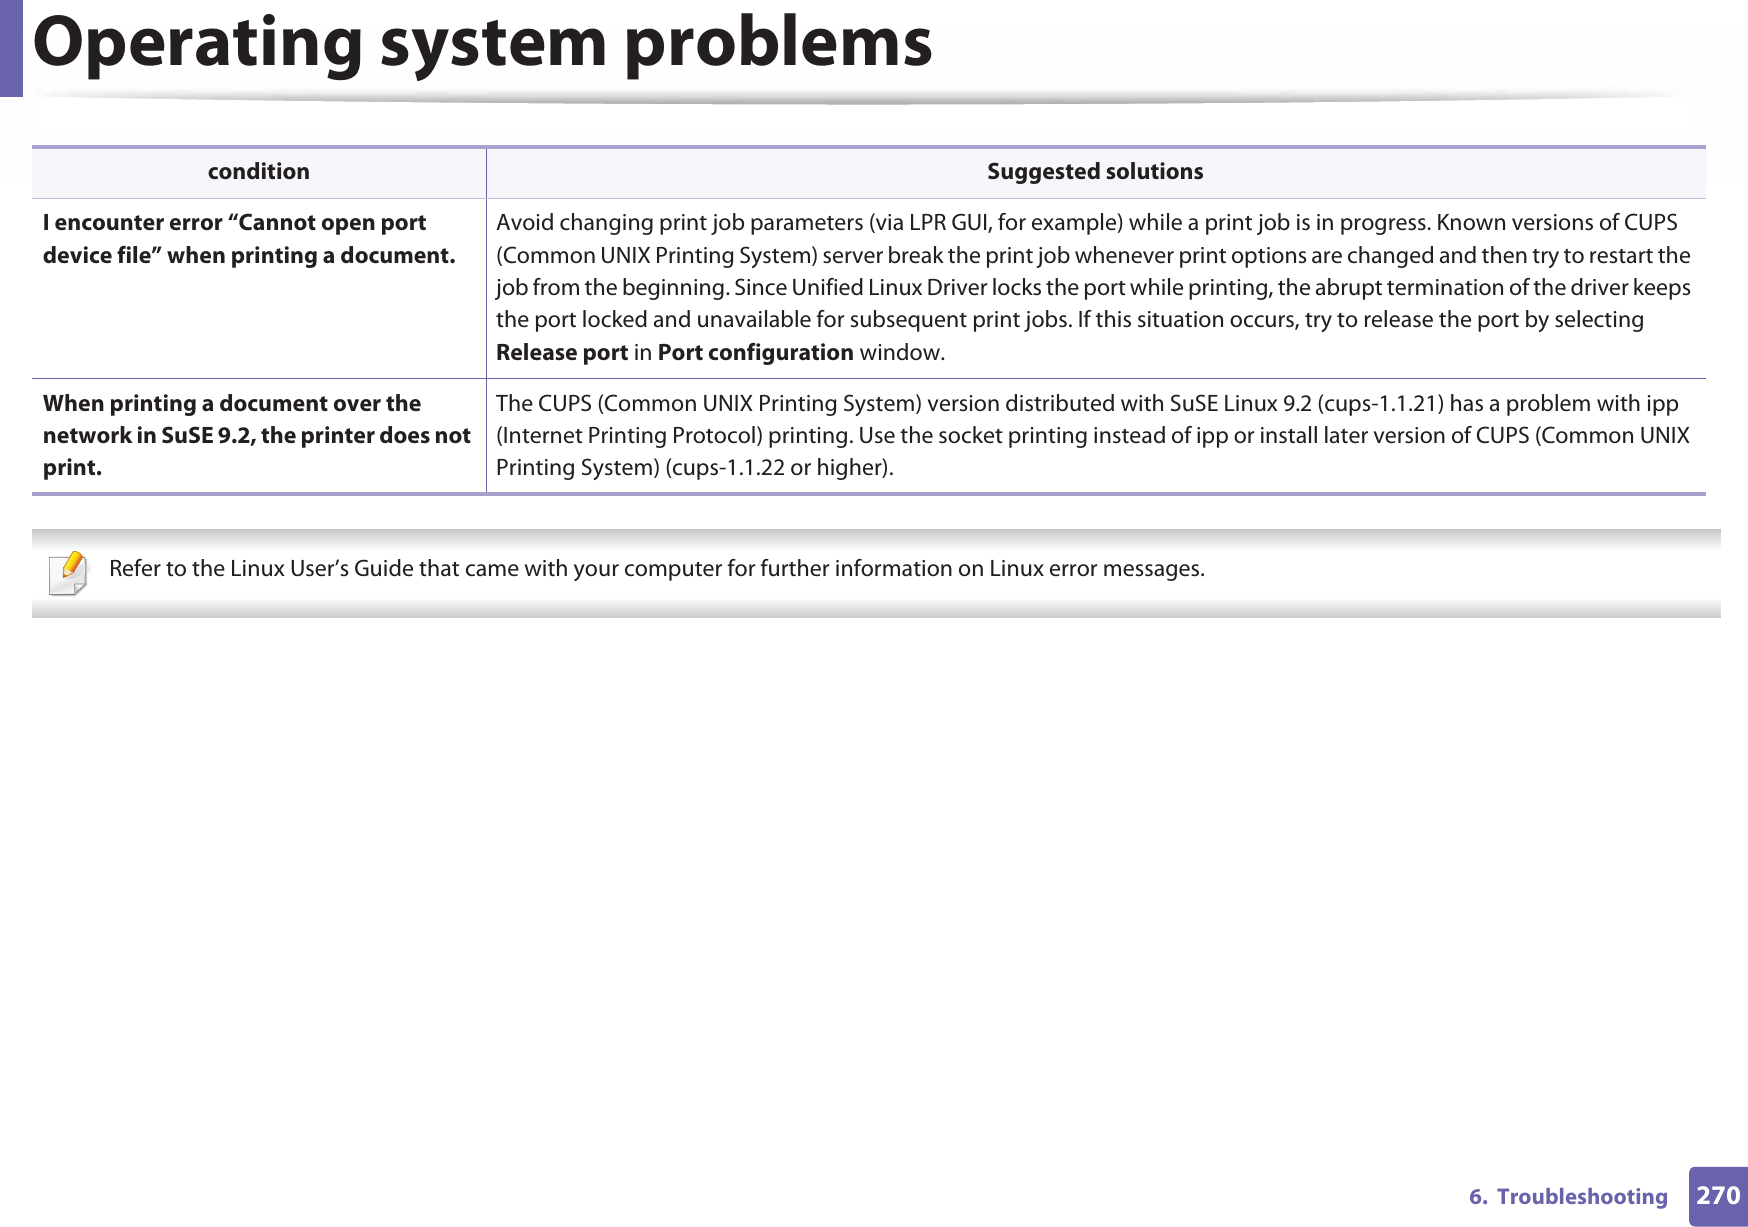
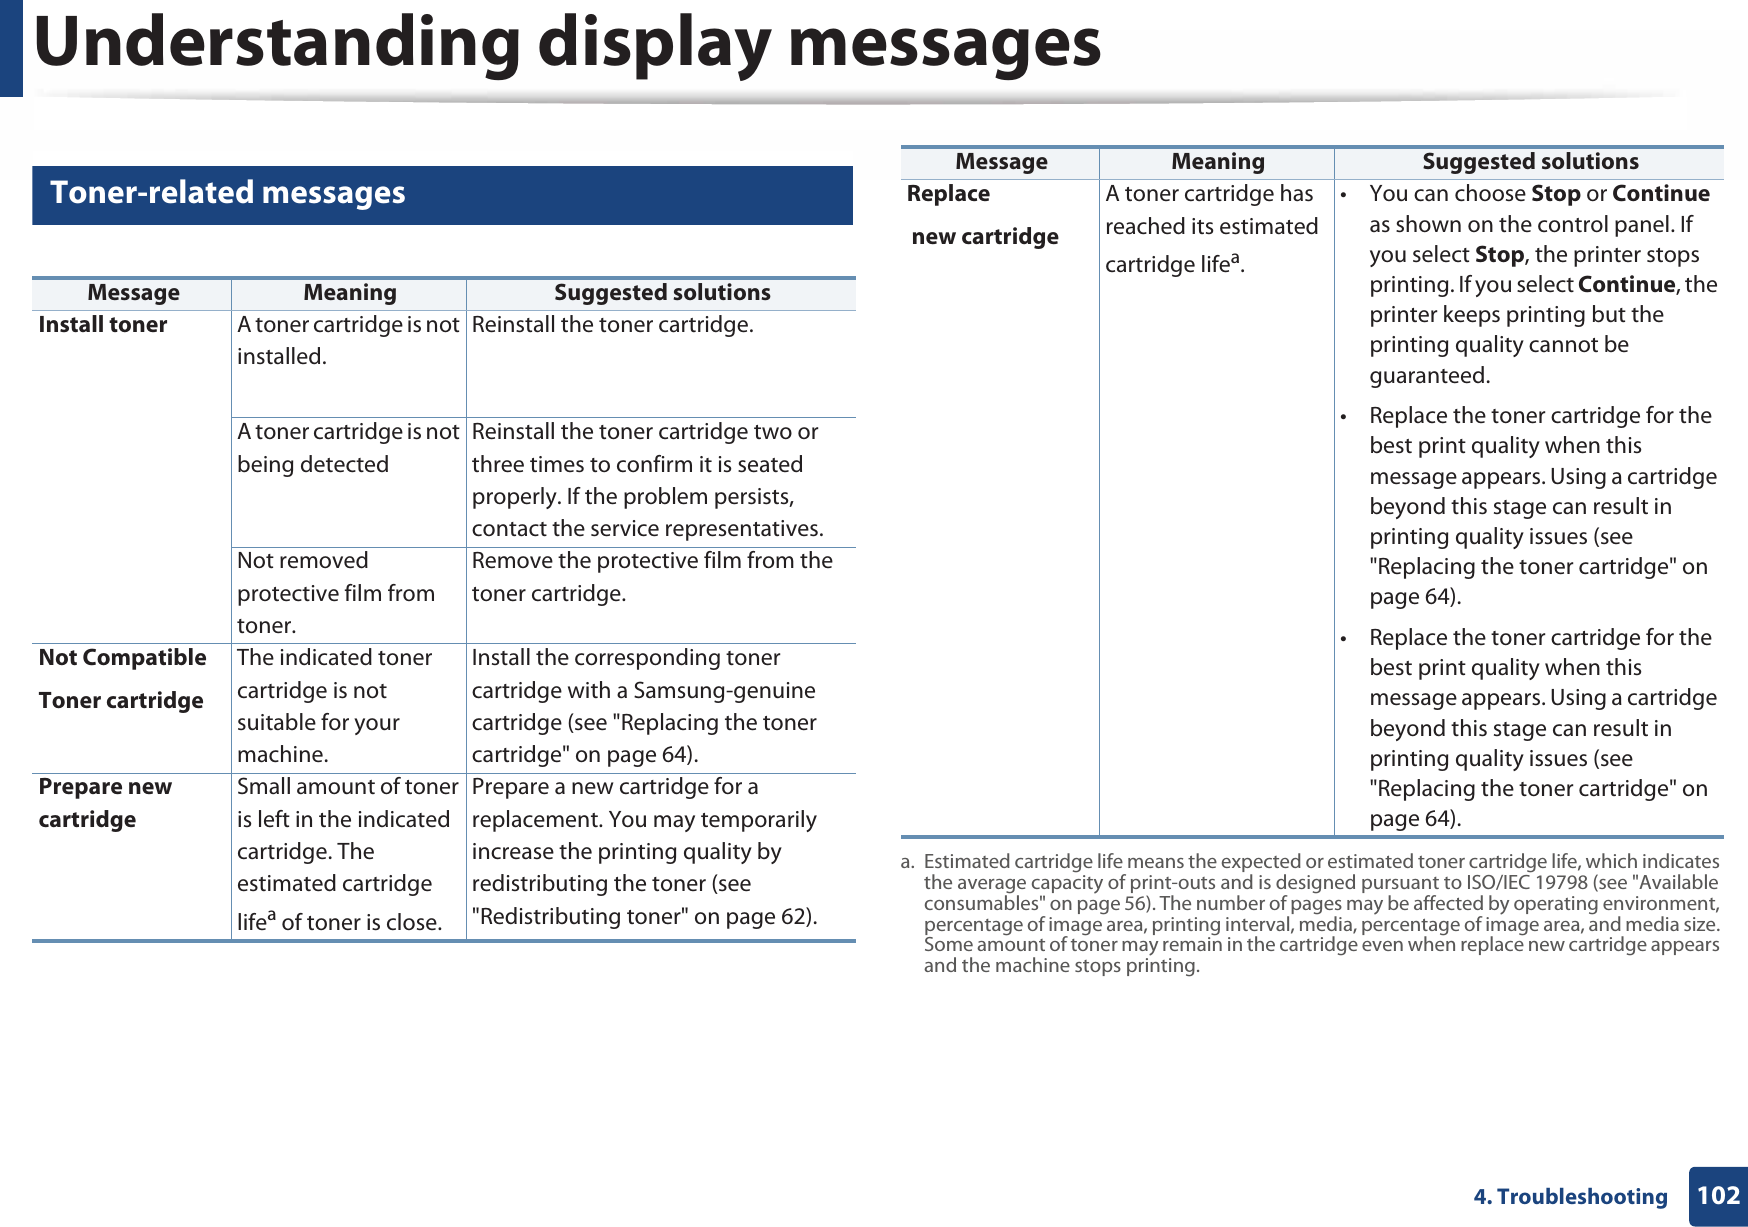
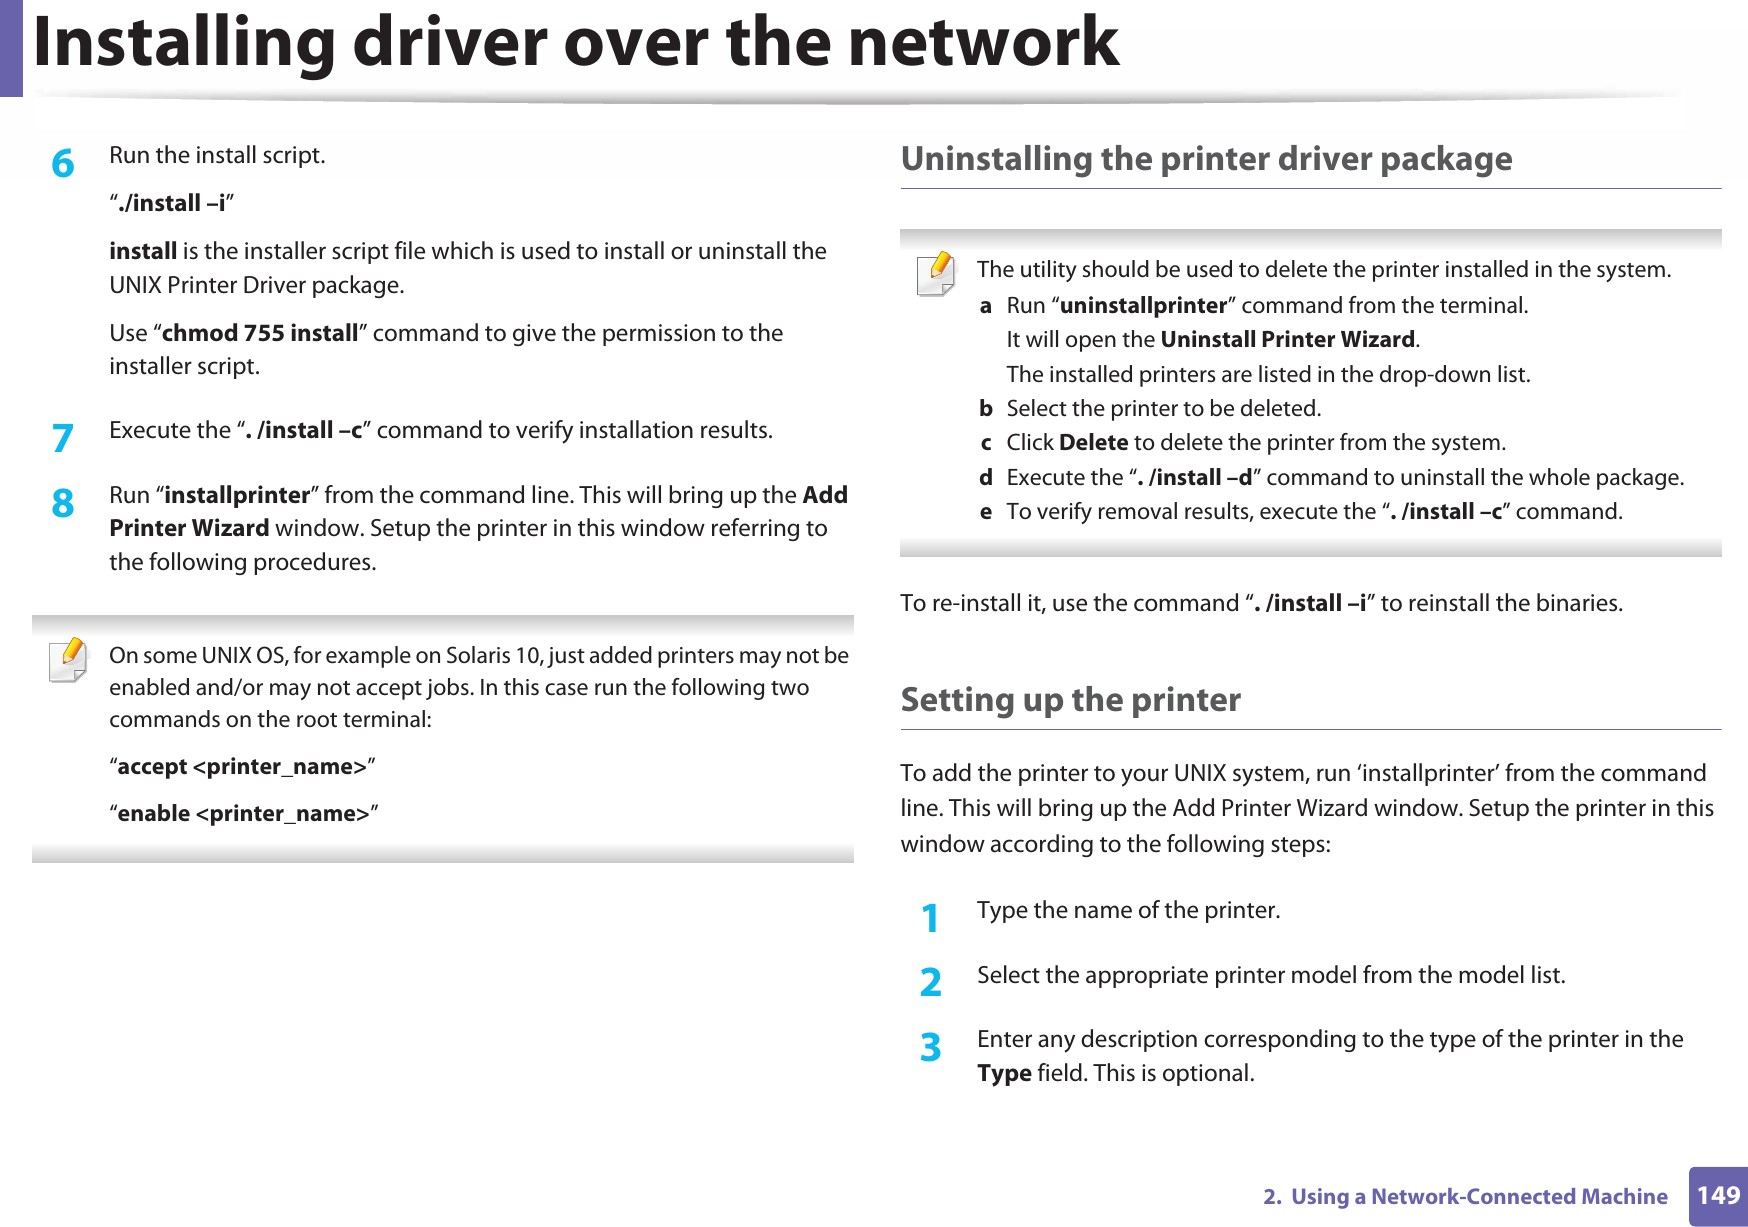
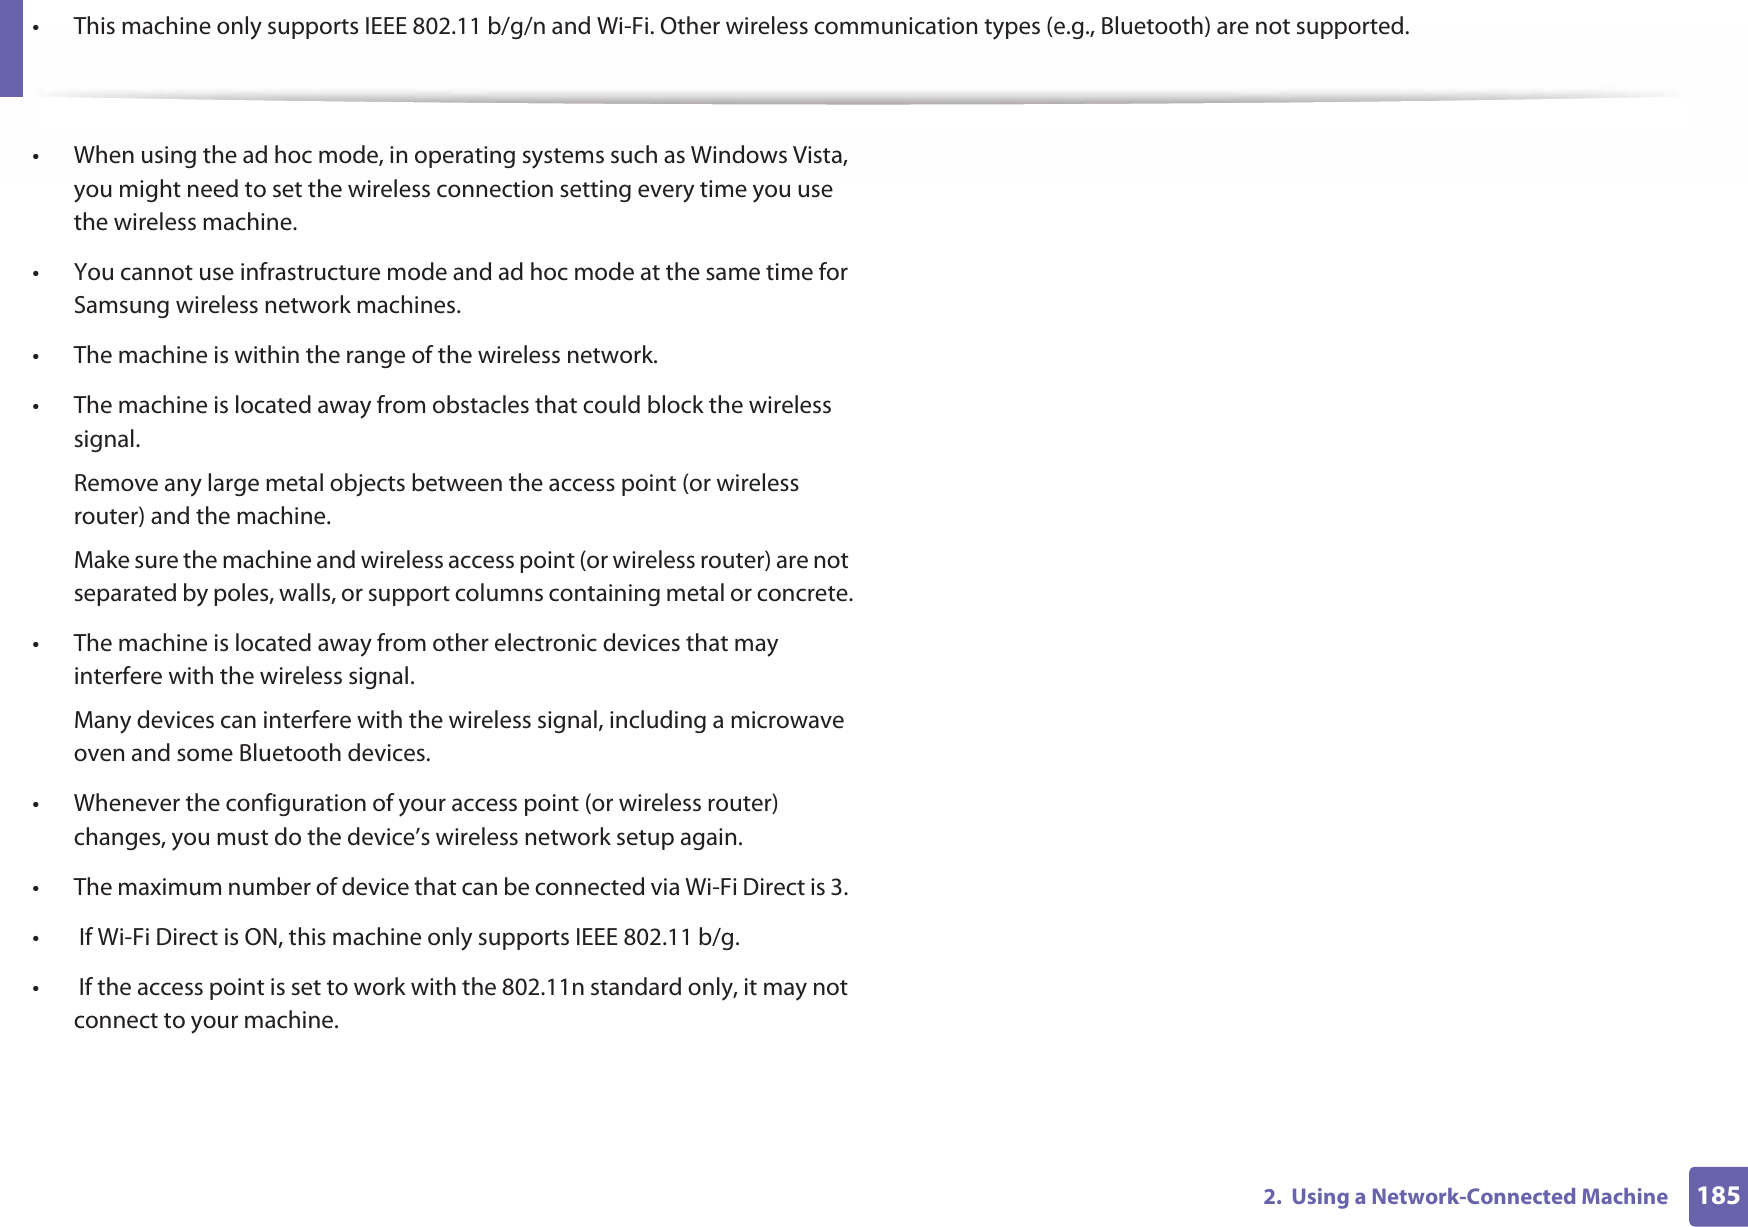
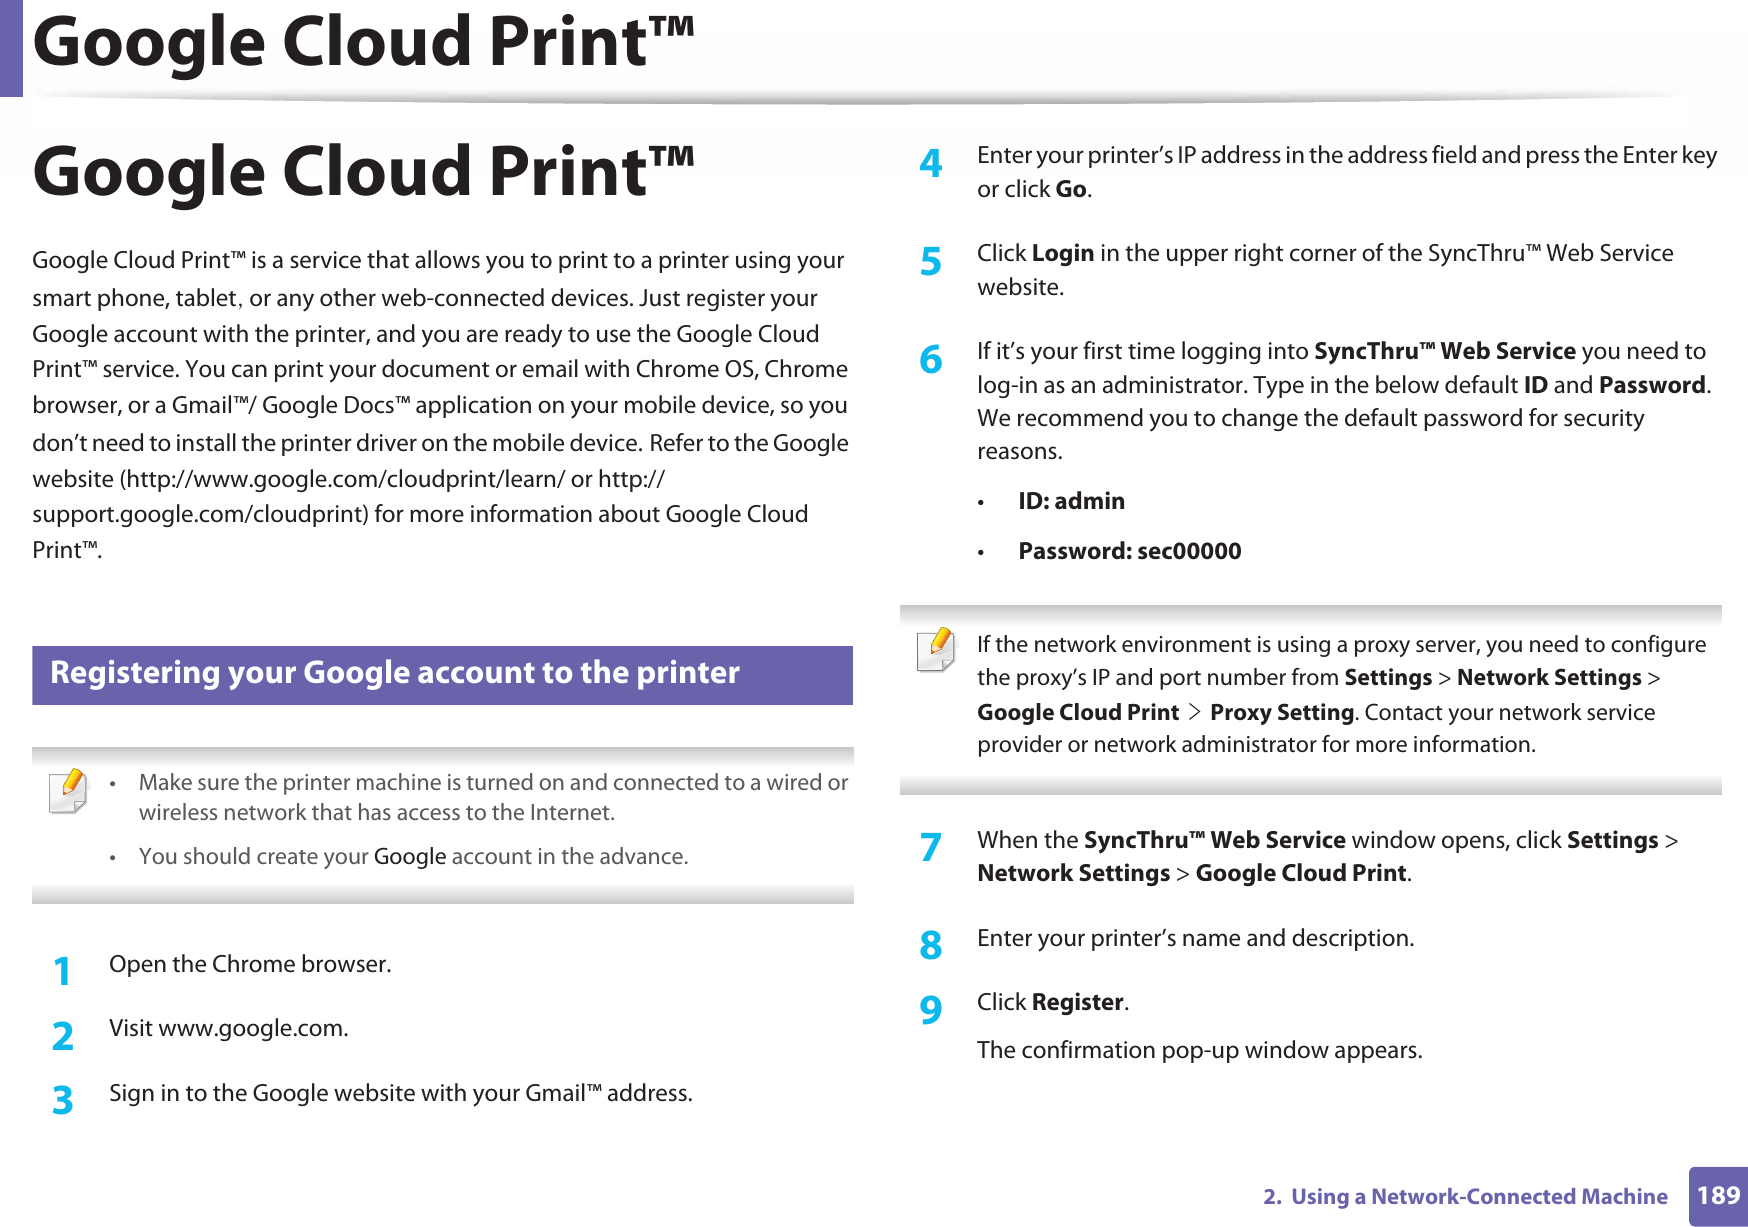
![Regulatory information1225. AppendixThe 13 amp plug is the most widely used in the UK and should be suitable. However, some buildings (mainly old ones) do not have normal 13 amp plug sockets. You need to buy a suitable plug adaptor. Do not remove the moulded plug. If you cut off the moulded plug, get rid of it straight away.You cannot rewire the plug and you may receive an electric shock if you plug it into a socket. Important warning: If the wires in the mains lead do not match the colors marked in your plug, do the following:You must connect the green and yellow wire to the pin marked by the letter “E” or by the safety ‘Earth symbol’ or colored green and yellow or green.You must connect the blue wire to the pin which is marked with the letter “N” or colored black.You must connect the brown wire to the pin which is marked with the letter “L” or colored red.You must have a 13 amp fuse in the plug, adaptor, or at the distribution board.19 Declaration of conformity (European countries)Approvals and CertificationsJanuary 1, 1995: Council Directive 2006/95/EC Approximation of the laws of the member states related to low voltage equipment.January 1, 1996: Council Directive 2004/108/EC, approximation of the laws of the Member States related to electromagnetic compatibility.You must earth this machine.The wires in the mains lead have the following color code:•Green and Yellow: Earth•Blue: Neutral•Brown: LiveHereby, Samsung Electronics, declares that this [ProXpress M332xND, ProXpress M382xD, ProXpress M382xND, ProXpress M402xND] is in compliance with the essential requirements and other relevant provisions of Low Voltage Directive (2006/95/EC), EMC Directive (2004/108/EC).Hereby, Samsung Electronics, declares that this [ProXpress M382xDW] is in compliance with the essential requirements and other relevant provisions of R&TTE Directive 1999/5/EC.The declaration of conformity may be consulted at www.samsung.com, go to Support > Download center and enter your printer (MFP) name to browse the EuDoC.](https://usermanual.wiki/Samsung-Electronics-Co/SLM4025DW.Users-Manual-3/User-Guide-1908522-Page-27.png)

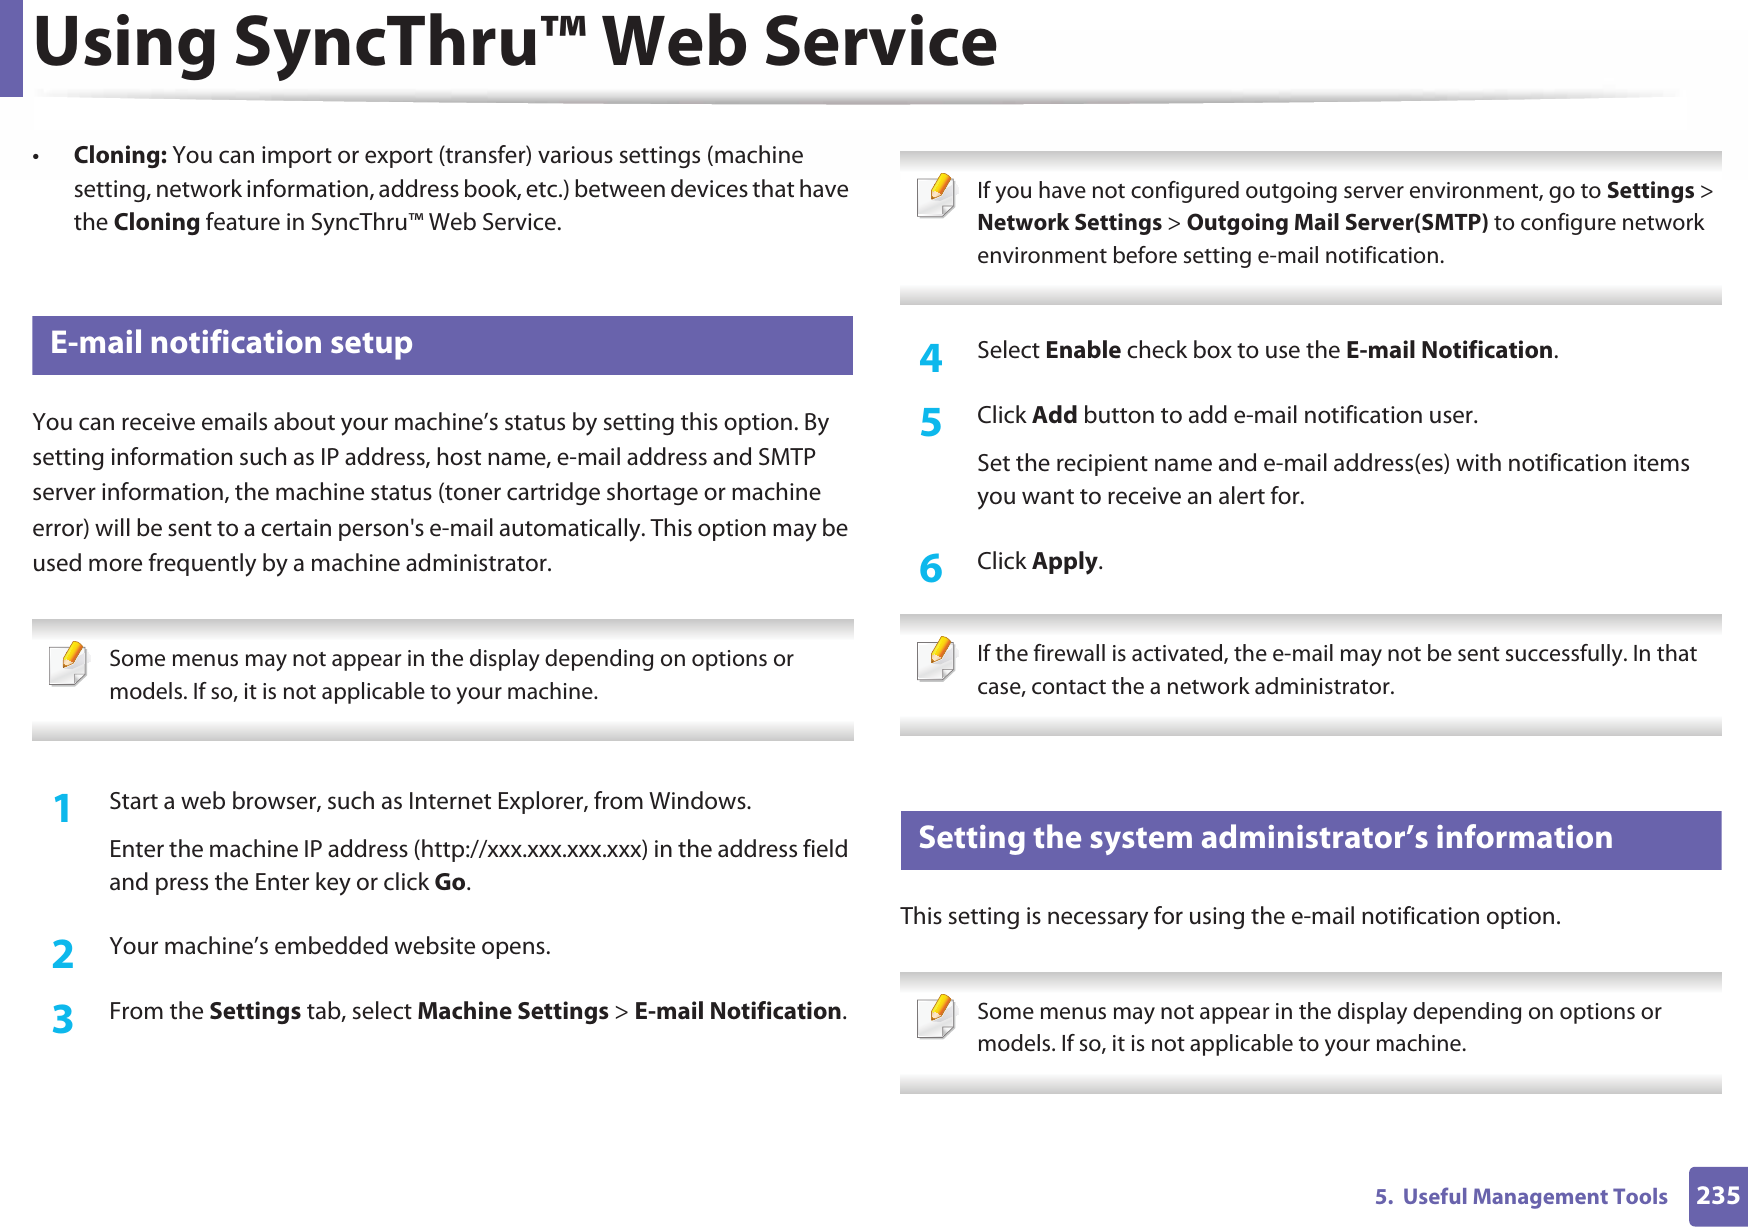
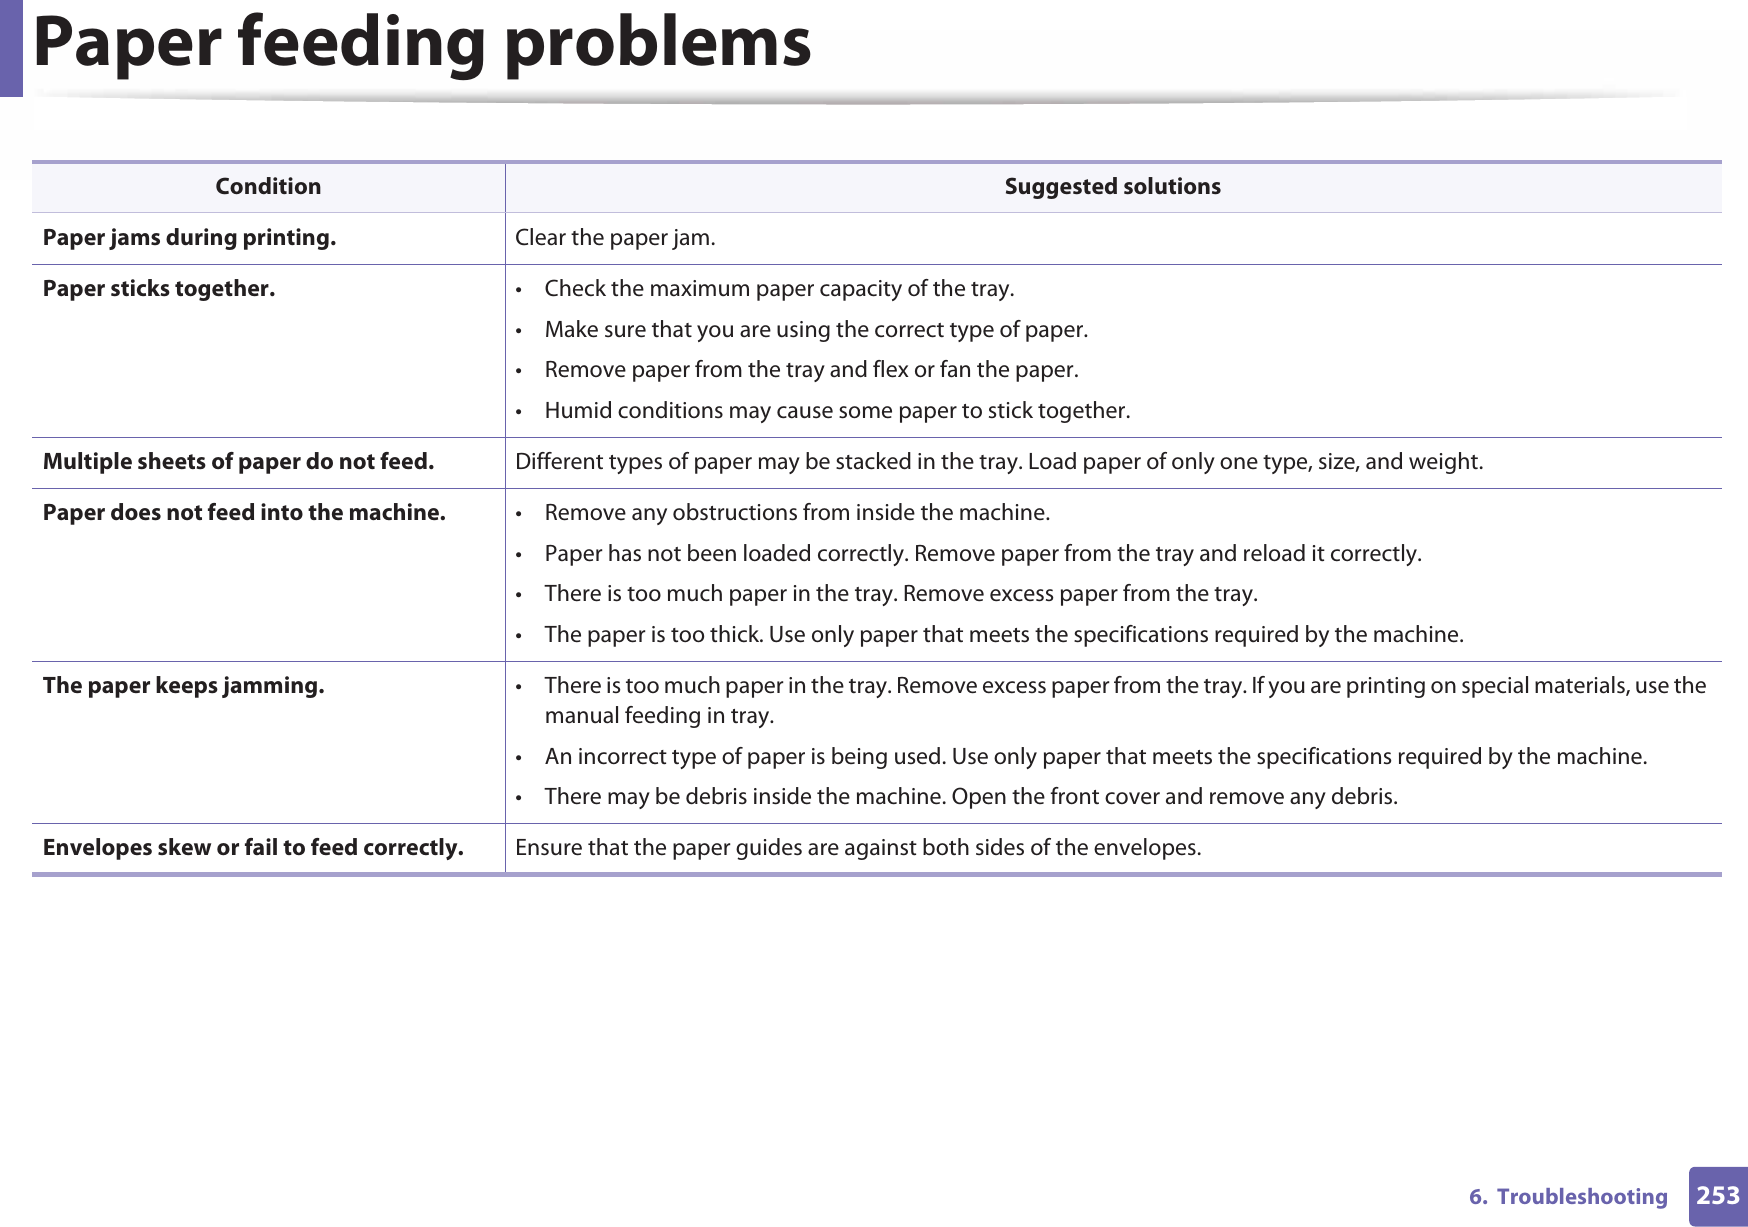
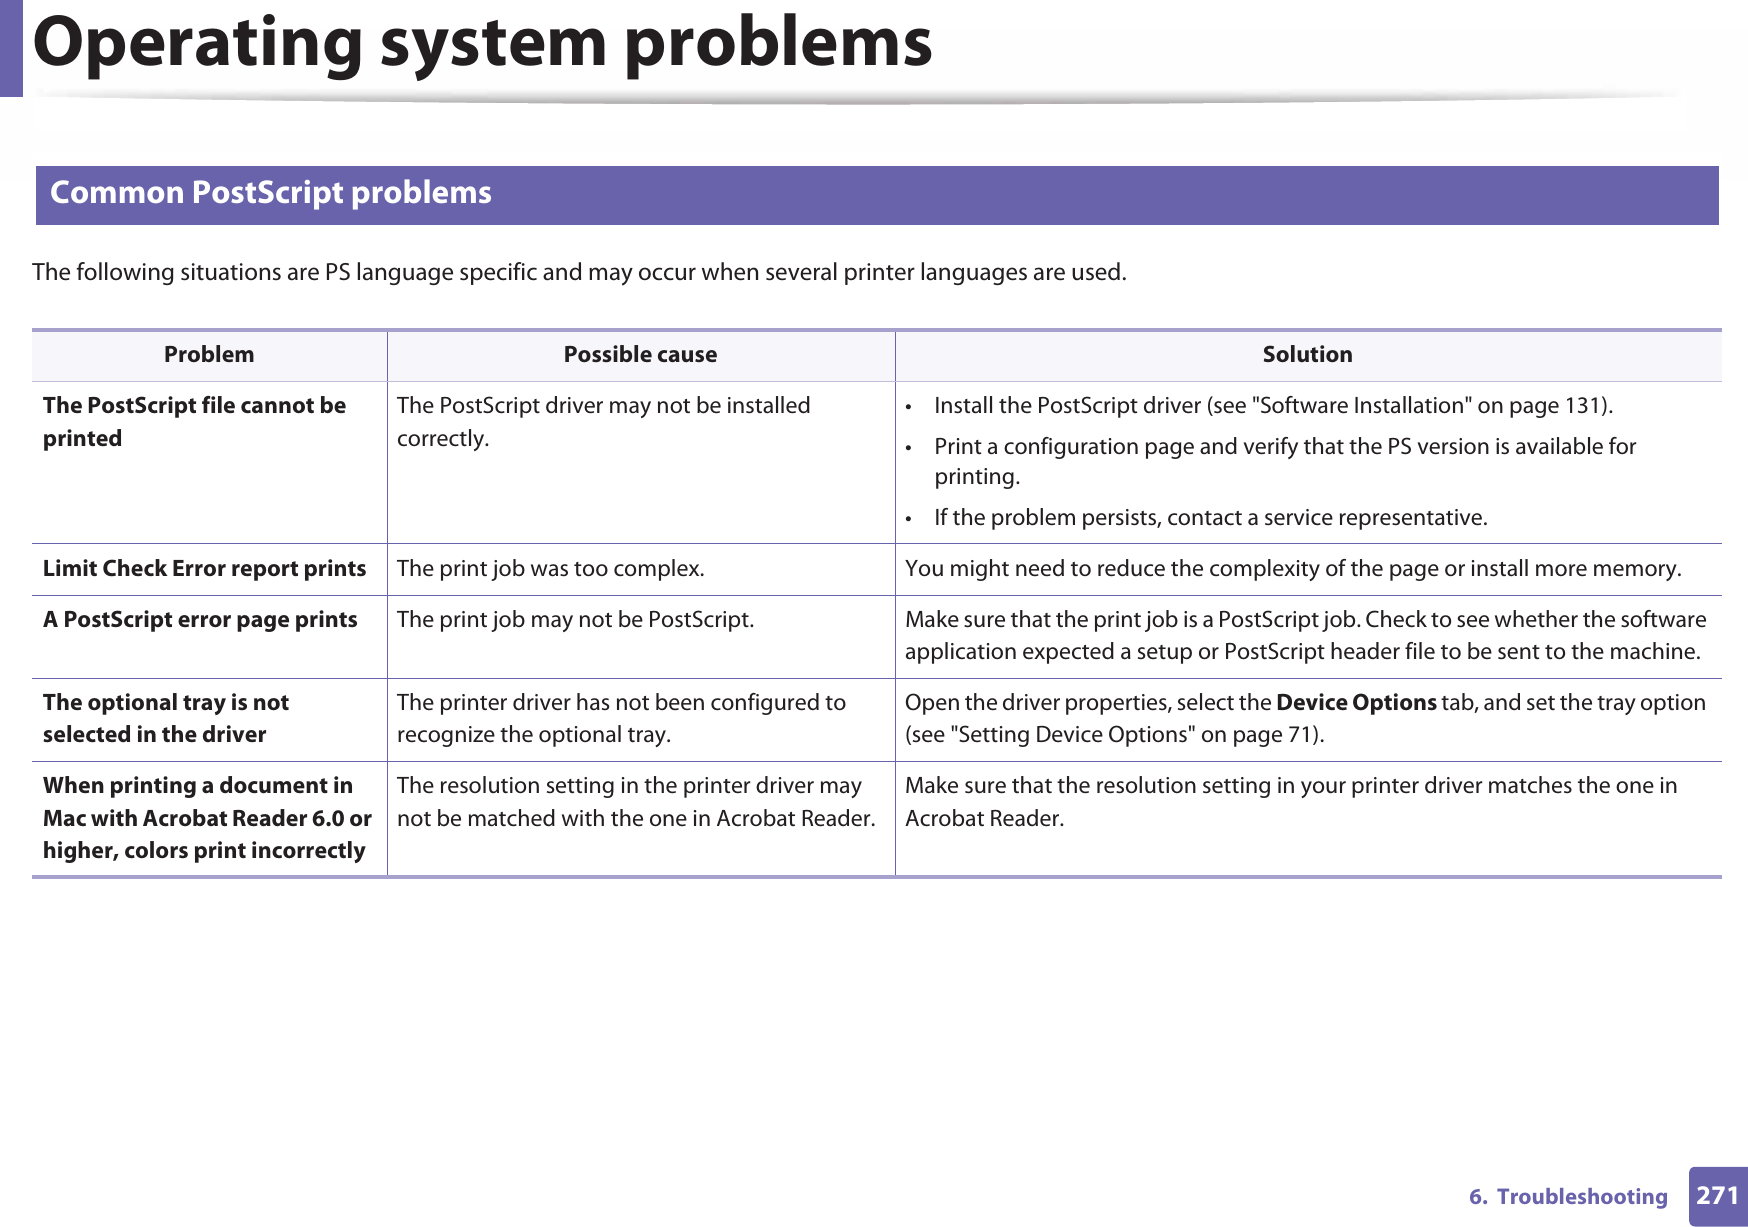
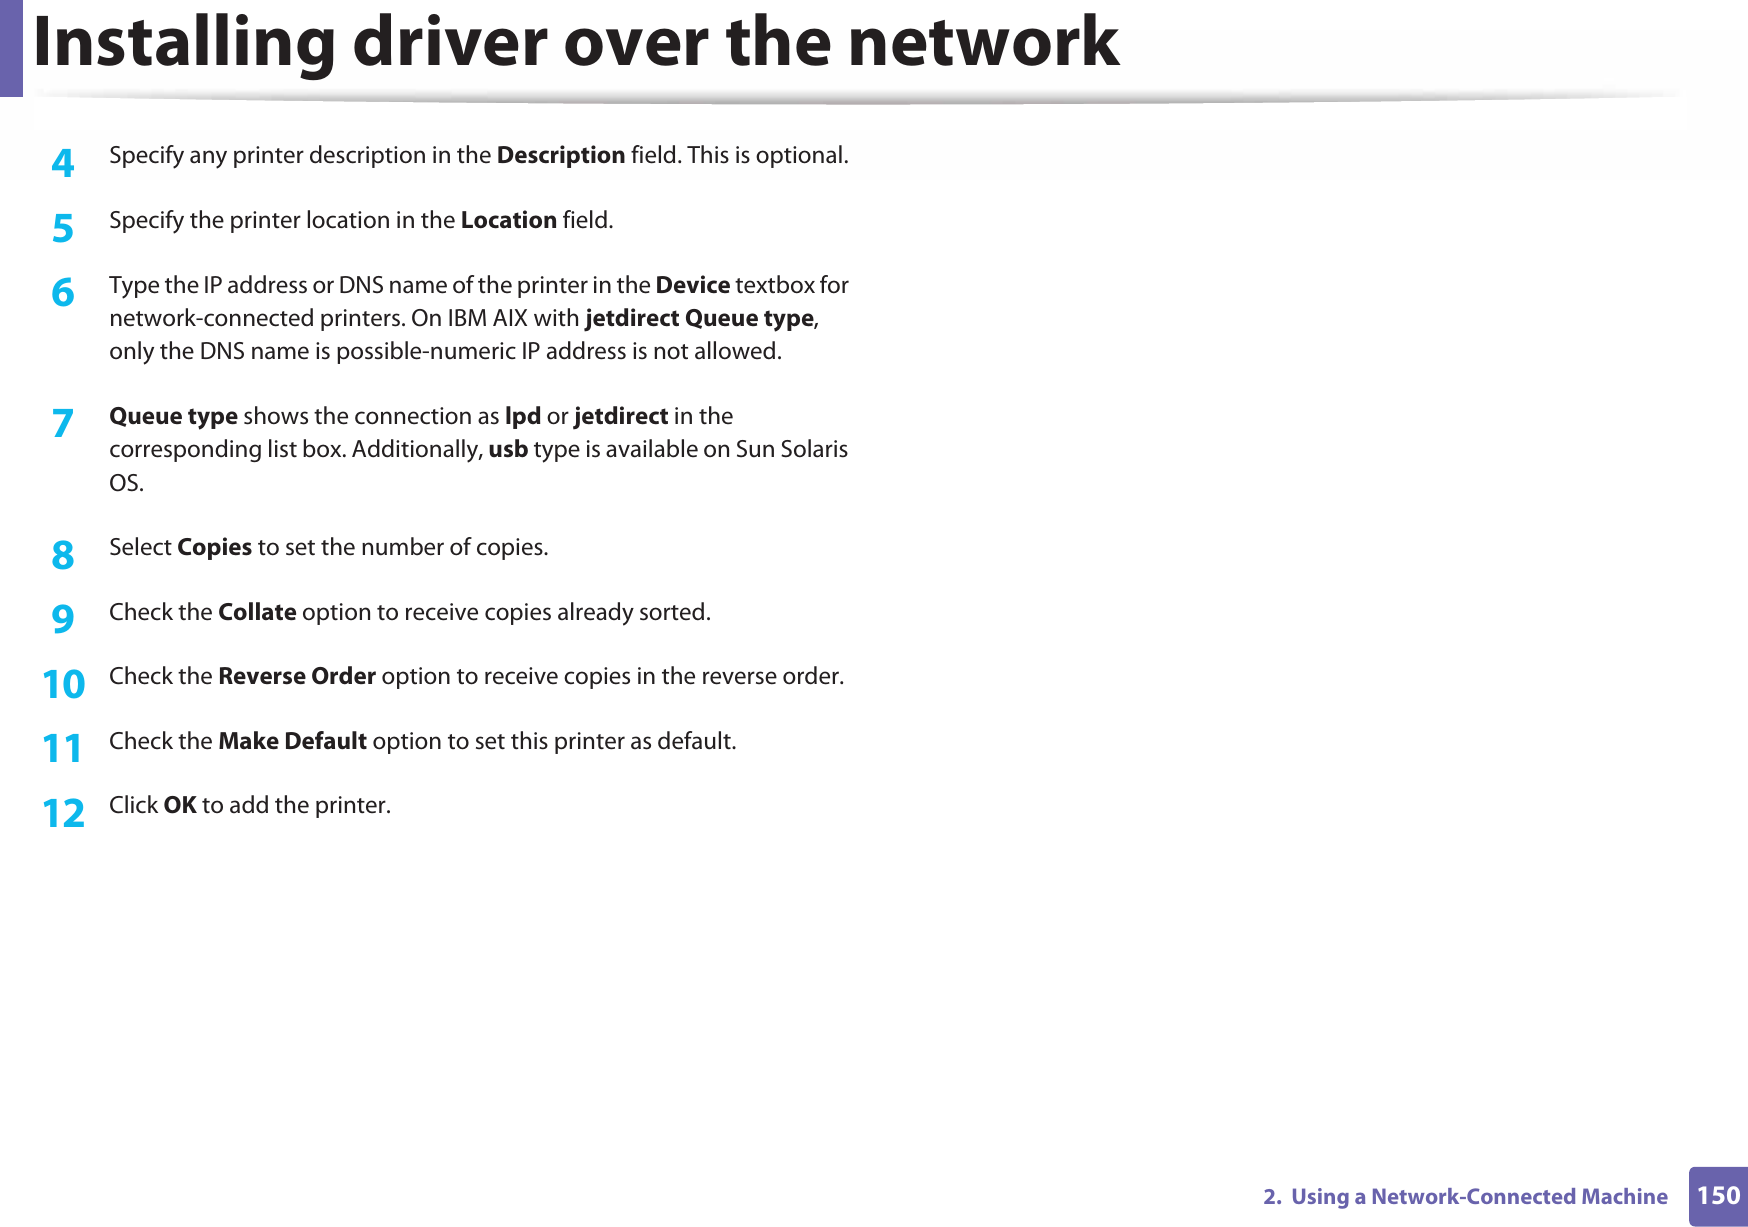
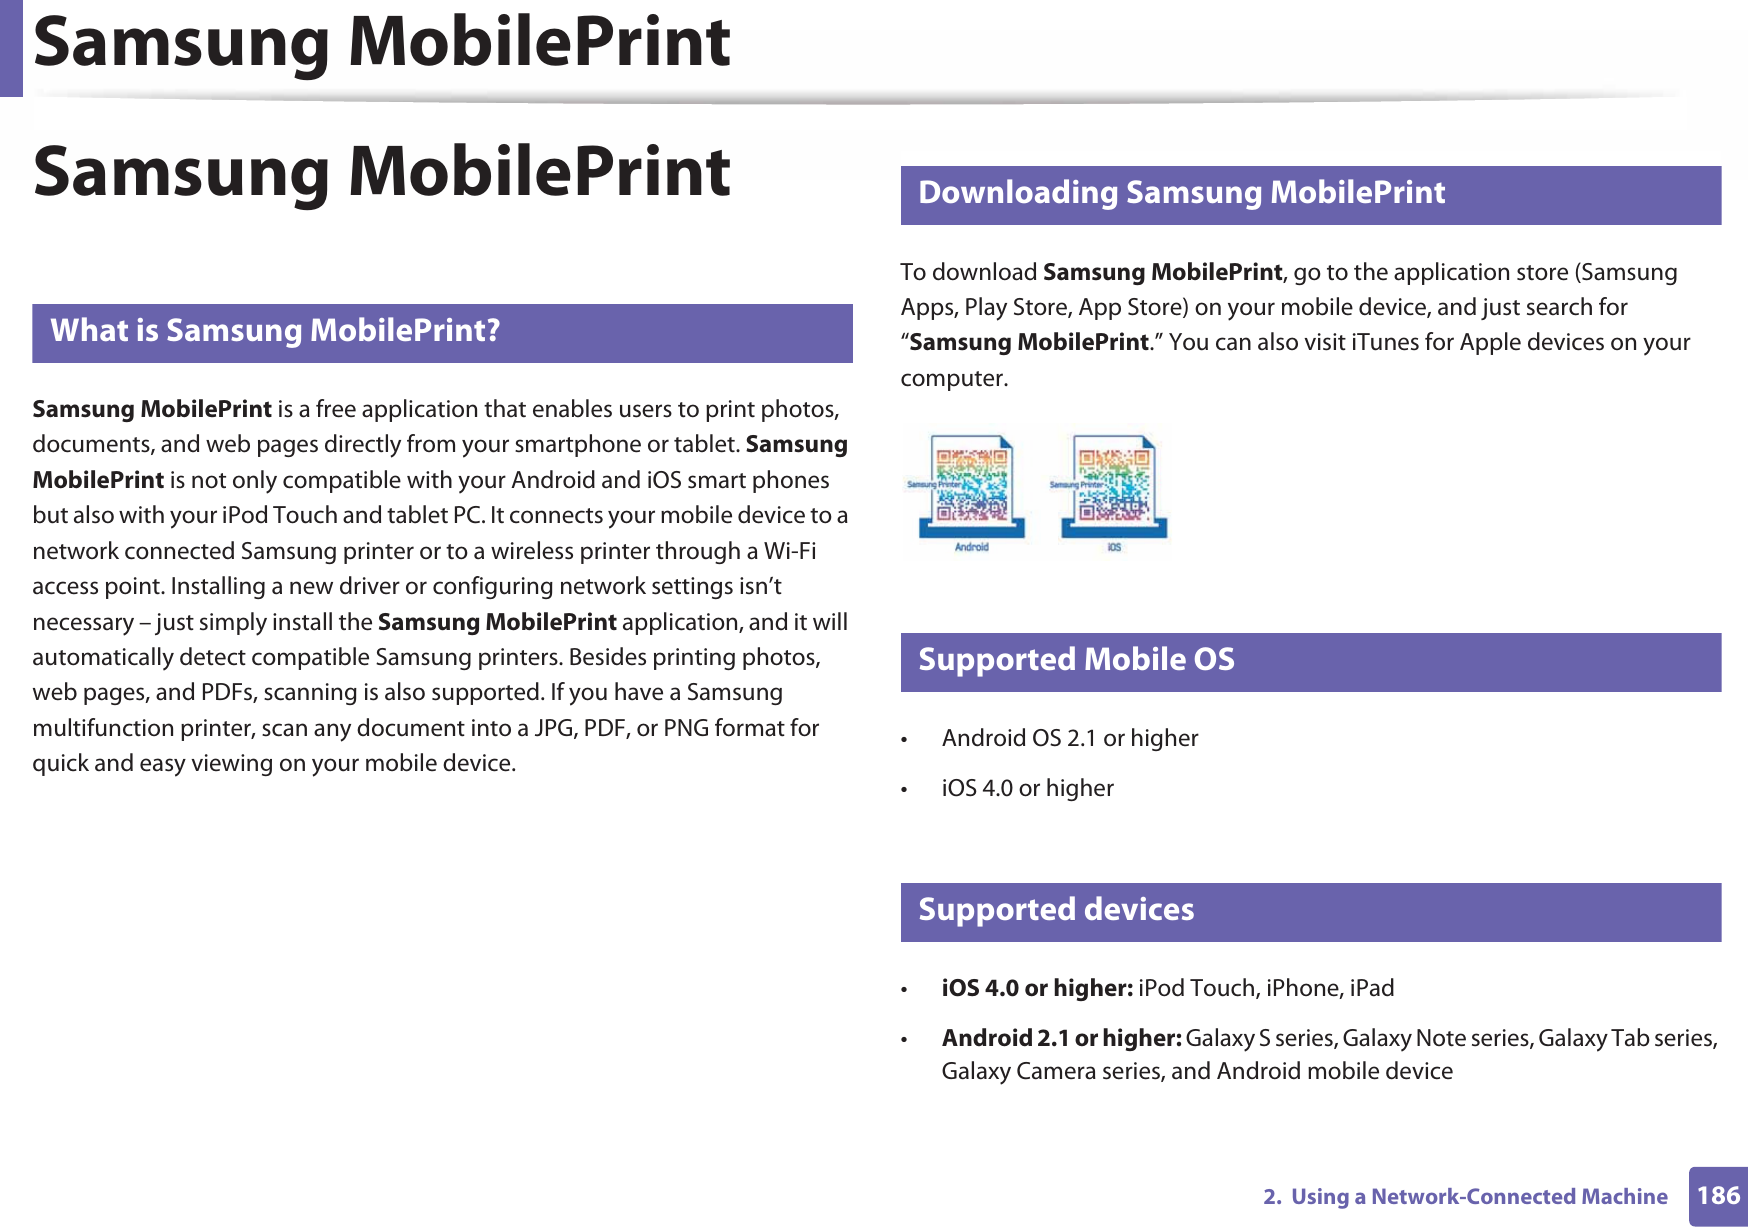
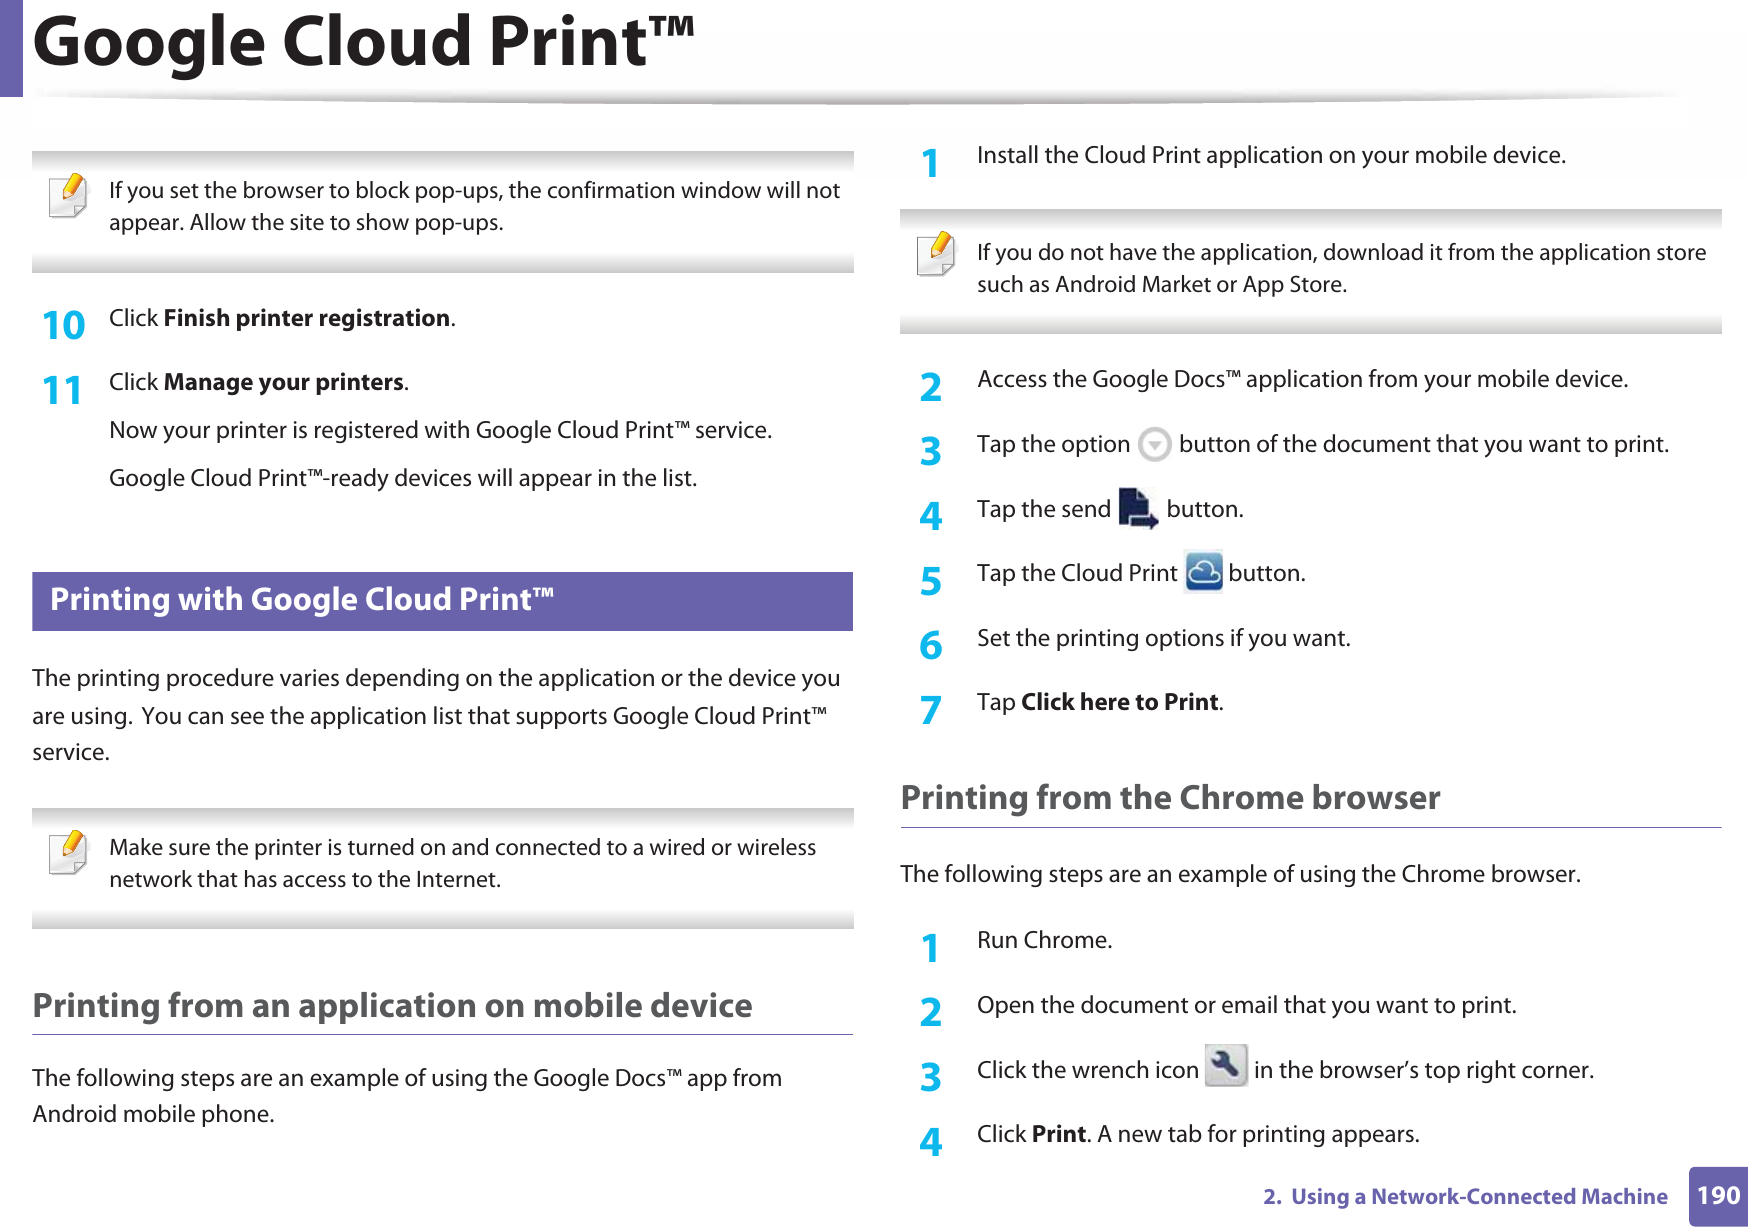
![1351. Software InstallationReinstallation for LinuxIf the printer driver does not work properly, uninstall the driver and reinstall it. 1Make sure that the machine is connected to your computer and powered on.2 When the Administrator Login window appears, type “root” in the Login field and enter the system password.You must log in as a super user (root) to uninstall the printer driver. If you are not a super user, ask your system administrator.3 Open the Terminal program. When the Terminal screen appears, type in the following.[root@localhost root]#cd /opt/Samsung/mfp/uninstall/[root@localhost uninstall]#./uninstall.sh4 Click Next. 5 Click Finish.](https://usermanual.wiki/Samsung-Electronics-Co/SLM4025DW.Users-Manual-3/User-Guide-1908522-Page-40.png)


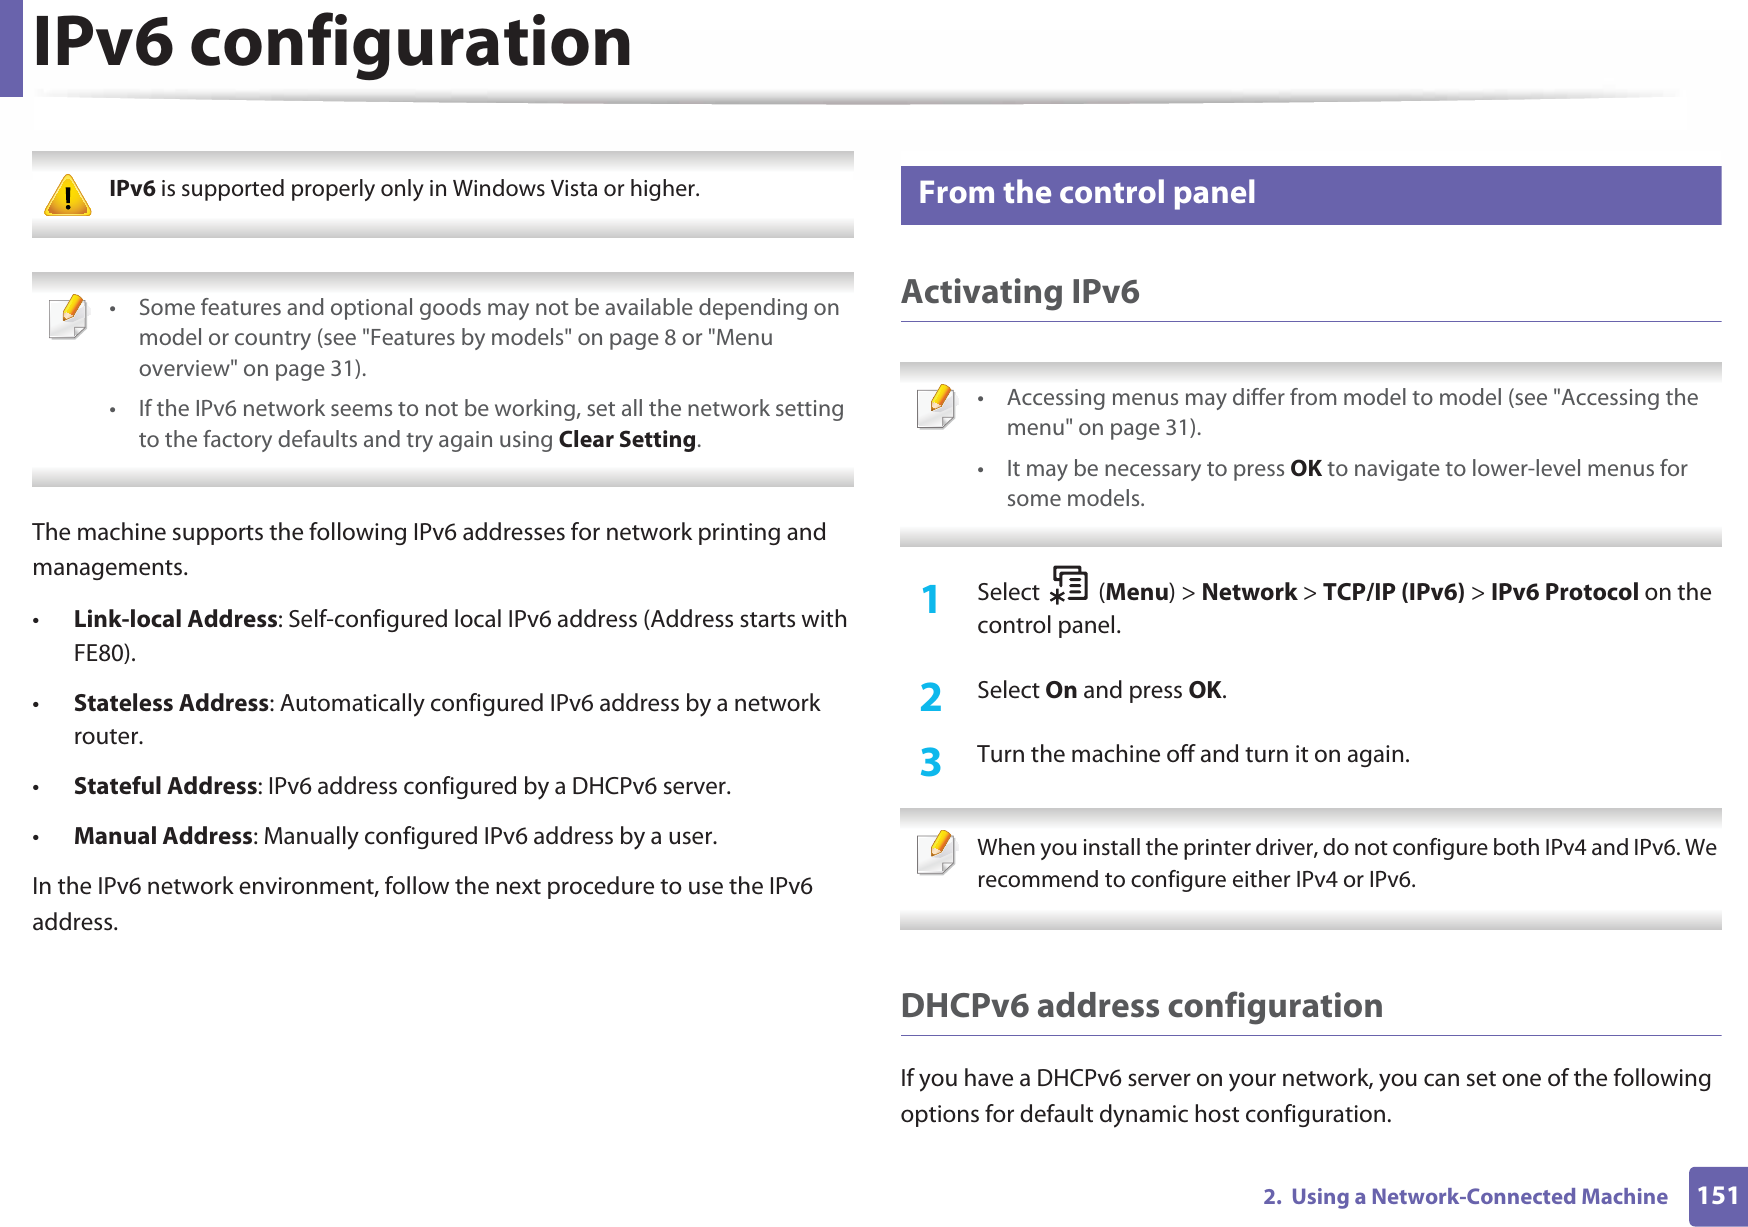
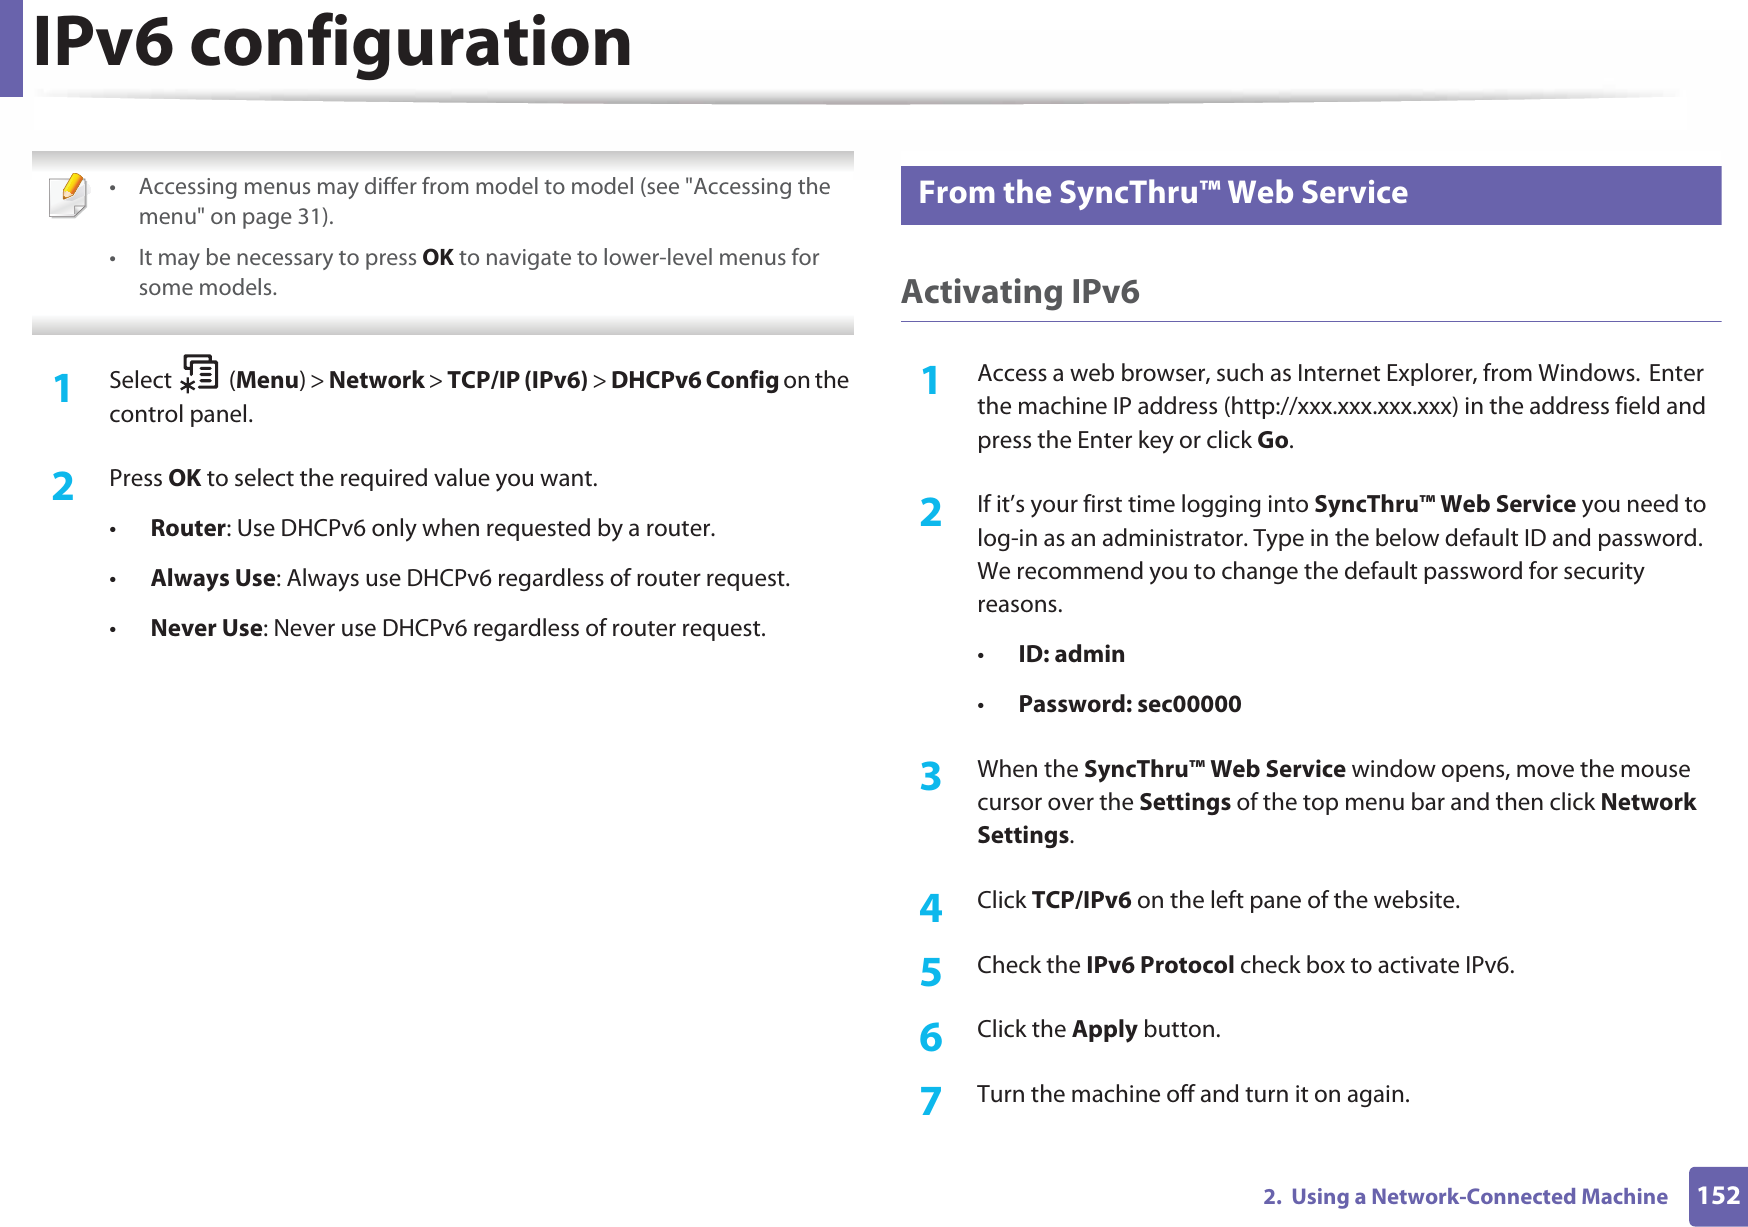
![IPv6 configuration1532. Using a Network-Connected Machine • You can also set the DHCPv6.• To manually set the IPv6 address:Check the Manual Address check box. Then, the Address/Prefix text box is activated. Enter the rest of the address (e.g.,:3FFE:10:88:194::AAAA. “A” is the hexadecimal 0 through 9, A through F). IPv6 address configuration1Start a web browser, such as Internet Explorer, that supports IPv6 addressing as a URL.2 Select one of the IPv6 addresses (Link-local Address, Stateless Address, Stateful Address, Manual Address) from Network Configuration Report (see "Printing a network configuration report" on page 138).•Link-local Address: Self-configured local IPv6 address (Address starts with FE80).•Stateless Address: Automatically configured IPv6 address by a network router.•Stateful Address: IPv6 address configured by a DHCPv6 server.•Manual Address: Manually configured IPv6 address by a user.3 Enter the IPv6 addresses (e.g.,: http://[FE80::215:99FF:FE66:7701]). Address must be enclosed in '[ ]' brackets.](https://usermanual.wiki/Samsung-Electronics-Co/SLM4025DW.Users-Manual-3/User-Guide-1908522-Page-58.png)


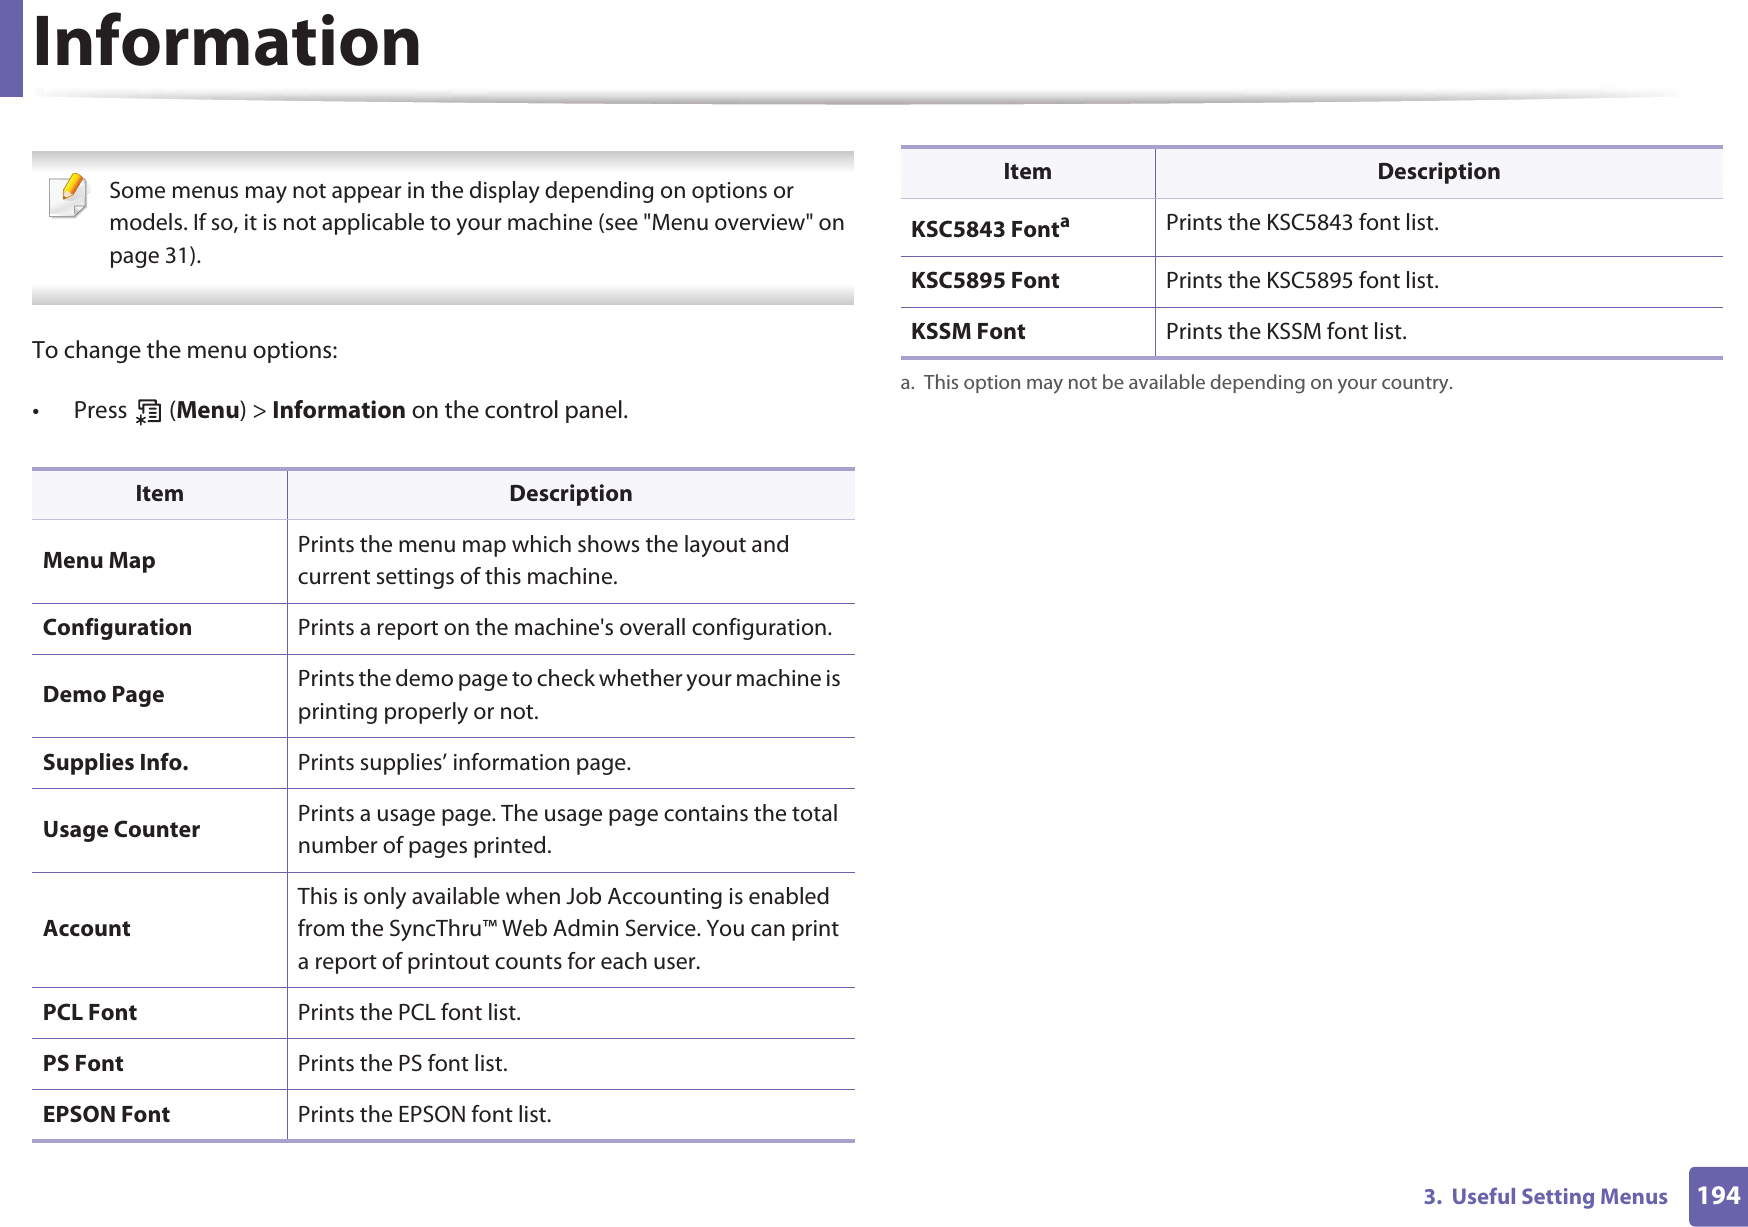
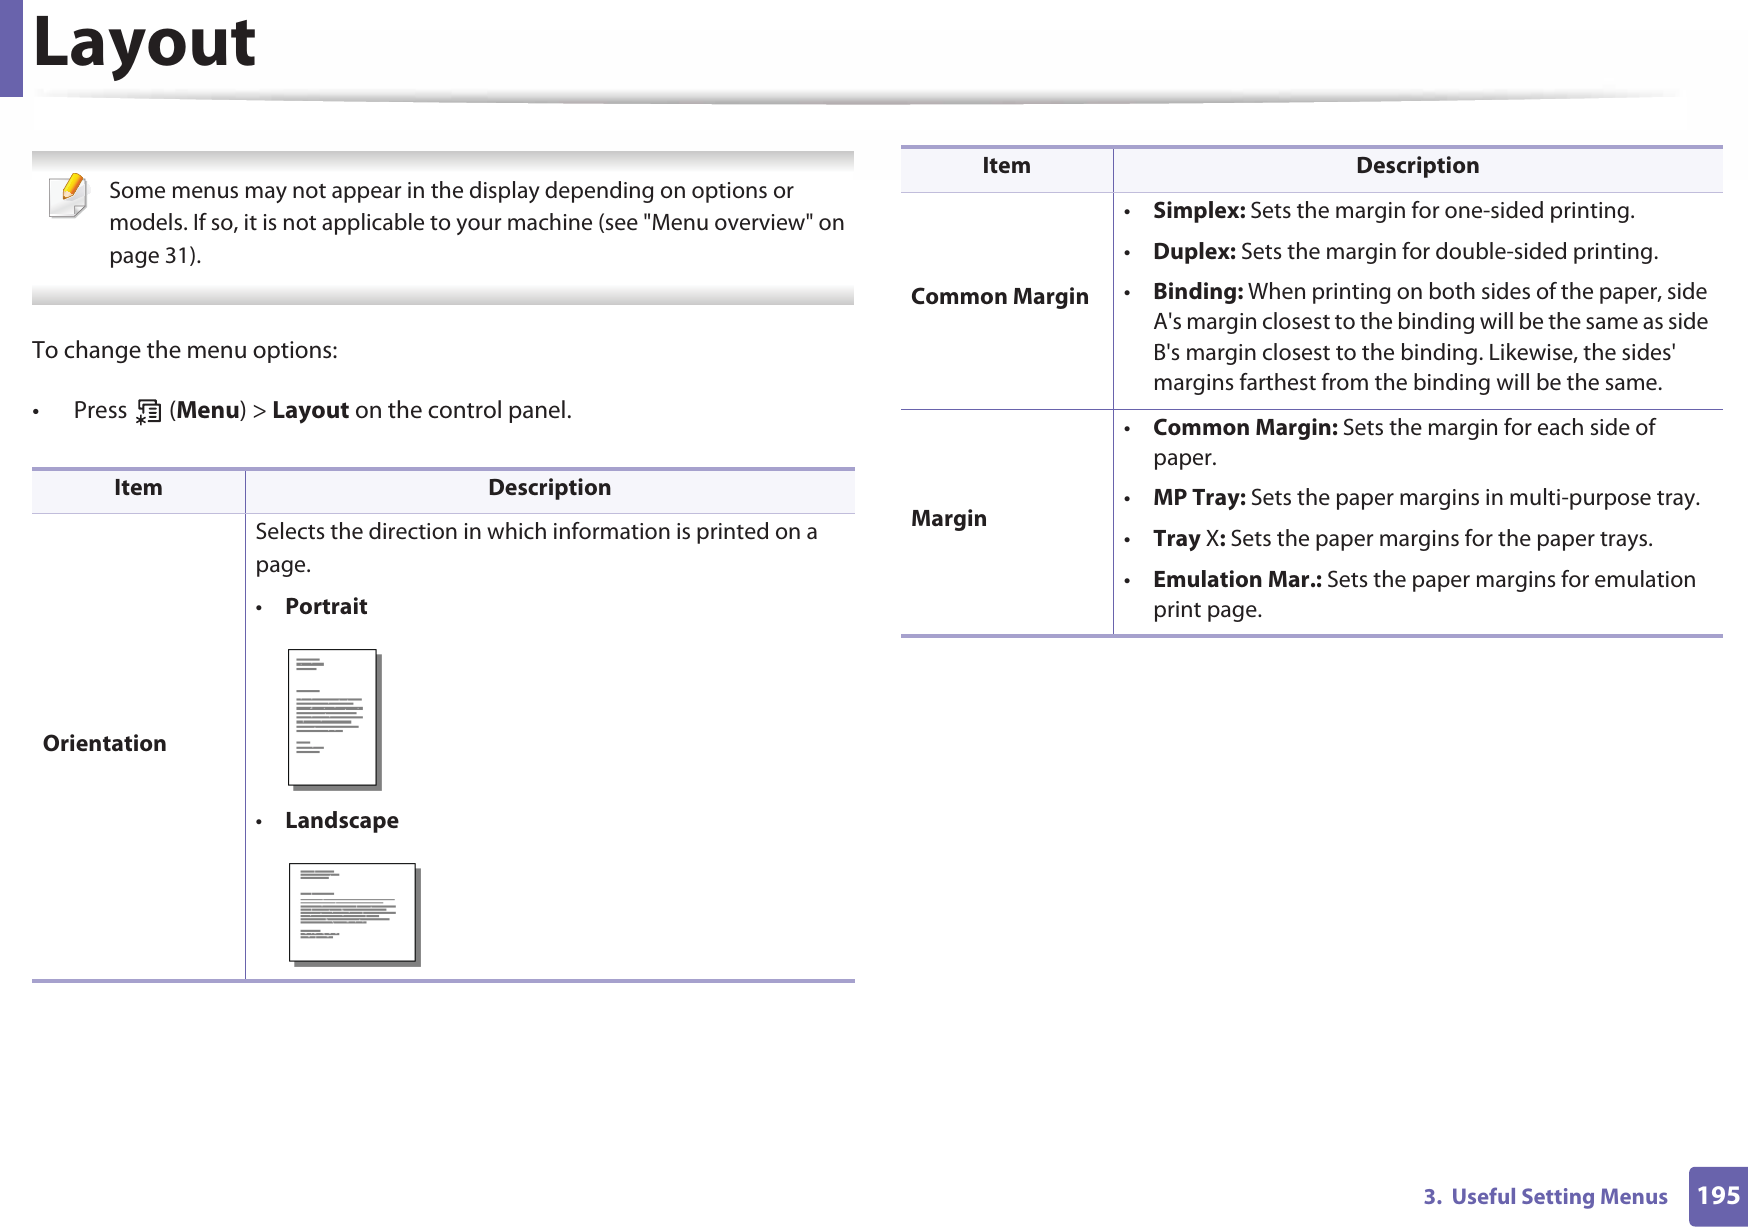
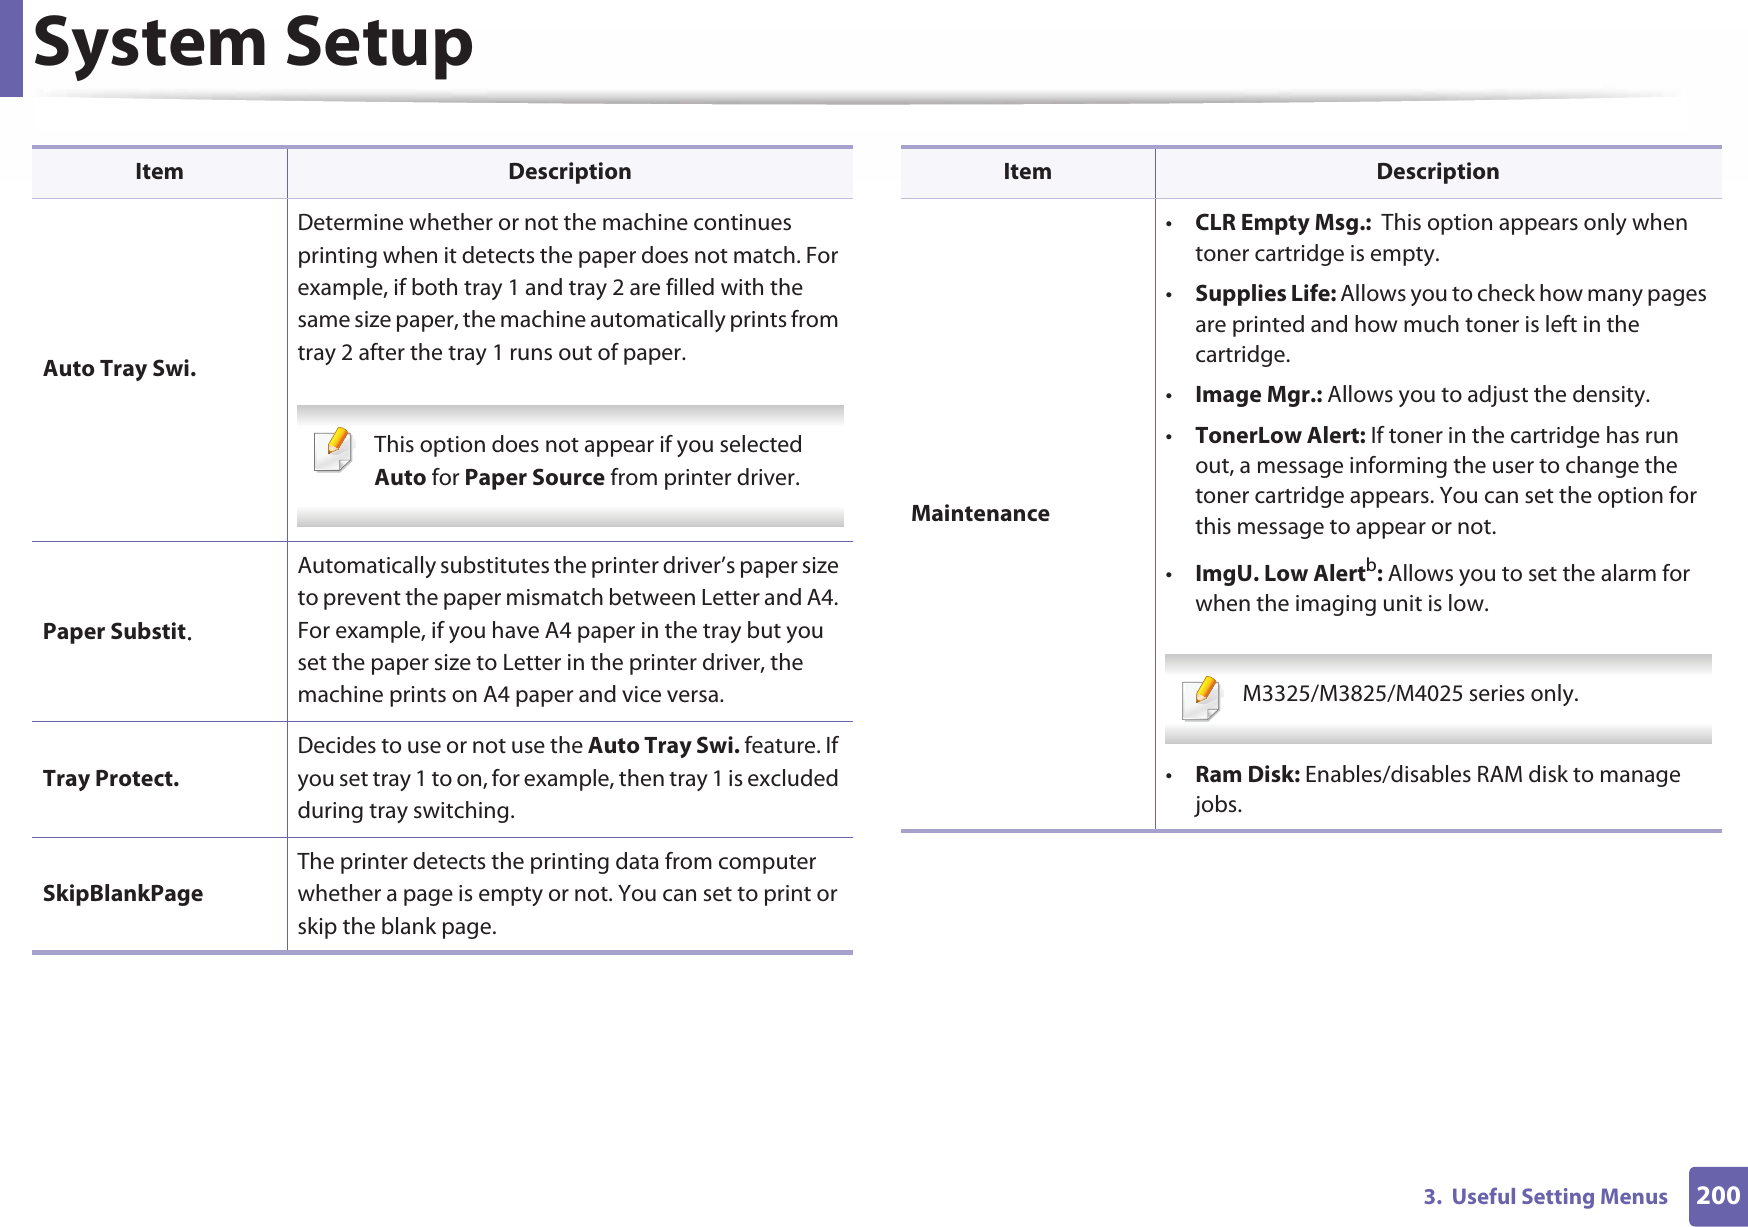
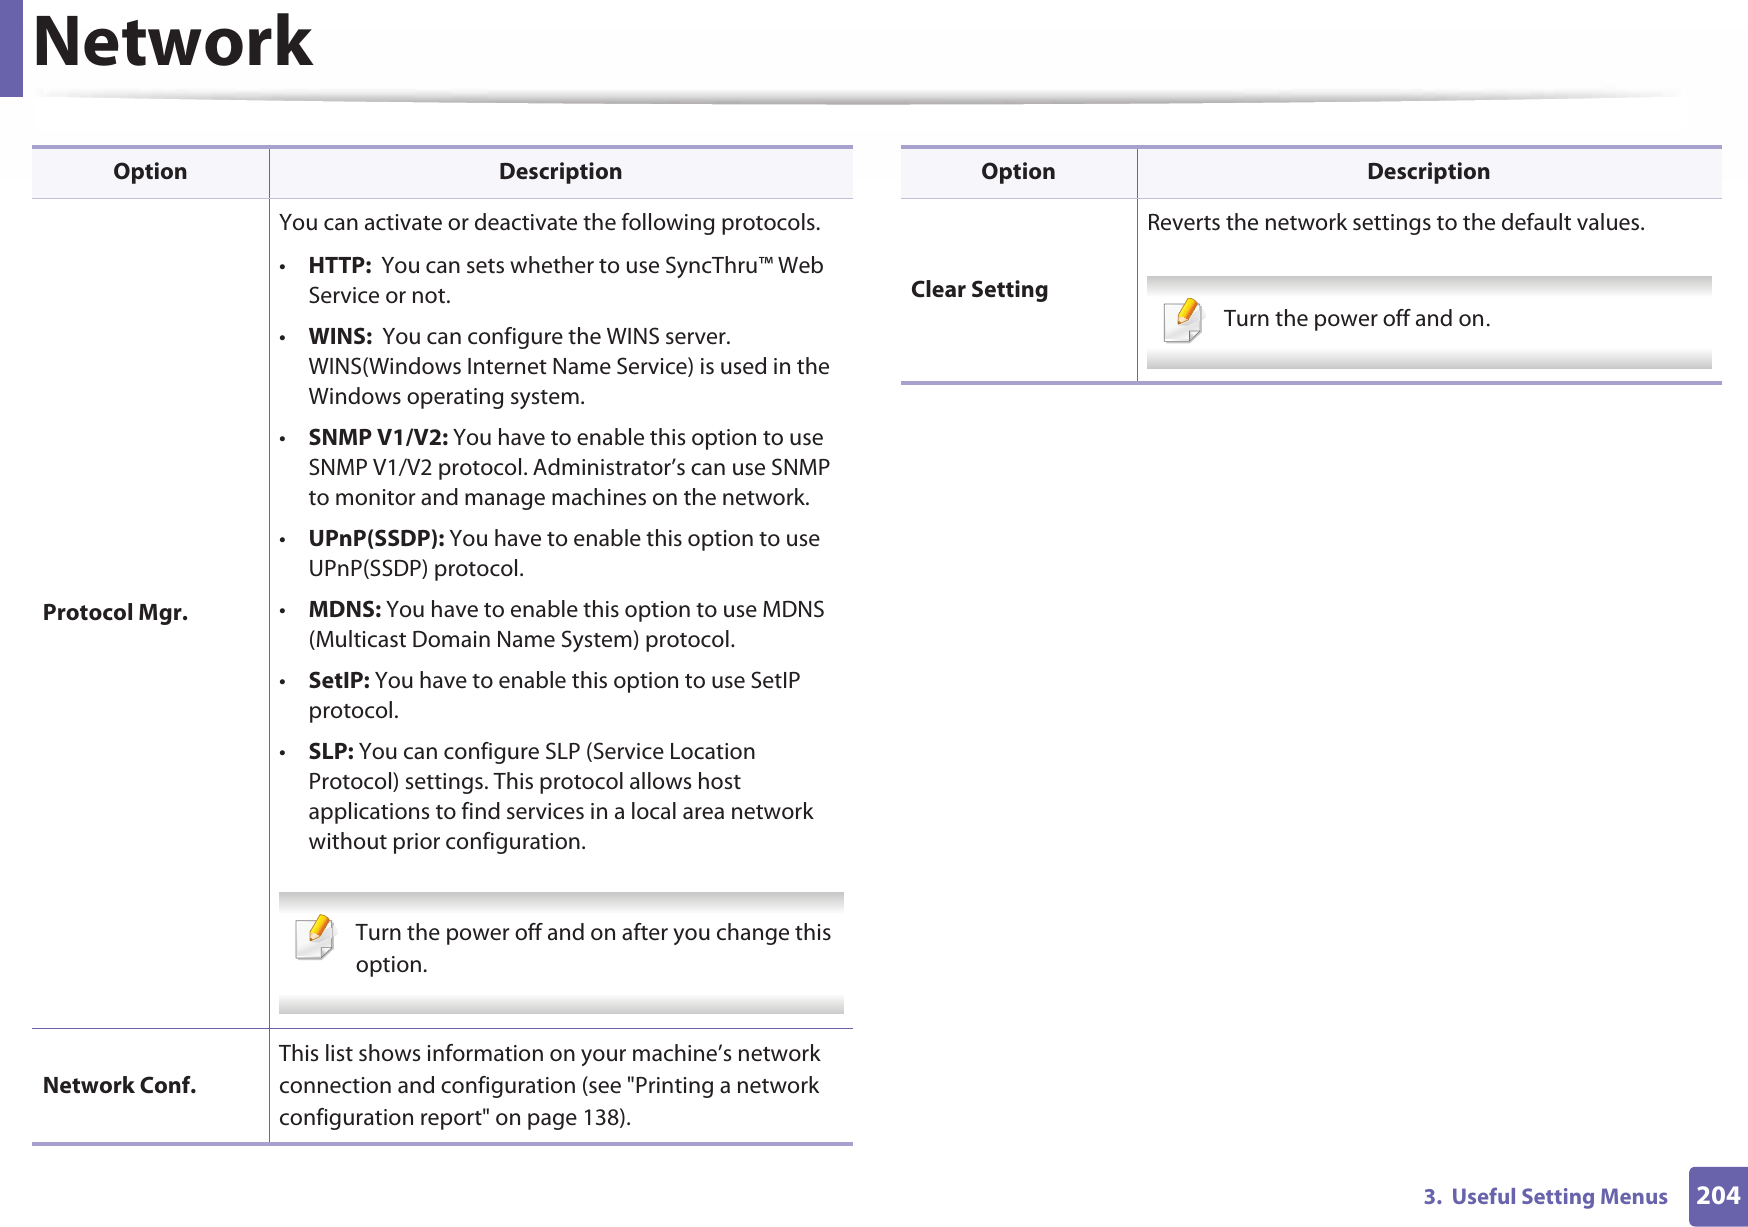
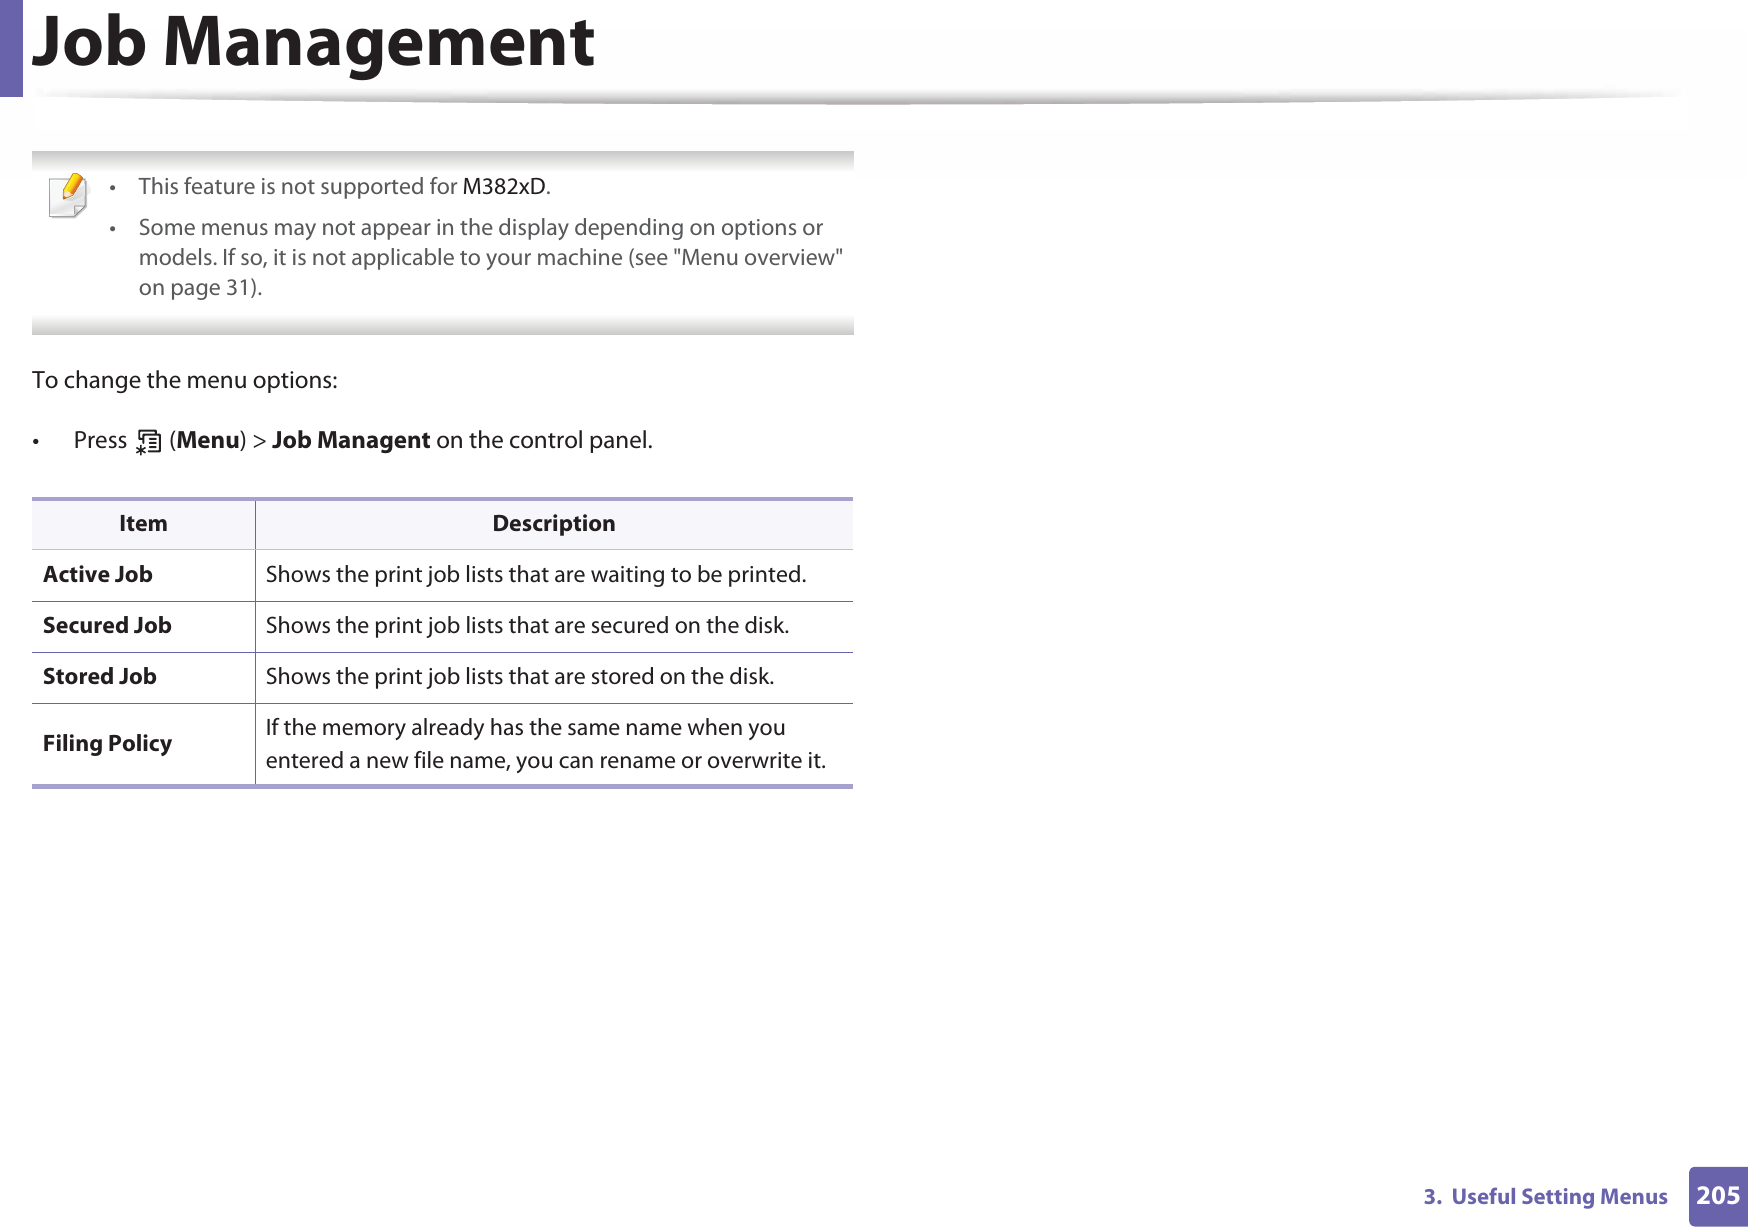
![1973. Useful Setting MenusPaper Some menus may not appear in the display depending on options or models. If so, it is not applicable to your machine (see "Menu overview" on page 31). To change the menu options:• Press (Menu) > Paper on the control panel.Item DescriptionCopies Selects the number of copies.MP Tray/ [Tray <x>]•Paper Size: Selects the default paper size.•Paper Type: Selects the paper type currently loaded in the tray.Paper SourceSets the default paper tray to use. Auto: You can set the machine to automatically to the tray with the same sized paper when the tray in use is empty.](https://usermanual.wiki/Samsung-Electronics-Co/SLM4025DW.Users-Manual-3/User-Guide-1908522-Page-102.png)

# # = | ? " : { } < > ;(These symbols are available when you type for network authentication.)](https://usermanual.wiki/Samsung-Electronics-Co/SLM4025DW.Users-Manual-3/User-Guide-1908522-Page-114.png)