Samsung Electronics Co SMW700 Bluetooth/BLE, DTS/UNII a/b/g/n/ac Tablet User Manual Part2
Samsung Electronics Co Ltd Bluetooth/BLE, DTS/UNII a/b/g/n/ac Tablet Part2
Contents
- 1. User Manual_Part1
- 2. User Manual_Part2
- 3. User Manual_Part3
- 4. User Manual_Part4
User Manual_Part2
DRAFT
FOR INTERNAL USE ONLY
34 Contacts
Applications
Share a Name Card
When you share a name card, the contact’s
information is sent as a vCard file (.vcf). You can
share a vCard via Bluetooth or Wi-Fi Direct, attach it
to a message, or save it to a storage location.
1. From a Home screen, tap Apps >
Contacts.
2. Tap a contact to display it, and then tap MORE >
Share name card.
3. Choose a sharing method and follow
theprompts.
Link Contacts
When you have contacts from various sources
(Gmail, Facebook, and so on), you may have
multiple similar entries for a single contact. Contacts
lets you link multiple entries into a single contact.
1. From a Home screen, tap Apps >
Contacts.
2. Tap the contact to display it, and then tap
Link.
3. Tap LINK ANOTHER CONTACT, and then select
contact(s) to link to the original contact.
4. Tap LINK.
Unlink Contacts
1. From a Home screen, tap Apps >
Contacts.
2. Tap the contact to display it, and then tap
Link.
3. Tap Remove beside contacts to unlink them
from the main contact.
Delete Contacts
You can delete a single contact, or choose multiple
contacts to delete.
1. From a Home screen, tap Apps >
Contacts.
2. Next to the Contacts heading, tap MORE >
Delete.
3. Tap the contacts you want to delete, and then
tapDELETE.
Favorites
When you mark contacts as favorites, they are
easily accessible from other apps. Favorites display
together on the Favorites tab in Contacts.
Mark Contacts as Favorites
1. From a Home screen, tap Apps >
Contacts.
2. Tap a contact to display it, and then tap
Favorite (the star turns bright gold ).
Remove Contacts from Favorites
1. From a Home screen, tap Apps >
Contacts.
2. Tap a contact to display it, and then tap
Favorite (the star loses the gold color ).
Groups
You can use groups to organize your contacts. Your
device comes with preloaded groups, and you can
create your own. You might create a group for your
family, for coworkers, or a team. Groups make it
easy to find contacts, and you can send messages
to the members of a group.
Create a Group
1. From a Home screen, tap Apps >
Contacts.
2. Tap GROUPS, and then tap ADD.
3. Tap fields to enter information about the group:
• Tap Create group in to choose where
to save the group. You can save it to a
specific account, to the device memory, or
to all accounts. Tap the entries to select or
deselectthem.
• Tap Group name to enter a name for the
newgroup.
• Tap Add member and select contact(s) to add
to the new group, and then tap DONE.
4. Tap SAVE.
DRAFT
FOR INTERNAL USE ONLY
35 Contacts
Applications
Rename a Group
1. From a Home screen, tap Apps >
Contacts.
2. Tap GROUPS, and then tap a group.
3. Tap MORE > Edit group and enter a new name.
4. Tap SAVE.
Add Contacts to a Group
1. From a Home screen, tap Apps >
Contacts.
2. Tap GROUPS, and then tap a group.
3. Tap ADD, and then tap the contacts you want
toadd.
4. Tap DONE.
Send an Email to a Group
You can send an email to members of a group.
1. From a Home screen, tap Apps >
Contacts.
2. Tap GROUPS, and then tap a group.
3. Tap MORE > Send email.
4. Tap contacts to select them, or tap the checkbox
at the top of the screen to select all, and then
tap DONE. You will only see group members that
have an email address in their records.
5. Choose an account and follow the prompts.
Delete a Group
Preset groups, such as Family, cannot be deleted.
1. From a Home screen, tap Apps >
Contacts.
2. Tap GROUPS.
3. Tap DELETE.
4. Tap the group category to open.
5. Tap the groups to select them or tap the
checkbox at the top of the screen to select all
6. Tap DELETE.
7. Tap Group only to delete just the group, or tap
Groups and members to delete both the group
and the contacts it contains.
Contact Settings
These settings allow you to modify settings
associated with using the Contacts app.
1. From a Home screen, tap Apps >
Contacts.
2. Tap MORE > Settings.
3. Tap an option and follow the onscreen
instructions.
DRAFT
FOR INTERNAL USE ONLY
36 Email
Applications
Use the Email app to view and
manage all your email accounts
in one application.
To access Email:
►From a Home screen, tap Apps > Email.
Configure Email Accounts
You can configure Email for most accounts in just a
few steps.
1. From a Home screen, tap Apps > Email.
2. Follow the onscreen instructions to set up your
email account.
– or –
For additional accounts, tap MORE > Settings >
Add account.
The device communicates with the appropriate
server to set up your account and synchronize your
email. When complete, your email appears in the
Inbox for the account.
Note: To configure email account settings at any
time, tap MORE > Settings. Tap the email account to
manage to display its settings.
Manage Multiple Email Accounts
You can view email you receive for all accounts on
the Combined view screen or you can view email
accounts individually.
1. From a Home screen, tap Apps > Email.
2. Tap the drop down menu at the top left of the
screen to view the current account mailbox.
3. Tap on the account name to view:
• Combined inbox: View all email in a combined
inbox.
• [Account Name]: View email for only one
email account.
Delete Email Accounts
To delete an Email account:
1. From a Home screen, tap Apps > Email.
2. Tap MORE > Settings.
3. Tap the account you want to remove.
4. Tap REMOVE. Confirm by tapping REMOVE on
the prompt.
Email Settings
These settings allow you to modify settings
associated with using the Email app.
1. From a Home screen, tap Apps > Email.
2. Tap MORE > Settings.
3. Tap an option and follow the onscreen
instructions.
Email
DRAFT
FOR INTERNAL USE ONLY
37 Galaxy Apps
Applications
Galaxy Apps
Samsung Galaxy Apps is a
free storefront that provides
a quick and easy way to find
and download apps that are
compatible with your Galaxy
device.
To access the Samsung Galaxy Apps website:
►From a Home screen, tap Apps >
GalaxyApps.
Note: A Samsung account is required to purchase
and download apps.
DRAFT
FOR INTERNAL USE ONLY
38 Gallery
Applications
View, edit, and manage pictures
and videos.
Note: Some functions described in this section
are only available if there are images or videos in
theGallery.
View Images and Videos
Launching Gallery displays available folders. When
another application, such as Email, saves an image,
a Download folder is automatically created to
contain the image. Likewise, capturing a screenshot
automatically creates a Screenshots folder.
1. From a Home screen, tap Apps > Gallery.
2. Tap the drop-down menu in the upper left corner,
and then tap an option to choose the way
itemsdisplay.
• In Albums view, you can create albums to
organize your images. On the drop down
menu, tap Albums, and then tap MORE >
Create album.
3. Depending on the view mode selected, either tap
an image or video to view it, or first tap an album
or folder and then tap an image or video.
4. When viewing an image or video, you can scroll
left or right to view the next or previous image
orvideo.
Zoom In and Out
Use one of the following methods to zoom in or out
on an image:
• Double-tap anywhere on the screen to zoom in or
zoom out.
• Spread two fingers apart on any place to zoom in.
Pinch the screen to zoom out.
Play Videos
1. From a Home screen, tap Apps > Gallery.
2. Tap a folder or category to open it.
3. Tap a video to view it.
4. Tap the Play icon to play the video.
Trim Segments of a Video
1. Select a video, and then tap the screen once to
see the video options.
2. Tap Editor, and then tap Trim.
3. Use the sliders at the bottom of the screen to
trim the video. Move the start bracket to the
desired starting point, move the end bracket to
the desired ending point.
4. Tap EXPORT to save the video. Modify the
Filename or Resolution, and then tap EXPORT
to confirm the changes.
Edit Images
1. While viewing an image, tap the screen once to
see the image options.
2. Tap Edit to view and use the editing tools.
Delete Images
1. From a Home screen, tap Apps > Gallery.
2. Tap a folder or category to open it.
3. Tap MORE > Edit.
4. Tap images to select them.
5. Tap DELETE.
Gallery

DRAFT
FOR INTERNAL USE ONLY
39 Gallery
Applications
Share Images
Use one of the following methods:
1. From a Home screen, tap Apps > Gallery.
2. Tap a folder or category to open it.
3. Tap MORE > Share.
4. Tap images to select them, and then tap SHARE.
5. Tap a sharing service and follow the prompts to
send the image or images.
DRAFT
FOR INTERNAL USE ONLY
40 Internet
Applications
Access the Internet with a fully
featured web browser.
Access the Internet
►From a Home screen, tap Apps > Internet.
Command Keys
The following command keys are available on the
browser window:
• Back or Back key to return to the previous
page.
• Forward to go forward to a recent page.
• HOME to display your Internet Home screen.
• BOOKMARKS to manage bookmarked pages,
saved pages, and history.
• Refresh to refresh or reload the current
Webpage.
View a Web Site
To view a web site:
►Tap the address field, enter the web address,
and then tap Go on the keyboard.
Browser Tabs
Use tabs to view multiple web pages at the
sametime.
To open a new tab:
►Tap Add tab.
To close a tab:
►Tap Closetab.
Bookmarks
To bookmark the current web page:
1. Tap BOOKMARKS > ADD.
2. Type a title for the bookmark and tap SAVE.
To open a bookmarked web page:
►Tap BOOKMARKS, then tap an entry.
History
To view a list of recently visited web pages:
►Tap BOOKMARKS > HISTORY.
Saved Pages
To save a web page:
►Tap MORE > Savewebpage.
To view a list of saved web pages:
►Tap BOOKMARKS > SAVED PAGES.
Internet

DRAFT
FOR INTERNAL USE ONLY
41 Internet
Applications
Share Pages
To share a web page address with others:
►Tap MORE > Share and follow the prompts.
Secret Mode
Pages viewed in secret mode do not appear within
your browser history or search history, and leave no
traces (such as cookies) on your device. These tabs
display Secret on their tab.
Note: Any downloaded files will remain on your device
after you close a secret tab.
To open a new secret tab:
►Tap MORE > Newsecrettab.
Internet Settings
These settings allow you to modify settings
associated with using the Internet app.
1. From a Home screen, tap Apps > Internet.
2. Tap MORE > Settings.
3. Tap an option and follow the onscreen
instructions.
DRAFT
FOR INTERNAL USE ONLY
42 Memo
Applications
Memo
Use the Memo app to write and
save notes on your device.
Compose a Memo
1. Tap Apps > Memo.
2. Tap Create memo and type a memo.
• To change the category, tap Category.
• To insert an image into the memo, tap
Image.
• To use your voice to insert text into the memo,
tap Voice.
• To add tasks, tap Tasks.
3. When finished creating your memo, tap SAVE.
Manage Memos
• Tap a memo entry to open it.
• To edit a memo, tap the content of the memo.
• To delete memos, tap MORE > Edit, select
memos, and tap DELETE.
• To send a memo to others, tap MORE > Share,
select a memo, and then select a method to share
the memo.
Browse Memos
1. Tap Apps > Memo.
2. Browse memo entries by scrolling up or down.
3. To search for a memo, tap SEARCH.
Memo Options
►While browsing memos, tap MORE for the
following options:
• Edit: Select notes to delete or move.
• Share: Share memos.
• Manage categories: Create and manage
categories to organize your memos.

DRAFT
FOR INTERNAL USE ONLY
43 Music Player
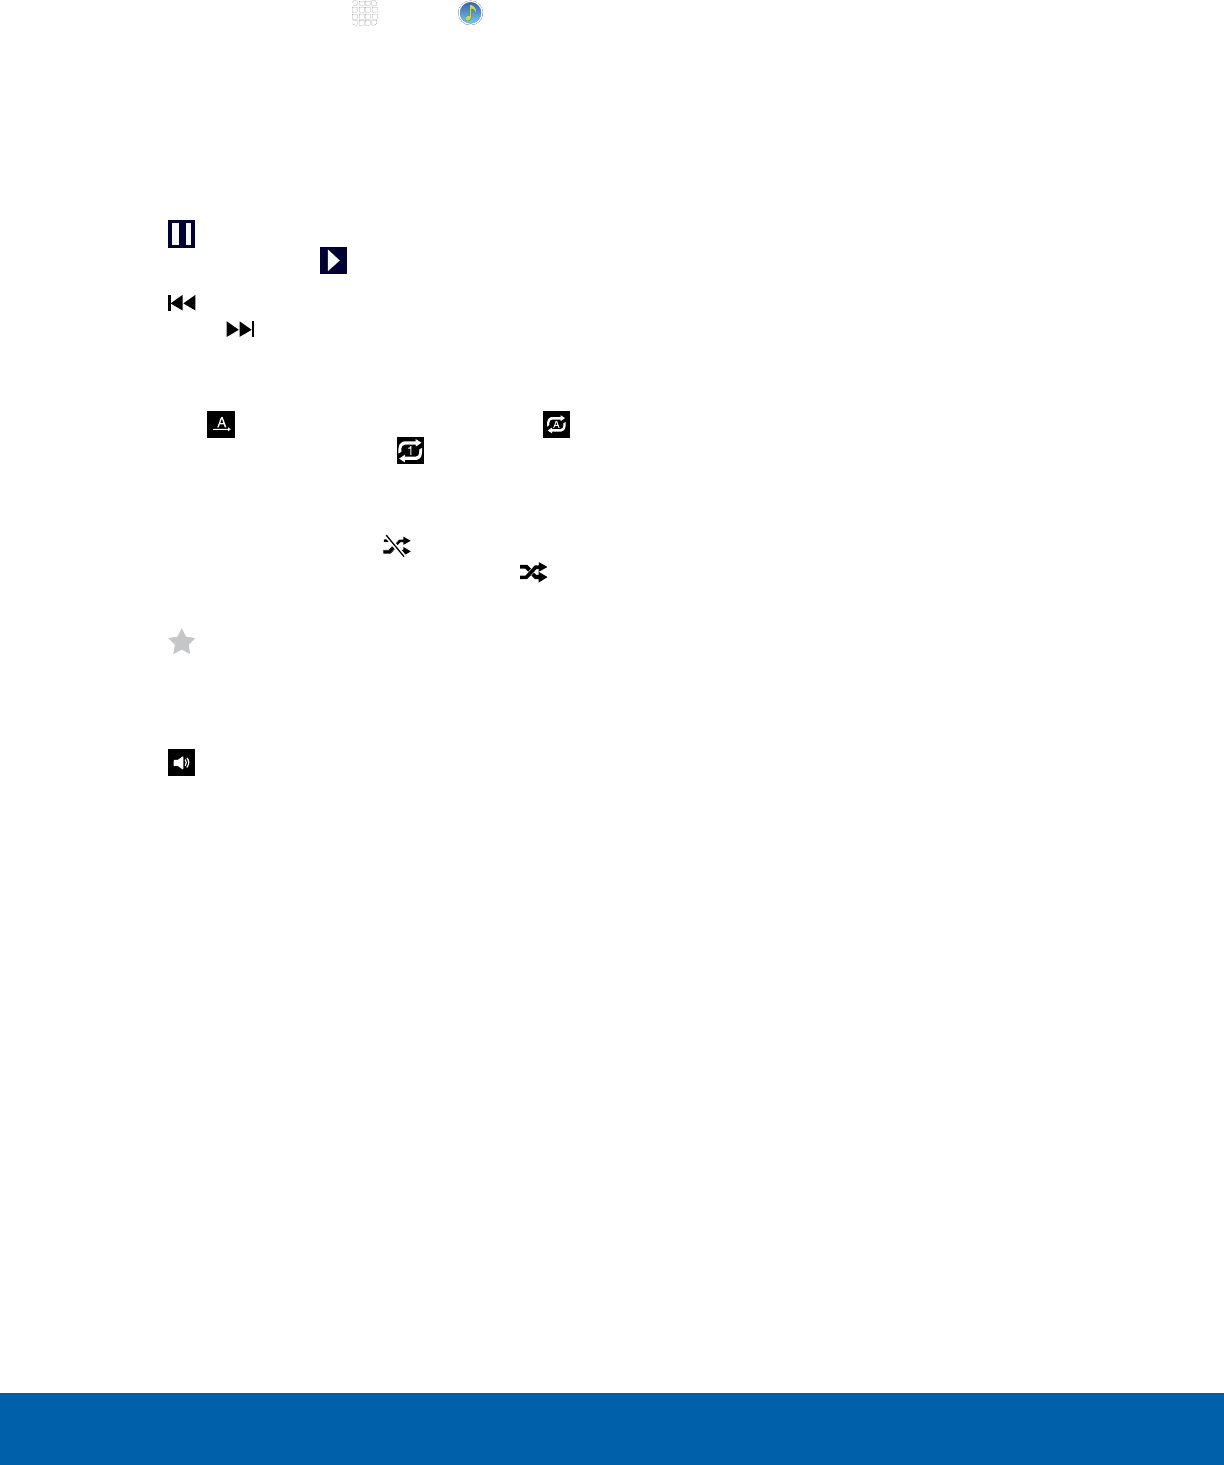
Applications
Listen to your favorite songs with the Music player. Navigate through
your music library, play songs, and create customized playlists.
• Adjust volume: Tap to adjust the volume.
• More options: Tap to view more options.
• Playback controls: Tap the icons to change
shuffle or repeat modes, fast-forward or rewind, or
play or pause the current song.
• Playback position: Drag to skip to another part of
the current song.
• Track queue: Tap to view the current song list
being played.
Music Player
DRAFT
FOR INTERNAL USE ONLY
44 Music Player
Applications
Listen to Music
1. From a Home screen, tap Apps > Music.
2. Tap a library category at the top of the screen to
view your music files.
3. Scroll through the list of songs and tap an entry
to begin playback.
4. While playing music, use these controls:
• Tap Pause to pause playback. To start
playback again, tap Play.
• Tap Rewind to move to the previous
song. Tap Fast-forward to move to the
nextsong.
• Tap the repeat button to control playback.
Choose to play all songs once. Choose
to repeat all songs. Choose to repeat the
current song.
• Tap the shuffle button to control the order
songs are played. Choose to play songs in
the order they appear in the list. Choose to
play songs in random order.
• Tap Favorite to mark a song as a favorite.
Whenever a song is a favorite, the star is gold.
Favorite songs are included in the Favorites
playlist.
• Tap Volume to set the volume. You can
also set volume by pressing the Volume key
on the side of the tablet.
Note: When you close the Music screen, playback will
continue in the background, allowing you to listen to
music while using other features of your tablet. When
music is playing in the background, you can access
playback controls from the Notificationpanel.
DRAFT
FOR INTERNAL USE ONLY
45 My Files
Applications
Access files stored on your
device, including images, videos,
songs, and sound clips.
View Files
Files stored in the device are organized into the
following groups:
• Recent files: View recently accessed files.
• Category: Files are grouped into the following
categories:
- Images: View image files.
- Videos: View video files.
- Audio: View audio files.
- Documents: View document files.
- Download history: View all apps and files
that have been downloaded to the device.
• Local storage: View folders and files in their
storage locations.
- Device storage: View folders and files
located on the device.
- SD card: View folders and files located
on an optional microSD memory card
(notincluded).
• Cloud storage: Contains shortcuts to FTP servers
or other cloud storage locations that you have
added.
- Google Drive: Sign in to view folders and
files located in your Google Drive account.
• STORAGE USAGE: Tap to view memory
information for your device.
To view files in My Files:
1. From a Home screen, tap Apps >
MyFiles.
2. Tap a category to view the relevant files or
folders.
3. Tap a file or folder to open it.
Recent Files Options
On the Recent files screen, the following options are
available:
• SEARCH: Search for a file or folder.
• MORE: Tap for the following options:
-Edit: Edit files shown in Recent files.
-Clear recent file history: Clear the Recent files
category.
-Show/Conceal hidden files: Show or conceal
hidden files.
My Files

DRAFT
FOR INTERNAL USE ONLY
46 My Files
Applications
Category Options
After tapping on a category, the following options
are available:
• SEARCH: Search for a file in the selected
category.
• VIEW AS: Change the appearance of the files or
folders.
• MORE: Tap for the following options:
-Edit: Select files or folders.
-Share: Select files or folders to share.
-Create folder: Create a new folder
(Localstorage).
-Add shortcut: Add a shortcut folder to the main
My Files screen.
-Sort by: Change the sort order of the files.
-Show/Conceal hidden files: Show or conceal
hidden files.
Options for Selected Files
andFolders
►Tap MORE > Edit, select a file or folder, and then
use one of these functions:
• DELETE: Delete files or folders.
• MOVE: Move files or folders to another folder.
• MORE: Select one of the following options:
-Copy: Copy files or folders to another folder
-Rename: Rename a file or folder. This
option only appears when just one file or
folder is selected.
-Add shortcut on Home screen: Add a
shortcut the Home screen.
-Compress: Create a zip folder containing
the selected files. This option only appears
in Local Storage categories. A selected zip
folder has the additional options of Extract
and Extract to current folder.
-Details: View details of the selected file(s)
or folder(s).
DRAFT
FOR INTERNAL USE ONLY
47 Smart Manager
Applications
Smart Manager
Smart manager provides an
overview of the status of your
device’s battery, storage, RAM,
and system security. You can
also automatically optimize your
device’s system resources.
Quick Optimization
The quick optimization feature improves device
performance through the following actions:
• Identifying apps that use excessive battery power
and clearing unneeded items from memory.
• Deleting unnecessary files and closing apps
running in the background.
• Scanning for malware.
To use the quick optimization feature:
1. From a Home screen, tap Apps >
SmartManager.
2. Tap CLEAN ALL.
Using Smart Manager
1. From a Home screen, tap Apps >
SmartManager.
►Tap each of the following for options:
• Battery: Check the battery power and time
remaining to use the device. For devices with
low battery levels, conserve battery power by
activating power saving features and closing
apps that are consuming an excessive amount
of battery power.
-The usage time remaining shows the
time remaining before the battery power
runs out. Usage time remaining may vary
depending on your device settings and
operating conditions.
• Storage: Check the status of used and
available memory capacity. You can delete
unused or unneeded files, and uninstall apps
that you do not use any more.
• RAM: Check the amount of available RAM.
You can close background apps and reduce
the amount of RAM you are using to speed up
your device.
• Device security: Check the device’s security
status. This feature scans your device for
malware.

DRAFT
FOR INTERNAL USE ONLY
48 Video Player
Applications
Play and manage videos stored on your device.
• Adjust volume: Adjust the volume.
• Fast-forward: Tap to skip to the next video. Touch
and hold to fast-forward the current video.
• File name: The name of the video file.
• More options: Tap to view more options.
• Move controls: Tap to move the Video player
controls to the right or to the left (landscape
orientation only).
• Pause or Play: Tap to pause or play the current
video.
• Playback position: Drag to skip to another part of
the video.
• Pop-up player: Tap to open the video in the pop-
up player window.
• Rewind: Tap to restart the video or skip to a
previous video. Touch and hold to rewind the
video.
• Screen ratio: Change the screen ratio.
• Video list: See the current video playlist.
Video Player

DRAFT
FOR INTERNAL USE ONLY
49 Video Player
Applications
Access the Video Player
1. From a Home screen, tap Apps > Video.
2. Scroll through the videos stored on your device.
After a few seconds, each video thumbnail
begins playing a preview of the clip.
3. Tap a video to view it.
Use Pop-up Player
Multitask with Pop-up player by transforming your
video player into a pop-up window. The video will
continue to play, and the pop-up player can be
resized or moved anywhere on the screen.
1. From a Home screen, tap Apps > Video.
2. Tap a video to view it.
3. Tap Pop-up player to continue playing the
video in a floating window.
• Drag the window to any location on the
screen.
• Use two fingers to pinch or spread to resize
the floating window.
Change the Video Screen Size
You can change the size of the video is several ways
during video playback.
1. From a Home screen, tap Apps > Video.
2. Tap a video to view it.
3. Tap the screen ratio icon to cycle through the
screen size options:
• Full: The entire screen is used, which may
cause some minor distortion.
• Fit to screen: The video will be played in
its original size.
• Keep ratio: The video is enlarged to fit the
screen without becoming distorted.
DRAFT
FOR INTERNAL USE ONLY
Configure your device’s
connections and settings,
add accounts, and customize
the home screen, apps, and
features.
• Some options use an ON/OFF button to turn
the option ON ( ) or OFF ( ).
• For some options, you must tap a field,
such as Email address, to display and set
options.
• Some options are enabled or disabled by
tapping a checkbox. When enabled, a
check mark displays. Tap the check mark to
remove it and disable the option.
Settings
DRAFT
FOR INTERNAL USE ONLY
51 How to Use Settings
Settings
How to Use Settings
Access Settings
►From a Home screen, tap Apps >
Settings.
– or –
From a Home screen, drag down from the
Statusbar to display the Notification panel, and
then tap Settings.
Search for Settings
If you are not sure exactly where to find a certain
setting, you can use the Search feature.
1. From a Home screen, tap Apps >
Settings.
2. Tap SEARCH.
• Enter a word or words in the Search box. As
you type, settings that match will appear on
the screen.
• Tap an entry to go to that setting.

DRAFT
FOR INTERNAL USE ONLY
52 Wi-Fi Settings
Settings
Wi-Fi is a term used for certain
types of Wireless Local Area
Networks (WLAN). Wi-Fi
communication requires access
to a Wireless Access Point
(WAP).
Wi-Fi Direct creates a direct
connection between two or
more devices using Wi-Fi.
Turn Wi-Fi On or Off
Turning Wi-Fi on makes your device able to discover
and connect to compatible in-range WAPs.
1. From a Home screen, tap Apps >
Settings.
2. Tap Wi-Fi, and then tap ON/OFF to turn Wi-Fi on
or off.
Scan and Connect to a Wi-Fi
Network
1. From a Home screen, tap Apps >
Settings.
2. Tap Wi-Fi, and then tap ON/OFF to turn Wi-Fi
on. When Wi-Fi is turned on, your device will
automatically scan for available networks and
display them.
3. Tap the network you want to connect to.
When you select an open network, you are
automatically connected to the network.
Otherwise, enter a password to connect.
Manually Connect to a
Wi-FiNetwork
1. From a Home screen, tap Apps >
Settings.
2. Tap Wi-Fi, and then tap ON/OFF to turn Wi-Fi on.
3. Tap MORE > Addnetwork.
4. Enter information about the Wi-Fi network:
• Tap Enter network name to enter the name of
the Wi-Fi network.
• Tap the Security field and select a security
option and enter your password.
• Tap Show advanced options if you need to
add advanced options such as IPsettings and
Proxy settings.
5. Tap CONNECT to store the new information and
connect to your target WAP.
Wi-Fi Status Indicators
Statusbar icons show your current Wi-Fi connection
status:
• When Wi-Fi is connected, active, and
communicating with a Wireless Access Point
(WAP), displays.
• If a Wi-Fi access point is available, but your device
is not connected to it, displays. It may also
display if there is a communication issue with the
target Wireless Access Point (WAP).
Wi-Fi Settings

DRAFT
FOR INTERNAL USE ONLY
53 Wi-Fi Settings
Settings
Wi-Fi Options
The Wi-Fi settings menu allows you to set up many
of your device’s advanced Wi-Fi services.
1. From a Home screen, tap Apps >
Settings.
2. Tap Wi-Fi, and then tap ON/OFF to turn Wi-Fi on.
3. Tap MORE for options:
• Add network: Manually add a Wi-Fi network.
• WPS push button: Set up a connection to a
WPS (Wi-Fi Protected Setup) router or other
equipment.
• WPS PIN entry: View the PIN used by your
device to set up a PIN-secured connection
to a Wi-Fi router or other equipment (not
configurable).
• Keep Wi-Fi on during sleep: Specify when to
disconnect from Wi-Fi.
• Always allow scanning: Allow Google location
service and other apps to scan for networks,
even when Wi-Fi is turned off.
• Install network certificates: Install
authentication certificates.
Wi-Fi Direct
Wi-Fi Direct allows direct device-to-device
connections via Wi-Fi, without having to connect to a
Wi-Fi network.
1. From a Home screen, tap Apps >
Settings.
2. Tap Wi-Fi, and then tap ON/OFF to turn Wi-Fi on.
Wi-Fi must be on to configure settings.
3. Tap Wi-Fi Direct. Your device automatically
scans for nearby Wi-Fi Direct devices.
4. After scanning for devices, select a device,
and then follow the prompts to complete the
connection.
Wi-Fi Direct Status Indicator
When your device is connected to another device
using Wi-Fi Direct, displays in the Statusbar.