Samsung Electronics Co WT21MFF Laser Beam Printer User Manual 4x17 EN
Samsung Electronics Co Ltd Laser Beam Printer 4x17 EN
UserManual.wiki
>
Samsung Electronics Co
>
WT21MFF User Manual
>
Users Manual 1
Contents
1.
Users Manual 1
2.
Users Manual 2
Users Manual 1
Navigation menu
Upload a User Manual
Namespaces
Wiki Guide
HTML
PDF
Info
Views
User Manual
Discussion / Help
Navigation


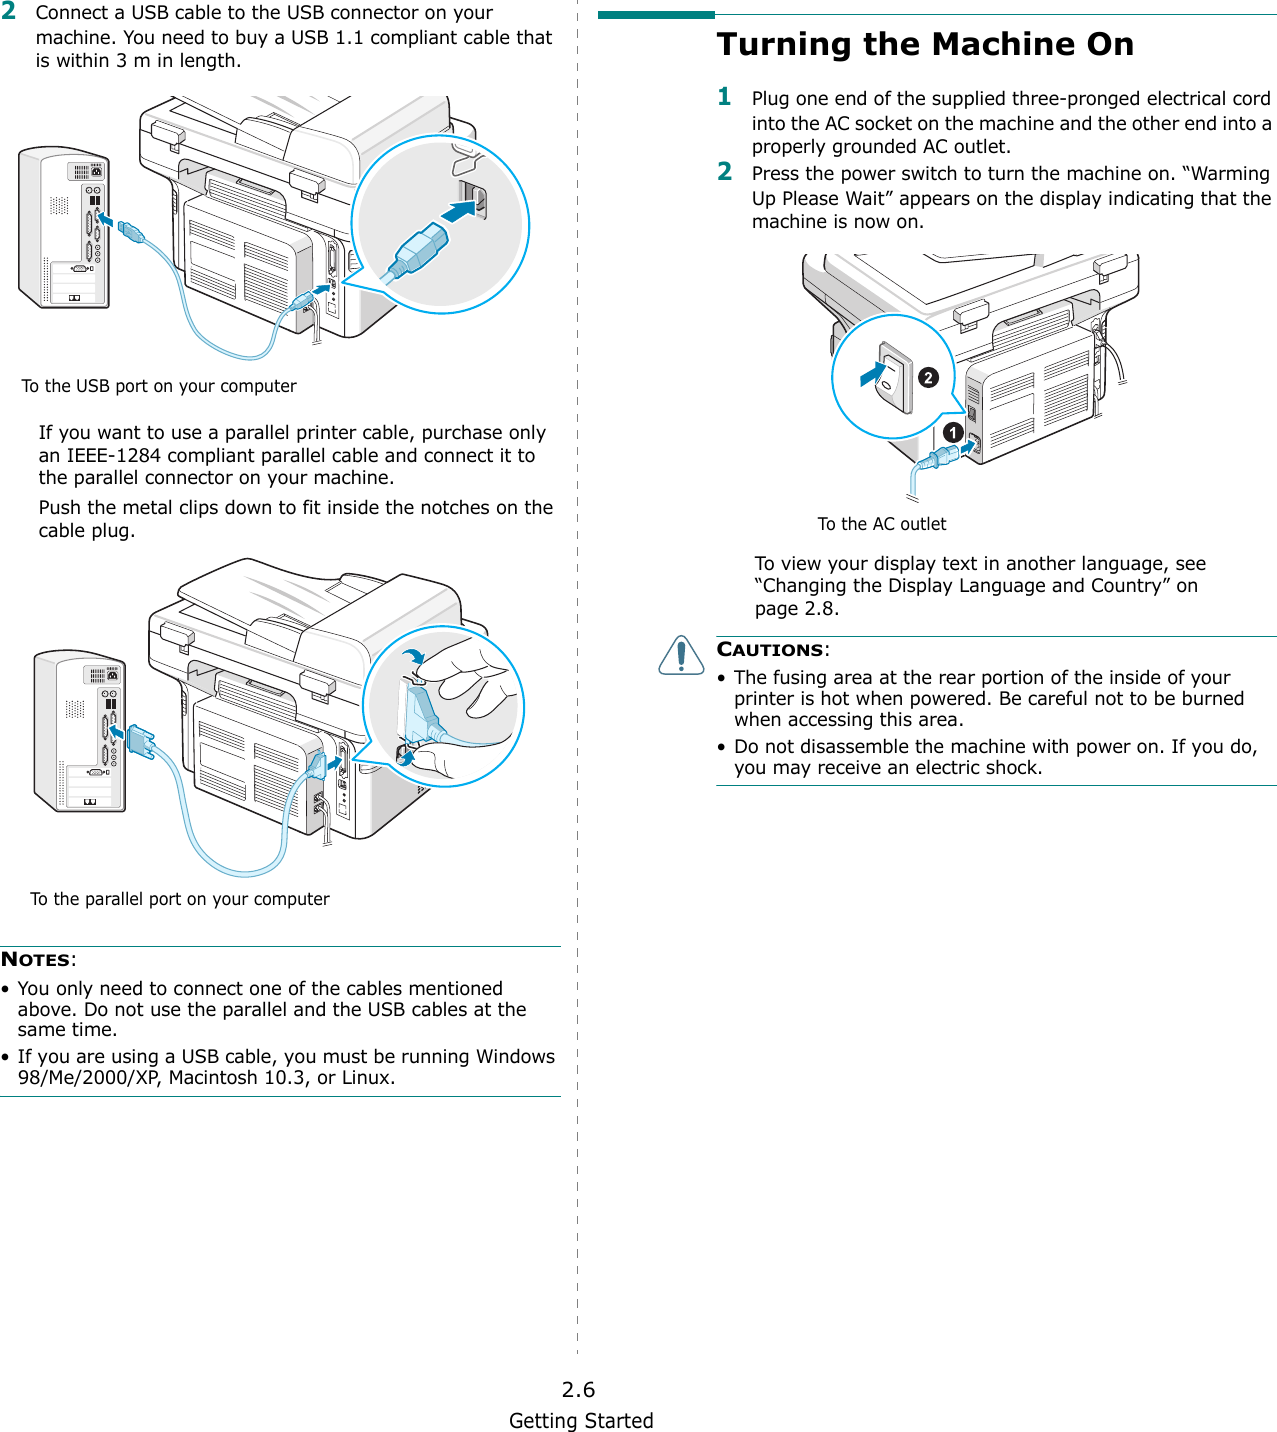
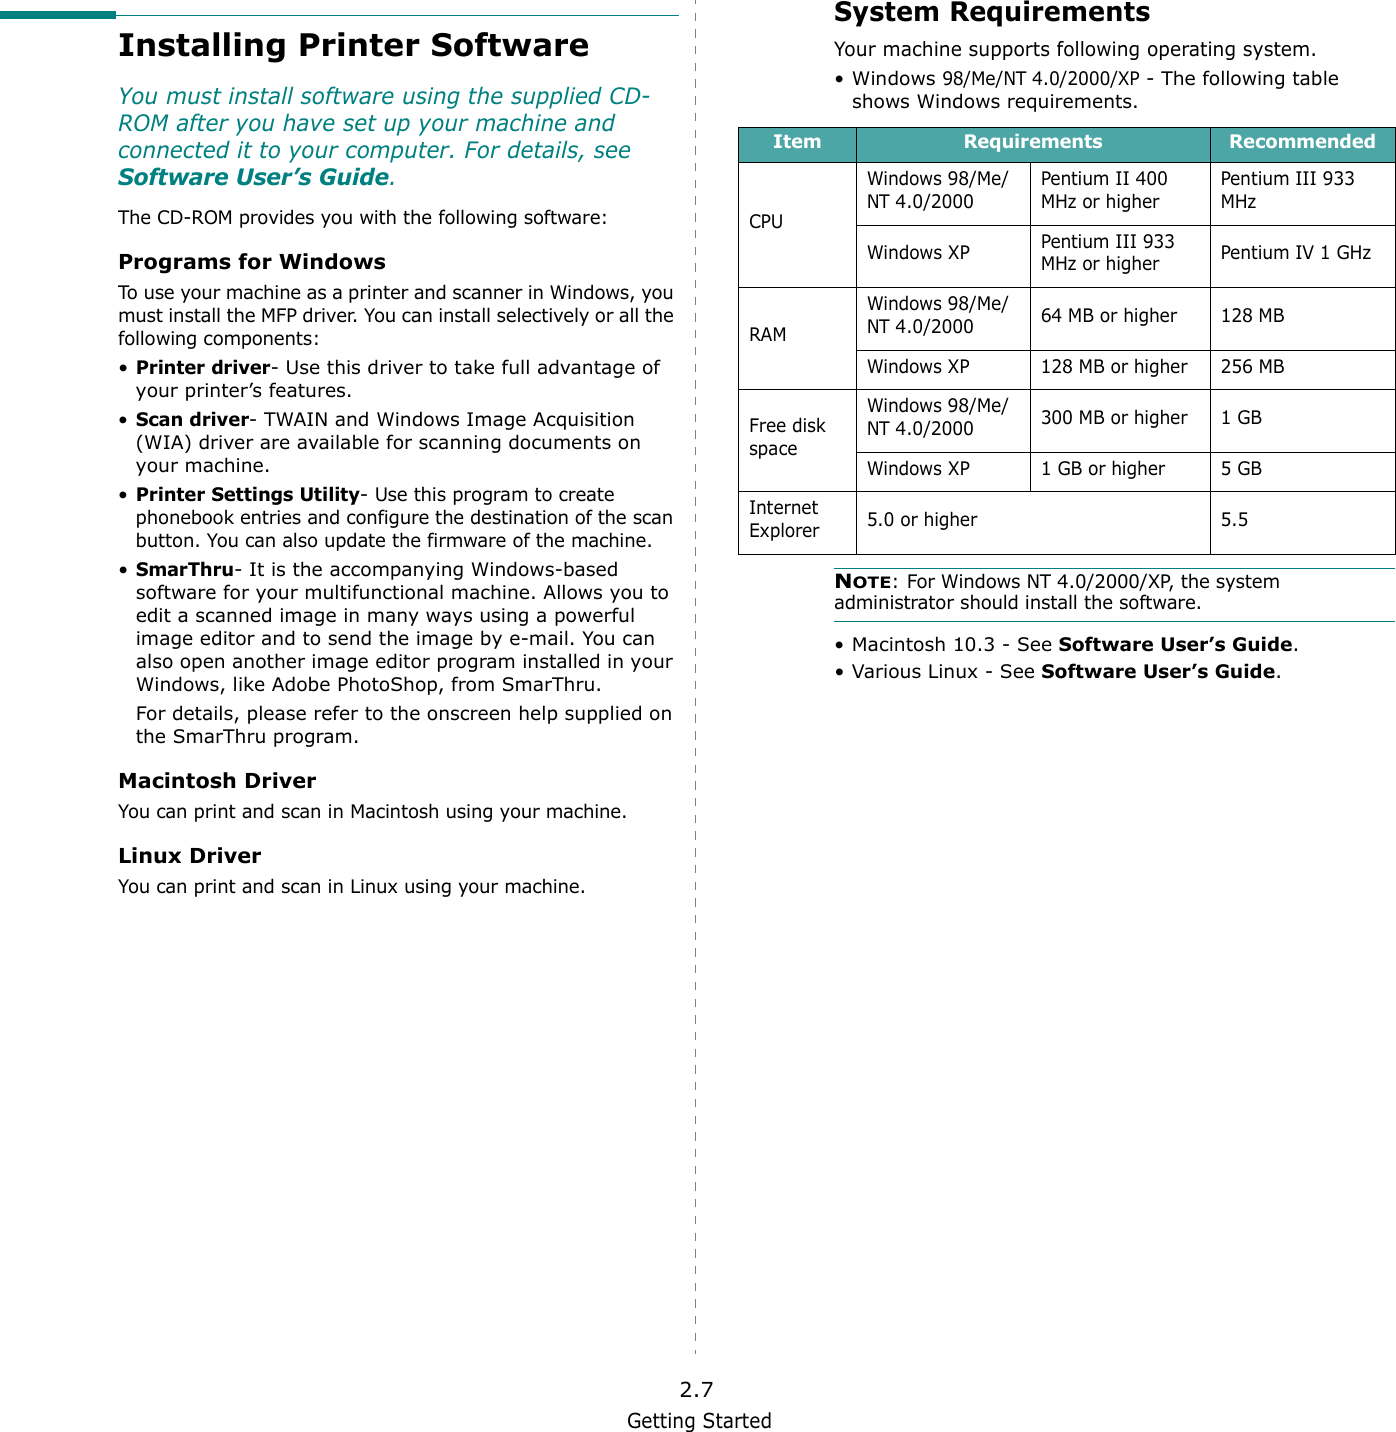
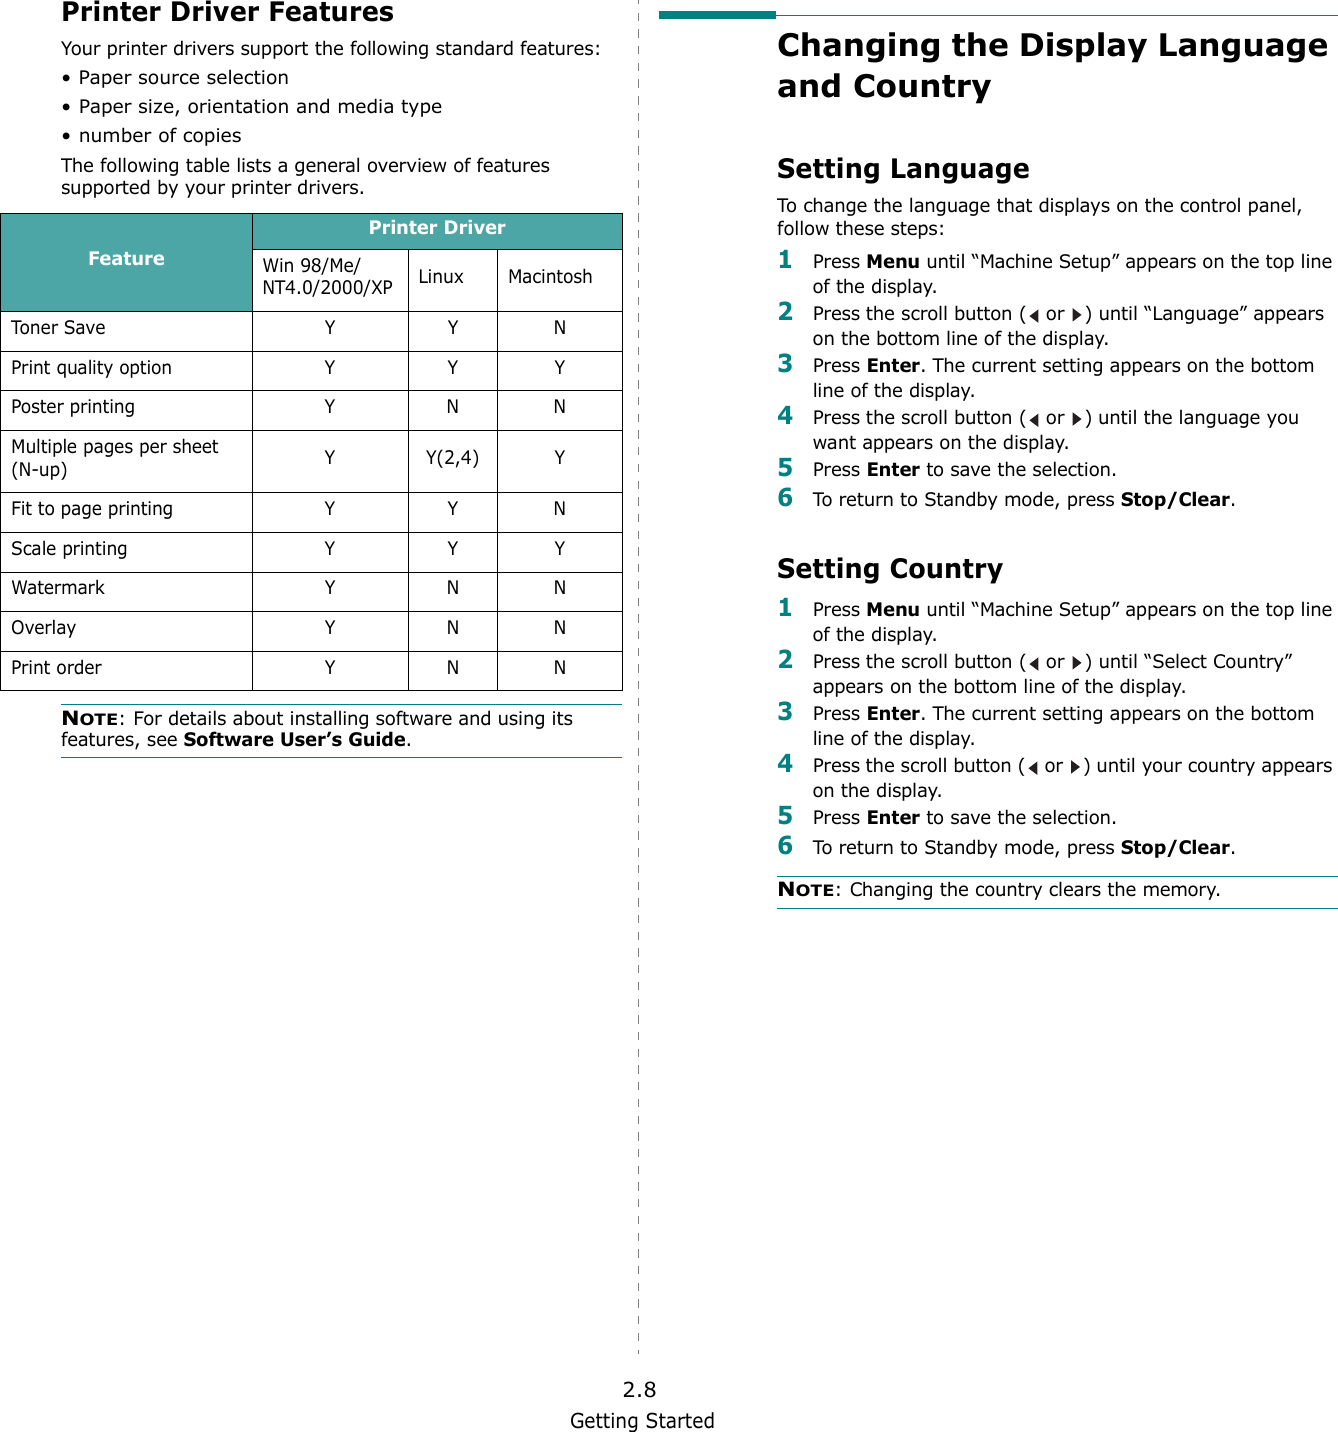
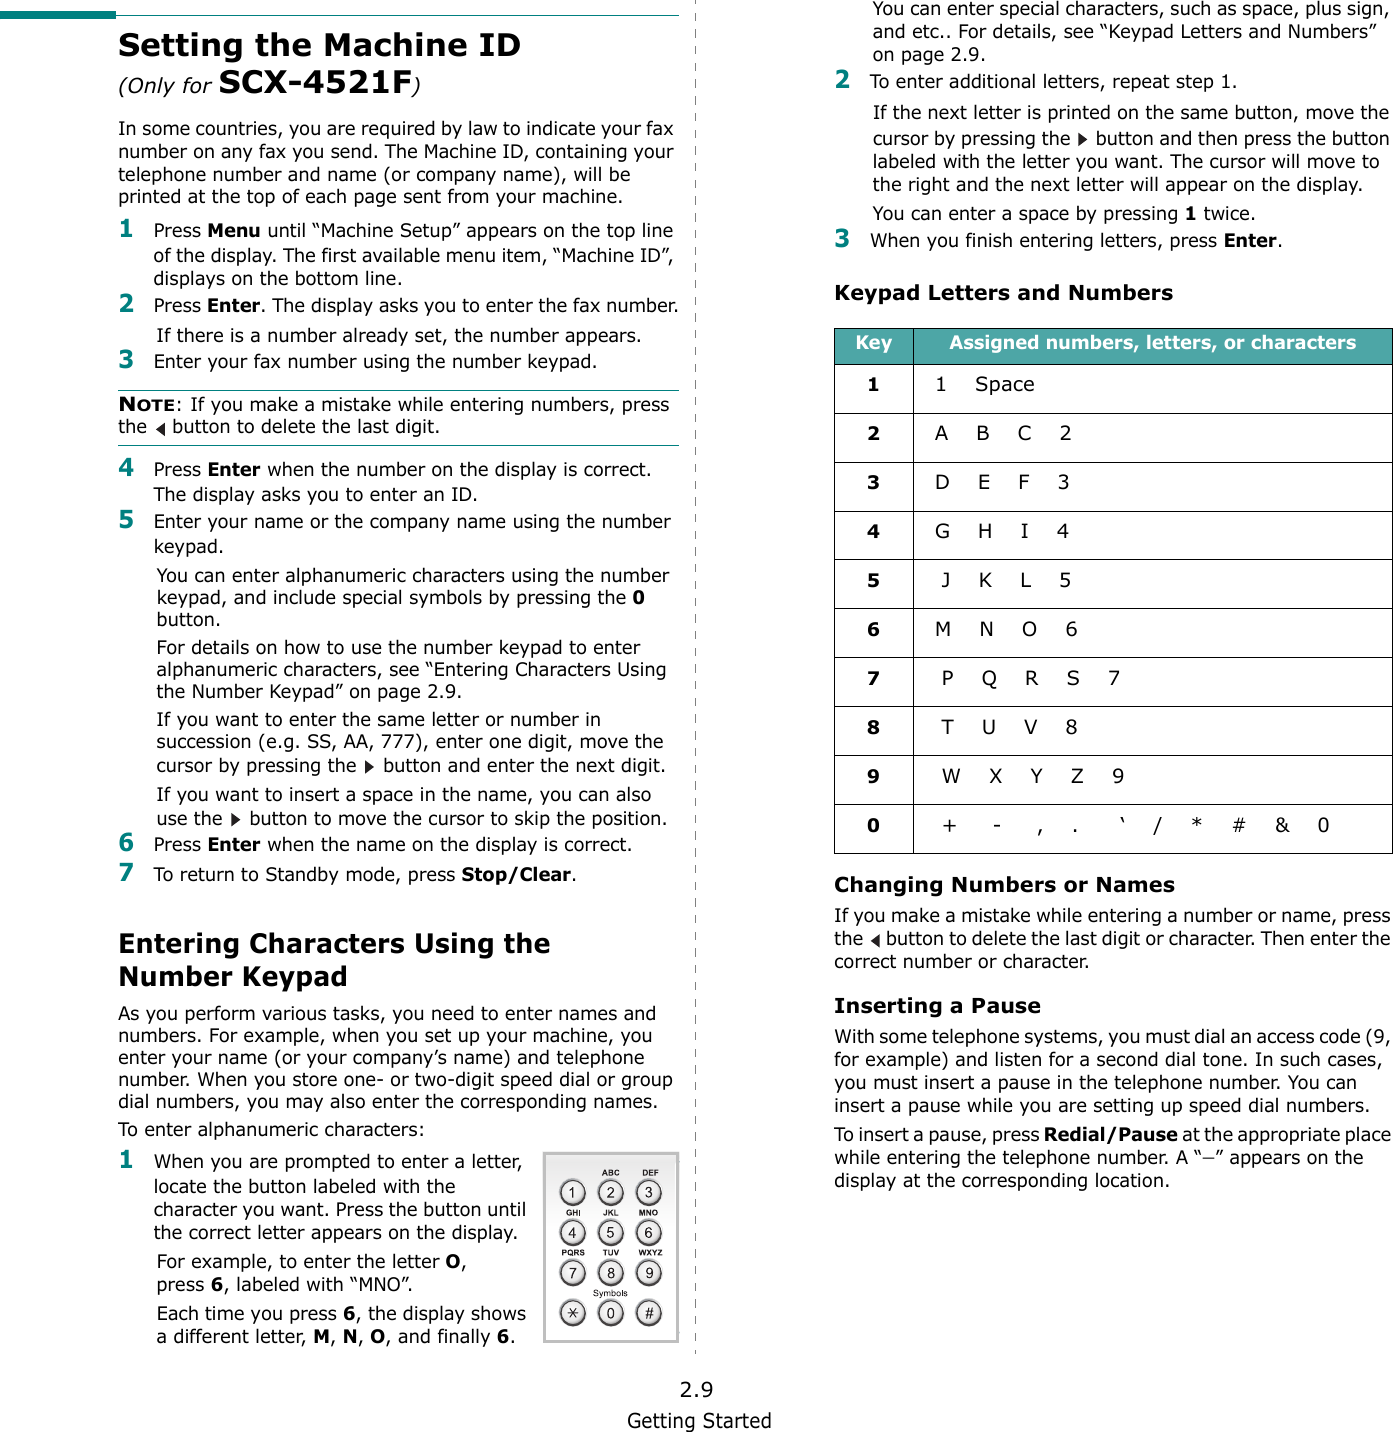
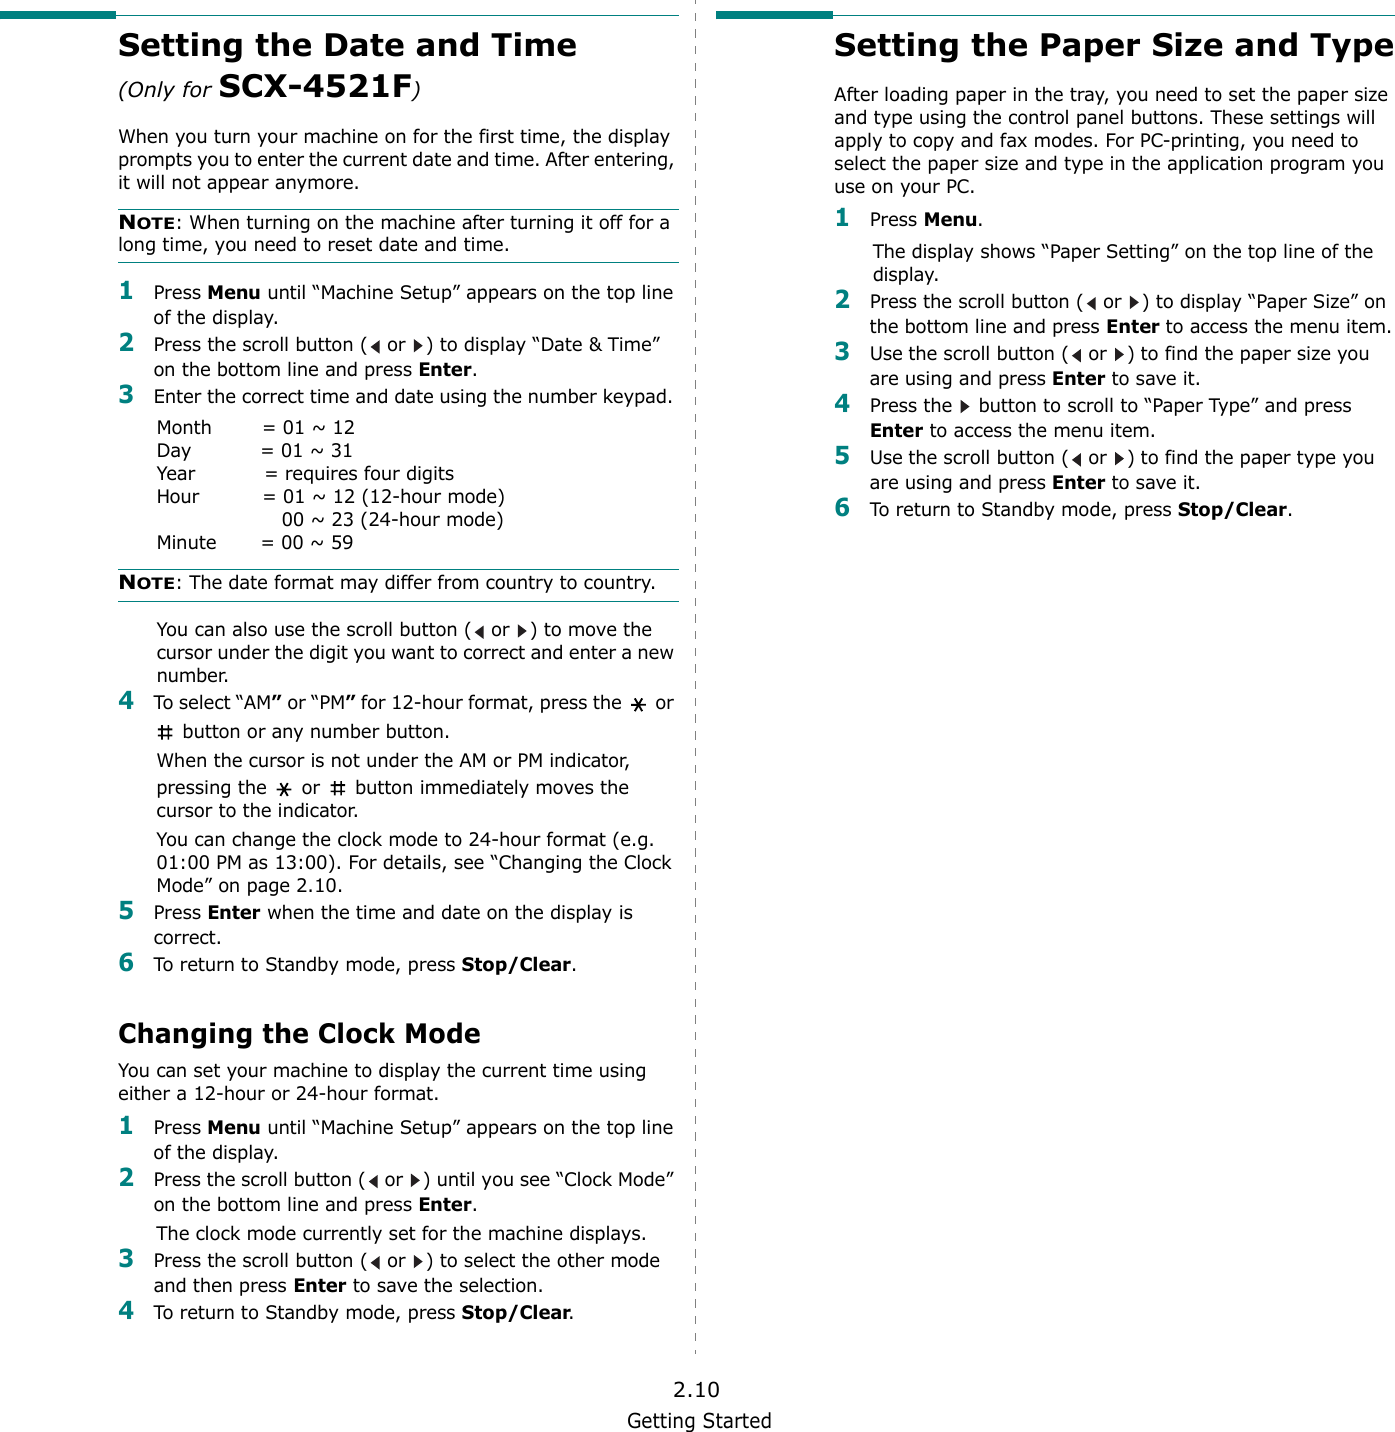
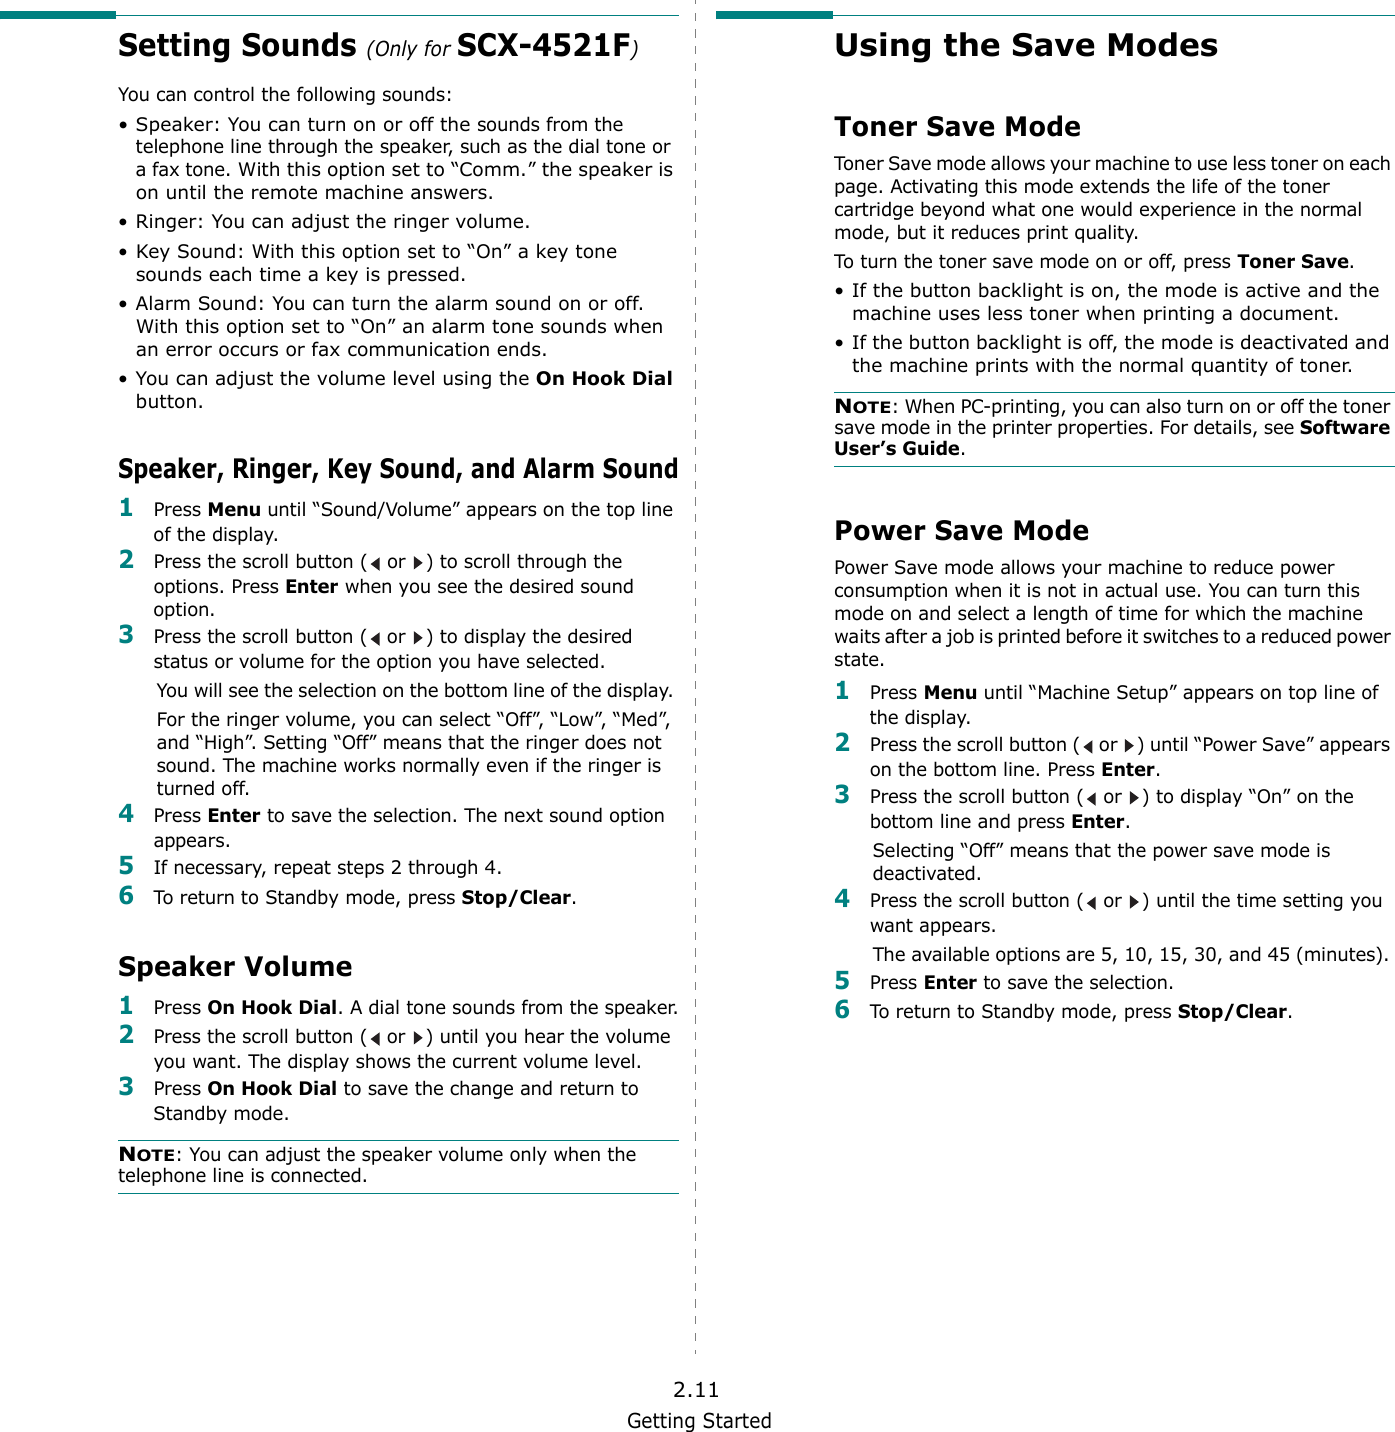
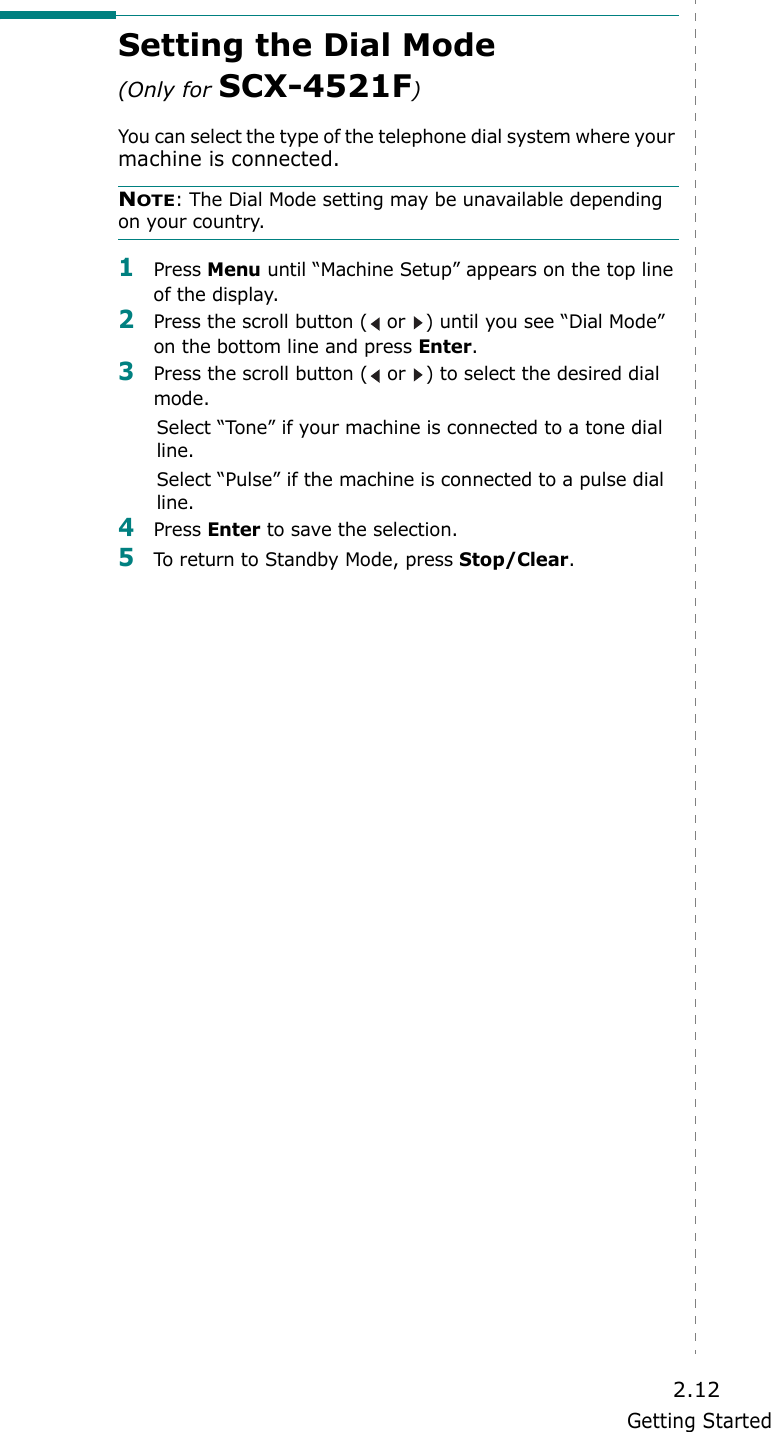
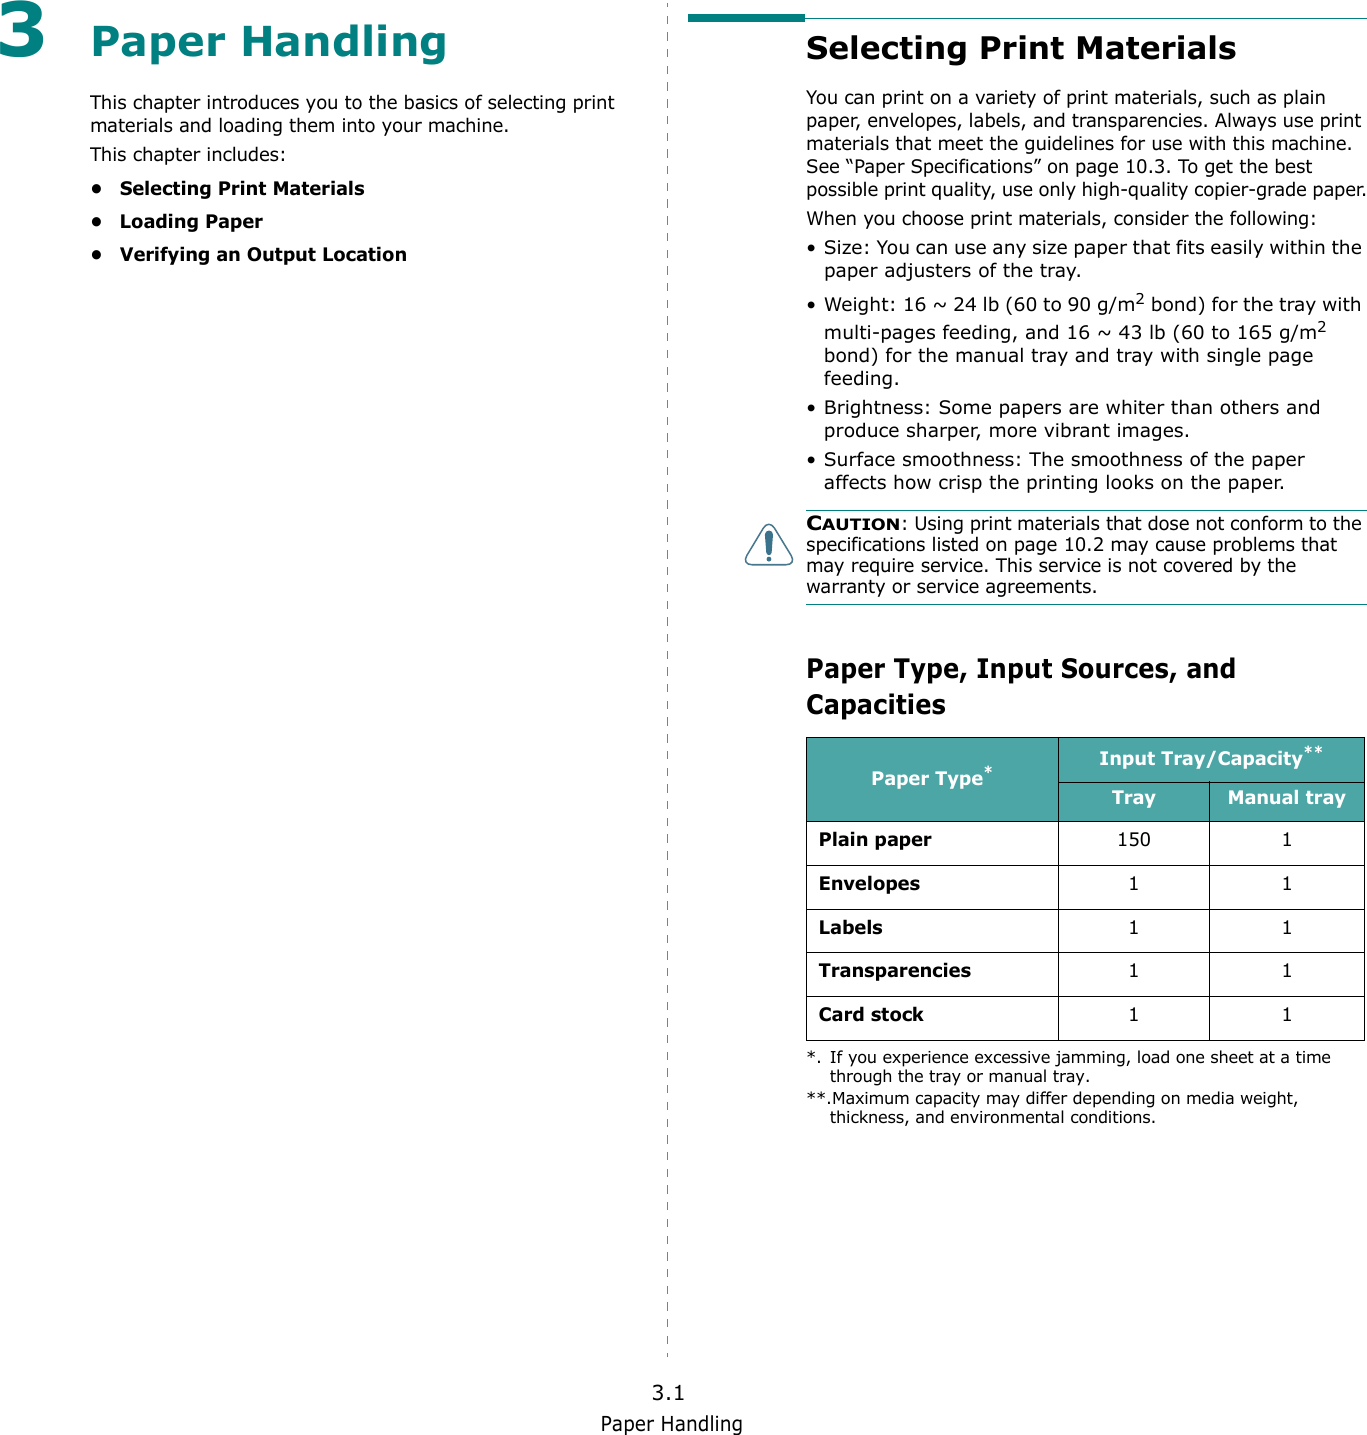
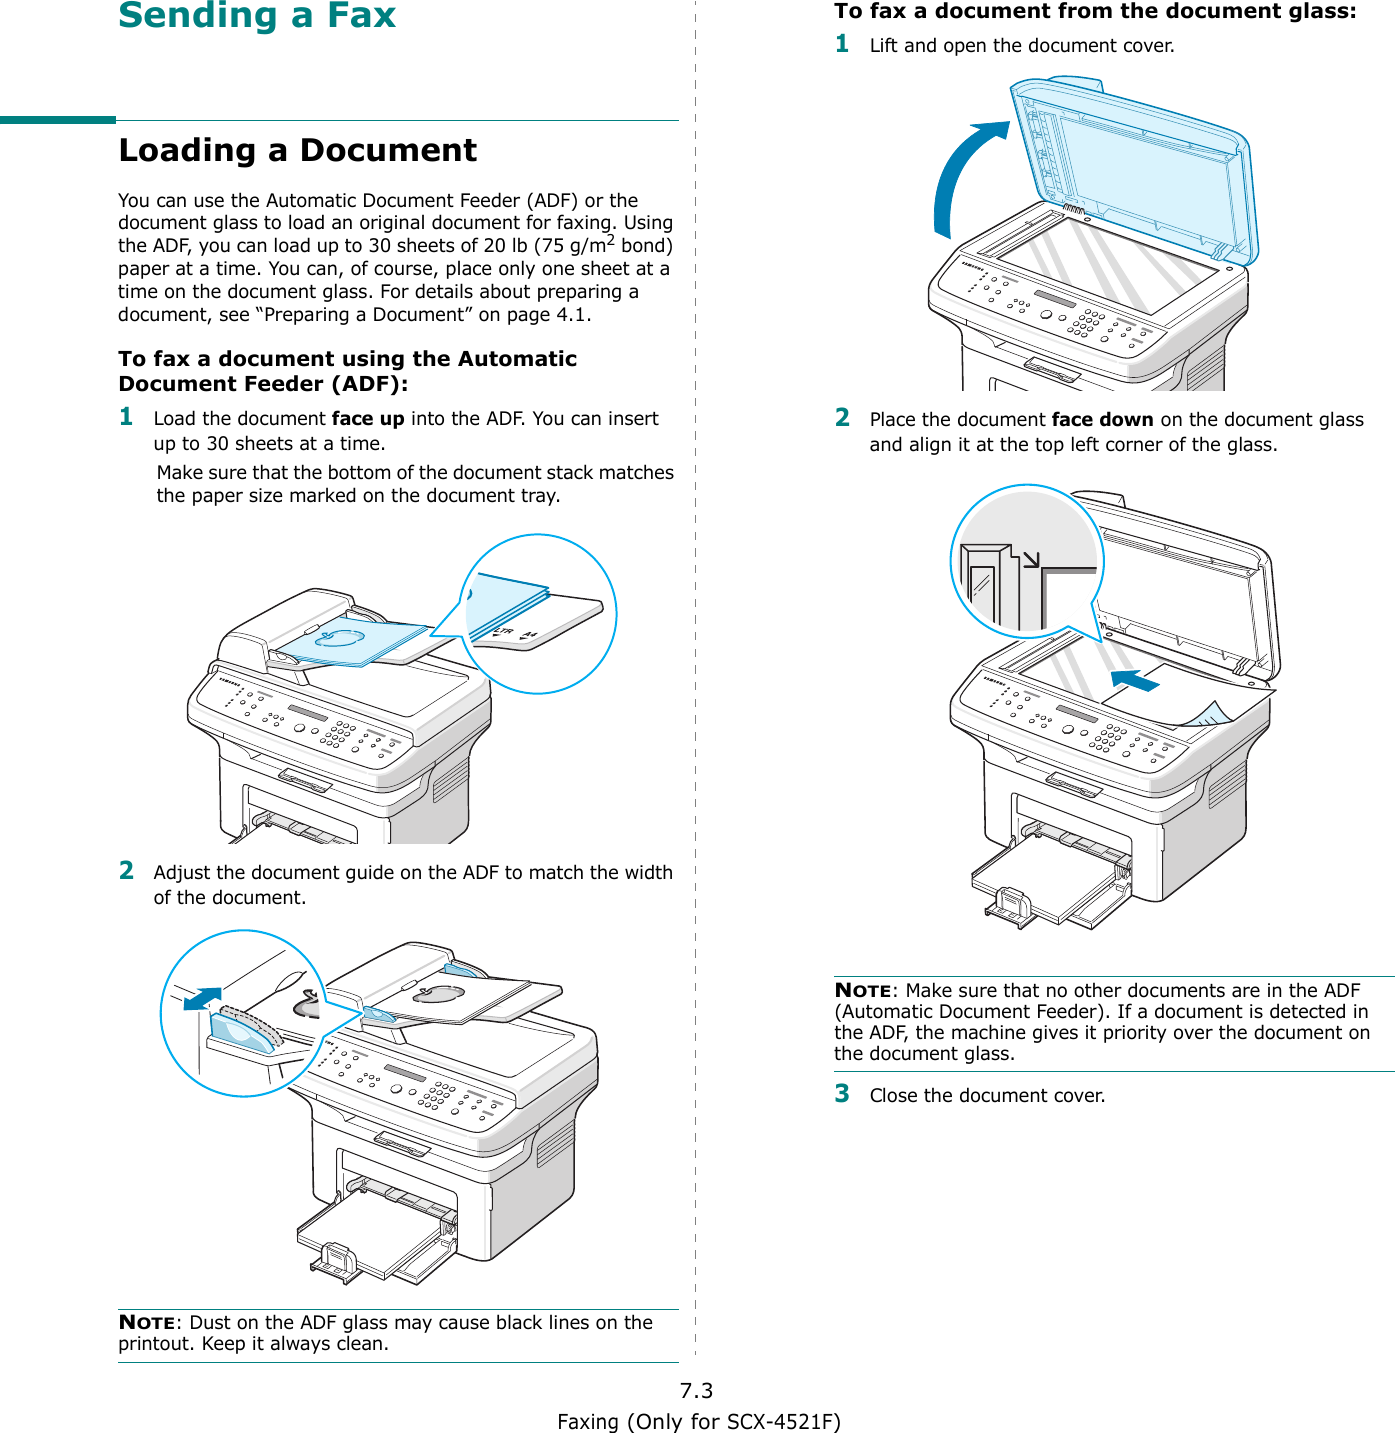
![Maintenance8.4Redistributing TonerWhen the toner cartridge is near the end of its life, white streaks or light printing occurs. The LCD displays the warning message, “[Toner Low]”. You can temporarily reestablish print quality by redistributing the remaining toner in the cartridge. In some case, white streaks or light printing still occurs even after you have redistributed the toner.1Open the front door.2Pull the toner cartridge out and remove it from the printer. 3Gently shake the toner cartridge from side to side five or six times to redistribute the toner.NOTE: If toner gets on your clothing, wipe it off with a dry cloth and wash clothing in cold water. Hot water sets toner into fabric.CAUTION: Do not touch the green underside of the toner cartridge. Use the handle on the cartridge to avoid touching this area. 4Reinstall the cartridge and close the front door. Make sure that the cover is securely closed. If it is not firmly closed, printing error may occur when you print.Replacing the Toner CartridgeWhen the display on the control panel shows the warning message, “[Toner Empty]” the toner cartridge has run out but continues printing. For the SCX-4521F, incoming faxes are saved in memory. At this stage, the toner cartridges needs to be replaced.NOTE: You can set the machine to ignore the “[Toner Empty]” message and to continue printing incoming faxes. See “Ignoring the Toner Empty Message (Only for SCX-4521F)” on page 8.5.Remove the old toner cartridge and install a new toner cartridge. See “Installing the Toner Cartridge” on page 2.2.Setting the Notify Toner Option (Only for SCX-4521F)If you set the Notify Toner menu option to “On”, your machine automatically sends a fax to your service company or the dealer to notify them. The fax number is preset by your dealer when you bought your machine.Notification cases are like this:• When the toner cartridges is low.• When critical error occured at your machine.(Error cases: CRU Fuse Error, Low Heat Error, LSU Error..)• When notification day and notification pages that are preset by your dealer have passed.1Press Menu on the control panel until “Maintenance” appears on the top line of the display. 2Press the scroll button ( or ) to display “Notify Toner ” on the bottom line and press Enter.3 Enter a four-digit password you want to use, using the number keypad and press Enter.(If you select this menu, for the first time after purchasing or after clearing all memory, Re-enter the password to confirm it and press Enter.)4Press the scroll button ( or ) to change the setting. Select “On” to enable this feature. Selecting “Off” disables this feature.5Press Enter to save the selection.6To return to Standby mode, press Stop/Clear.](https://usermanual.wiki/Samsung-Electronics-Co/WT21MFF.Users-Manual-1/User-Guide-544359-Page-55.png)