Sony Group NWZA820 Digital Media Player User Manual NWZ A826 A828 A829
Sony Corporation Digital Media Player NWZ A826 A828 A829
Contents
- 1. Manual 1
- 2. Manual 2
- 3. Manual 3
- 4. Manual 4
- 5. Manual 5
Manual 2
NWZ-A826 / A 828 / A829.GB.3-289-807-11(1)
Setting the Music
42
42
Setting to Search by Folders
(/ Button Setting)
While playing back music or pausing playback, you can search for songs by
skipping folders. You can set the / button to skip folders or to search for
songs from the information of the currently playing song.
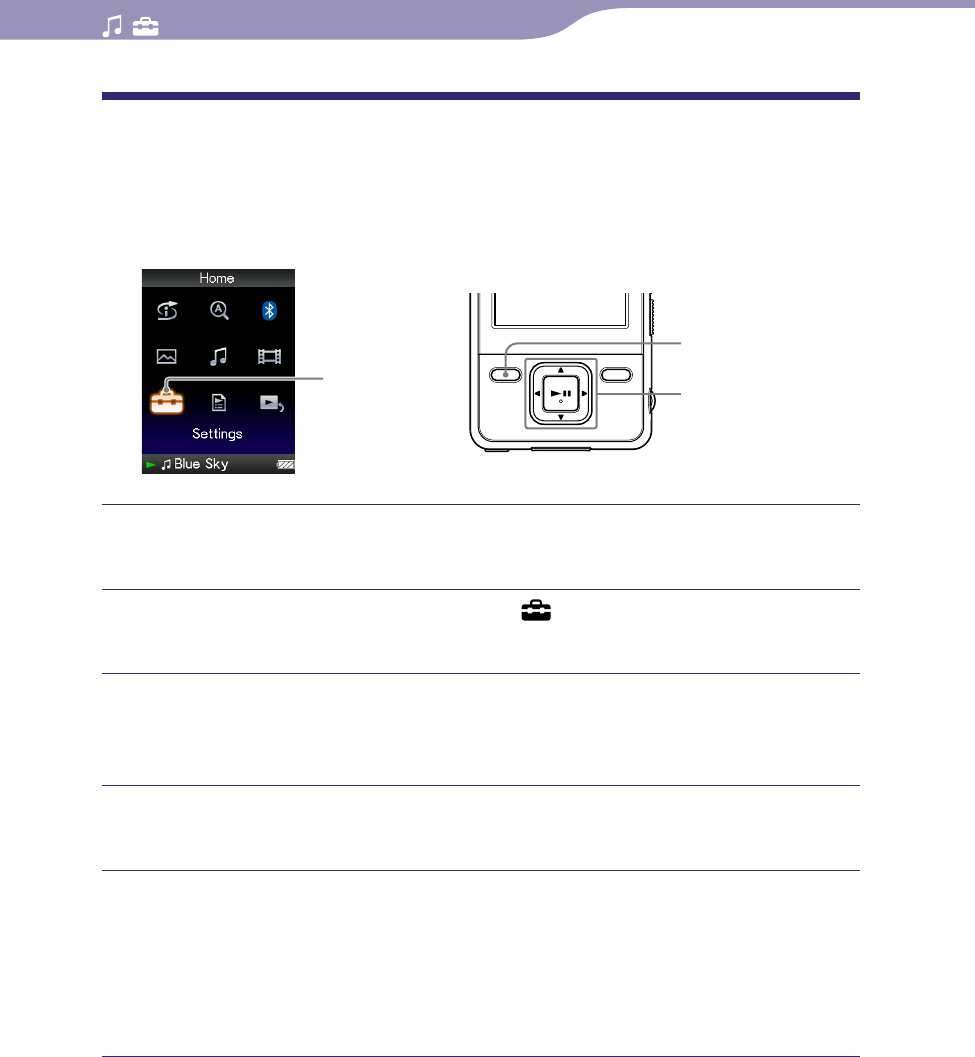
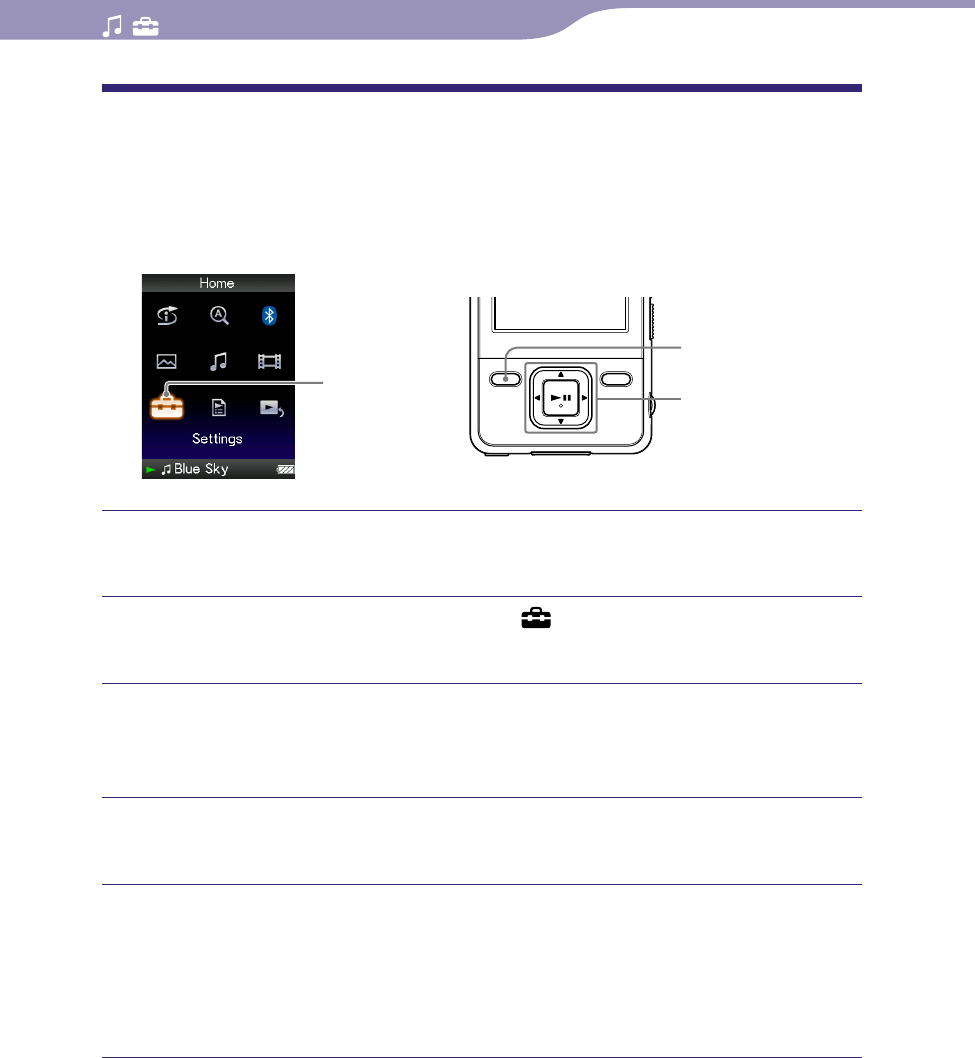
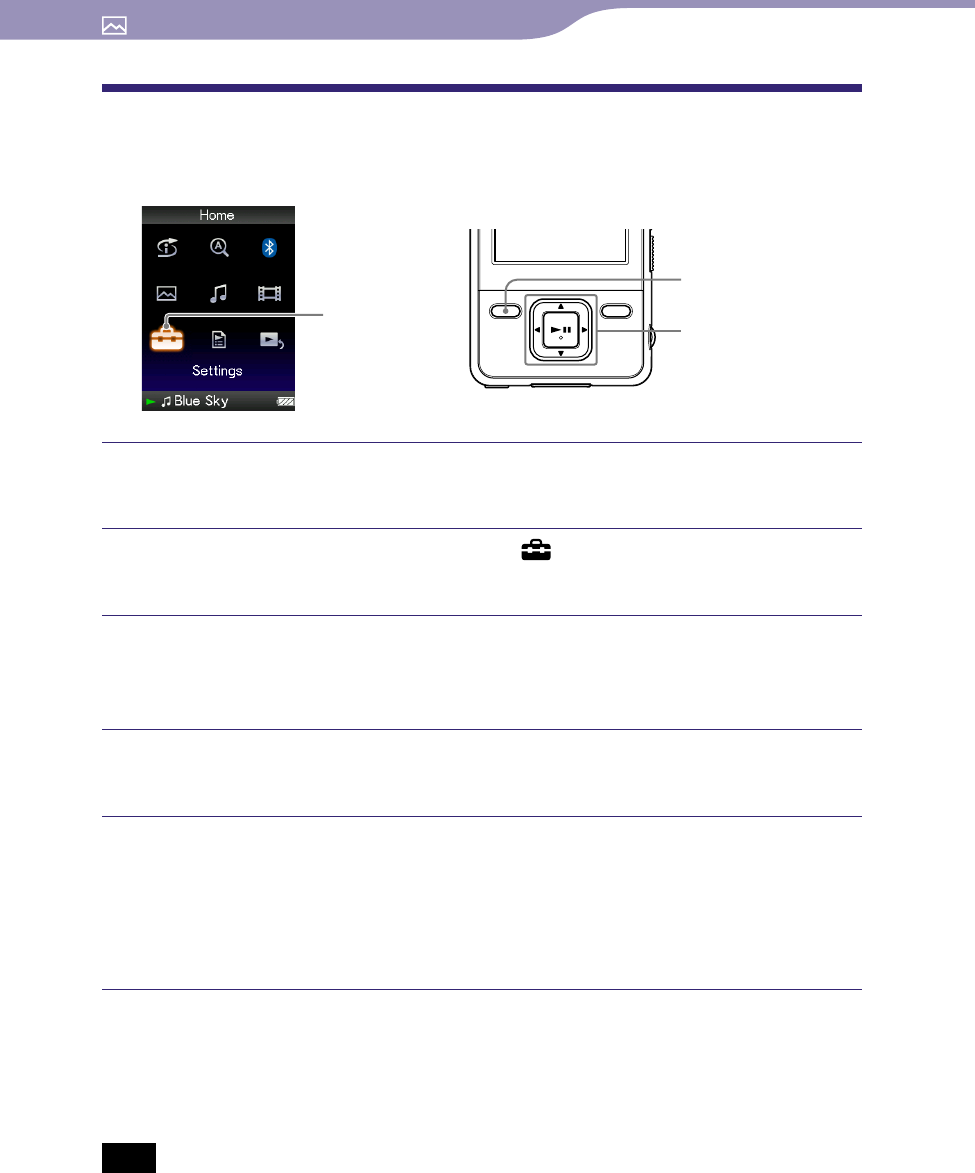
Settings 5-way button
BACK/HOME
button
Press and hold the BACK/HOME button until the Home menu
appears.
Press the /// button to select (Settings), and then press
the button to conrm.
Press the /// button to select “Music Settings,” and then press
the button to conrm.
The list of “Music Settings” options appears.
Press the /// button to select “/ Button Setting,” and then
press the button to conrm.
Press the /// button and select the desired setting, and then
press the button to conrm.
“Direct Search”: By pressing the / button, you can select an
information of the song using the displayed cursor and search for songs
from the selected information ( page 29). (Default setting)
“Folder +/–”: By pressing the / button, the player skips folders.
Hint
When the player skips folders in “Folder +/–” mode, the folder units vary depending
on the list before the song list. For example, if you select a song in the following order;
“Artist”- album list – song list, the folder units are based on album, and you can search
for songs by skipping albums.
Table of
Contents
Menu
Index
Please see Users Manual 4 for FCC and IC manual statements

NWZ-A826 / A 828 / A829.GB.3-289-807-11(1)
Setting the Music
43
43
Setting the Sound Quality
(Equalizer)
You can set the sound quality according to the music genre, etc.
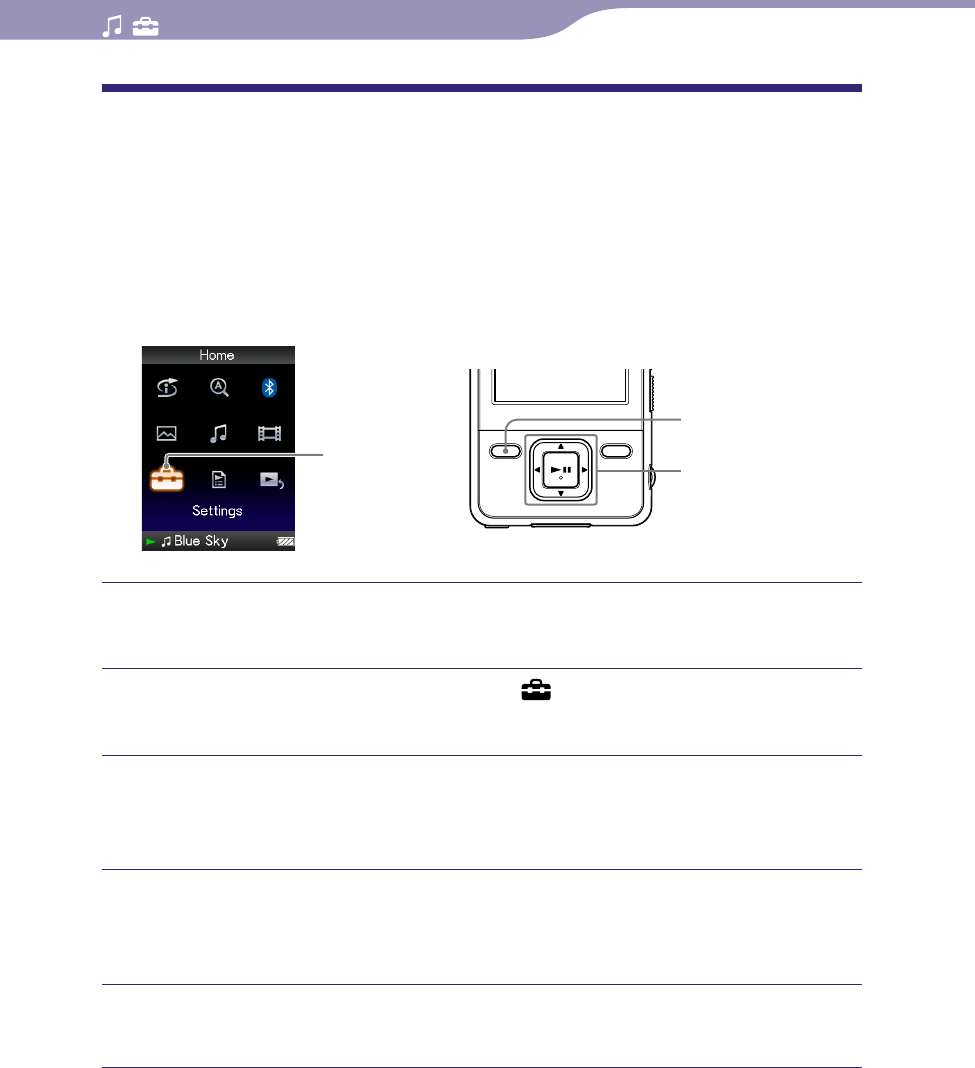
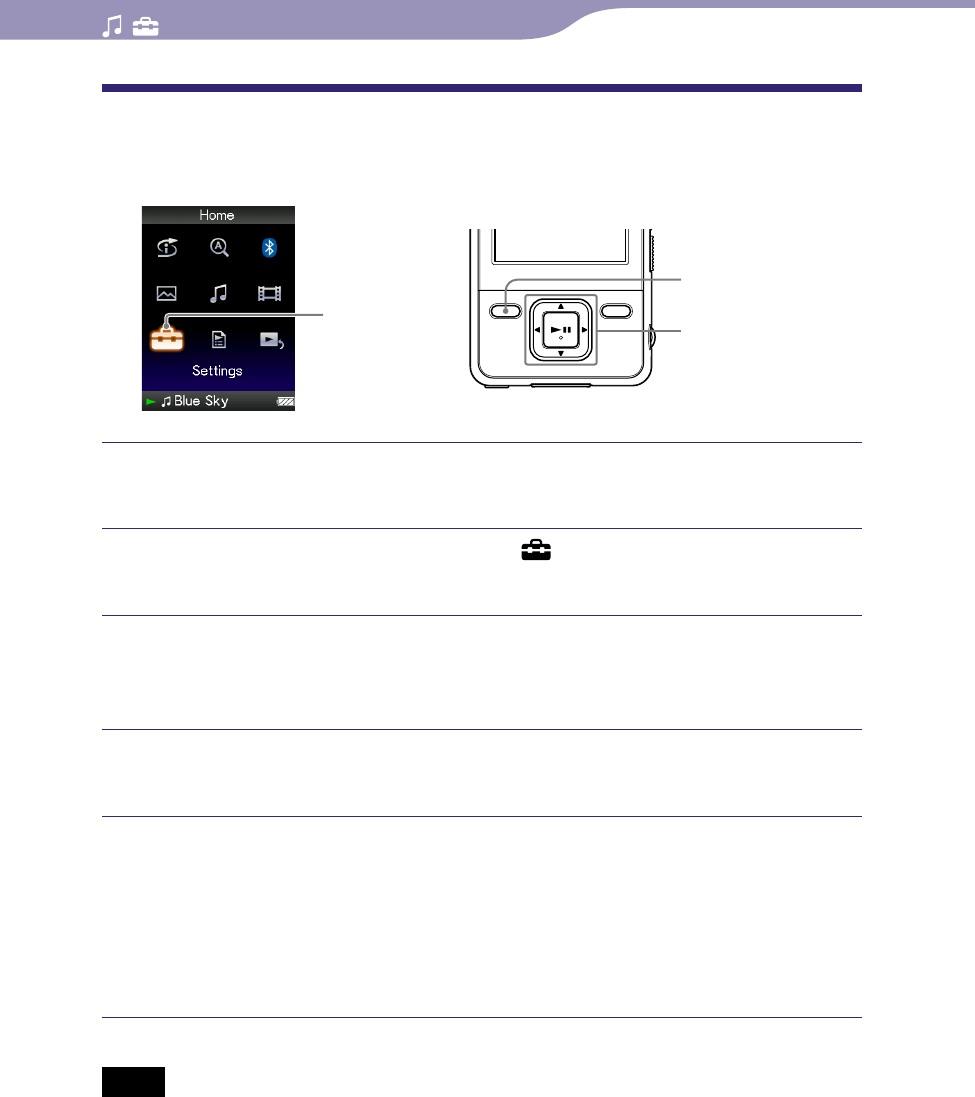
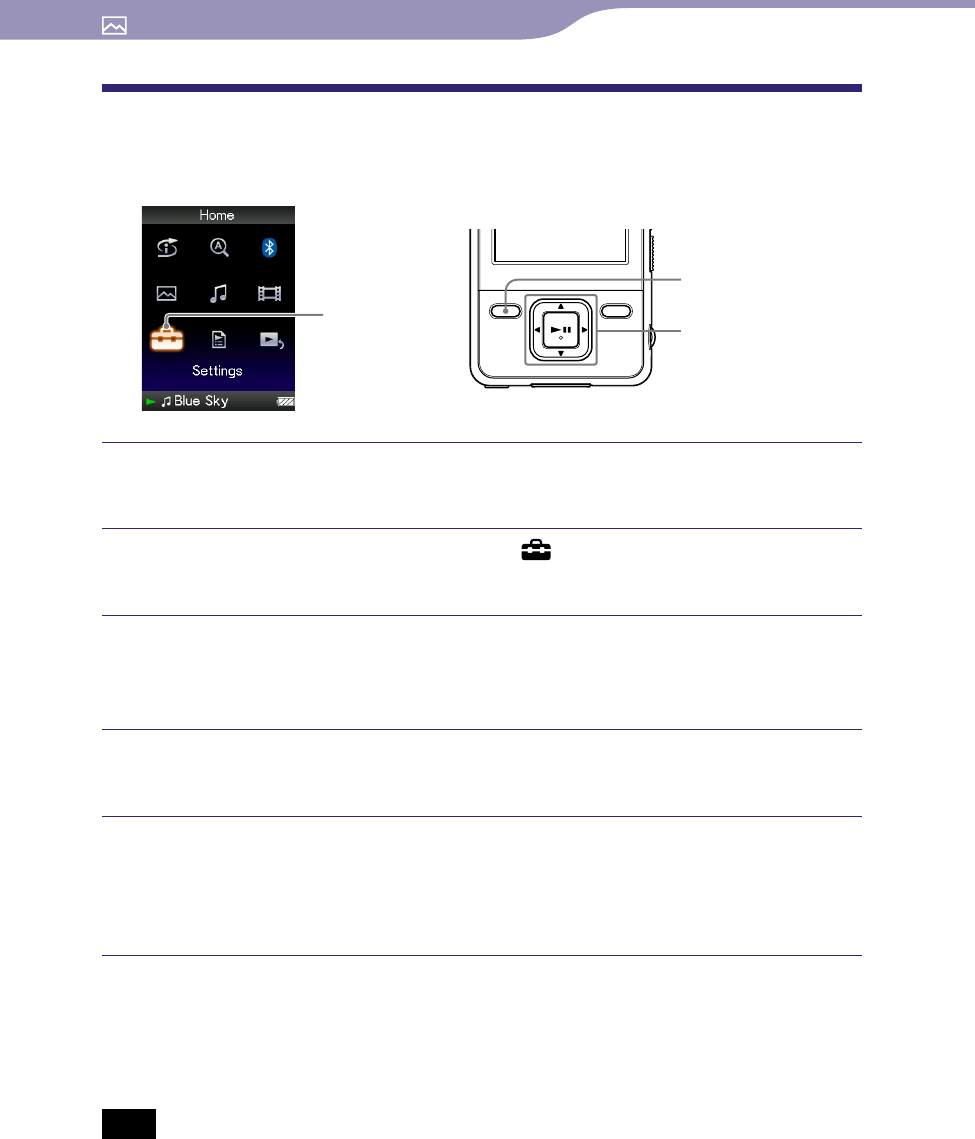
Settings 5-way button
BACK/HOME
button
Changing the sound quality
You can customize the player’s sound quality.
Press and hold the BACK/HOME button until the Home menu
appears.
Press the /// button to select (Settings), and then press
the button to conrm.
Press the /// button to select “Music Settings,” and then press
the button to conrm.
The list of “Music Settings” options appears.
Press the /// button to select “Equalizer,” and then press the
button to conrm.
The list of equalizer settings appears.
Press the /// button to select the desired setting, and then
press the button to conrm.
The selected sound setting is applied, and the list of “Music Settings”
options reappears.
For details of each equalizer option, see page 44.
Continued
Table of
Contents
Menu
Index
NWZ-A826 / A 828 / A829.GB.3-289-807-11(1)
Setting the Music
44
44
To return to the normal sound quality
Select “None” in step , and then press the button to confirm.
Hint
You can also set the sound quality from the “Now Playing” screen. Press the OPTION/
PWR OFF button, and select “Equalizer” from the option menu.
Notes
If your personal settings saved as “Custom 1” and “Custom 2” seem to produce a
different volume level than the other settings, you may have to adjust the volume
manually to compensate.
The “Equalizer” setting is not applied while playing a video.
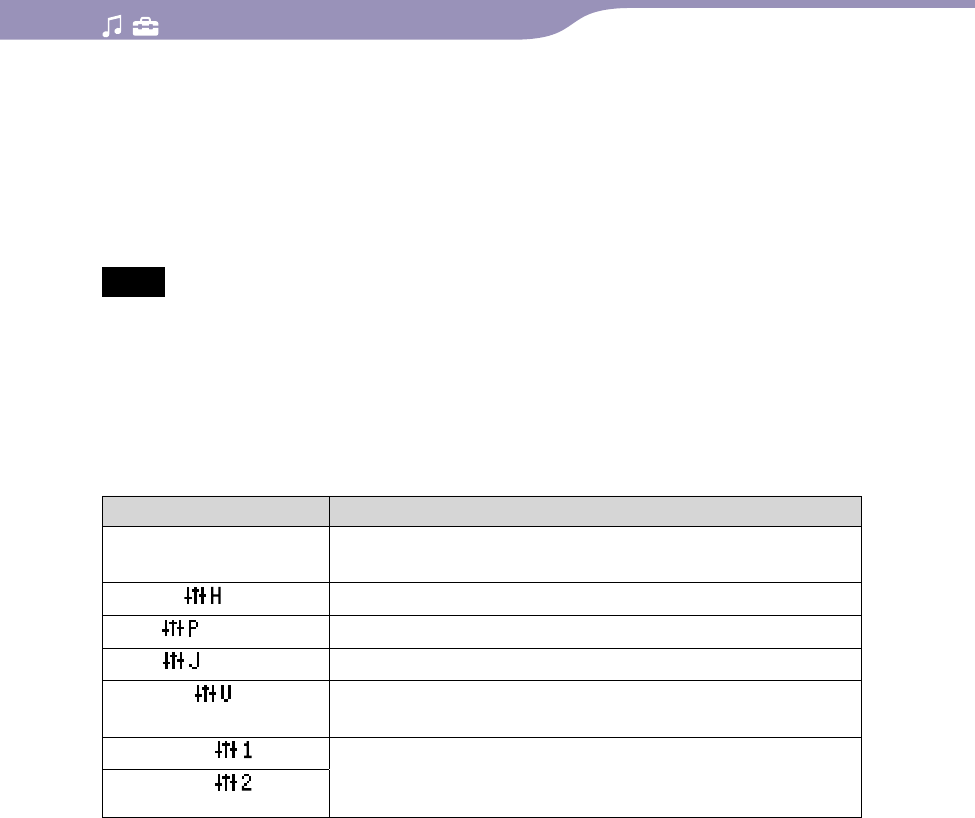
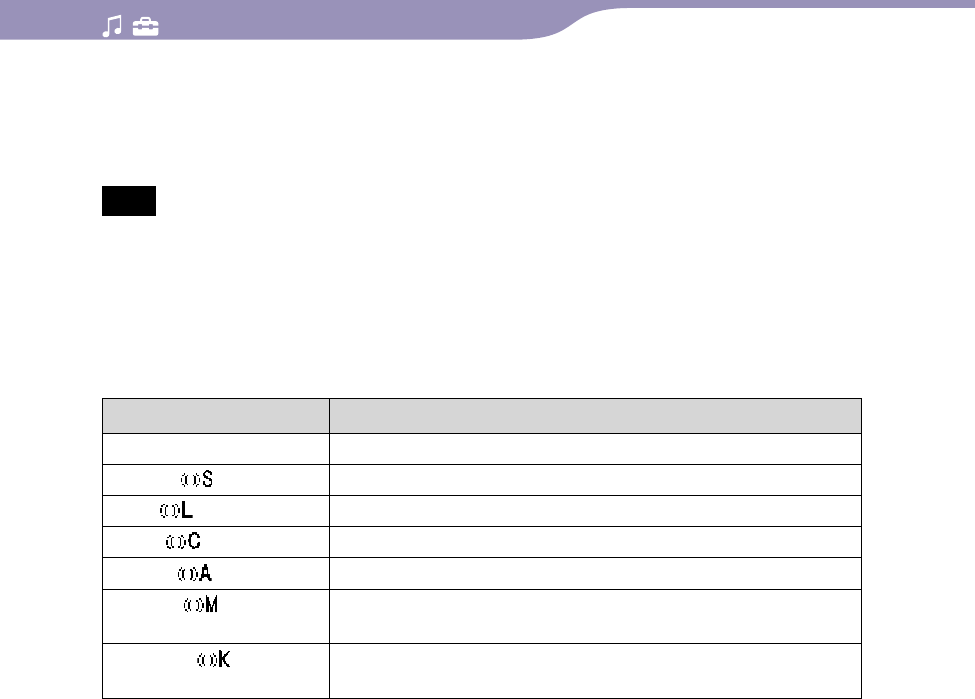
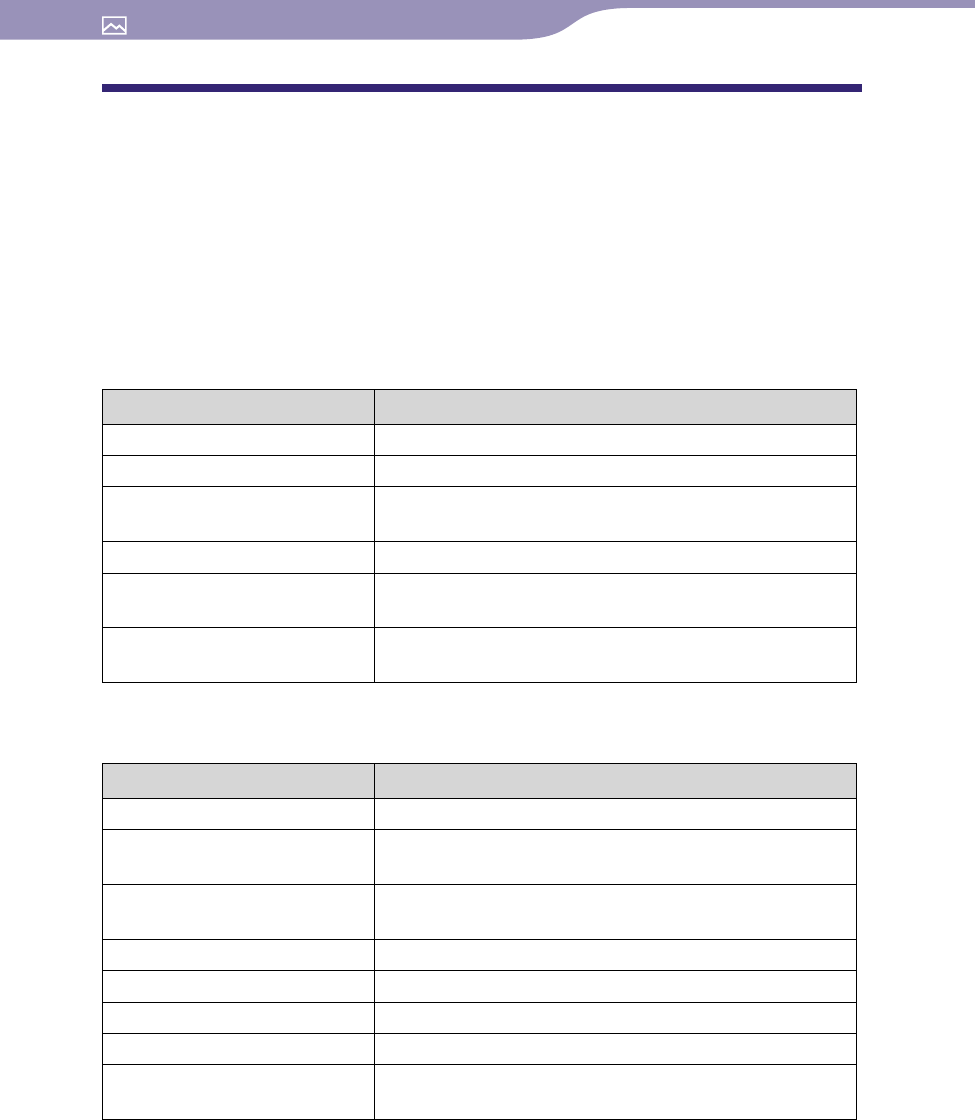
List of equalizer settings
The sound settings appear on the screen as the letters in parentheses.
Setting/icon Description
None Sound quality setting is not activated.
(Default setting)
Heavy ( ) Emphasizes high and low ranges for a powerful sound.
Pop ( ) Stresses the middle range audio, ideal for vocals.
Jazz ( ) Emphasizes high and low ranges for a lively sound.
Unique ( ) Emphasizes high and low ranges, so that a small sound
can be listened easily.
Custom 1 ( ) User-customizable sound settings for which you can
adjust each frequency range individually. See page 45
for details.
Custom 2 ( )
Continued
Table of
Contents
Menu
Index
NWZ-A826 / A 828 / A829.GB.3-289-807-11(1)
Setting the Music
45
45
Customizing sound quality
You can preset the value of CLEAR BASS (bass) and 5 bands Equalizer as
“Custom 1” or “Custom 2.”
Press and hold the BACK/HOME button until the Home menu
appears.
Press the /// button to select (Settings), and then press
the button to conrm.
Press the /// button to select “Music Settings,” and then press
the button to conrm.
The list of “Music Settings” options appears.
Press the /// button to select “Equalizer,” and then press the
button to conrm.
The list of equalizer settings appears.
Press the /// button to select “Edit” displayed under “Custom
1” or “Custom 2” to change a value, and then press the button
to conrm.
The setting screen appears.
Press the / button to select a cursor for the CLEAR BASS or the
frequency range setting, and press the / button to adjust the
setting level.
The CLEAR BASS can be set to any of 4 sound levels, and the 5 frequency
ranges can be set to any of 7 sound levels.
Press the button to conrm.
The list of equalizer settings reappears.
After you have adjusted the setting level, be sure to press the button to
confirm. If you press the BACK/HOME button before you confirm, the
setting will be canceled.
Note
The settings of “Custom 1” or “Custom 2” are not applied while playing a video.
Table of
Contents
Menu
Index
NWZ-A826 / A 828 / A829.GB.3-289-807-11(1)
Setting the Music
46
46
Making the Sound More Vibrant
(VPT(Surround))
You can choose from “Studio,” “Live,” “Club,” “Arena,” “Matrix” or “Karaoke”
according to your song using the “VPT*1(Surround)” function. Setting to
“Studio,” “Live,” “Club” or “Arena,” simulates these sound fields in the
headphones.
Additionally, “Matrix” reproduces a rich acoustic sound field, and “Karaoke”
suppresses the vocals.
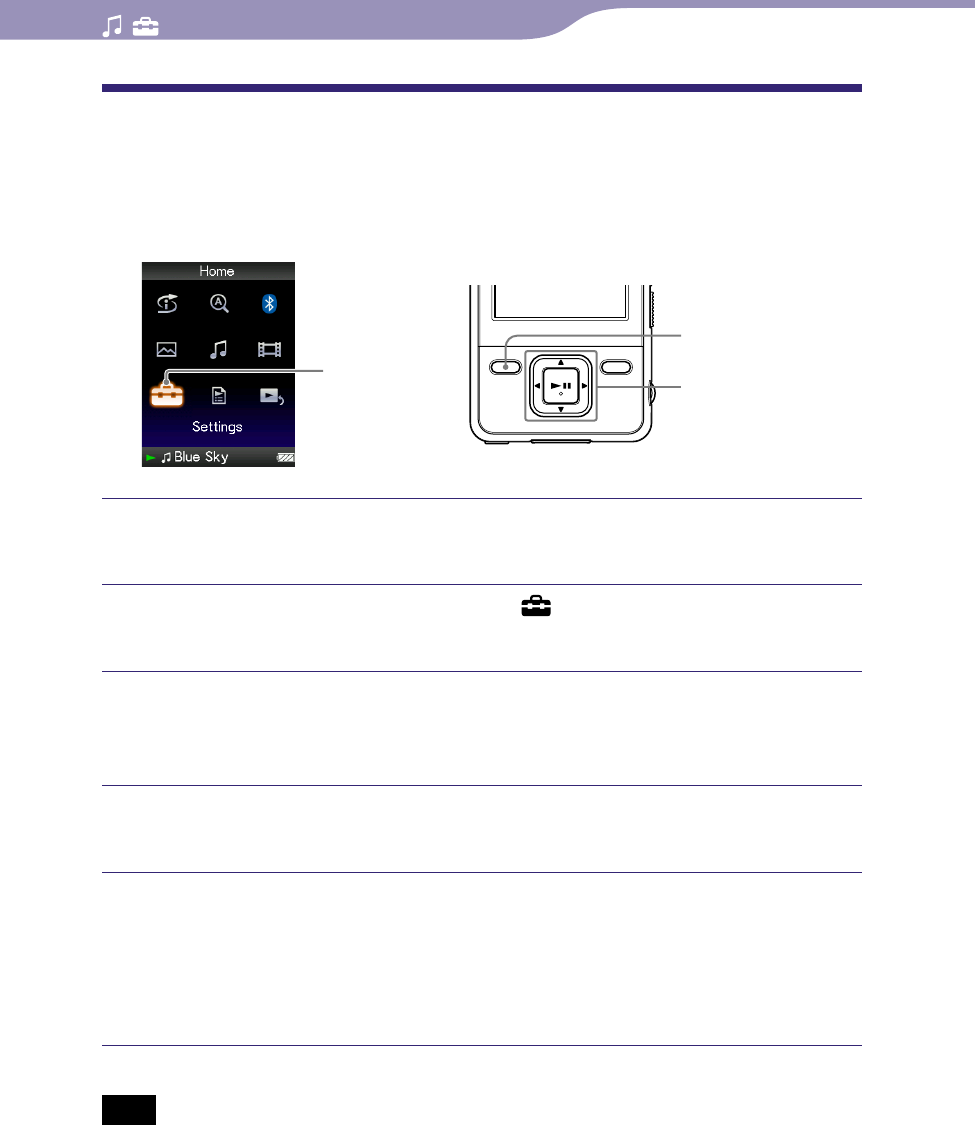
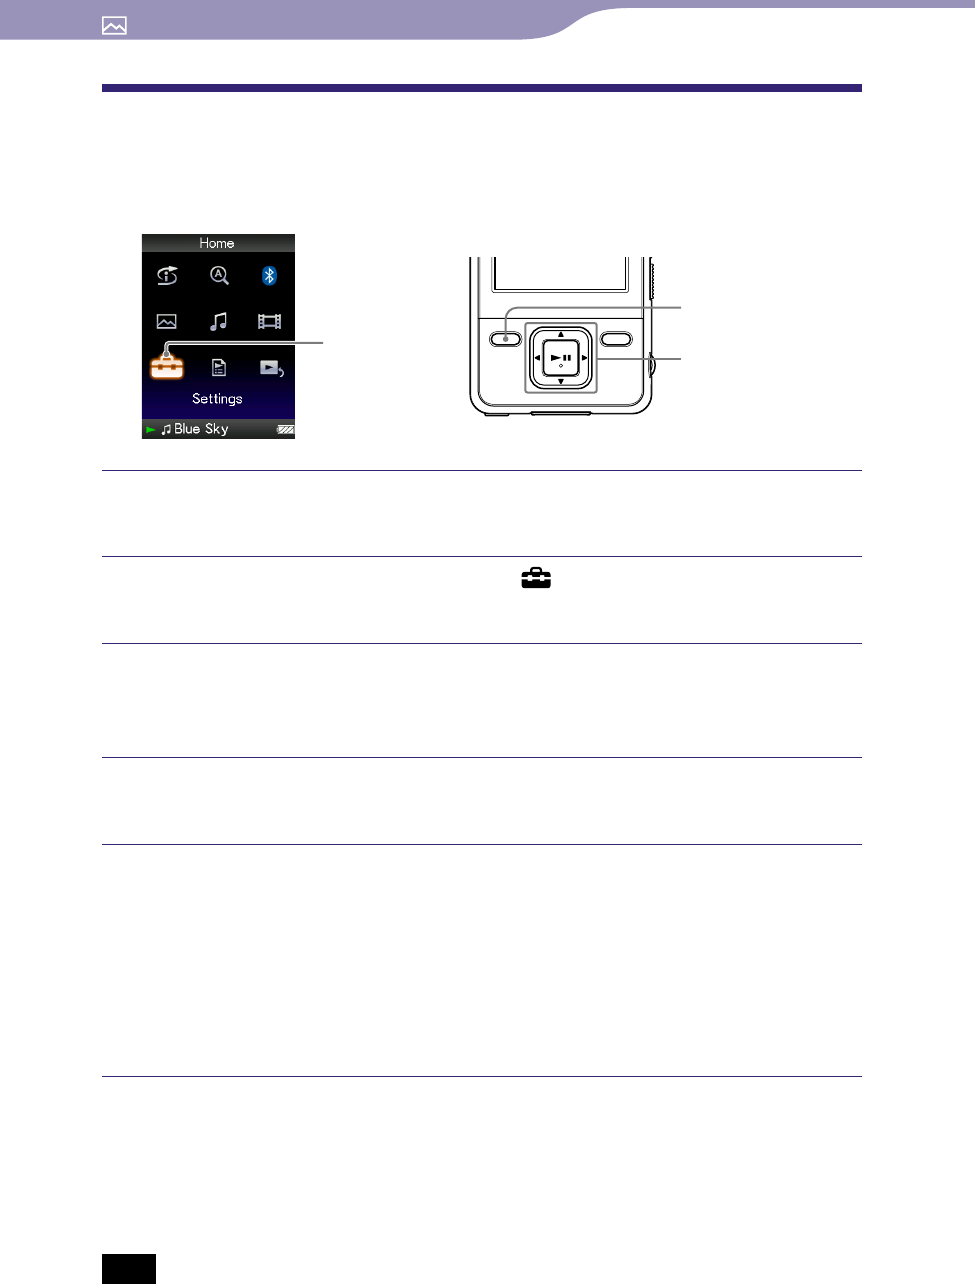
Settings 5-way button
BACK/HOME
button
Press and hold the BACK/HOME button until the Home menu
appears.
Press the /// button to select (Settings), and then press
the button to conrm.
Press the /// button to select “Music Settings,” and then press
the button to conrm.
The list of “Music Settings” options appears.
Press the /// button to select “VPT(Surround),” and then
press the button to conrm.
The list of “VPT(Surround)” settings appears.
Press the /// button to select the desired “VPT(Surround)”
setting ( page 47), and then press the button to conrm.
*1 VPT, which stands for Virtual Phone Technology, is a proprietary sound processing
technology developed by Sony.
To return to the normal sound quality
Select “None” in step , and then press the button to confirm.
Continued
Table of
Contents
Menu
Index
NWZ-A826 / A 828 / A829.GB.3-289-807-11(1)
Setting the Music
47
47
Hint
You can also set the “VPT(Surround)” setting from the “Now Playing” screen. Press the
OPTION/PWR OFF button, and select “VPT(Surround)” from the option menu.
Note
The “VPT(Surround)” setting is not applied while playing a video.
List of “VPT(Surround)” settings
The sound settings appear on the screen as the letters in parentheses.
The sound becomes more vibrant in the progression from “Studio,” “Live,”
“Club” to “Arena.”
Setting/icon Description
None
“VPT(Surround)” setting is not activated. (Default setting)
Studio ( ) Creates the sound of a recording studio.
Live ( ) Creates the sound of a concert hall.
Club ( ) Creates the sound of a club.
Arena ( ) Creates the sound of an arena.
Matrix ( ) Reproduces an additional surround effect, and creates a
natural, yet richly enhanced sound.
Karaoke ( ) Creates a stage-like sound field by suppressing vocal
sound, and adding a surround effect to the music.
Table of
Contents
Menu
Index
NWZ-A826 / A 828 / A829.GB.3-289-807-11(1)
Setting the Music
48
48
Listening with Clear Stereo Sound
(Clear Stereo)
“Clear Stereo” enables individual left and right digital processing of the sound.
Settings 5-way button
BACK/HOME
button
Press and hold the BACK/HOME button until the Home menu
appears.
Press the /// button to select (Settings), and then press
the button to conrm.
Press the /// button to select “Music Settings,” and then press
the button to conrm.
The list of “Music Settings” options appears.
Press the /// button to select “Clear Stereo,” and then press
the button to conrm.
Press the /// button to select the desired setting, and then
press the button to conrm.
“On”: Activates the “Clear Stereo” function when you use the supplied
headphones.
“Off ”: Disables the “Clear Stereo” function and plays back normal sound.
(Default setting)
Notes
The “Clear Stereo” setting is not applied while playing a video.
The “Clear Stereo” function is designed to obtain maximum effect with the supplied
headphones. The “Clear Stereo” effect may not be obtained with other headphones.
When using other headphones, set “Clear Stereo” to “Off.”
Table of
Contents
Menu
Index
NWZ-A826 / A 828 / A829.GB.3-289-807-11(1)
Setting the Music
49
49
Correcting Sound in the High Range
(DSEE(Sound Enhancer))
By activating the “DSEE*1(Sound Enhancer)” feature, you can hear a rich and
natural sound almost exactly like the original source.
Settings 5-way button
BACK/HOME
button
Press and hold the BACK/HOME button until the Home menu
appears.
Press the /// button to select (Settings), and then press
the button to conrm.
Press the /// button to select “Music Settings,” and then press
the button to conrm.
The list of “Music Settings” options appears.
Press the /// button to select “DSEE(Sound Enhance),” and
then press the button to conrm.
Press the /// button to select the desired setting, and then
press the button to conrm.
“On”: The “DSEE*1(Sound Enhancer)” function is activated, and plays
back naturally extended sound that is close to the original sound.
“Off ”: Plays back normal sound. (Default setting)
*1 DSEE, which stands for Digital Sound Enhancement Engine, is a technology developed
by Sony, to enhance the sound quality of compressed audio files by restoring high-range
sound removed by the compression process.
Continued
Table of
Contents
Menu
Index

NWZ-A826 / A 828 / A829.GB.3-289-807-11(1)
Setting the Music
50
50
Notes
The “DSEE(Sound Enhancer)” setting is not applied while playing a video.
The “DSEE(Sound Enhancer)” function is not effective for songs with a file format that
is not compressed, or songs that are of a high bit rate with no treble loss.
In the case of songs of very low bit rate, the “DSEE(Sound Enhancer)” function will not
be effective.
Table of
Contents
Menu
Index
NWZ-A826 / A 828 / A829.GB.3-289-807-11(1)
Setting the Music
51
51
Adjusting the Volume Level
(Dynamic Normalizer)
You can reduce the volume level between songs. With this setting, when
listening to album songs in the shuffle play mode, the volume level between
songs is moderated to minimize the difference in their recording levels.
Settings 5-way button
BACK/HOME
button
Press and hold the BACK/HOME button until the Home menu
appears.
Press the /// button to select (Settings), and then press
the button to conrm.
Press the /// button to select “Music Settings,” and then press
the button to conrm.
The list of “Music Settings” options appears.
Press the /// button to select “Dynamic Normalizer,” and then
press the button to conrm.
Press the /// button to select the desired setting, and then
press the button to conrm.
“On”: Minimizes the difference of the volume level between songs.
“Off ”: Plays back songs with their original volume level as transferred.
(Default setting)
Note
The “Dynamic Normalizer” setting is not applied while playing a video.
Table of
Contents
Menu
Index
NWZ-A826 / A 828 / A829.GB.3-289-807-11(1)
Playing Videos
Playing Videos
52
52
Playing a Video
You can play videos by transferring video files to the player using Media
Manager for WALKMAN or Windows Explorer. The player offers 2 types of
play mode; play back one video file only (one file play) and play back all video
files stored on the player continuously (Continuous Playback).
Video Library
5-way button
BACK/HOME
button
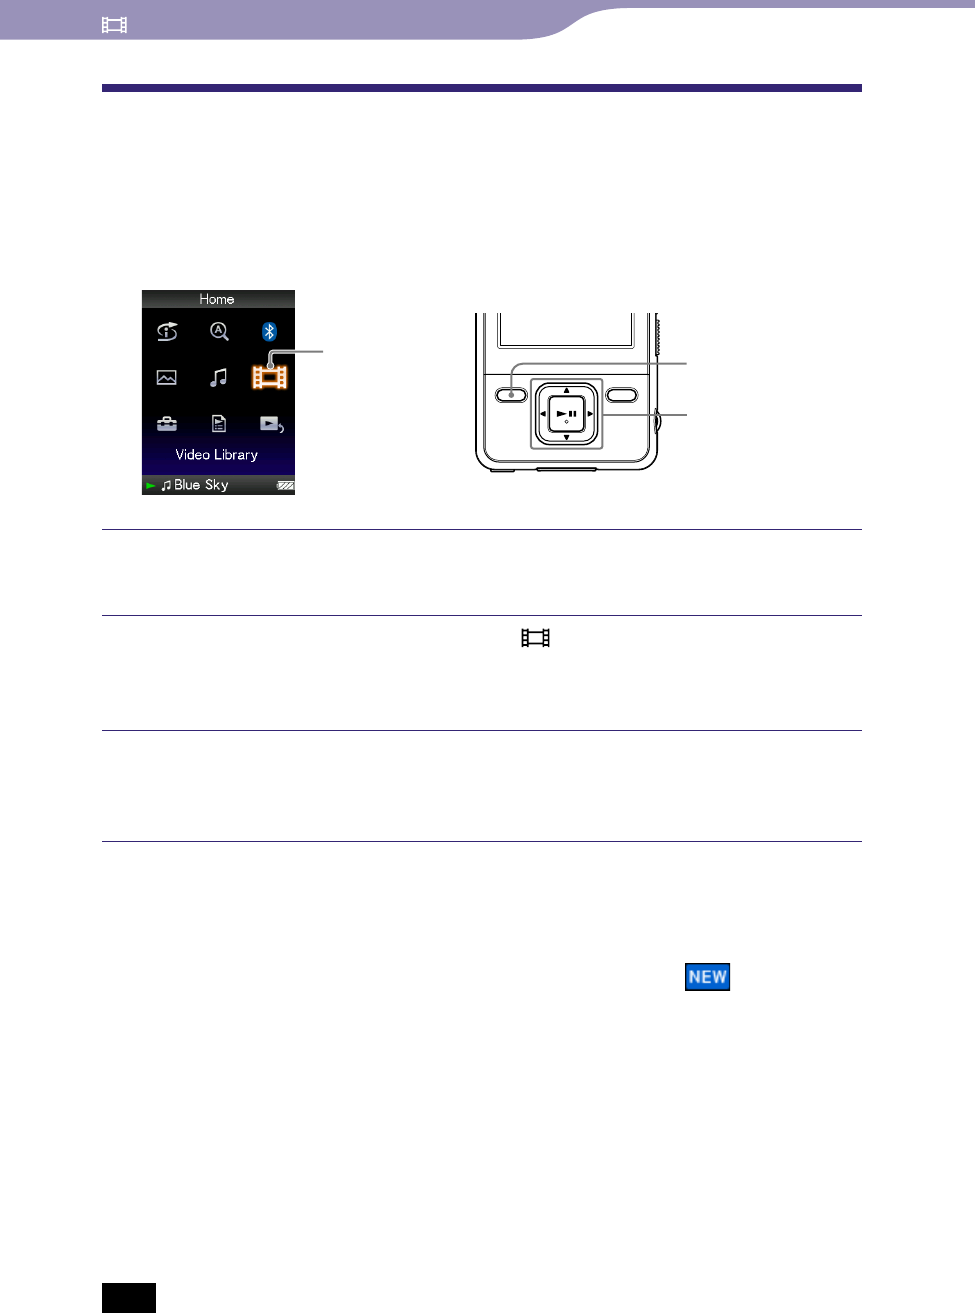
Press and hold the BACK/HOME button until the Home menu
appears.
Press the /// button to select (Video Library), and then
press the button to conrm.
The video list appears.
Press the /// button to select a video to play, and then press
the button to conrm.
Playback starts.
Hints
The display format of the video list in step can be changed. For details, see “Setting
the Video List Display Format” ( page 60).
A video that has never been played back on the player appears with icon in the
video list.
Set “Continuous Playback” to “On” when you want to play back all video files ( page
59).
When “Display” is set to “On” ( page 56), the detailed information, such as the video
title, its playback icon, and the elapsed playing time, etc., appears while the video is
playing. The information disappears if this setting is set to “Off.”
You can play back the video that was played back most recently. Press the OPTION/
PWR OFF button on the video list, and then select “Most Recent Video” from the option
menu.
You can set thumbnails of video files when the video files are transferred to the player
( page 60).
Note
Up to 1,000 video files can be displayed in the video lists.
Continued
Table of
Contents
Menu
Index
NWZ-A826 / A 828 / A829.GB.3-289-807-11(1)
Playing Videos
53
53
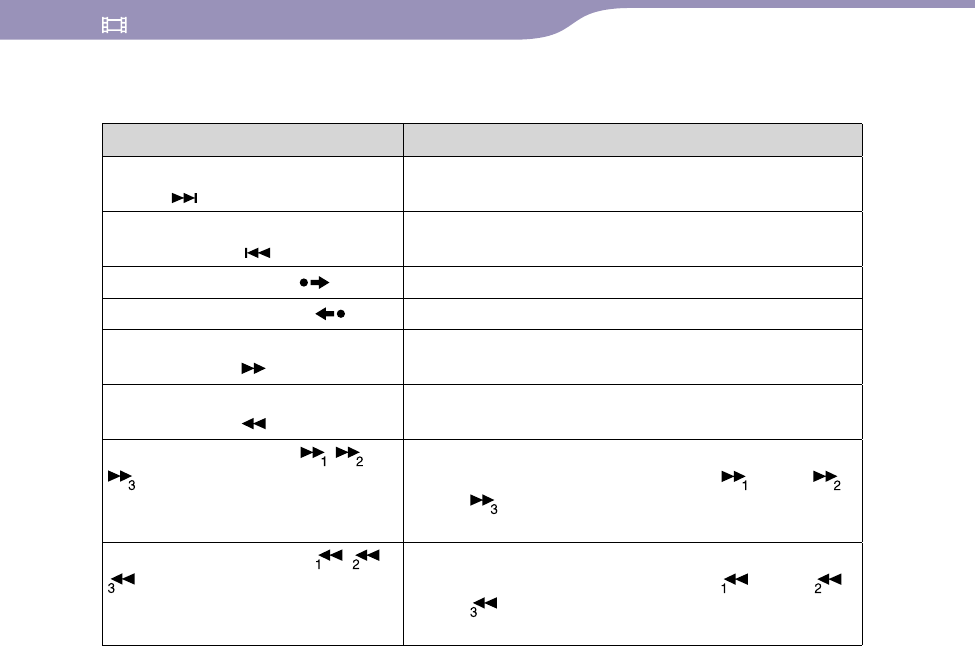
On video playback operations
To (icon) 5-way button operation
Find the beginning of the next
video ( )*1Press the button.
Find the beginning of the
current video ( )*2Press the button.
Go forward slightly ( )*3Press the button while the video is paused.
Go backward slightly ( )*3Press the button while the video is paused.
Go forward quickly over the
paused video ( )*4
Press and hold the button while the video is
paused.
Go backward quickly over the
paused video ( )*4
Press and hold the button while the video is
paused.
Go forward quickly ( , ,
)
Forward speed changes through 3 levels by
repeatedly pressing the button ( (×10),
(×30), (×100)).
Press the button to exit the operation.
Go backward quickly ( , ,
)
Backward speed changes through 3 levels by
repeatedly pressing the button ( (×10),
(×30), (×100)).
Press the button to exit the operation.
*1 Activates when “Continuous Playback” is set to “On” ( page 59).
*2 When “Continuous Playback” is set to “On,” you can find the beginning of the previous
video from the currently playing video by pressing the button twice.
*3 The interval used when going forward or backward varies, depending on the video.
*4 Fast forward/backward speed varies, depending on the length of the video.
Table of
Contents
Menu
Index

NWZ-A826 / A 828 / A829.GB.3-289-807-11(1)
Playing Videos
54
54
Setting the Video Orientation
You can set the video orientation to “Vertical,” “Horizontal (right),” or
“Horizontal (left).”
Settings 5-way button
BACK/HOME
button
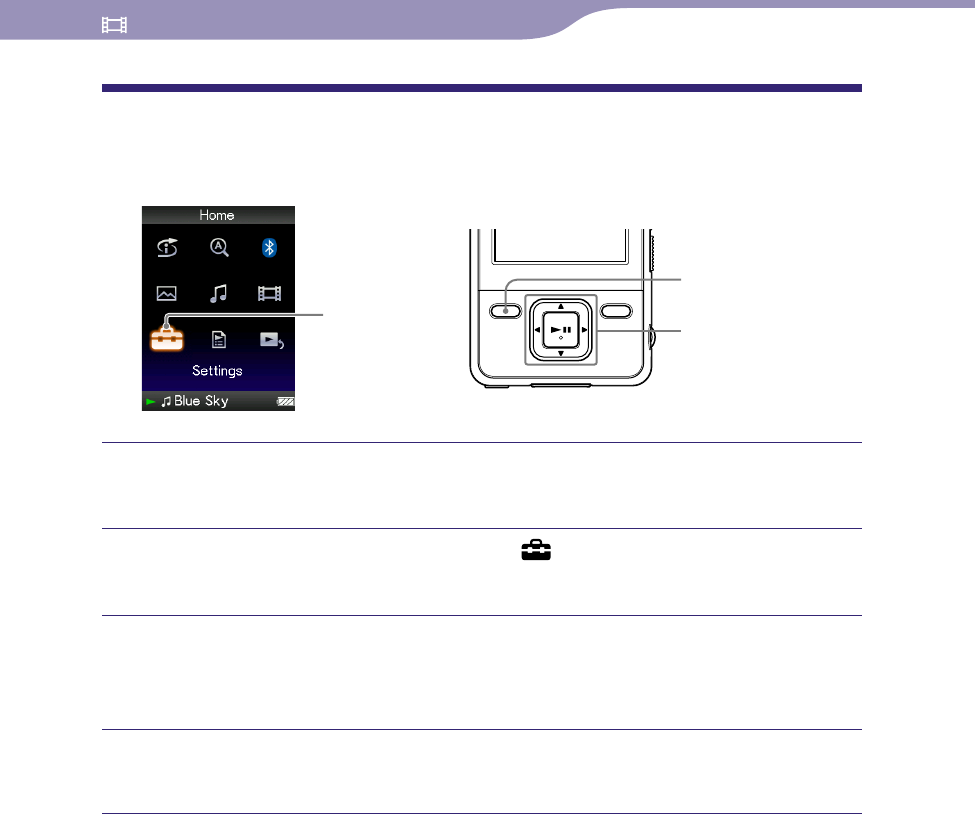
Press and hold the BACK/HOME button until the Home menu
appears.
Press the /// button to select (Settings), and then press
the button to conrm.
Press the /// button to select “Video Settings,” and then press
the button to conrm.
The list of “Video Settings” options appears.
Press the /// button to select “Video Orientation,” and then
press the button to conrm.
Continued
Table of
Contents
Menu
Index
NWZ-A826 / A 828 / A829.GB.3-289-807-11(1)
Playing Videos
55
55
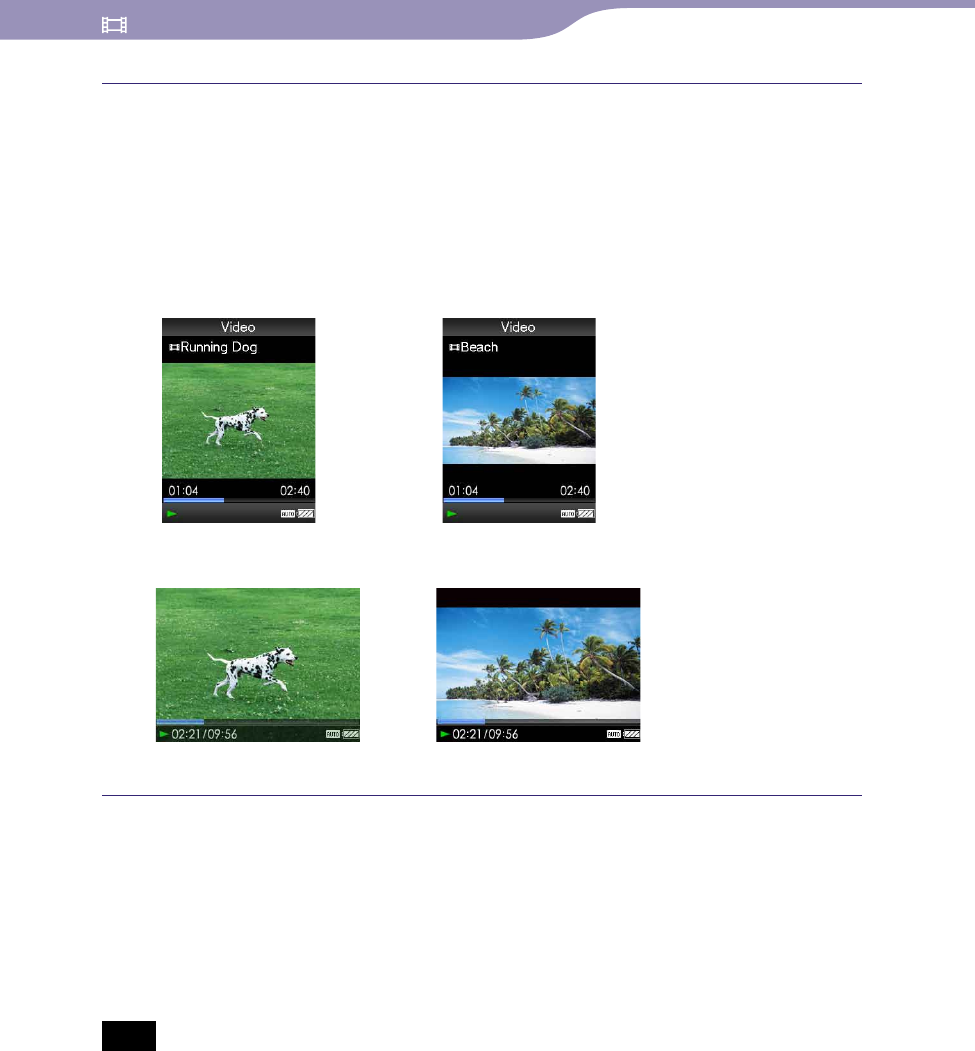
Press the /// button to select the desired setting, and then
press the button to conrm.
“Vertical”: Displays at 240 × 180 pixels. (Default setting)
“Horizontal (right)” or “Horizontal (left)”: Displays at 320 × 240 pixels.
The operation of the 5-way button is switched according to the setting of
“Video Orientation” ( page 17).
“Vertical”
4:3 source 16:9 source
“Horizontal”
4:3 source 16:9 source
Hints
The video orientation can be set on the “Now Playing” screen of the video. Press the
OPTION/PWR OFF button, and select “Video Orientation” from the option menu.
When “Display” is set to “On” ( page 56), the detailed information, such as the
video title, its playback icon, and elapsed playing time, etc., appears. The information
disappears if this setting is set to “Off.”
Note
If “Video Orientation” is set to “Horizontal (right),” or “Horizontal (left),” the title of the
video is not displayed.
Table of
Contents
Menu
Index

NWZ-A826 / A 828 / A829.GB.3-289-807-11(1)
Playing Videos
56
56
Setting the Display of the Video Screen
You can display or hide the detailed information of a video, such as its title,
playback icon, and elapsed playing time, etc., during playback.
Settings 5-way button
BACK/HOME
button
Press and hold the BACK/HOME button until the Home menu
appears.
Press the /// button to select (Settings), and then press
the button to conrm.
Press the /// button to select “Video Settings,” and then press
the button to conrm.
The list of “Video Settings” options appears.
Press the /// button to select “Display,” and then press the
button to conrm.
Press the /// button to select the desired setting, and then
press the button to conrm.
“On”: Displays the video title, playback status, or the elapsed time, etc.
“Off ”: Hides the detailed information of the currently playing video and
displays it only when you operate the player. (Default setting)
Hint
The display setting can be set on the “Now Playing” screen of the video. Press the
OPTION/PWR OFF button, and select “Display” from the option menu.
Note
If “Video Orientation” is set to “Horizontal (right)” or “Horizontal (left),” the title of the
video is not displayed.
Table of
Contents
Menu
Index
NWZ-A826 / A 828 / A829.GB.3-289-807-11(1)
Playing Videos
57
57
Setting the Zoom Function
You can zoom in the currently playing video.
Settings 5-way button
BACK/HOME
button
Press and hold the BACK/HOME button until the Home menu
appears.
Press the /// button to select (Settings), and then press
the button to conrm.
Press the /// button to select “Video Settings,” and then press
the button to conrm.
The list of “Video Settings” options appears.
Press the /// button to select “Zoom Settings,” and then press
the button to conrm.
Continued
Table of
Contents
Menu
Index
NWZ-A826 / A 828 / A829.GB.3-289-807-11(1)
Playing Videos
58
58
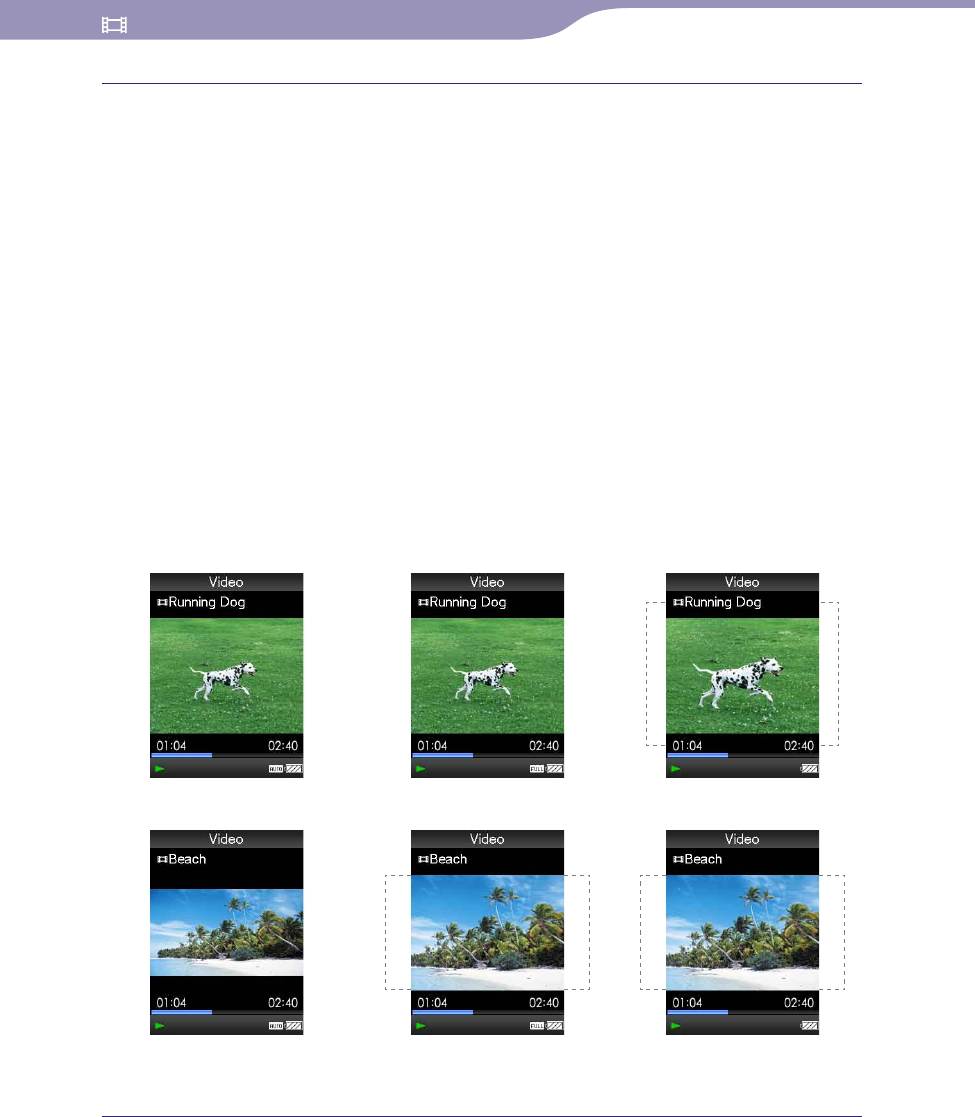
Press the /// button to select the desired setting, and then
press the button to conrm.
“Auto”: The video image is enlarged/reduced by fully fitting it to the
available display area, keeping the aspect ratio. When a 16:9 video image
(oblong) is displayed, it appears with the long side of the video image
fully fit to the screen, and black bands up and down on the screen.
(Default setting)
“Full”: The video image is enlarged/reduced by fully fitting it to the
available display area, keeping the aspect ratio. When a 16:9 video image
(oblong) is displayed, it appears with the short side of the video image
fully fit to the available display area, with the right and left of the video
image cut to fit.
“Off ”: The video image is not enlarged/reduced, and appears at the
original resolution. If video resolution is too large, the left, right, top and
bottom of the screen will be cut.
“Auto”
4:3 source
16:9 source
“Full”
4:3 source
16:9 source
“Off”
4:3 source
16:9 source
The dotted line frame represents the original video image size.
Hint
The zoom setting can be set on the “Now Playing” screen of the video. Press the
OPTION/PWR OFF button, and select “Zoom Settings” from the option menu.
Table of
Contents
Menu
Index
NWZ-A826 / A 828 / A829.GB.3-289-807-11(1)
Playing Videos
59
59
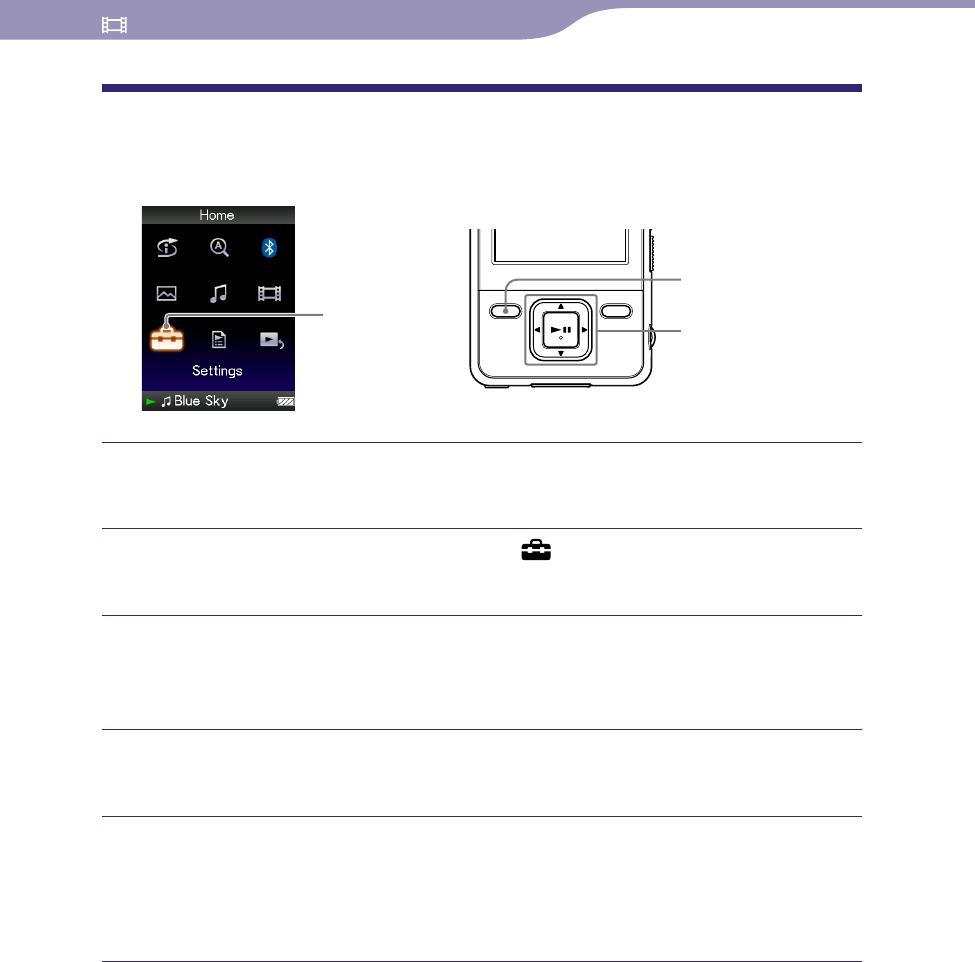
Playing Videos Continuously
You can play back all videos stored on the player continuously.
Settings 5-way button
BACK/HOME
button
Press and hold the BACK/HOME button until the Home menu
appears.
Press the /// button to select (Settings), and then press
the button to conrm.
Press the /// button to select “Video Settings,” and then press
the button to conrm.
The list of “Video Settings” options appears.
Press the /// button to select “Continuous Playback,” and
then press the button to conrm.
Press the /// button to select the desired setting, and then
press the button to conrm.
“On”: Plays back all videos stored on the player.
“Off ”: Plays back one selected video. (Default setting)
Hint
If you set “Continuous Playback” to “Off,” the player remembers the position where each
video was stopped the last time. Therefore, you can start playback from the position
where you last stopped the video.
Table of
Contents
Menu
Index
NWZ-A826 / A 828 / A829.GB.3-289-807-11(1)
Playing Videos
60
60
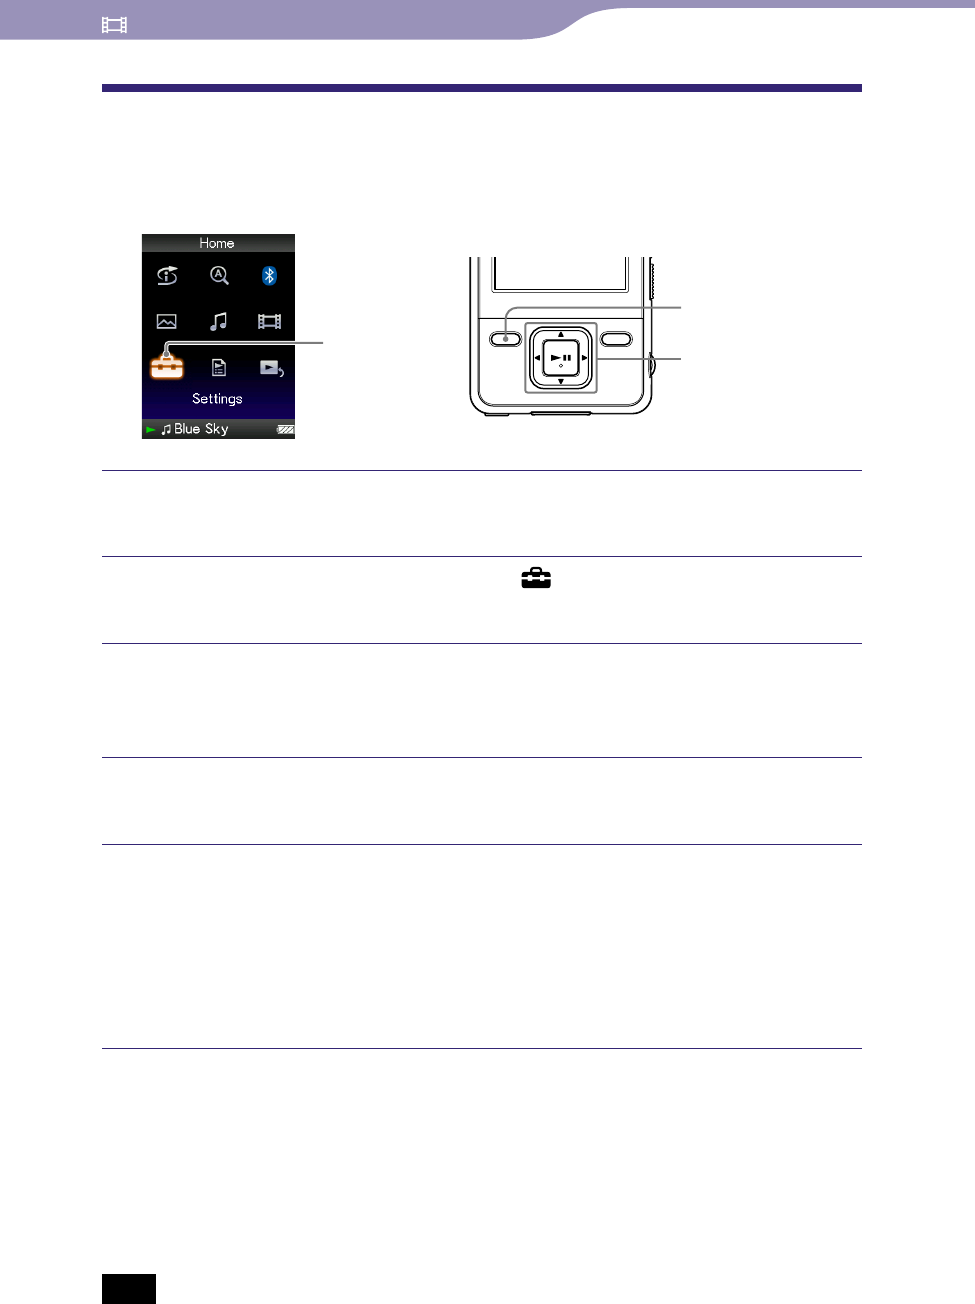
Setting the Video List Display Format
The player offers 3 display formats. You can set the display format of the video
list as “Title Only,” “Title With Thumbnail*1,” or “Thumbnail Only.”
Settings 5-way button
BACK/HOME
button
Press and hold the BACK/HOME button until the Home menu
appears.
Press the /// button to select (Settings), and then press
the button to conrm.
Press the /// button to select “Video Settings,” and then press
the button to conrm.
The list of “Video Settings” options appears.
Press the /// button to select “Video List Format,” and then
press the button to conrm.
Press the /// button to select the desired setting, and then
press the button to conrm.
“Title Only”: Displays only video titles in the video list.
“Title With Thumbnail”: Displays thumbnails, video titles, and the
playing time. (Default setting)
“Thumbnail Only”: Displays only thumbnails in the video list.
*1 Thumbnail refers to a reduced size image of one scene of a video.
Hints
The video list display format can be set on the video list screen. Press the OPTION/
PWR OFF button, and select “Video List Display Format” from the option menu.
You can set thumbnails of video files when the video files are transferred to the player
( page 118).
Note
Thumbnails may not be displayed, depending on the file format.
Table of
Contents
Menu
Index

NWZ-A826 / A 828 / A829.GB.3-289-807-11(1)
Playing Videos
61
61
Playing Only Video Sound
You can choose options while the player is on hold during the playback of
videos, either by playing a video normally or by turning off the screen and
listening only to the sound of those videos.
Setting this option to “No” saves battery power and battery life will last longer.
Settings 5-way button
BACK/HOME
button
Press and hold the BACK/HOME button until the Home menu
appears.
Press the /// button to select (Settings), and then press
the button to conrm.
Press the /// button to select “Video Settings,” and then press
the button to conrm.
The list of “Video Settings” options appears.
Press the /// button to select “On-Hold Display,” and then
press the button to conrm.
Press the /// button to select the desired setting, and then
press the button to conrm.
“Yes”: When the player is on hold, the button controls are deactivated,
but videos will be played back normally. (Default setting)
“No”: When the player is on hold, the button controls are deactivated and
the screen turns off, but the sound of the current video is played back.
Table of
Contents
Menu
Index

NWZ-A826 / A 828 / A829.GB.3-289-807-11(1)
Playing Videos
62
62
Deleting Videos from the Video Library
You can delete videos on the player from the “Video Library.”
Video Library
OPTION/PWR
OFF button
BACK/HOME
button
5-way button
Press and hold the BACK/HOME button until the Home menu
appears.
Press the /// button to select (Video Library), and then
press the button to conrm.
The video list appears.
Press the /// button to select a video, and then press the
OPTION/PWR OFF button.
The option menu appears.
Press the /// button to select “Delete Video,” and then press
the button to conrm.
Press the /// button to select “Yes,” and then press the
button to conrm.
The selected video will be deleted.
Hint
You can delete videos from the “Now Playing” screen. Press the OPTION/PWR OFF
button to display the option menu, and then select “Delete” from the list.
Table of
Contents
Menu
Index
NWZ-A826 / A 828 / A829.GB.3-289-807-11(1)
Playing Videos
63
63
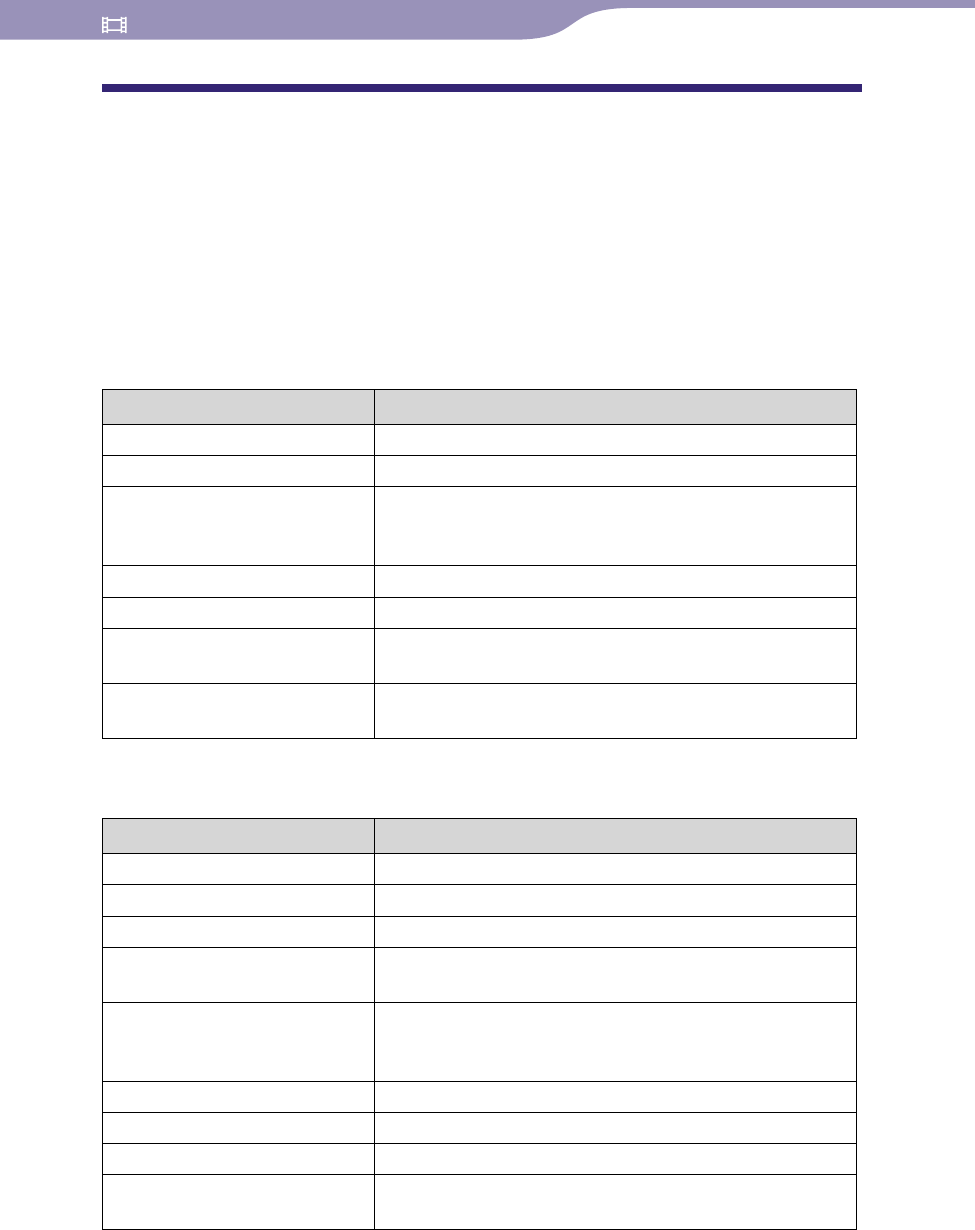
Displaying the Video Option Menu
You can display the Video option menu by pressing the OPTION/PWR OFF
button on a list screen (including the thumbnail screen), such as the video list,
or on the video “Now Playing” screen. From the Video option menu, various
video settings are available.
The option items shown on the option menu vary, depending on the screen
from which you display the option menu.
Option items appear on the list screen
Option items Description/reference page
Now Playing Displays the “Now Playing” screen.
Play from beginning Finds the beginning of the video ( page 53).
Detailed Information Displays file information, such as file size,
resolution, video/audio compression format, and
file name, etc.
Video List Display Format Sets the video list display format ( page 60).
Delete Video Deletes the video on the player ( page 62).
Most Recent Video Starts playback of the video that was played most
recently.
Go to the song playback
screen
The “Now Playing” screen of the last played song
appears.
Option items appear on the “Now Playing” screen
Option items Description/reference page
Play from beginning Finds the beginning of the video ( page 53).
Zoom Settings Sets the zoom function ( page 57).
Video Orientation Sets the video orientation ( page 54).
Display Sets to display/not display video information (
page 56).
Detailed Information Displays file information, such as file size,
resolution, video/audio compression format, and
file name, etc.
Delete Video Deletes the video on the player ( page 62).
Brightness Adjusts the brightness of the screen ( page 103).
Clock Display Displays the current time ( page 101).
Go to the song playback
screen
The “Now Playing” screen of the last played song
appears.
Table of
Contents
Menu
Index
NWZ-A826 / A 828 / A829.GB.3-289-807-11(1)
Playing Photos
Playing Photos
64
64
Displaying a Photo
You can display photos by transferring photo files to the player using Media
Manager for WALKMAN or Windows Explorer. You can either display one
photo fully on the screen (single display) or a number of photos continuously
(slide show play) ( page 69).
Photo Library
5-way button
BACK/HOME
button
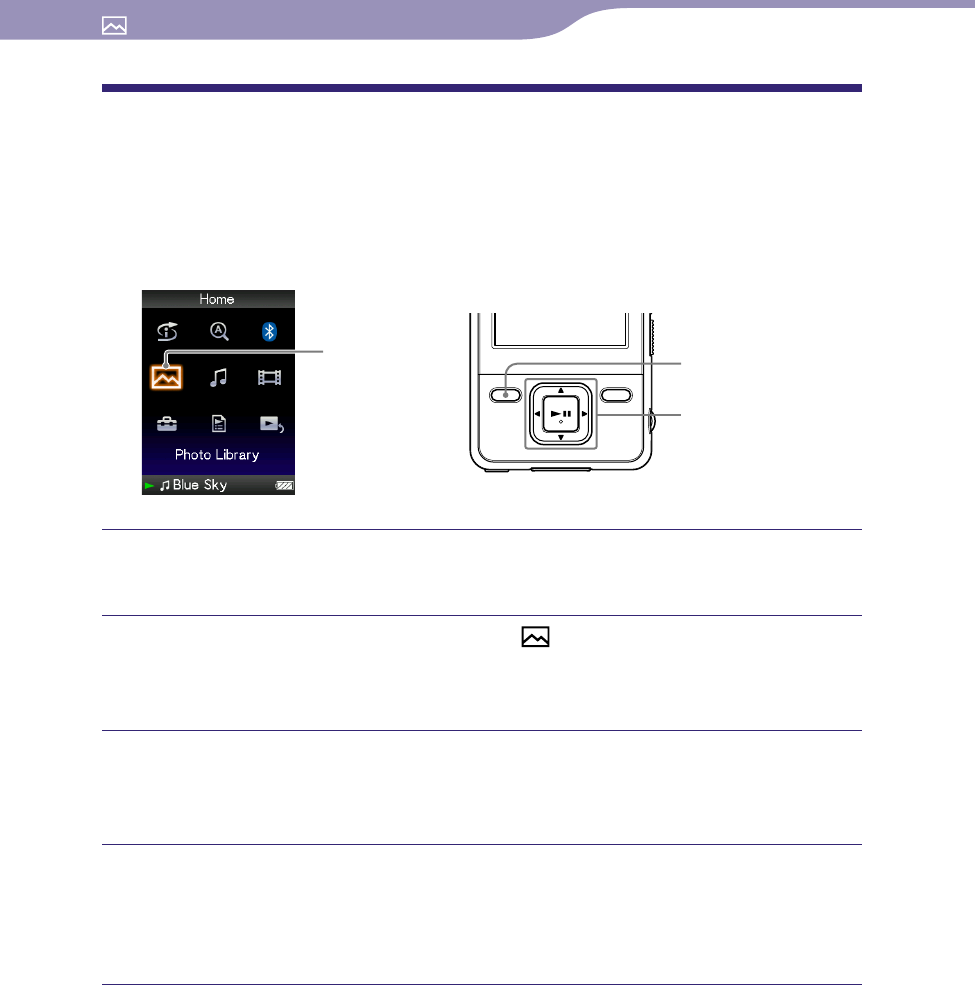
Press and hold the BACK/HOME button until the Home menu
appears.
Press the /// button to select (Photo Library), and then
press the button to conrm.
The list of photo folders appears.
Press the /// button to select a folder, and then press the
button to conrm.
The photo list appears.
Press the /// button to select a photo, and then press the
button to conrm.
The selected photo is displayed.
Press the / button to display the previous or next photos.
Continued
Table of
Contents
Menu
Index

NWZ-A826 / A 828 / A829.GB.3-289-807-11(1)
Playing Photos
65
65
Hints
Playback of songs continues even while you are searching for photos in the photo folder
lists, or photo lists or when the “Now Playing” screen of the Photo is displayed.
You can display the photos in a selected folder continuously (slide show play) ( page
69).
You can arrange photos transferred to the player by folder. Select the player (as
[WALKMAN]) using Windows Explorer, drag and drop a new folder just under the
“PICTURES” or “PICTURE” folder. For details on data hierarchy, see page 119.
Notes
Up to 1,000 photo folders can be displayed in the photo folder lists, and up to 10,000
photos can be displayed in the photo lists.
If there are photos stored in several folders, up to a maximum of 10,000 photos can be
displayed.
If the size of the photo is too large, or the photo file is damaged, appears, and the
photo cannot be displayed.
If photos are not compliant with DCF 2.0 (or folder/file name is long., etc.), operation
time (to display photos or slideshow) may take more time.
Table of
Contents
Menu
Index
NWZ-A826 / A 828 / A829.GB.3-289-807-11(1)
Playing Photos
66
66
Setting the Photo Orientation
You can set the photo orientation to “Vertical,” “Horizontal (right),” or
“Horizontal (left).”
Settings 5-way button
BACK/HOME
button
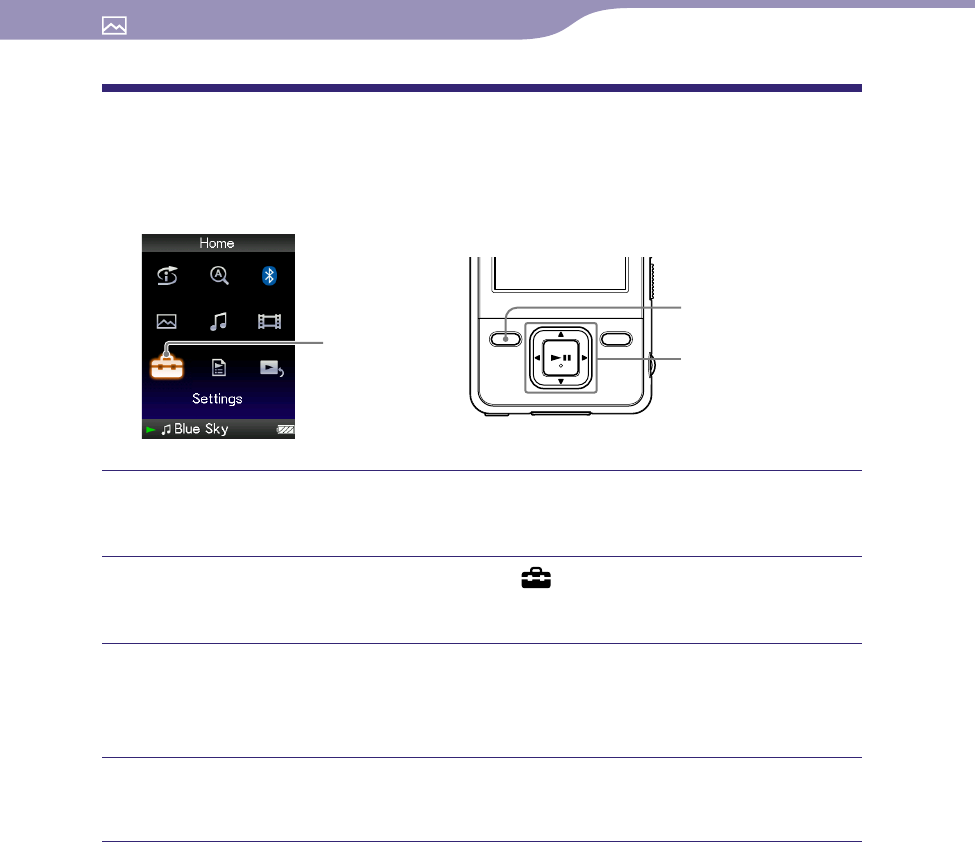
Press and hold the BACK/HOME button until the Home menu
appears.
Press the /// button to select (Settings), and then press
the button to conrm.
Press the /// button to select “Photo Settings,” and then
press the button to conrm.
The list of “Photo Settings” options appears.
Press the /// button to select “Photo Orientation,” and then
press the button to conrm.
Continued
Table of
Contents
Menu
Index
NWZ-A826 / A 828 / A829.GB.3-289-807-11(1)
Playing Photos
67
67
Press the /// button to select the desired setting, and then
press the button to conrm.
“Vertical”: Displays at 240 × 180 pixels. (Default setting)
“Horizontal (right)” or “Horizontal (left)”: Displays at 320 × 240 pixels.
The operation of the 5-way button is switched according to the setting of
“Photo Orientation” ( page 18).
“Vertical” “Horizontal”
Hint
The photo orientation can be set on the “Now Playing” screen of the photo. Press the
OPTION/PWR OFF button, and select “Photo Orientation” from the option menu.
Table of
Contents
Menu
Index

NWZ-A826 / A 828 / A829.GB.3-289-807-11(1)
Playing Photos
68
68
Setting the Display of the Photo Screen
You can display or hide the detailed information of a photo, such as an icon
that shows playback status, etc., while displaying a photo.
Settings 5-way button
BACK/HOME
button
Press and hold the BACK/HOME button until the Home menu
appears.
Press the /// button to select (Settings), and then press
the button to conrm.
Press the /// button to select “Photo Settings,” and then
press the button to conrm.
The list of “Photo Settings” options appears.
Press the /// button to select “Display,” and then press the
button to conrm.
Press the /// button to select the desired setting, and then
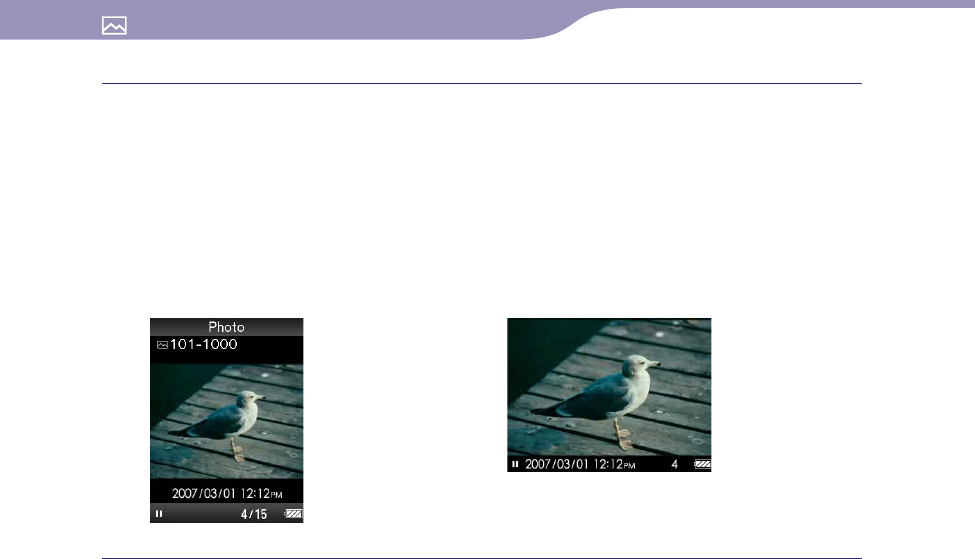
press the button to conrm.
“On”: Displays the title of the current photo, the shooting date, playback
status, photo number, etc.
“Off ”: Hides the information of the current photo. (Default setting)
Hint
The display setting can be set on the “Now Playing” screen of the photo. Press the
OPTION/PWR OFF button, and select “Display” from the option menu.
Note
If “Photo Orientation” is set to “Horizontal (right),” or “Horizontal (left)” ( page 66),
the title of the photo is not displayed, even if “Display” is set to “On.”
Table of
Contents
Menu
Index
NWZ-A826 / A 828 / A829.GB.3-289-807-11(1)
Playing Photos
69
69
Playing a Slide Show
You can display photos in a selected folder continuously.
Photo Library
5-way button
BACK/HOME
button
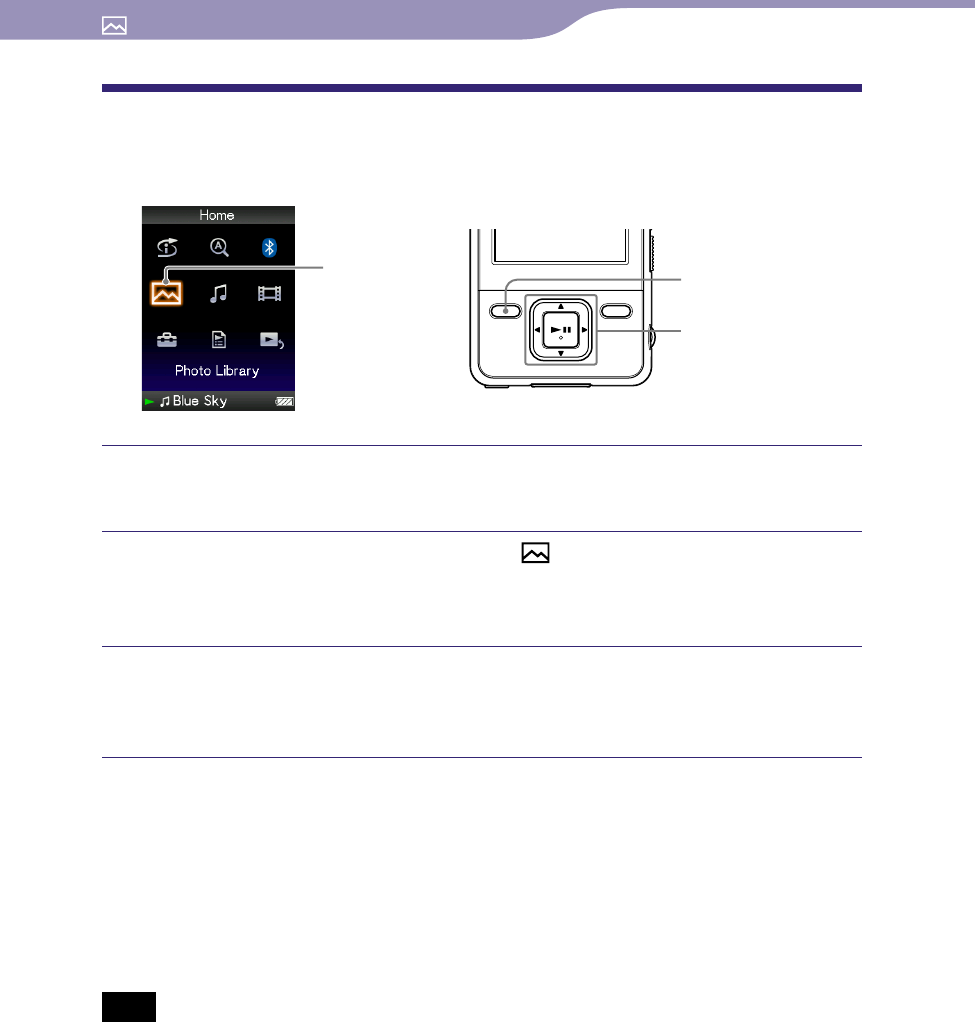
Press and hold the BACK/HOME button until the Home menu
appears.
Press the /// button to select (Photo Library), and then
press the button to conrm.
The list of photo folders appears.
Press the /// button to select a photo folder, and then press
and hold the button.
A slide show starts.
Hint
You can start playback of a slide show by any of the following operations:
Press and hold the button in the photo list.
Press the button on the “Now Playing” screen of the photo.
Press the OPTION/PWR OFF button on the photo folder list, or a photo list, and then
select “Begin slide show” from the option menu.
Note
The screen does not turn off automatically or change to a screensaver ( page 101)
while a slide show is playing.
Table of
Contents
Menu
Index
NWZ-A826 / A 828 / A829.GB.3-289-807-11(1)
Playing Photos
70
70
Setting the Slide Show Play Mode
You can display photos as a slide show repeatedly.
Settings 5-way button
BACK/HOME
button
Press and hold the BACK/HOME button until the Home menu
appears.
Press the /// button to select (Settings), and then press
the button to conrm.
Press the /// button to select “Photo Settings,” and then
press the button to conrm.
The list of “Photo Settings” options appears.
Press the /// button to select “Slide Show Repeat,” and then
press the button to conrm.
Press the /// button to select the desired setting, and then
press the button to conrm.
“On”: Displays photos in a photo folder continuously and repeatedly.
“Off ”: Displays photos in a photo folder continuously, to the last photo,
then returns to the first photo, and playback pauses. (Default setting)
Hint
The play mode of a slide show can be set on the “Now Playing” screen of the photo. Press
the OPTION/PWR OFF button, and select “Slide Show Repeat” from the option menu.
Note
The screen does not turn off automatically or change to a screensaver ( page 101)
while a slide show is playing.
Table of
Contents
Menu
Index
NWZ-A826 / A 828 / A829.GB.3-289-807-11(1)
Playing Photos
71
71
Setting the Interval of a Slide Show
You can set the time each photo is displayed.
Settings 5-way button
BACK/HOME
button
Press and hold the BACK/HOME button until the Home menu
appears.
Press the /// button to select (Settings), and then press
the button to conrm.
Press the /// button to select “Photo Settings,” and then
press the button to conrm.
The list of “Photo Settings” options appears.
Press the /// button to select “Slide Show Interval,” and then
press the button to conrm.
Press the /// button to select the desired setting, and then
press the button to conrm.
Photos switch to the next photos at the selected interval from “Short,”
“Normal” (default setting), or “Long.”
Hint
The slide show interval can be set on the “Now Playing” screen of the photo. Press the
OPTION/PWR OFF button, and select “Slide Show Interval” from the option menu.
Note
It may take time to display a photo if its size is large.
Table of
Contents
Menu
Index
NWZ-A826 / A 828 / A829.GB.3-289-807-11(1)
Playing Photos
72
72
Setting the Photo List Display Format
The player offers 3 display formats. You can set the display format of the photo
list as “Title Only,” “Title With Thumbnail*1,” or “Thumbnail Only.”
Settings 5-way button
BACK/HOME
button
Press and hold the BACK/HOME button until the Home menu
appears.
Press the /// button to select (Settings), and then press
the button to conrm.
Press the /// button to select “Photo Settings,” and then
press the button to conrm.
The list of “Photo Settings” options appears.
Press the /// button to select “Photo List Format,” and then
press the button to conrm.
Press the /// button to select the desired setting, and then
press the button to conrm.
“Title Only”: Displays only a photo title in the photo list.
“Title With Thumbnail”: Displays a photo title with a thumbnail image
in the photo list.
“Thumbnail Only”: Displays only thumbnails in the photo list. (Default
setting)
*1 Thumbnail refers to a reduced size image of a photo.
Hint
The photo list display format can be set on the photo list screen. Press the OPTION/
PWR OFF button, and select “Photo List Display Format” from the option menu.
Note
Thumbnails may not be displayed, depending on the file format.
Table of
Contents
Menu
Index

NWZ-A826 / A 828 / A829.GB.3-289-807-11(1)
Playing Photos
73
73
Deleting Photos from Photo Library
When you delete the photos from “Photo Library,” use Media Manager for
WALKMAN or Windows Explorer.
For details about using Media Manager for WALKMAN, see its Help.
Note
Media Manager for WALKAMN cannot delete photos whose name has been changed
using Windows Explorer.
Table of
Contents
Menu
Index
NWZ-A826 / A 828 / A829.GB.3-289-807-11(1)
Playing Photos
74
74
Displaying the Photo Option Menu
You can display the Photo option menu by pressing the OPTION/PWR OFF
button on a list screen (including the thumbnail screen), such as the photo
folder list, or on the photo “Now Playing” screen. From the Photo option
menu, various photo settings are available.
The option items shown on the option menu vary, depending on the screen
from which you display the option menu.
Option items appear on the list screen
Option items Description/reference page
Now Playing Displays the “Now Playing” screen.
Begin slide show Starts a slide show ( page 69).
Detailed Information Displays file information, such as file size,
resolution, and file name, etc.
Photo List Display Format Sets the photo list display format ( page 72).
Most Recent Photo Starts playback of the photo that was played most
recently.
Go to the song playback
screen
The “Now Playing” screen of the last played song
appears.
Option items appear on the “Now Playing” screen
Option items Description/reference page
Photo Orientation Sets the photo orientation ( page 66).
Display Sets to display/not display photo information (
page 68).
Detailed Information Displays file information, such as file size,
resolution, and file name, etc.
Slide Show Repeat Selects the slide show play mode ( page 70).
Slide Show Interval Selects the slide show interval ( page 71).
Brightness Adjusts the brightness of the screen ( page 103).
Clock Display Displays the current time ( page 101).
Go to the song playback
screen
The “Now Playing” screen of the last played song
appears.
Table of
Contents
Menu
Index
75
75
NWZ-A826 / A 828 / A829.GB.3-289-807-11(1)
Listening to Songs through Bluetooth Communication
Listening to Songs through Bluetooth Communication
Basic Facts on Bluetooth Technology
What can the player do with Bluetooth?
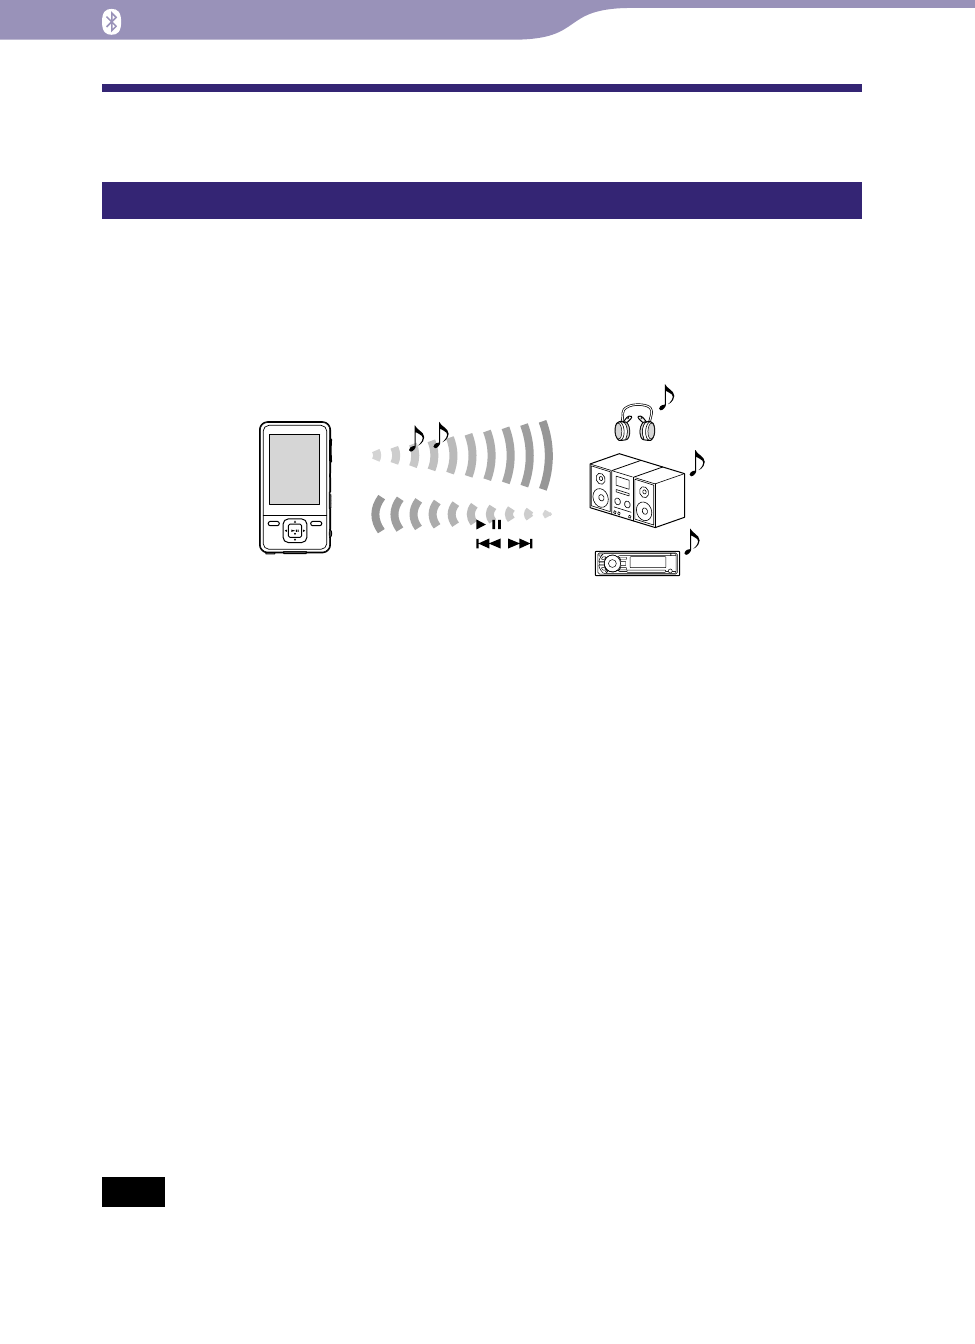
The player includes Bluetooth wireless technology. The player communicates
wirelessly with a Bluetooth device*1 (e.g. headphones, car audios, speakers,
compact stereos.) You can transmit songs or video sound from the devices by
transmitting them from the player. However, you cannot use the player to
receive songs or video sound from Bluetooth devices.
This player supports AVRCP (Audio/Video Remote Control Profile). You can
control the basic operations of the player wirelessly from the connected
Bluetooth device*2 such as Bluetooth headphones.
*1 The devices need to support A2DP (Advanced Audio Distribution Profile).
*2 The devices need to support AVRCP.
Hints
The player can transmit song information such as song title, etc., to the Bluetooth
devices that support AVRCP Ver.1.3. Certain devices can also receive other information
of the player, such as the battery status or the setting of the player. However, the
information that a Bluetooth device can receive varies by the device.
You can control wirelessly the volume (VOL +/–) of certain devices using the VOL +/-
button of the player.
The available Bluetooth functions of the player are as follows:
You can select a Bluetooth device to communicate with the player from the
paired devices.
You can designate a Bluetooth device that you frequently use for “Quick
Connection” ( page 81).
You can choose whether or not to apply the sound effects (“Equalizer,”
“VPT(Surround),” “DSEE(Sound Enhancer),” “Dynamic Normalizer”).
Notes
The player cannot communicate with mobile phones through Bluetooth
communication.
The player cannot transfer data through Bluetooth communication.
Continued
Table of
Contents
Menu
Index

76
76
NWZ-A826 / A 828 / A829.GB.3-289-807-11(1)
Listening to Songs through Bluetooth Communication
What is Bluetooth technology?
Bluetooth wireless technology is a short-range wireless technology that enables
wireless data communication between digital devices, such as compact stereos
or headphones. Bluetooth wireless technology operates within a range of about
10 meters (about 30 feet).
You do not need to use a cable for connection since Bluetooth technology is a
wireless technology, nor is it necessary for the devices to face one another, such
is the case with infrared technology. For example, you can use such a device in
a bag or pocket.
Bluetooth technology is an international standard supported by thousands of
companies all over the world, and employed by various companies worldwide.
Communication system and compatible Bluetooth profile of the player
Profile is standardization of the function for each Bluetooth device
specification. The player supports the following Bluetooth version and profiles:
Communication System: Bluetooth Ver2.0
Compatible Bluetooth Profile: A2DP (Advanced Audio Distribution Profile),
AVRCP (Audio/Video Remote Control Profile)
Compatible devices with the Bluetooth function of the player
For details about devices that can communicate with the player through
Bluetooth communication, visit the following websites:
For customers in the USA: http://www.sony.com/walkmansupport
For customers in Canada: http://www.sony.ca/ElectronicsSupport/
For customers in Europe: http://support.sony-europe.com/DNA
For customers in Latin America: http://www.sony-latin.com/index.crp
For customers in other countries/regions: http://www.sony-asia.com/support
For customers who purchased the overseas models:
http://www.sony.co.jp/overseas/support/
Note
Bluetooth communication may be interfered with by the following causes.
When you perform Bluetooth communication near metal objects
When a device using radio waves, such as a wireless LAN device, or a microwave
oven, is in use near the player or the Bluetooth device.
When the Bluetooth antenna (aerial) of the player is covered with obstacles such as
hands.
Bluetooth antenna (aerial)
Continued
Table of
Contents
Menu
Index
77
77
NWZ-A826 / A 828 / A829.GB.3-289-807-11(1)
Listening to Songs through Bluetooth Communication
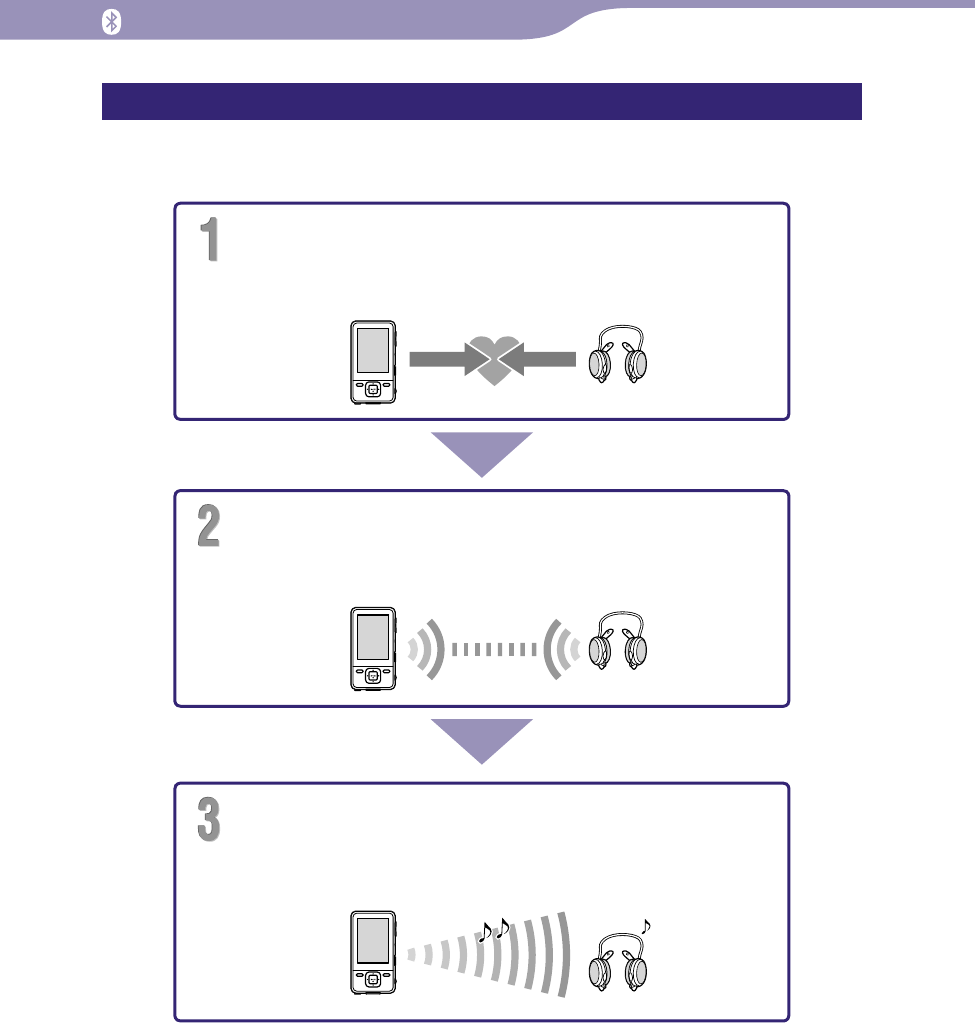
Steps to use Bluetooth communication
To listen to songs or video sound on the player from Bluetooth devices, the
following steps are required.
Pairing
Pair the player and a Bluetooth device
( page 78).
Establishing Bluetooth connection
Establish Bluetooth connection between the player and
the Bluetooth device ( page 81).
Listening to Music
Play back songs or videos on the player
( page 86).
Table of
Contents
Menu
Index
78
78
NWZ-A826 / A 828 / A829.GB.3-289-807-11(1)
Listening to Songs through Bluetooth Communication
Preparing for Bluetooth Communication
(Pairing)
What is pairing?
Bluetooth devices need to be “paired” with each other beforehand.
Once Bluetooth devices are paired, there is no need for pairing again, except in
the following cases:
When the pairing of the Bluetooth device is deleted from the player after
repair, etc.
When you attempt to pair additional Bluetooth device when the player has
been already paired with 8 devices.
The player can be paired with up to 8 Bluetooth devices; if you want to pair
additional devices, delete unnecessary Bluetooth device first, and then
perform pairing ( page 90).
When the pairing of the player on the Bluetooth device is deleted.
When the player is reset ( page 109), all Bluetooth devices are deleted from
the player.
Bluetooth
5-way button
BACK/HOME
button
Place the player and the Bluetooth device within 1 meter from each
other.
Turn on the device and set it up for pairing.
For details about setting up the device, refer to the operation instruction
manual supplied with the Bluetooth device.
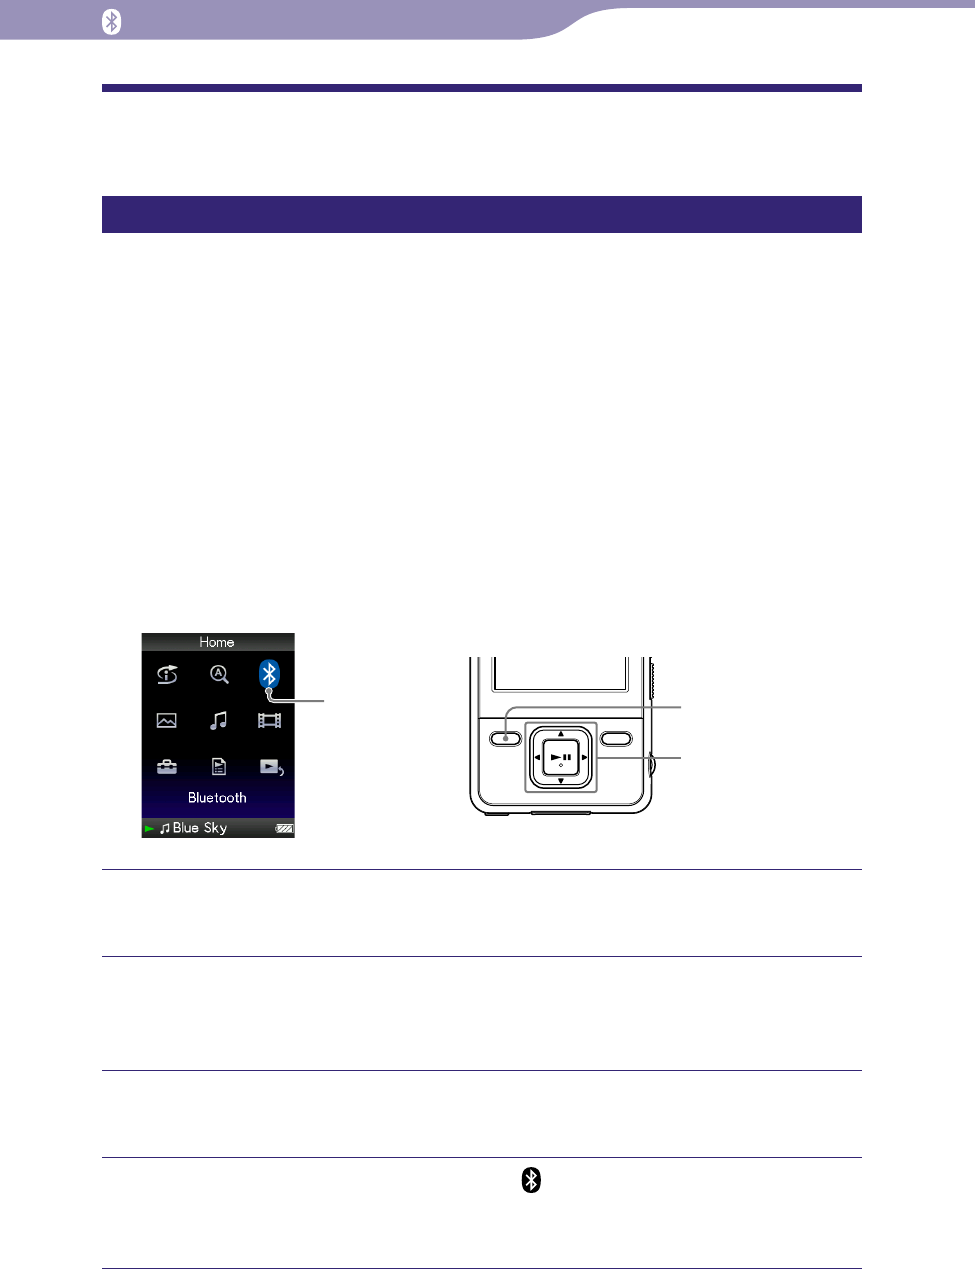
Press and hold the BACK/HOME button until the Home menu
appears.
Press the /// button to select (Bluetooth), and then press
the button to conrm.
The list of the devices that are available for pairing appears.
Continued
Table of
Contents
Menu
Index
79
79
NWZ-A826 / A 828 / A829.GB.3-289-807-11(1)
Listening to Songs through Bluetooth Communication
Press the /// button to select “Pairing,” and then press the
button to conrm.
The screen that informs of pairing process appears. The player also
indicates pairing status by the Bluetooth indicator ( page 85).
Press the /// button to select the device that you want to
pair, and then press the button to conrm.
Pairing starts. If the screen to enter the passkey*1 appears, go to step . If
the screen does not appear, pairing continues proceeding, and then
completes.
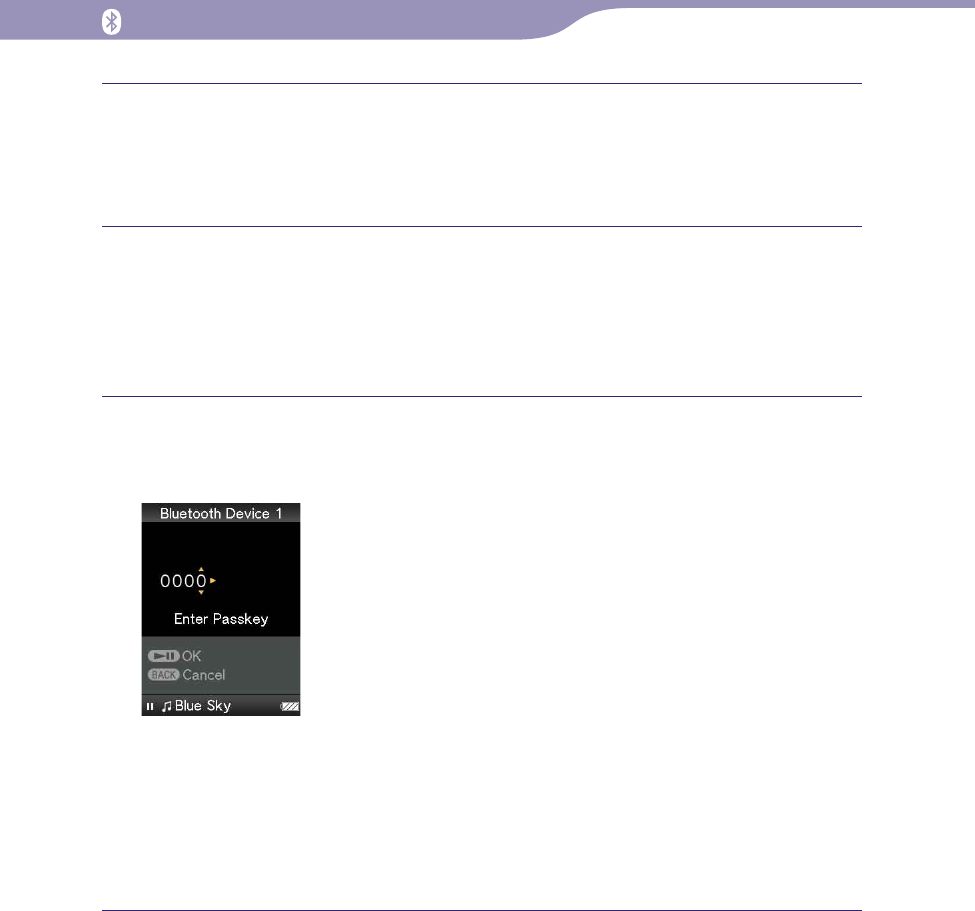
Enter the passkey. Press the / button to adjust the number
and press the /button to move the cursor. After you enter the
passkey, press the button to conrm.
After the player and the device exchange the passkeys, pairing proceeds.
Bluetooth connection is established automatically after pairing completes.
You can listen to songs or video sound from the Bluetooth device ( page
86).
Once the player and the device have been paired, they can establish
Bluetooth connection without pairing process.
*1 The passkey for all Sony products is “0000.” “Passkey” is also called “Pass code,” “PIN
code,” “PIN number,” or “Pass word.” To see which name is used or to look for the
number, refer to the operation instruction manual.
Continued
Table of
Contents
Menu
Index

80
80
NWZ-A826 / A 828 / A829.GB.3-289-807-11(1)
Listening to Songs through Bluetooth Communication
To cancel pairing process
Press the BACK/HOME button or press and hold the BLUETOOTH button to
cancel pairing. After “Pairing process aborted.” appears, the Bluetooth function
turns off, and then the screen returns to the one of step .
When not complete pairing
If the player failed pairing, “Pairing failed.” appears, and then the screen returns
to the one of step . To complete the pairing, repeat the steps from step .
When receive pairing request
If the player receives a request for pairing from another Bluetooth device, “You
have received a pairing request from a Bluetooth device. Start pairing?”
appears. If you select “Yes,” the pairing starts.
Hints
In step , if you do not find the device that you want to pair, select “Search again” from
the bottom of the list. The searching restarts.
The player can only pair with one device at a time. To pair with multiple devices, repeat
the steps from step for each pairing.
Notes
When the player starts pairing, it stops playback of the song automatically.
You cannot operate the player during pairing.
Passkeys need to be entered within 3 minutes. If the passkey entry is not completed
within the time limit, repeat the steps from step .
If you do not operate the player for certain period during pairing process, the process is
cancelled automatically. In this case, repeat the steps from step .
Table of
Contents
Menu
Index
81
81
NWZ-A826 / A 828 / A829.GB.3-289-807-11(1)
Listening to Songs through Bluetooth Communication
Establishing Bluetooth Connection
You can establish Bluetooth connection by using the BLUETOOTH button or
operating from the Home menu.
Note
Before establishing Bluetooth connection, complete the pairing between the
player and the device ( page 78).
Establishing Bluetooth connection using the BLUETOOTH button
(Quick Connection)
When the player has been paired with multiple devices, you can designate one
device for “Quick Connection” ( page 88).
BLUETOOTH button
Set up the Bluetooth device to prepare for Bluetooth connection.
For details about setting up the device, refer to the operation instruction
manual supplied with the Bluetooth device.
Press and hold the BLUETOOTH button.
The screen that informs of establishing process appears. The player also
indicates connection status by the Bluetooth indicator ( page 85).
To end Bluetooth connection using the BLUETOOTH button
Press and hold the BLUETOOTH button to end Bluetooth connection. After
Bluetooth connection ends, and then the Bluetooth function turns off.
To cancel the connection process
Press and hold the BLUETOOTH button or press the BACK/HOME button to
cancel the process. After “Connection process aborted.” appears, the Bluetooth
function turns off.
Continued
Table of
Contents
Menu
Index

82
82
NWZ-A826 / A 828 / A829.GB.3-289-807-11(1)
Listening to Songs through Bluetooth Communication
Hint
If you end Bluetooth connection from the Bluetooth device, the player enters the
standby status for establishing a connection. If a connection is not established within 10
minutes, the Bluetooth function turns off automatically.
Note
The connection needs to be established within about 10 minutes.
Continued
Table of
Contents
Menu
Index