TRIMBLE EUROPE 802168 MobileMapper 20, WCDMA/GSM/GPS Portable Receiver User Manual NZI802168 09x
TRIMBLE NANTES S.A.S. MobileMapper 20, WCDMA/GSM/GPS Portable Receiver NZI802168 09x
UserManual.wiki
>
TRIMBLE EUROPE
>
802168 User Manual
User Manual
Navigation menu
Upload a User Manual
Namespaces
Wiki Guide
HTML
PDF
Info
Views
User Manual
Discussion / Help
Navigation


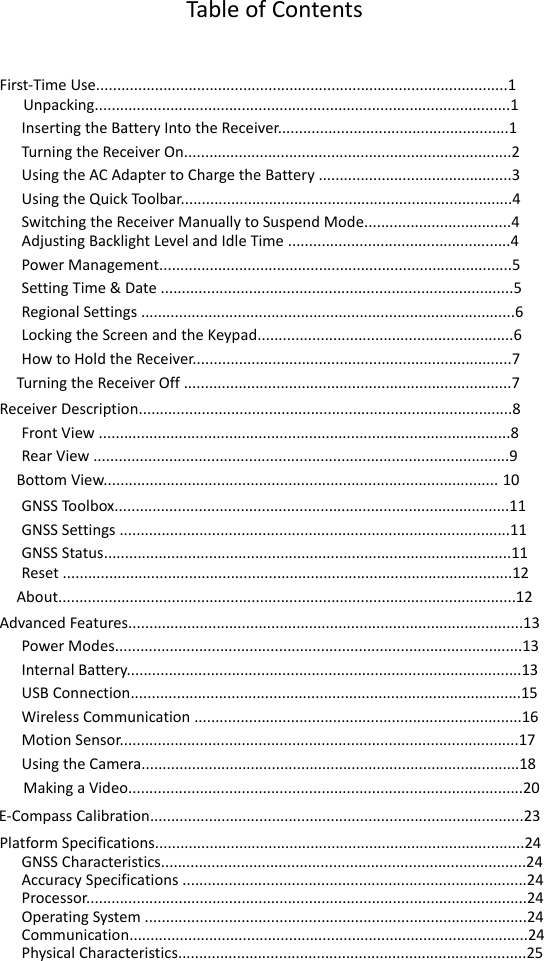

![2• Putthetrapdoorbackintoplacebyfirstinsertingthetwolugslocatedatthebottomofthetrapdoor.•Thenpushthedooragainstthereceivercaseandrotatethetwoscrewsbackintheirinitialpositionstosealthebatterycompartment.Turning theReceiver On•PressthePowerkey[1]foracoupleofsecondsuntilyoufeelavibrationinyourhand,thenreleasethekey.Letthereceiverrunitsbootsequence.WaituntilthescreendisplaystheWindowsEmbeddedHandHeldHomescreen.Atthisstage,youmaybeaskedtoinitializethereceiver(screenalignment,etc.).Justfollowtheinstructionsonthescreentocompletethisstep.TheoperatingsystemusedinthereceiverisMicrosoftWindowsEmbeddedHandHeld.Formoreinformationonhowtousethedifferentapplications,youcanvisittheMicrosoftwebsiteat:http://www.microsoft.com/windowsembedded/en-us/windowsembedded-handheld-6-5.aspxDependingonhowlongyourproductwasstoredinitspackagebeforebeingshippedtoyou,theremainingpowerinthebatterymaybetoolowtoallowthereceivertooperateforyourentireworkingsession.Forthisreason,thefirstthingtodoistocheckthebatterychargestatus:• Taponthetitlebaratthetopofthescreen.TheQuickToolbarappearsjustunderneath.• TapontheBatteryicon.ThisopensthePowerwindowandsimultaneouslyclosestheQuickToolbar.ThePowerwindowshowsthestatusofthebattery(seealsoInternalBatteryonpage13).Iftheremainingpowerisgreaterthan50%,thenyoucanusethereceiverwithouthavingtochargethebatteryfirst(with50%ofremainingcharge,youcanusethereceiverforseveralhours).Skipthe[1]](https://usermanual.wiki/TRIMBLE-EUROPE/802168/User-Guide-2218072-Page-8.png)
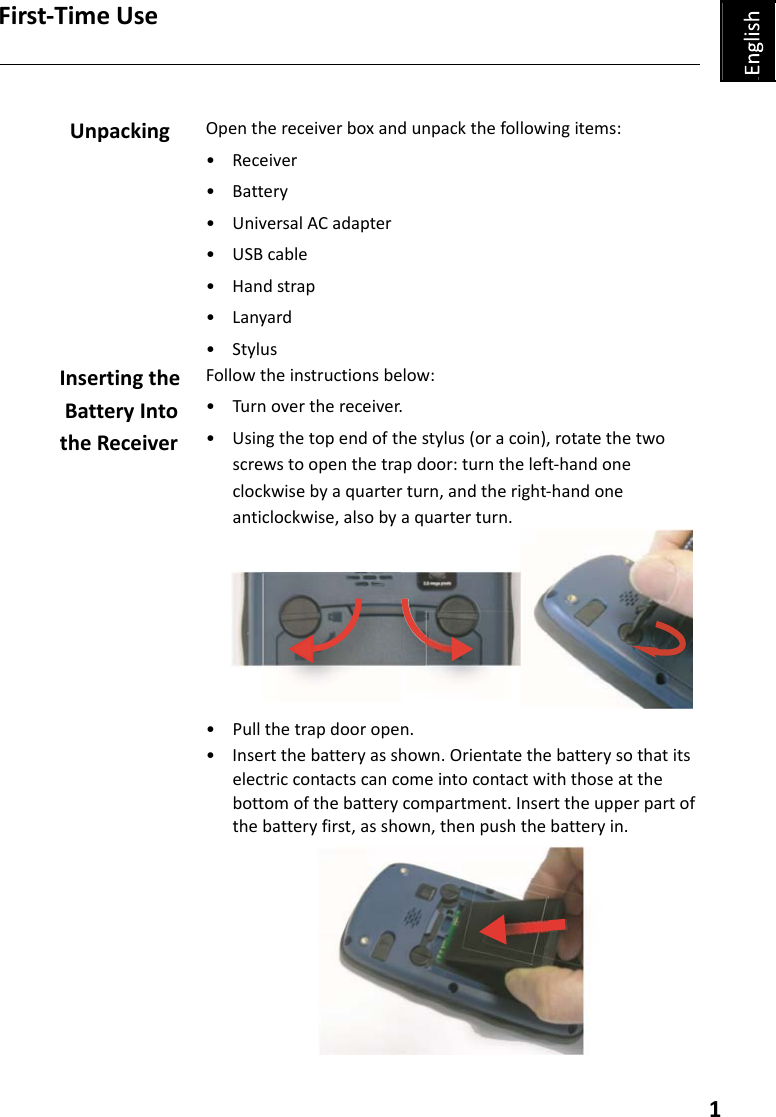
![3nextsectionandgodirectlytoAdjusting Backlight Level and Idle Time on page 4.• Ifitless,SpectraPrecisionrecommendsyoufirstchargethebatteryasexplainedinUsing the AC Adapter to Charge the Battery on page 3.Using the ACAdapter to Charge the BatteryFollowtheinstructionsbelow.•PreparetheACadapter:–Removetheprotectivecover[1]bypushingthebutton–Choosetheplugthatfitsyourcountry’sACoutletstandard(see[2])andslideitintotheACadapter[3].(A“click”mustbeheardwhenfullyinserted.)• TaketheUSBcableprovided[4].ConnecttheendfittedwithastandardUSBconnectortotheACadapter.Connecttheotherend(fittedwithamini‐USBconnector)tothebottomsideofthereceiver(opentheflap[5]first).](https://usermanual.wiki/TRIMBLE-EUROPE/802168/User-Guide-2218072-Page-9.png)
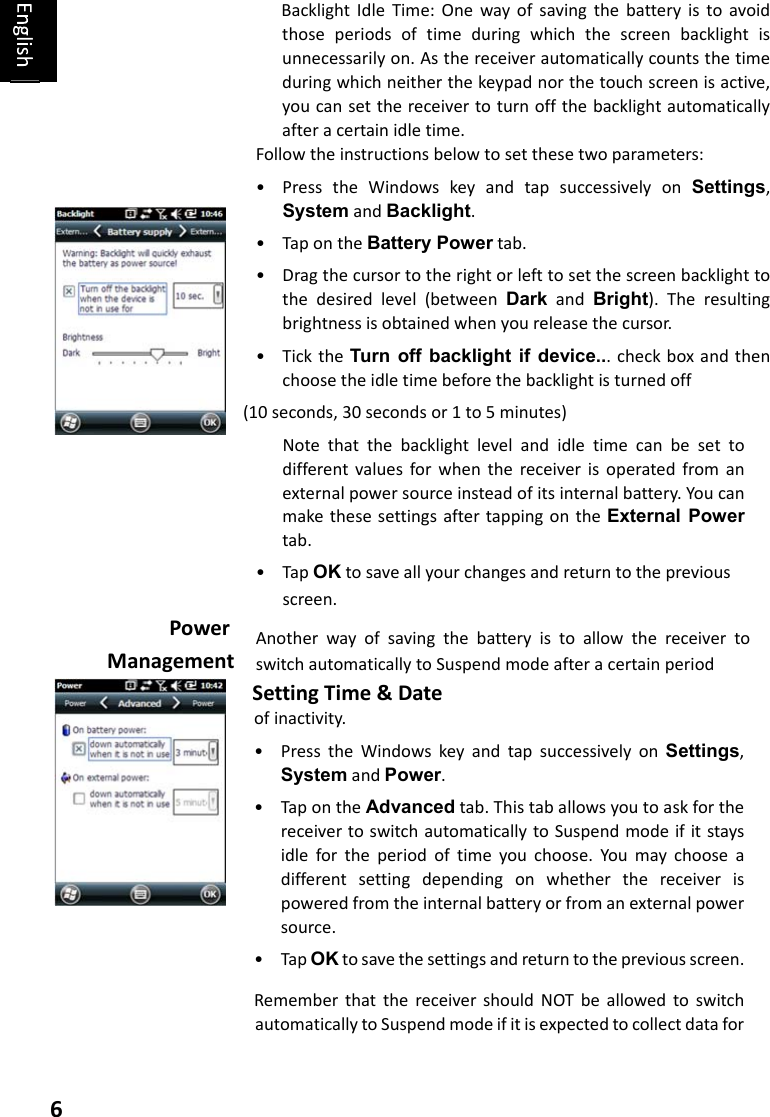
![4• ConnecttheACadaptertoanelectricoutlet.Afterabout4seconds,thereceiverscreenlightsup.Aniconshowsupindicatingthatthebatteryisbeingcharged.Thescreenisthenturnedbackoffafterabout10seconds.Afterthistime,batterychargingwillcontinueatthesamerateuntilthebatteryisfullycharged(chargingtime:4hoursmax.).• ToreadthebatterychargingstatususingtheQuickToolbar,refertotheinstructionsinTurning the Receiver On on page 2(seealsoUsing the Quick Toolbar on page 4).Using the QuickToolbarWindowsoffersaquicktoolbarallowingyoutoquicklyaccessfrequentlyusedfunctions(zoom,Bluetooth,WiFi,phone,soundvolume,batterypowerandclock).•Taponthetitlebaratthetopofthescreen.Thequicktoolbarappearsjustunderneath.simultaneouslyclosesthequicktoolbar.Thezoomfunctionenlargesthescreencontent,whichmeansonlypartofthescreenisshownatatime,andsoyoushoulddragthestylusoverthescreentoscrollthroughthewholedisplay.Toreturnto1:1zoom,taponthetitlebaragaintore‐openthequicktoolbar,thentaponthezoomfunctionagain.[4][4][4][3][5]](https://usermanual.wiki/TRIMBLE-EUROPE/802168/User-Guide-2218072-Page-10.png)
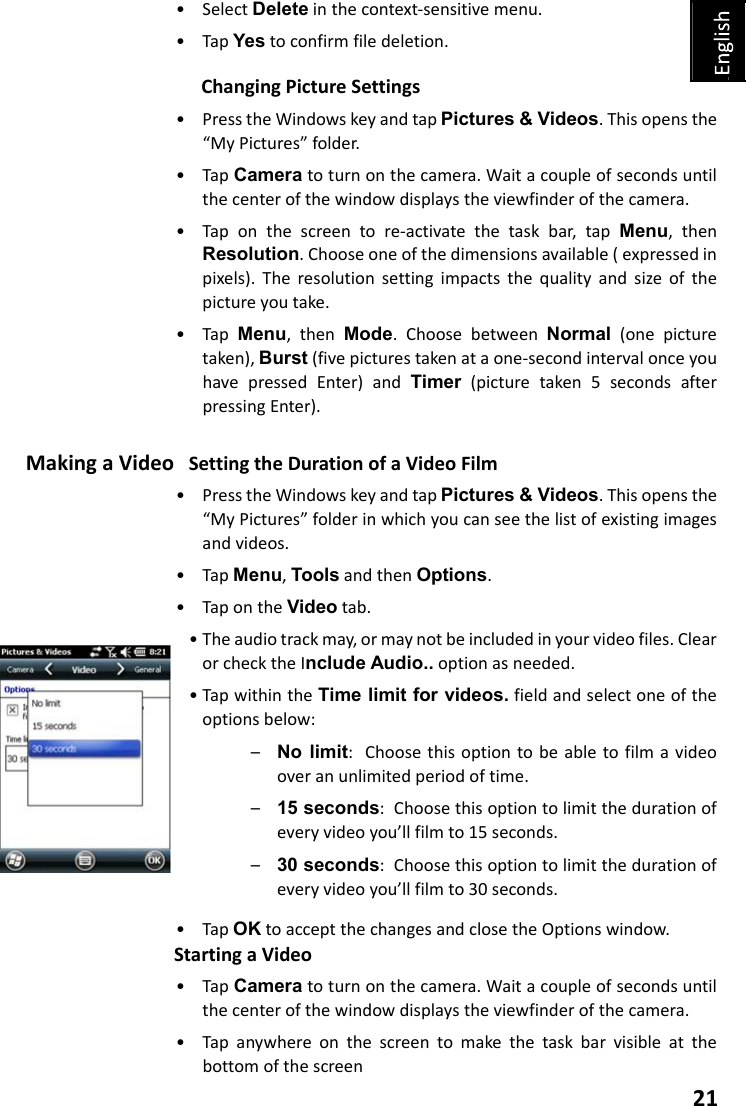
![5• Runthedesiredfunctionbyjusttappingonthecorrespondingicon.Thisrunstherequestedfunctionandhotsun.Switching theReceiver Manually to Suspend ModeSwitchingthereceivertoSuspendmodeistherightthingtodowhenyouneedtomakeashortpauseinyourworkandyouwanttosavetheoperatingtimeofyourbattery.YoushouldnothoweverswitchthereceivertoSuspendmodewhenitiscollectingrawdata.InSuspendmode,thereceiverisidle,usingtheminimumofenergyrequiredtosavetheusecontext.ToswitchtoSuspendmode,justpressbrieflyonthePowerbutton[1].Thereceiverscreenisturnedoffinstantly.Towakeupthereceiver,justpressbrieflythesamebuttonagain.ThiswillinstantlyswitchthescreenbackonandrestoretheusecontextinwhichthereceiverwasbeforeenteringtheSuspendmode.AdjustingBacklight Level and Idle TimeBacklightLevel:Thescreenbacklightmaybeadjustedtomatchtheambientlightforoptimizedvisibility.Youdon’tneedthesamelevelofscreenbacklightindarkareasthanin](https://usermanual.wiki/TRIMBLE-EUROPE/802168/User-Guide-2218072-Page-11.png)
![8How to Hold the Receiver Trackingsatelliteswithyourreceiverrequiresthatyouusethereceiveroutdoorandholditinanappropriatemanner.Thereceiverwillhavethebestviewoftheskywhenyouholditatanangleofaround45degreesfromhorizontalandnottooclosetoyourbody.YoucancheckthatyourreceiveristrackingenoughsatellitesbyrunningtheGNSSToolbox,andmoreparticularlytheGNSSStatusfunction(seeGNSS Status on page 11).Whenenoughsatellitesaretracked,youcanstartusingyourreceiverandrunyourapplicationsoftware.Turning theReceiver OffAfteryouhavefinishedyourwork,turnoffyourreceiverbyholdingthePowerbutton[1]presseduntilaWarningmessageisdisplayedonthescreenaskingyoutoconfirmthepower‐offrequest.TapYes.Thereceiverwillshutdowninthenextcoupleofsecondsafteraduo‐tonesoundhasbeenheard.](https://usermanual.wiki/TRIMBLE-EUROPE/802168/User-Guide-2218072-Page-14.png)
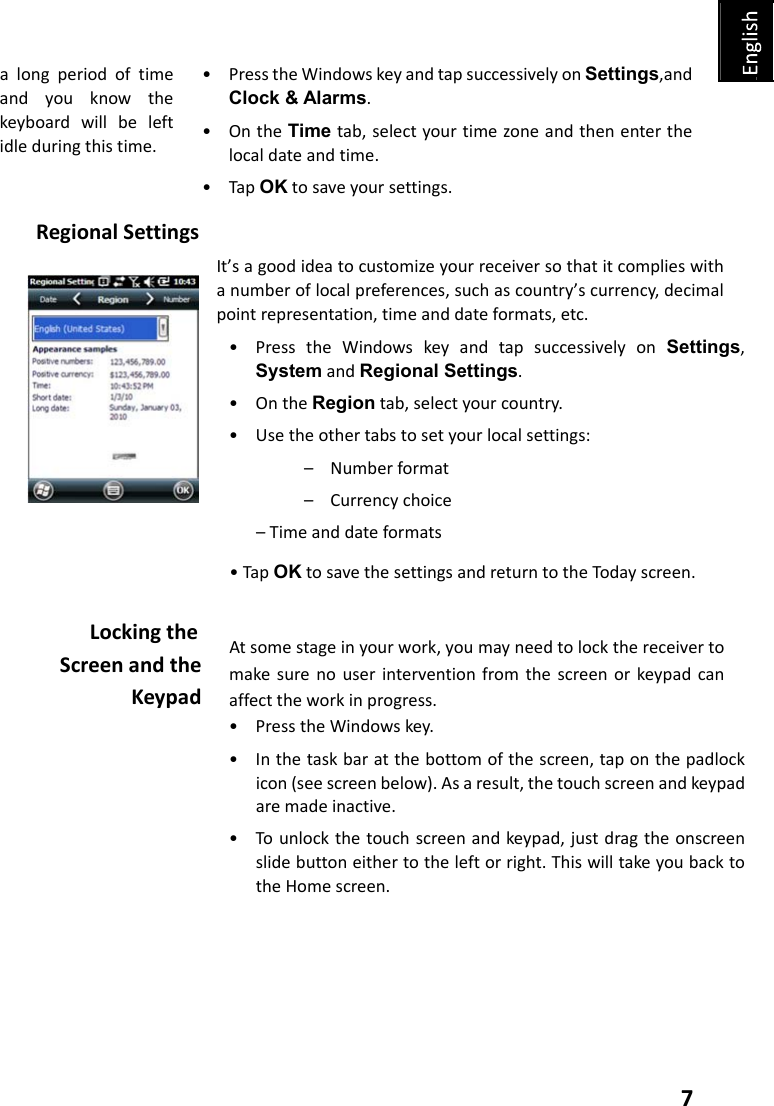
![9Receiver Description Front View Power Key UsethePowerkey[1]toturnonoroffthereceiver.Toturnonthereceiver,pressthePowerkey[1]untilyoucanfeelavibrationinyourhand,meaningthereceiverhasstartedapower‐onprocedure.Youcanthenreleasethekey.ToturnoffthereceiverpressthePowerkey[1]untilasoundisheardandawarningmessagepopsuponthescreenaskingyoutoconfirmthepowershutdownrequest.TapYesonthescreen.Atwo‐tonesoundcanthenbeheardjustbeforethereceivershutsdown.Windows keyTheWindowskey[2]isusedtogiveimmediateandunconditionalaccesstotheWindowsStartmenu.Display ScreenThedisplayscreen[3]isa3.5‐inch,VGA,256‐color(18‐bitRGB)touchscreen(240x320pixels).Scroll / Enter keysTheEnterbutton[4]isusedtoaccepthighlightedinputandinitiatevariousfunctions.TheScrollbutton[5]istheringaroundtheEnterbutton.Itisusedtomovethecursoronthescreen,fromonedatafieldtothenextonaparameterscreen,fromoneoptiontoanotherinamenu,fromonegeographicallocationtoanotheronamapscreen.Function keysThereceiverisfittedwithfourfunctionkeys[6].Thespecificfunctionofeachofthemisgiveninthetablebelow.Button FunctionThe keypad includes two of these buttons, one on the right, the other on the left.[8][3][9][1][7][4] [5][2][6]](https://usermanual.wiki/TRIMBLE-EUROPE/802168/User-Guide-2218072-Page-15.png)
![10Each of them is a convenient alternative to tapping on the functions appearing just above in the task bar at the bottom of the screen (e.g. Notifications, Contacts, Menu, Log, etc.).In Spectra Precision applications with a map screen displayed, use this button to zoom in. In Windows Embedded, displays the Start menu.In Spectra Precision applications with a map screen displayed, use this button to zoom out. In Windows Embedded, displays the Phone screen.MicrophoneAmicrophoneisusedbythevoicerecorder.Keepthesmallaperture[7]clearwhenrecordingavocalcomment.Built-in GPS AntennaThereceiverincorporatesabuilt‐inGPSantenna[8].Thereceivershouldbeheldproperlytooptimizesatellitereception.EarpieceAsamulti‐mediadevice,thereceiverincludesanearpiece[9],whichcanbeusedbyanyvoice‐basedsoftwareapplication.Rear View External GPS Antenna InputUsethisinput[10]toconnectanexternalGPSantennatothereceiver.Whenanexternalantennaisconnected,thebuilt‐inGPSantennaisautomaticallydisconnectedfromthereceiverinput.Theantennainputconnectorisprotectedbyarubberflap.SpectraPrecisionrecommendsyoukeeptheflapclosewhennoexternalantennaisused.LoudspeakerThebackofthereceiverincorporatesahigh‐qualityloudspeaker[11].Camera LensKeepthecameralens[12]clearwhentakingpicturesorrecordingvideos.[10][17][12][11][15][16][13][14]](https://usermanual.wiki/TRIMBLE-EUROPE/802168/User-Guide-2218072-Page-16.png)
![11Hand strapThehandstrapprovidedmaybeattachedtothebackofthereceiverthroughtwothreadedholes[13]and[14]andthetworecesseslocatedatthebottomofthereceiver(seeBottomViewbelow).Thehandstrapmayalsoaccommodatethestylus,whichcanalsobeattachedtotheleatherstripofthehandstrapusingthelanyardprovided.Battery CompartmentThereceivermakesuseofarechargeableLi‐Ionbatterypack.Loosenthequarter‐turnscrews[15][16]usingthestylus(oracoin)toaccessthebatterycompartment[17].Thetwoscrewsuseoppositedirectionsofrotationforopeningandclosingthetrapdoor.ThebatterycompartmentcanalsoaccommodateaSIMcard[18]andamicroSDcard[19].Whenputtingbackthetrapdoor,insertthebottomfirst,pushthetrapdooragainstthebackofthereceiverandsealthebatterycompartmentbyfullyrotatingthetwoscrewsintheoppositedirection.Informationonbatterycharging:seeInternal Battery on page 13.Bottom View Thebottomviewprovidesaccesstoastandardmini‐USBconnector[20].Youfirstneedtoopentheprotectiverubberflap[21],usingafingernailorasharpandrigidtiptopulltheflapfromitsleft‐handside.Themini‐USBportisusedtoconnectthereceivertotheACadapter,forafastbatterychargingcycle,ortoacomputerforfiletransferthroughMicrosoftActiveSync.Inbothcases,youneedtousetheUSBcableprovided.Informationonbatterycharging:seeInternal Battery on page 13.ThebottompartofthereceiveralsoaccommodatesaResetbutton[22],whichisaccessibleafteryouhaveopenedtherubberflap[21].Shouldthereceivergetstuck,youcanpressthatbuttonusingasharptooltorestartthereceiver.Warning!NeverusetheResetbuttonwhilethereceiverisoperatingnormallyoryouwoulddefinitivelyloseallthedatayouarecollecting.Thebottomviewalsoshowsthetworecesses[23]inwhichthehandstrap[24]canbeanchored.[22][20][21][23][23][24]](https://usermanual.wiki/TRIMBLE-EUROPE/802168/User-Guide-2218072-Page-17.png)

![23E-Compass Calibration • PressontheWindowskey.• ScrolldownuntilyouseetheCompassicon.• TapontheCompassicontoopentheCompassutility.• TapontheCalibrationtab.• Putthereceiverdownonatabletogiveitahorizontalposition(seepicture[1]below).• TapontheStartbuttonlocatedinthetaskbartostartthecalibrationprocess.Firsthorizontalcalibrationisreadytogo.• Slowlyrotatethereceiverbyacoupleofturnswhilekeepingithorizontal(seepicture[1]below).Waituntilthereceiverindicatesthathorizontalcalibrationiscompleteandpromptsyoutostartverticalcalibration(“Ready”displayedunderneaththeVerticalcalibrationbutton).• Takethereceiverinyourhands(seepicture[2]below),putitinverticalpositionthenslowlyrotateitbyacoupleofturns,intheverticalplane.Thengentlyputitbackdownonthetable.• Waituntilcalibrationiscompletebeforeproceeding.Platform Specifications ](https://usermanual.wiki/TRIMBLE-EUROPE/802168/User-Guide-2218072-Page-29.png)