Telecommunication Laboratories Chunghwa Telecom CHTS200202 HARDWARE SECURE MODULE User Manual SafGuard200 user guide for FCC
Telecommunication Laboratories , Chunghwa Telecom Co., Ltd HARDWARE SECURE MODULE SafGuard200 user guide for FCC
Contents
- 1. USERS MANUAL 1
- 2. USERS MANUAL 2
USERS MANUAL 2

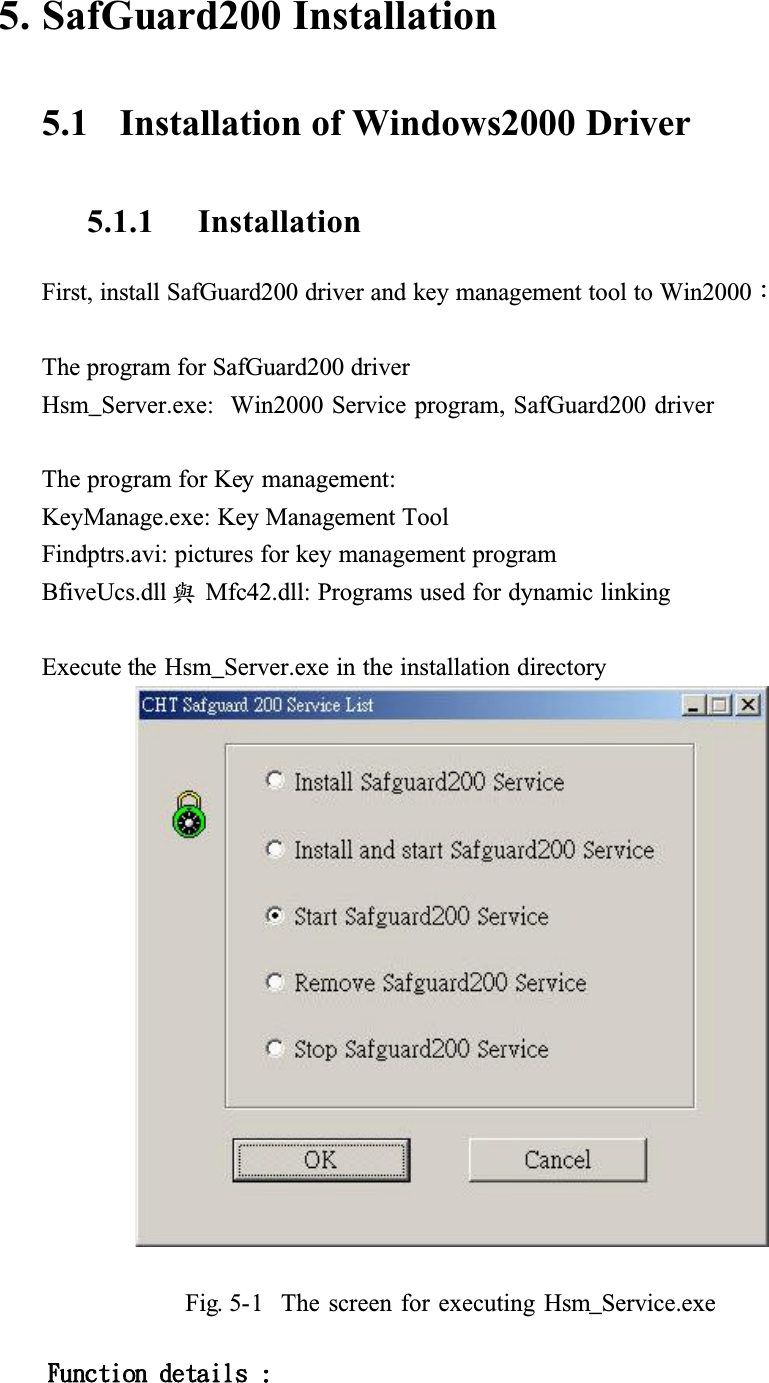
![Jotubmmjoh!tfswjdf!qsphsbn!!Ǻ!jotubmmjoh!TbgHvbse311!tfswjdf!qsphsbnt!!Jotubmmjoh!boe!fobcmf!tfswjdf!qsphsbnǺ!!Jotubmmjoh!tfswjdf!qsphsbn!jo!uif!tztufn!boe!fyfdvuf!uif!tfswjdf!qsphsbn/!Fobcmf!TbgHvbse311!tfswjdf!qsphsbn!Ǻ!!Fyfdvuf!tfswjdf!qsphsbn!Sfnpwf!Tfswjdf!qsphsbn!!!!!!!Ǻ!!Sfnpwf!uif!tfswjdf!qsphsbn!gspn!uif!tztufn/!Shut down service program ǺShut down the service program!After executing Hsm_Server.exe, click [Installing SafGuard200 service program] or [Installing and enable SafGuard200 service program], then press ok button, as shown in the following Figure. If you click[Installing and enableSafeGuard200 service program], the service program will be executed after installion.Fig. 5-2 The screen of installing service program](https://usermanual.wiki/Telecommunication-Laboratories-Chunghwa-Telecom/CHTS200202.USERS-MANUAL-2/User-Guide-389628-Page-8.png)
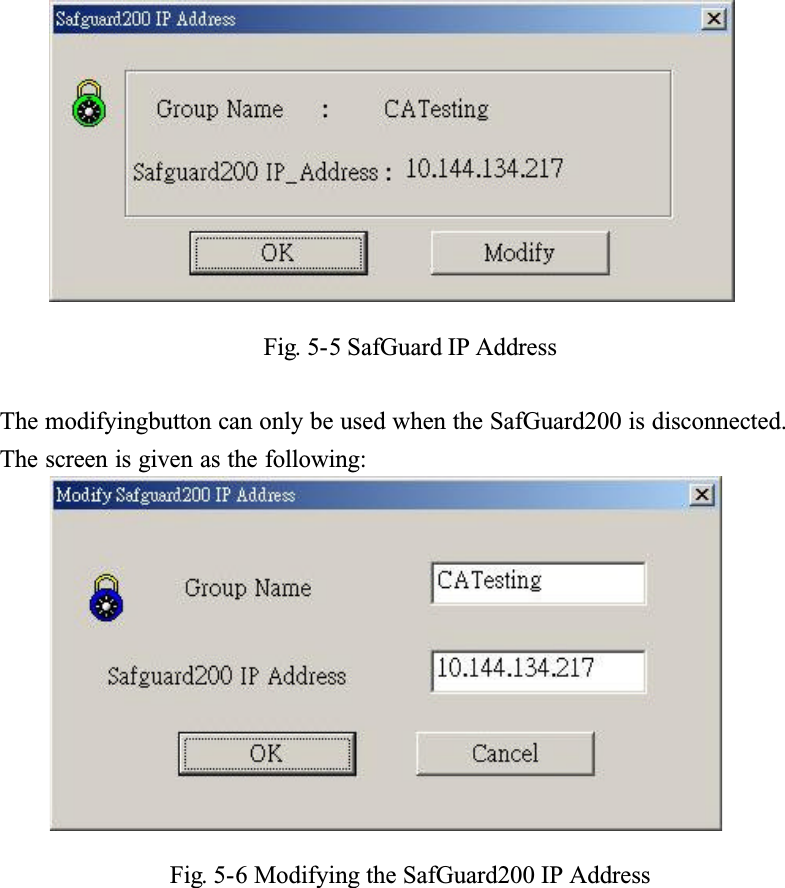
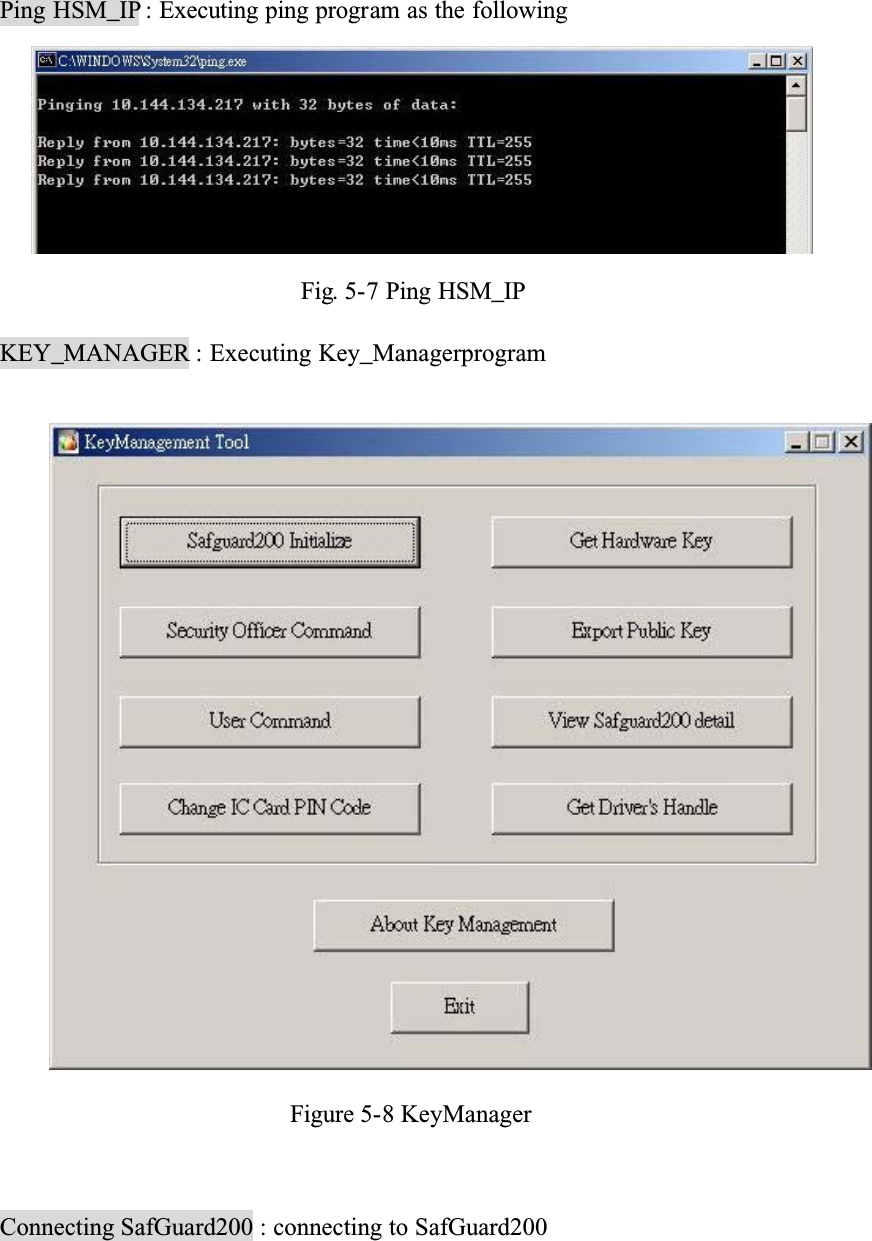
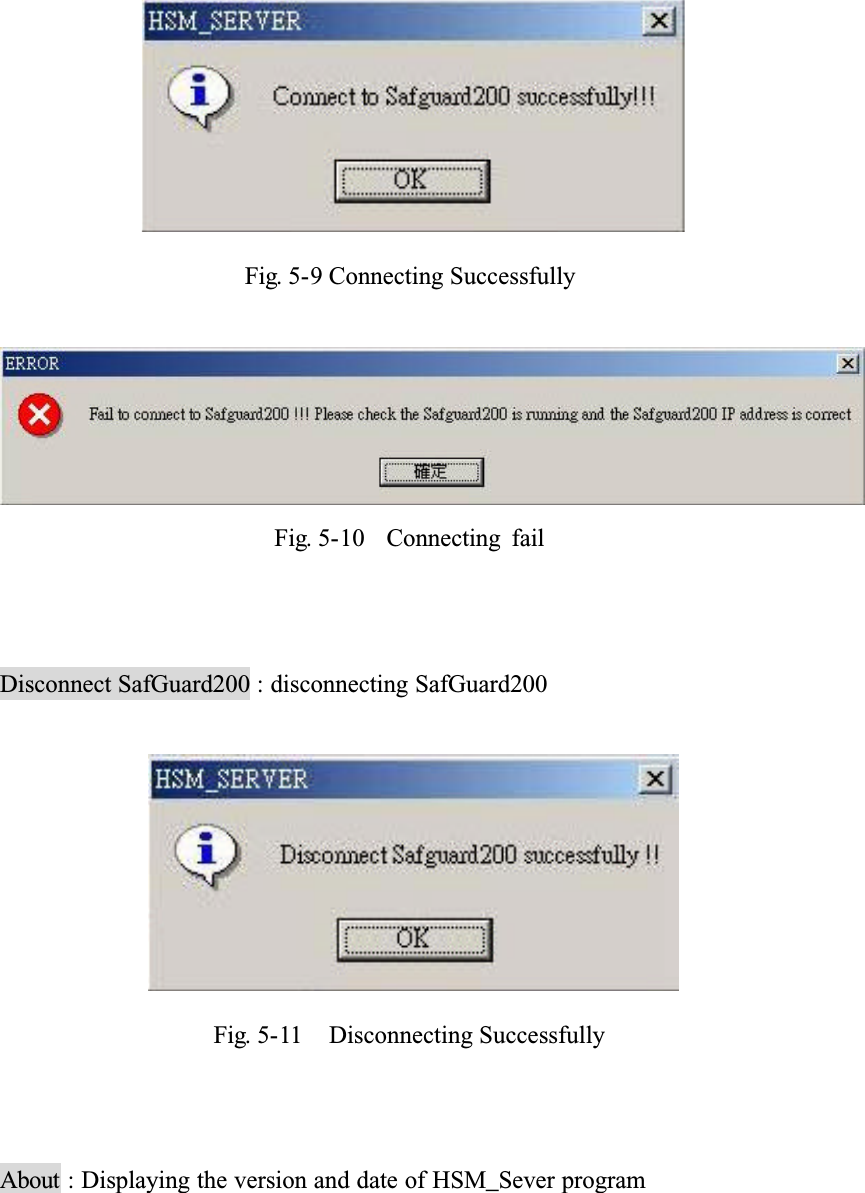
![5.1.2 Enable Service ProgramAfter installition, click [EnableSafGuard200 service program] , then click ok button, the service program can be enabled.Gjh/6.4!Uif!tdsffo!pg!fobcmf!uif!tfswjdf!qsphsbnAfter completing all previous tasks, you can find the icon of running HSM_Server at right bottom corner of Win2000. If the color of this icon is green, like , it means that the SafGuard200 has been connected, otherwise the color of the icon will be red like . At this point, you can press right button of the mouse to quit HSM_Server. Its function as shown in the followingFig. 5-4 The Screen fo enabling HSM_ServerFunction details:SafGuard IP Address : Displaying theGroup name and IP address of SafGuard200 as shown in the followingǺ](https://usermanual.wiki/Telecommunication-Laboratories-Chunghwa-Telecom/CHTS200202.USERS-MANUAL-2/User-Guide-389628-Page-9.png)
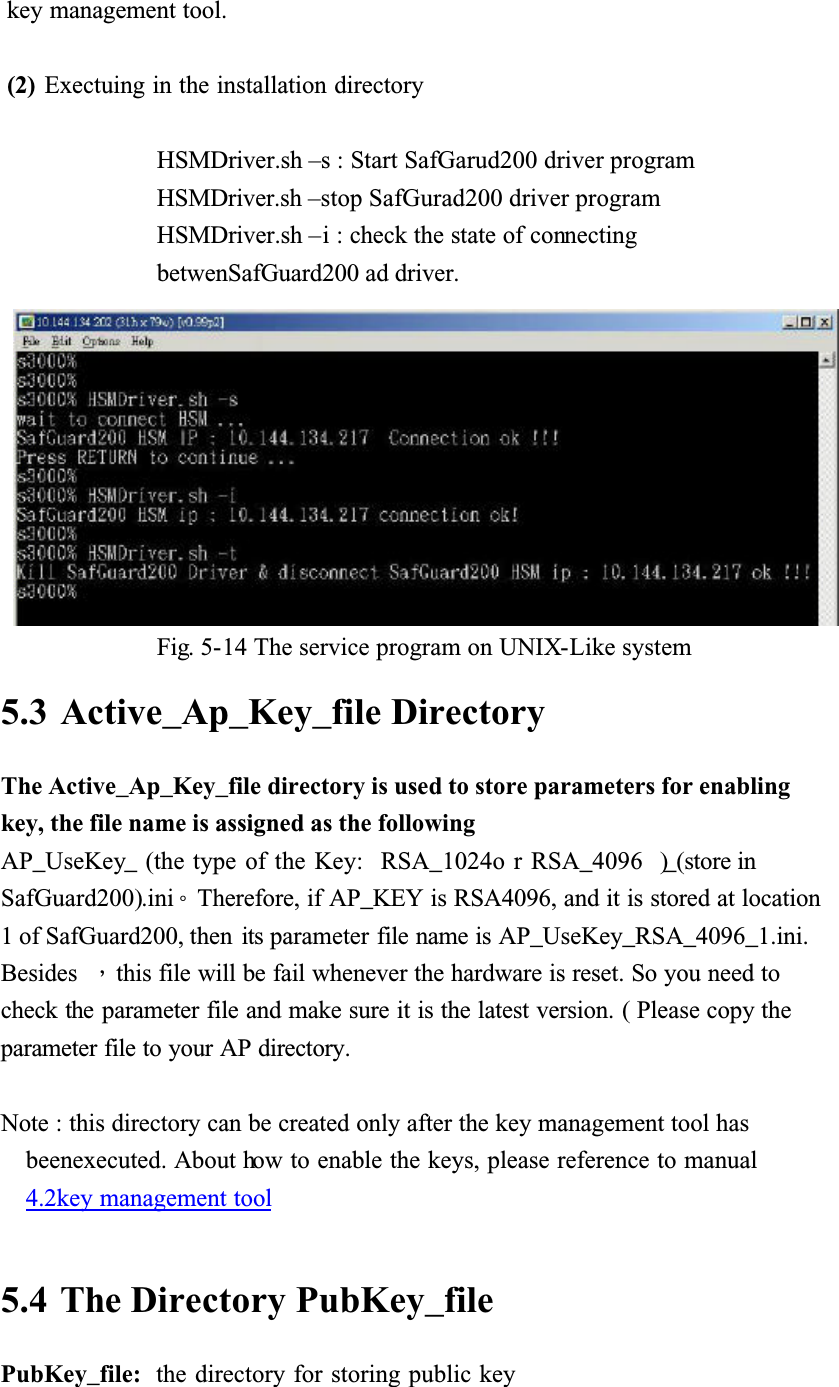
![5.1.3 Remove Service Program(1)Executing HSM_Server.exe in the installing directory, click [Removeservice program] and then click ok button. the service program, HSM_Server, will be removed from the system.Fig. 5-13 The screen of removing service program(2) Bgufs!sfnpwf!bmm!gjmf!jo!uif!jotubmmjoh!ejsfdupsz-!uif!pqfsbujpo!pg!sfnpwjoh!jt!dpnqmfufe/5.2 Installation of Solaris/Linux driver(1) First copy the SafGuard200 drivre to UNIX-like system, includingǺ1. HSMDriver.sh (batch file, start/stop command file)2. server (main program)3. SafeGuardStop (stoping running executing file)4. safeguard.ini ( information about SafGuard200)Safeguard.ini need to be replaced by safeguard.ini generatred by previous](https://usermanual.wiki/Telecommunication-Laboratories-Chunghwa-Telecom/CHTS200202.USERS-MANUAL-2/User-Guide-389628-Page-14.png)