Thrane and Thrane A S AERO-HSD Aeronautical Satellite Telephone User Manual AeroHSD 98 119959 a18
Thrane & Thrane A/S Aeronautical Satellite Telephone AeroHSD 98 119959 a18
UserManual.wiki
>
Thrane and Thrane A S
>
AERO HSD User Manual
Users Manual
Navigation menu
Upload a User Manual
Namespaces
Wiki Guide
HTML
PDF
Info
Views
User Manual
Discussion / Help
Navigation
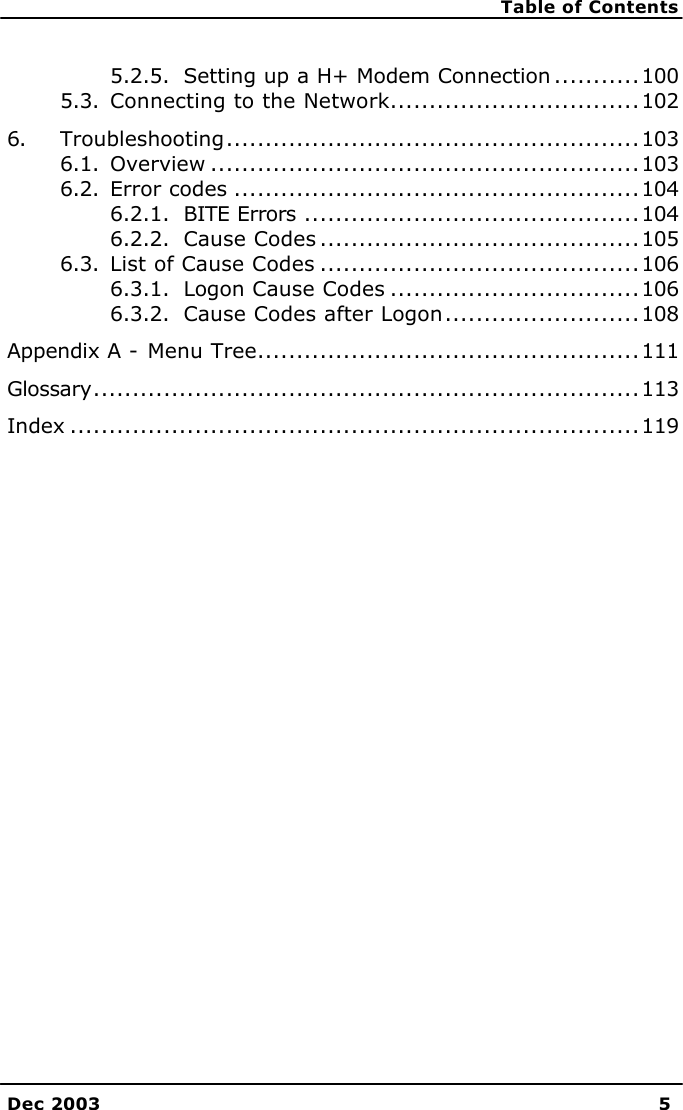


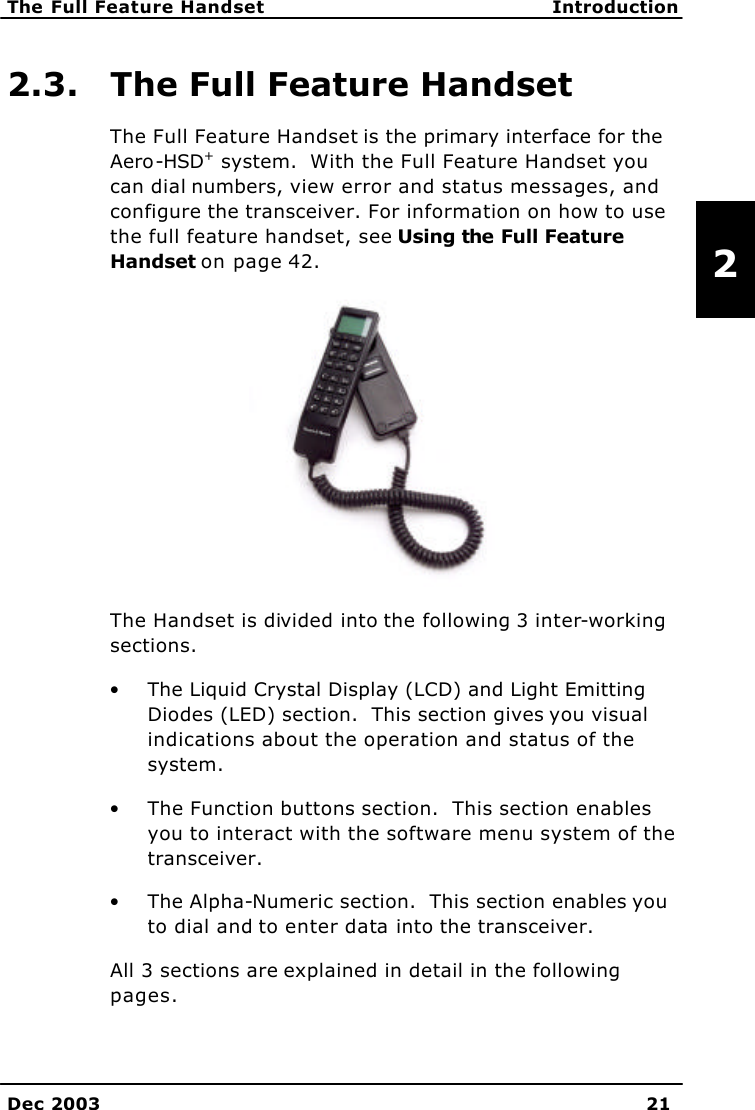
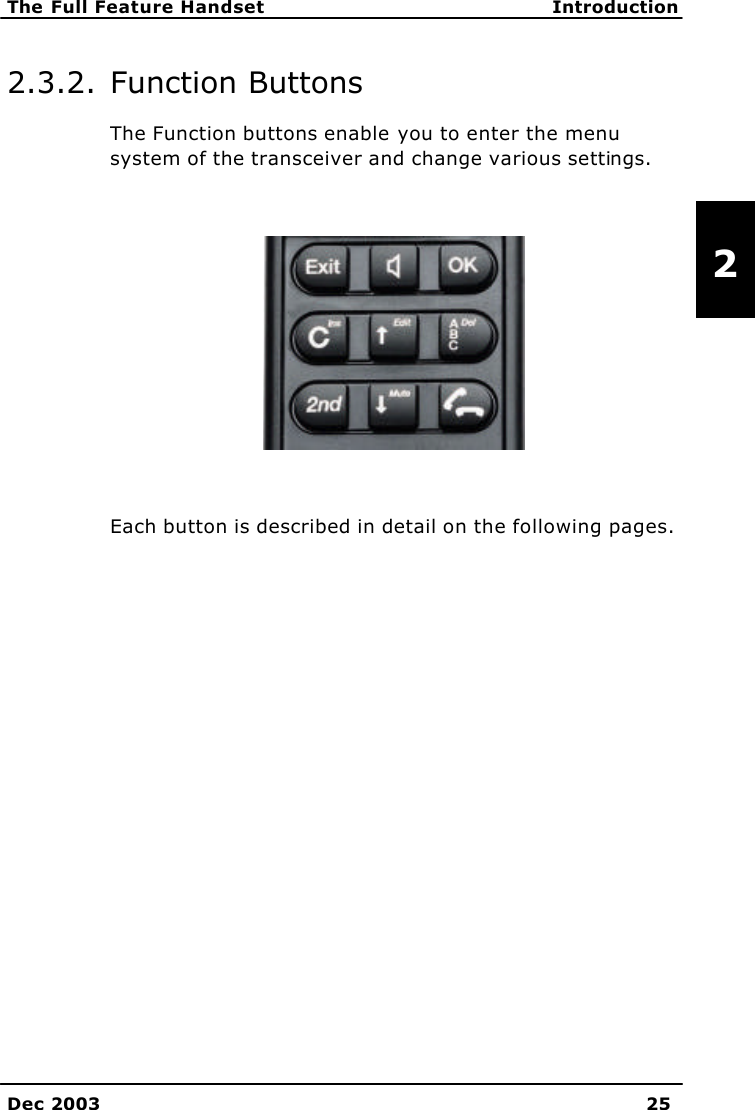
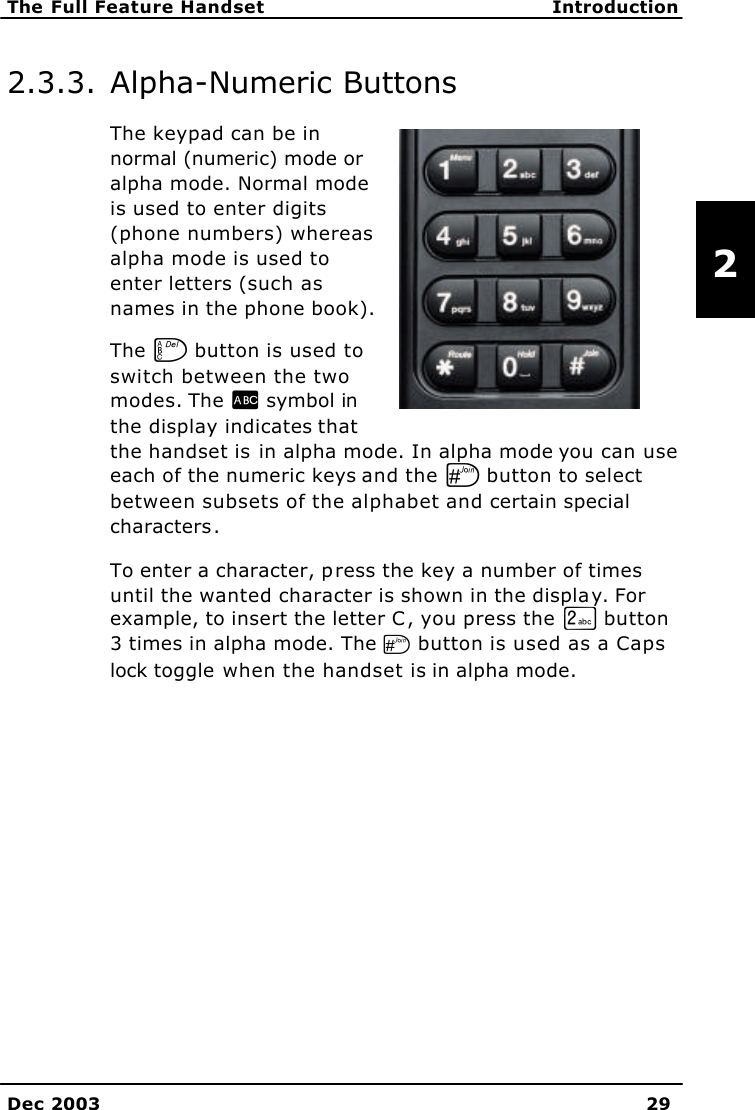
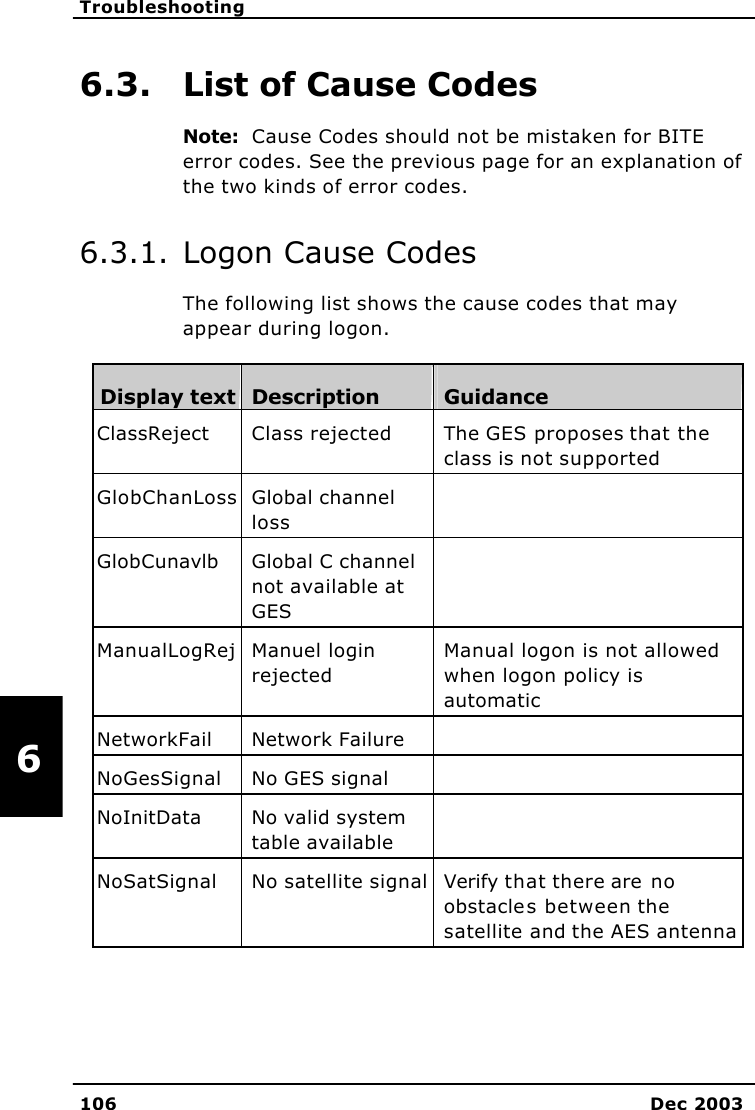
![Introduction The Full Feature Handset 22 Dec 2003 2 2.3.1. Display and LEDs The following picture shows the top of the handset with the display and LEDs. The LCD can be adjusted for contrast and is backlit for viewing in dim light or at night. The LCD display is graphically shown below: ReadyAORE SB #1YZ]^_`abScroll UpText AreaScroll DownSecondaryFunctionsEnabledLockedAlphabeticEntryEnabledMore OptionsAvailableHandsetOff HookSpeakerEnabledCalls onHold](https://usermanual.wiki/Thrane-and-Thrane-A-S/AERO-HSD/User-Guide-411704-Page-22.png)
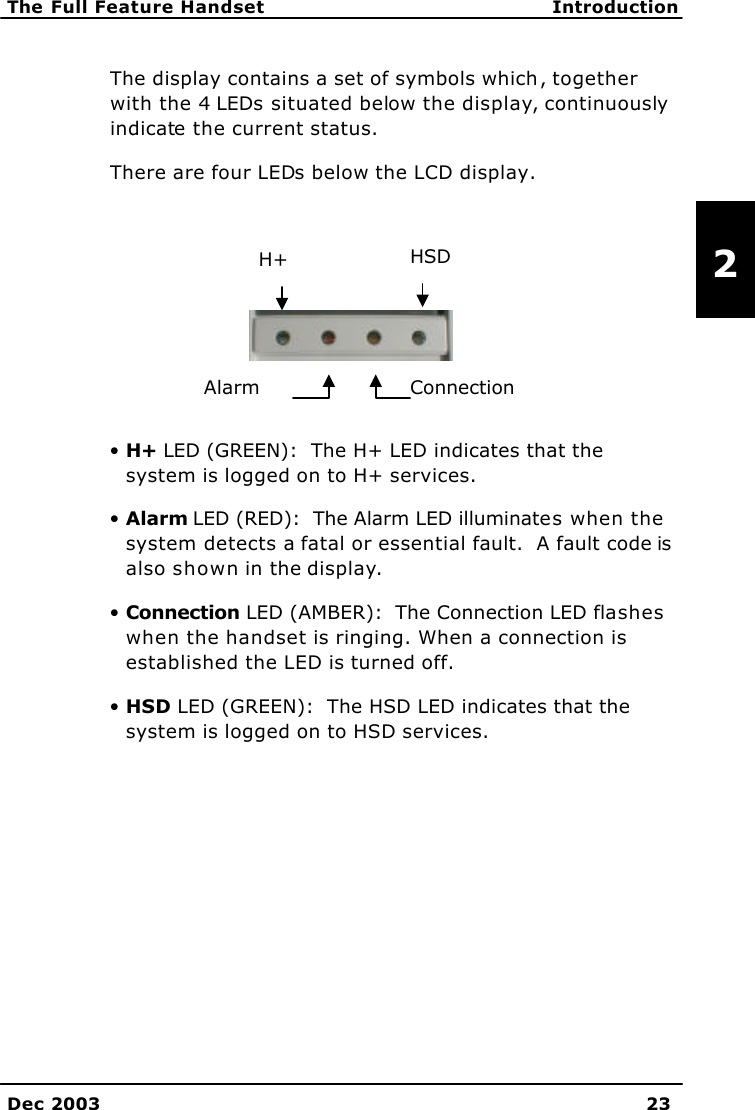
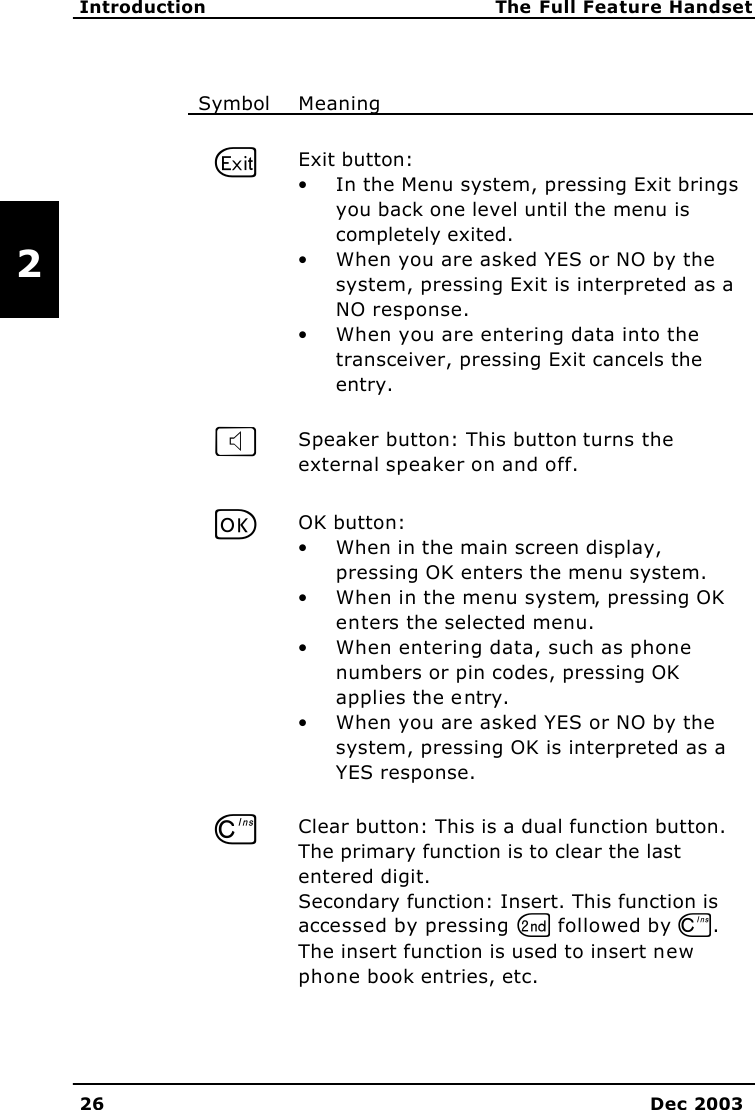
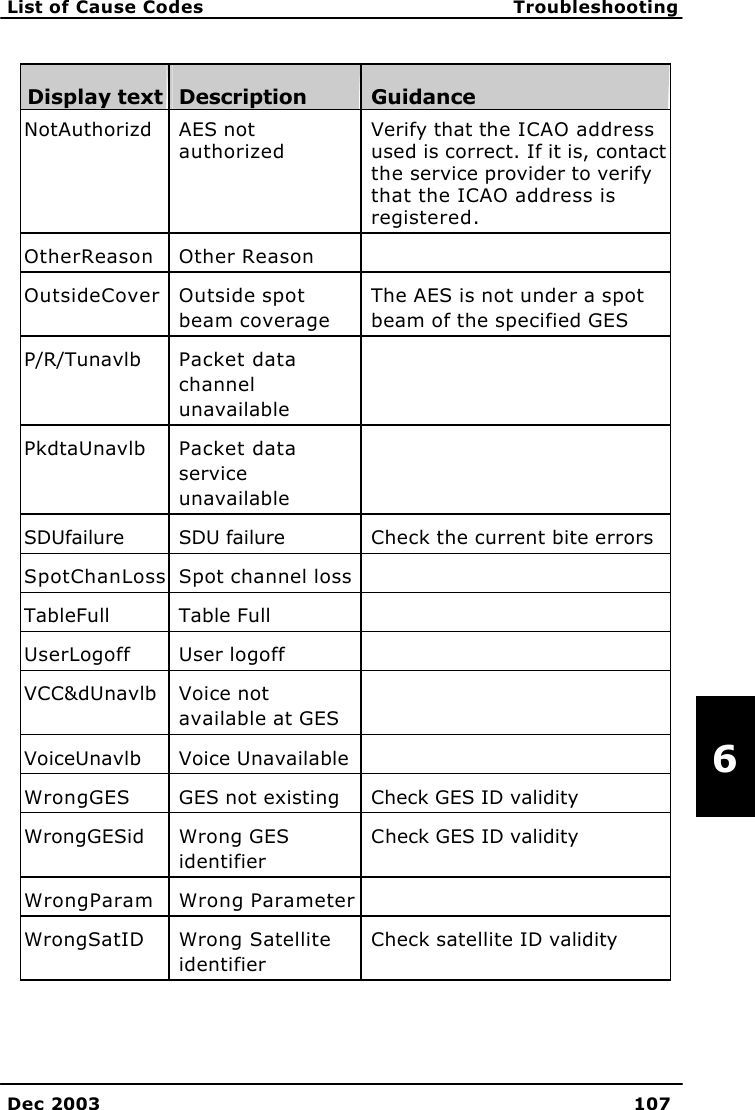
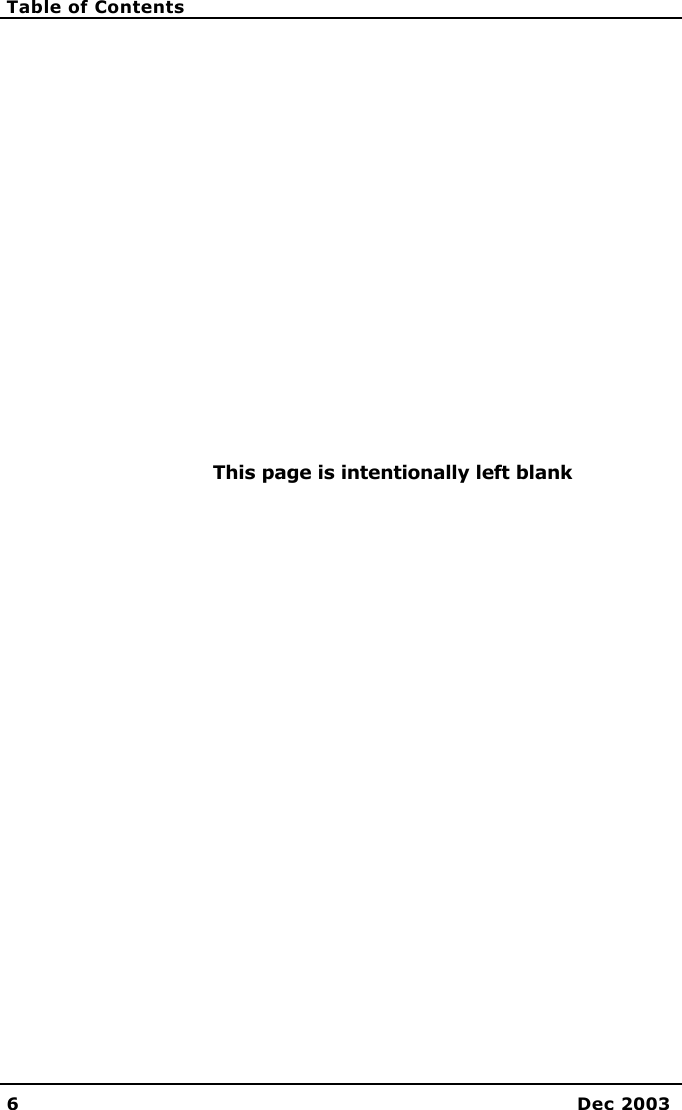
![Introduction The Full Feature Handset 24 Dec 2003 2 The below list shows the meaning of each of the various symbols, that may appear in the display. Symbol Meaning Y More menu entries above. Calls on hold. Each bar represents a call on hold. Example: 3 bars=3 calls on hold. Z More menu entries below. ] The G key has been pressed. The 2nd function will be used for next button pressed. ^ A valid pin code is required to use the terminal. _ The keypad is in alpha mode. Alpha mode is used to enter letters (for example names in the phone book). Note: This symbol does not indicate capital letters. The U button is used to toggle the Caps lock function. ` The value in a menu must be selected between certain predefined values by means of the B and E keys. a The speaker. You can turn the external speaker on and off by pressing H. The a symbol is displayed in the LCD when the speaker is on. b The handset is off hook](https://usermanual.wiki/Thrane-and-Thrane-A-S/AERO-HSD/User-Guide-411704-Page-24.png)