Top Victory Electronics LM562H 15 Inches LCD Monitor User Manual Top Victory Electronics Taiwan Co Ltd
Top Victory Electronics (Taiwan) Co Ltd 15 Inches LCD Monitor Top Victory Electronics Taiwan Co Ltd
User Manual
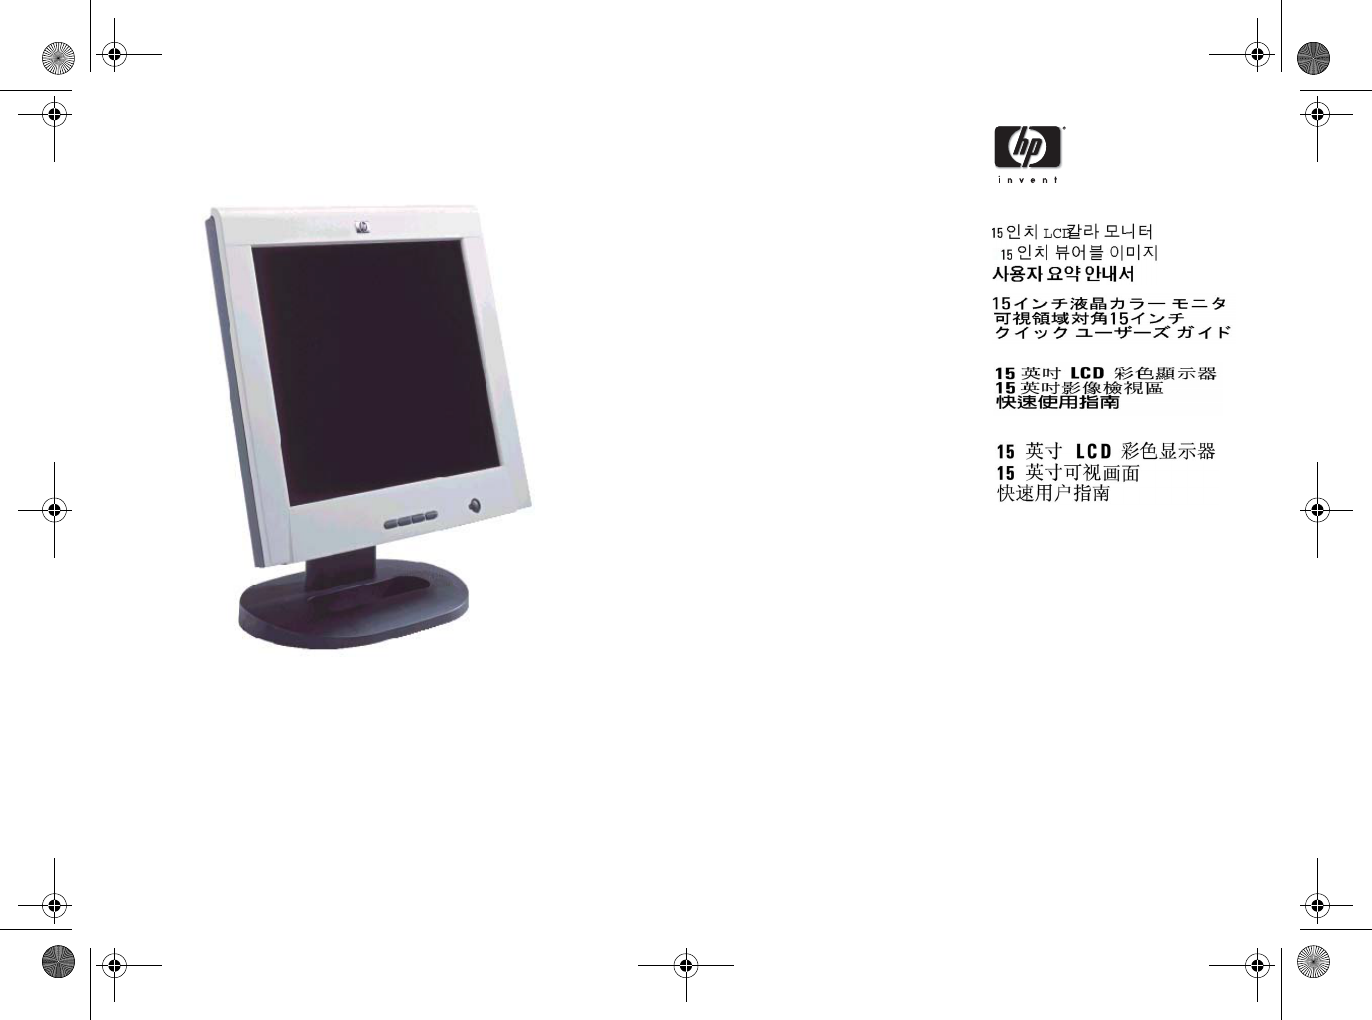
D5063
hp l1520
15 inch LCD Color Monitor
15 inch viewable image
Quick User’s Guide
Moniteur LCD couleur 15 pouces
Affichage 15 pouces
Guide de référence rapide
Pantalla de Color LCD de 15 Pulgadas
15 Pulgadas de Imagen Visualizable
Guía Rápida del Usuario
Léase esto primero
Monitor LCD Colorido de 15 polegadas
Imagem Visível de 15 polegadas
Guia de Referência Rápida do Usuário
Monitor Warna LCD 15 incii
Daerah Gambar 15 inci
Buku Petunjuk Cepat
Before contacting Customer services, please refer to the HP Web site:
www.hp.com/go/monitorsupport
hp accessories: www.hp.com/go/pcaccessories
l1520_ww.fm Page 1 Wednesday, July 4, 2001 5:03 PM
!
!
!!
!
!!
!
Veuillez lire attentivement les informations de
sécurité suivantes avant de brancher votre
moniteur.
Avertissement
Utilisez uniquement l’adaptateur secteur fourni avec ce produit.
Branchez le moniteur sur une prise reliée à la terre, au moyen du
cordon d’alimentation fourni ou d’un cordon équipé d’une prise de terre
adéquate. Assurez-vous que ce câble est conforme aux normes de
sécurité en vigueur dans votre pays.
Pour couper totalement l’alimentation du moniteur, retirez le cordon
d’alimentation de la prise secteur (celle-ci doit être facilement
accessible).
Pour réduire le risque d’électrocution, ne retirez pas le capot et
n’ouvrez pas l’adaptateur secteur. Aucune pièce ne peut être
remplacée par l’utilisateur. L’entretien doit uniquement être effectué
par du personnel qualifié.
Informations relatives à l’ergonomie
Consultez la rubrique Travailler confortablement sur le site web de HP
à l’adresse : www.hp.com/ergo/
Part Number: D5063-90031
Version A
Printed in
Pa
p
er Not Bleached With Chlorine
Please read the important safety information
before plugging in your new monitor.
Safety Warning
Use only the AC/DC adapter supplied with the product. Connect the
monitor to a grounded power outlet. Use the power cord supplied
with this monitor or one with a properly grounded plug. Ensure that
the cable meets your country’s standards for safety.
To completely disconnect the power from the monitor, remove the
power cord from the power outlet. Ensure that the power outlet is
easily accessible.
To reduce the risk of electric shock, do not remove cover and do not
open the AC/DC adapter. There are no user serviceable parts inside.
Refer servicing to qualified personnel.
Important Ergonomic Information
Consult HP’s Working In Comfort web site at:
www.hp.com/ergo/
Leia estas instruções importantes de segurança
antes de ligar seu novo monitor.
Advertência de segurança
Use apenas o adaptador AC/DC fornecido com o produto. Conecte o
monitor a uma tomada aterrada. Use o cabo de alimentação fornecido
com este monitor ou um plugue devidamente aterrado. Certifique-se
de que o cabo atenda aos padrões de segurança de seu país.
Para desligar por completo a alimentação do monitor, remova o cabo
de alimentação da tomada. Certifique-se de que a tomada seja de fácil
acesso.
Para reduzir o risco de choque elétrico, não remova a tampa e não abra
o adaptador AC/DC. Não há peças dentro dele que possam ser conser-
tadas pelo usuário. O serviço deve sempre ser feito pelo pessoal quali-
ficado.
Informações importantes sobre ergonomia
Consulte o site Working In Comfort da HP na web em:
www.hp.com/ergo
Antes de enchufar su nueva pantalla, lea la
información importante de seguridad.
Aviso de seguridad
Utilice sólo el adaptador de CA/CC suministrado con el producto.
Conecte la pantalla a una toma de alimentación puesta a tierra. Use el
cable de alimentación suministrado con esta pantalla o uno que posea
una conexión a tierra. Asegúrese de que el cable cumpla con las nor-
mas de seguridad de su país.
Para eliminar completamente la alimentación de la pantalla,
desconecte el cable de alimentación de la toma. Asegúrese entonces
de que la toma de alimentación esté accesible.
Para reducir el riesgo de descarga eléctrica, no retire la cubierta y no
abra el adaptador de CA/CC. Dentro no existen elementos que pueda
reparar el usuario. Solicite asistencia del personal cualificado.
Información ergonómica importante
Consulte Trabajo con comodidad en el sitio web de HP en:
www.hp.com/ergo/
Harap baca informasi penting tentang
keselamatan sebelum memasang monitor baru
Anda.
Peringatan tentang Keselamatan
Gunakan hanya adaptor AC/DC yang disertakan. Sambung monitor ke
sumber listrik. Gunakan kabel listrik yang disertakan bersama monitor
ini atau kabel dengan steker yang baik. Pastikan kabel memenuhi stan-
dar keselamatan di negara Anda.
Untuk benar-benar memutuskan sambungan listrik dari monitor, cabut
kabel dari sumber listrik. Pastikan sumber listrik mudah dijangkau.
Untuk mengurangi resiko kejutan listrik, jangan membuka penutup dan
jangan membuka adaptor AC/DC. Di dalamnya tidak ada suku cadang
yang bisa diservis. Lakukan servis pada petugas yang handal.
Informasi Penting tentang Ergonomis
Hubungi Bekerja dengan Nyaman HP di situs:
www.hp.com/ergo/
l1520_ww.fm Page 2 Wednesday, September 26, 2001 11:16 PM
China
!
!
w
ww.hp.com/ergo/
l1520_ww.fm Page 3 Wednesday, July 4, 2001 5:04 PM
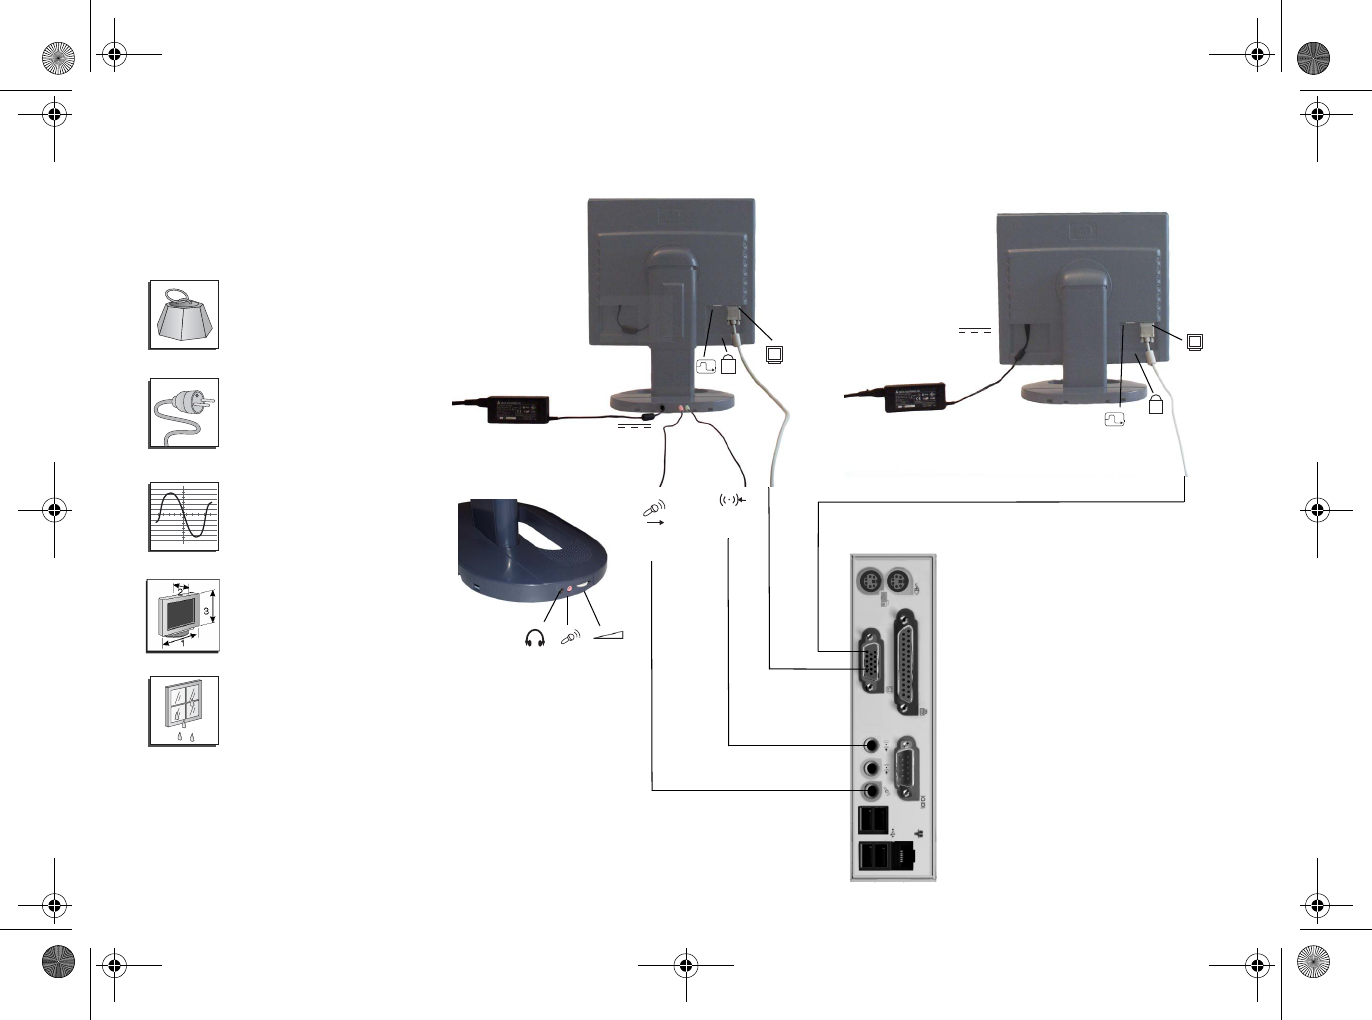
4.7 Kg (4,7 Kg), 10.4 lb
100 - 240 V~
2A max.
50 / 60 Hz
(1) 353 x (2) 48 x (3) 305 mm
(1) 13.9” x (2) 1.9” x (3) 12”
8-85 %
K
K
➂
➃
➄
➀
➁
➀
➁
➂
l1520_ww.fm Page 4 Wednesday, July 4, 2001 6:00 PM
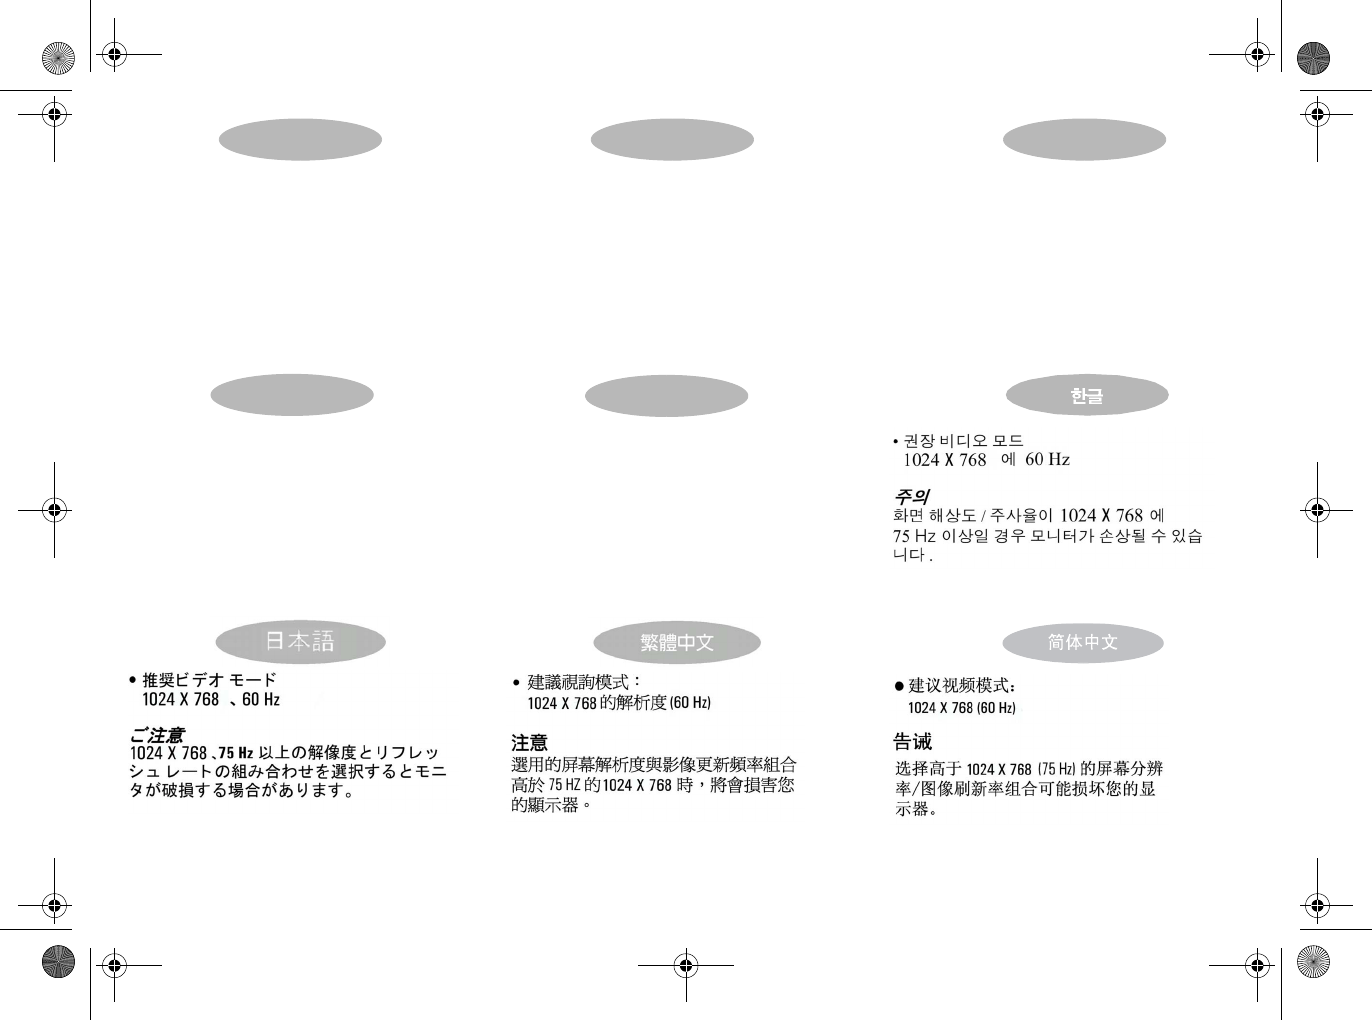
ENGLISH FRANÇAIS ESPAÑOL
PORTUGUÊS INDONESIAN
• Recommended video mode of
1024 × 768 at 60 Hz
CAUTION
Selecting a screen resolution/image refresh rate
combination higher than 1024 × 768 at 75 Hz can
damage your monitor.
• Modo de vídeo recomendado de
1024 × 768 a 60 Hz
PRECAUCIÓN
Si combina una resolución de pantalla/frecuencia
vertical superior a 1024 × 768 a 75 Hz puede dañar
su pantalla.
• Modo de vídeo recomendado de
1024 × 768 a 60 Hz
CUIDADO
Selecionar uma combinação de resolução de tela/taxa
de atualização de imagem maior do que 1024 × 768 a
75 Hz pode danificar o monitor.
• Recommended video mode of
1024 × 768 at 60 Hz
CAUTION
Selecting a screen resolution/image refresh rate
combination higher than 1024 × 768 at 75 Hz can
damage your monitor.
• Mode vidéo conseillé :
1024 × 768 à 60 Hz
AT T E N T I O N
La sélection d’un mode vidéo avec une combinaison
résolution d’affichage/fréquence vidéo supérieure à
10 2 4 × 768 à 75Hz risque d’endommager votre
moniteur.
l1520_ww.fm Page 5 Tuesday, August 21, 2001 10:22 AM
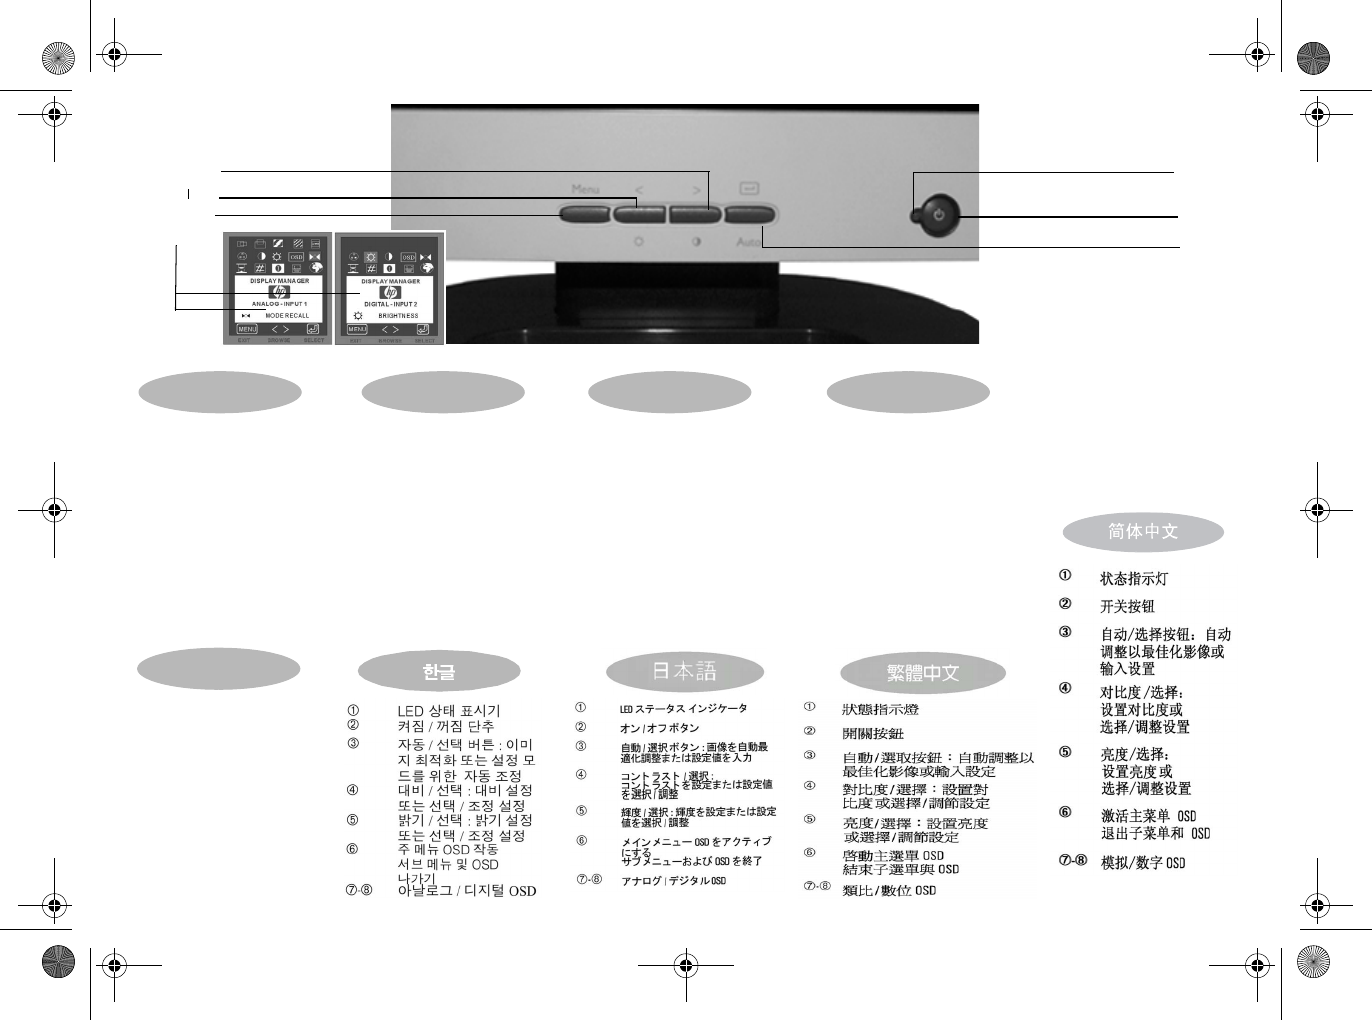
PORTUGUÊSESPAÑOLENGLISH FRANÇAIS
INDONESIAN
➀Status LED Indicator
➁On/Off Button
➂Auto/Select Button: auto-adjust
for optimal image or enter set-
tings
➃Contrast/Select: set contrast or
select/adjust settings
➄Brightness/Select: set brightness
or select/adjust settings
➅Activate Main Menu OSD
Exit Sub Menu & OSD
➆-➇Analog/Digital OSD
➀Indikator Status LED
➁Tombol Aktif/Nonaktif
➂Tombol Pengaturan Otomatis:
penyesuaian otomatis untuk gambar
yang optimal atau memasukan
penyetelan
➃Kontras/Pilih: setel kontras atau pilih/
sesuaikan penyetelan
➄Kecerahan/Pilih: setel kecerahan atau
pilih/sesuaikan penyetelan
➅Aktifkan Menu Utama OSD
Keluar dari Sub Menu & OSD
➆-➇OSD analog/digital
➀DEL d’état
➁Bouton mise sous/hors tension
➂Auto/Sélection : choix du réglage
automatique pour une image optimale
ou saisie des paramètres
➃Contraste/sélection : définition du
contraste ou sélection/ajustement des
paramètres
➄Luminosité/sélection : définition de la
luminosité ou sélection/ajustement des
paramètres
➅Activer menu principal OSD
Quitter sous-menu et OSD
➆-➇OSD analogique/numérique
➀Indicador LED de estado
➁Botón de encendido/apagado
➂Botón automático/seleccionar: ajuste
automático para conseguir una imagen
óptima o introducir ajustes
➃Contraste/seleccionar: ajustar el
contraste o seleccionar y realizar
ajustes
➄Brillo/seleccionar: ajustar el brillo o
seleccionar y realizar ajustes
➅Activar el menú OSD principal
Salir del submenú y del OSD
➆-➇OSD analógico/digital
➀LED indicador de status
➁Botão Liga/Desliga
➂Botão Auto/Seleção: ajuste auto-
mático para imagem ótima ou con-
firmação de configuração
➃Contraste/Seleção: ajusta contraste
ou seleciona/ajusta configuração
➄Brilho/Seleção: ajusta o brilho ou
seleciona/ajusta configurações
➅Ativa o menu de tela principal, sai
de submenus e do menu de tela
➆-➇Menu de tela analógico/digital
➀
➁
➂
➆-➇
➅
➃
➄
l1520_ww.fm Page 6 Wednesday, July 4, 2001 5:08 PM
LED
•
.
•
.
•
.
•
PC
.
LED
.
•
PC
.
•
.
•
PC
.
OSD
•
•
.
Solución de problemas
No hay ninguna imagen y el LED está apagado:
•
Compruebe si el monitor está encendido
•
Compruebe si el cable de alimentación está bien conectado
•
Compruebe la toma de corriente eléctrica
•
Pruébelo en otro PC que se hubiera definido anteriormente con una resolución admitida
No hay ninguna imagen y el LED está encendido:
•
Compruebe si el monitor no está en modo de ahorro de energía
•
Ajuste el contraste y el brillo mediante el OSD o los botones de control
•
Compruebe si el PC está encendido
•
Compruebe si el cable de vídeo tiene alguna patilla doblada
•
Pruébelo en otro PC que se hubiera definido anteriormente con una resolución admitida
Dépannage
Pas d’affichage et la DEL est éteinte:
•
Vérifiez que le moniteur est allumé
•
Vérifiez que le cordon d’alimentation est correctement connecté
•
Vérifiez la prise électrique
•
Testez sur un autre PC avec une résolution prise en charge
Pas d’affichage et la DEL est allumée:
•
Vérifiez que le moniteur n’est pas en mode d’économie d’énergie
•
Réglez le contraste et la luminosité via l’OSD ou les boutons de réglage
•
Vérifiez que le PC est sous tension
•
Vérifiez que les broches du câble vidéo ne sont pas tordues
•
Testez sur un autre PC avec une résolution prise en charge
Solucionar problemas
Nenhuma imagem e o LED apagado:
• Veja se o monitor está ligado
• Veja se o cabo de alimentação está conectado corretamente
• Veja a tomada elétrica
• Teste-o em um PC previamente ajustado para a resolução suportada
Nenhuma imagem e o LED aceso:
• Veja se o monitor não está no modo de economia de energia
• Ajuste o contraste e o brilho através do OSD ou botões de controle
• Veja e o PC está ligado
• Veja se há pinos tortos no cabo de vídeo
• Teste-o em um PC previamente ajustado para a resolução suportada
Pemecahan masalah
Tidak ada gambar dan LED tidak aktif:
• Periksa apakah monitor sudah DIAKTIFKAN
• Periksa apakah kabel listrik sudah tersambung dengan benar
• Periksa sumber listrik
• Coba ke komputer lain yang dengan resolusi yang didukung
Tidak ada gambar dan LED aktif:
• Pastikan monitor tidak berada pada modus hemat energi
• Atur kontras dan terang melalui OSD atau tombol kontro
• Periksa apakah komputer sudah diaktifkan
• Pastikan tidak ada pin yang bengkok pada kabel video
• Coba ke komputer lain yang dengan resolusi yang didukung
ENGLISH FRANÇAIS ESPAÑOL
PORTUGUÊS INDONESIAN
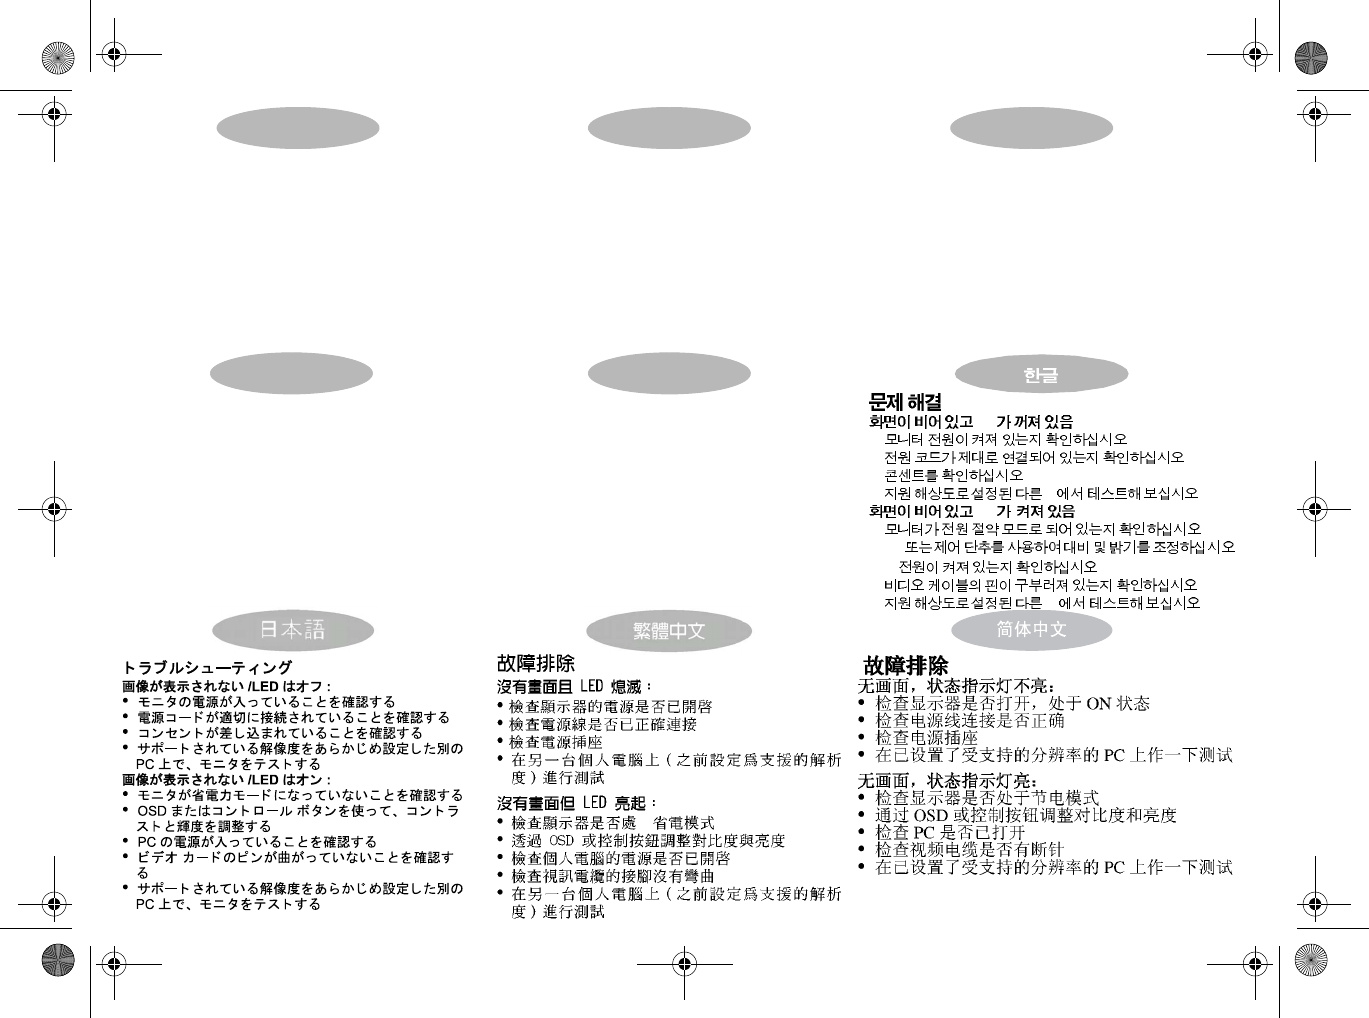
Troubleshooting
No picture and LED is off:
• Check if monitor is switched ON
• Check if power cord is properly connected
• Check electrical outlet
• Test on another PC previously set to a supported resolution
No picture and LED is on:
• Check if monitor is not in power saving mode
• Adjust contrast and brightness through OSD or control buttons
• Check if PC is switched on
• Check if video cable has no bent pins
• Test on another PC previously set to a supported resolution
l1520_ww.fm Page 7 Thursday, July 5, 2001 10:46 AM
HP Warranty Type A or D or
E or F
To find out which warranty type is applicable for
your country please refer to the HP Hardware
Warranty.
Type de garantie HP A ou D ou
E ou F
Pour connaître le type de garantie s’appliquant à
votre pays, consultez la Garantie matérielle HP.
Tipo de garantía de HP A o D o E
o F
Para averiguar si el tipo de garantía es aplicable a su
país, consulte la Guía de Garantía del Hardware de
HP.
Tipo di garanzia HP A o D o E
o F
Per sapere quale tipo di garanzia è applicabile alla
propria nazione, vedere la Garanzia hardware HP.
Jenis Garansi HP A atau D
atau E
atau F
Untuk mengetahui jenis garansi yang berlaku di
negara Anda, harap lihat Garansi Perangkat Keras
HP.
ENGLISH
FRANÇAIS
ESPAÑOL
PORTUGUÊS
INDONESIAN
HP
.
HP
HP
HP
Notice for the USA: FCC Statement Class B
Frequency Interference Statement Warning:
This equipment has been tested and found to comply with the limits for a Class B
digital device, pursuant to Part 15 of the FCC Rules. These limits are designed to
provide reasonable protection against harmful interference in a residential installa-
tion. This equipment generates, uses, and can radiate radio frequency energy and,
if not installed and used in accordance with the instructions, may cause harmful
interference to radio communications. However, there is no guarantee that inter-
ference will not occur in a particular installation. If this equipment does cause
harmful interference to radio or television reception, which can be determined by
turning the equipment off and on, the user is encouraged to correct the interfer-
ence by one or more of the following measures:
• Reorient or relocate the receiving antenna.
• Increase the distance between the equipment and the receiver.
• Connect the equipment to an outlet on a different circuit to the one the receiver
is connected to.
• Consult your dealer or an experienced radio/TV technician for help.
Hewlett-Packard's FCC Compliance Tests were conducted using HP-supported
peripheral devices and HP shielded cables, such as those you receive with your
system. Changes or modifications not expressly approved by Hewlett-Packard
could void the user's authority to operate the equipment.
WARNING
Hewlett-Packard’s system certification tests were conducted with HP-supported
peripheral devices and HP shielded cables, such as those you received with your
system. Changes or modifications not expressly approved by Hewlett-Packard
could void the user’s authority to operate the equipment
For compliance information ONLY, USA contact : Hewlett-Packard Company,
Corporate Product Regulations Manager, 3000 Hanover Street, Palo Alto, CA
94304. Phone (650) 857-1501).
Notice for Japan (Class B)
Notice for Korea (Class B)
A
D
E
F
A
D
E
A
D
E
A
D
E
F
F
F
l1520_ww.fm Page 8 Sunday, September 16, 2001 11:54 PM