Universal Electronics 8881-R Insignia cTV RF Remote 2010 User Manual DANA COMBINED NS 32E859A11
Universal Electronics Inc Insignia cTV RF Remote 2010 DANA COMBINED NS 32E859A11
UserManual.wiki
>
Universal Electronics
>
8881 R User Manual
User Manual
Navigation menu
Upload a User Manual
Namespaces
Wiki Guide
HTML
PDF
Info
Views
User Manual
Discussion / Help
Navigation

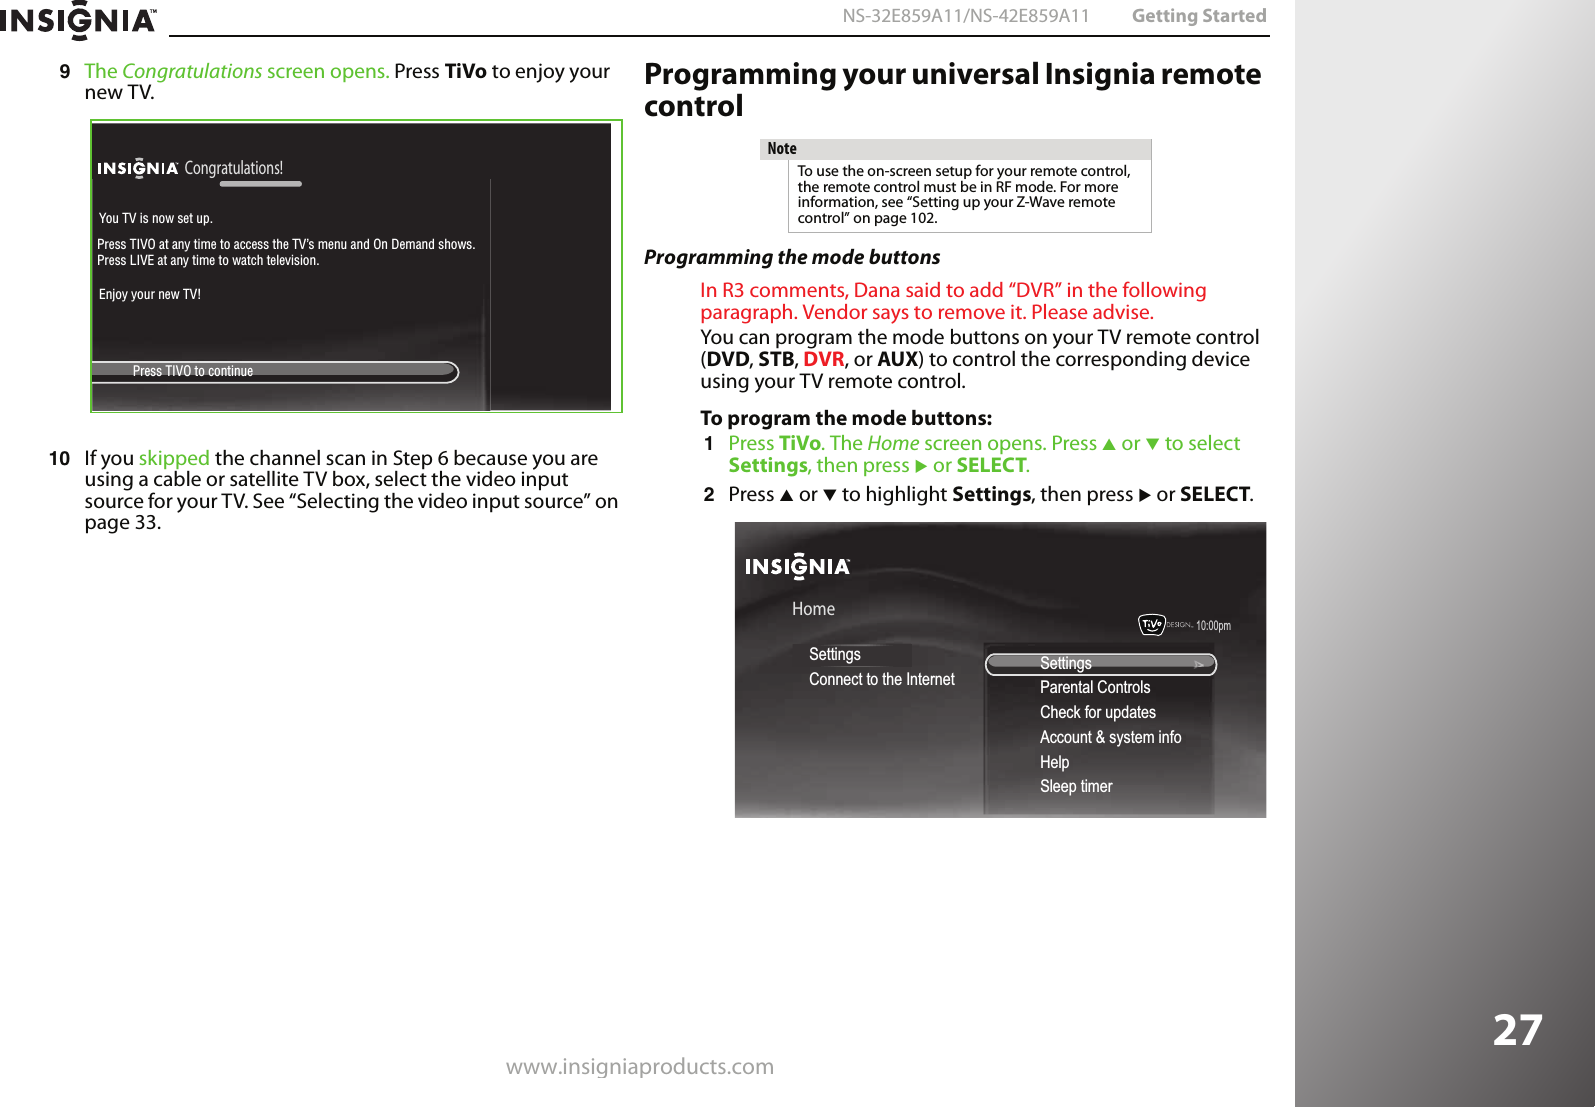
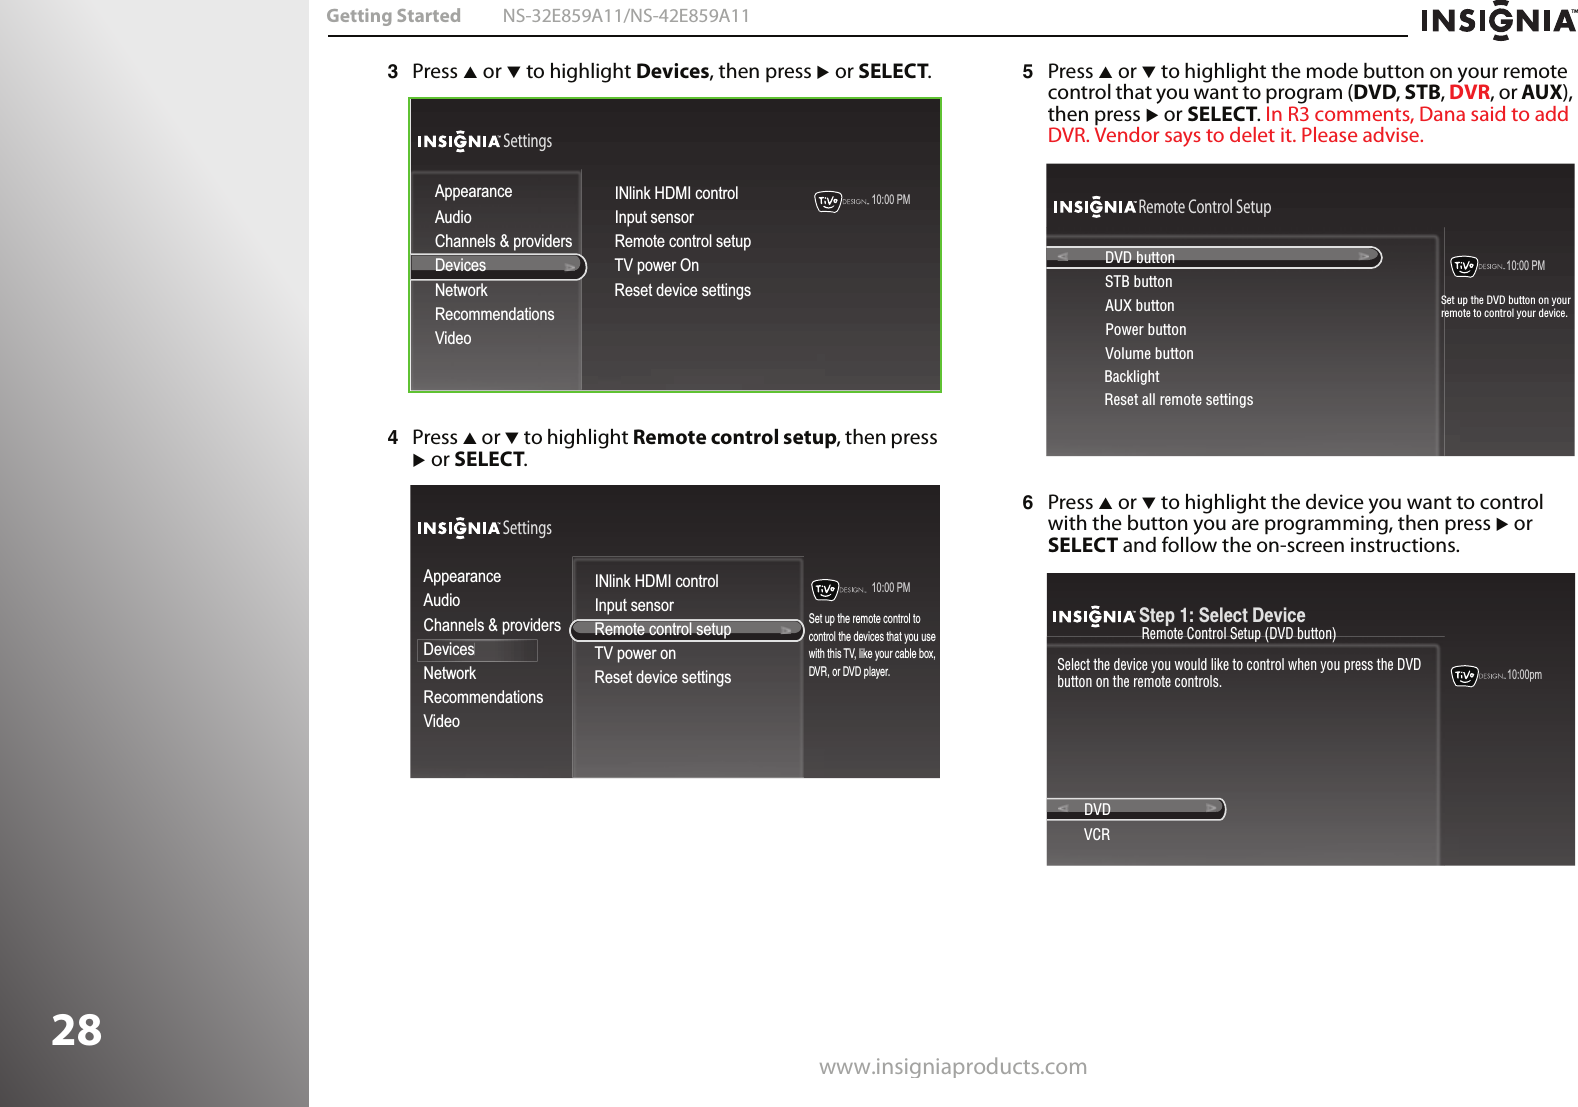
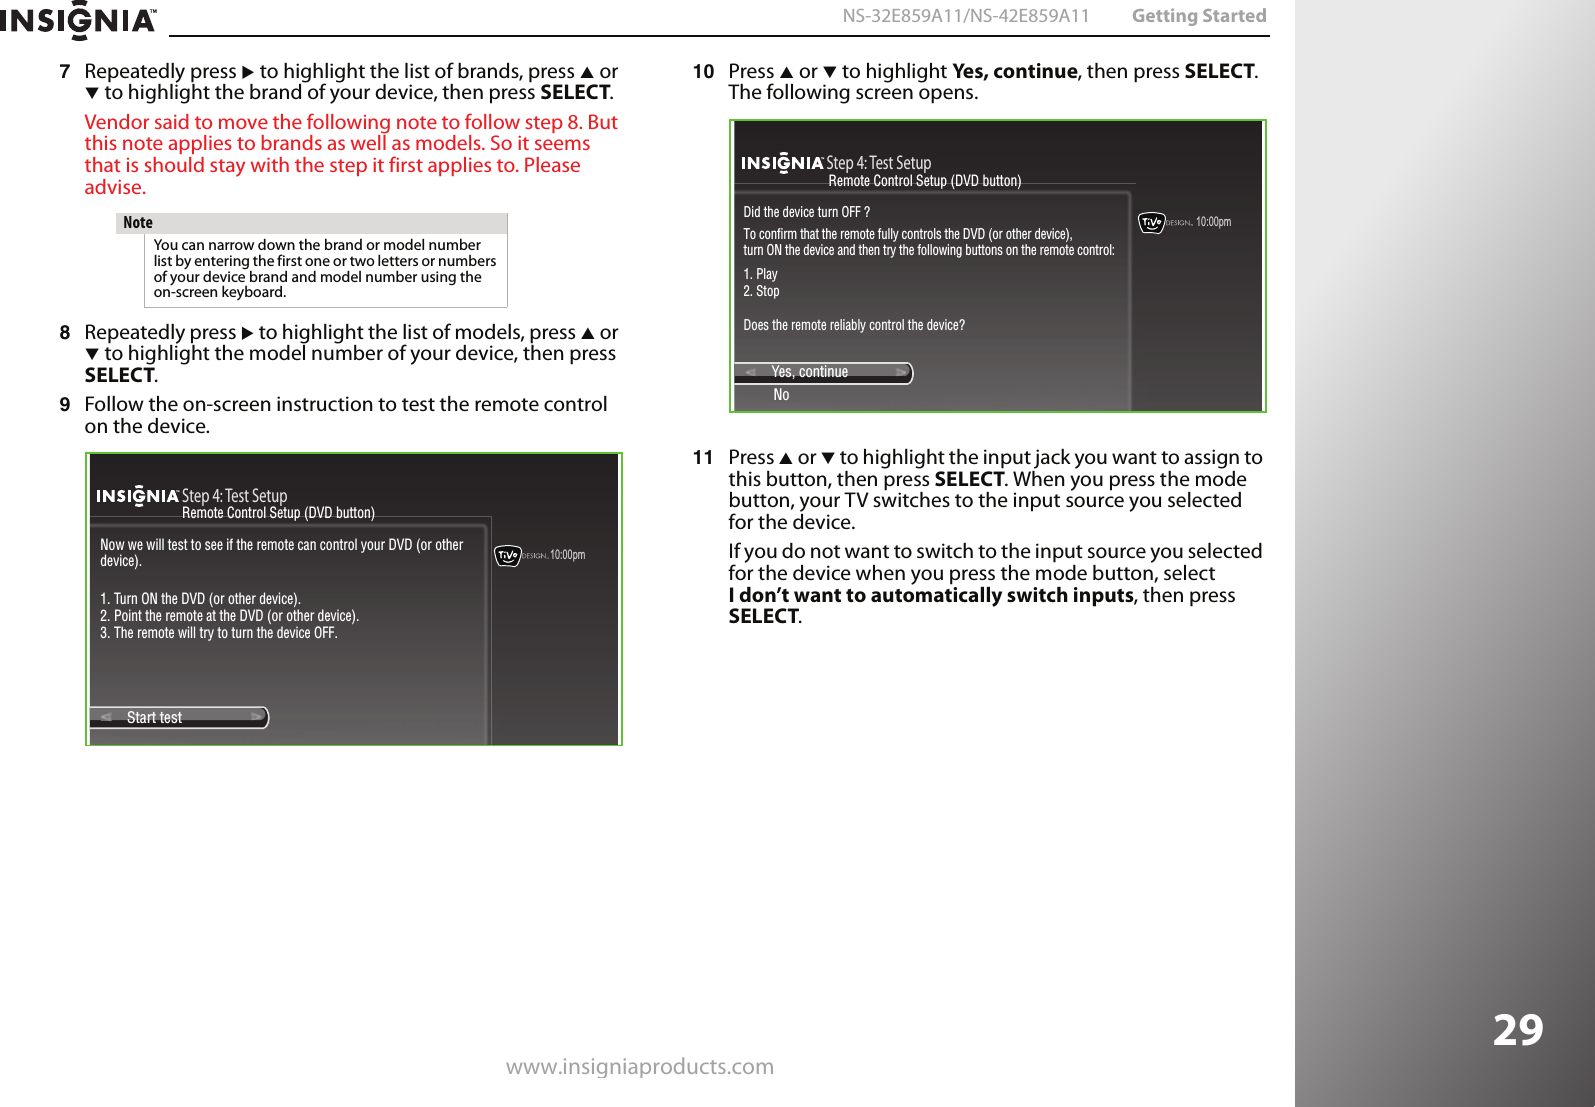
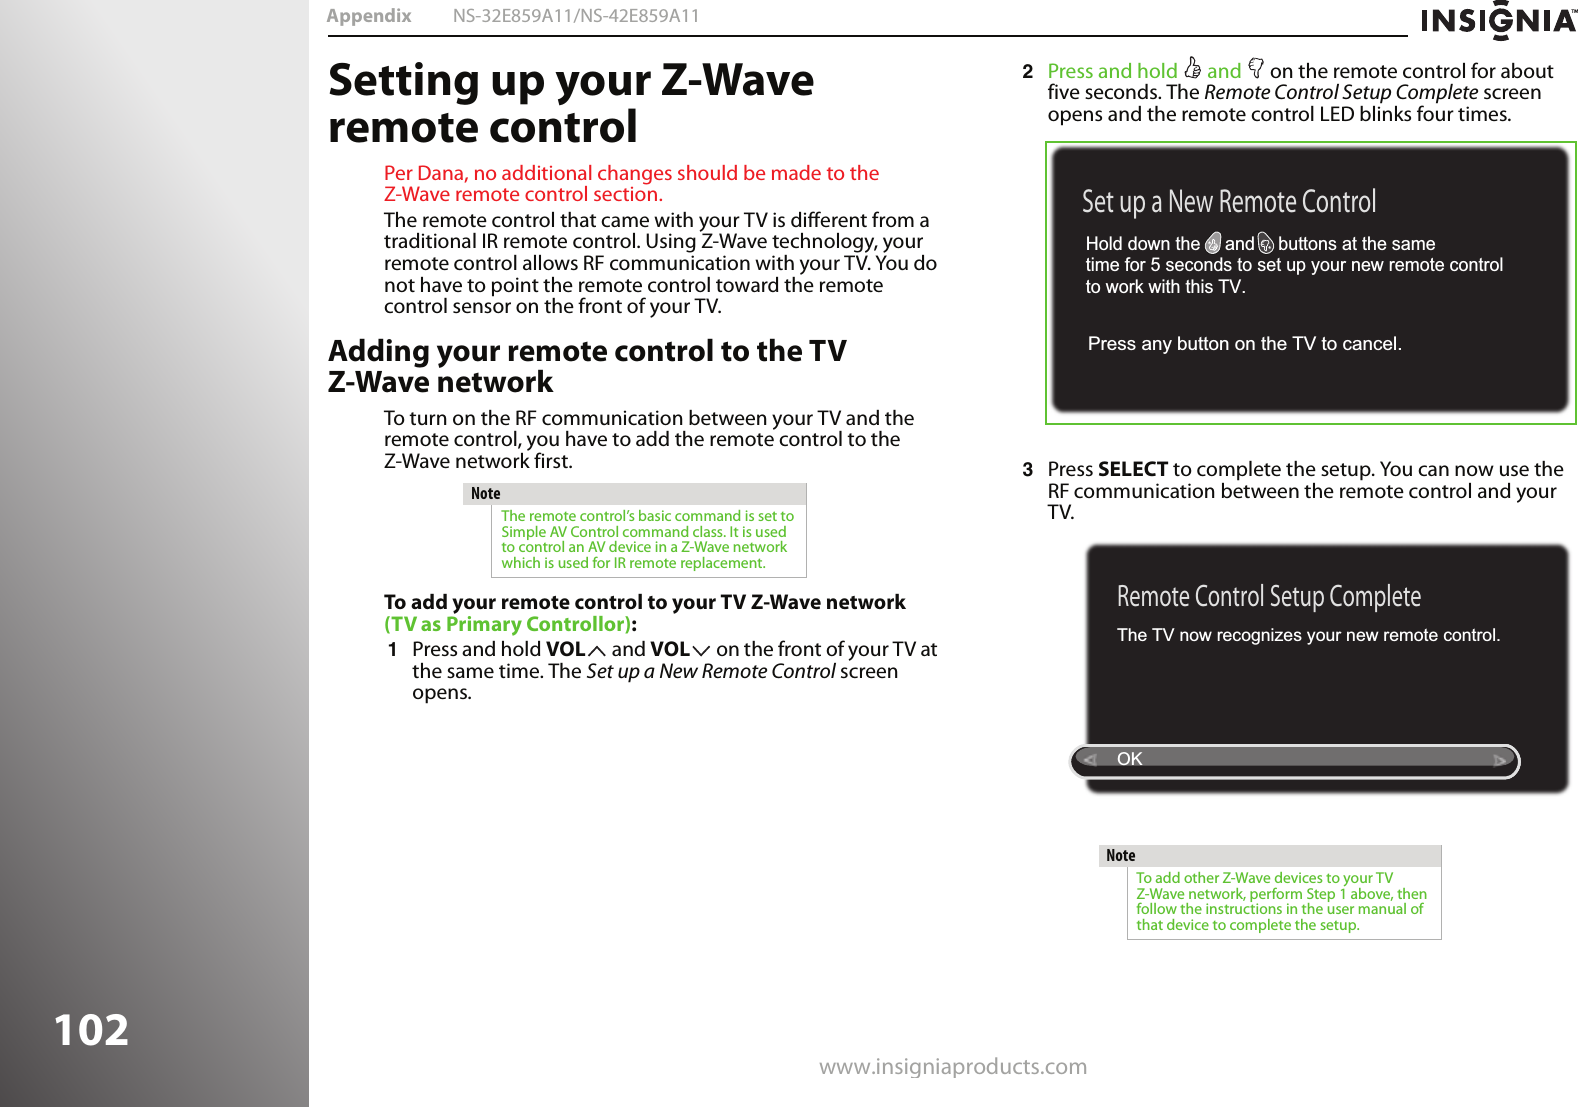
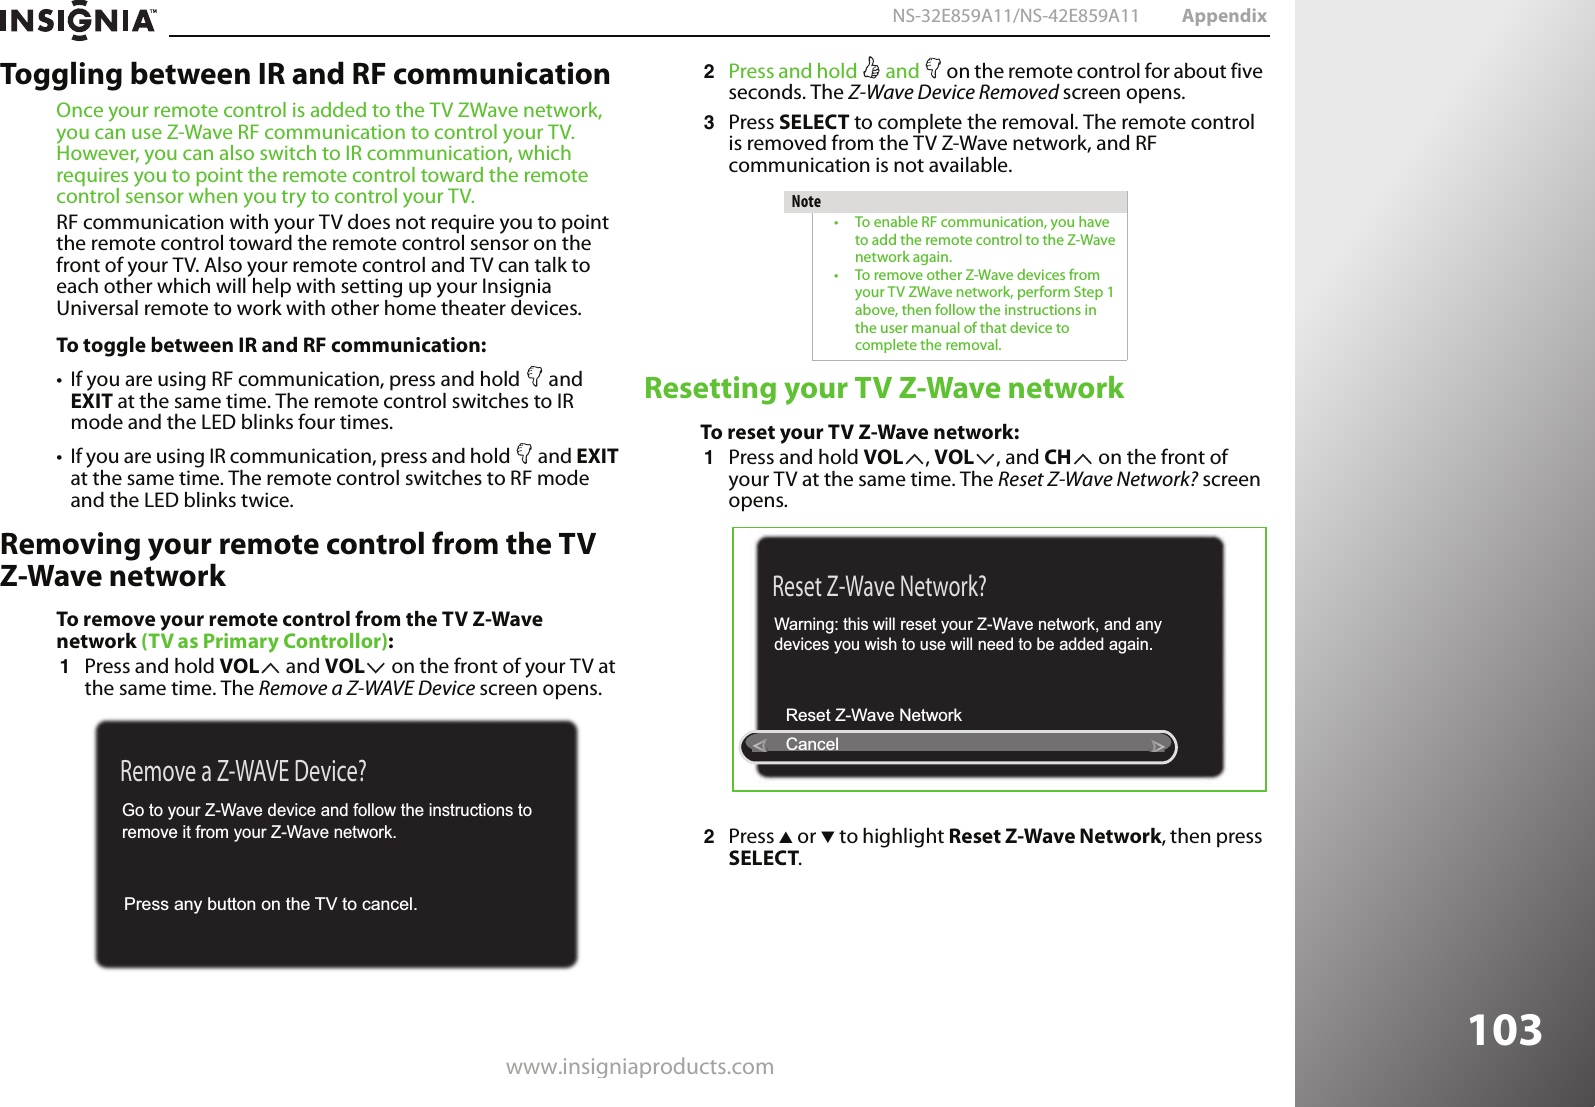
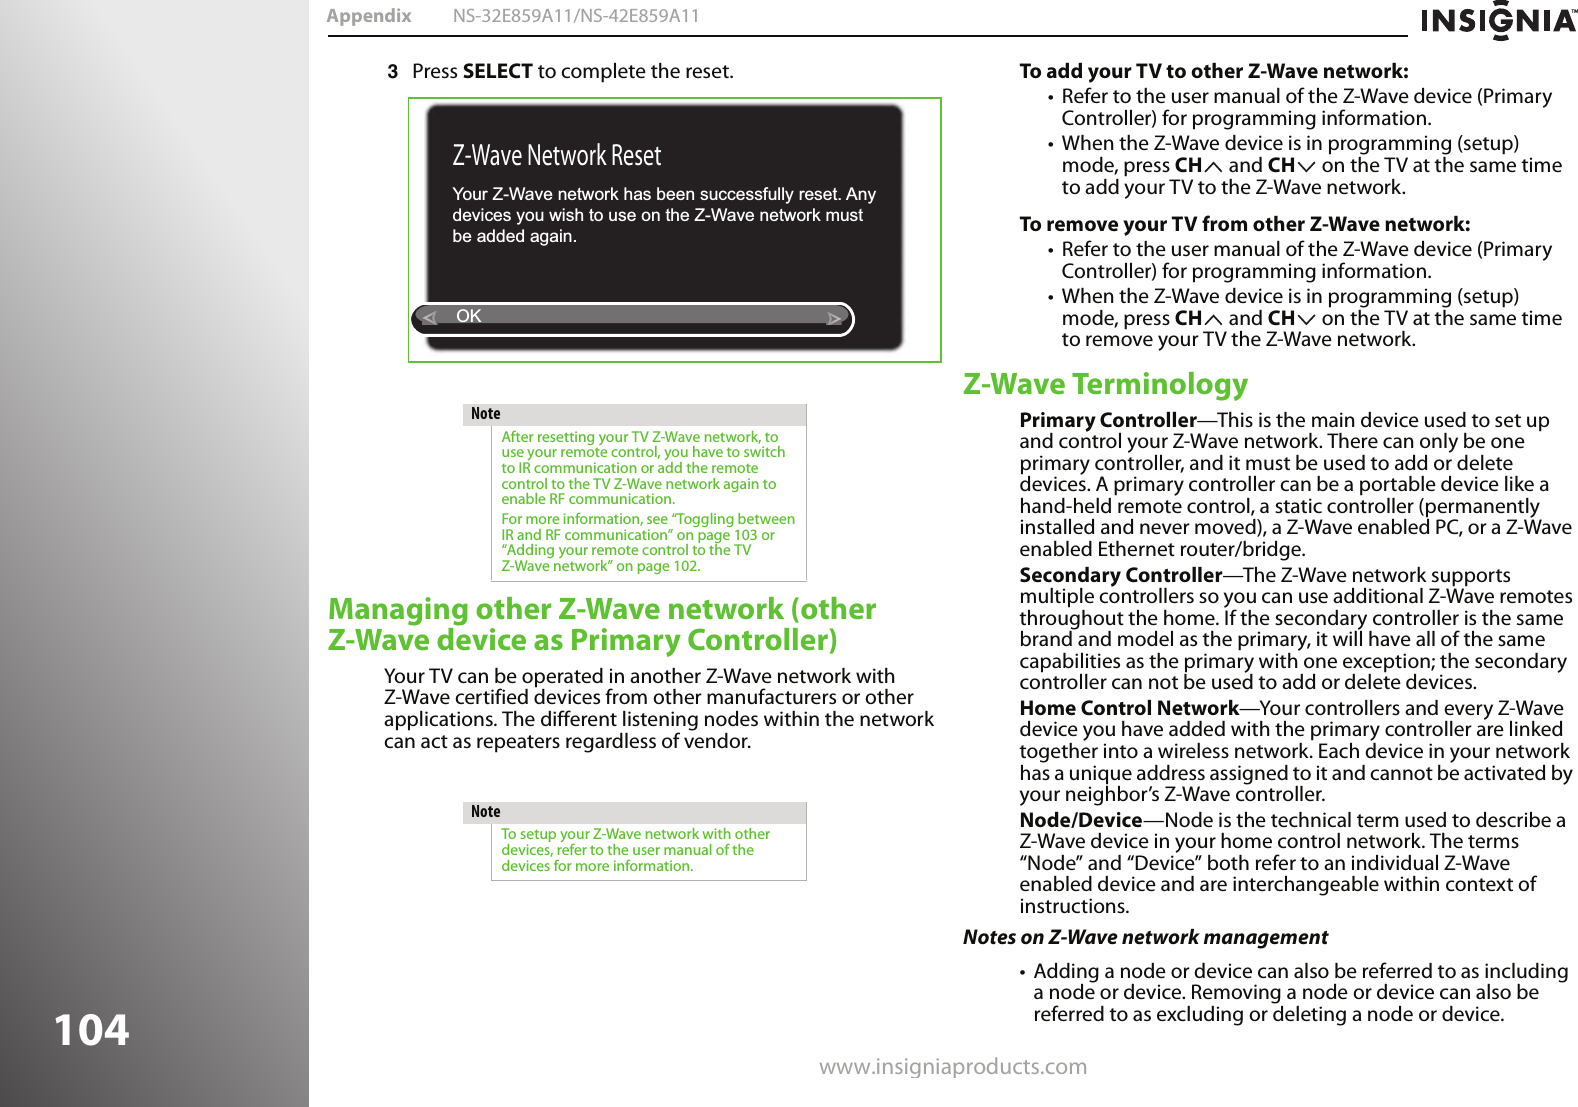
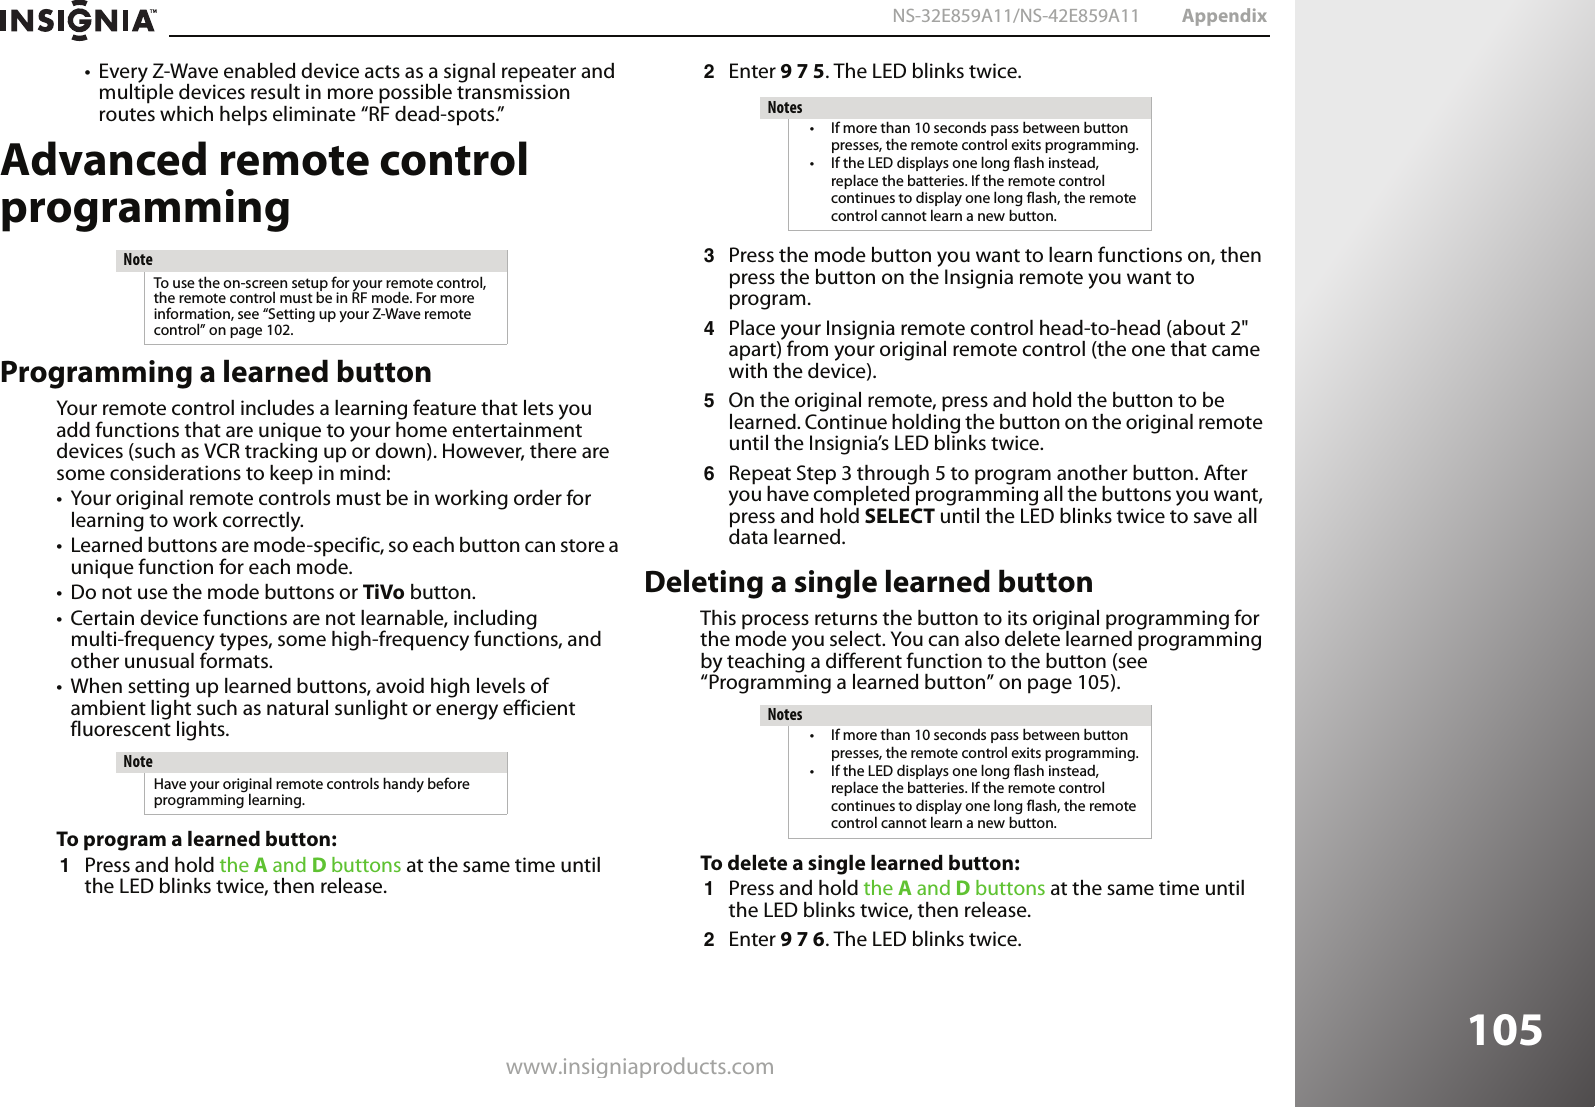
![30www.insigniaproducts.comGetting Started NS-32E859A11/NS-42E859A11We changed the following graphic based on Dana’s comments. Vendor wants move HDMI1 up to the first item in the list and highlight it. Then move Component to just above VGA. Please advise if additional changes need to be made.12 Press SELECT to select OK and exit the remote control setup.Programming the button lockYou can use the button lock to assign the power and volume controls to the device you select, regardless of the operating mode. For example, if you lock the volume to your DVD player, then go to TV mode and press a volume button on your remote, the volume will change on the DVD player instead of on your TV.To program the button lock:1Press TiVo. The Home screen opens. Press S or T to select Settings, then press X or SELECT. 2Press S or T to highlight Settings, then press X or SELECT.10:00pm Step 5: Select InputComponent [Component]HDMI 1 [HDMI 1]HDMI 2 [HDMI 2]HDMI 3 [HDMI 3]HDMI 4 [HDMI 4]VGA [VGA]I don’t want to automatically switch inputsIf the DVD (or other device) is connected to one of the inputs of this TV, the TV will automatically change to that input when you press the DVD button on the remote control. Remote Control Setup (DVD button)10:00 PM Setup Complete!OKRemote Control Setup (DVD button)The DVD button on your remote is now successfully set up to control theDVD (or other device) connected to HDMI 1 [HDMI 1] on this TV.NoteBefore you program the button lock, you need to program the mode buttons. For more information, see “Programming the mode buttons” on page 27.10:00pm HomeSettingsConnect to the Internet SettingsParental ControlsCheck for updatesAccount & system infoHelpSleep timer](https://usermanual.wiki/Universal-Electronics/8881-R/User-Guide-1353097-Page-9.png)