VTech Telecommunications 80-6101-00 Cordless Telephone System with BT Enabled Base User Manual Pages from pages 48 last
VTech Telecommunications Ltd Cordless Telephone System with BT Enabled Base Pages from pages 48 last
UserManual.wiki
>
VTech Telecommunications
>
80-6101-00 User Manual
>
Part E
Contents
1.
Part A
2.
Part B
3.
Part C
4.
Part D
5.
Part E
6.
Part 15 statement
7.
User Manual part 1
8.
User Manual part 2
Part E
Navigation menu
Upload a User Manual
Namespaces
Wiki Guide
HTML
PDF
Info
Views
User Manual
Discussion / Help
Navigation
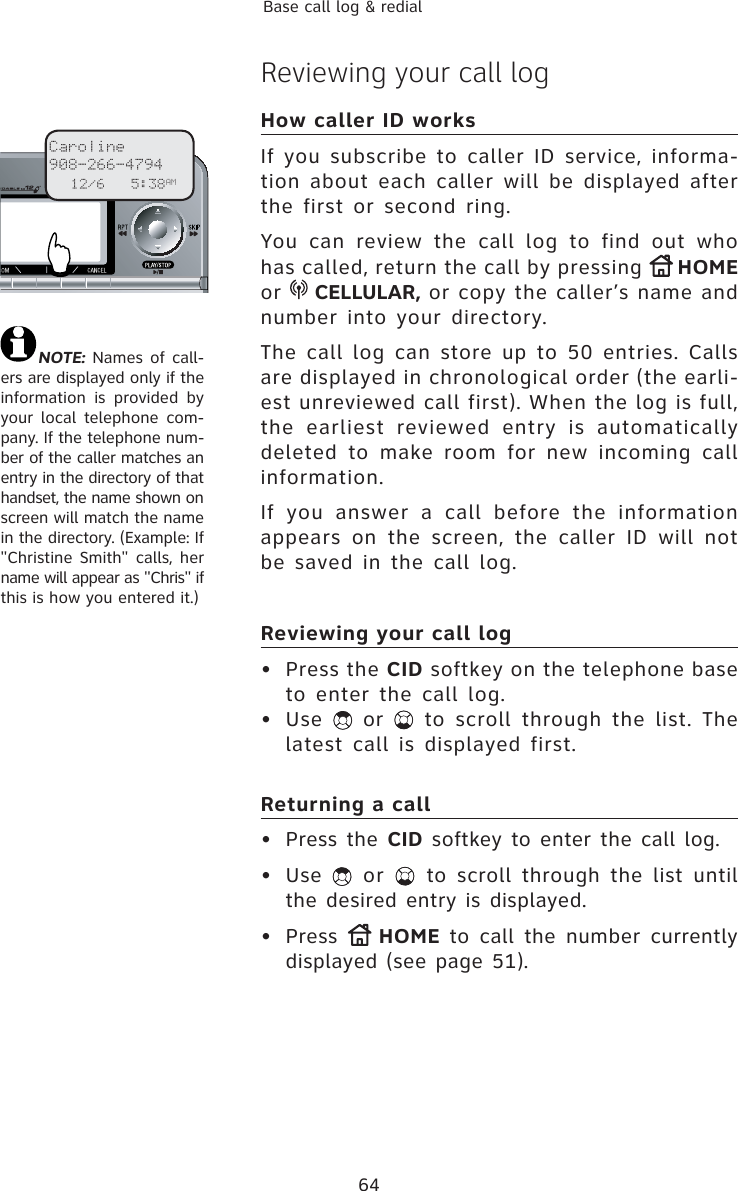

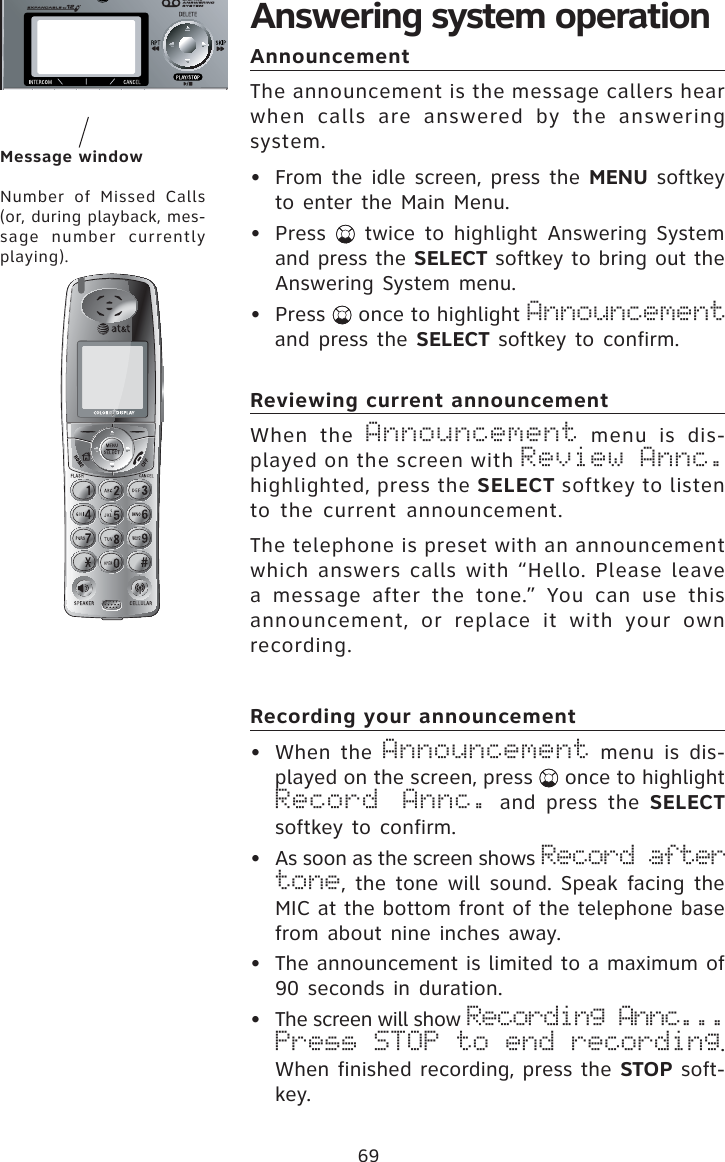
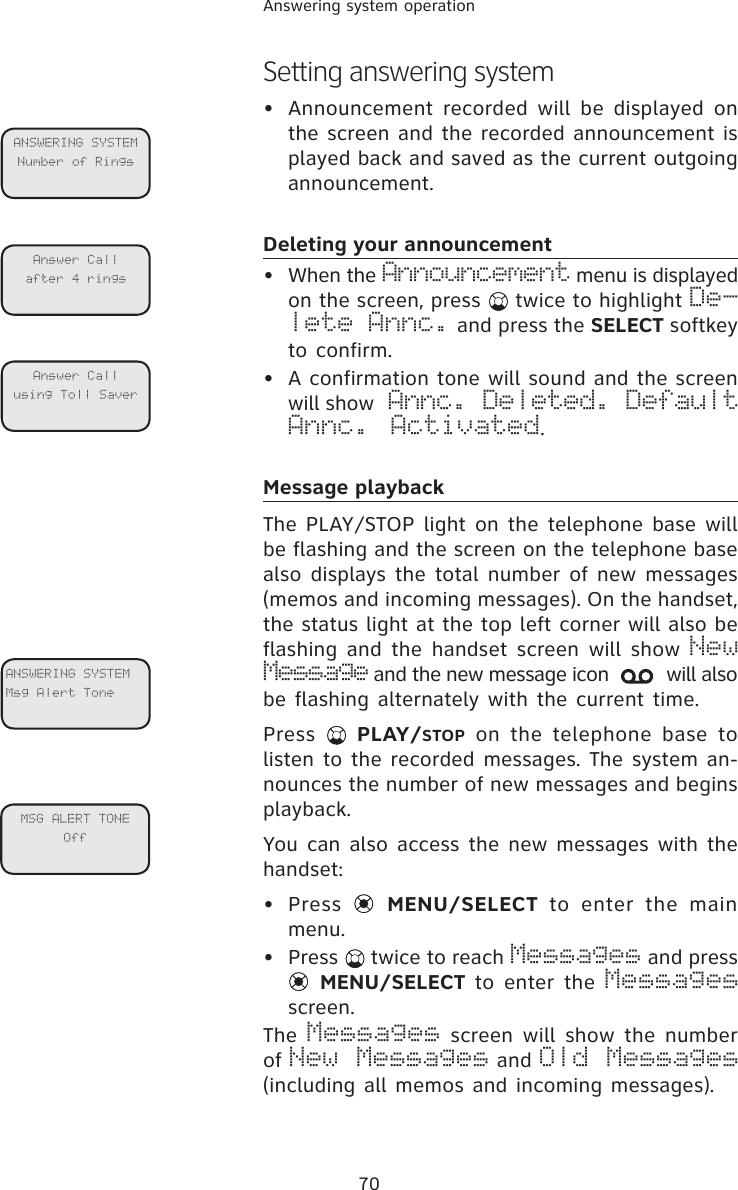
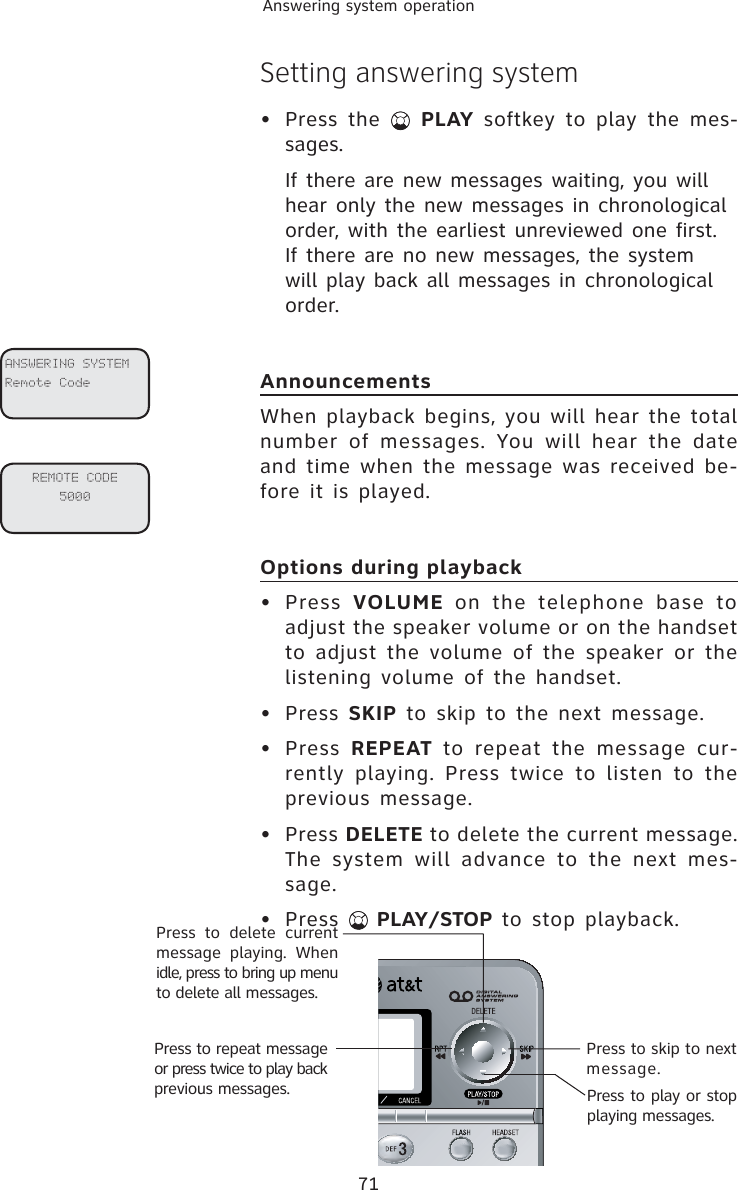
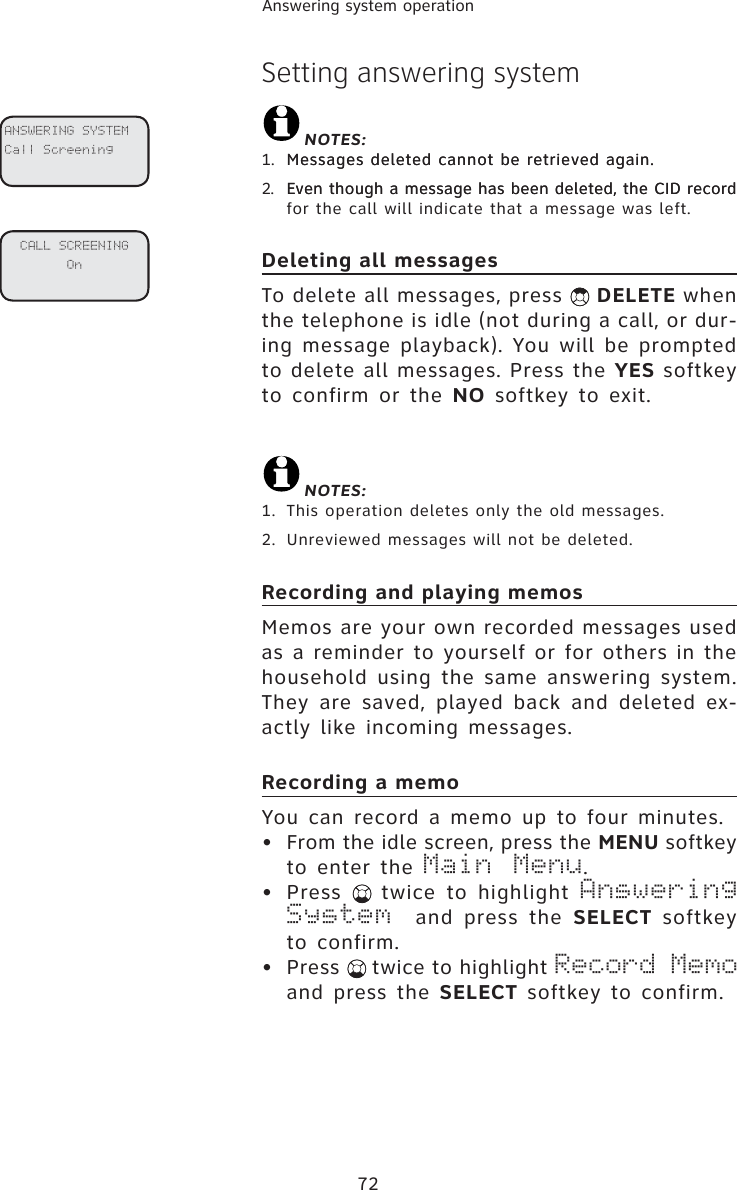
![74Answering system operation1.“You have [xx] new messages.”Number of messages waiting (or, during playback, message number currently playing).2.Message playback ends. Press /PLAY/STOPto begin or end message playback.(Play/Stop)(Play/Stop)Message playback• Once in the Answering System menu, press three times to highlight Number of Rings and press the SELECT softkey to confirm.• When the Number of Rings menu is on the screen, the current selection is marked with aon the left side of the screen. Press or to scroll through the list of options and highlight the desired choice.• Press the SET softkey. A confirmation tone will sound and the screen will show Choice saved.Call screeningThis feature allows you to listen to the caller’s mes-sages while they are being recorded. If you wish to take the call, press HOME/FLASH or SPEAKER on the handset, or HOME on the telephone base when the caller is leaving the message.• Press the MENU softkey on the telephone base to bring out the Main Menu on the screen.• Press twice to highlight Answering System and press the SELECT softkey to confirm.• Once in the Answering System menu, press four times to highlight Call Screeningand press the SELECT softkey to confirm.• When the Call Screening menu is on the screen, the current selection is marked with a on the left side of the screen. Press or to highlight the desired choice.• Press the SET softkey. A confirmation tone will sound and the screen will show Choice saved.Remote code A four-digit security code is required to access your answering system from any touch tone telephone. This code is set as 5000 when this telephone left the factory. The system will wait up to 10 seconds for each digit entry.To change this code, NOTES:1. Messages deleted cannot beMessages deleted cannot be retrieved again. Unreviewed messages will not be deleted.2. Even though a messageEven though a message has been deleted, the CID record for the call will indi-cate that a message was left.3. The answering system auto-matically disconnects the line after seven consecutive sec-onds of silence unless either the handset or the base goes off hook.](https://usermanual.wiki/VTech-Telecommunications/80-6101-00.Part-E/User-Guide-766808-Page-11.png)