Wooyoung Telecom HL700M LCD Monitor User Manual HL700A M17
Wooyoung Telecom Co., Ltd. LCD Monitor HL700A M17
UserManual.wiki
>
Wooyoung Telecom
>
HL700M User Manual
User Manual
Navigation menu
Upload a User Manual
Namespaces
Wiki Guide
HTML
PDF
Info
Views
User Manual
Discussion / Help
Navigation

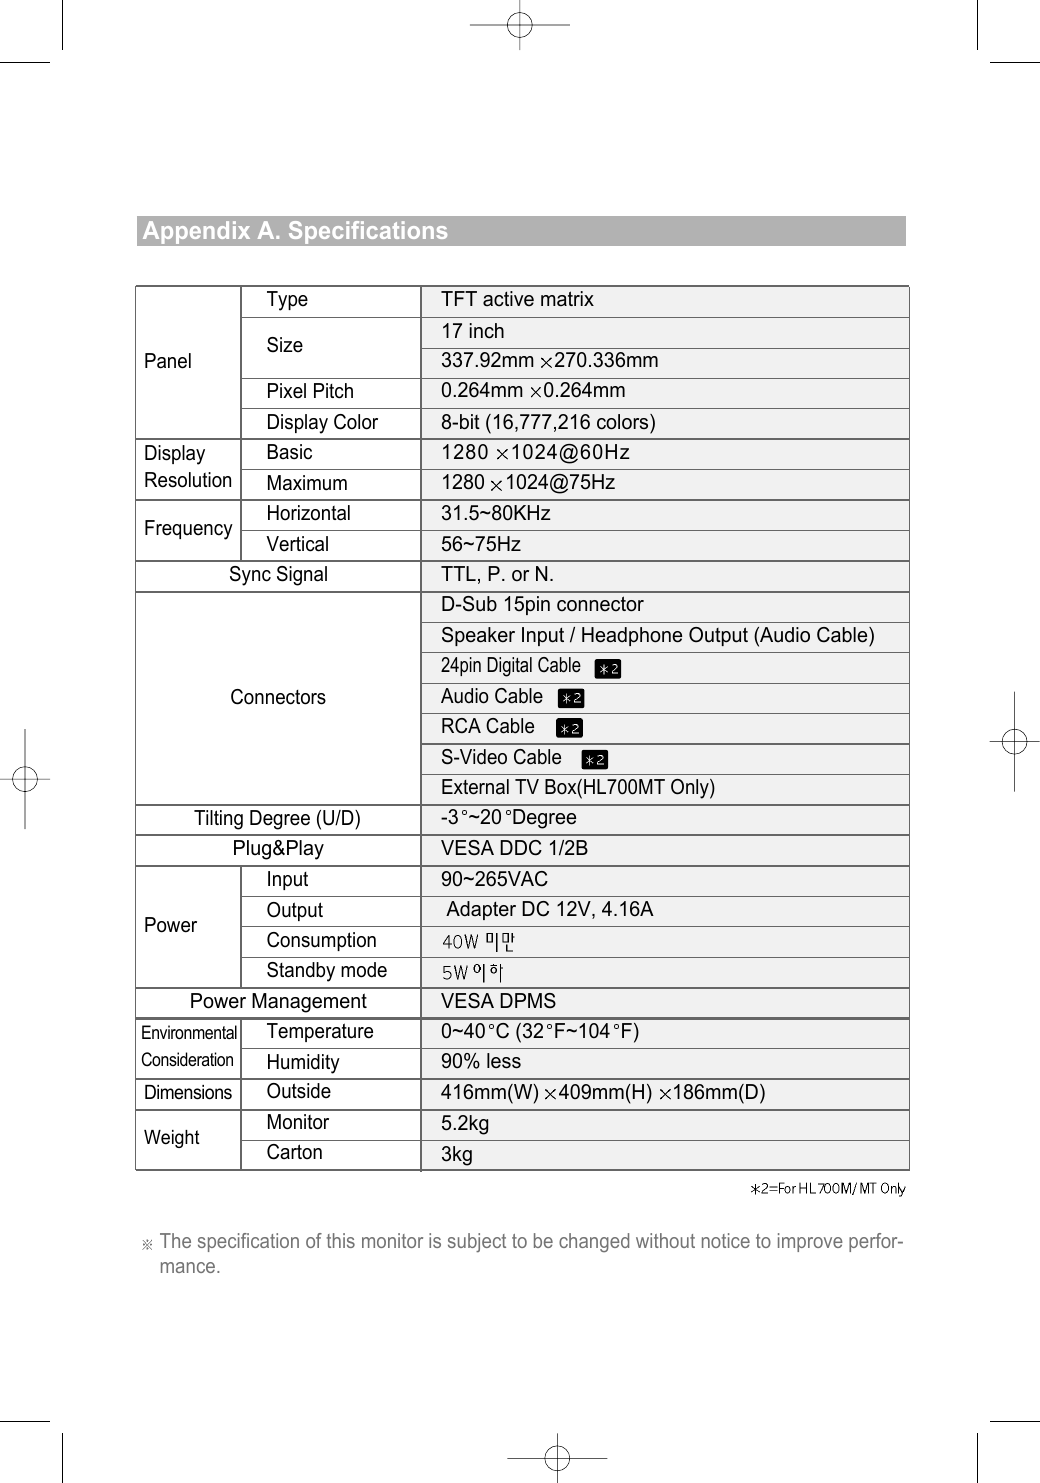

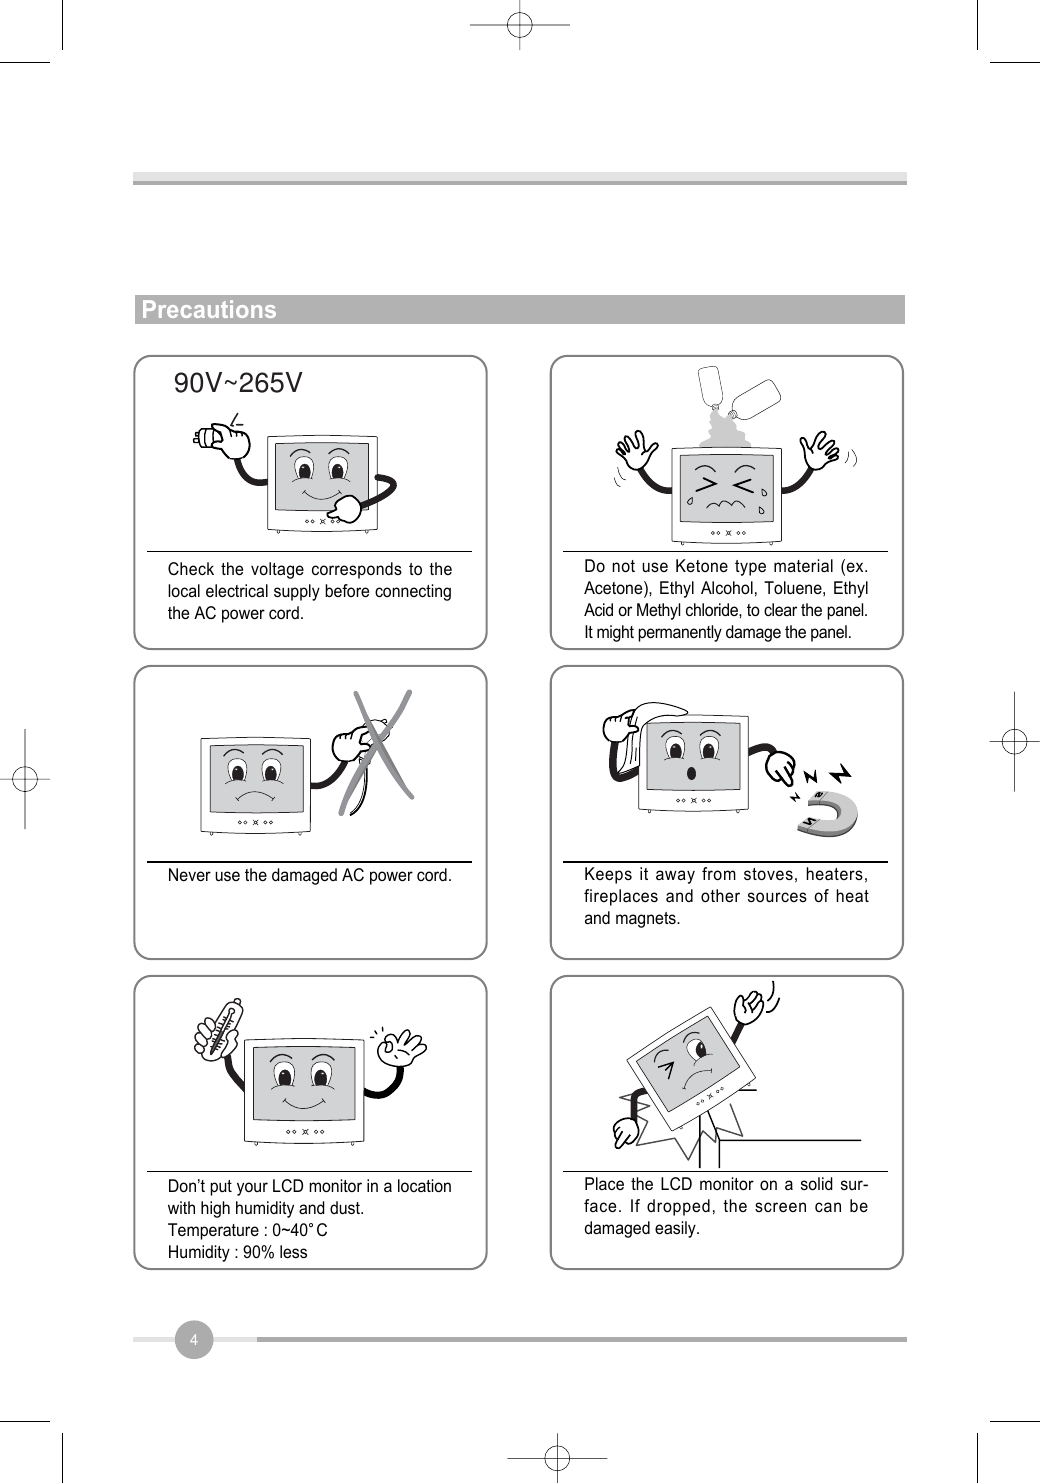
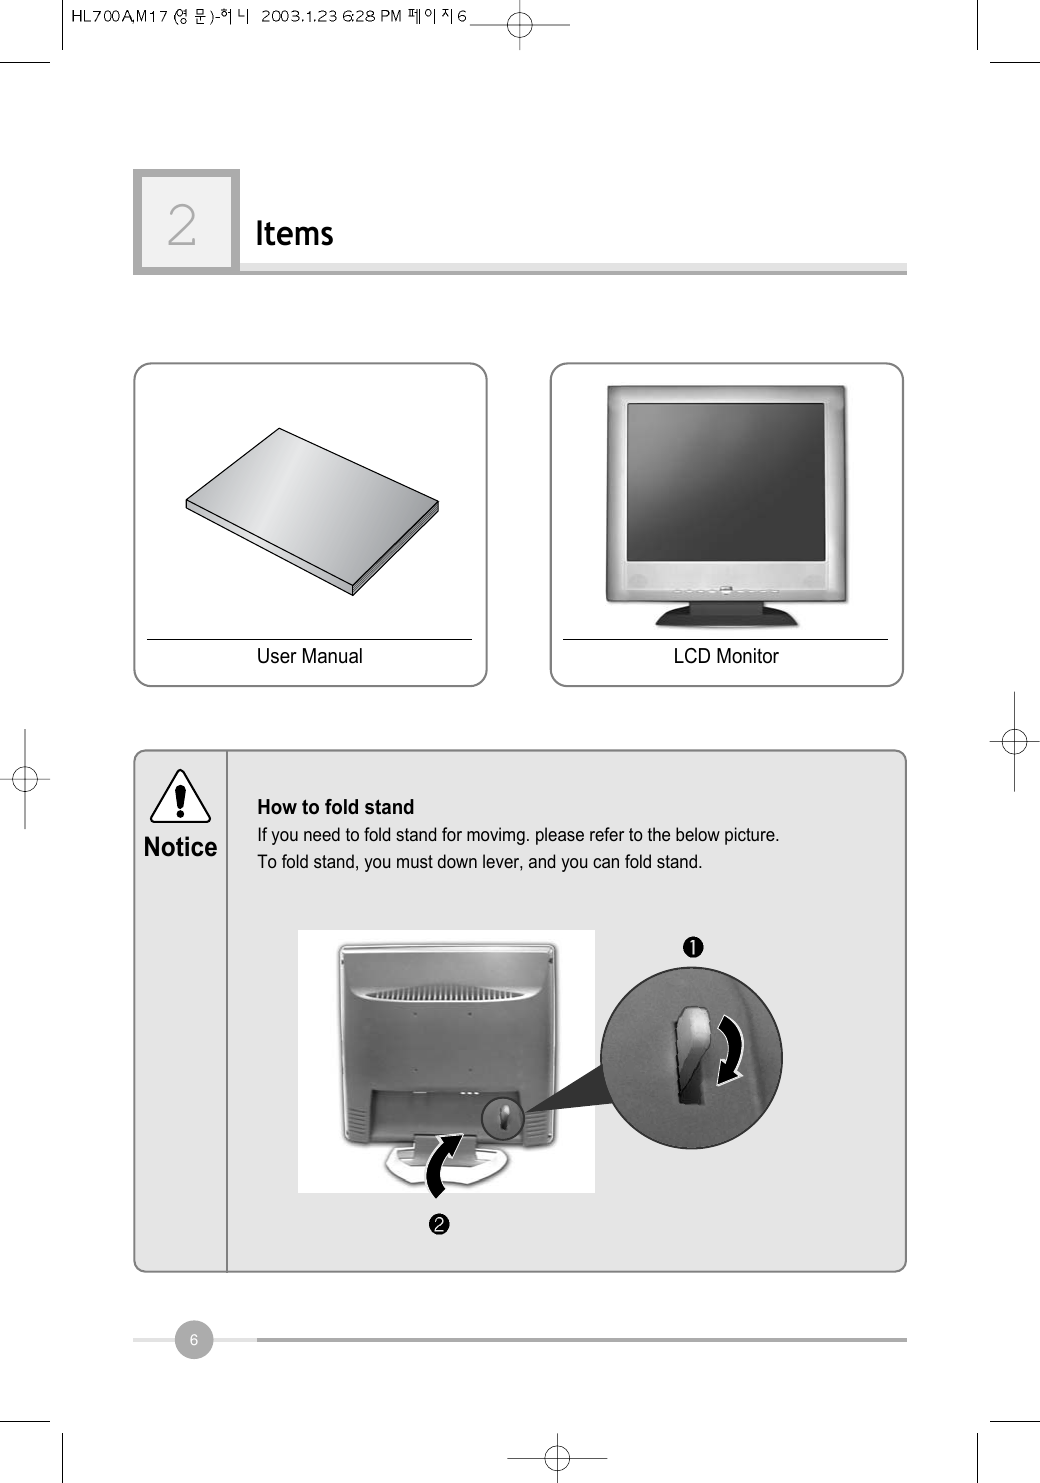
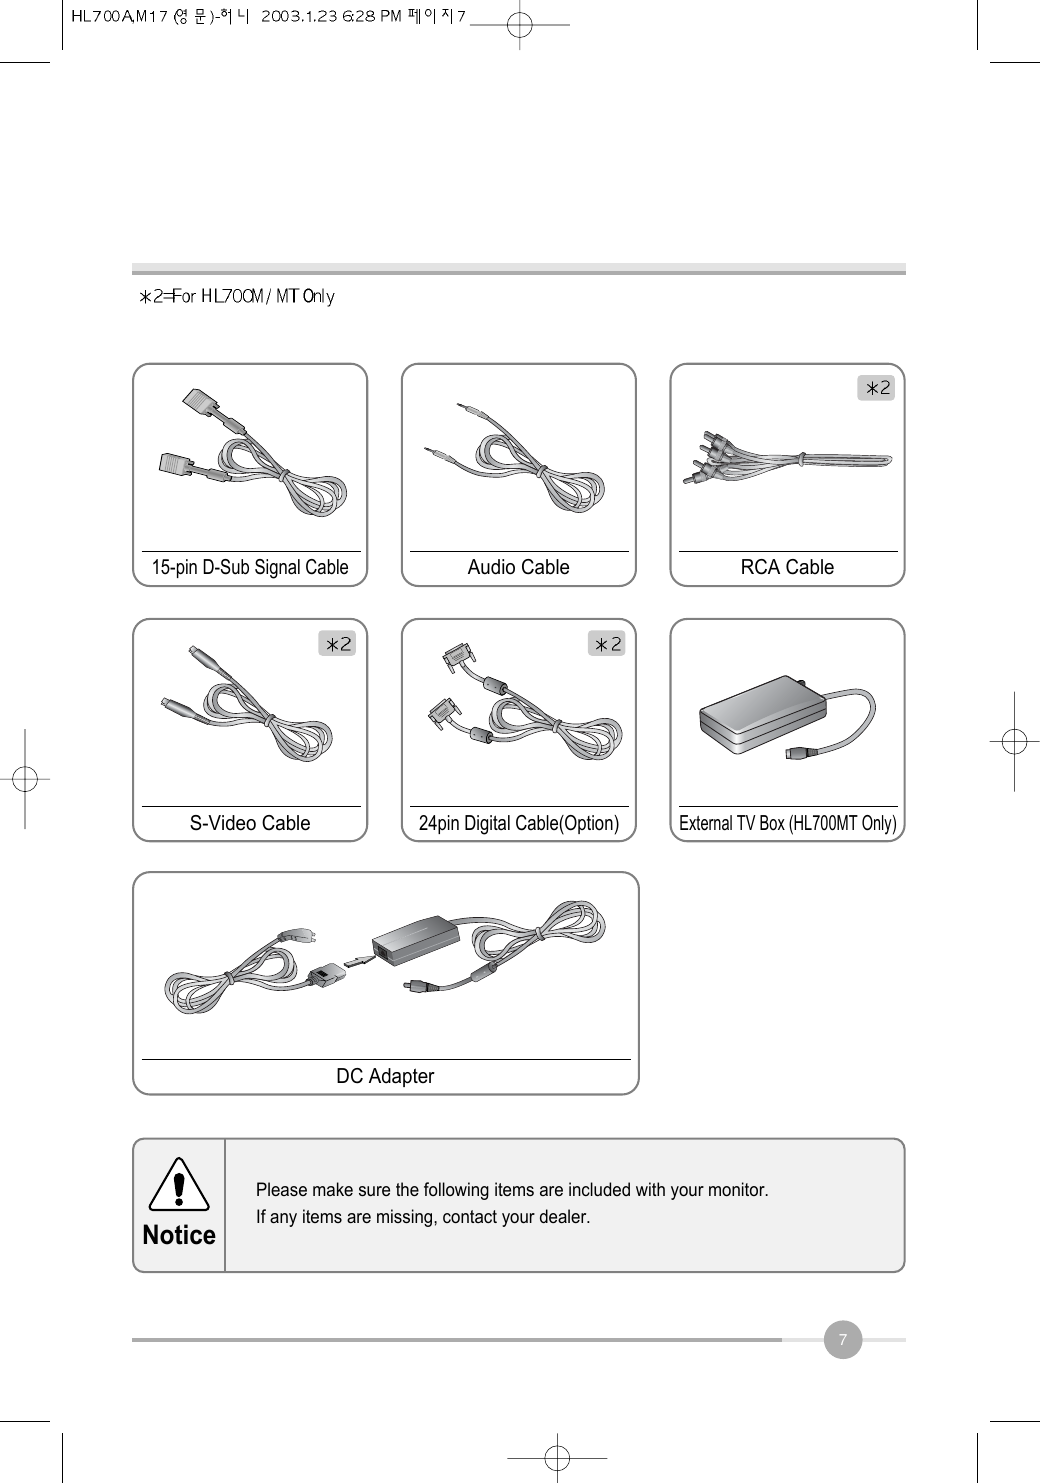
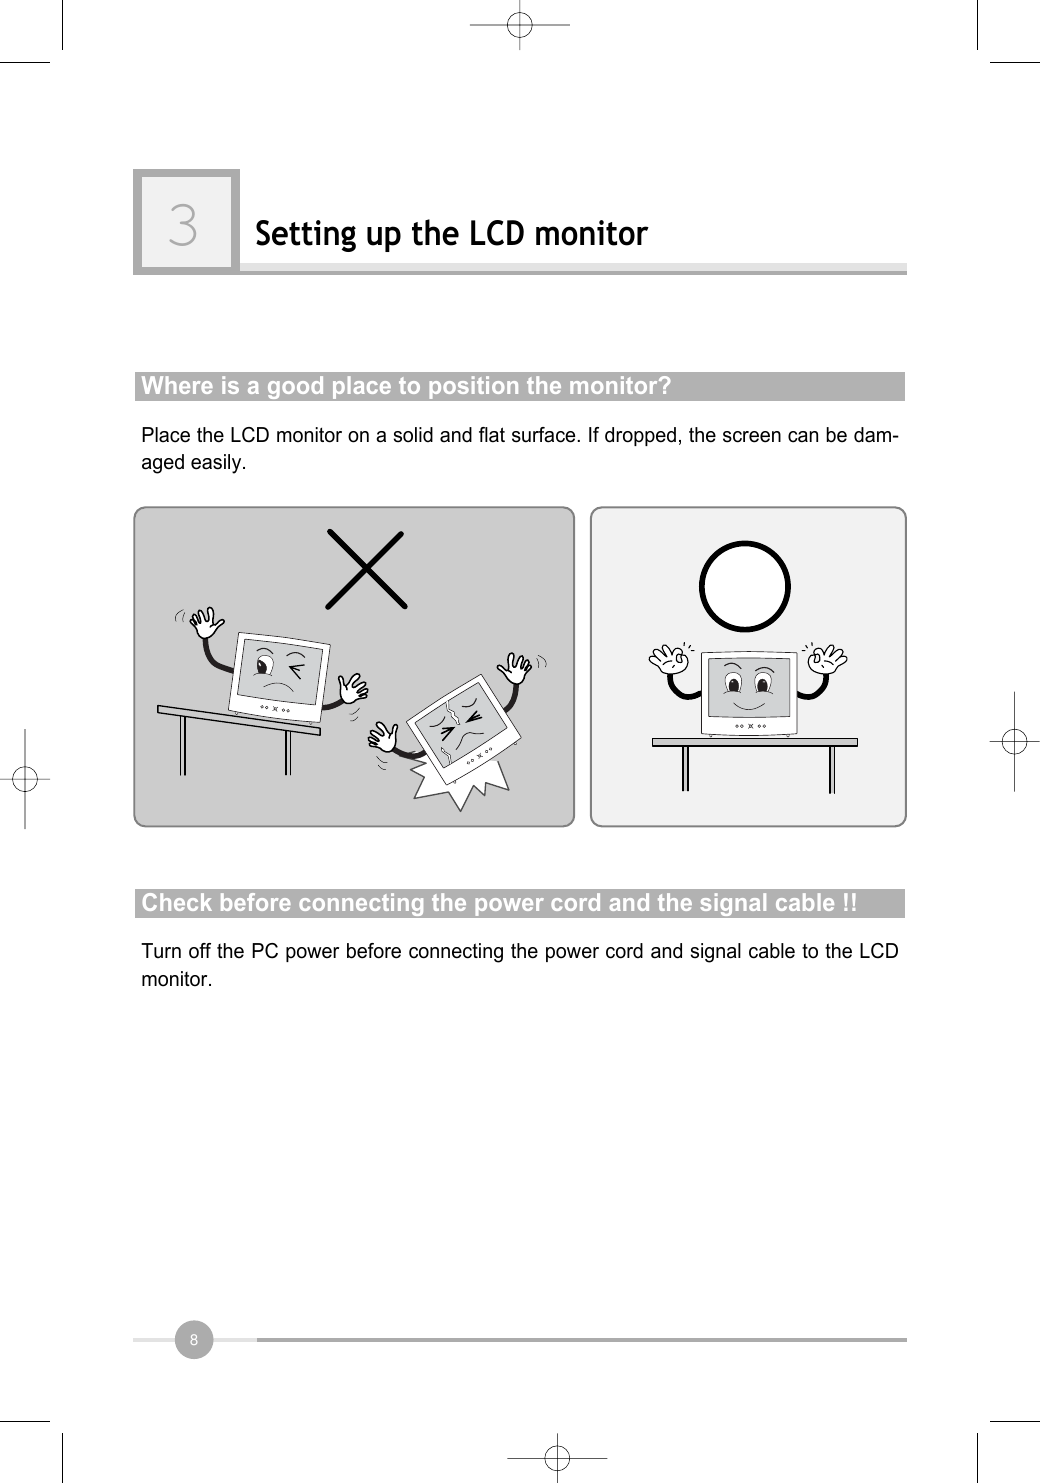
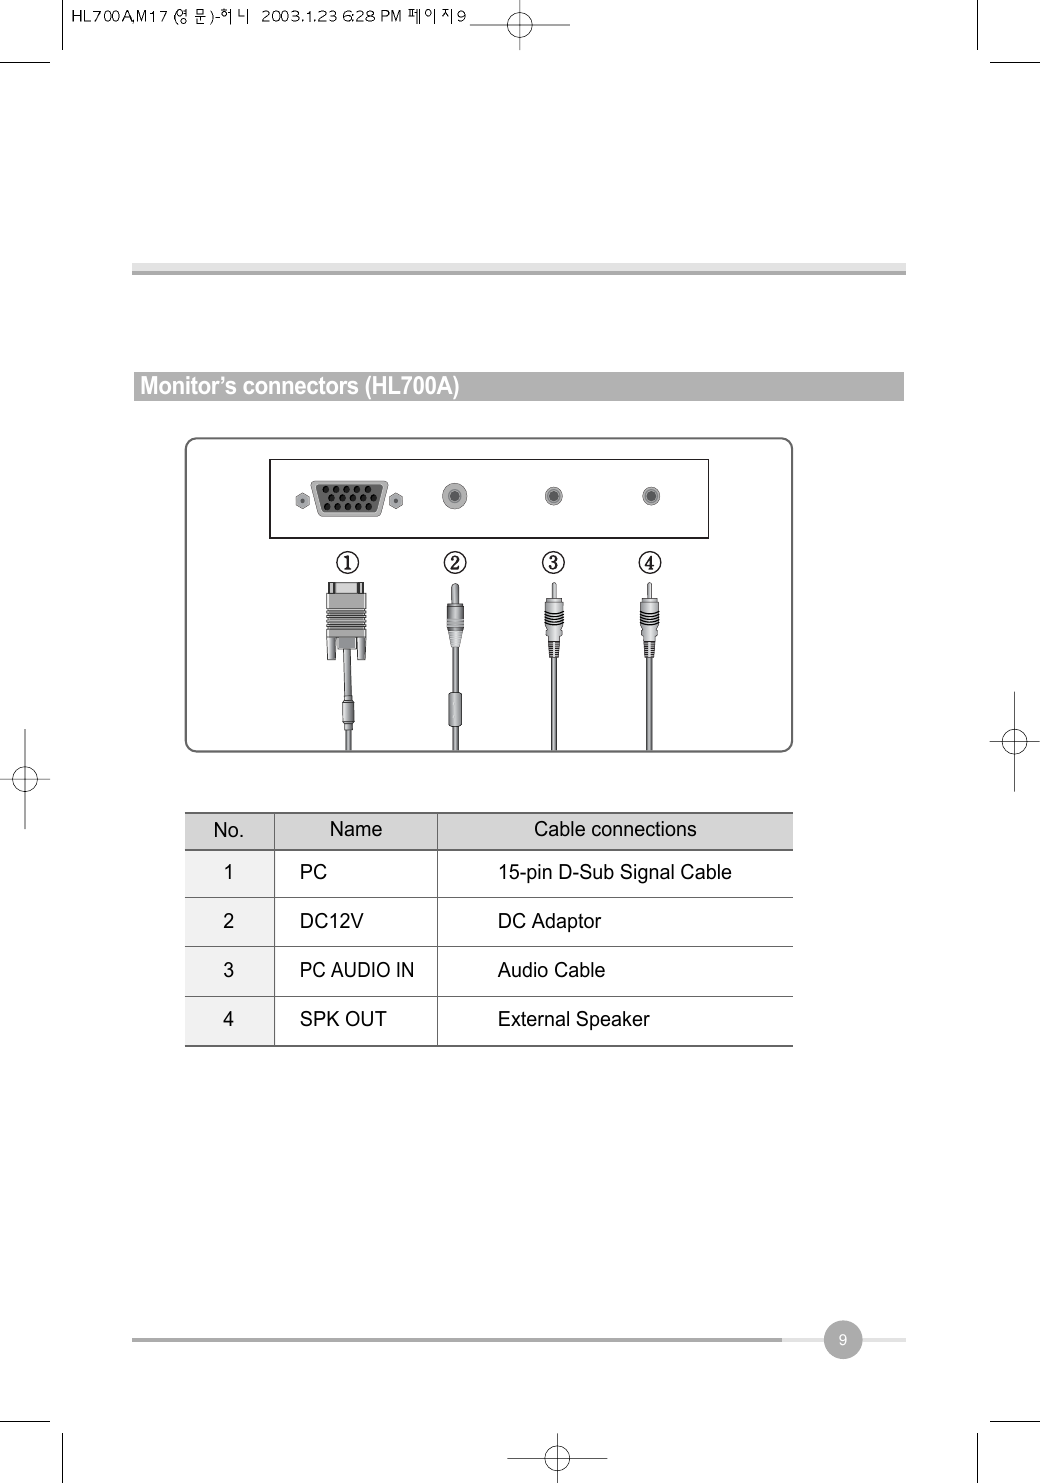
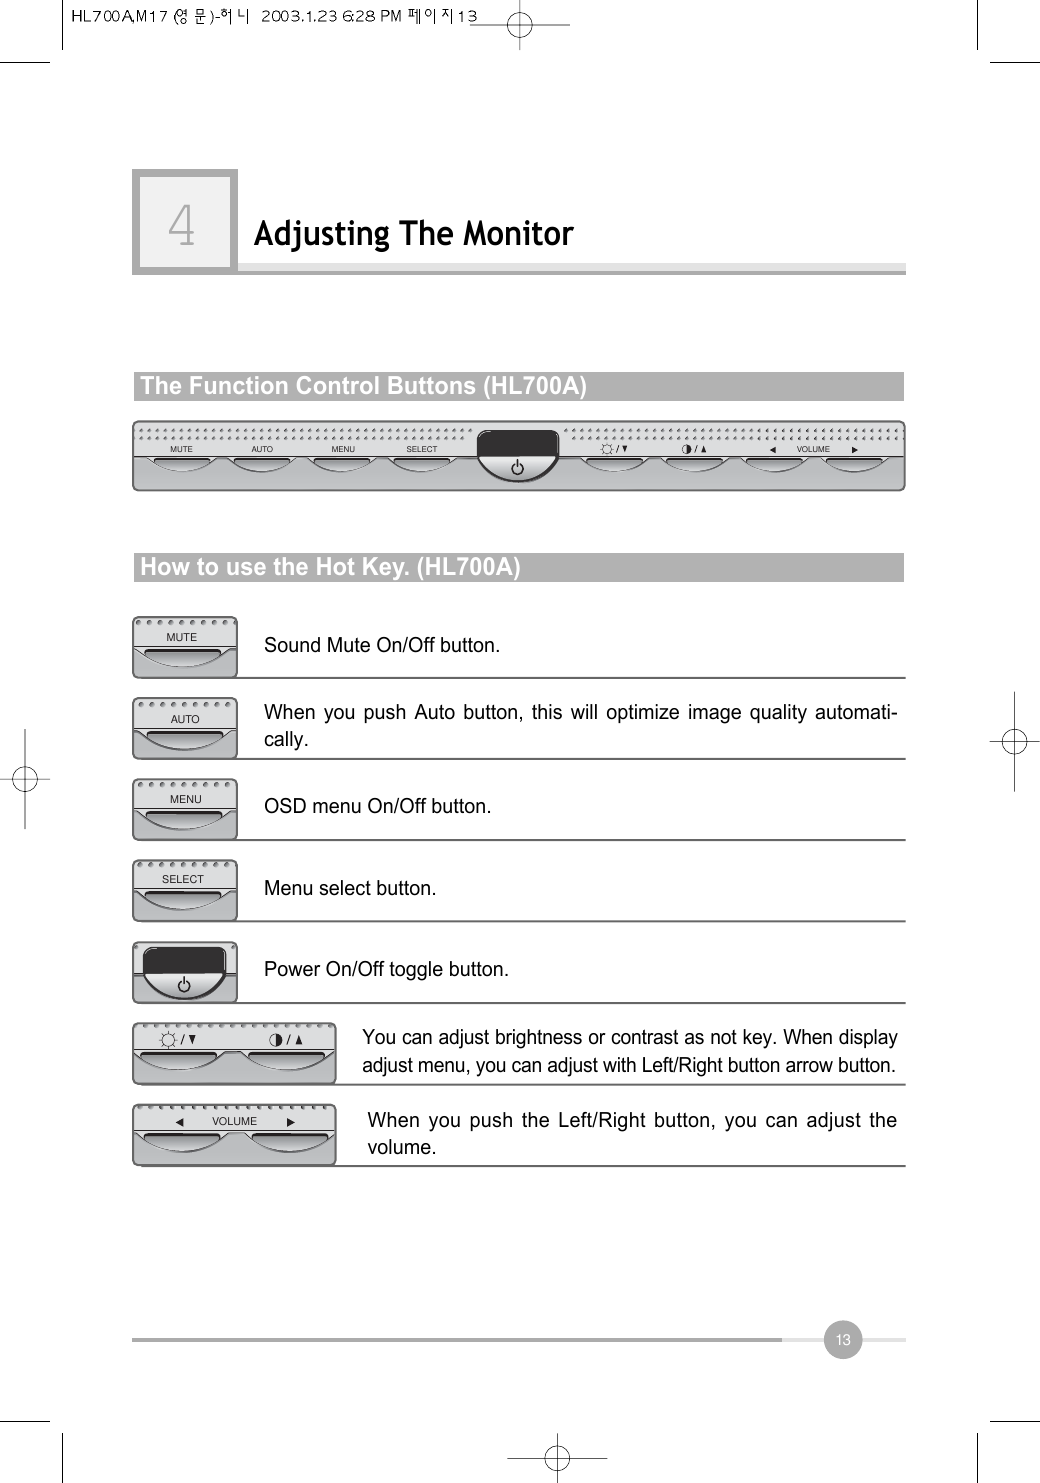
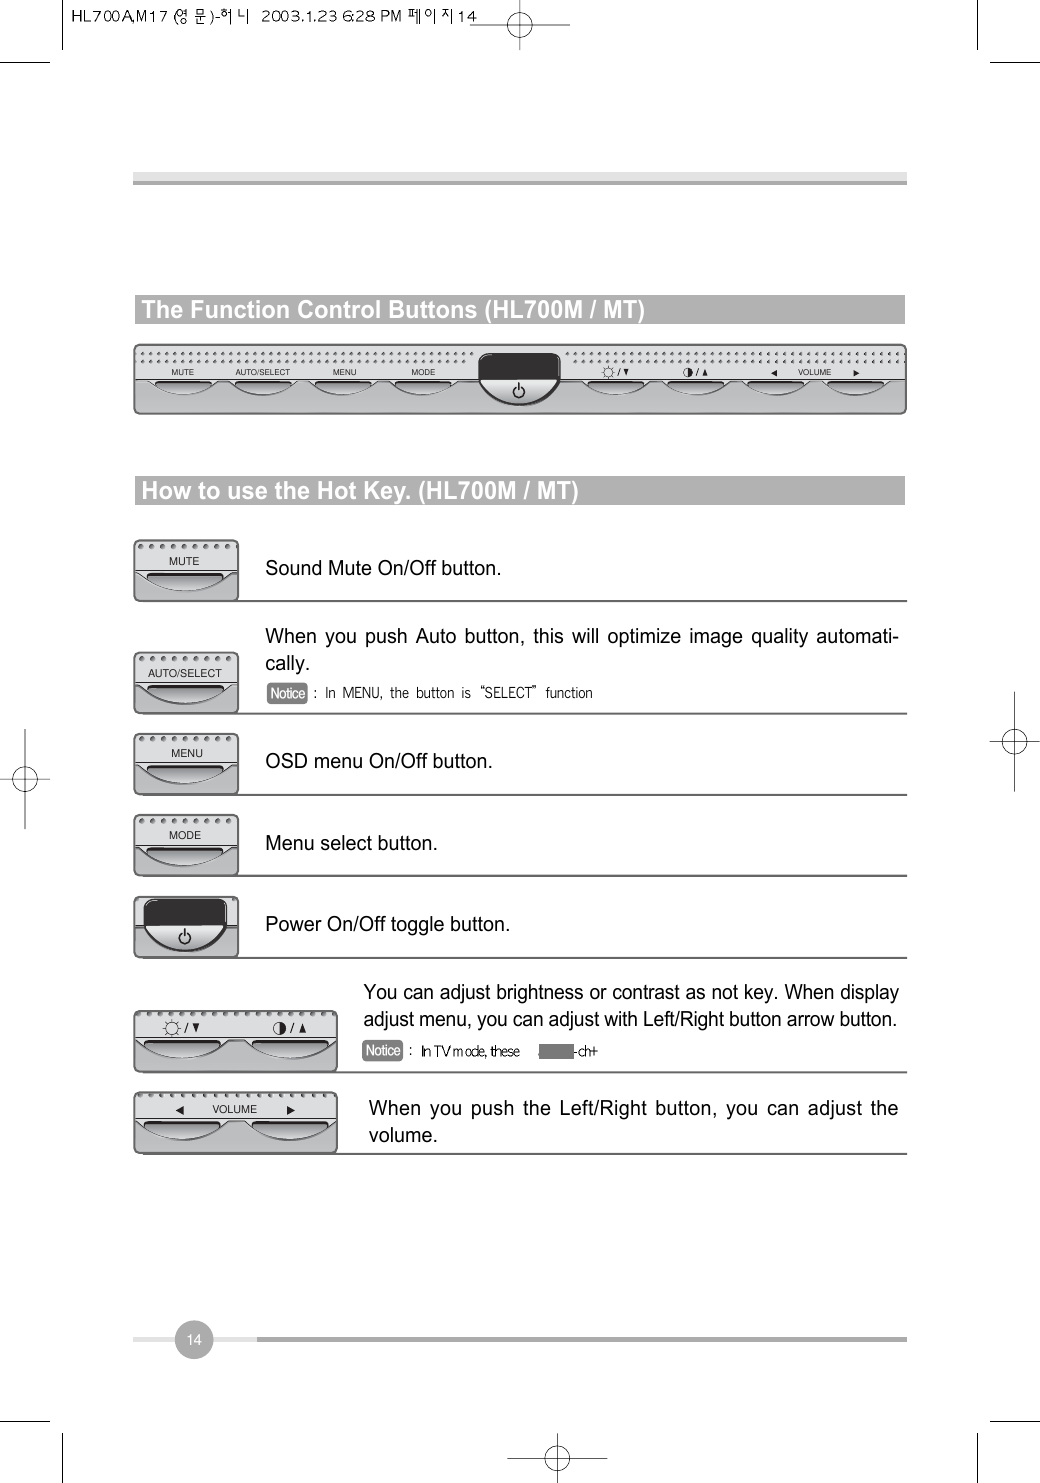
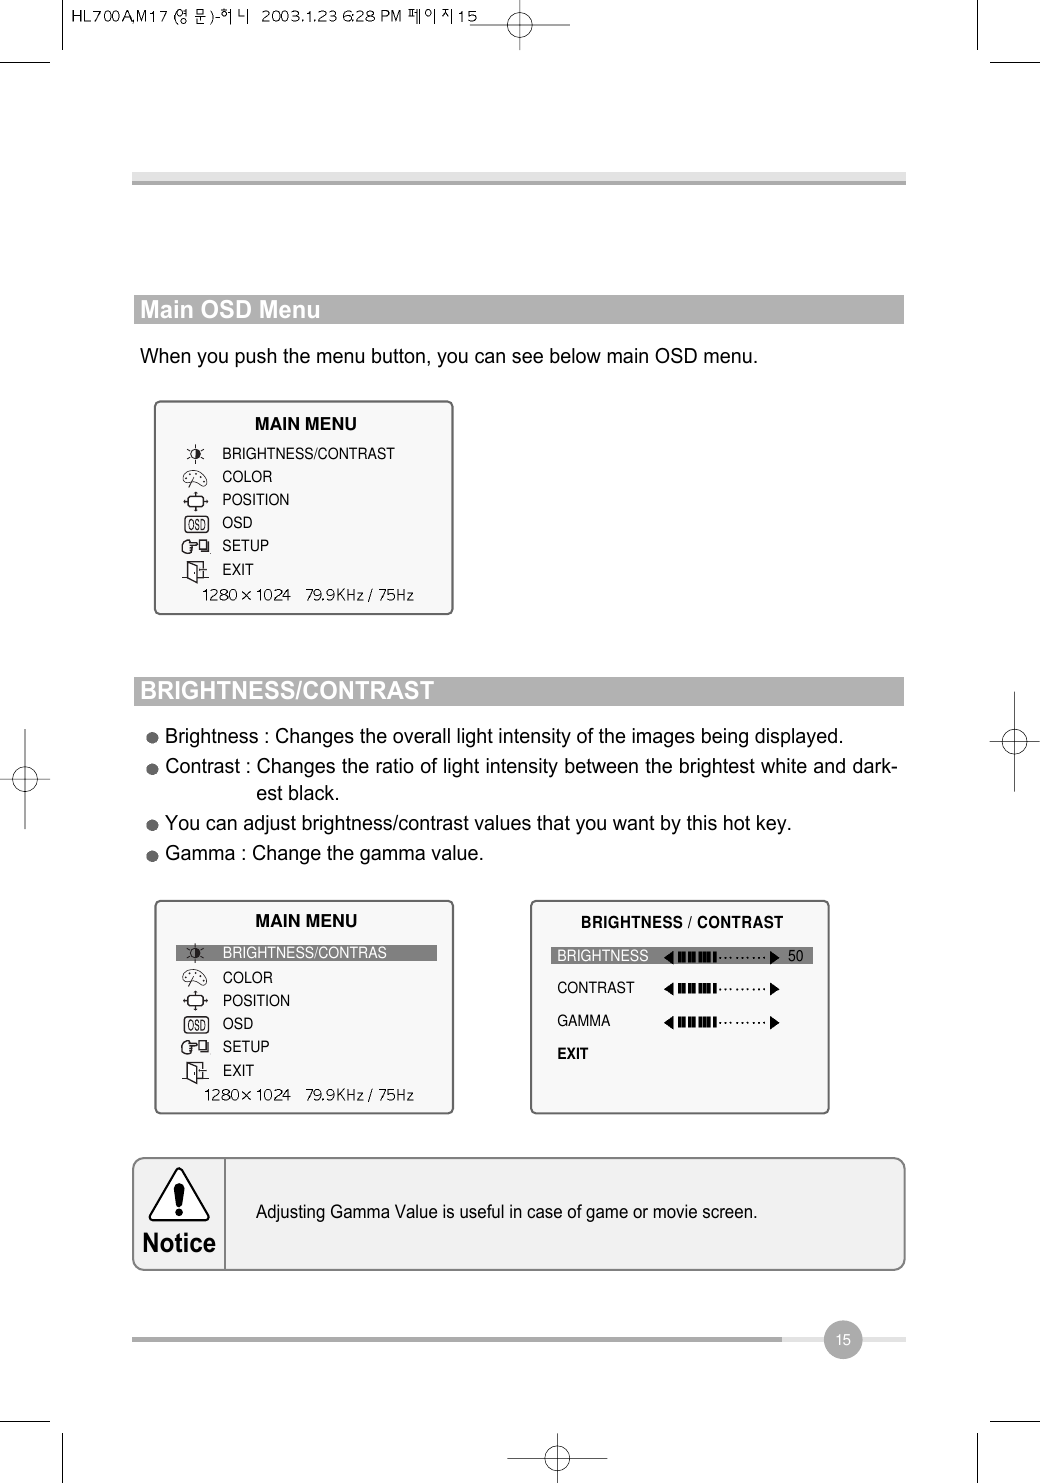
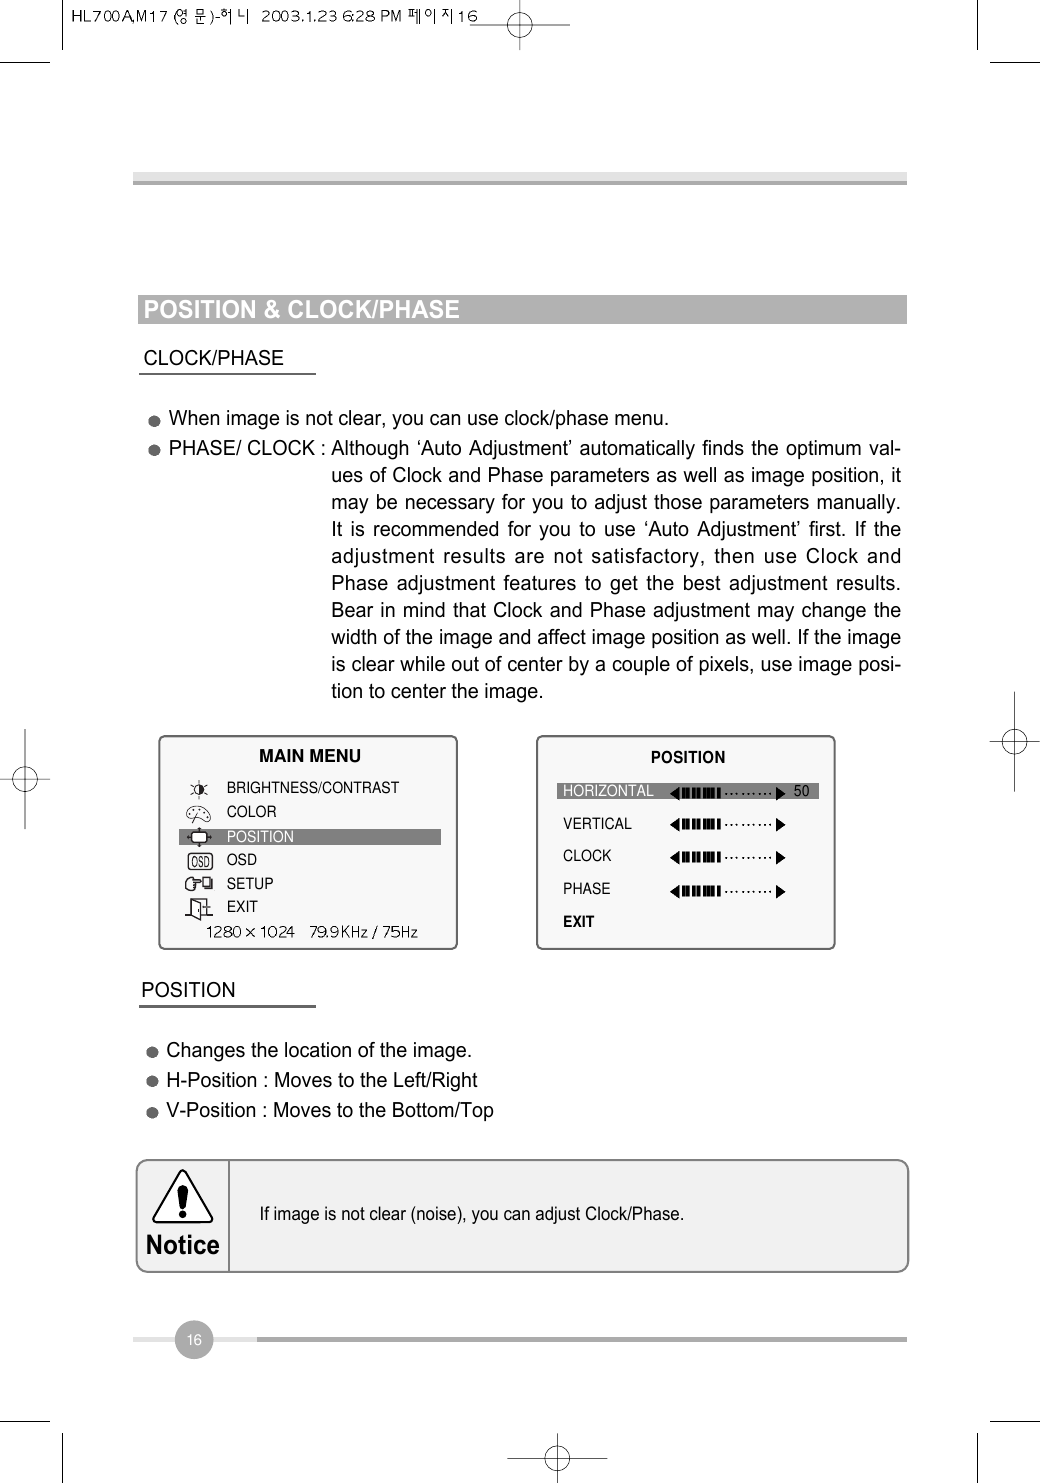
![3Before setting up1Resolution : 17.0 inch SXGA (1280 X 1024@75Hz)Color display : 16,777,216 colorsDPMS (Display Power Management Signaling) OSD (On Screen Display)Auto Configuration : Hot keySpeaker [L + R : 3W + 3W = 6W (max)]DDC 1/2B : Plug & PlayThis is 17.0 inch TFT-LCD monitor. Before setting up the LCD Monitor, please readthis manual to help your understanding of the LCD Monitor.Brief Specification of LCD MonitorDVI(Digital Video Interface)Composit video inputComposit Audio input S-Video inputTV(HL700MT Only)In Multimedia Model, added the below function:According to PC system, DDC 1/2B may not be supported. If you meet Errormessage,check your video card which compatibility with DDC. If you eant to knowmore information, please contact our service center.Notice](https://usermanual.wiki/Wooyoung-Telecom/HL700M/User-Guide-307255-Page-6.png)