YEALINK W52P IP DECT Phone User Manual
YEALINK (XIAMEN ) NETWORK TECHNOLOGY CO., LTD. IP DECT Phone Users Manual
UserManual.wiki
>
YEALINK
>
W52P User Manual
Users Manual
Navigation menu
Upload a User Manual
Namespaces
Wiki Guide
HTML
PDF
Info
Views
User Manual
Discussion / Help
Navigation
![1.Thisdevicemaynotcauseharmfulinterference,and2.Thisdevicemustacceptanyinterferencereceived,includinginterferencethatmaycauseundesiredoperation.Changesormodificat ionstothisunitthatarenotexpresslyapprovedbythepartyresponsibleforcompliancecouldvoidtheuser'sauthoritytooperatetheequipment.Privacyofcommunicationsmaynotbeensuredwhenusingthisproduct!Class B Digital Device or Peripheral ThisequipmentistestedandcomplieswiththelimitsforaClassBdigitaldevice,pursuanttoPart15oftheFCCRules.Theselimitsaredesignedtoprovidereasonableprotectionagainstharmfulinterferenceinaresidentialinstallation.Thisequipmentgenerates,uses,andcanradiateradiofrequencyenergyand,ifnotinstalledandusedinaccordancewiththeinstructions,maycauseharmfulinterferencetoradiocommunications.However,thereisnoguaranteethatinterferencewillnotoccurinaparticularinstallation.Privacyofcommunicationsmaynotbeensuredwhenusingthistelephone.Ifthisequipmentdoescauseharmfulinterferencetoradioortelevisionreception,whichcanbedeterminedbyturningtheequipmentoffandon,theuserisencouragedtotrytocorrecttheinterferencebyoneormoreofthefollowingmeasures:1.Reorientorrelocatethereceivingantenna.2.Increasetheseparationbetweentheequipmentandreceiver.3.Connecttheequipmentintoanoutletonacircuitdifferentfromthattowhichthereceiverisconnected.4.Consultthedealeroranexperienceradio/TVtechnicianforhelp.Note:ChangesormodificationsnotexpresslyapprovedbyYeal inkNetworkTechnologyCo.,Ltdcouldvoidtheuser'sauthoritytooperatetheequipment.ACTA Information 1. ThisequipmentcomplieswithPart68oftheFCCrulesandtherequirementsadoptedbytheACTA.Onthebottomofthisequipmentisalabelthatcontains,amongotherinformation,aproductidentifierintheformatUS:AAAEQ##TXXXX.Ifrequested,thisnumbermustbeprovidedtothetelephonecompany.2. AplugandjackusedtoconnectthisequipmenttothepremiseswiringandtelephonenetworkmustcomplywiththeapplicableFCCPart68rulesandrequirementsadoptedbytheACTA.Acomplianttelephonecordandmodularplugisprovidedwiththisproduct.Itisdesignedtobeconnectedtoacompatiblemodularjackthatisalsocompliant.Seeinstallationinstructionsfordetails.3. Ifthisequipment[US:T2LIPNANW52P]causesharmtothetelephonenetwork,thetelephonecompanywillnotifyyouinadvancethattemporarydiscont inuanceofservicemayberequired.Butifadvancenoticeisn'tpractical,thetelephonecompanywillnotifythecustomerassoonaspossible.Also,youwillbeadvisedofyourrighttofileacomplaintwiththeFCCifyoubelieveitisnecessary.4. Thetelephonecompanymaymakechangesinitsfacilit ies,equipment,operationsorproceduresthatcouldaffecttheoperationoftheequipment.Ifthishappensthetelephonecompanywillprovideadvancenoticeinorderforyoutomakenecessarymodificat ionstomaintainuninterruptedservice.5. Iftroubleisexperiencedwiththisequipment[US:T2LIPNANW52P],forrepairorwarrantyinformation,Servicecanbefacilitatedthroughourofficeat:U.S.AgentCompanyname:AmericanTechnologies,LLC.Address:7620SenecaSt.EastAurora,NYUSATel:888‐864‐7786ext.204Fax:866‐824‐0836Iftheequipmentiscausingharmtothetelephonenetwork,thetelephonecompanymayrequestthatyoudisconnecttheequipmentuntiltheproblemisresolved.](https://usermanual.wiki/YEALINK/W52P/User-Guide-1914685-Page-3.png)
![6. Pleasefollowinstructionsforrepairingifany(e.g.batteryreplacementsection);otherwisedonotalternateorrepairanypartsofdeviceexceptspecified.7. Connectiontopartylineserviceissubjecttostatetariffs.Contactthestatepublicutilitycommission,publicservicecommissionorcorporationcommissionforinformation.8. Ifyourhomehasspeciallywiredalarmequipmentconnectedtothetelephoneline,ensuretheinstallationofthis[US:T2LIPNANW52P]doesnotdisableyouralarmequipment.Ifyouhavequestionsaboutwhatwilldisablealarmequipment,consultyourtelephonecompanyoraqualifiedinstaller.9. Ifthetelephonecompanyrequestsinformationonwhatequipmentisconnectedtotheirlines,informthemof:a) Theringerequivalencenumber[NAN]b) TheUSOCjackrequired[RJ45C]c) FacilityInterfaceCodes(“FIC”)[N/A]d) ServiceOrderCodes(“SOC”)[N/A]e) TheFCCRegistrat ionNumber[US:T2LIPNANW52P]10. TheRENisusedtodeterminethenumberofdevicesthatmaybeconnectedtoatelephoneline.ExcessiveRENsonatelephonelinemayresultinthedevicesnotringinginresponsetoanincomingcall.Inmostbutnotallareas,thesumofRENsshouldnotexceedfive(5.0).Tobecertainofthenumberofdevicesthatmaybeconnectedtoaline,asdeterminedbythetotalRENs,contactthelocaltelephonecompany.TheRENforthisproductispartoftheproductidentifierthathastheformatUS:AAAEQ##TXXXX.Thedigitsrepresentedby##aretheRENwithoutadecimalpoint.ForthisproducttheFCCRegistrationnumberis[US:T2LIPNANW52P]indicatestheRENwouldbeNAN.Hearing Aid Compatibility (HAC) ThistelephonesystemmeetsFCCstandardsforHearingAidCompatibility.FCC RF Radiation Exposure Statement This equipment complies with FCC RF radiation exposure limits set forth for an uncontrolled environment. For base unit it should be installed and operated with a minimum distance of 20 centimeters between the radiator and your body.. Information for DECT Product ThistelephoneiscompliantwiththeDECT6.0standardwhichoperatesinthe1.92GHzto1.93GHzfrequencyrange.InstallationofthisequipmentissubjecttonotificationandcoordinationwithUTAM.AnyrelocationofthisequipmentmustbecoordinatedthroughandapprovedbyUTAM.UTAMmaybecontactedat1‐800‐429‐8826.WEEE Warning Toavoidthepotentialeffectsontheenvironmentandhumanhealthasaresultofthepresenceofhazardoussubstancesinelectricalandelectronicequipment,endusersofelectricalandelectronicequipmentshouldunderstandthemeaningofthecrossed‐outwheeledbinsymbol.DonotdisposeofWEEEasunsortedmunicipalwasteandhavetocollectsuchWEEEseparately.](https://usermanual.wiki/YEALINK/W52P/User-Guide-1914685-Page-4.png)


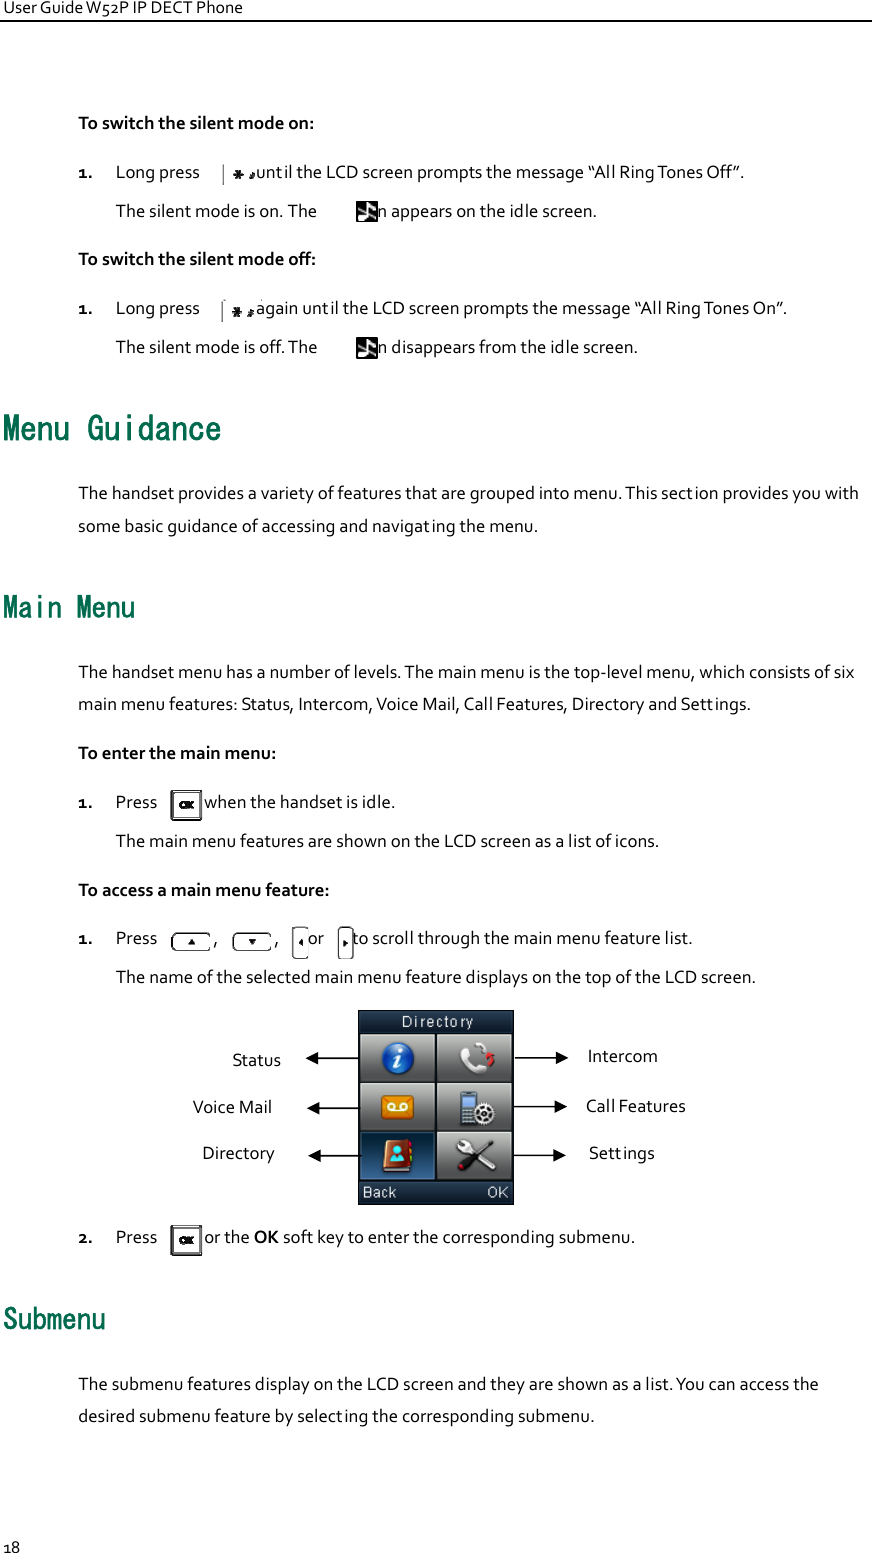

![PhoneSett ings35Dial Plan Dialplanisastringofcharactersthatgovernsthewayyourhandsetprocessestheinputsreceivedfromyourhandsetkeypad.Thehandsetsupportsthefollowingdialplanfeatures: ReplaceRule AreaCode BlockOutThebasicexpressionsyntaxyouneedtoknow:.Thedot“.”canbeusedasaplaceholderormultipleplaceholdersforanycharacter.Example:“12.”wouldmatch“123”,“1234”,“12345”,“12abc”,etc.xAn“x”canbeusedasaplaceholderforanycharacter.Example:“12x”wouldmatch“121”,“122”,“123”,“12a”,etc.[]Thesquarebrackets“[]”canbeusedasaplaceholderforasinglecharacterwhichmatchesanyofasetofcharacters.Example:“91[5‐7]1234”wouldmatch“9151234”,“9161234”,“9171234”,etc.()Theparentheses“()”canbeusedtogrouptogetherpatterns,forinstance,tologicallycombinetwoormorepatterns.Example:“91([5‐7])1(x)”wouldmatch“91511”,“91618”,“91715”,etc.$The“$”shouldbefollowedbythesequencenumberofaparenthesis.The“$”plusthesequencenumbermeansthewholecharacterorcharactersplacedintheparenthesis.Thenumberdirectstotherightparenthesiswhentherearemorethanone.Example:Areplaceruleconfiguration:Number:“9([5‐7])(.)”,Replace:“5$2”.Whenyouenter“96123”todialoutonyourphone,thenumberwillbereplacedas“5123”andthendialedout.“$2”meansthecharactersinthesecondparenthesis,thatis,“123”.NoteReplace Rule Youcanconfigureoneormorereplacerulestoremovethespecifiedstringandreplaceitwithanotherstring.Youcanconfigureapatternwithwildcards(refertotheexpressionsyntaxinthetableabove),sothatanystringthatmatchesthepatternwillbereplaced.Thisfeatureisconvenientforyoutodialoutalongnumber.Forexample,areplaceruleisconfiguredas“Number:1”and“Replace:1234567”,whenyouwanttodialoutthenumber“1234567”,youjustneedtoenter“1”.Whenaddingadialplanrule,youcanspecifytheaccountstoapplythedialplanruleintheAccountfield.Thevalidvalueofthe“Account”parametercanbeoneormoredigitsamong1,2,3,4and5,eachofwhichrepresentsalineID.Eachdigitmustbeseparatedbyacomma.Forexample,whenyouenterthevalue“1,2”intheAccountfield,thisdialplanrulewillapplytoaccount1andaccount2.IfyouleavetheAccountfieldblankorenteraninvalidvalue,thenthedialplanrulewillapplytoallaccounts.](https://usermanual.wiki/YEALINK/W52P/User-Guide-1914685-Page-45.png)